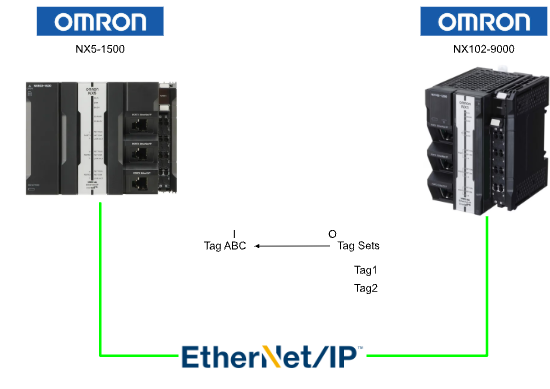
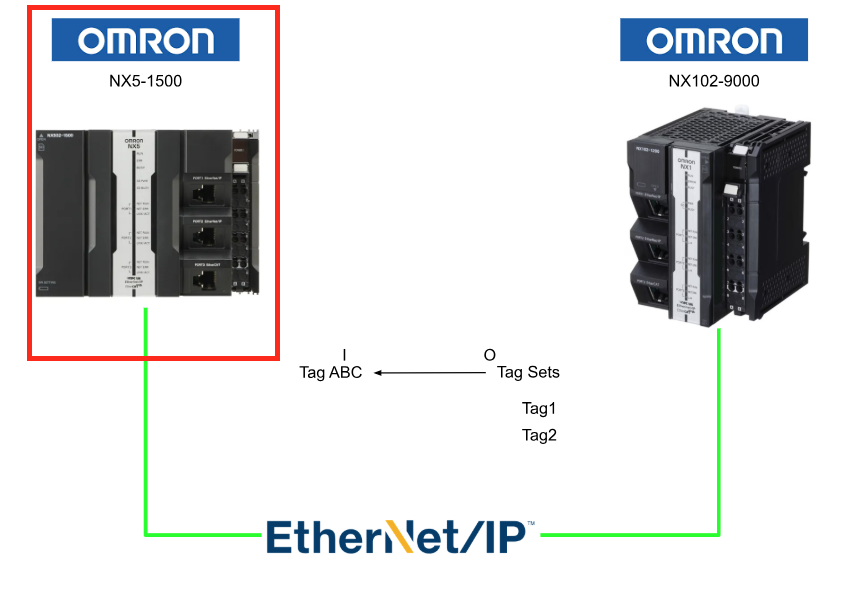
In this article, we will explain how to set up an EtherNet/IP + Tag Set connection between OMRON NX CPUs.
By utilizing Tag Sets, you can combine multiple global variables into a single EtherNet/IP Tag, which helps with structuring data, saving Tag count, and managing variables.
Now, let’s enjoy FA!
Implementation
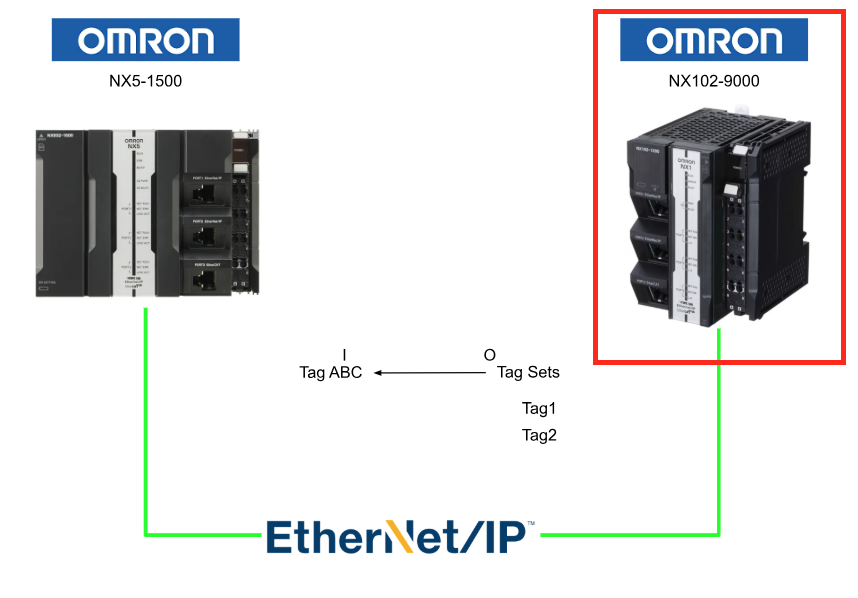
In this article, settings are required for both NX102-9000 and NX502-1500.
NX1 Side
First, configure the NX1 side.
EtherNet/IP Port
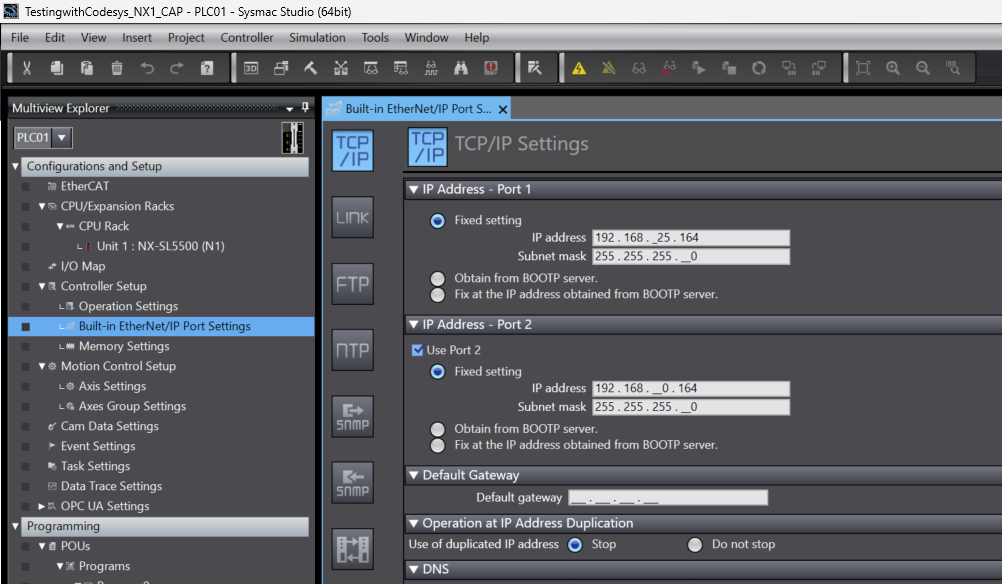
Please configure the IP settings for the EtherNet/IP Port of the NX102-9000 main unit.
Structures
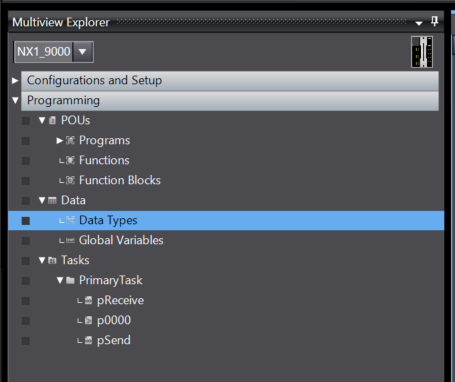
Next, click Data → Data Types to create a structure.
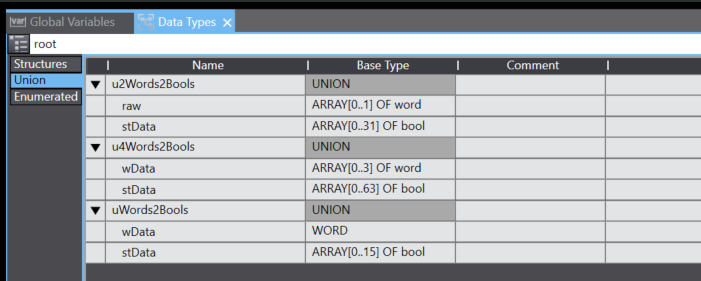
In this article, we define a UNION data type that can share a memory OFFSET.
Global Variables
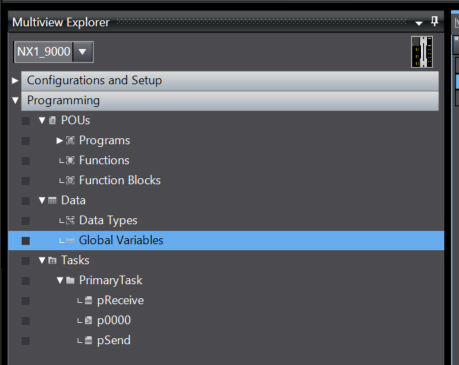
Now let’s define global variables. Click Data → Global Variables.
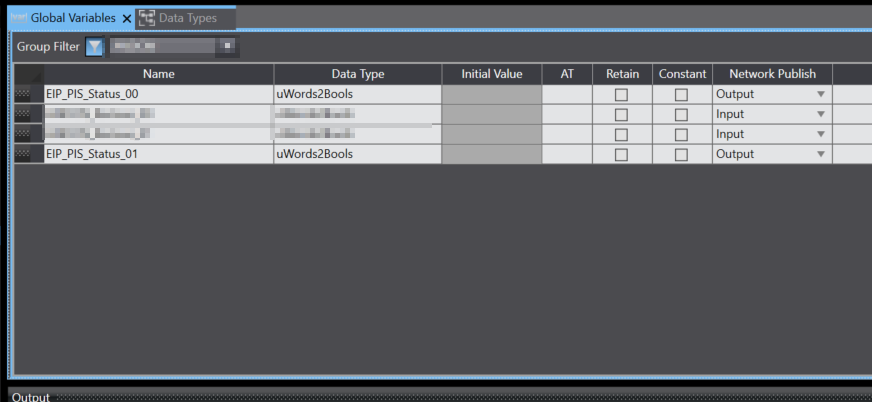
Define global variables using the UNION structure defined earlier.
Then, set output variables to Output and input variables to Input.
EtherNet/IP Settings
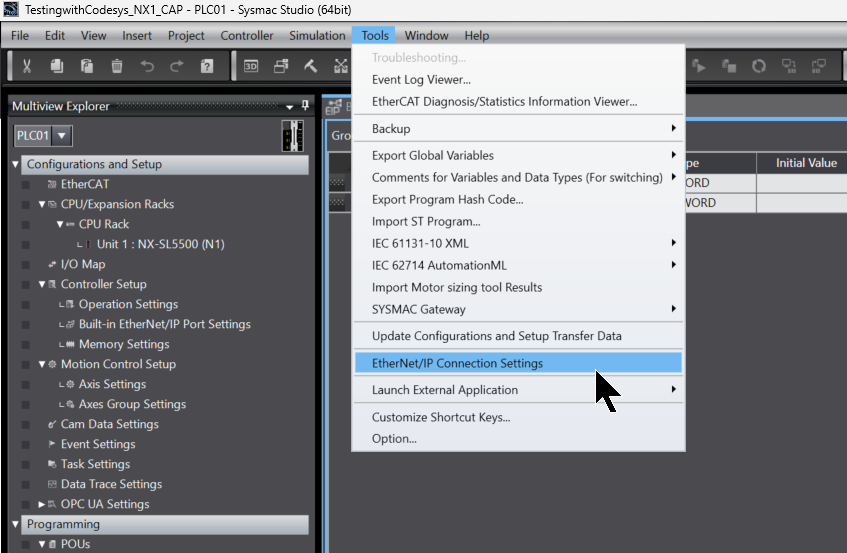
Next, to configure the EtherNet/IP connection for NX102-9000, click Tools > EtherNet/IP Connection Settings.
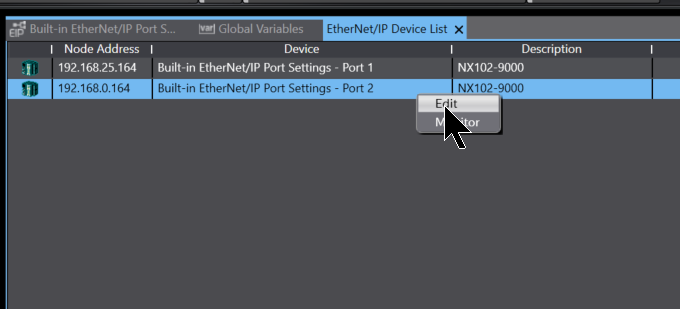
In this article, we will use Port 2 of NX102-9000, so select Port 2 > right-click > Edit.
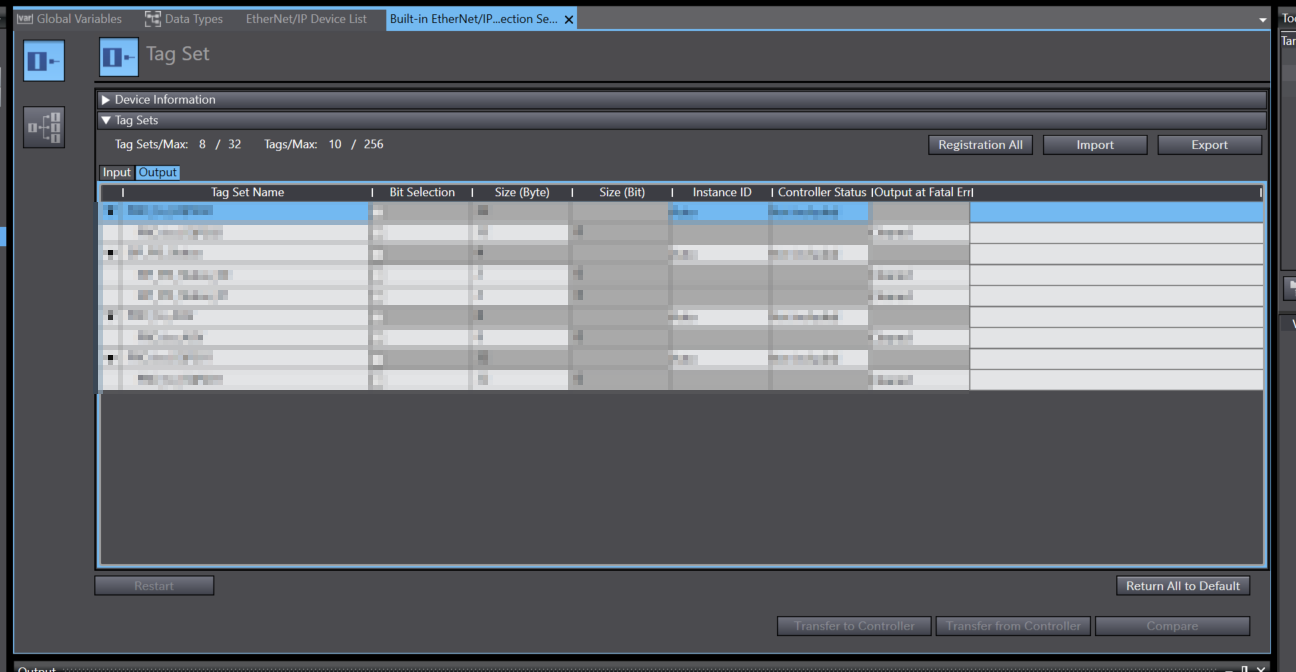
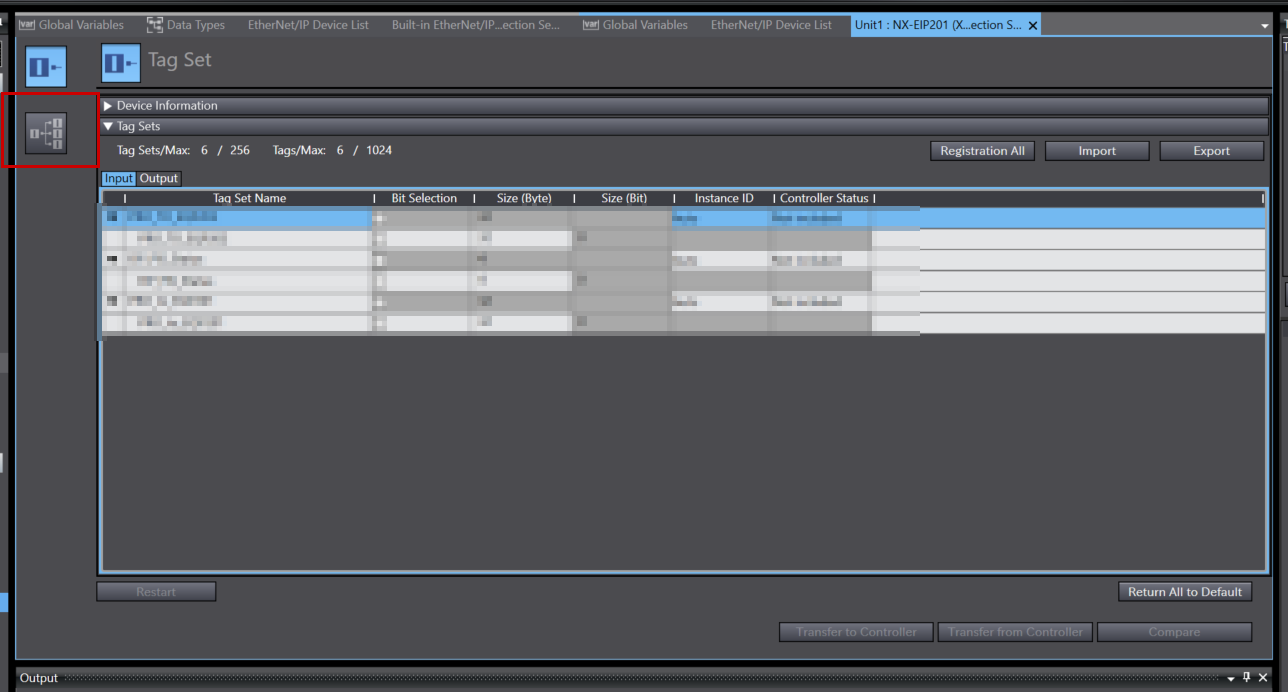
This is the EtherNet/IP settings screen in Sysmac Studio.
Create New Tag Set
To create a new Output Tag, open the Output tab → right-click → Create New Tag Set.
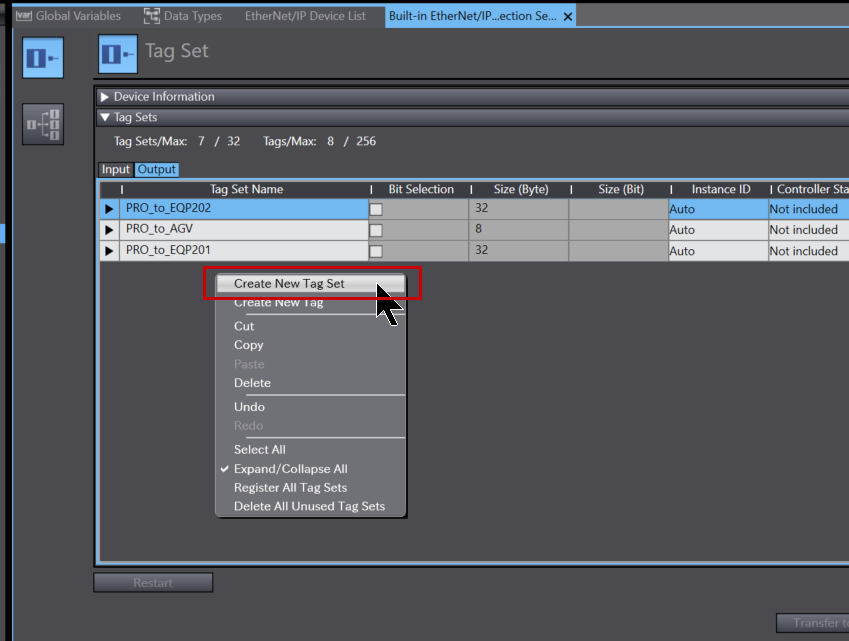
Done! A new Tag Set has been added.
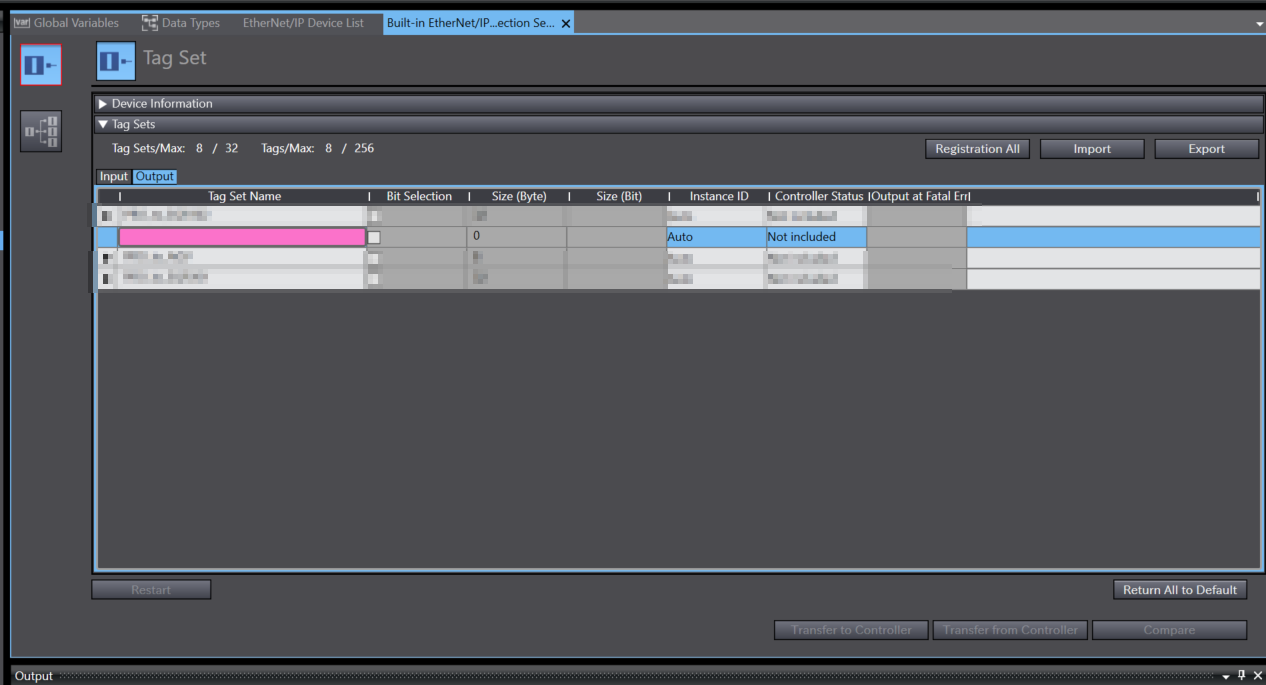
Next, enter the Tag Set name.
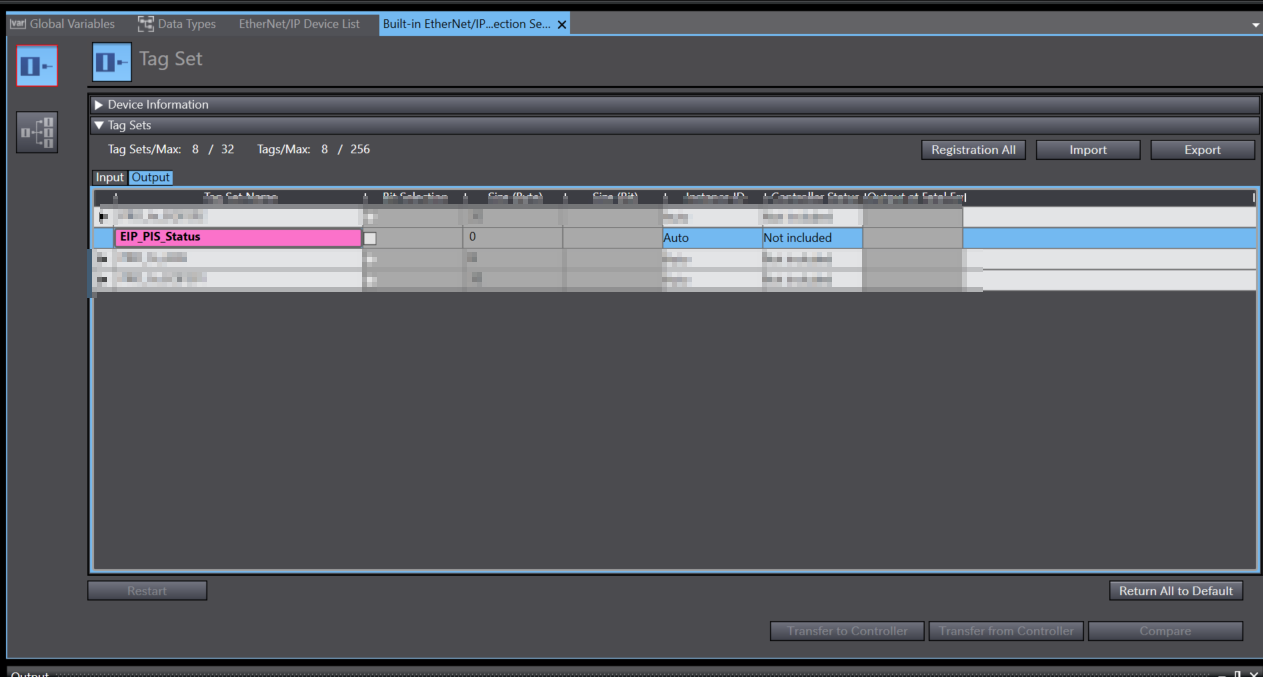
Next, right-click on the Tag Set you just added → click Create New Tag.
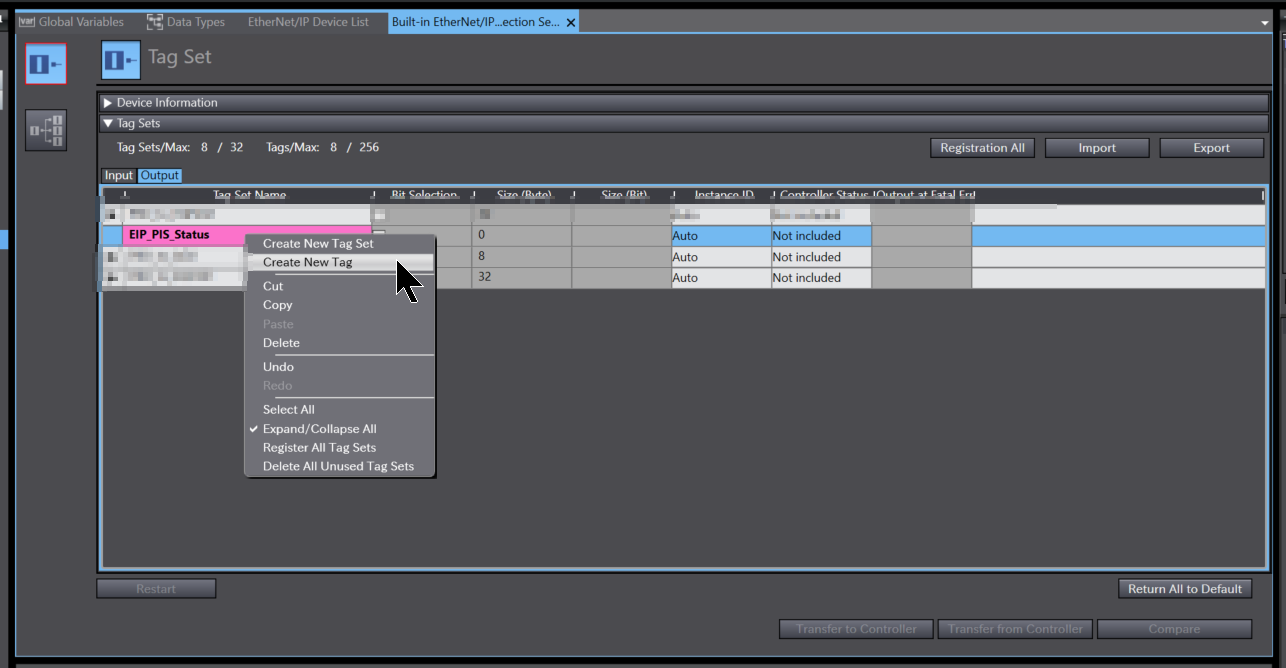
Done! A Tag row has been added.
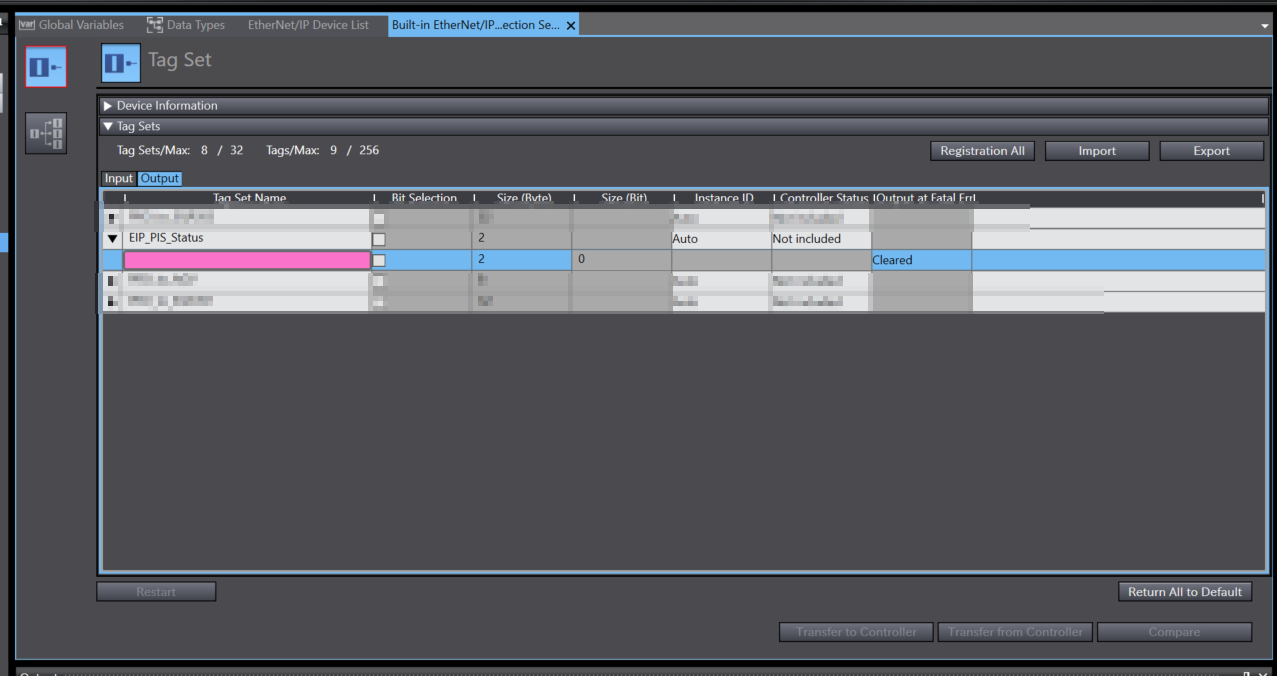
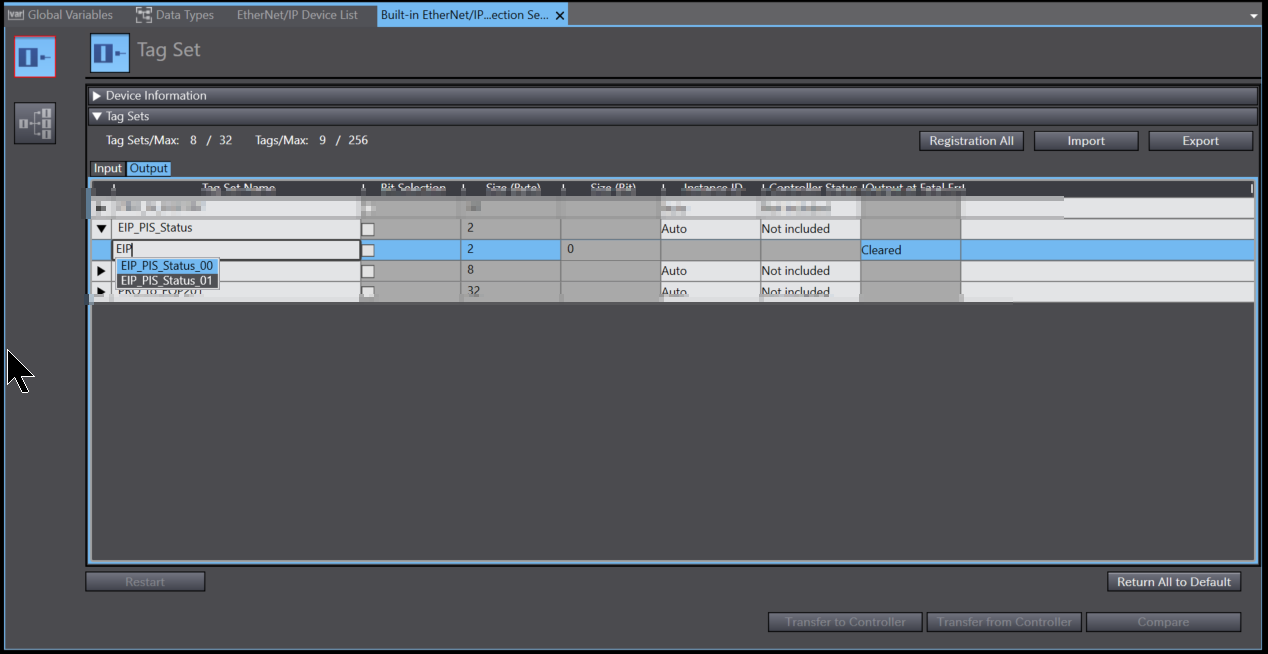
Now, let’s enter the Output variable added earlier under Global Variables.
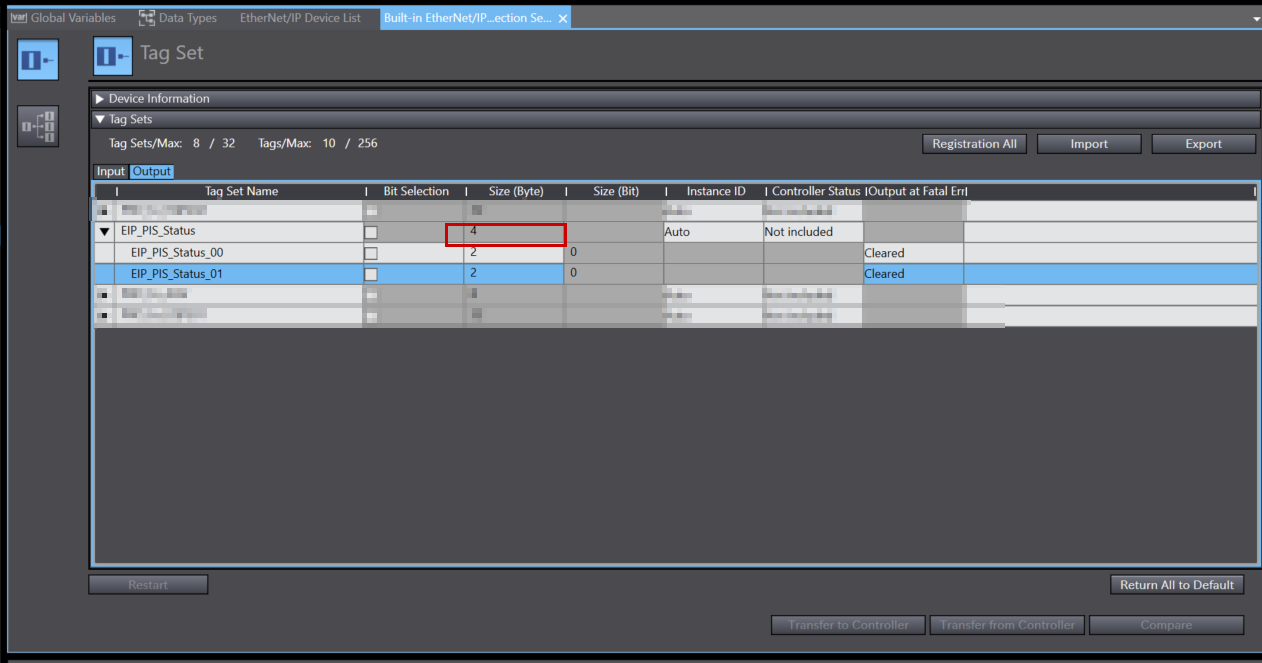
You can see that the Tag named EIP_PIS_Status occupies 4 Bytes.
Transfer to Controller
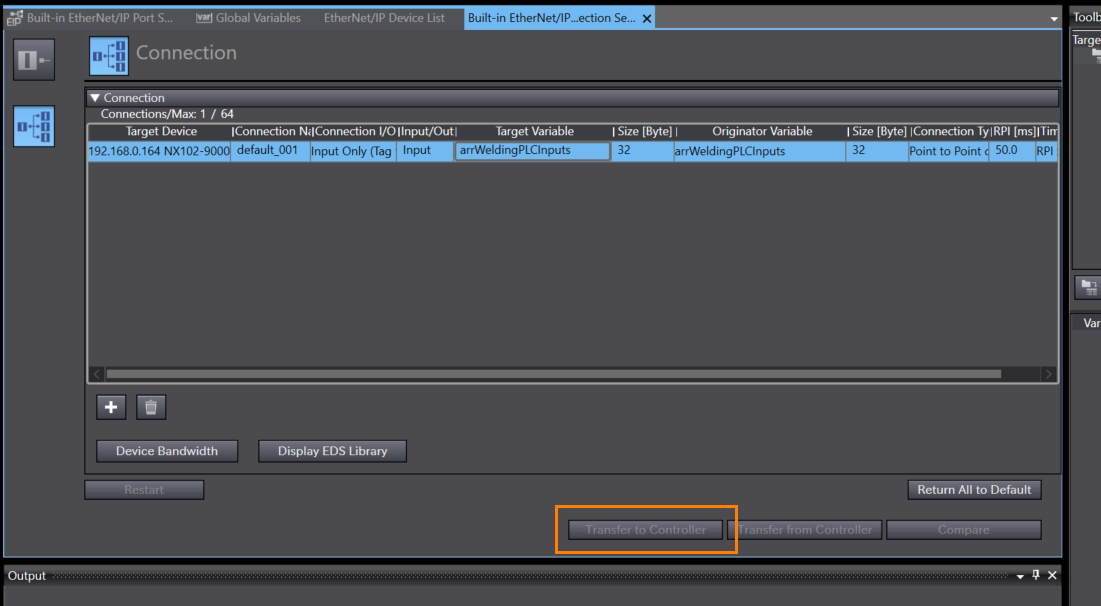
After completing the EtherNet/IP settings, transfer the EtherNet/IP settings to NX502-1500 using Transfer to Controller.
Download
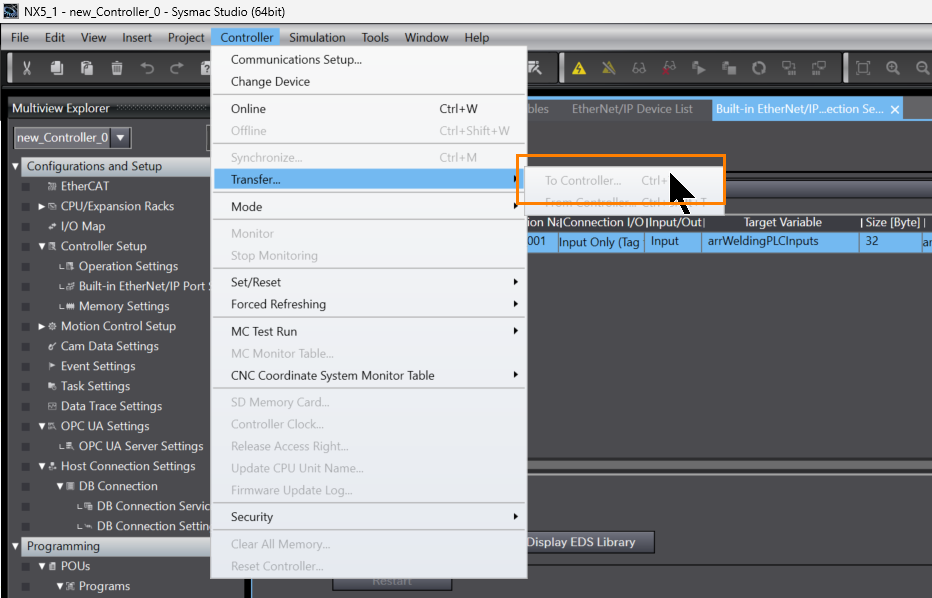
Next, transfer the entire project to NX502-1500 using Transfer > To Controller.
NX5 Side
Next, configure the NX5 side.
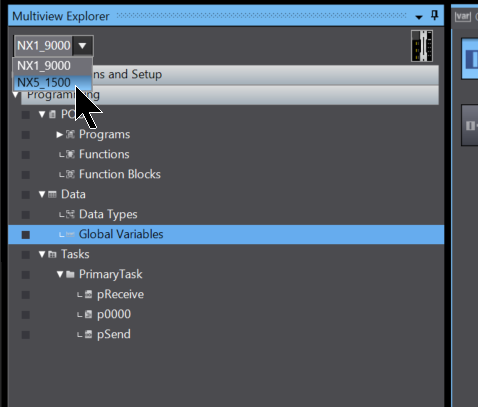
In Sysmac Studio, multiple CPUs can be combined into a single project.
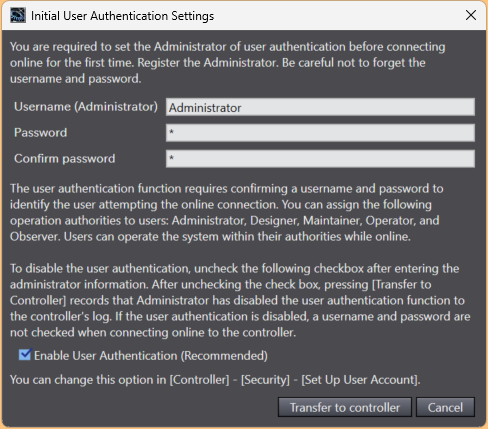
First Login
When connecting to a brand new NX502-1500 from Sysmac Studio, you will be prompted to set up a Username and Password. Configure these and transfer them to the CPU.
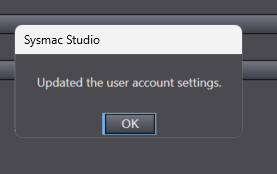
Done!
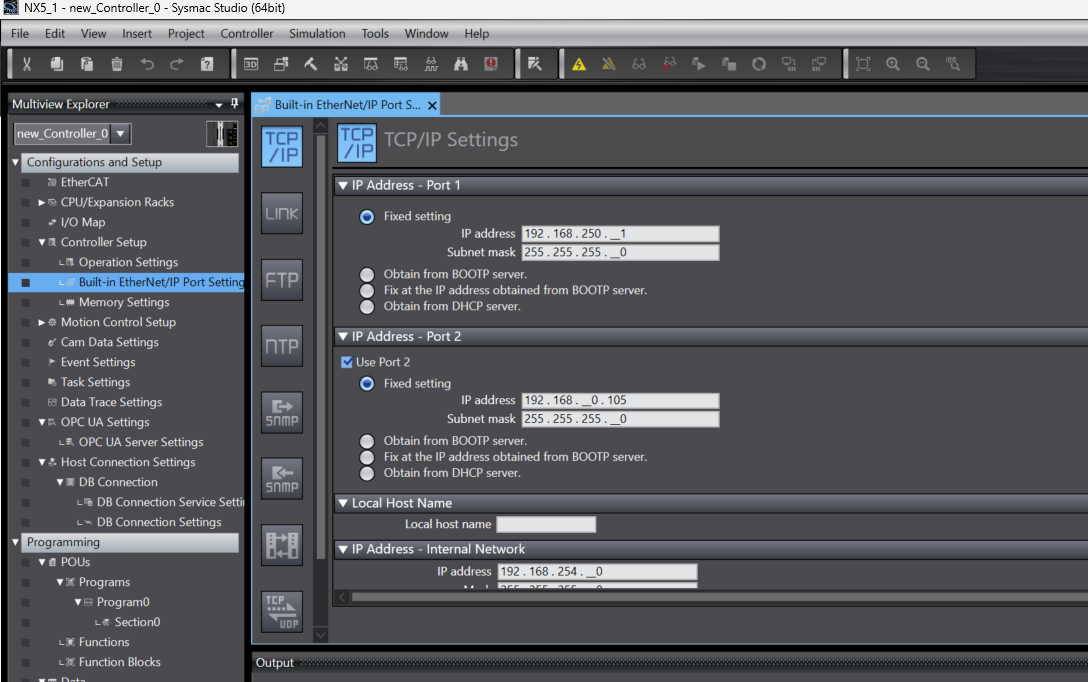
EtherNet/IP Port
Next, configure the IP settings for the EtherNet/IP Port of the NX502-1500 main unit.
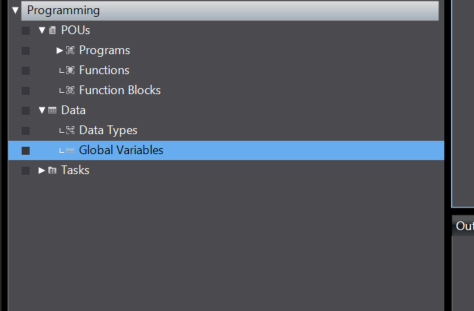
Global Variables
Now let’s define global variables. Click Data → Global Variables.
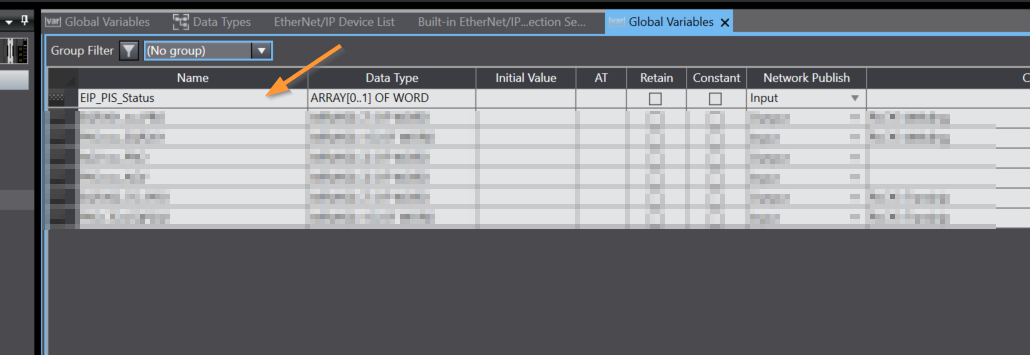
Define the global EtherNet/IP input data variable and set it to Input.
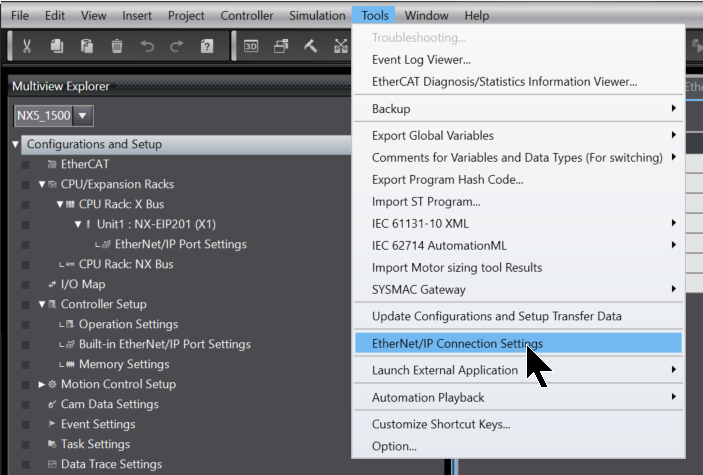
EtherNet/IP Settings
Next, to configure the EtherNet/IP connection for NX5, click Tools > EtherNet/IP Connection Settings.
Right-click the port using EtherNet/IP → Edit.
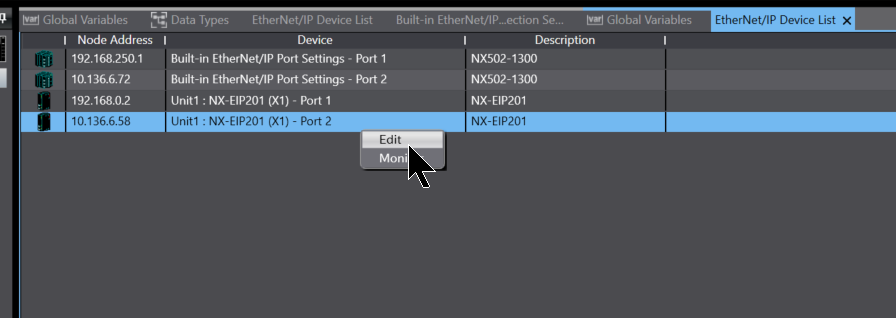
This is the EtherNet/IP connection settings screen in Sysmac Studio.
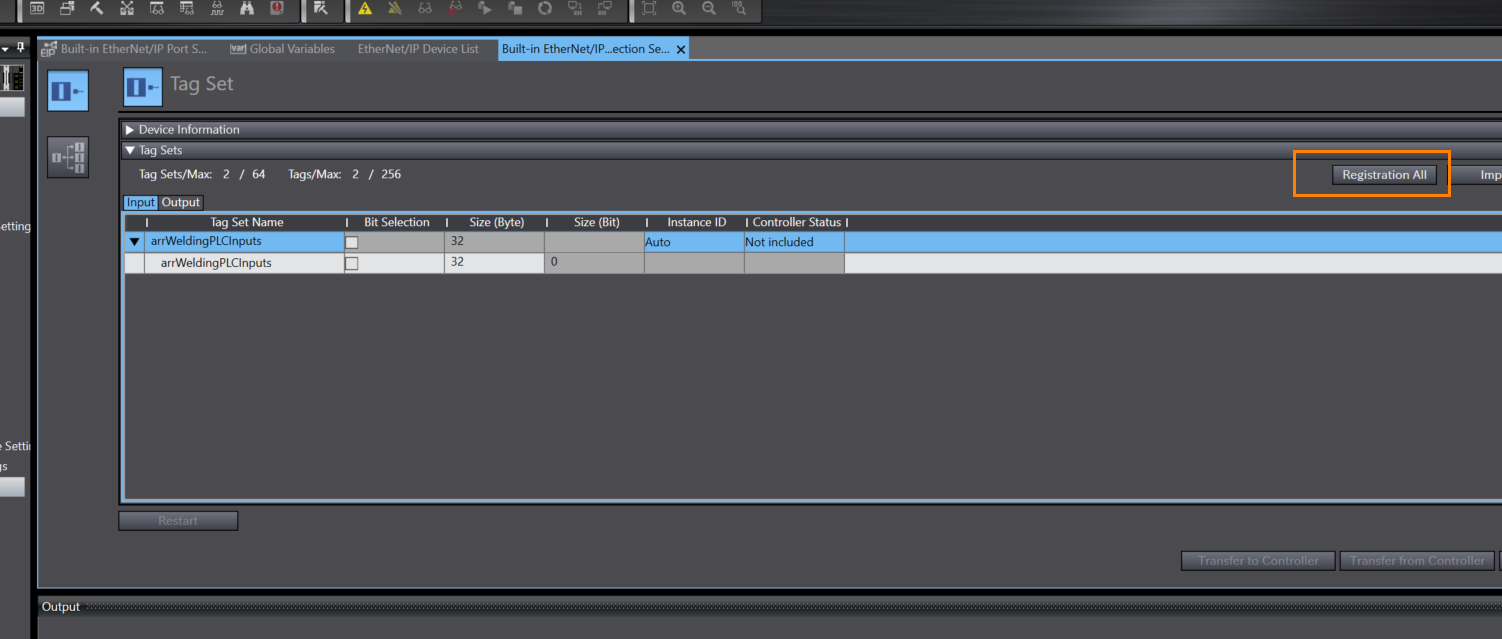
Register All Variables
Register Input/Output variables in the program to the EtherNet/IP network using the “Register All” button.
Adding NX102-9000
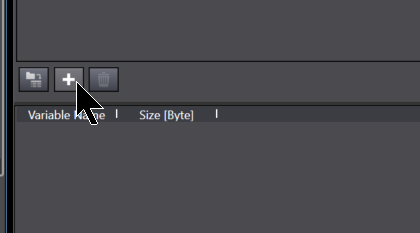
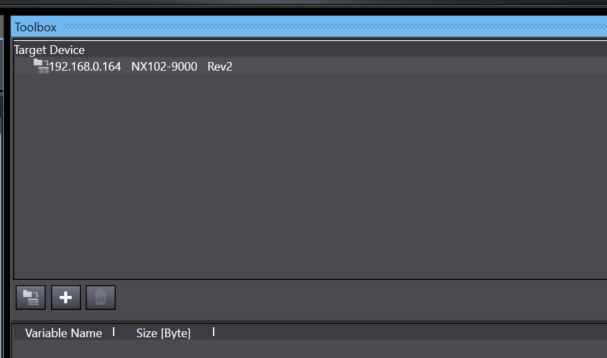
Next, add the EtherNet/IP connection for NX102-9000 in Sysmac Studio.
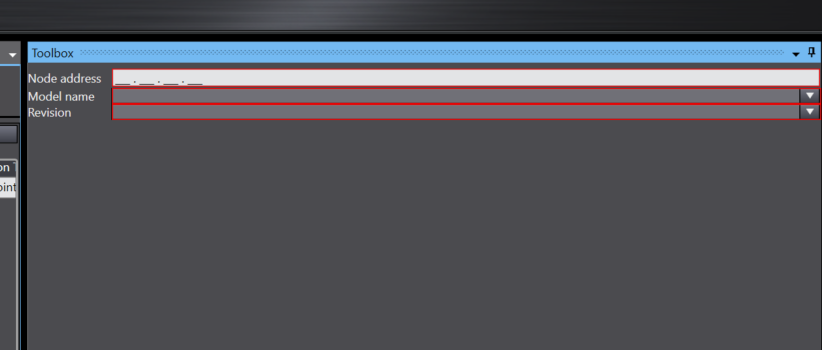
Node Address
Set Node Address to the IP address of the NX102-9000.
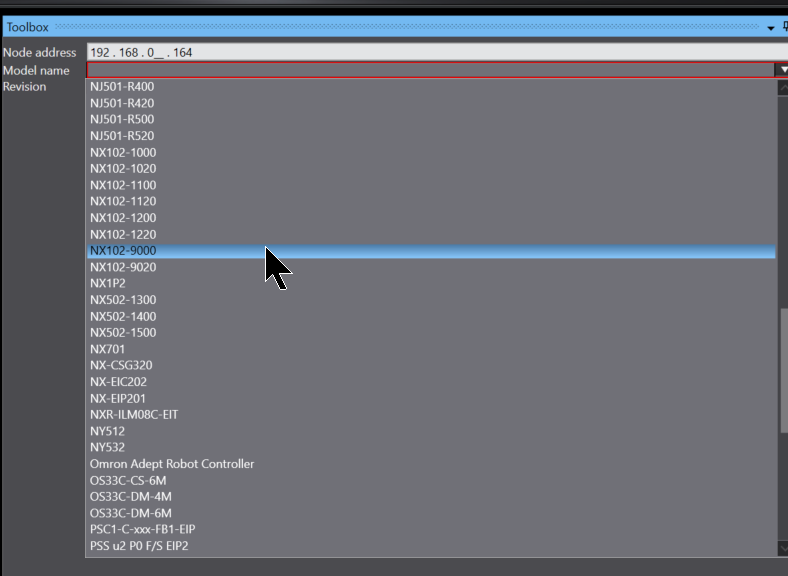
Model Name
Please set Model Name to NX102-9000.
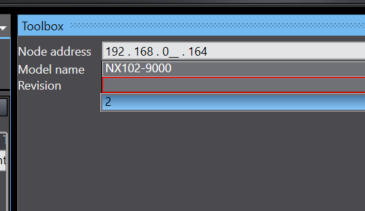
Revision
Set Revision to 2.
Result
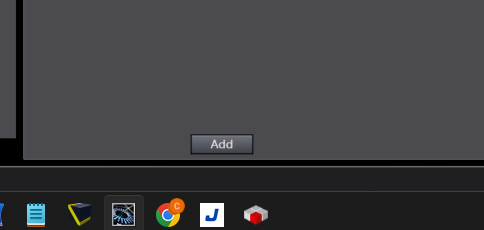
Finally, click the Add button to add NX102-9000.
Done!
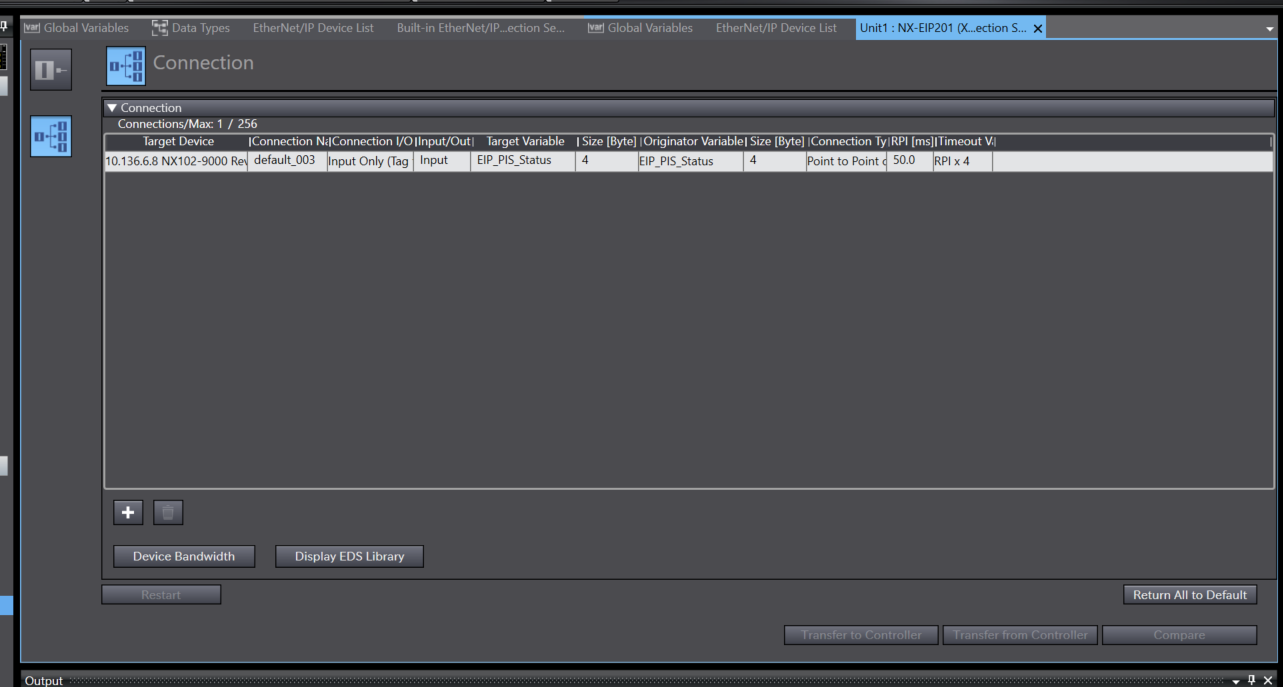
Creating a New Connection
Next, create a new EtherNet/IP connection and set the Input Variable to match the Tag Set name on the NX1 side.
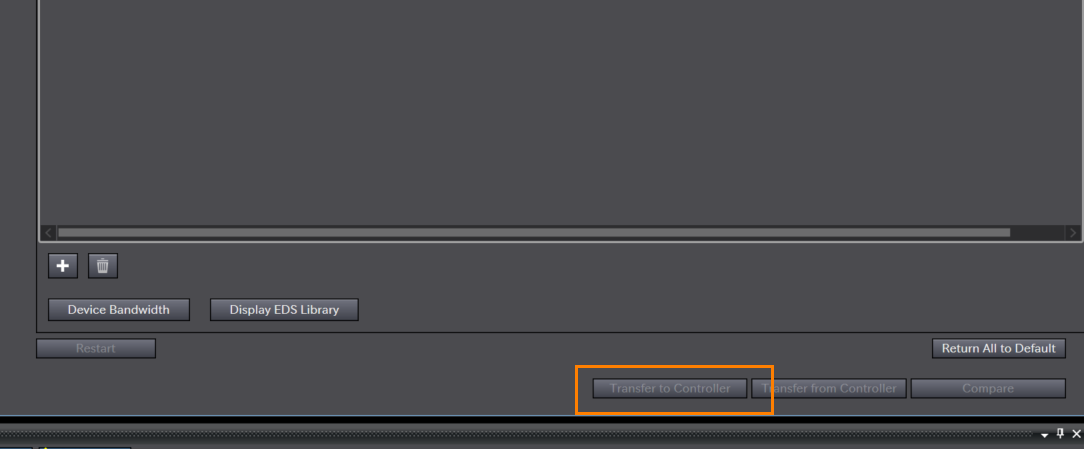
Transfer to Controller
After completing the EtherNet/IP settings, transfer the EtherNet/IP settings to NX102-9000 using Transfer to Controller.
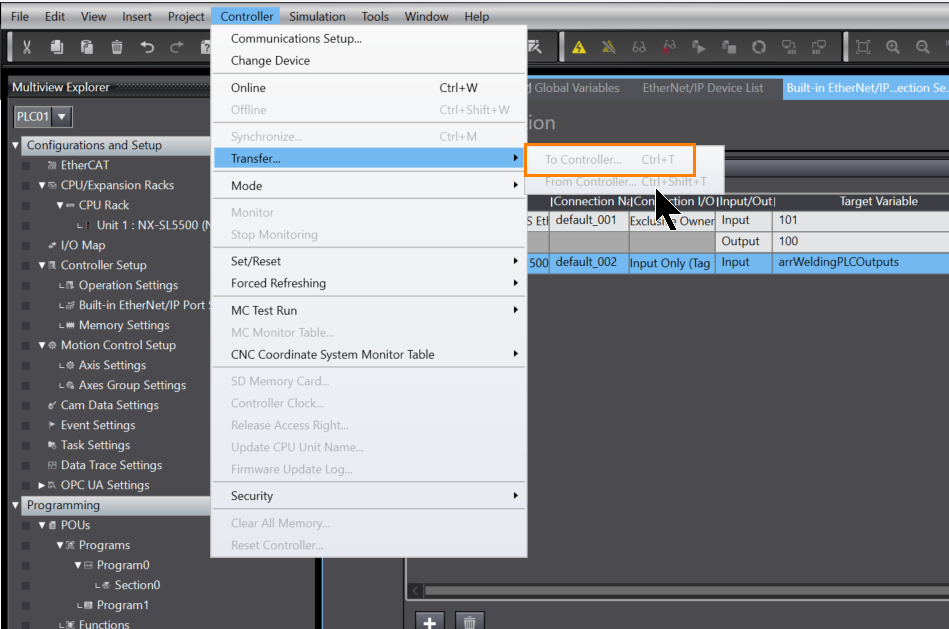
Download
Next, transfer the entire project to NX102-9000 using Transfer > To Controller.
Result
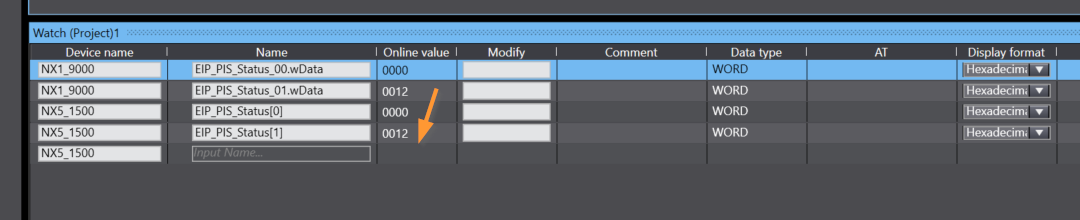
A blue indicator light is lit for Target Node Status on the NX5 side, indicating that communication has been established.
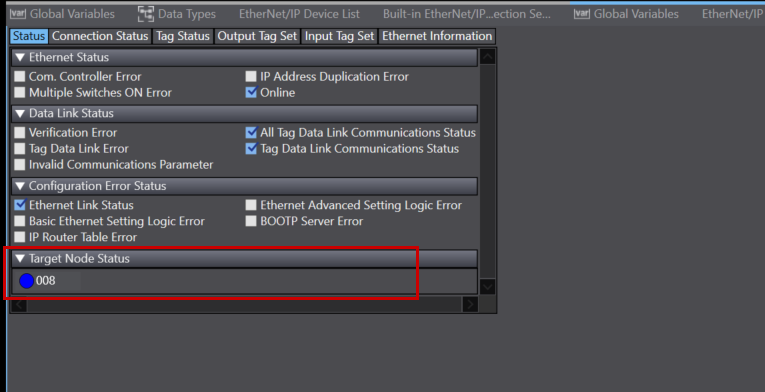
Data from NX1 has been successfully transferred to NX5 via EtherNet/IP!