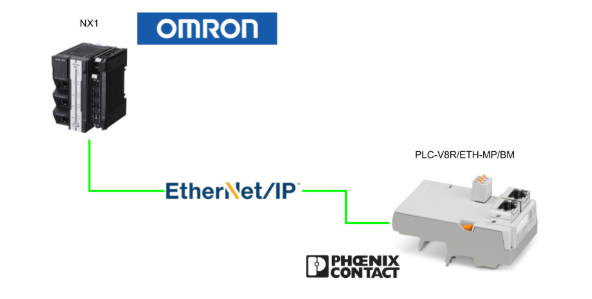
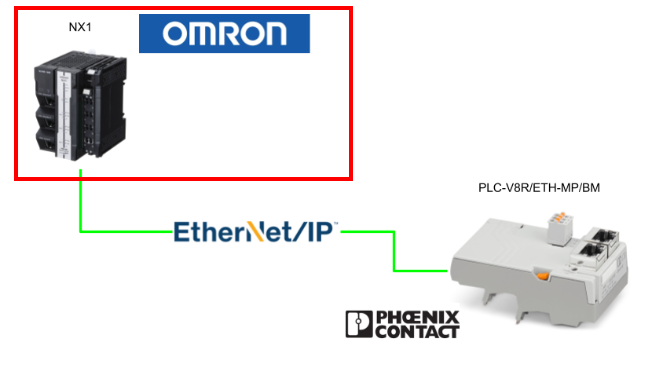
In this article, we will set up EtherNet/IP communication between an OMRON NX1 and a Phoenix Contact PLC-V8R/ETH-MP/BM.
Now, let’s enjoy FA!
Reference Link
http://soup01.com/ja/?s=PLC-V8R%2F
Implementation
Now we will create the project.
Phoenix Contact Side
First, we will set up the Phoenix Contact side.
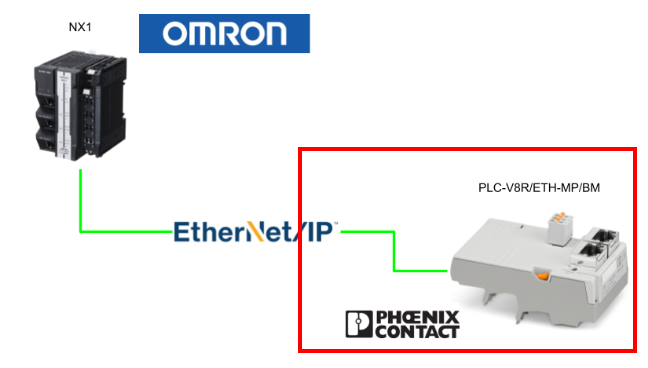
Settings
Please download Hilscher’s free EtherNet/IP tool from the link shown below.
https://hilscher.atlassian.net/wiki/spaces/EIS2V7/pages/123994946/Hilscher+EtherNet+IP+Tool
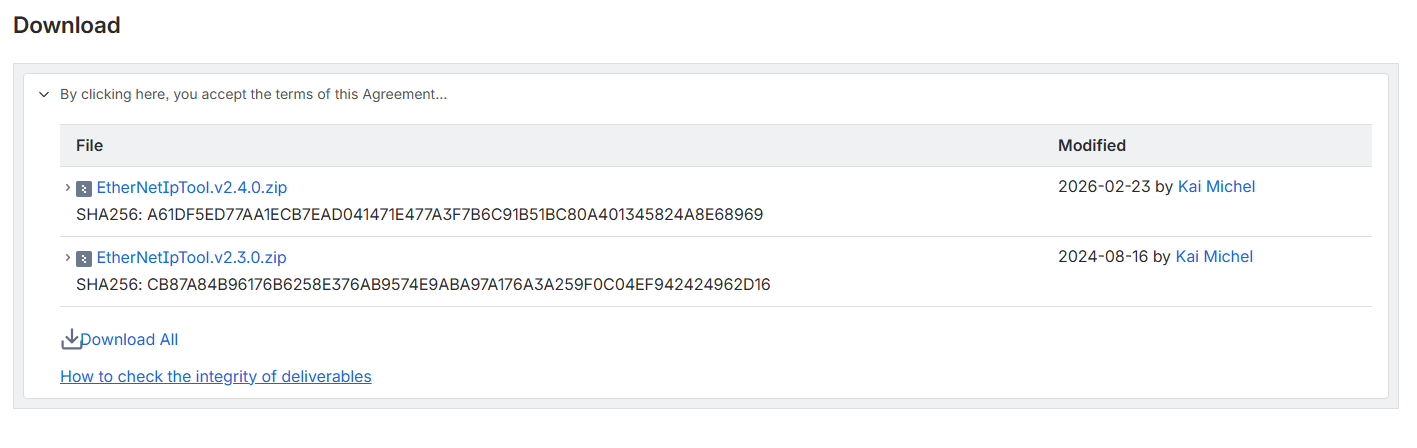
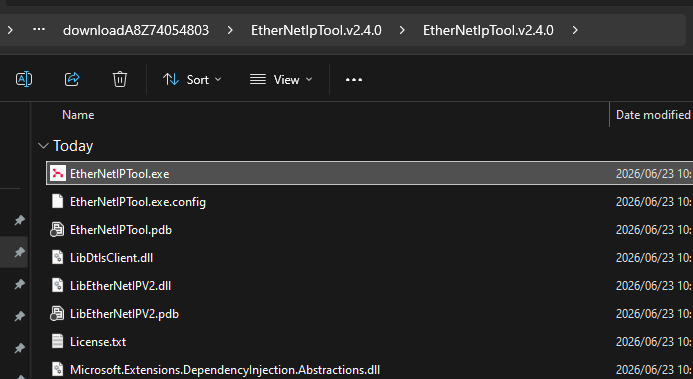
Extract the ZIP file downloaded from the site and launch EtherNetIPTool.exe.
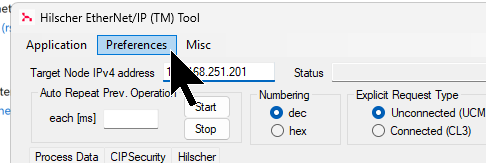
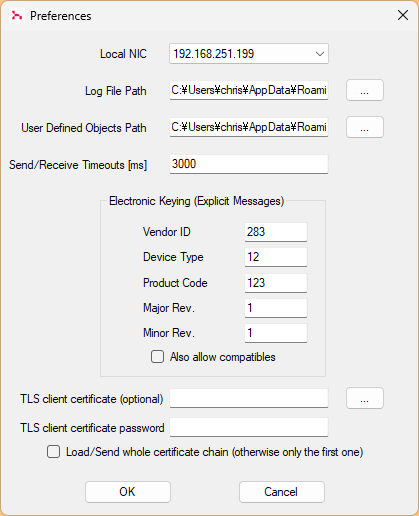
Click Preferences to configure the communication interface.
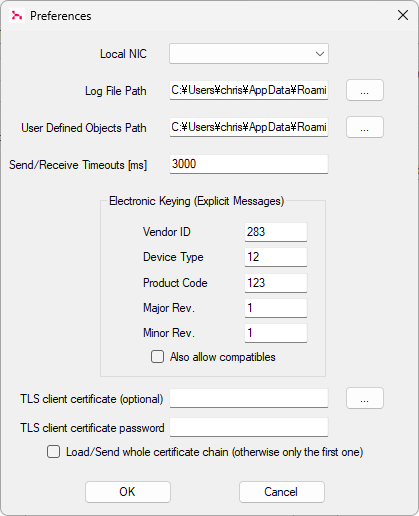
This is the communication interface screen of the Hilscher EtherNet/IP tool.
Select the network interface to use from the Local NIC drop-down list.
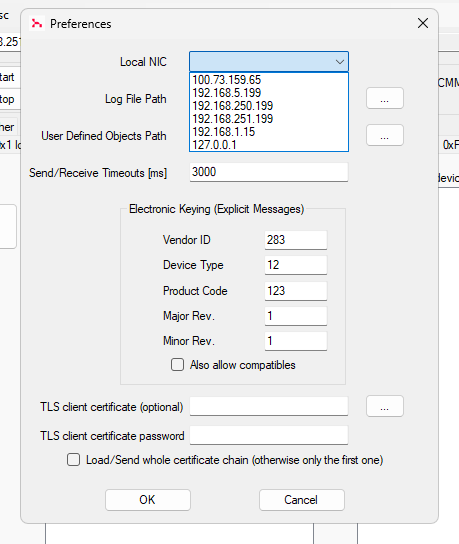
This completes the interface setup.
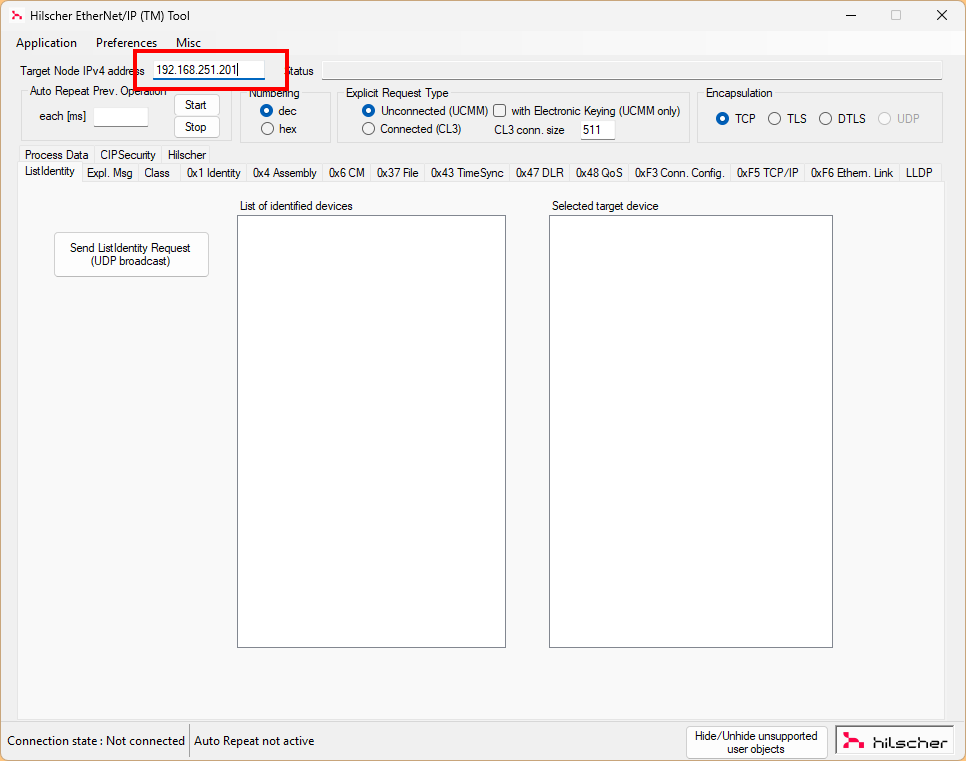
Enter the IP address of the EtherNet/IP device you want to connect to in the Target Node IPv4 address field highlighted in red below.
Then click the “Send ListIdentity Request” button as shown below.
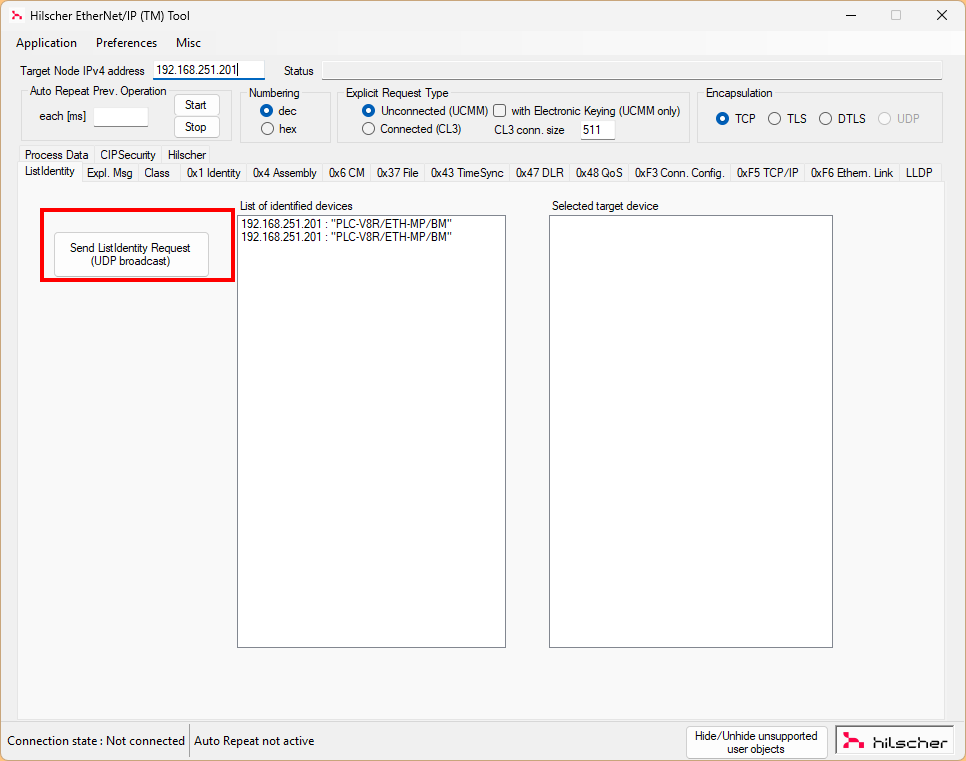
Done! We found the PLC-V8R/ETH-MP/BM used in this article.
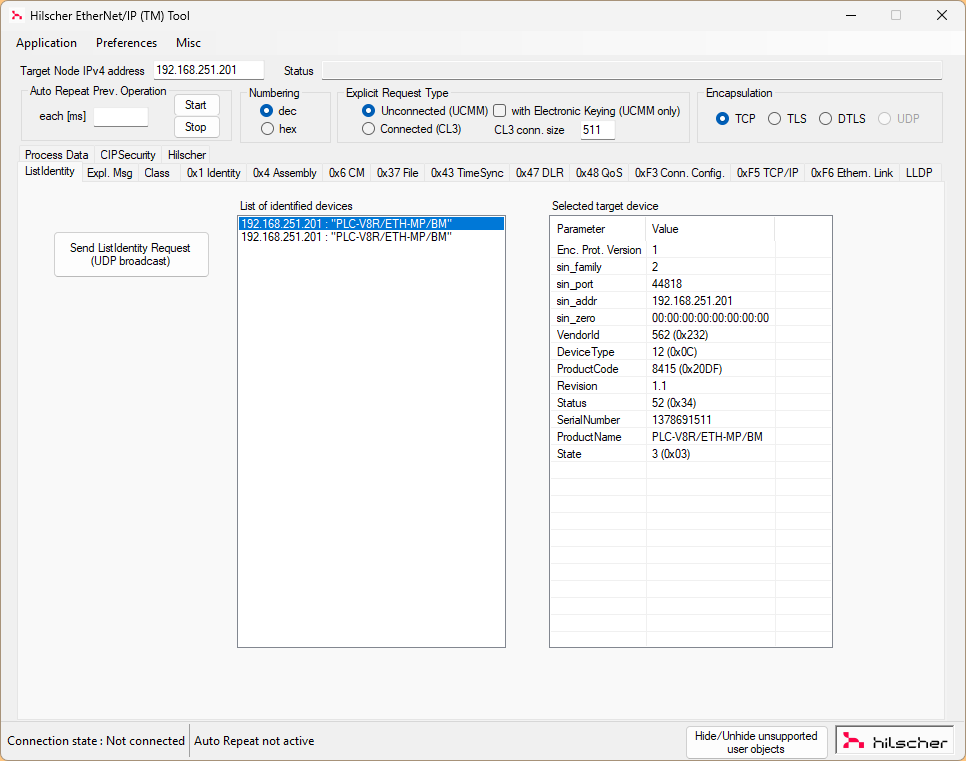
To change the IP address or IP address configuration mode of the PLC-V8R/ETH-MP/BM, open the 0xF5 TCP/IP tab.
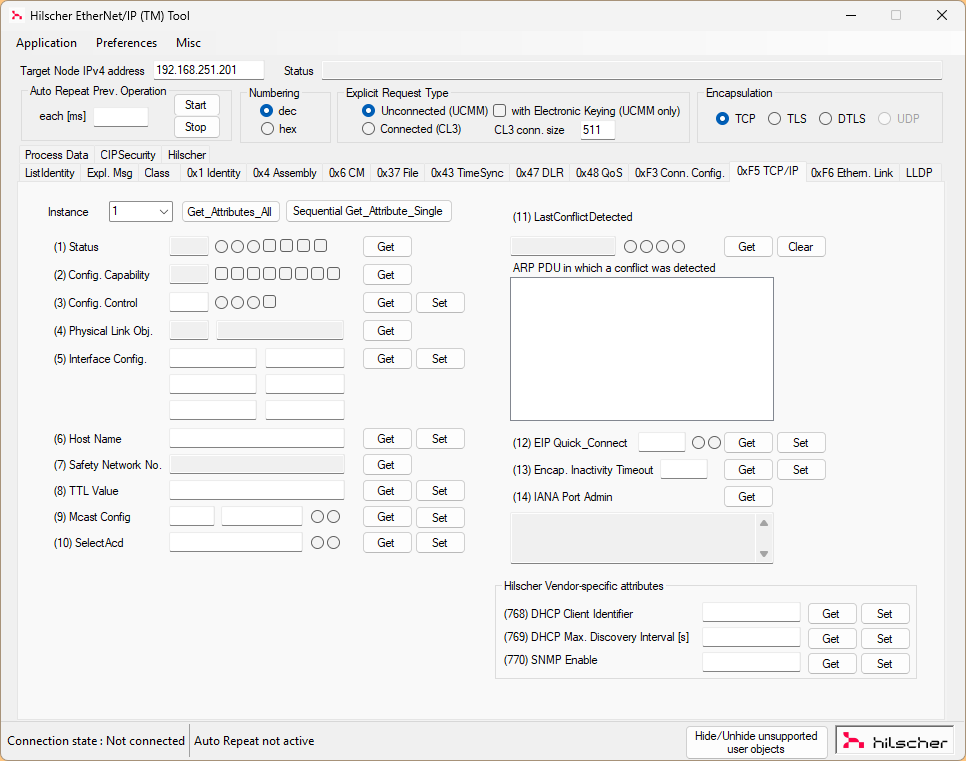
First, click Get_Attributes_All to retrieve all current attributes for 0xF5.
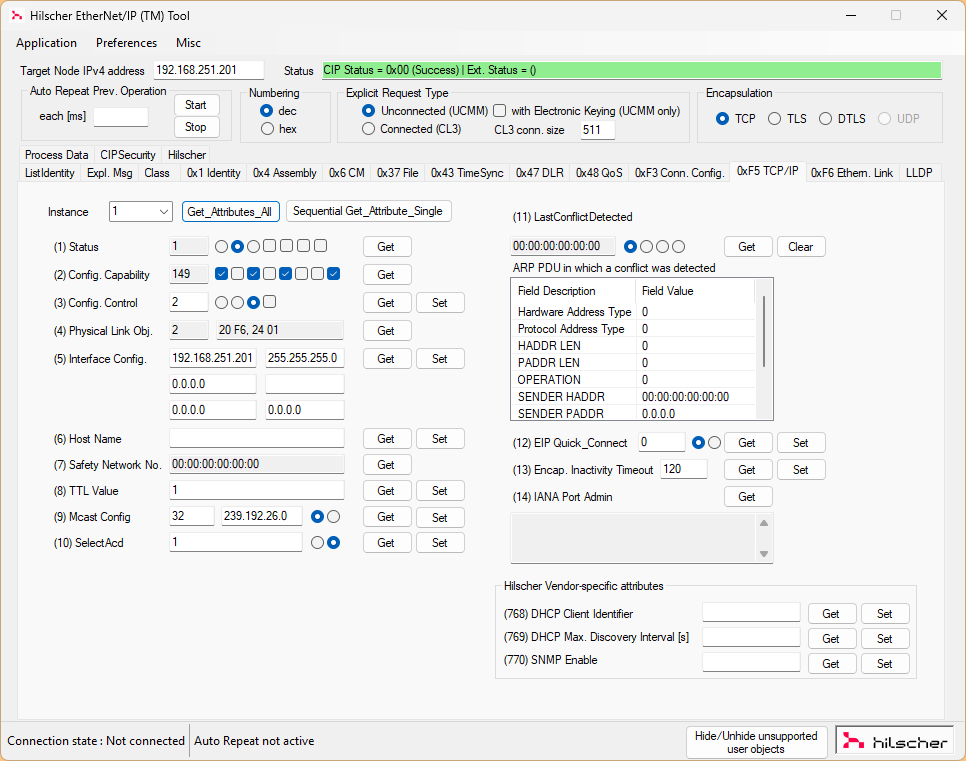
Set the radio box in (3) to the leftmost option (0), then click the Set button.
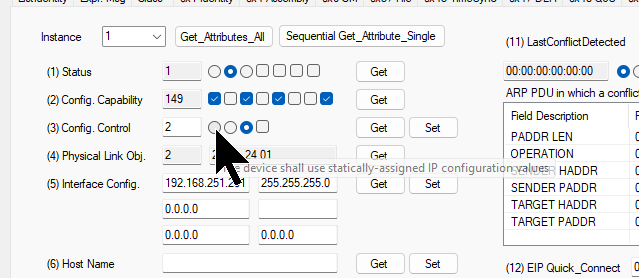
Done!
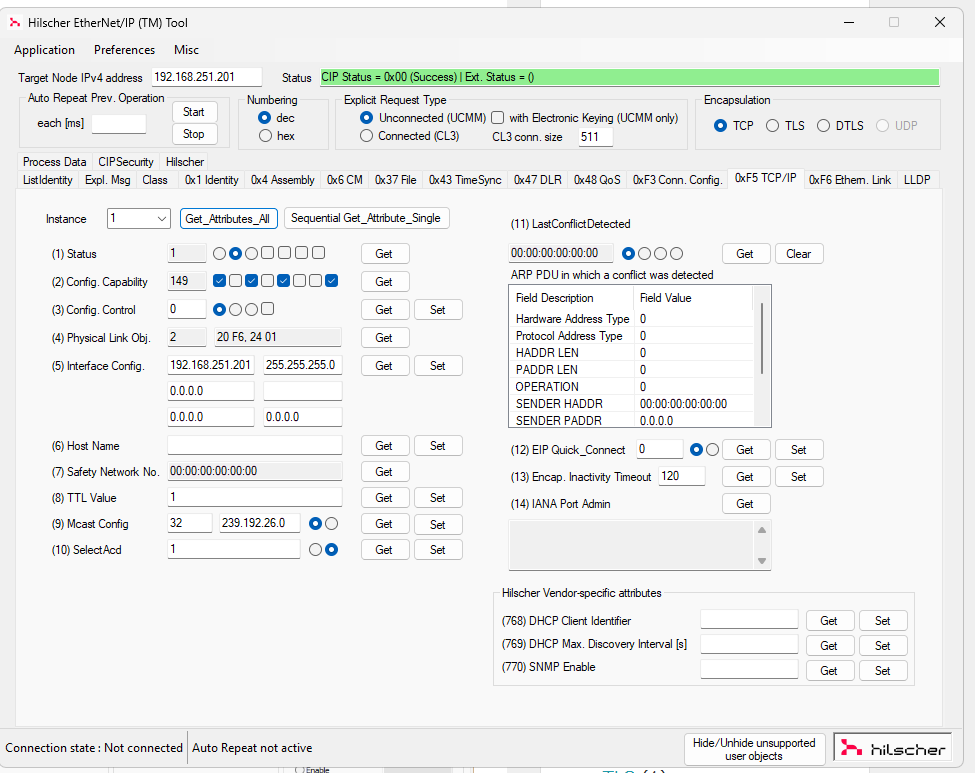
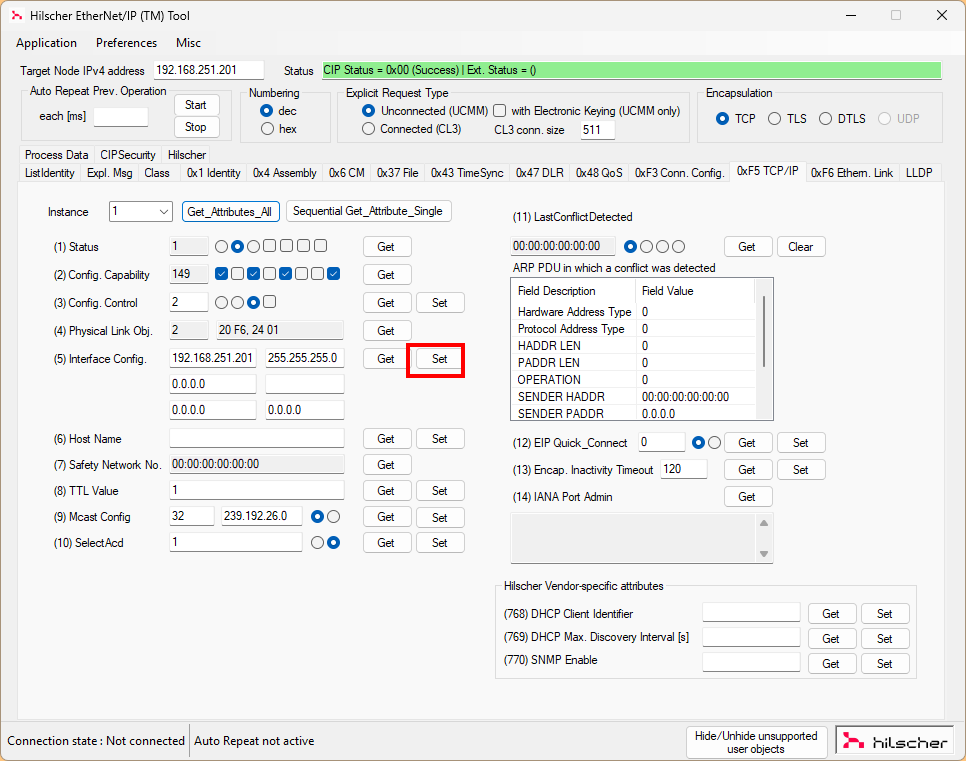
Set the IP address in (5) Interface Config., then click the Set button.
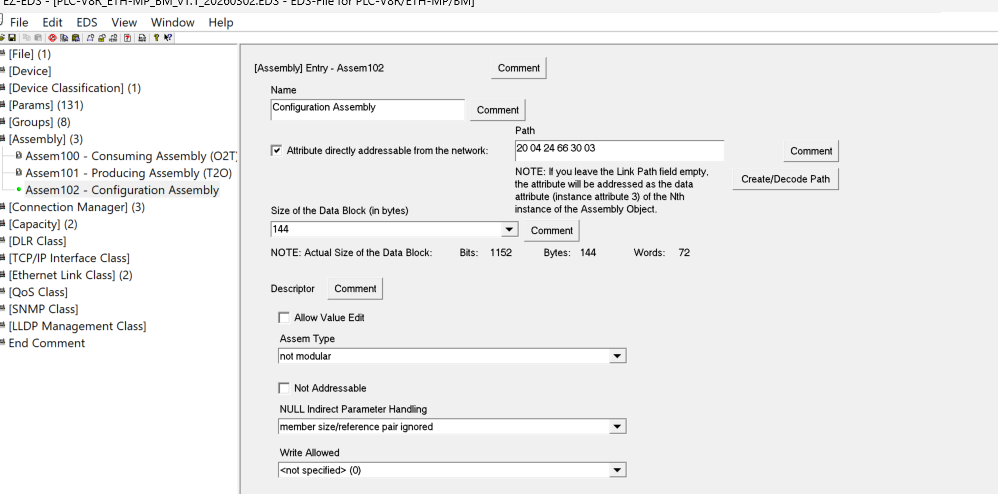
EDS Modification
Use the EZ-EDS tool to modify the EDS file downloaded from the Phoenix Contact website.
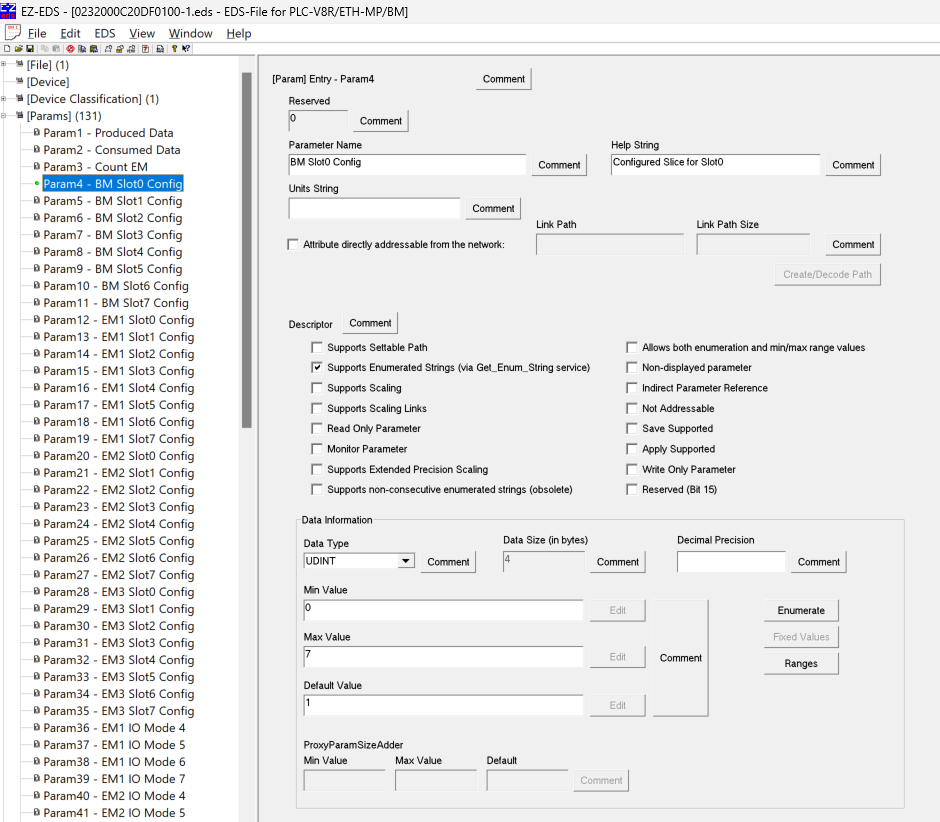
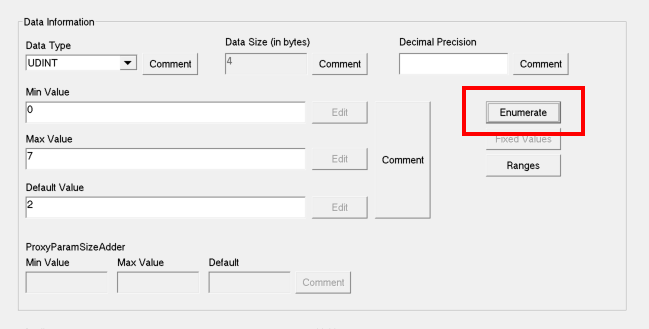
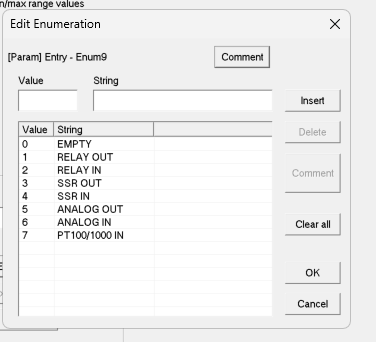
In this article, Slots 0-3 are installed as Relay Outputs, and Slots 4-7 as Relay Inputs. Please click Params → Params4, etc.
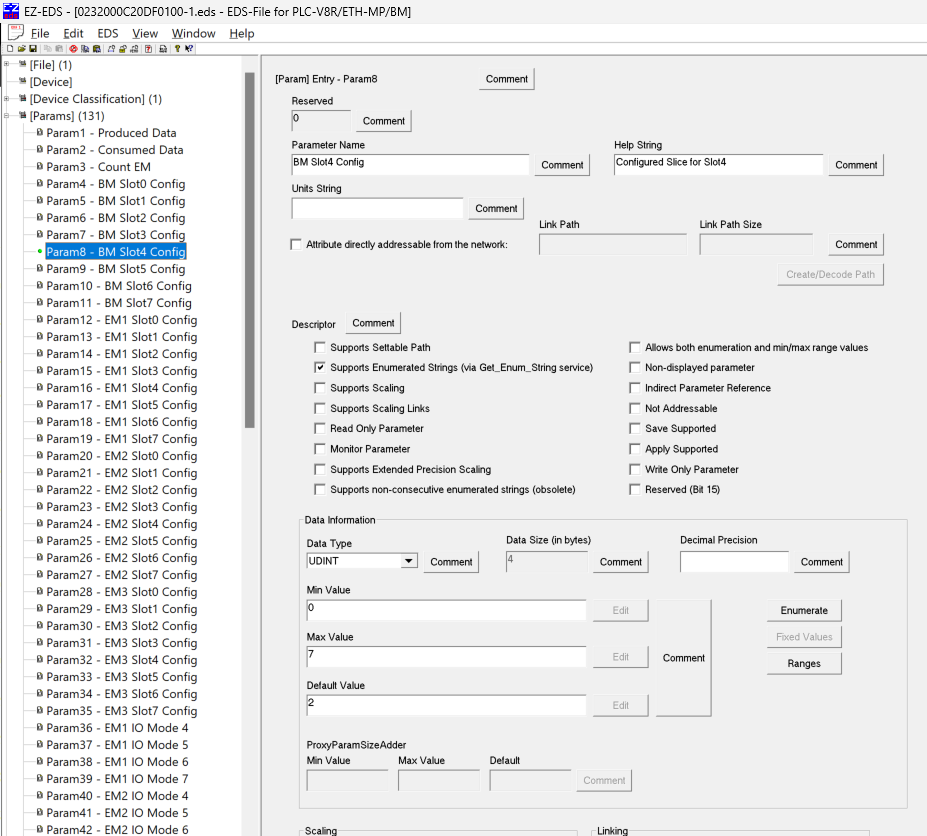
Also, click Param8 to set the default value.
To check the contents of that setting value, click the Enumerate button next to it.
Done!
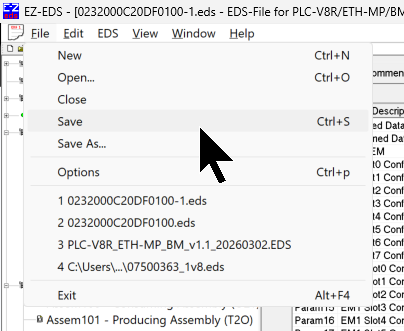
Finally, click the Save button to save the EDS file.
OMRON Side
Next, we will configure the OMRON side.
IP Address Settings
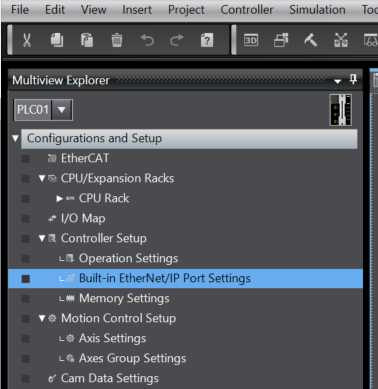
To configure the IP address of the NX102-9000, open Controller Setup > Built-in EtherNet/IP Port Settings.
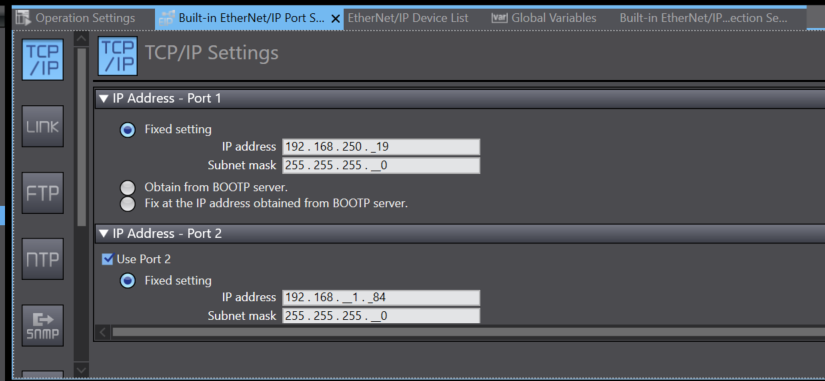
Configure the IP addresses for Port 1/Port 2 according to your application.
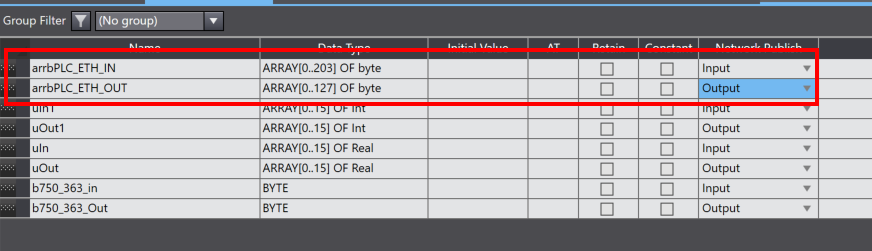
Global Vars
Define global variables to register for EtherNet/IP.
EtherNet/IP Settings
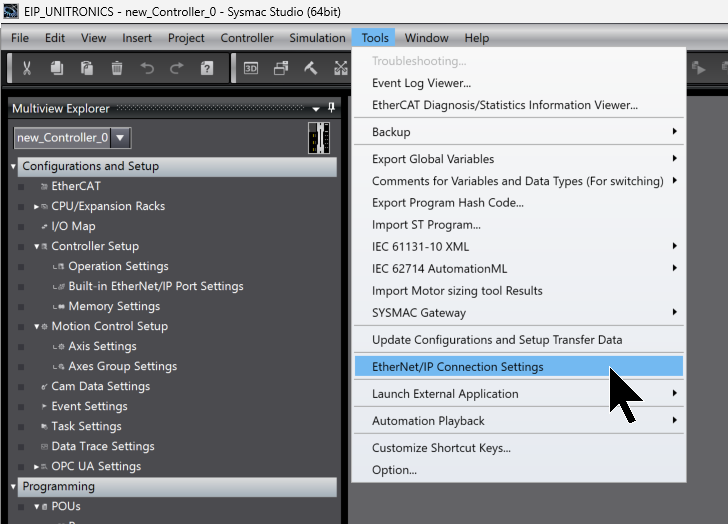
To configure EtherNet/IP settings, click Tools → EtherNet/IP Connection Settings.
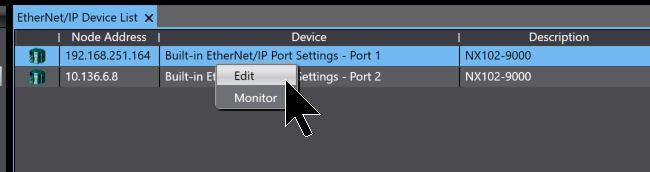
Right-click the Ethernet interface used for the EtherNet/IP network and select Edit.
EDS File Installation
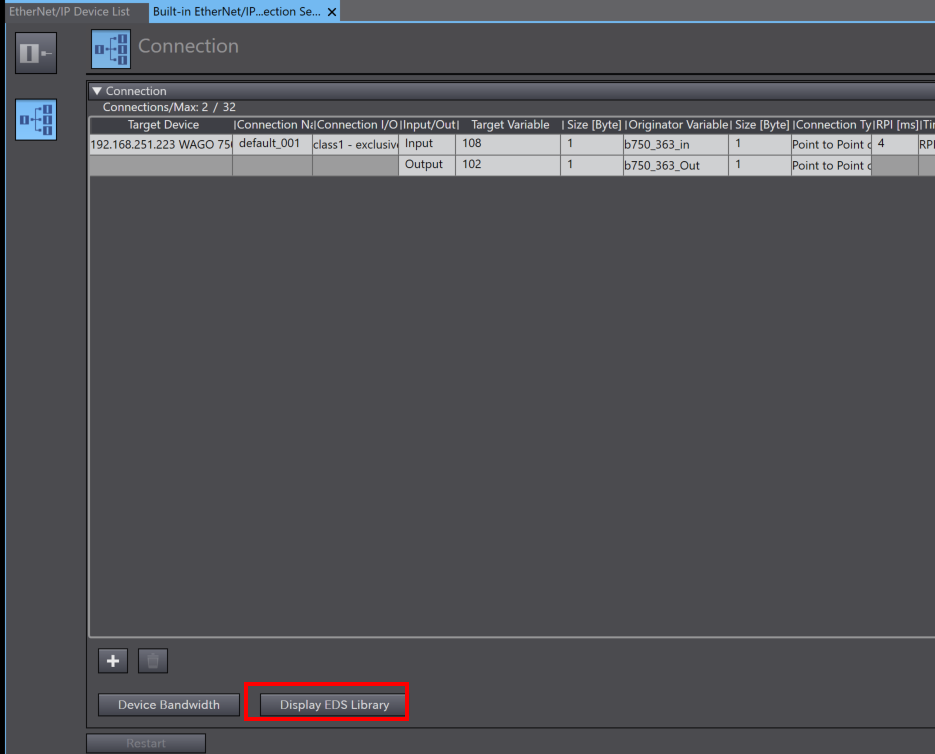
Click Display EDS Library to install the EDS file.
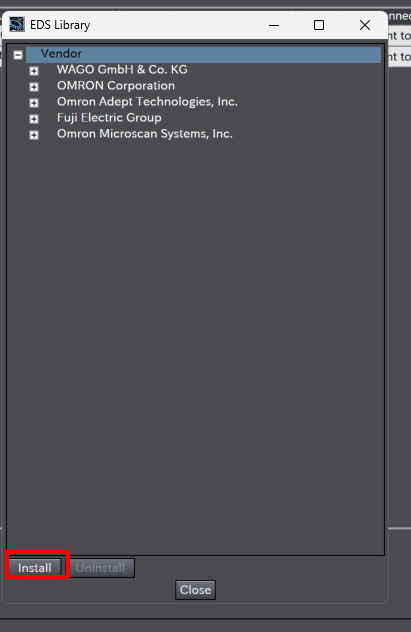
Click Install to install the EDS file exported earlier.
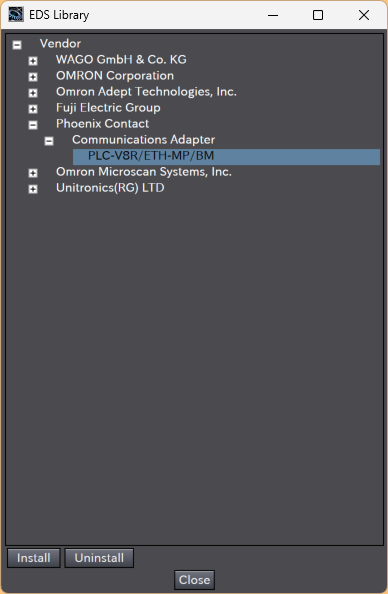
Done!
Variable Registration
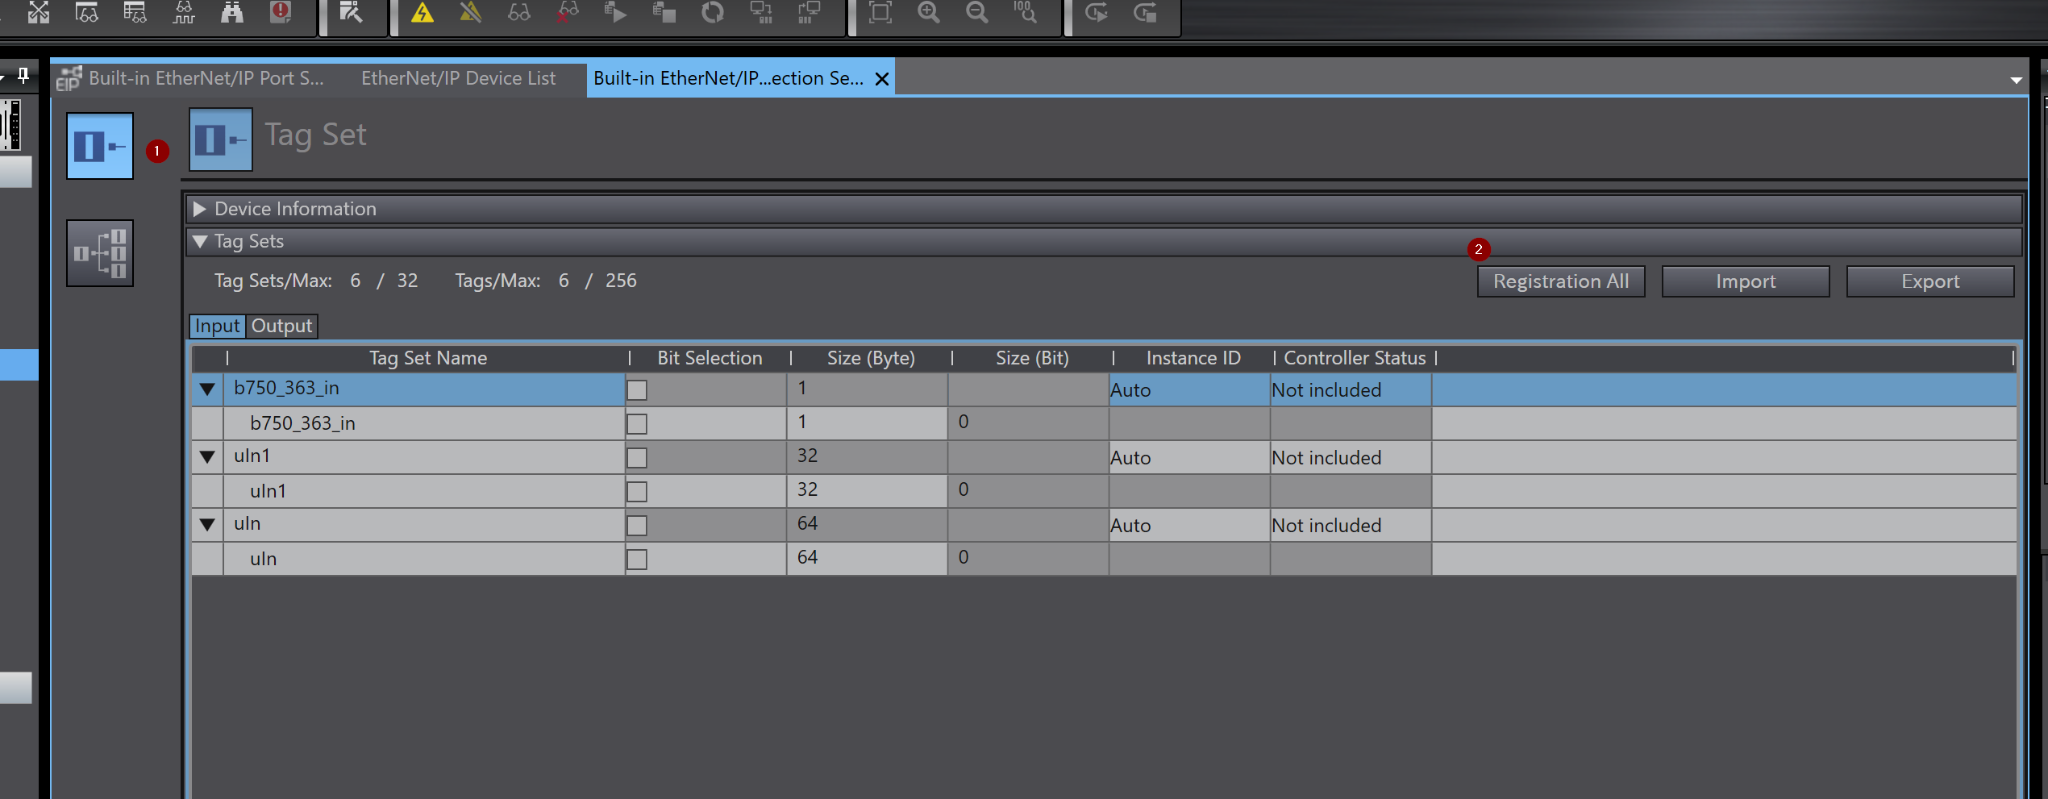
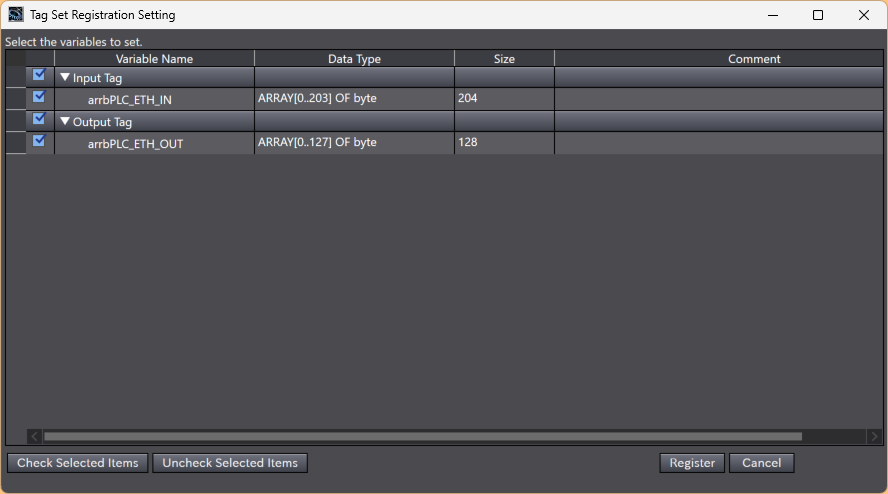
Next, click Register All to register the Input/Output variables defined in the global variables earlier.
Select the variables to register and click Register.
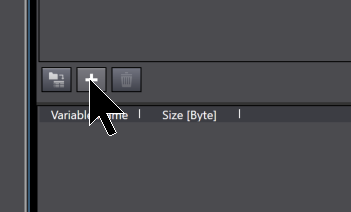
Adding EtherNet/IP Adapter
To add a new adapter from the Toolbox on the right side of the EtherNet/IP setting screen, click the + button shown below.
Node Address
Set the IP address of the adapter in Node Address.
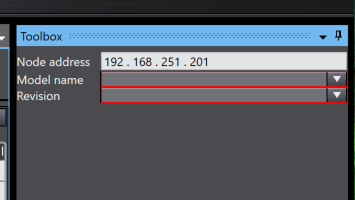
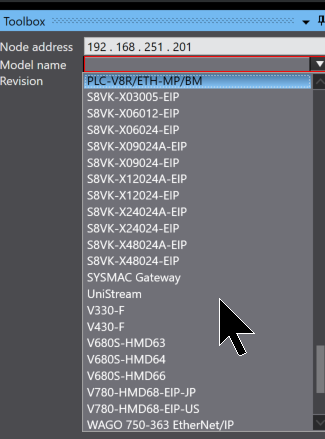
Model Name
Select the UniStream device used in this article from Model Name.
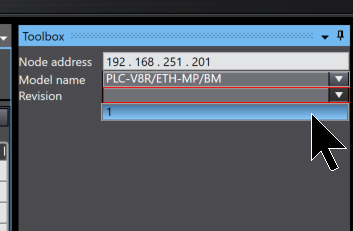
Revision
Finally, select the version of the adapter.
Result
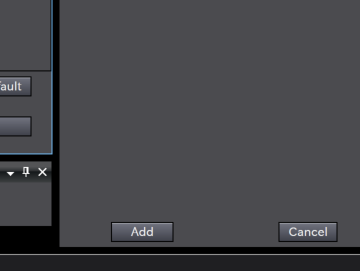
Click the Add button in the Toolbox to add the adapter.
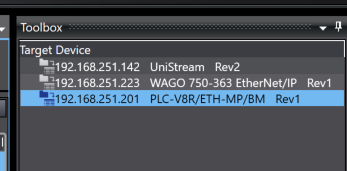
Done!
Adding Adapter to Network
Finally, add the adapter added earlier to the EtherNet/IP network.
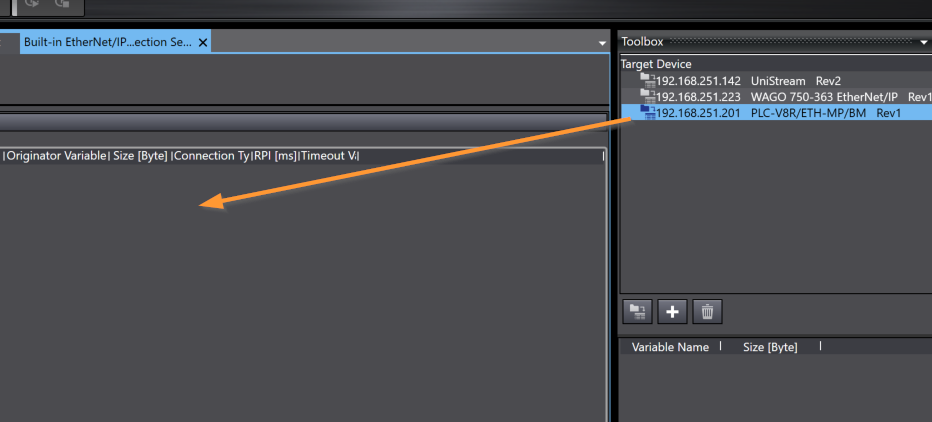
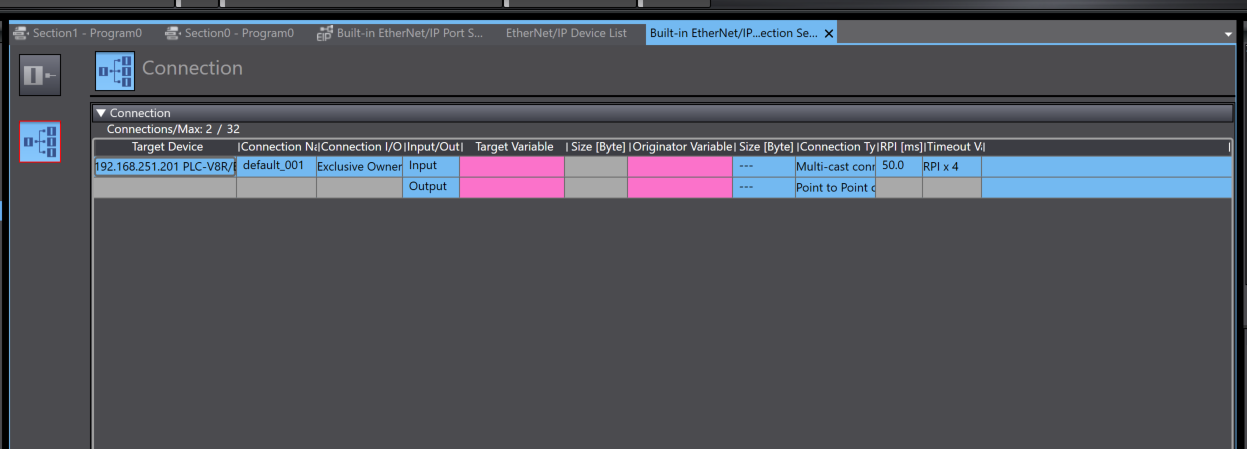
Done! The Phoenix Contact PLC-V8R/ETH-MP/BM has now been added.
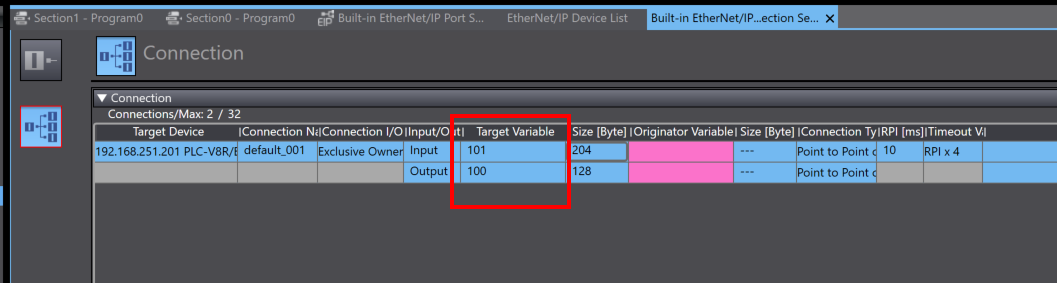
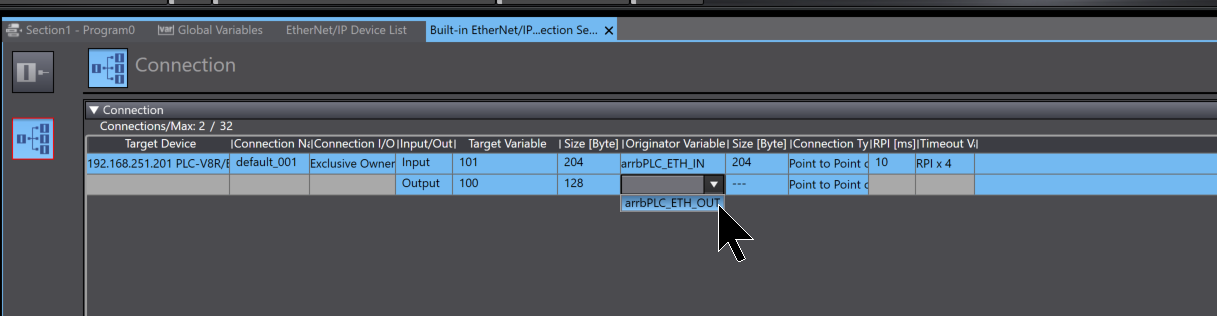
Setting Target Value to Input 101 and Output 100 will automatically set Byte Size to 204 and 128.
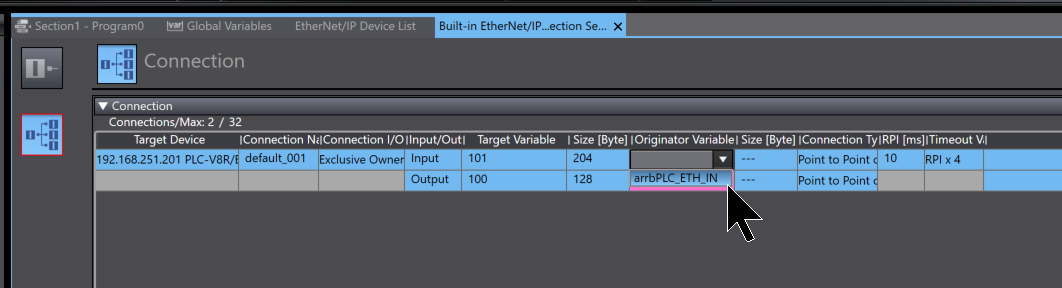
Finally, select the previously registered variables from the Originator Variable drop-down list.
Program
Now we will create the program.
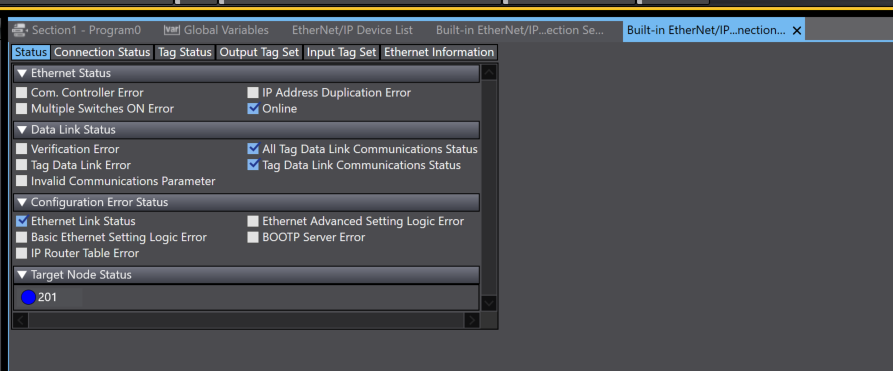
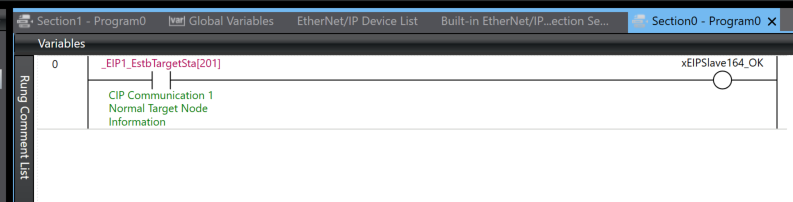
Use _EIP1_EstbTargetSta[201] to check the communication status of the EtherNet/IP device at IP address 201 on EtherNet/IP Port 1 (True = Communication OK).
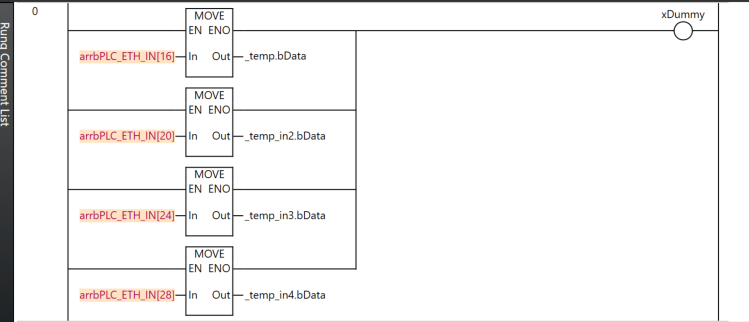
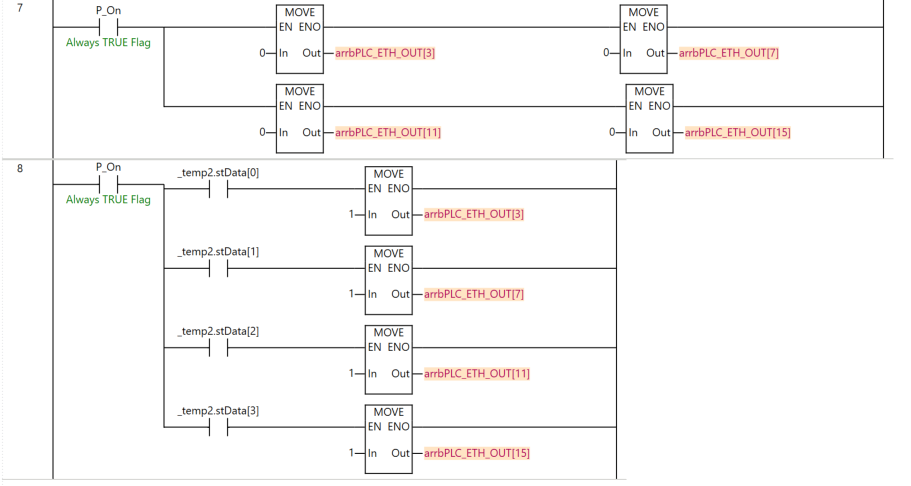
Extract the input/output data received via EtherNet/IP from the PLC-V8R/ETH-MP/BM.
Check whether all inputs turn ON.

Create a program to turn ON the output every 0.5 seconds.
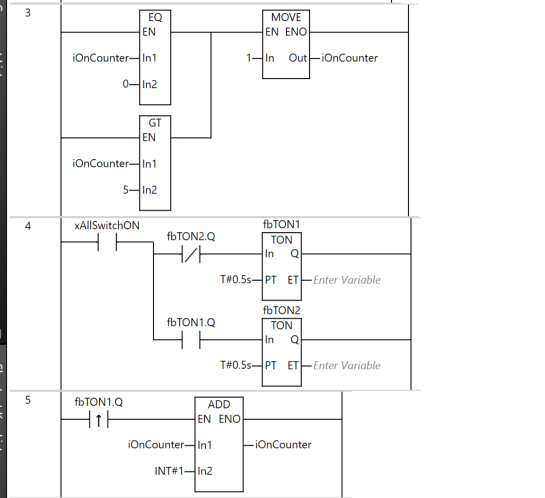
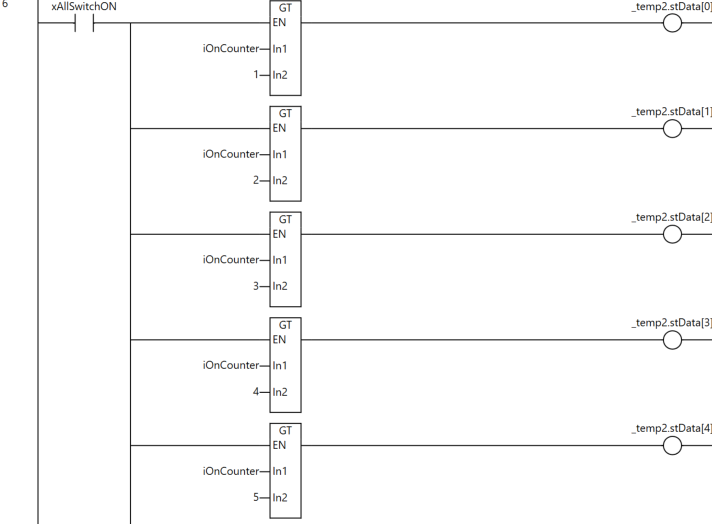
Change the output Point every time the Counter current value changes.
Result
As shown in the figure below, we confirmed that EtherNet/IP communication between the OMRON NX1 and PLC-V8R/ETH-MP/BM was successfully established.