この記事はRaspberry Pi4でPostgreSQLをインストールする手順をメモします。

Installation
まずはRaspberry Piのオペレーティング・システムをアップデートする必要があります。
以下のコマンドをPi上で実行し、パッケージを更新しましょう。
| sudo apt update sudo apt full–upgrade |
次は以下のコマンドを使ってRaspberry PiにPostgreSQLパッケージをインストールします。
| sudo apt install postgresql |
Configuration
次はPostgreSQL CLIを使ってみます。現在のUserを postgresユーザに変更して、新しいロールを作成しましょう。
| sudo su postgres |
postgresユーザーに変更したら、新しいロールを作成します。
以下のコマンドをデバイス上で実行して、ubuntu iユーザのロールを作成していきます。
| createuser ubuntu -P –interactive |
PostgreSQLサーバーにLoginするためのパスワードを設定します。
| Enter password for new role: Enter it again: |
Yで進みます。
| Shall the new role be a superuser? (y/n) y |
Done!
| postgres@ubuntu:/home/ubuntu$ |
以下のコマンドを実行して、コマンドラインインターフェースをロードしてください。
psqlコマンドを使用し自動的にユーザー名と同じ名前のデータベースに接続します。
| postgres@ubuntu:/home/ubuntu$ psql psql (12.15 (Ubuntu 12.15-0ubuntu0.20.04.1)) Type “help” for help. postgres=# |
コマンドラインインターフェースから退出するにはexitコマンドを使用してください。
| exit |
Check Connection with VSCode
RaspberryのPostgreSQL Serverと接続するためVSCodeのPostgreSQL Plugs-inをインストールします。
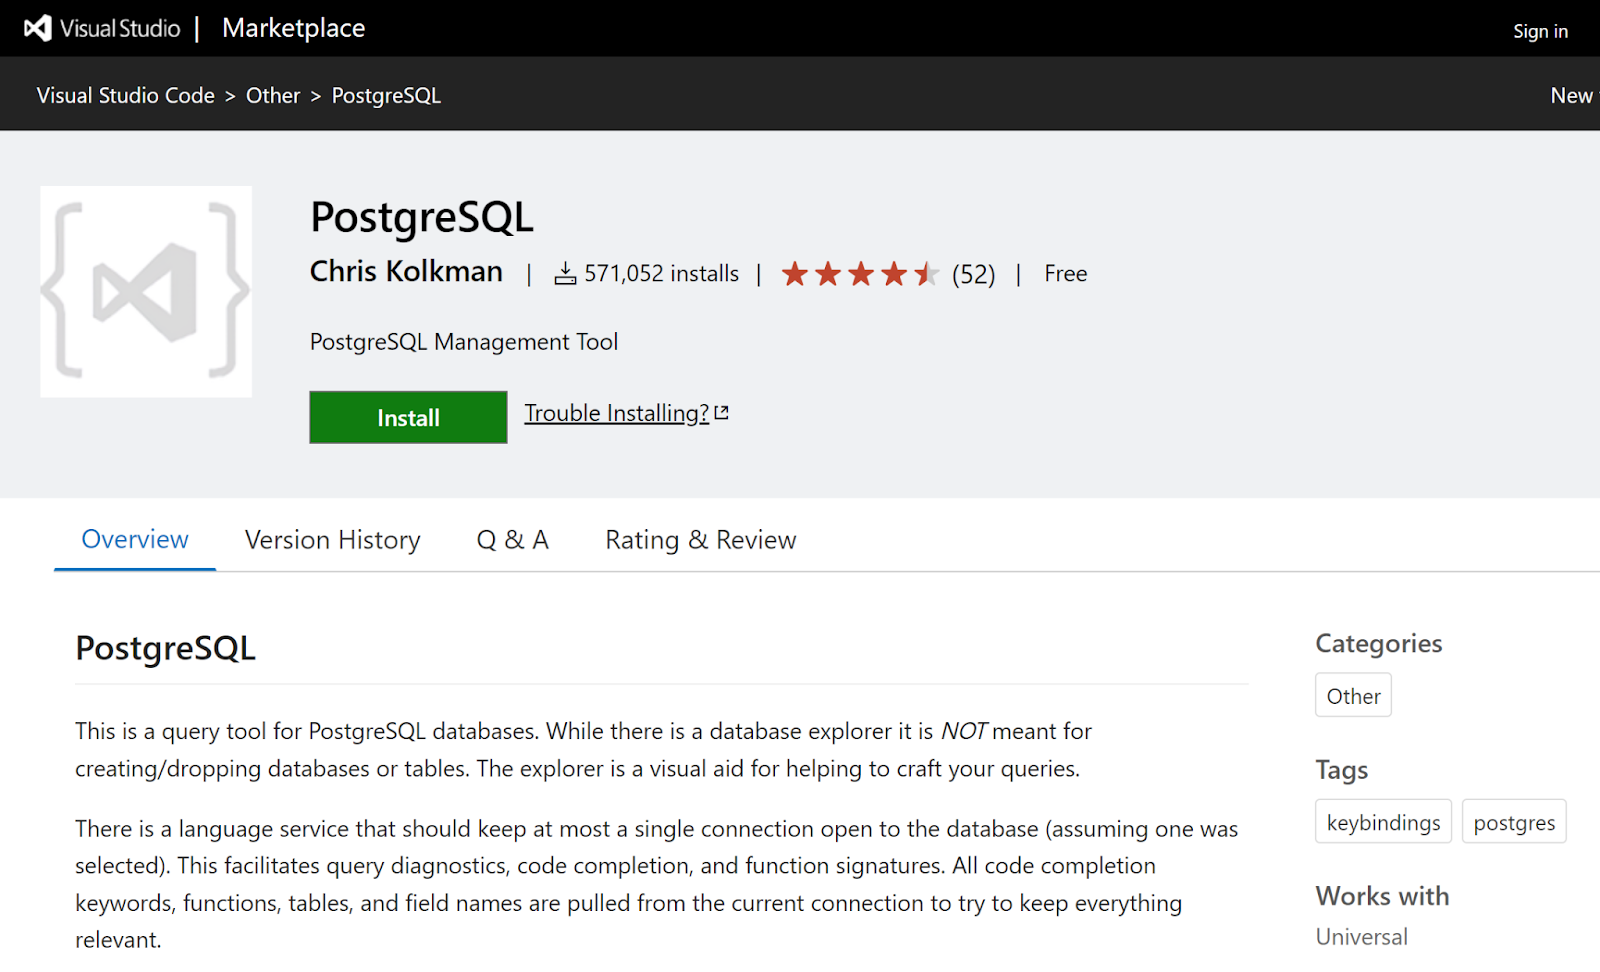
Done!PosttgreSQL Explorerがインストールされました。

Add Connection
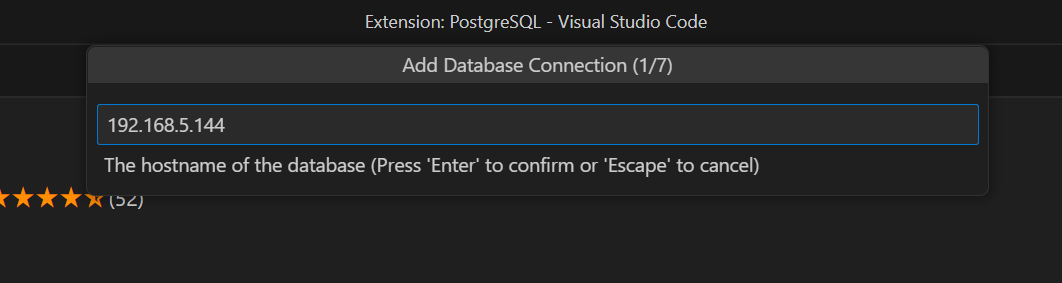
+ボタンでConnectionを追加します。

ServerのIPアドレスを入力します。今回は192.168.5.144です。
Usernameを入力します。

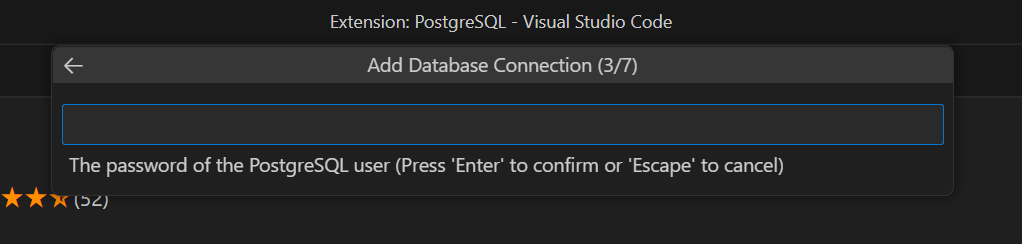
Passwordを入力します。
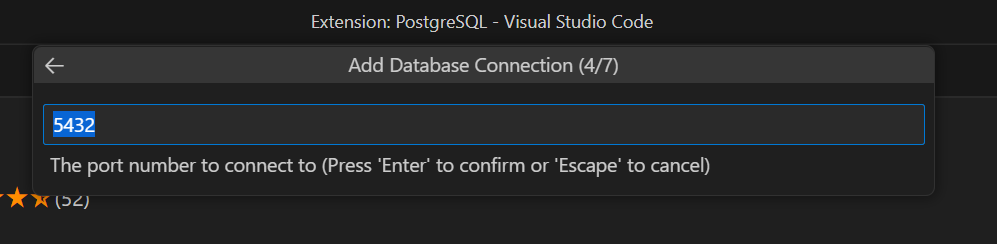
接続Portを設定します。Defaultは5432です。
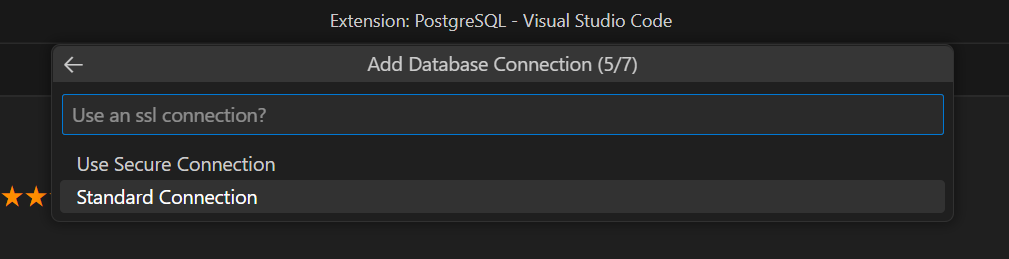
Standard ConnectionでOKです。
Emptyのままで進みます。
ですが、Serverから接続が拒否されました。

Check Status
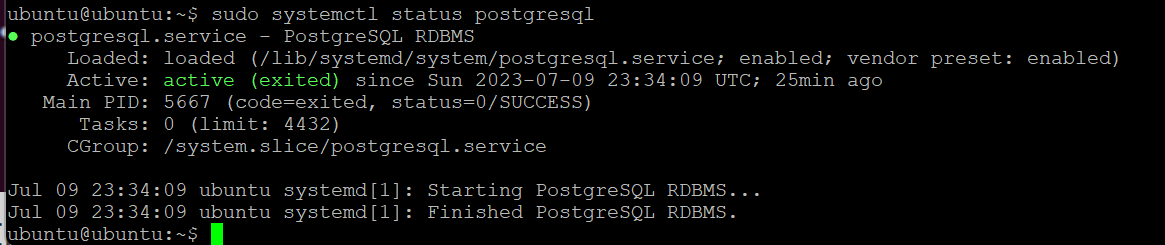
下記のコマンドでpostgresql Serverの状態を確認します。
| sudo systemctl status postgresql |
Activeだと表示されていますので、Server自体が稼働してると確認できました。
Check port status
次はpostgresql ServerのPort 5432の状態を確認します。accepting connectionsだと表示されているので、Port状態にも問題ありません。
| ubuntu@ubuntu:~$ sudo pg_isready /var/run/postgresql:5432 – accepting connections |
Network Configuration
PosttgreSQL ServerはDefault上で外部接続はできないようになっています。これから接続に関するのNetwork設定を変更します。
edit postgresql.conf
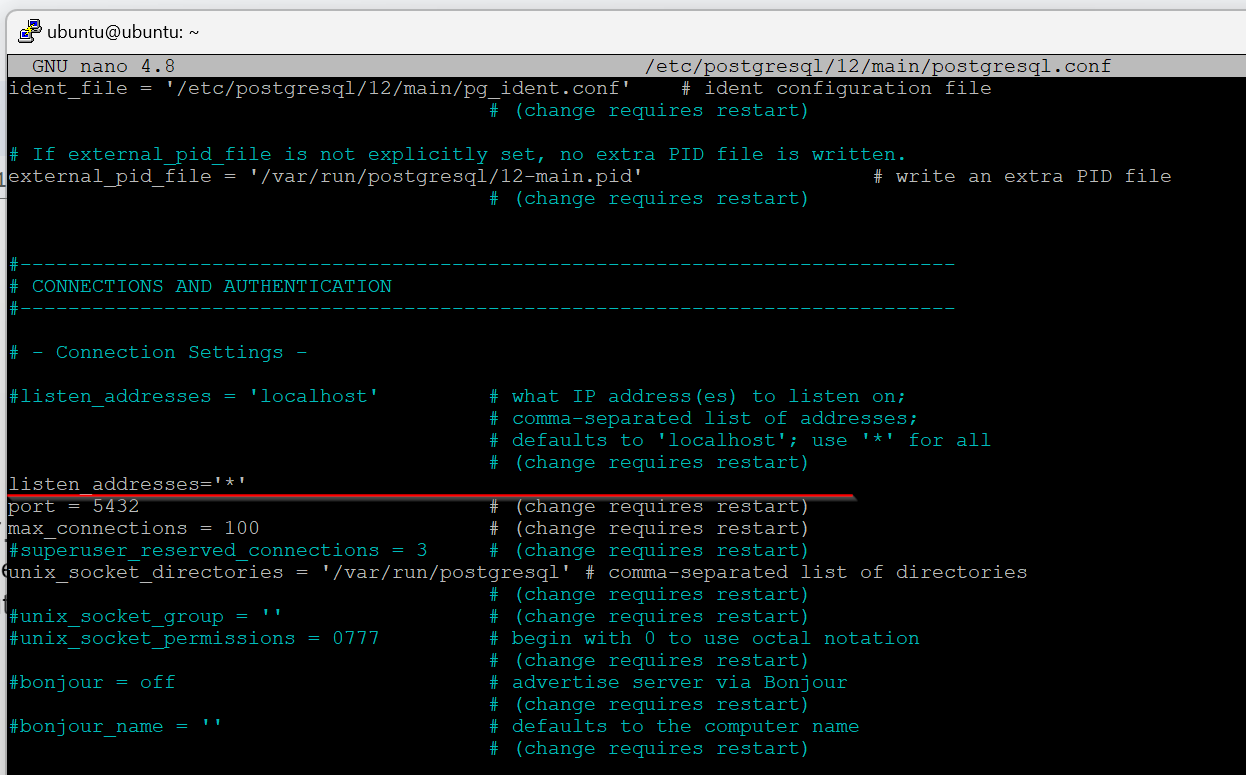
DefaultのUbuntuの設定はlocalhost (または127.0.0.1)インターフェイスのみを許可しています。他のHostからPostgreSQLサーバに接続したい場合は、postgresql.confにあるlisten_addresses項目にこのように設定を変更してください:
| listen_addresses = ‘*’ |
下記のコマンドでpostgresql.confを開きます。
| ubuntu@ubuntu:~$ sudo nano /etc/postgresql/12/main/postgresql.conf |
このように変更してください。
edit pg_hba.conf
それから、pg_hba.confファイルも編集しなければなりません。このファイルでは、どHostからこのサーバに接続できるか、どのような認証方法を使用できるかを設定します。通常、同様の行が必要になります:
| host all all 192.168.1.0/24 md5 |
下記のコマンドでpg_hba.conffを開きます。
| ubuntu@ubuntu:~$ sudo nano /etc/postgresql/12/main/pg_hba.conf |
このように変更してください。

Open Pi4 Port 5432
下記のコマンドでPort 5432のFirewall rulesを変更します。
| sudo ufw allow 5432/tcp |
Restart
postgresql Serverを再起動します。
| ubuntu@ubuntu:~$ sudo service postgresql restart |
Test again
先程接続拒否されたStep6から、現在postgresql ServerにあるData baseを一覧できます。
Show All Databasesで進みます。
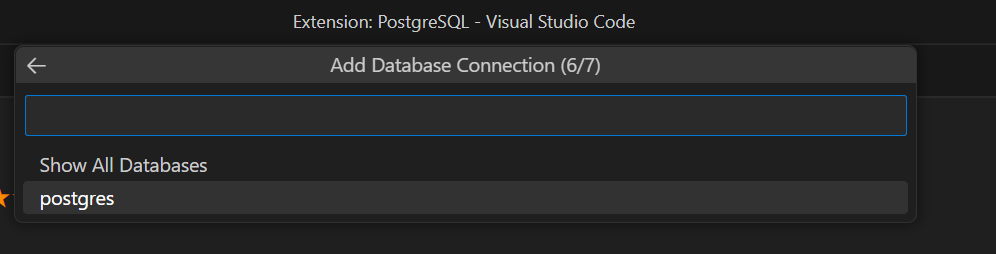
該当するpostgresql Serverを表示する名前を設定します。

Done!

Test with Query
DBを右クリック>New Queryします。
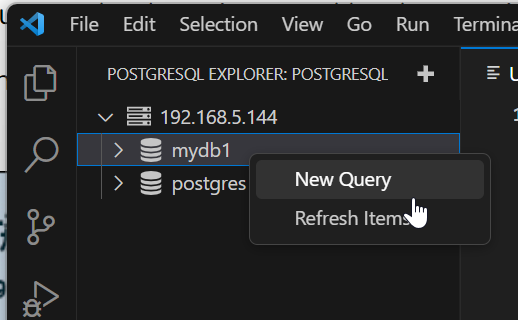
下記のコマンドでTableを生成します。
| CREATE TABLE STATION1 ( ID serial PRIMARY KEY NOT NULL, NAME varchar NOT NULL, PLC varchar(50) NOT NULL, TYPE varchar(50) NOT NULL, SENSOR1 REAL, SENSOR2 REAL ); |
Done!
| null rows created |
Dataを挿入してみます。
| insert into station_1(id,name,plc,type,sensor1,sensor2) VALUES (1,’StationXX1′,’Beckhoff’,’C6920′,3.14,5.2) |
Done!
| 1 row inserted |
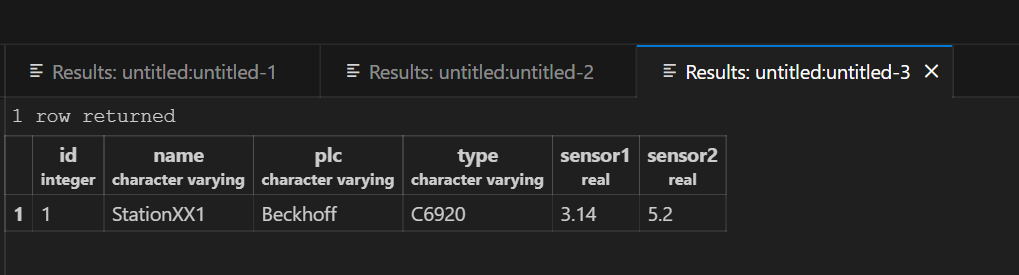
次はDatabaseのデータを取り出してみます。Dbを右クリック>Select>Select Top 1000で進みます。
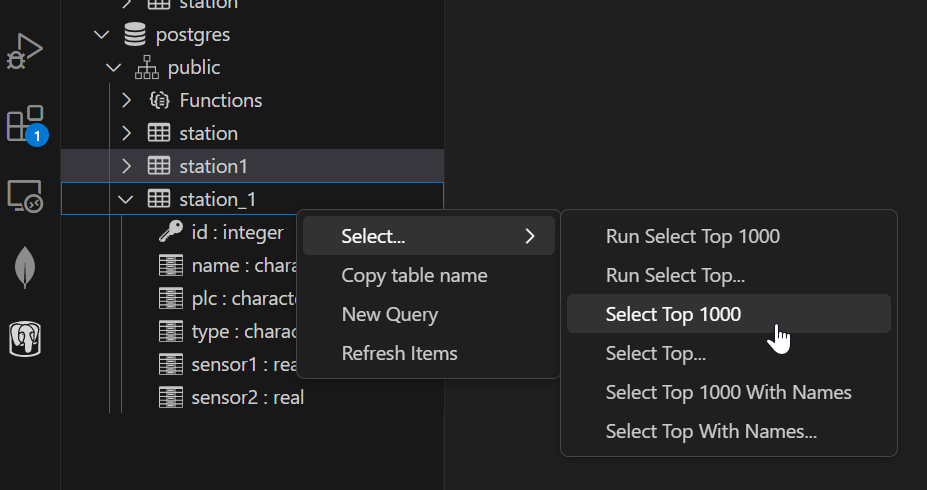
Done!