This article describes the steps to install PostgreSQL on a Raspberry Pi4.

Installation
First you need to update the Raspberry Pi operating system.
Run the following command on your Pi to update your packages.
| sudo apt update sudo apt full–upgrade |
Next, install the PostgreSQL package on the Raspberry Pi using the following command
| sudo apt install postgresql |
Configuration
Next, let’s try using the PostgreSQL CLI. Let’s change the current User to the postgres user and create a new role.
| sudo su postgres |
Once you have changed to the postgres user, create a new role.
Run the following command on the device to create a role for the ubuntu user.
| createuser ubuntu -P –interactive |
Set a password to login to the PostgreSQL server.
| Enter password for new role: Enter it again: |
Proceed with Y.
| Shall the new role be a superuser? (y/n) y |
Done!
| postgres@ubuntu:/home/ubuntu$ |
Load the command line interface by executing the following commands
Use the psql command to automatically connect to the database with the same name as your user name.
| postgres@ubuntu:/home/ubuntu$ psql psql (12.15 (Ubuntu 12.15-0ubuntu0.20.04.1)) Type “help” for help. postgres=# |
To exit the command line interface, use the exit command.
| exit |
Check Connection with VSCode
Install VSCode’s PostgreSQL Plugs-in to connect to Raspberry’s PostgreSQL Server.
https://marketplace.visualstudio.com/items?itemName=ckolkman.vscode-postgres
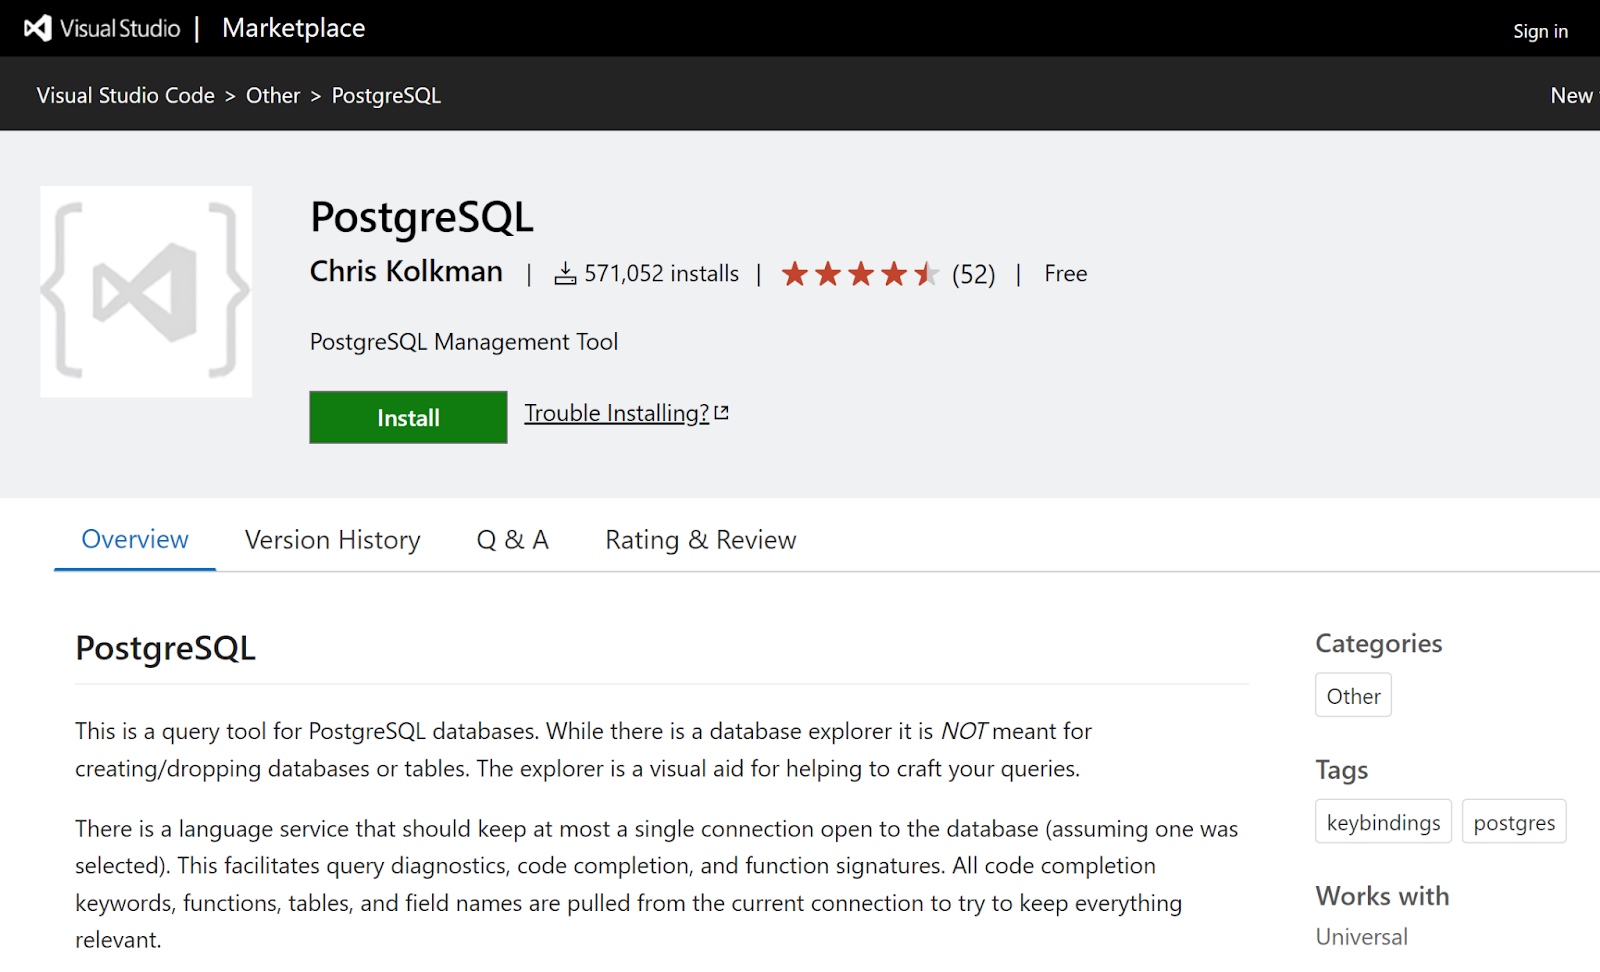
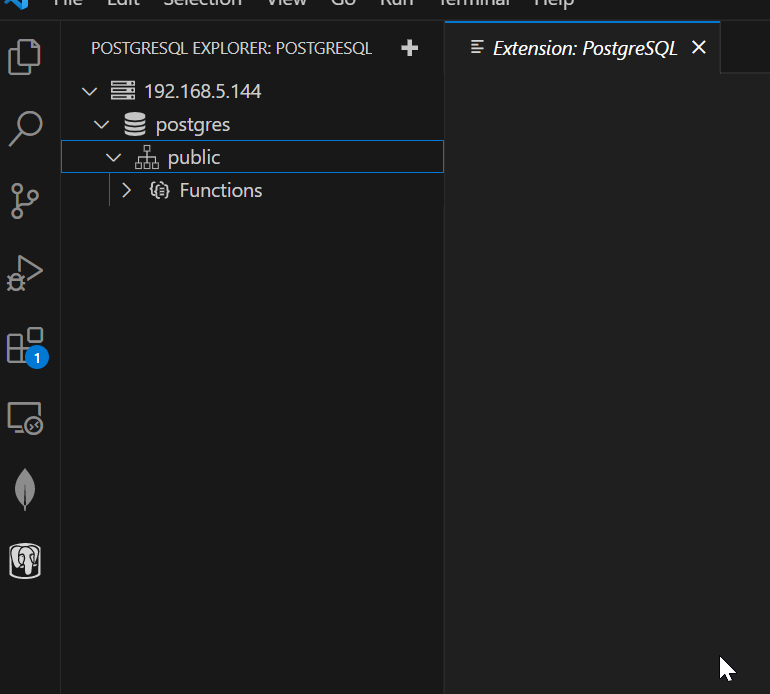
Done!PostgreSQL Explorer is now installed.

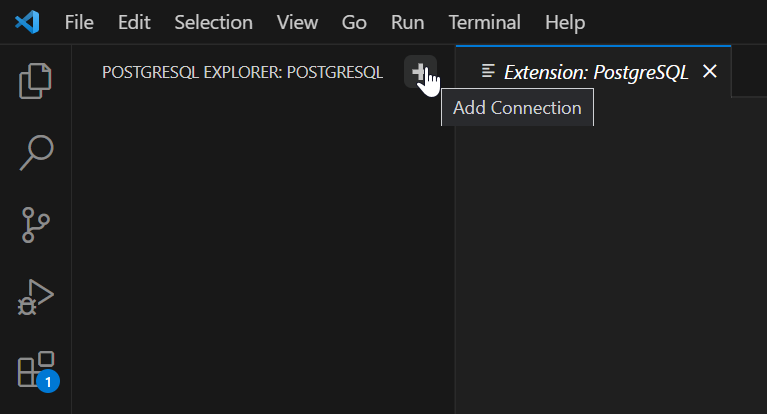
Add Connection
Add a Connection with the + button.
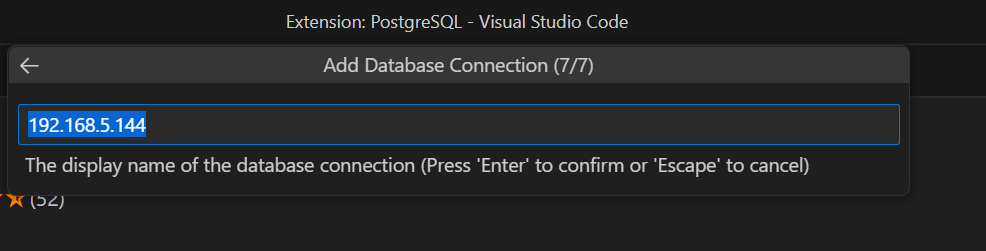
Enter the IP address of the Server. This time it is 192.168.5.144.

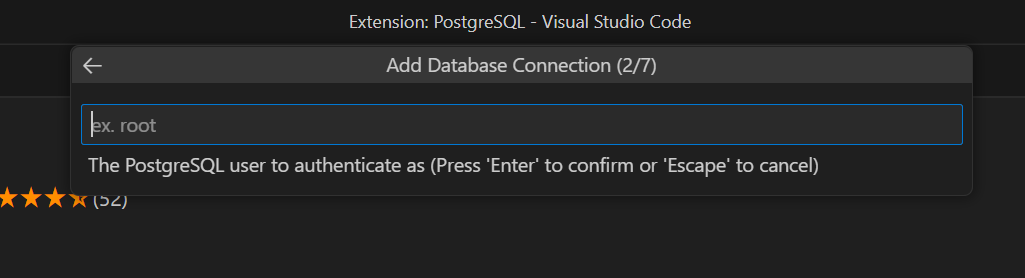
Enter your Username.
Enter a password.

Sets the connection Port; Default is 5432.

Standard Connection is OK.

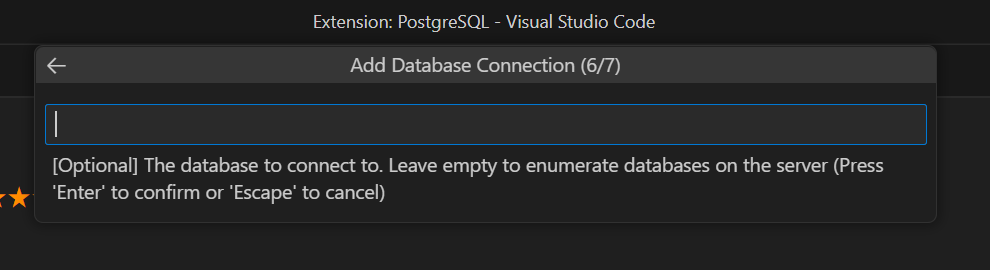
Proceed as Empty.
But the connection was refused by the Server.

Check Status
Check the status of postgresql Server with the following command.
| sudo systemctl status postgresql |
Since it is shown as Active, I was able to confirm that the Server itself is running.

Check port status
Next, check the status of postgresql Server’s Port 5432, which shows “accepting connections”, so the Port status is OK.
| ubuntu@ubuntu:~$ sudo pg_isready /var/run/postgresql:5432 – accepting connections |
Network Configuration
PostgreSQL Server does not allow external connections on Default. We will now change the Network settings for connections.
edit postgresql.conf
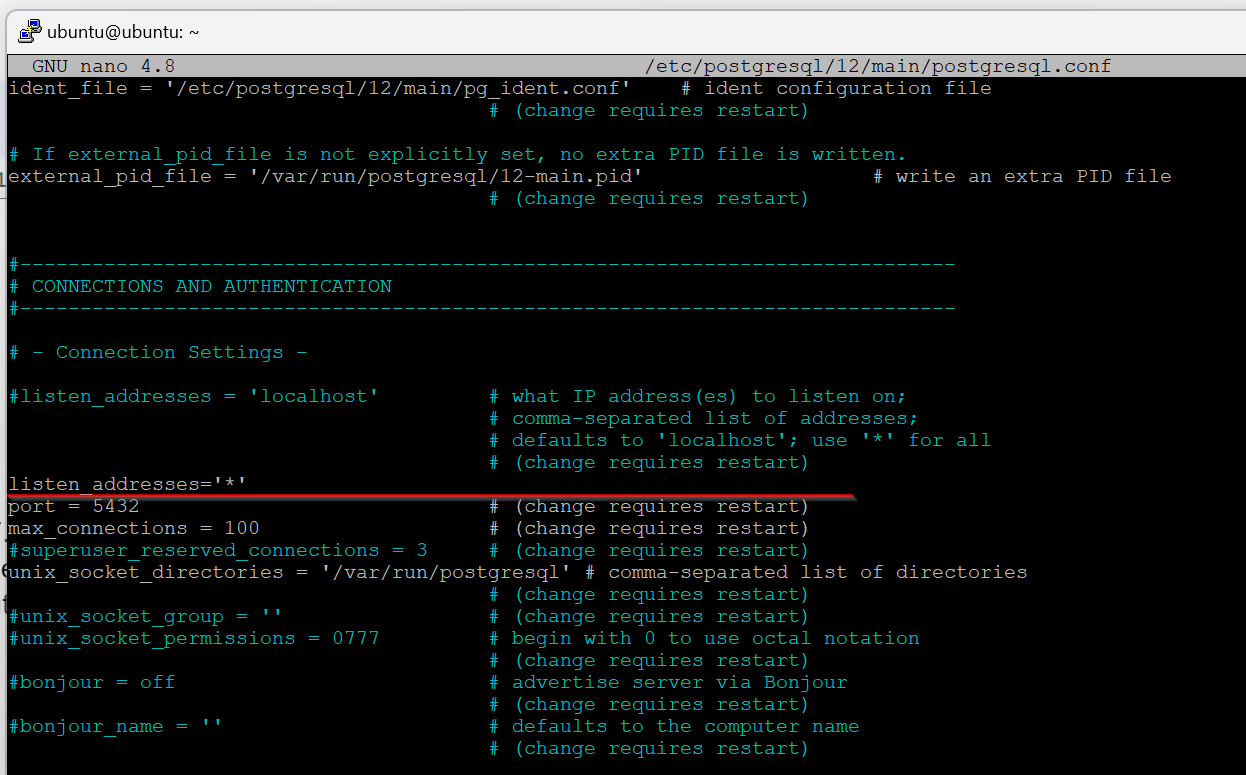
The default Ubuntu configuration only allows the localhost (or 127.0.0.1) interface. If you want to connect to the PostgreSQL server from other hosts, change the listen_addresses entry in postgresql.conf to this setting:
| listen_addresses = ‘*’ |
Open postgresql.conf with the following command
| ubuntu@ubuntu:~$ sudo nano /etc/postgresql/12/main/postgresql.conf |
Change it like this.
edit pg_hba.conf
Then you must also edit the pg_hba.conf file. This file sets which Hosts can connect to this server and what authentication methods can be used. Usually a similar line is required:
| host all all 192.168.1.0/24 md5 |
Open pg_hba.conf with the following command.
| ubuntu@ubuntu:~$ sudo nano /etc/postgresql/12/main/pg_hba.conf |
Change it like this.

Open Pi4 Port 5432
Change the Firewall rules for Port 5432 with the following command.
| sudo ufw allow 5432/tcp |
Restart
Restart postgresql Server.
| ubuntu@ubuntu:~$ sudo service postgresql restart |
Test again
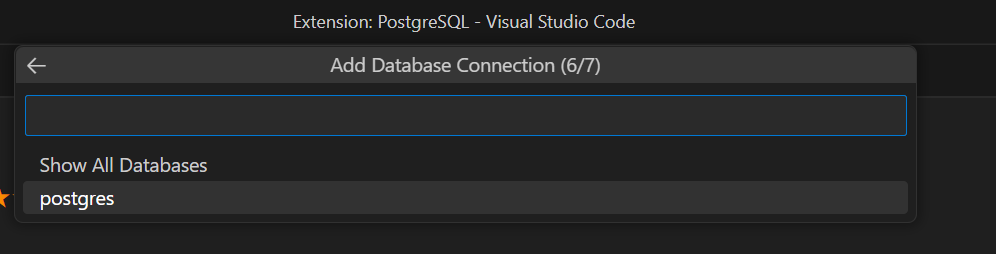
You can list the Database currently in postgresql Server from Step 6, which was denied earlier.
Proceed with Show All Databases.
該当するpostgresql Serverを表示する名前を設定します。
Done!
Test with Query
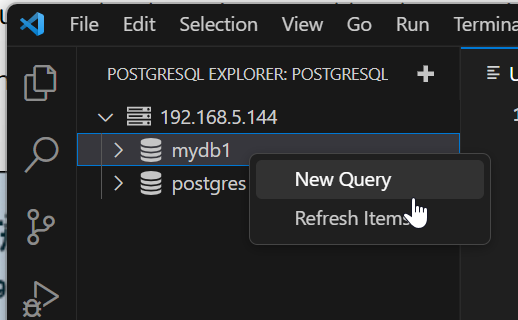
Right click on DB>New Query.
The following command generates a Table.
| CREATE TABLE STATION1 ( ID serial PRIMARY KEY NOT NULL, NAME varchar NOT NULL, PLC varchar(50) NOT NULL, TYPE varchar(50) NOT NULL, SENSOR1 REAL, SENSOR2 REAL ); |
Done!
| null rows created |
Let’s Insert Some Data.
| insert into station_1(id,name,plc,type,sensor1,sensor2) VALUES (1,’StationXX1′,’Beckhoff’,’C6920′,3.14,5.2) |
Done!
| 1 row inserted |
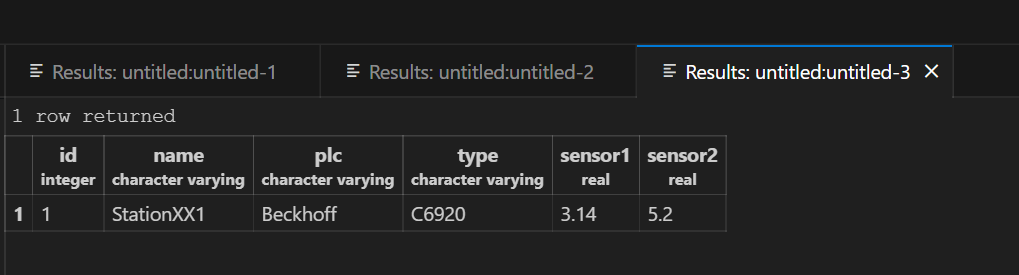
Next, let’s extract the data from Database, right click on Db>Select>Select Top 1000.
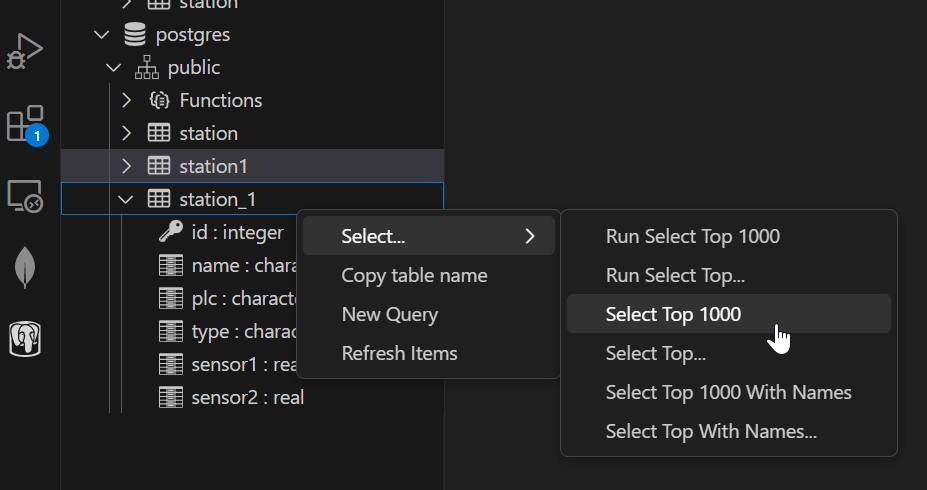
Done!