This is the second episode of the B&R Automation Studio Tutorial. This time, we will add a simple ST program, set up a Task to execute that program, and introduce the Watch Table and Trace functions.
Let’s get started!

Reterence Link
Add New Packages
In the last Tutorial we directly added new programs to the project.
As the equipment becomes more and more complex, the programs become more and more enormous. At that time, let’s manage the project with the concept of Packages. (Actually, it is a concept like Folder.)
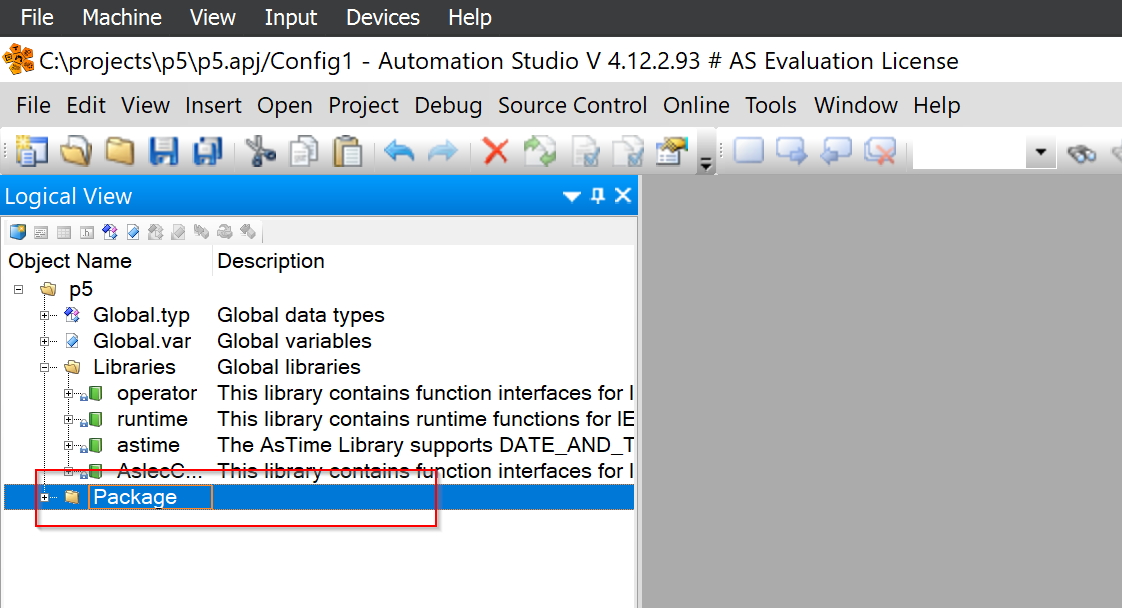
Now let’s add Packages from a new project.

Done!An empty Packages Folder has been added.
Add ST Program
Now we will add ST Program All In One to the Packages Folder. This ST Program All In One can be thought of as a component that combines _INIT, _CYCLIC, _EXIT, etc. into a single ST Program File. In fact, the Packages are also related to the variable Scope, which will be explained in the next Tutorial.
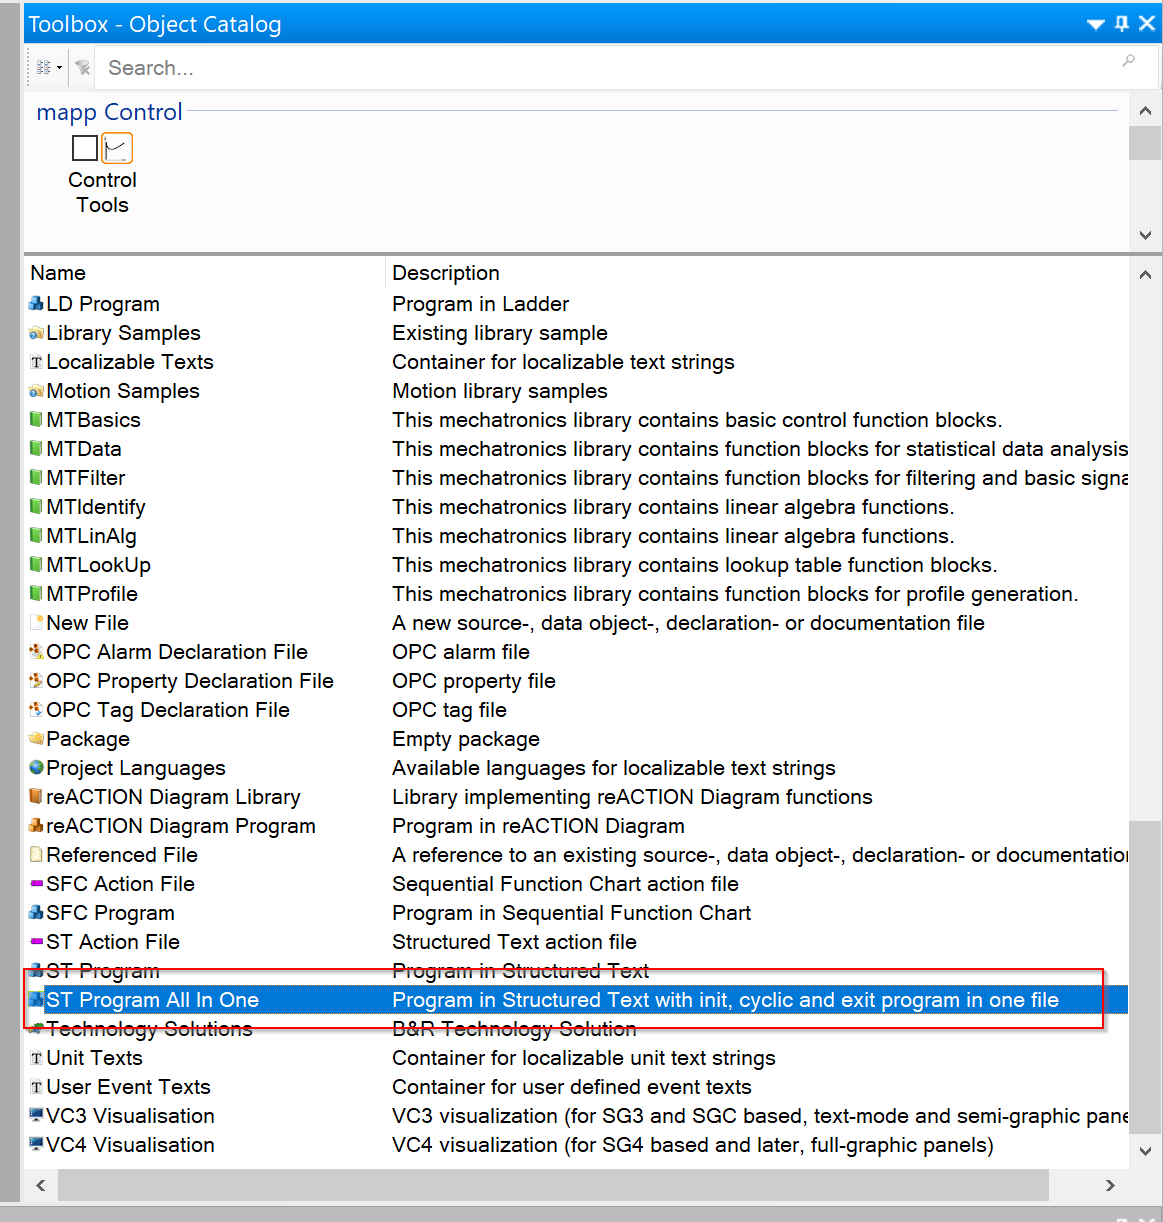
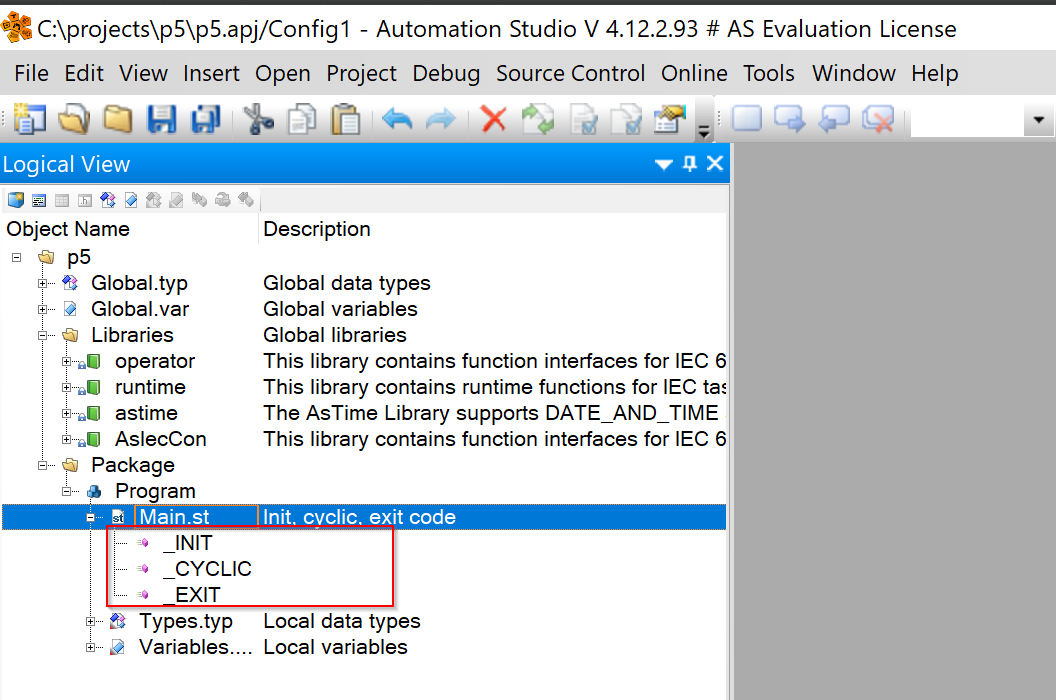
Done!ST Program All In One parts have been added in Package.
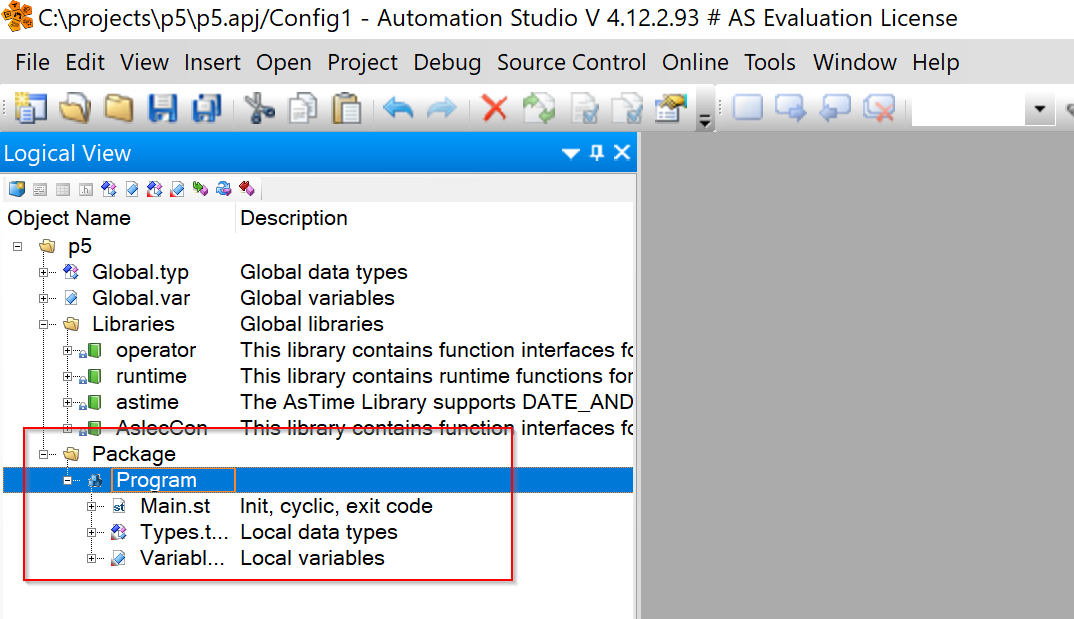
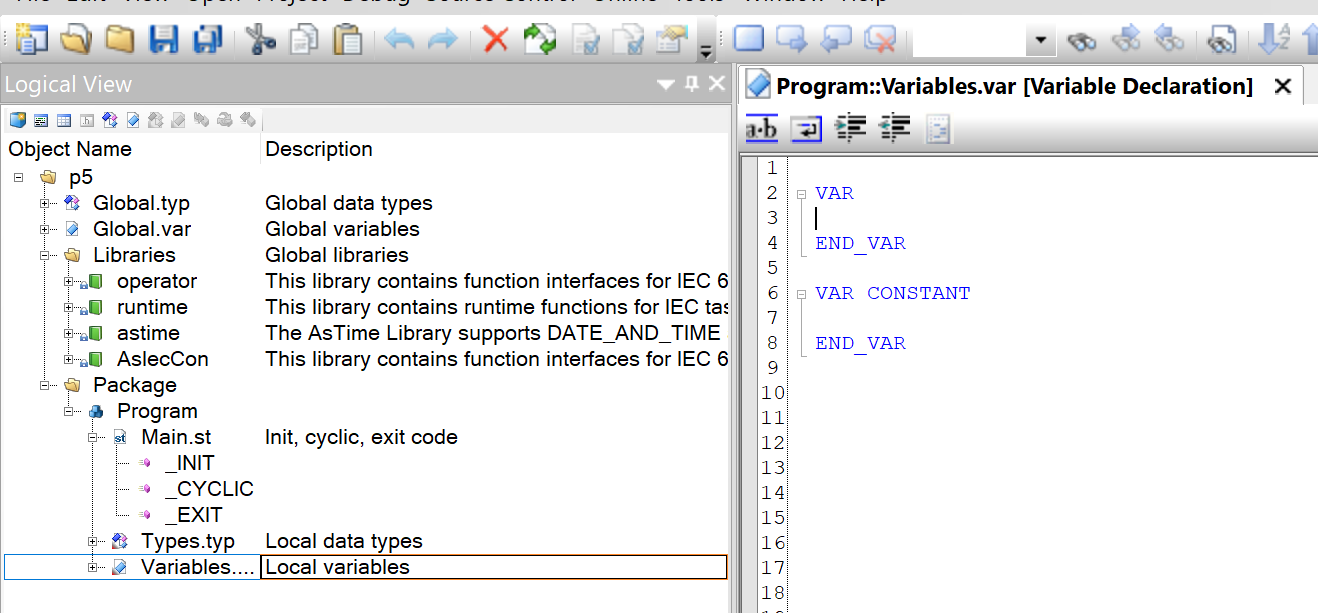
There are _INIT, _CYCLIC, and _EXIT parts inside.
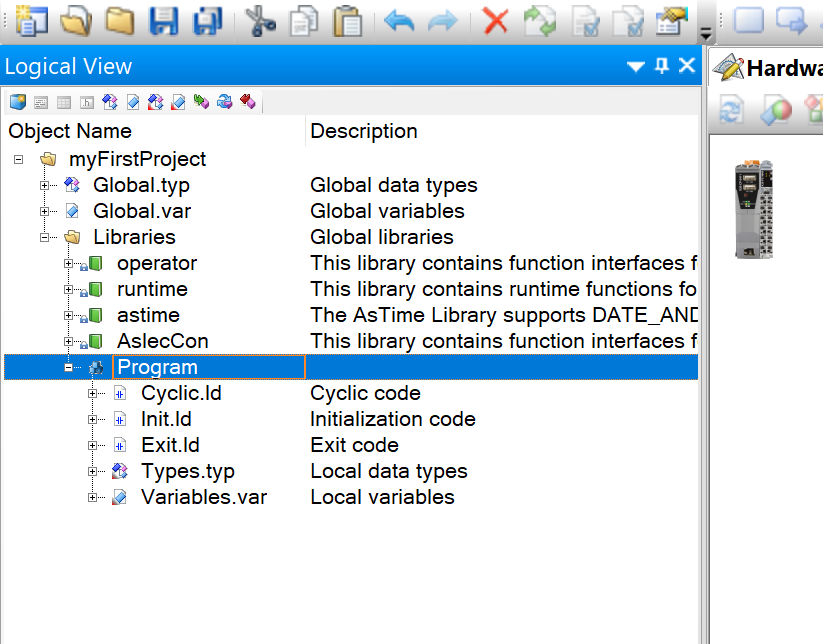
Program Stucture
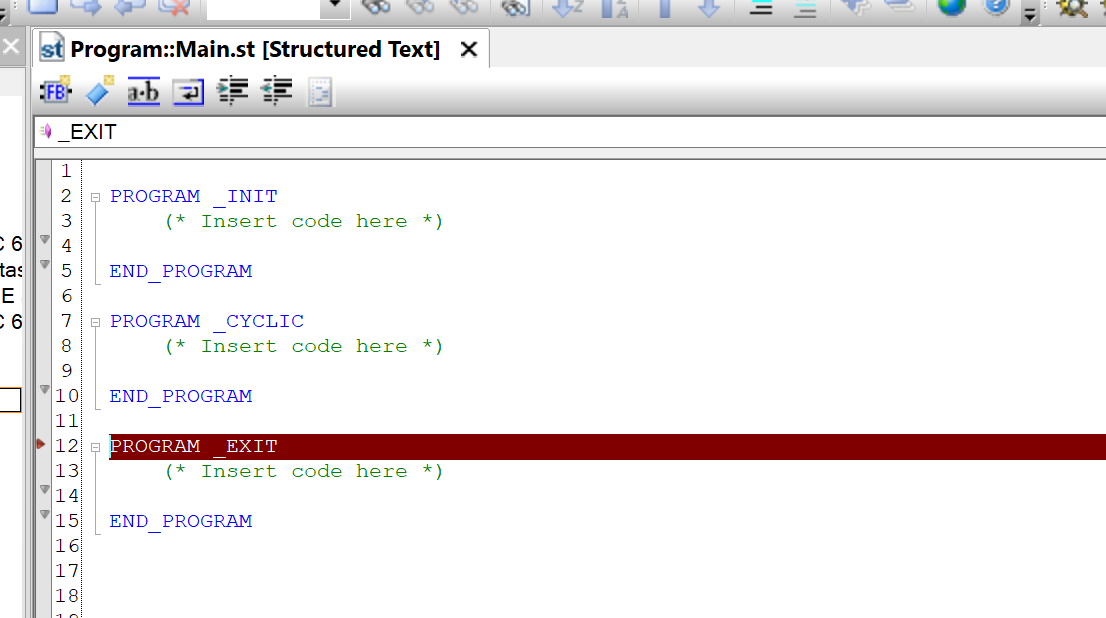
In fact, when the program is opened, the sections are divided into PROGRAM_INIT… and so on.
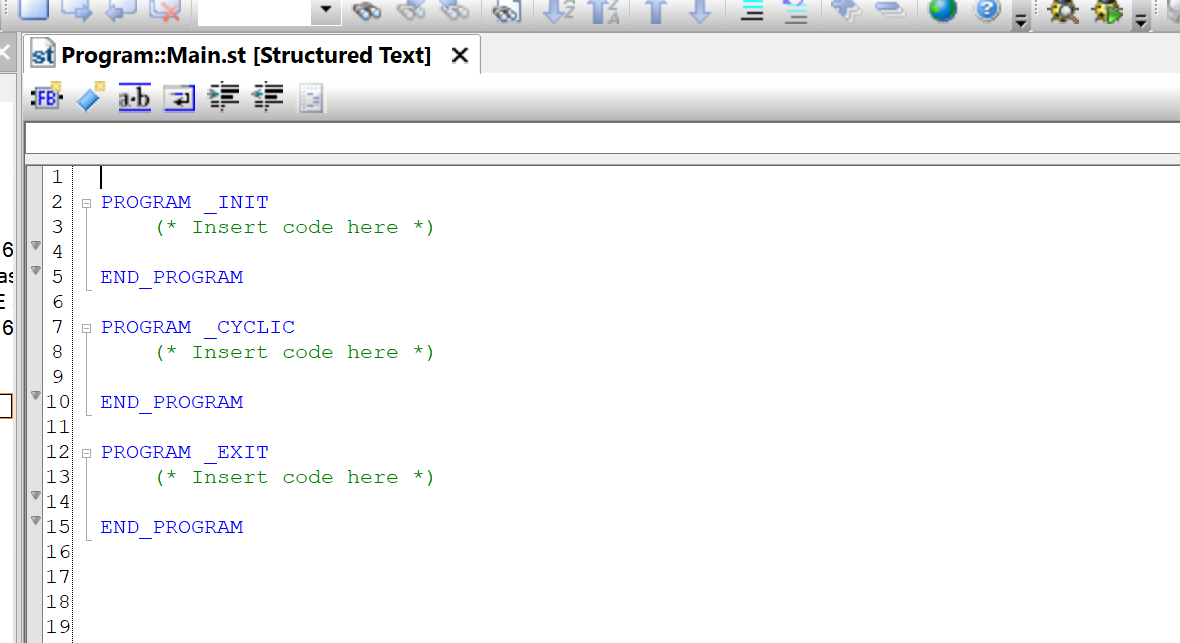
_INIT
This will be the program section for initialization.
_CYCLIC
This will be a periodic program section.
_EXIT
This will be the program section that is executed when the task is uninstalled. Uninstall is the same as delete. It is important to ensure that resources are properly released when a task is deleted, and that is exactly what the _EXIT program section does.
Select
The ST Editor of the program has a small Drop-List ICON, from which the program can be automatically selected.
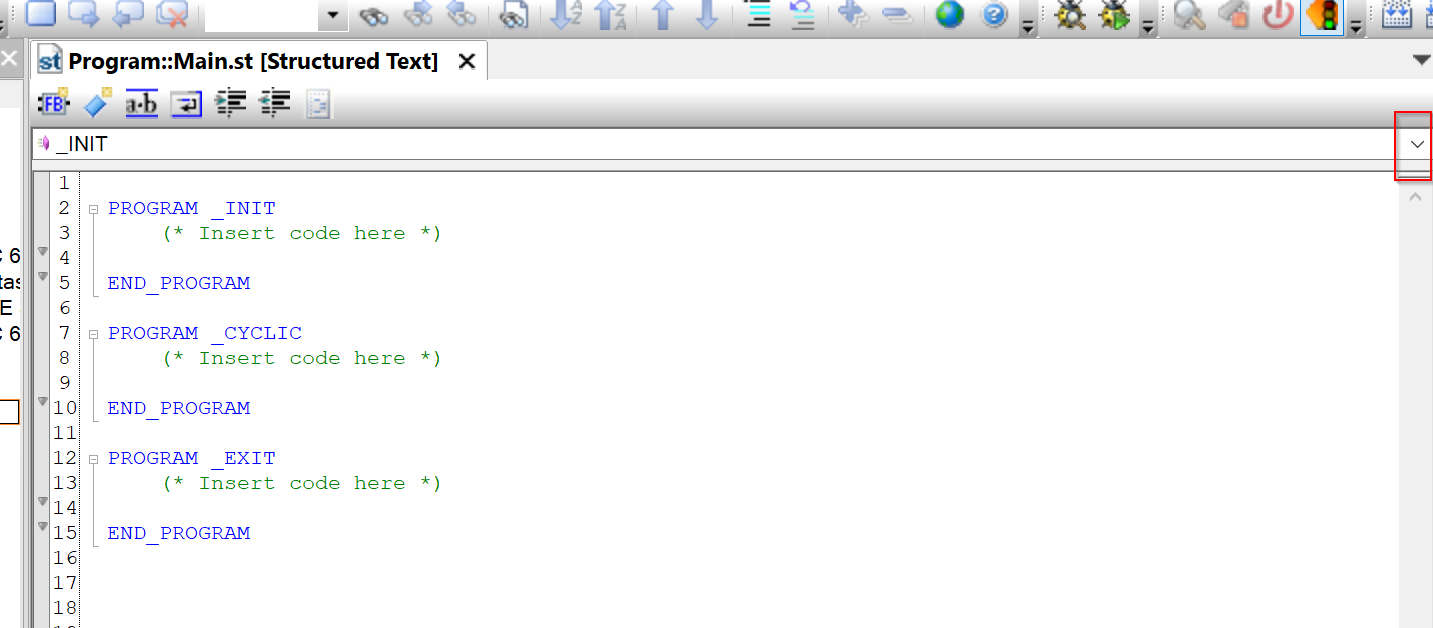
The selected program is High-Lighted in red as shown below.
The operation is as shown in the figure below.
Define Local Variable
The next step is to add local variables.
Configure Open Options
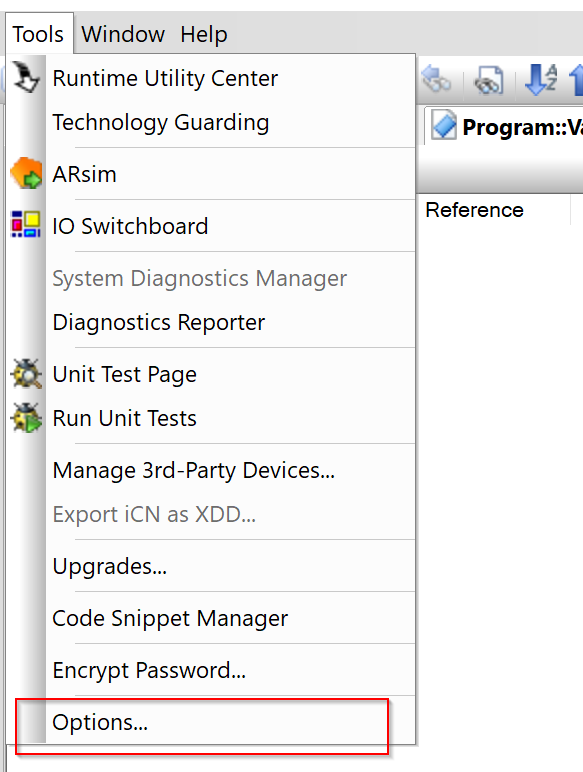
In the previous Tutorial, you can select either Text View or Table View from the Open Menu, but the Default View settings can be changed from Tools>Options.
Select Editor Tab.

Not only .var (File for variable definitions), but also .typ for data type definitions and .iom for mapping, for example, can be set to open in Table View or Text View by default.

Text and Table can be set from Open as.
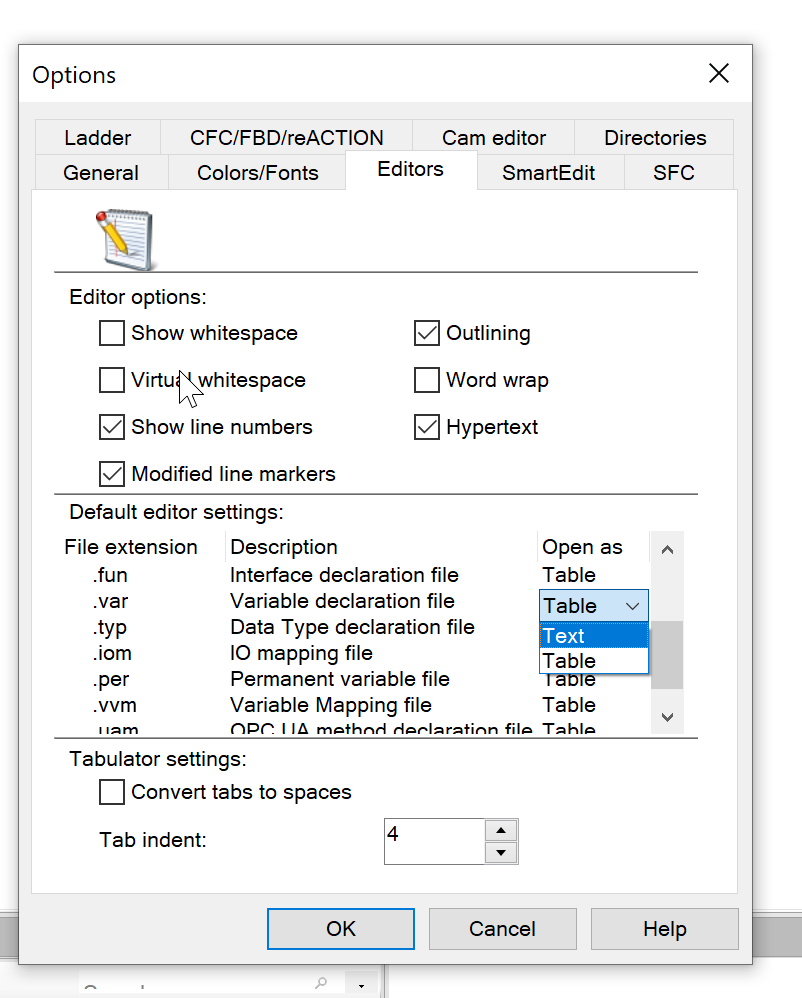
This time, we will change the .var for variable definitions to open a Text View with Default.

Done!When opening Variables.var, it has changed to Text View.
The actual operation is shown in the figure below.
we will define two Counters, bInited and iCounter.

Insert Variables
To program from the ST Editor, click on ICON in the figure below, or use Ctrl+Shift+J to insert variables.

The Select Variable screen is now displayed.
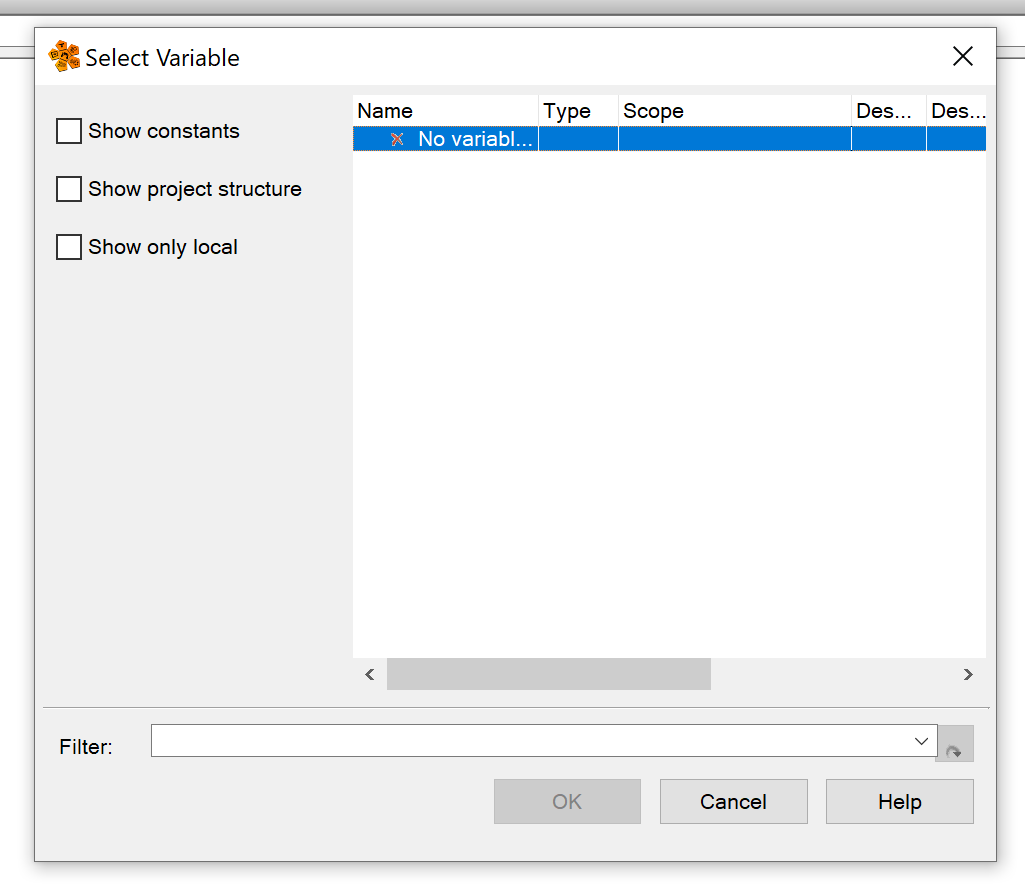
Check the Show Project Structure checkbox to display variables according to the structure of the project.

Enter the variable name in Filter, select the variable you wish to insert, and add it with >Ok.

Code
Here is the actual Code. When PROGRAM_INIT executes, bInited changes to True, and when PROGRAM_CYCLIC becomes bInited, iCounter adds to the cycle.

Result
When the program is downloaded to Runtime and the ST Editor changes to a gray background, it indicates that you are now monitoring the appropriate program.

Watch
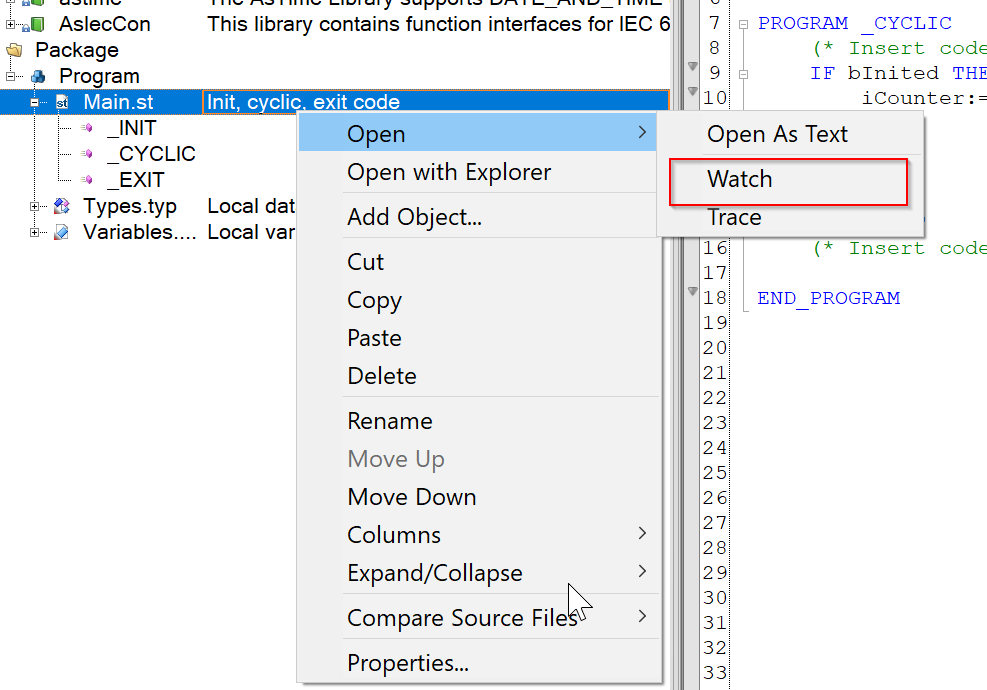
we can monitor the current value of a variable by right-clicking>Open>Watch from the Editor.

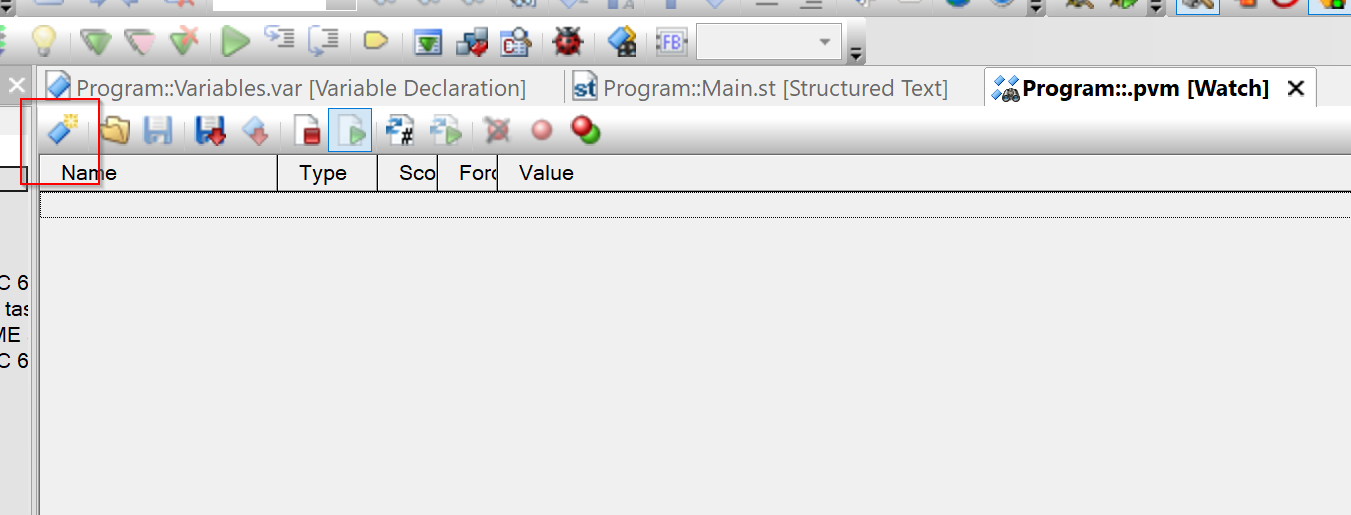
The Watch screen is now displayed.

You can add variables you want to monitor by clicking the Insert Variable button in the red frame.
The Insert Variable screen is now displayed.
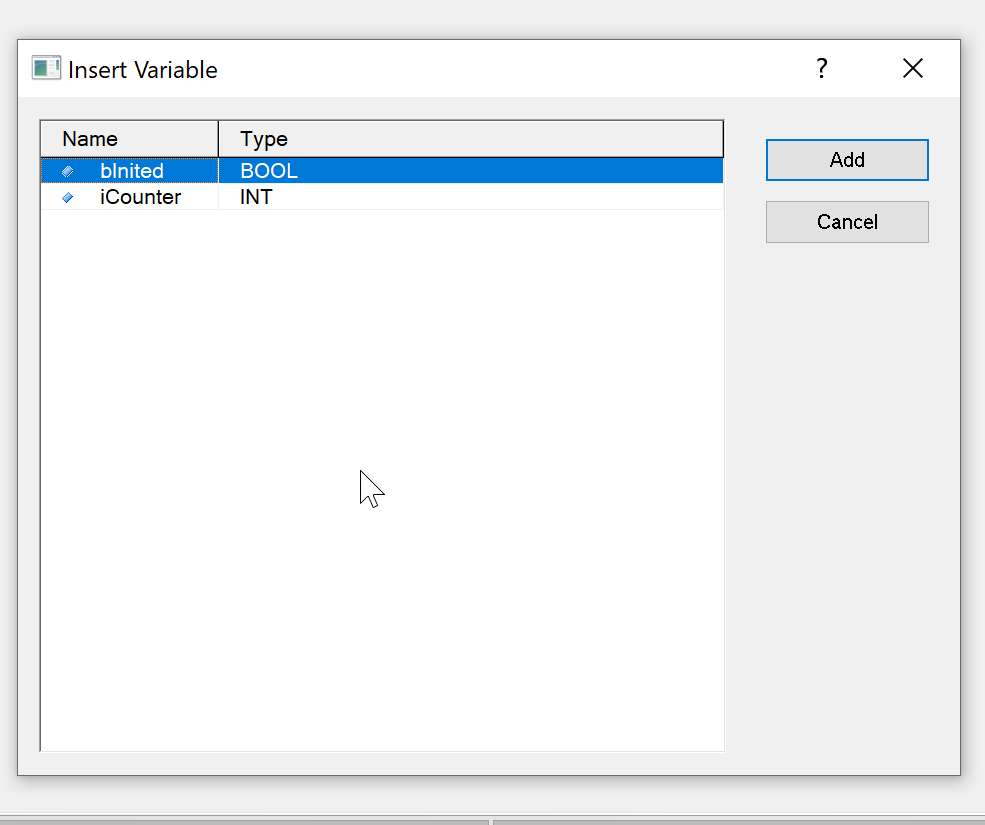
Select all variables >Add.

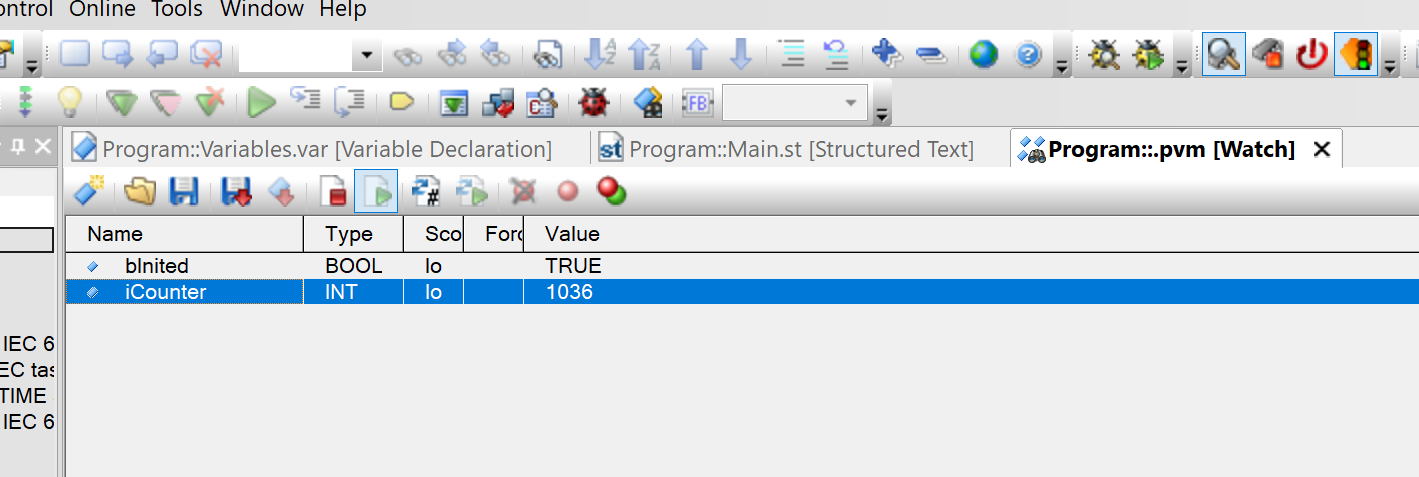
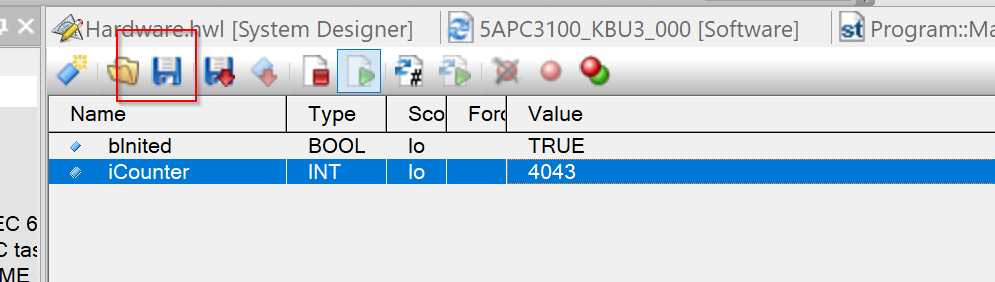
Done!In the Value column, you can check the current value of the corresponding variable.
Task Configuration
The next section describes the Task allocation of the program. The iCounter addition value is a little slow.
Configuration View
Open the Configuration view.

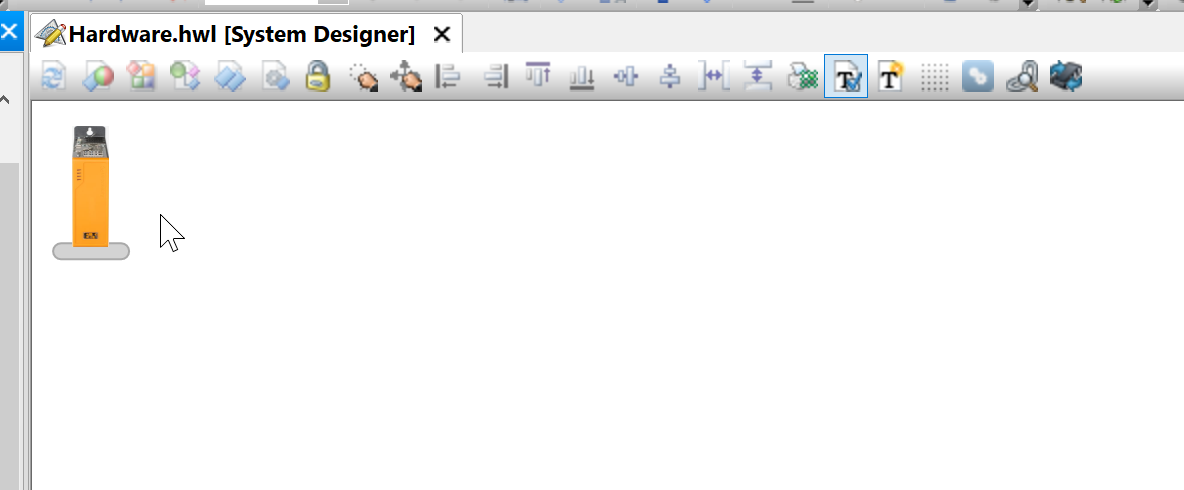
Click Hardware.

A picture of the CPU to be simulated is displayed.
Right-click on that CPU>Software.
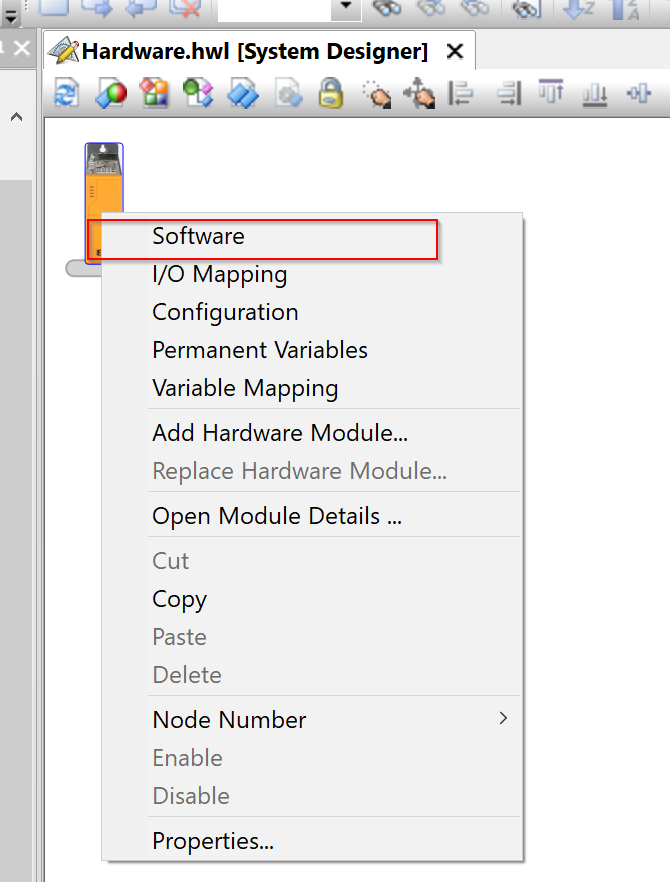
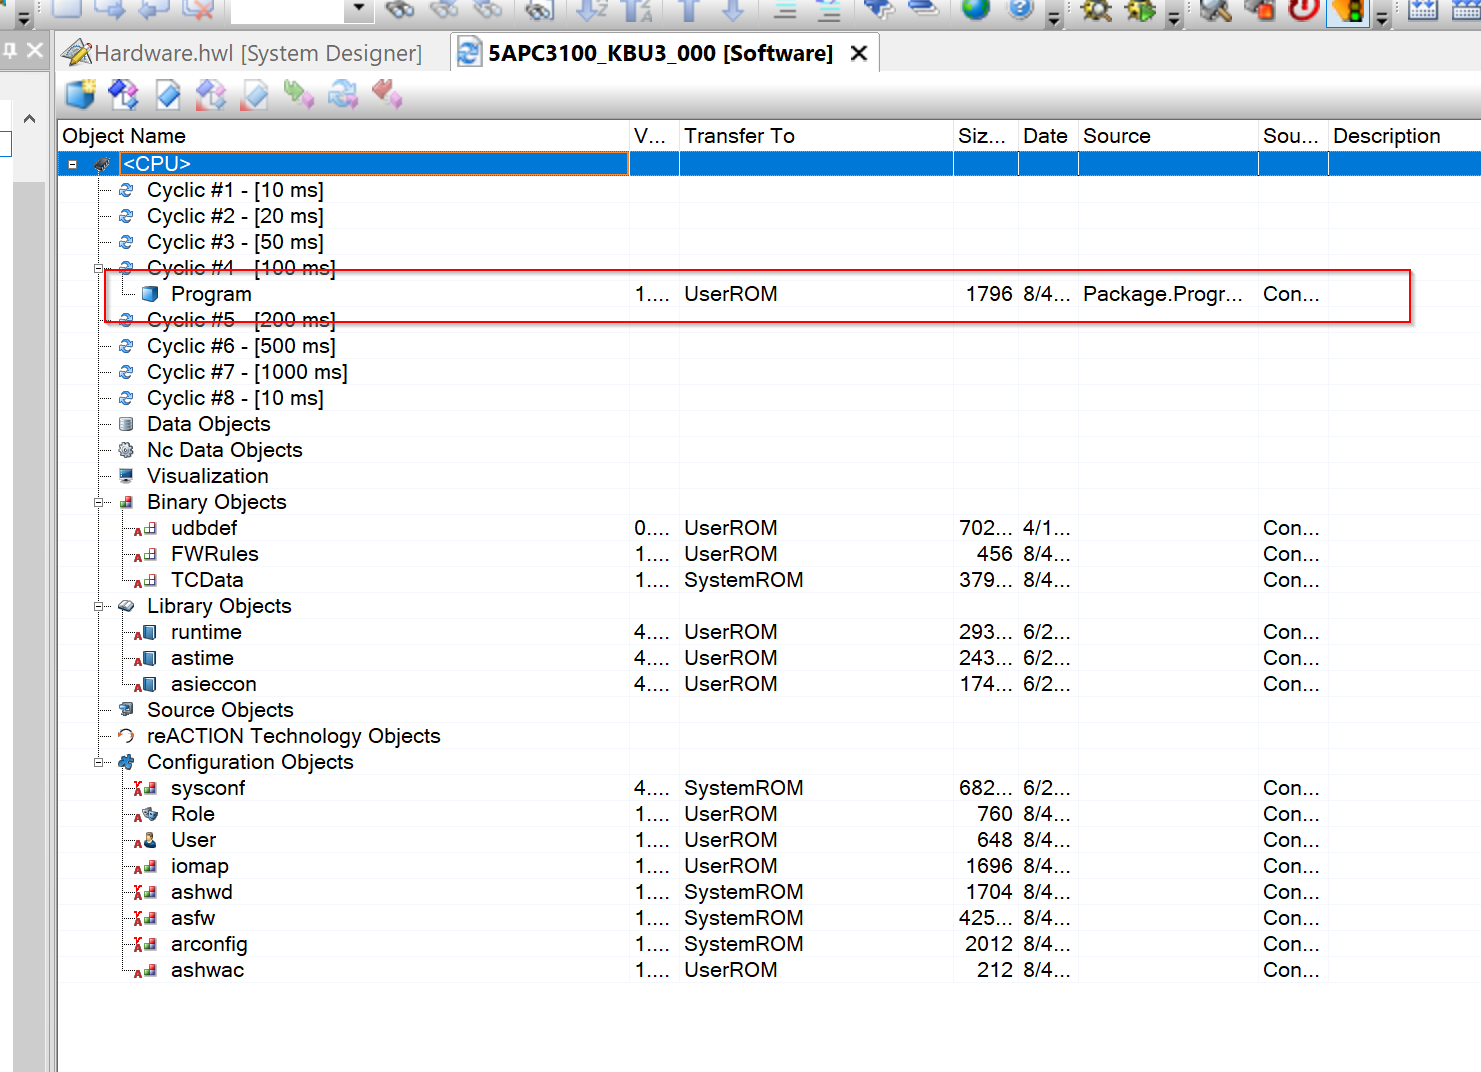
There are many system objects under <CPU>, and the ST Program defined earlier is assigned to Cyclic[#4]. And since Cyclic[#4] has a 100ms cycle, the Program is supposed to execute in 100ms.
Change the execute Cyclic
To change the program to run on another Cyclic, you can do so directly with Drag and Drop.
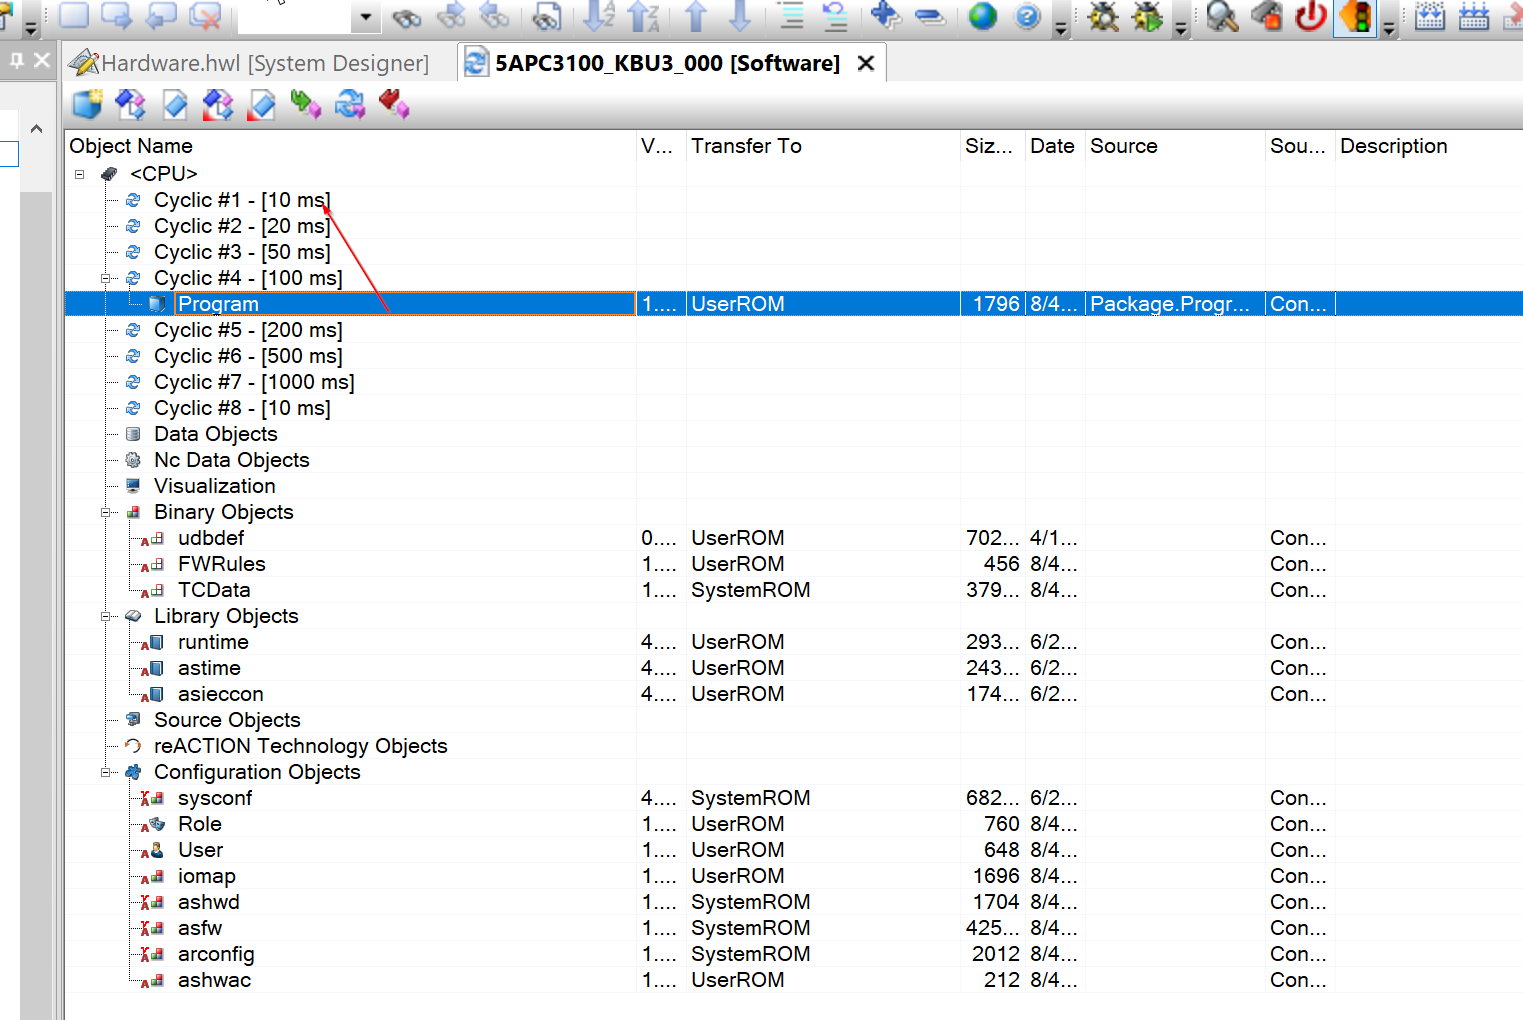
The operation is as shown in the figure below.
Done!Now the Cyclic task in the Program has been changed.

Result
The iCounter addition cycle has just been accelerated.
Add Watch
We have just monitored variables from the Watch Table. Now you can save the variables you want to monitor directly in the program, eliminating the need to add them again from scratch in the future. Select Main.st>Right click>Open>Watch.
When you have finished setting the variables you want to monitor, you can save the Watch Table with the Save Icon.
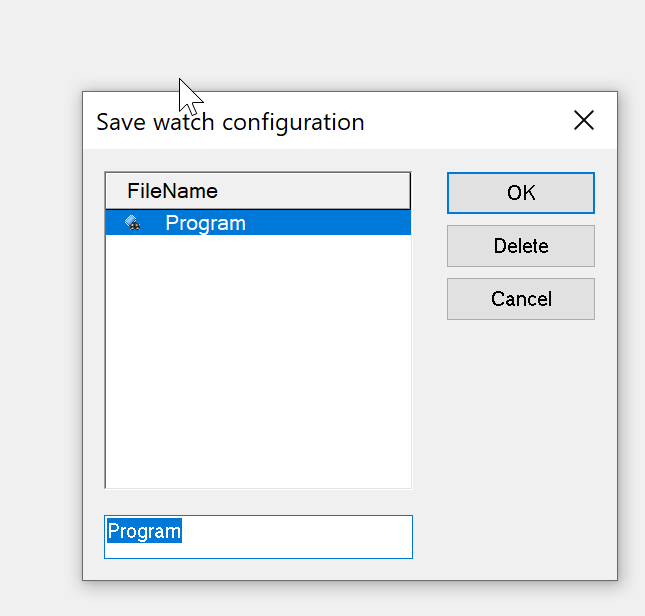
Enter a name for the Watch Table and press Ok to save.
Done!

Add Trace
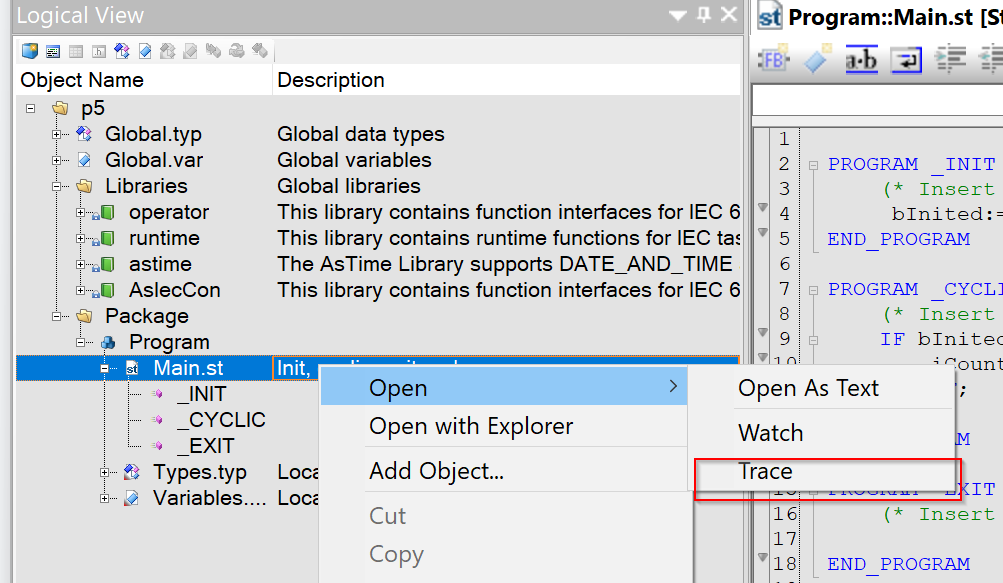
Finally, we introduce the Trace function, which allows you to save the current value of a variable over a period of time and display it in a Graph. Select Main.st>right click>Open>Trace.
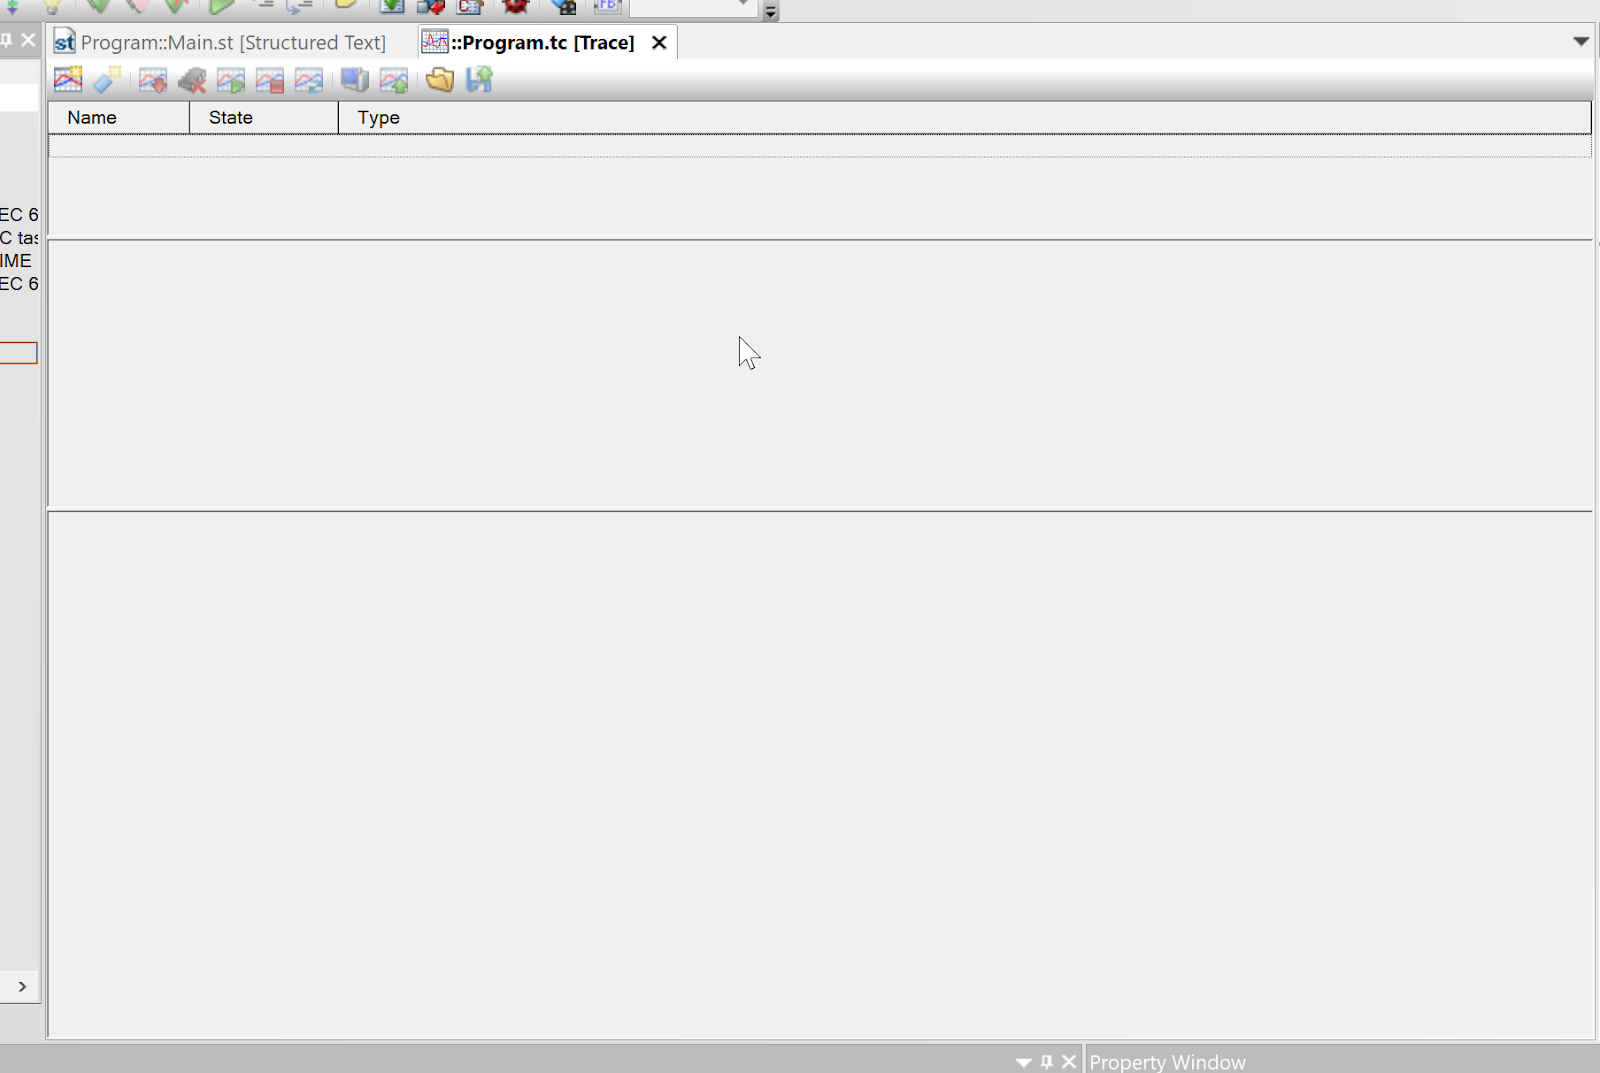
The Trace screen is now displayed.
Add New Target
Before recording variables, you must first add a Trace Target.
Add a new Trace using the button in the red frame.
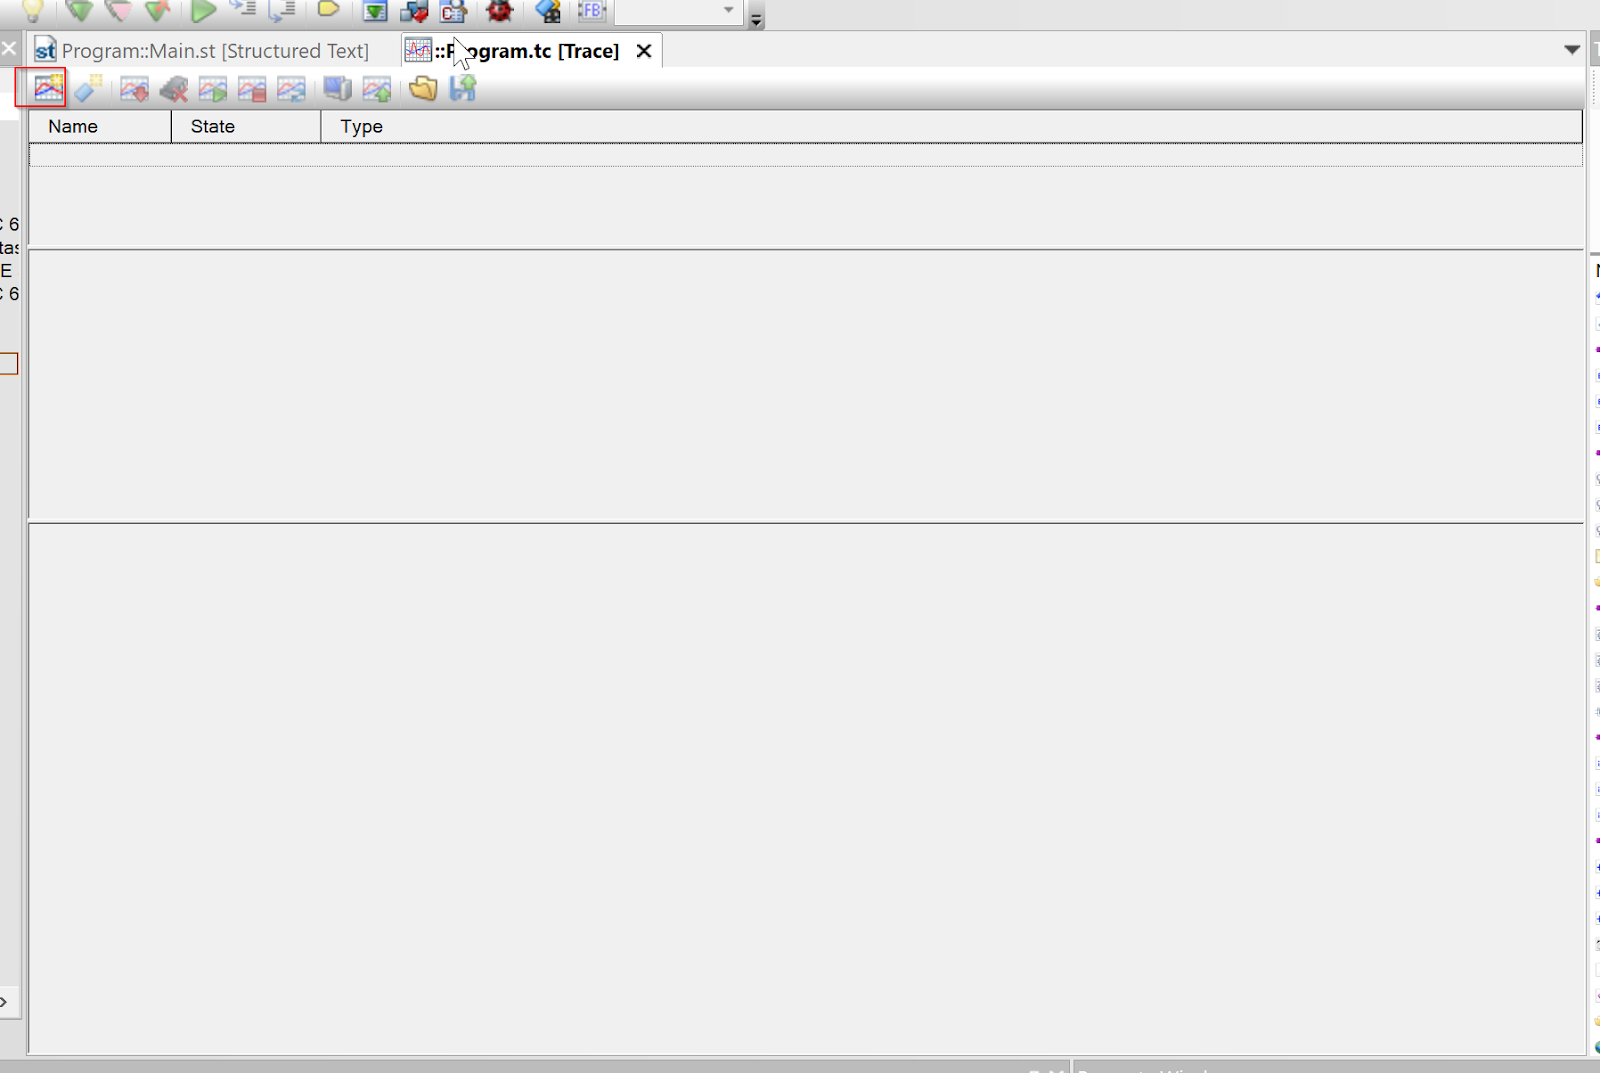
Done!A new Trace Target has been added.

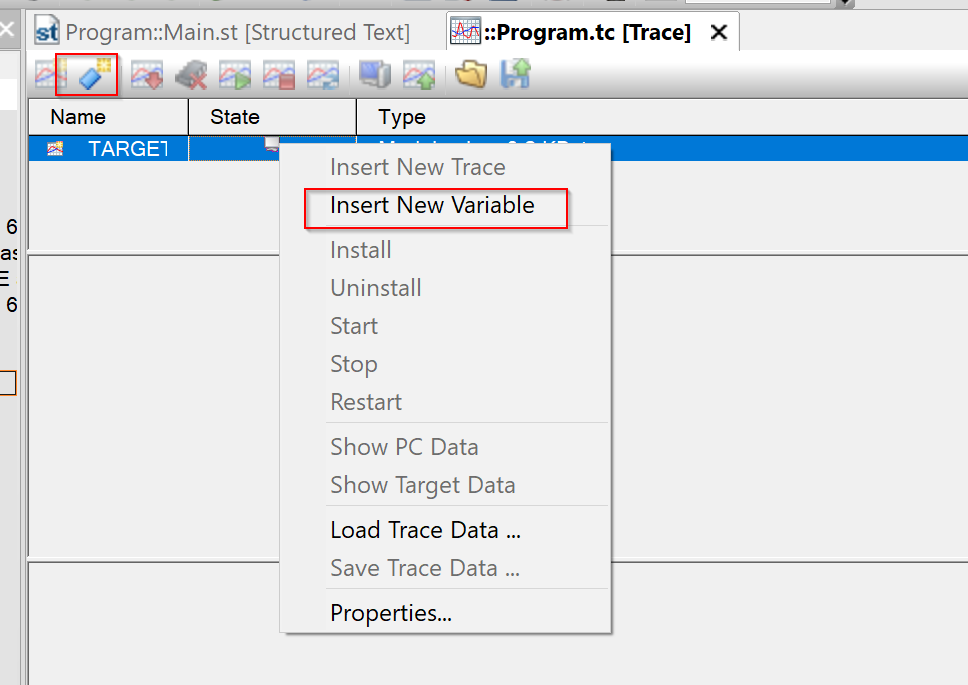
Insert New variable
To define the variable you want to record in the Target just added, click the red button or right-click on the Target>Insert New Variable.
The Select Trace Variable screen will appear. From this screen, you can set the variable you wish to trace.

Expand the Task called Program, select all variables and proceed with >Select.
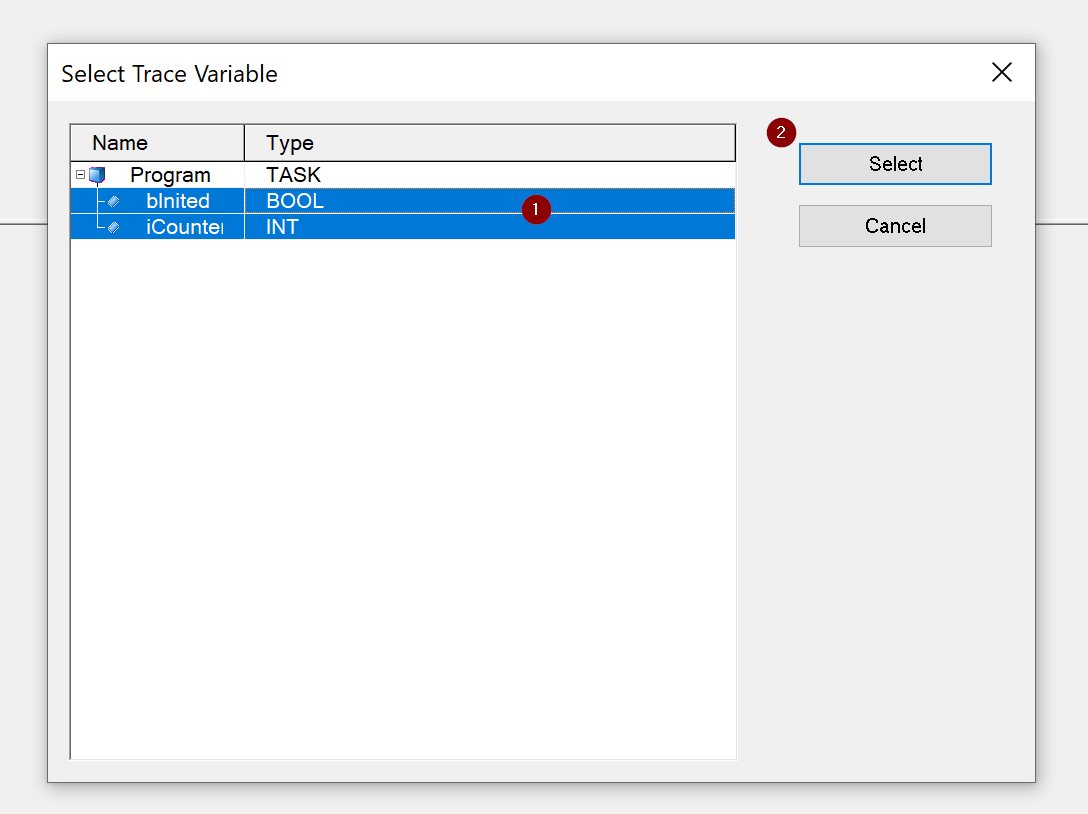
Done!All variables to be Traced have been added.

Download the Trace to Target
The last step is to Download Trace Configuration to the CPU with the red button.

Done!The trace is started.
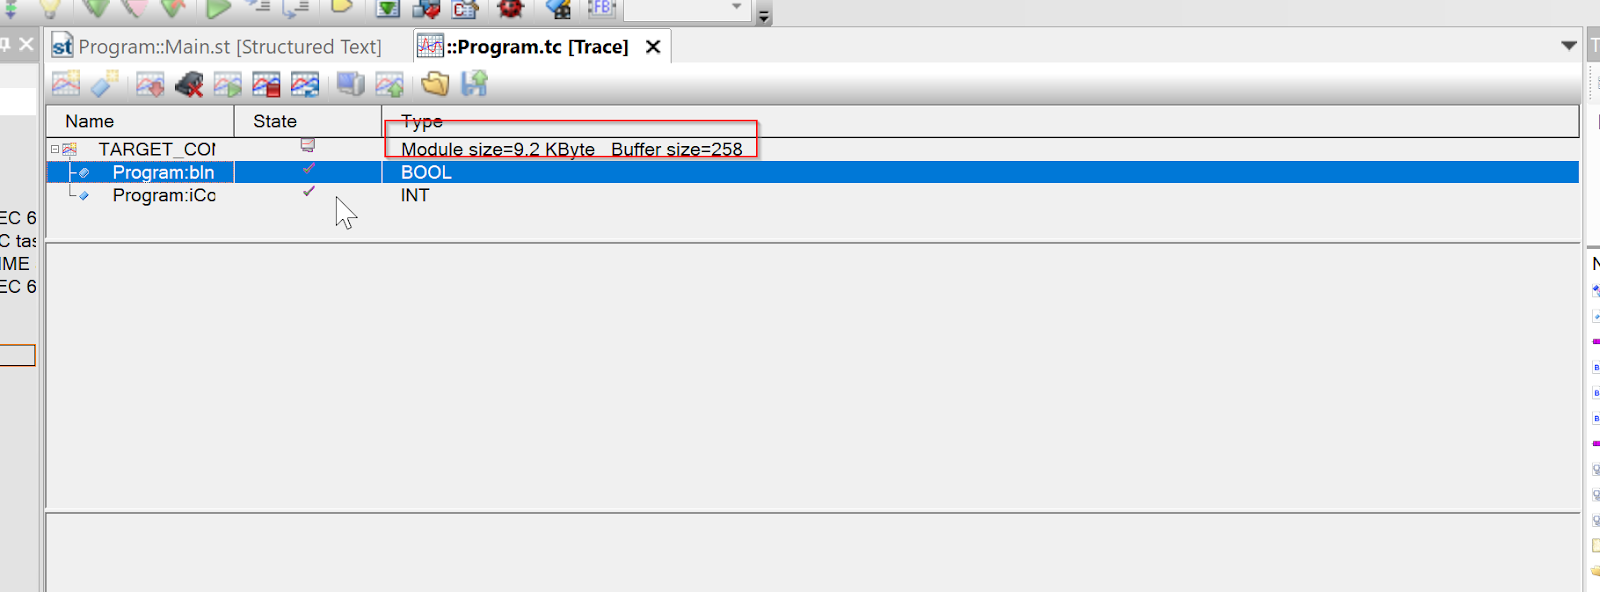
In fact, the display will look like this.
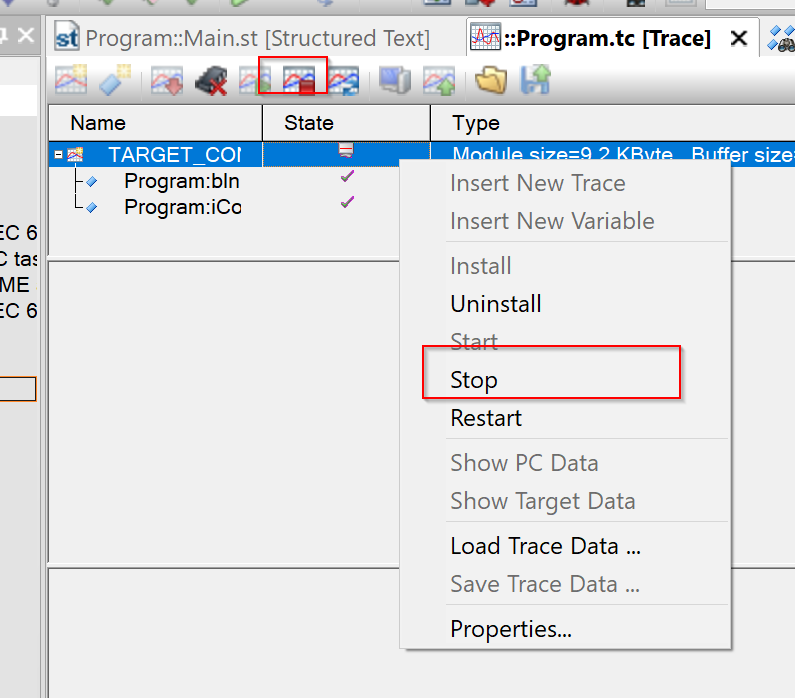
Stop the Recording
To stop Trace, click the button in the red frame or right-click>Stop.
Show Target Data
Show Target Data allows you to see the data you have just taken.
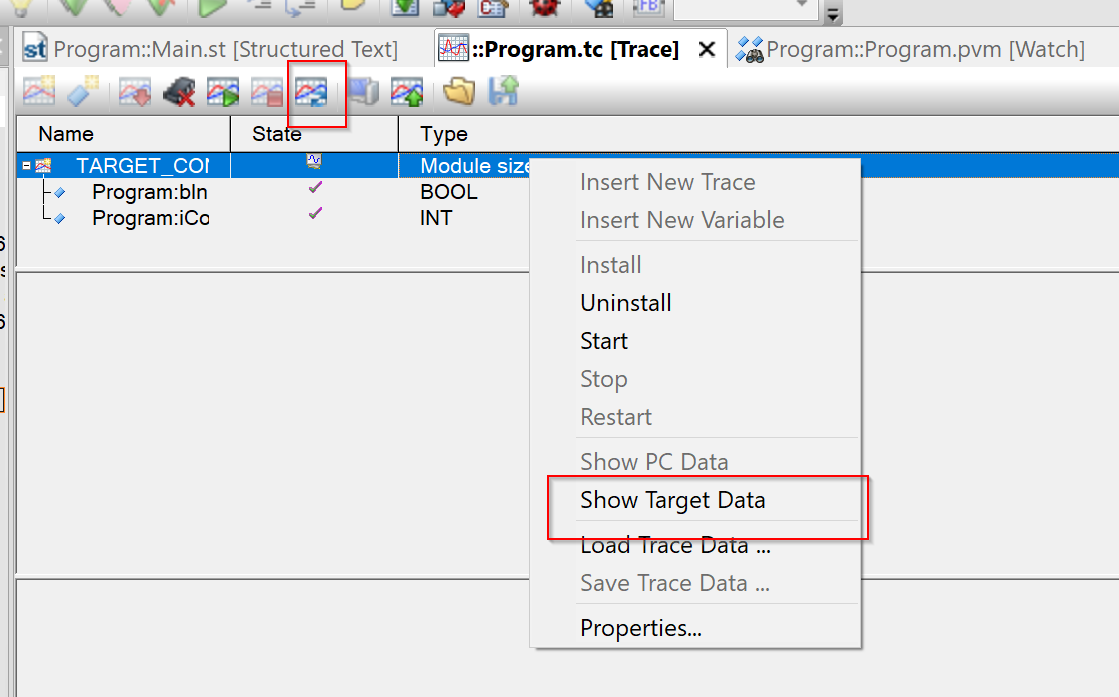
Done!
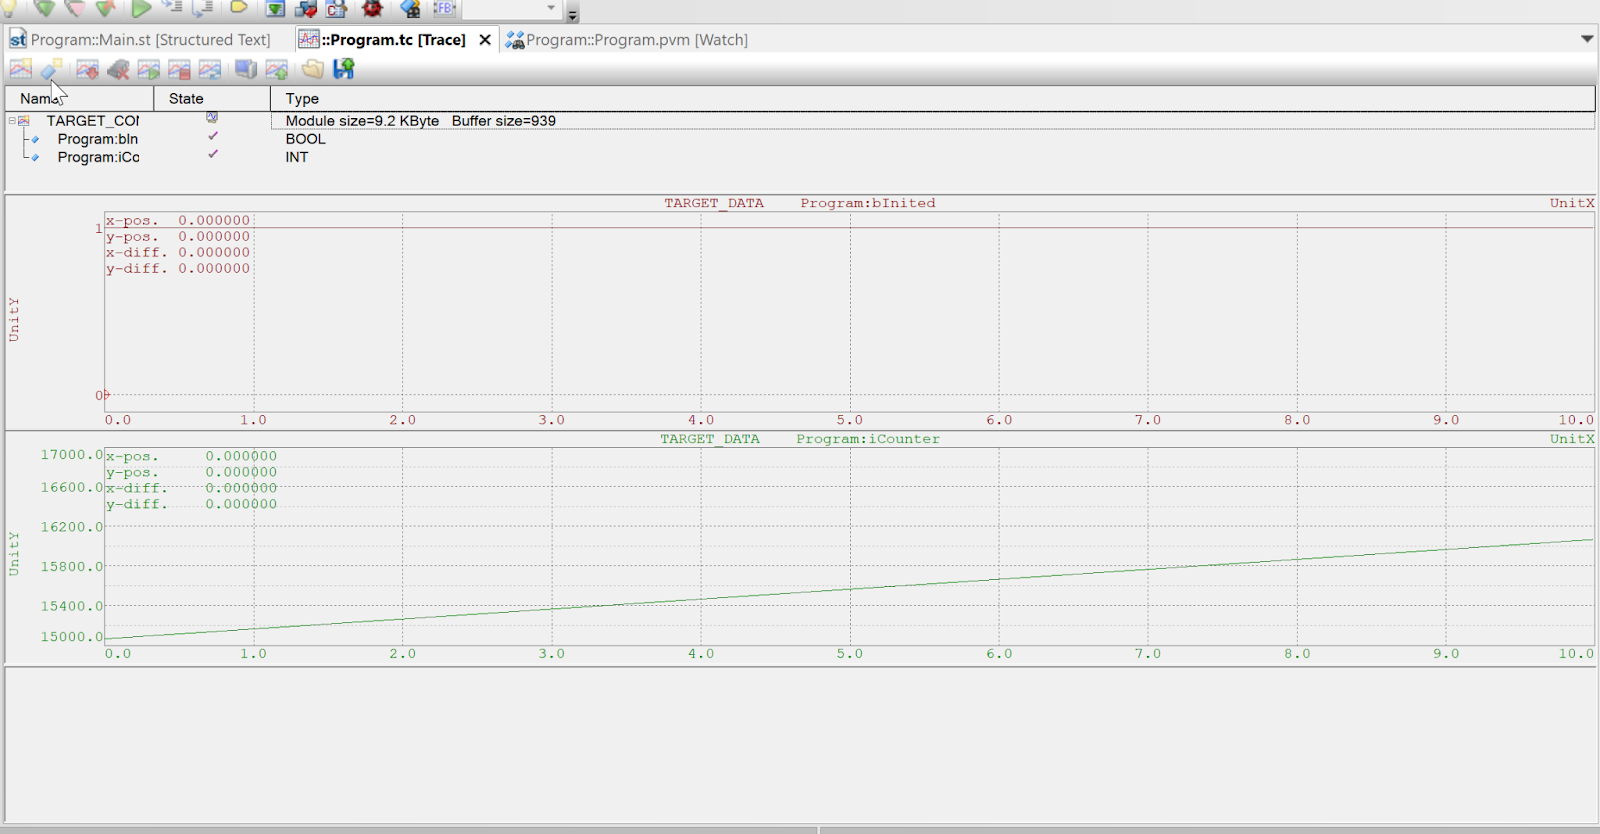
If the time axis is moved using the operation shown in the figure below, the variable values at that time will be displayed.

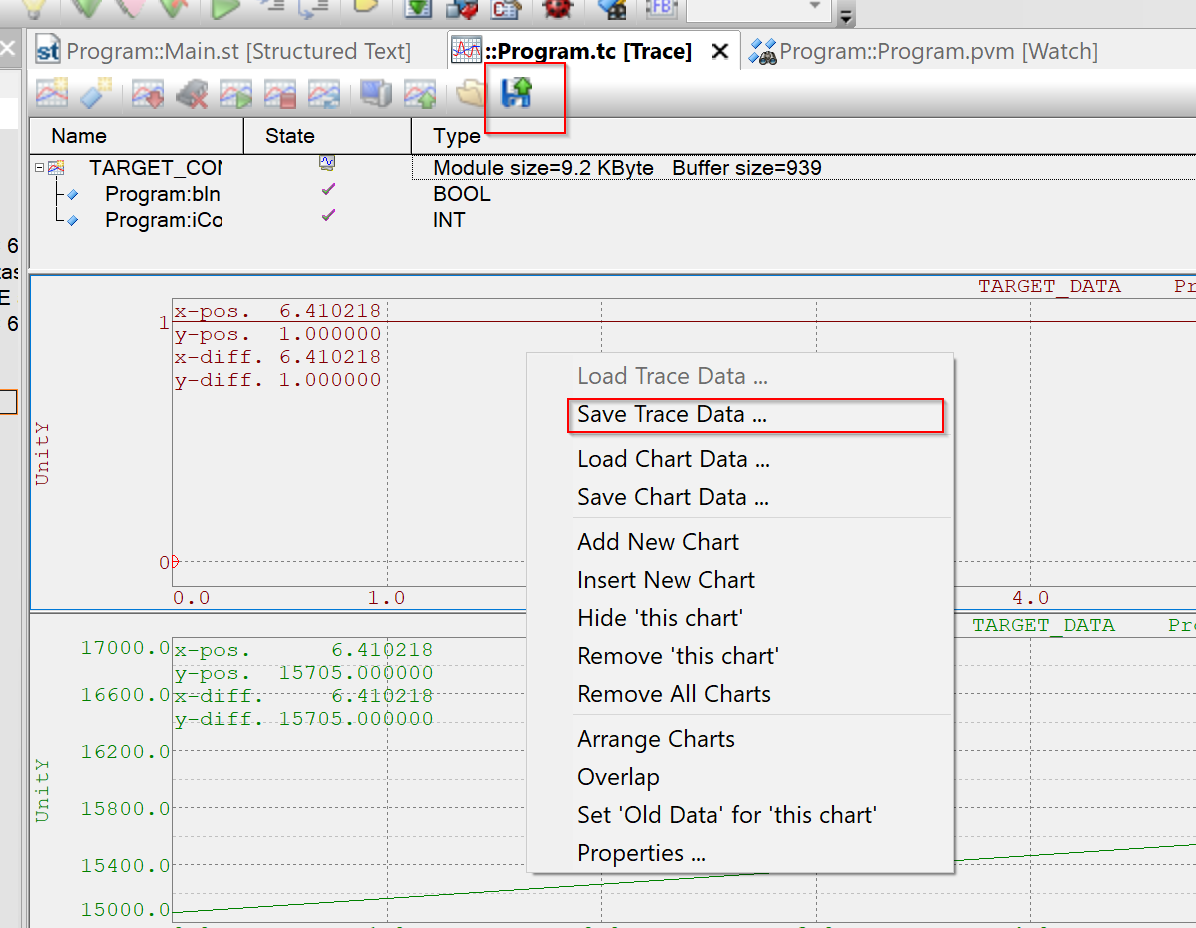
Save the Trace Data
If you want to save the relevant Trace Data, use Save Trace Data to save the data.
The Save trace data screen appears.

Enter a Trace name>Ok to proceed.

Load the Trace Data
If you want to view the saved Trace Data, click Load trace data.

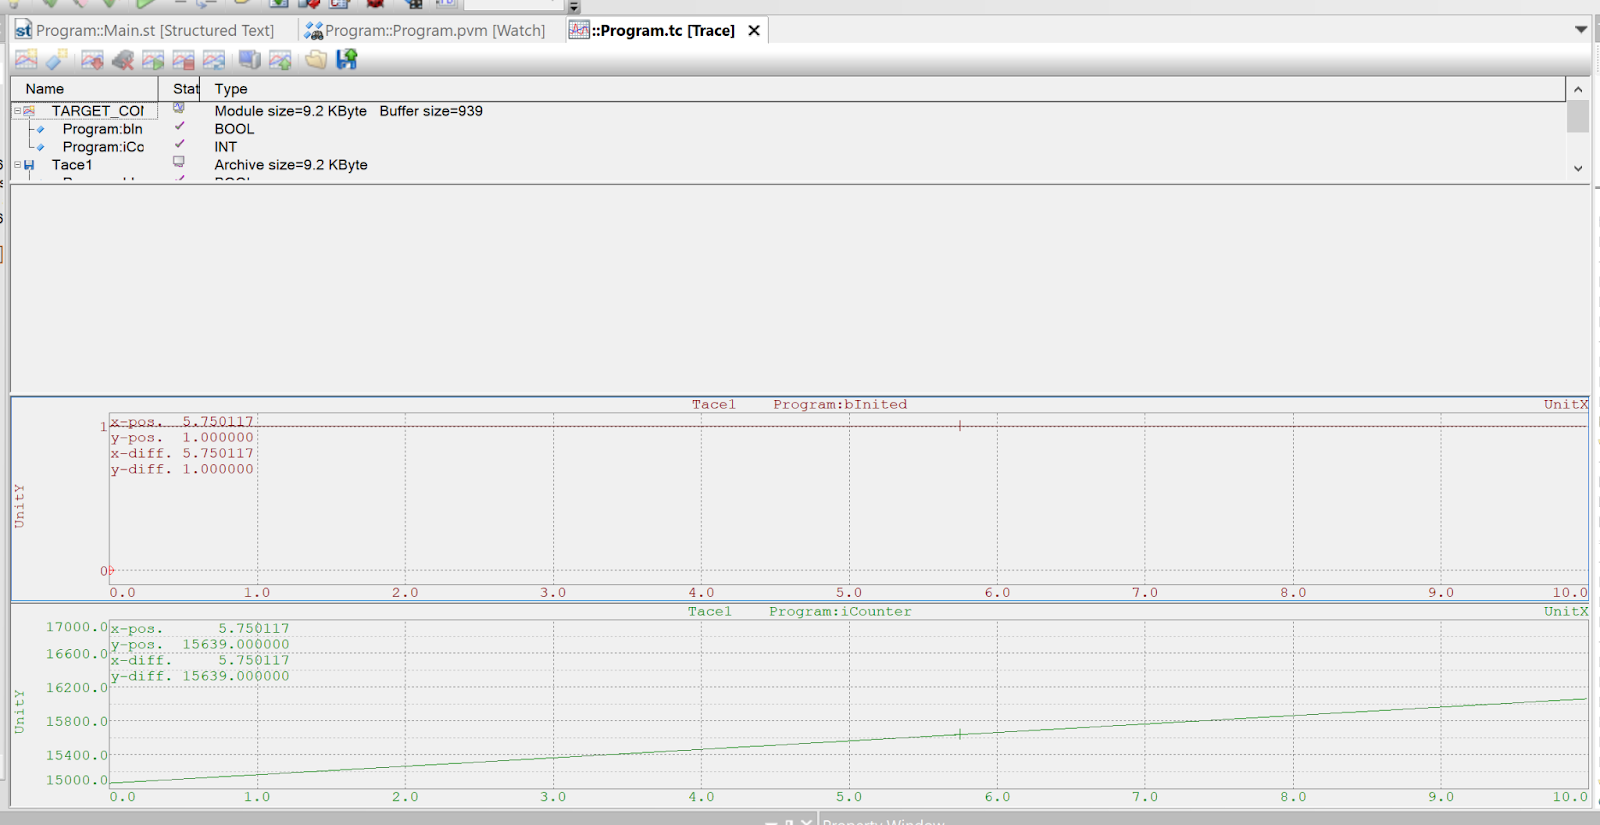
Select the Trace Data to be loaded and press >Ok to proceed.

Done!
Uninstall the Trace
If you do not need the corresponding Trace Configuration, remove it with the Uninstall button.

コメント
A cold restart was required on my side to have the trace installation working.