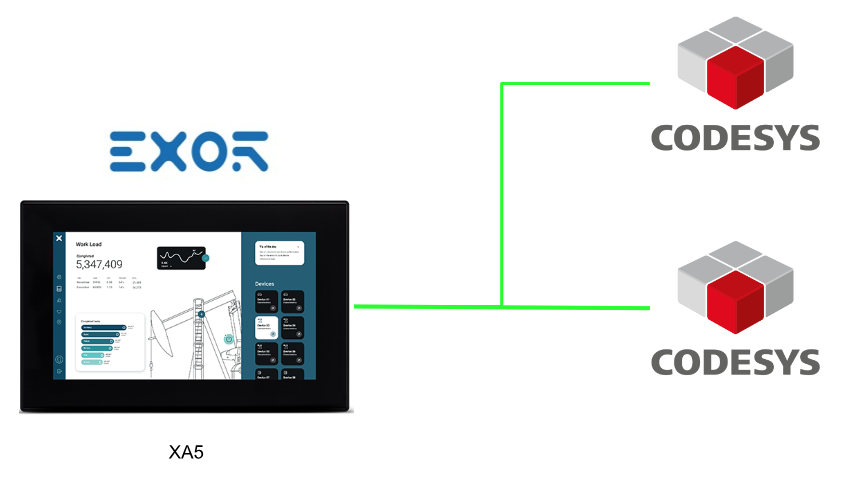
In this article, we will explain how to connect the EXOR panel to Codesys Runtime and the Alias structured features that are useful when connecting to multiple PLCs.
Let’s get started!
Reference Link
http://soup01.com/en/category/exor/
Implementation1
First, we will explain how to connect the EXOR panel to Codesys Runtime.
Codesys side
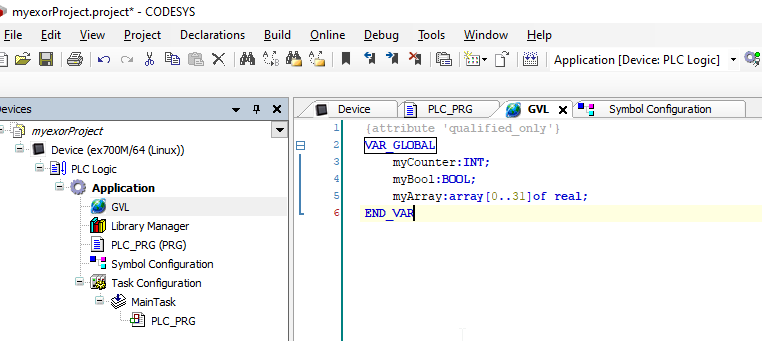
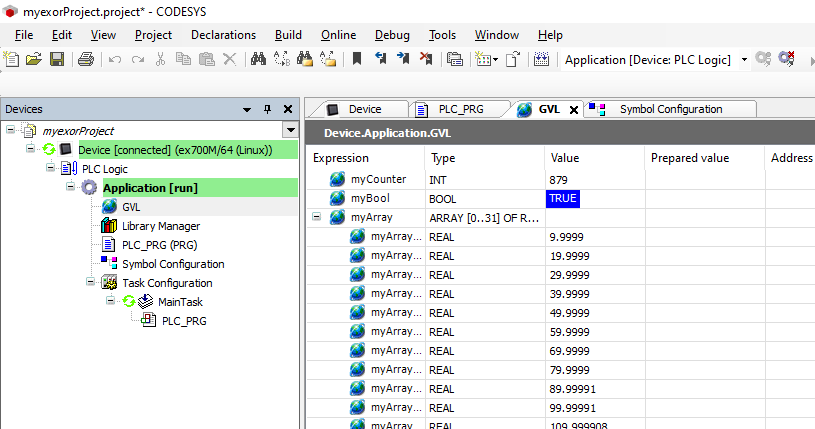
Define variables to be accessed in the EXOR panel that you need for your program in GVL.
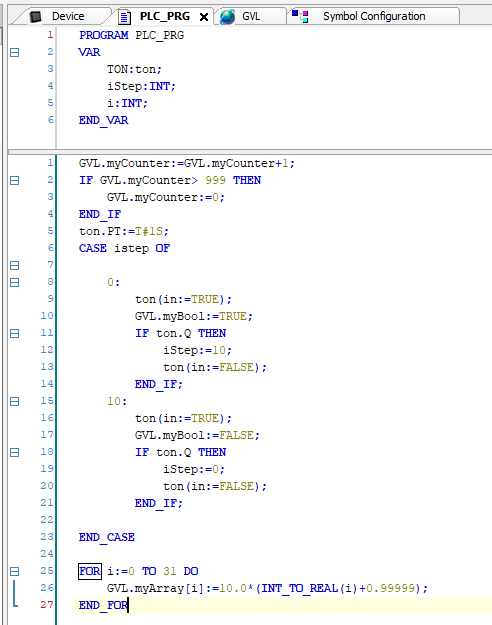
Program
The next step is to write various values for verification in the Main program.
Download the project to Codesys Runtime and switch to Run Mode.
Symbol Configuration
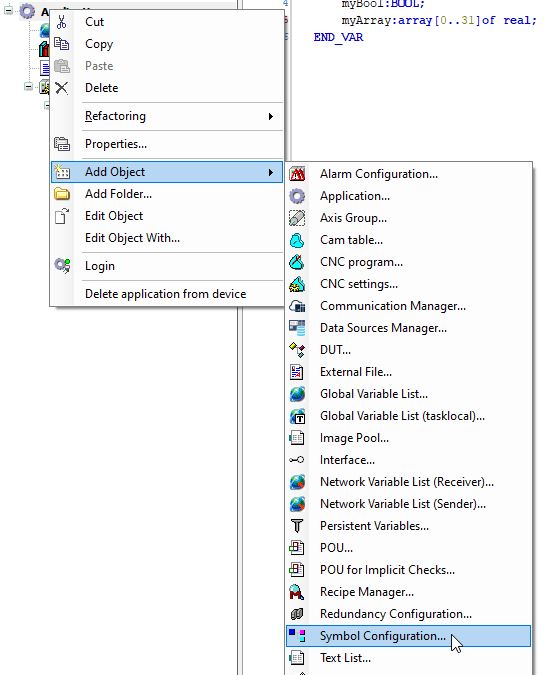
In order to communicate with the EXOR panel, a Codesys Symbol must be generated: click on Application>Right click>Add Object>Symbol Configuration.
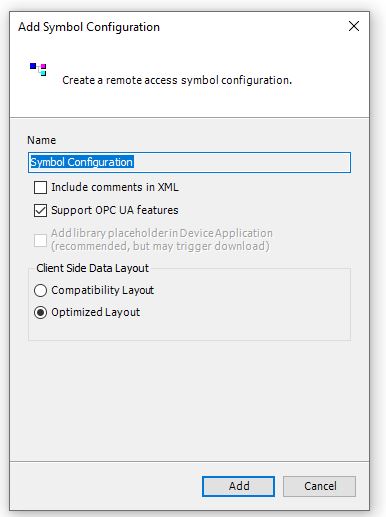
The Add Symbol Configuration screen will appear and proceed with Add.
Build
Next, compile the project with the Build button.
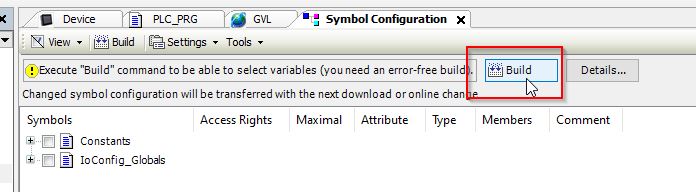
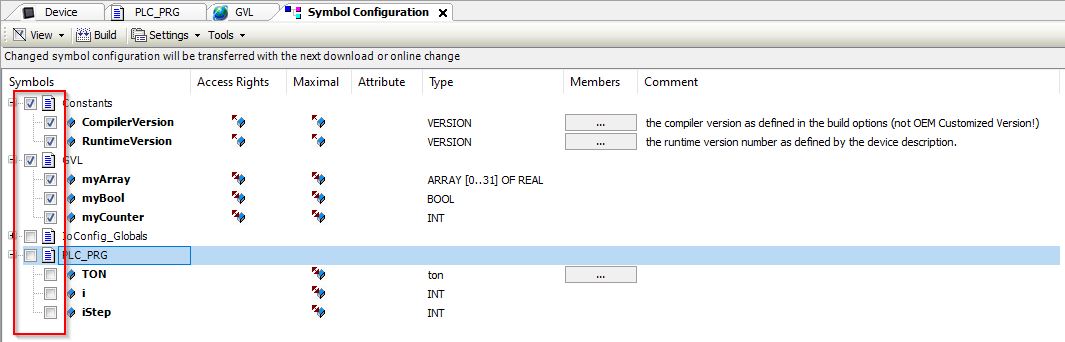
The variables in the project are now displayed.

Select your Variables
Check in variables that communicate with the EXOR panel.
Always link Options
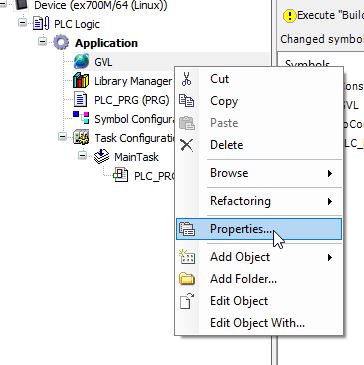
Variables not used in Codesys Runtime may not be updated, so to avoid this phenomenon, right click on the GVL communicating with the EXOR panel>open Properties.
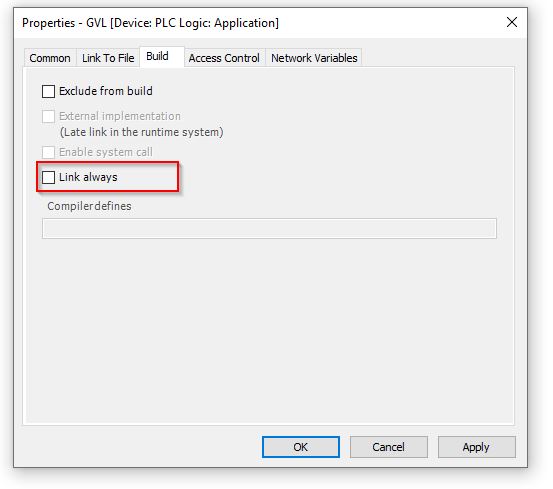
From the Build Tab, put in the Link always Checkbox.
Generate Code
Finally, compile the project by going to Build>Generate Code.
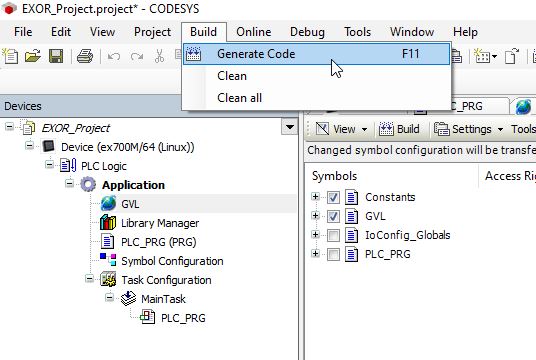
A File has been generated in .xml in the Project Folder.

EXOR Side
Next is the EXOR Side.
Add Protocol
Let’s add a new communication protcol at Configuration>Protocols.
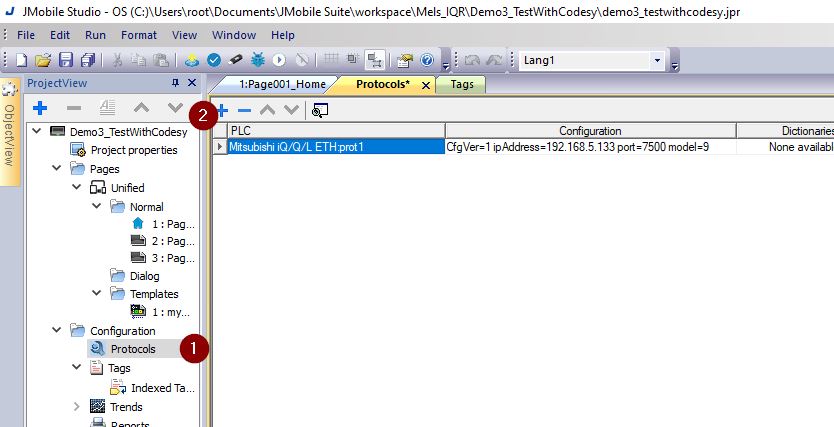
Select CODESYS V3 ETH.

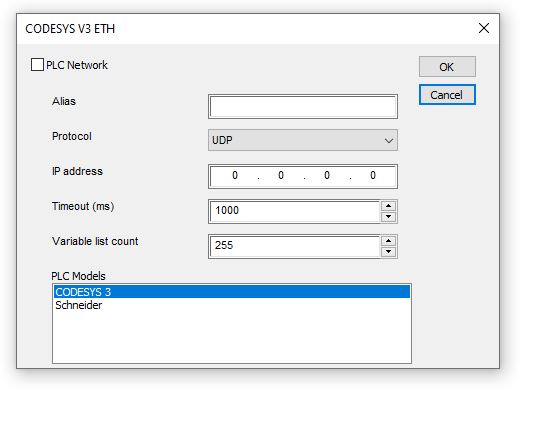
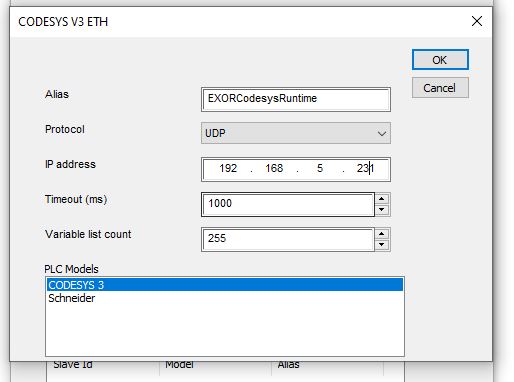
Configuration
Done!Next, set the IP address of the Codesys Runtime to be connected to the EXOR panel, select CODESYS 3 for PLC Modules and press >Ok to proceed.
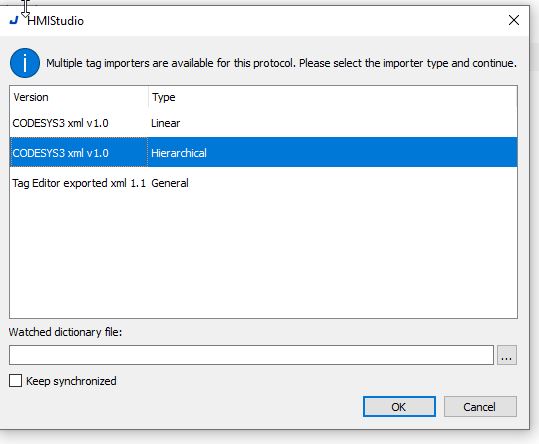
Import Tags
Now let’s import the Tag from Configuration>Tags.
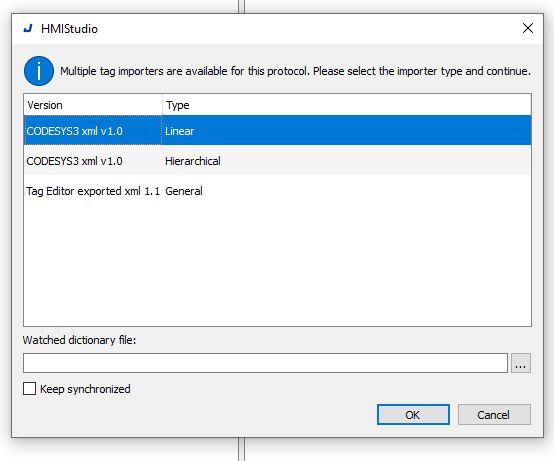
There are two Import methods: Linear and Hierarchical,First, try Linear’s Import method.
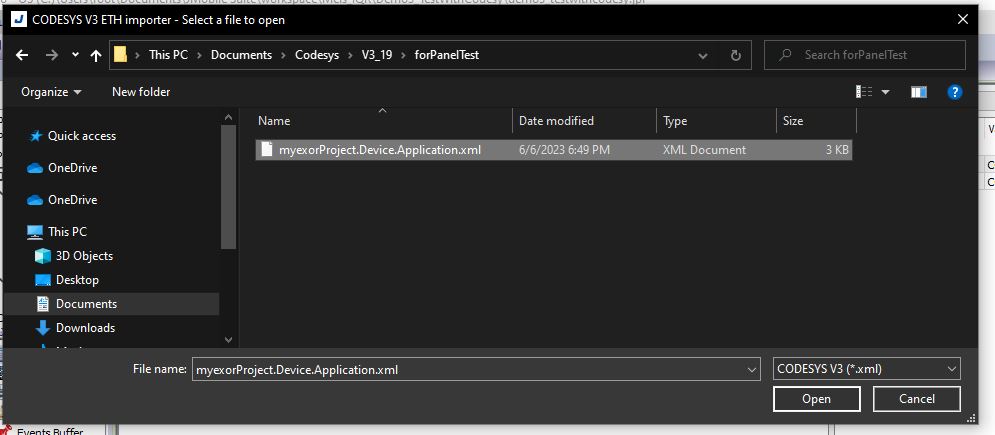
Select the .xml file that was just generated from the Codesys IDE and press >Open to proceed.
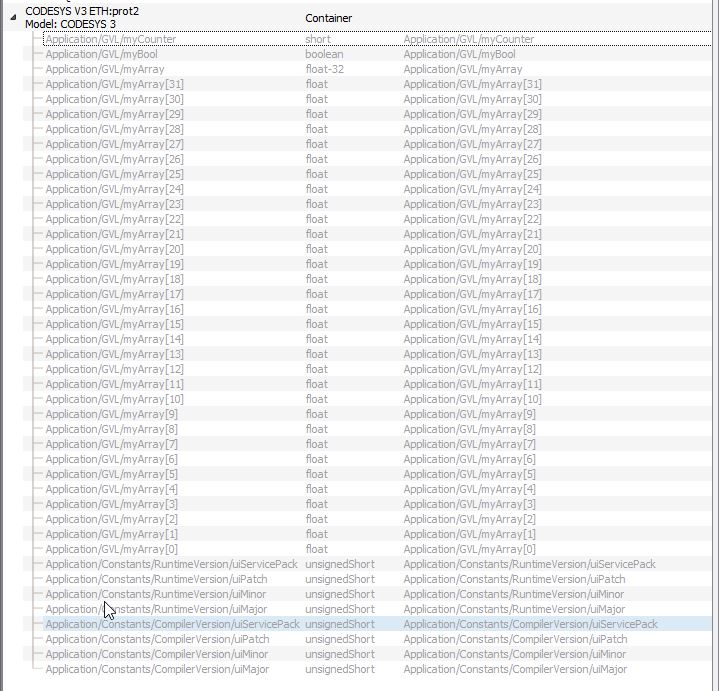
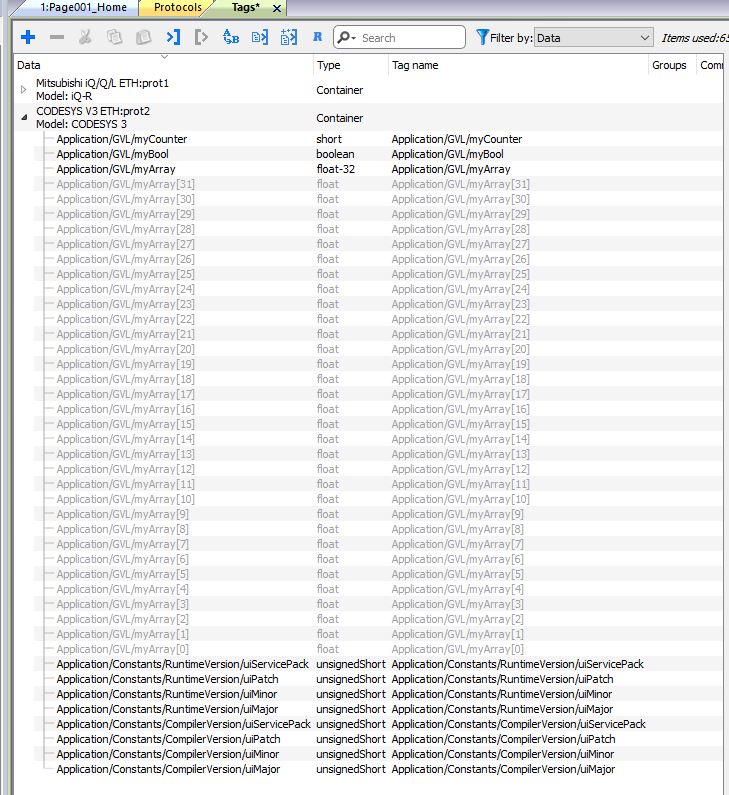
Done!Tag has been added.
Add To tags
Next, the EXOR panel selects only the amount of tags needed for access>right click>Add to tags.
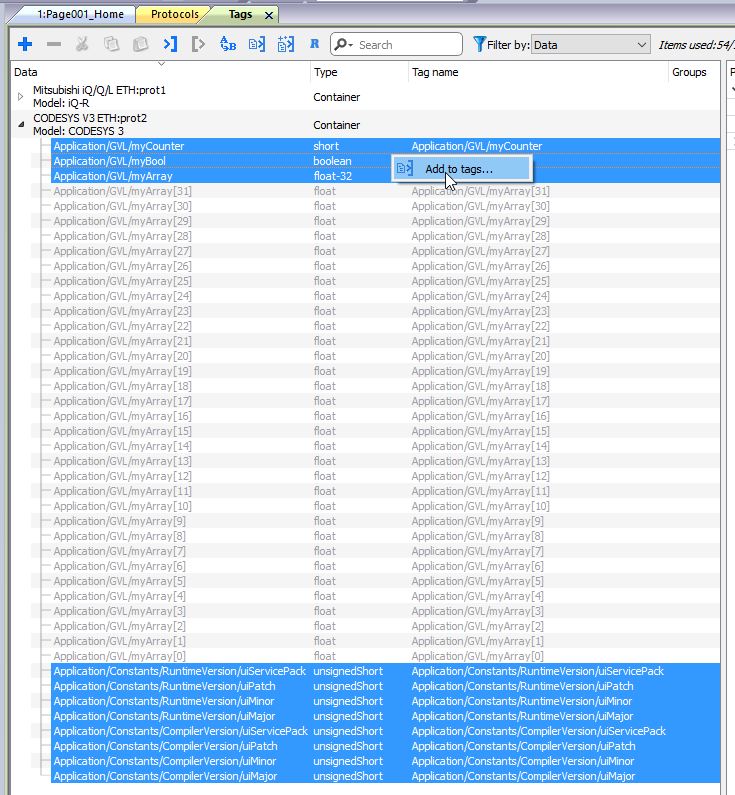
Done!The actual Tag added to the project will be in black text.
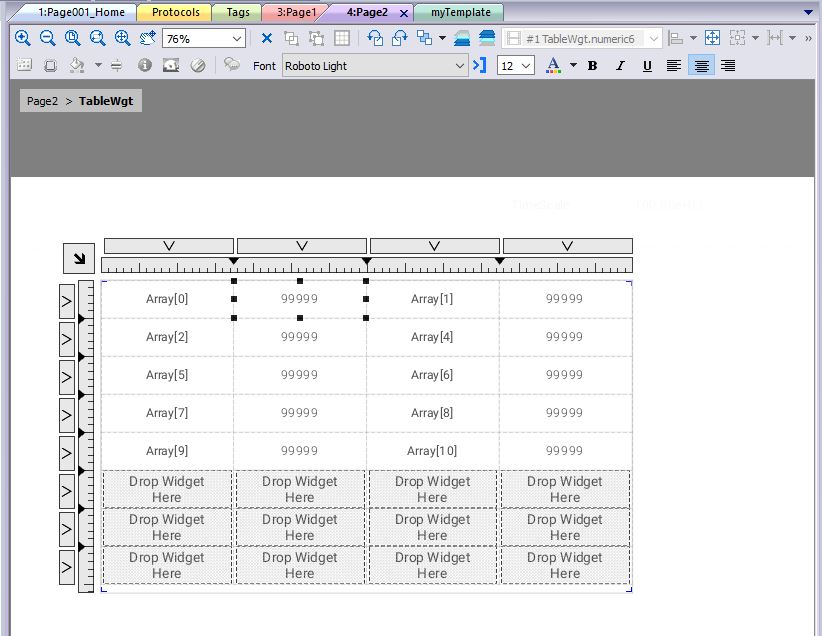
Configure Display
Create a screen in the project to confirm communication.
Number Format
The number display format can be freely set on Jmobile, and is set to Custom from the drop-list under Properties>Number Format.
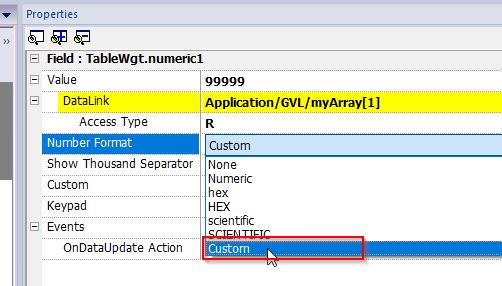
Then you can set the Custom File with a Format like #. ###Format, such as ##.
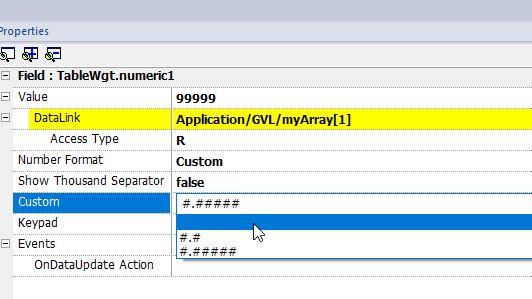
Result
Done!It can now communicate with Codesys Runtime and can also Custome the display Format of numbers.

Implementation2
Next, we will discuss the Alias feature in Jmobile. The more devices connected to a project, the more difficult it becomes to manage them, so Jmobile provides a convenient feature that allows you to groove the same protocol as one “PLC Network.
EXOR Side
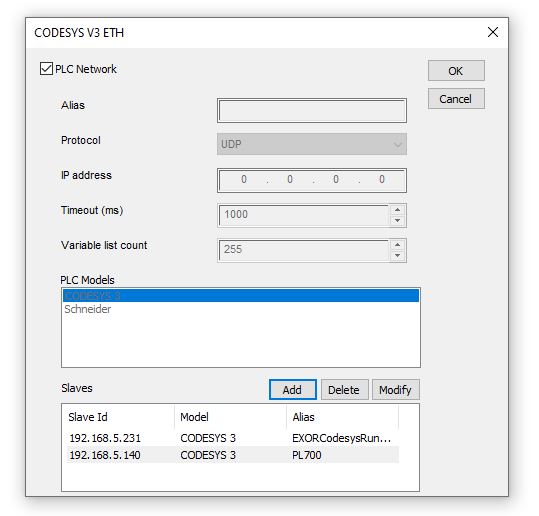
Use PLC Network
When adding a Protocol, there is a Checkbox called PLC Network.
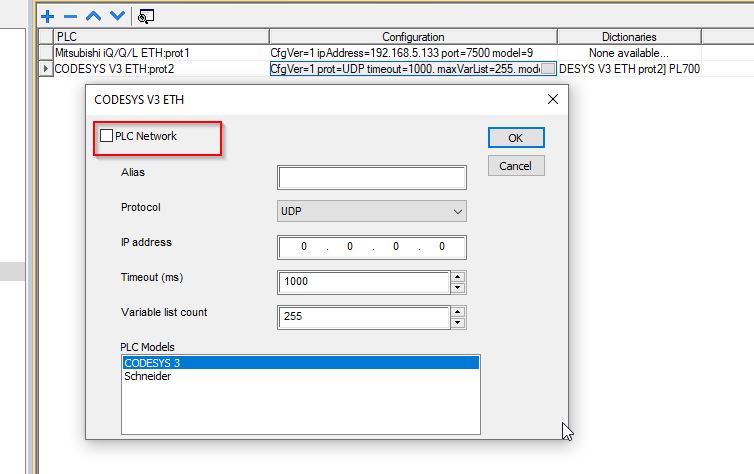
PLC Modules can no longer be set, and instead a new item, Slave Id, has been added.
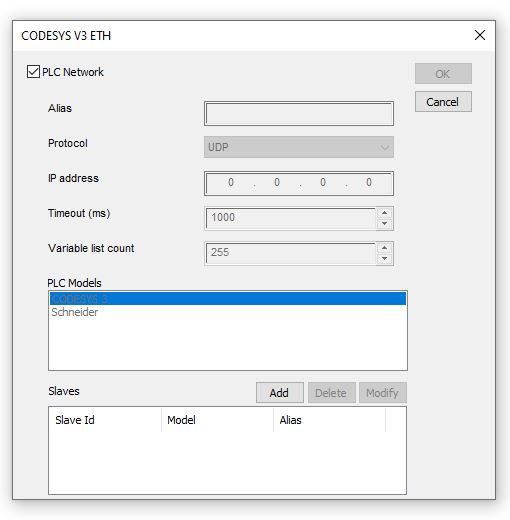
Add New PLC
Click the Add button on Slaves to add a new Slave.
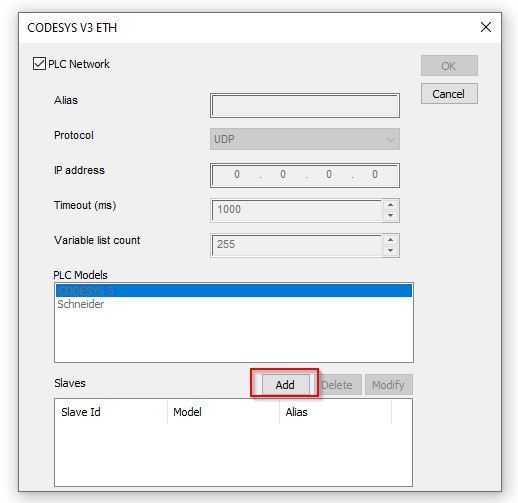
Now the usual CODESYS V3 ETH connection setup screen appears.
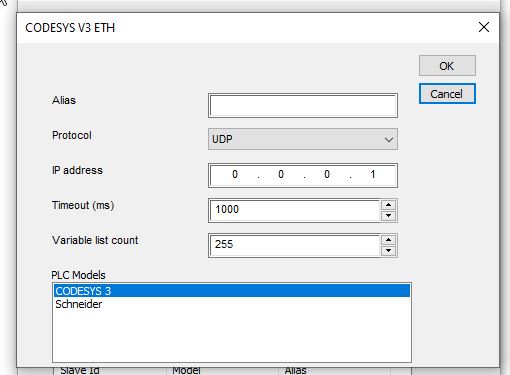
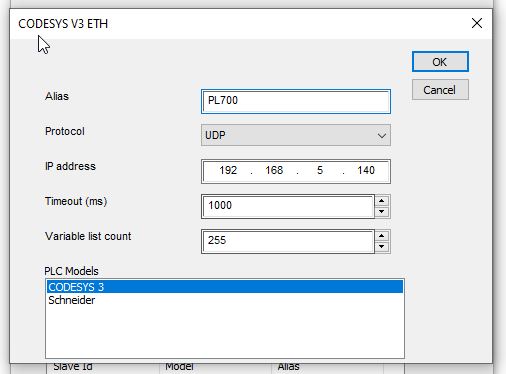
PLC1
Alias can be done by entering the PLC name and IP of the connection and setting PLC Models to CODESYS 3.
PLC2
Use the same operation to set up the other PLC.
Done!
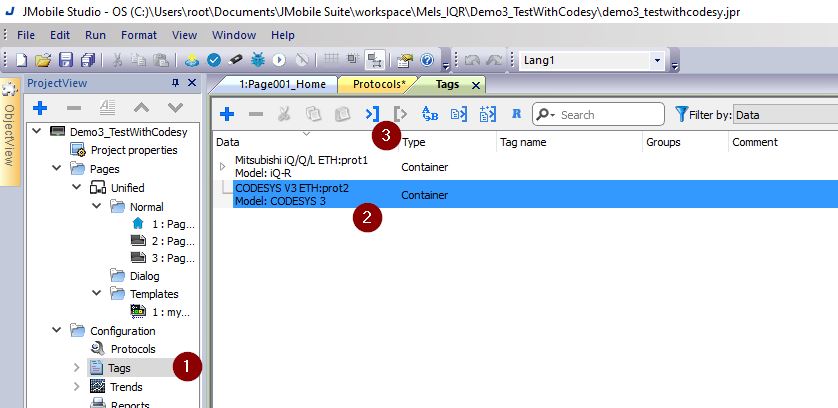
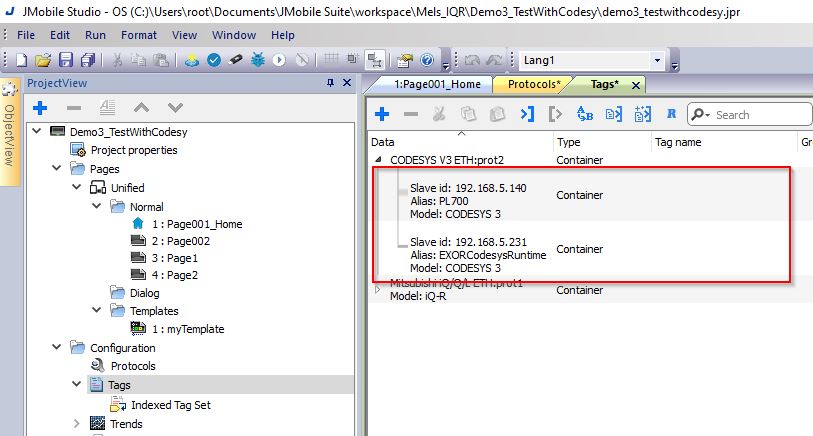
Strucuture
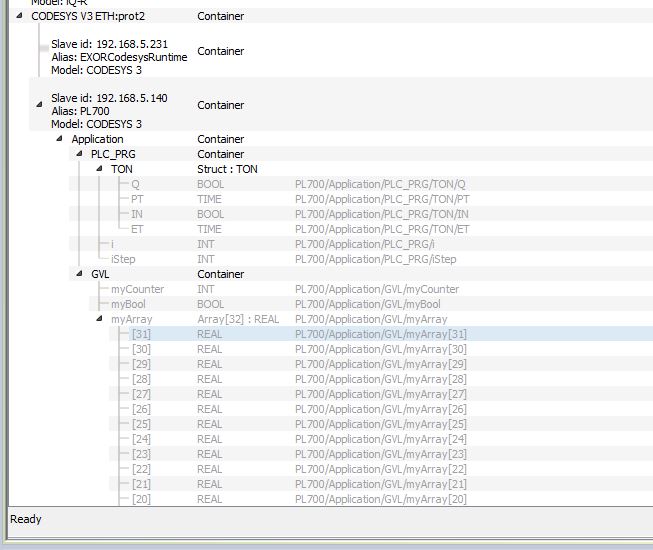
Jmobile’s Tags screen shows two PLCs in a structured manner. This is a function of Alias.
Import Tags
While Tag’s Import was the Linear method earlier, we will try the Hierachical method this time.
The imported Tag now looks like the structure of a PLC program.