This series introduces ctrlX AUTOMATION for Bosch rexroth. I don’t have the real-hardware, so I don’t know how far I can test it, but I will try my best;)
First, I will introduce ctrlX AUTOMATION and ctrlX WORKS, and explain how to easily install and play with them.
What is ctrlX AUTOMATION?
ctrlX AUTOMATION utilizes Ubuntu Core designed for embedded devices and snaps, a Linux application container to provide an open source platform for machine control with IT and OT integration.
A system built on ctrlX AUTOMATION using Ubuntu Core and snaps has advantages such as being open and eco-friendly, shortening the time to start up, and enhancing security.
System developers can write applications in their favorite programming language, including C, C++, Python, JavaScript, and Go, and distribute them as snaps. It traditionally differs from programming languages such as IEC 61131 and G-code.
Ubuntu Core and snaps give system developers using the ctrlX AUTOMATION platform the freedom to use IT (C, C++, Python, JavaScript, Go, etc.) and OT (IEC 61131 and G-Code) of their choice.
ctrlX AUTOMATION is an open source approach that allows users to extend the functionality to suit their own system and implement their own apps, giving them a high flexibility.

What is ctrlX WORKS?
ctrlX WORKS can be thought of as Beckoff’s TwinCAT, Siemens’ TIA, or Mitsubishi’s GXWORKS. ctrlX WORKS includes some engineering tools such as PLC programs and Configuration, and you can choose which one would be installed in your Workstartion.
ctrlX WORKS There are mainly 3 parts inside ctrlX WORKS.
- ctrlX PLC Engineering
- ctrlX IO Engineering
- ctrlX DRIVE Engineering
- ctrlX WORKS – Device Management
System Requirment
- Windows 10 64 Bit
- 8 GB RAM
- Processor: Intel with support of the virtualization technology (Intel VT)
What is ctrlX WORKS Device Management?
Device Management is a table that displays ctrlx CORE and ctrlx COREvirtual that can be used on the network (all devices in the same Subnet can be automatically detected)
Thanks to DHCP, DPNP, and mDNS used in IT technology, the tool does not require special settings.
Originally, the application would run on Bosch’s ctrlX CORE, but ctrlX COREvirtual is also provided for those who do not have a physical machine (just like me), and you can build a virtual Linux environment on a Windows PC.
What is ctrlX PLC Engineering?
ctrlX PLC Engineering is a Codesys-based programming environment according to the IEC61131-3 standard. This tool will be the main feature of this article.
The tool offers various functions, such as:
- FBD/LAD/STL/ST/CFC Editor
- OOP Programming
- Resource management with library
- Protect Source Code from Security Options
- Etc..

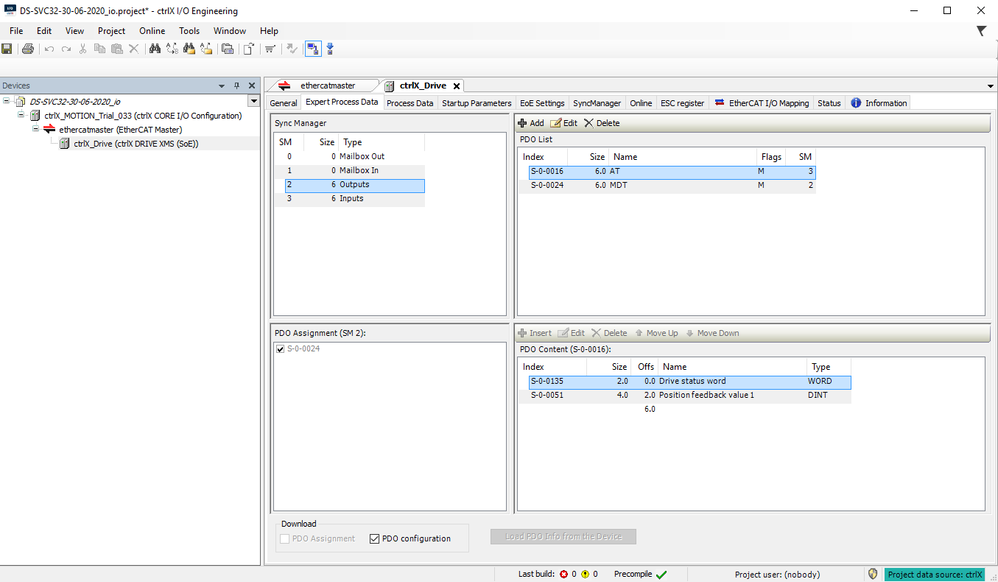
What is ctrlX IO Engineering?
ctrlX IO Engineering is an application for building an EtherCAT fieldbus Network. The software is separated from the PLC IDE and provides a flexible construction method.
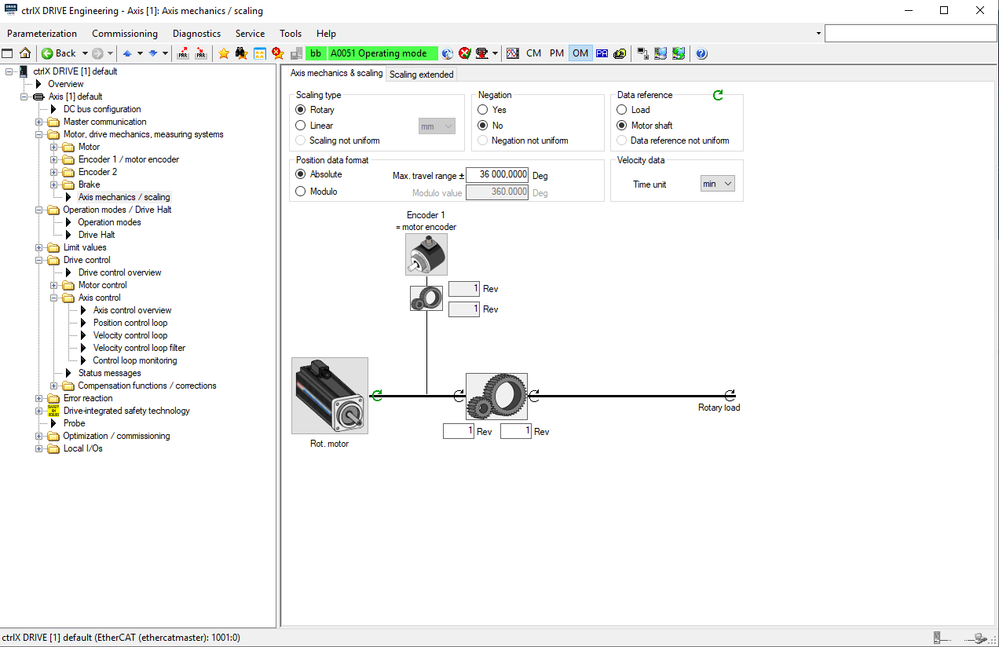
What is ctrlX DRIVE Engineering?
ctrlX DRIVE Engineering is an application for test run and parameter setting of Drive with Graphical operation. Optimize your Drive application with easy and intuitive controls.
- Commissioning your step step by step
- Error diagnosis/history
- Logging
- etc..
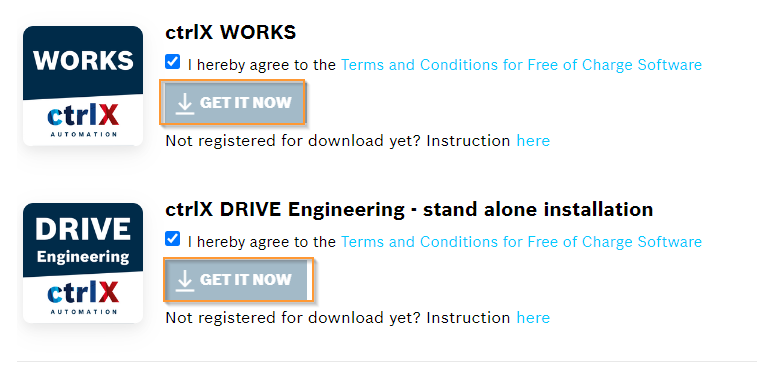
Download
Please download the installation file from this link.

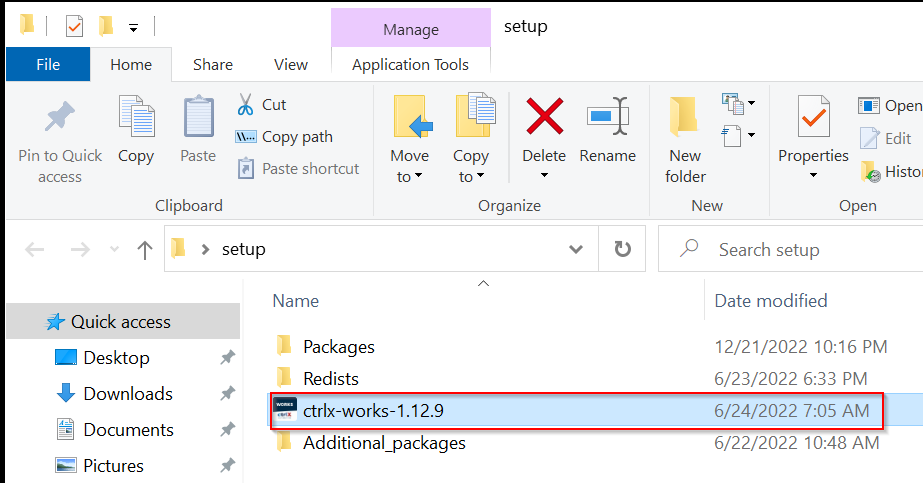
Installation
Unzip the ZIP and launch ctrlx-works-xxx.exe to start the installation.
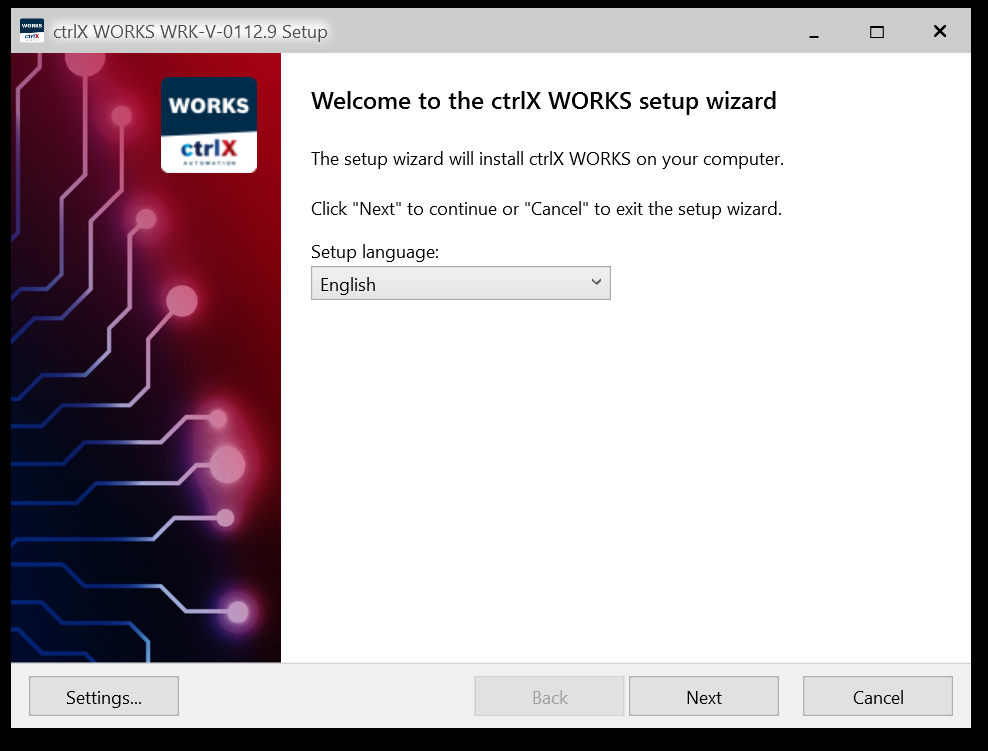
There are only English and German languages, but select English and click Next.
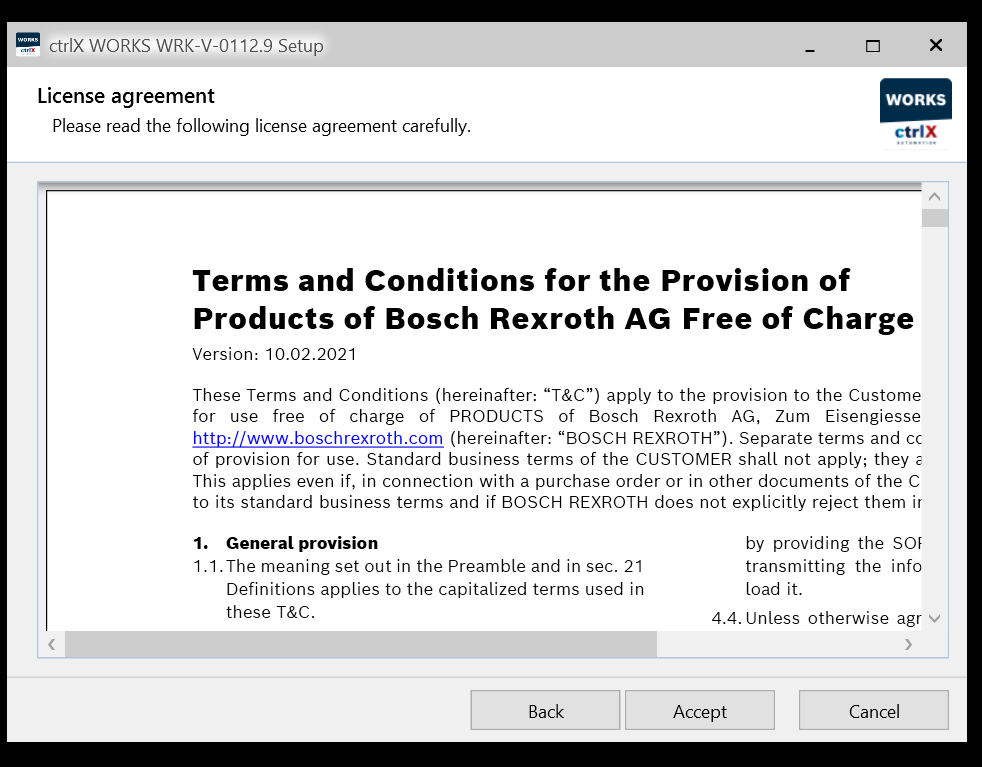
Accept the lincese.
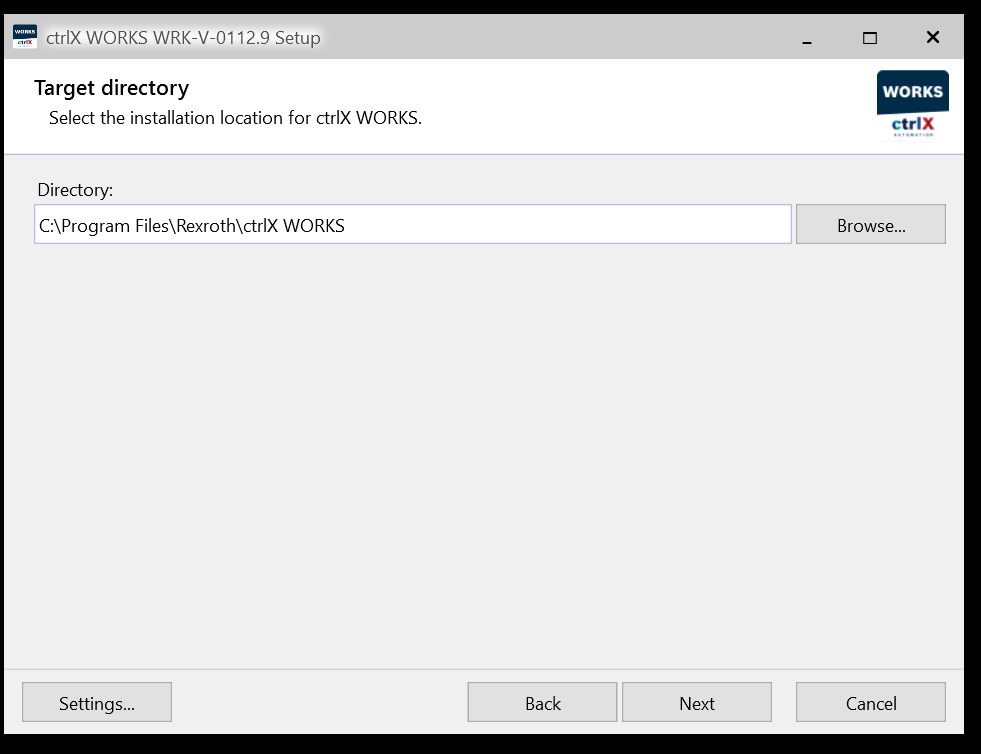
Choose your installation path and Next.
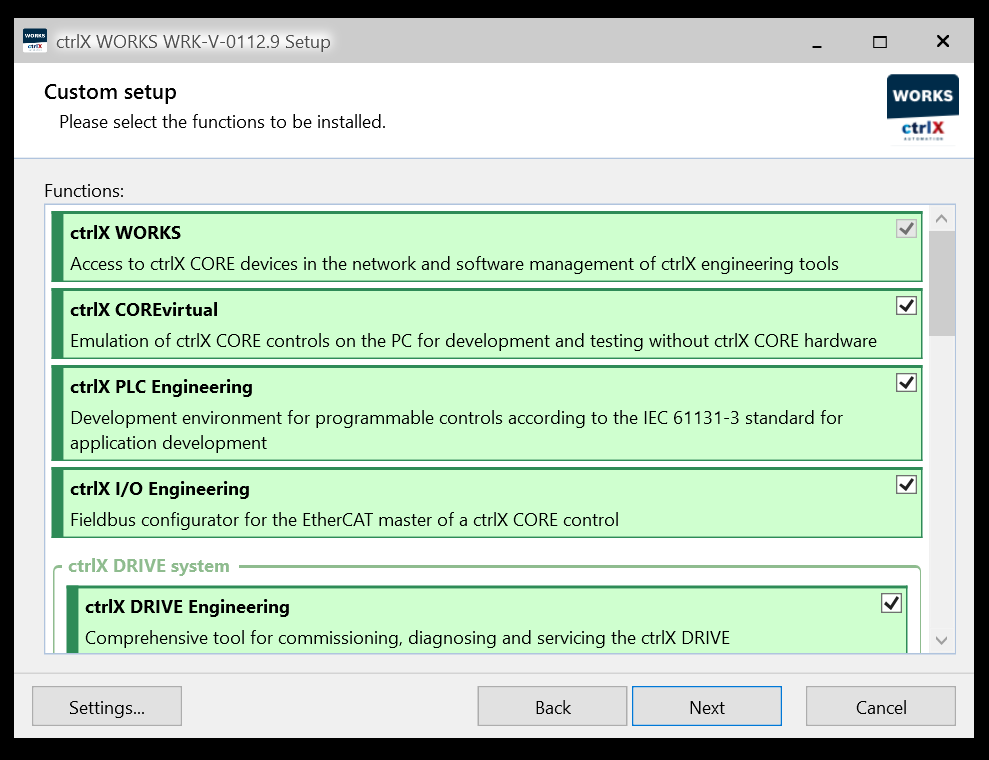
Select Options to install. For the time being, enter everything and proceed with Next.
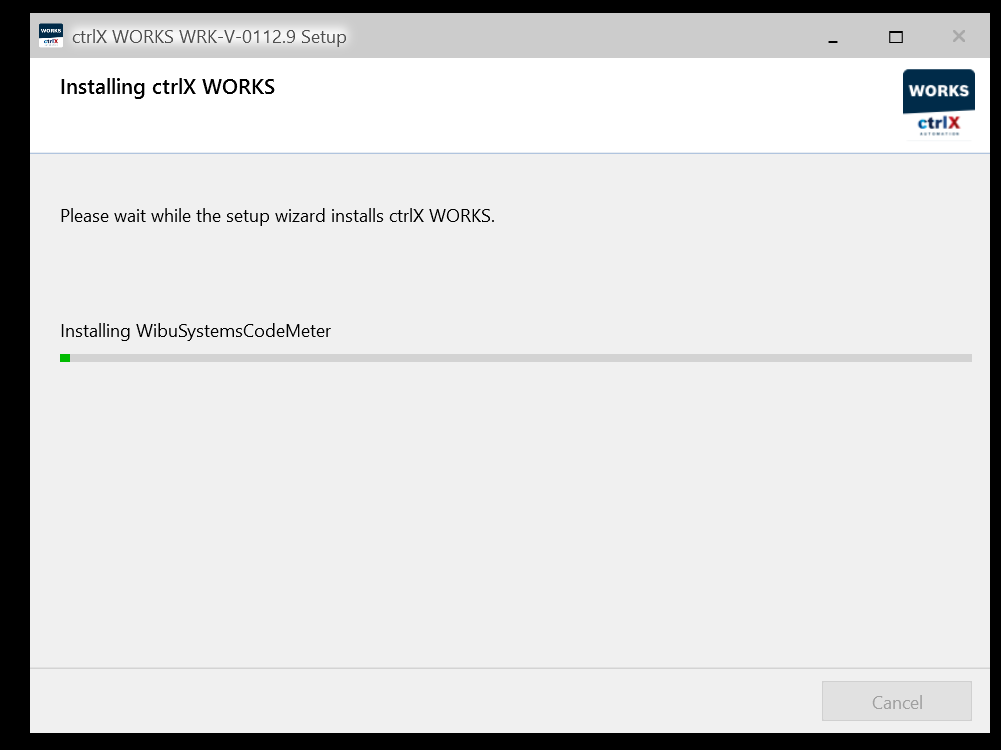
Start the Installation.

Please wait a minute..
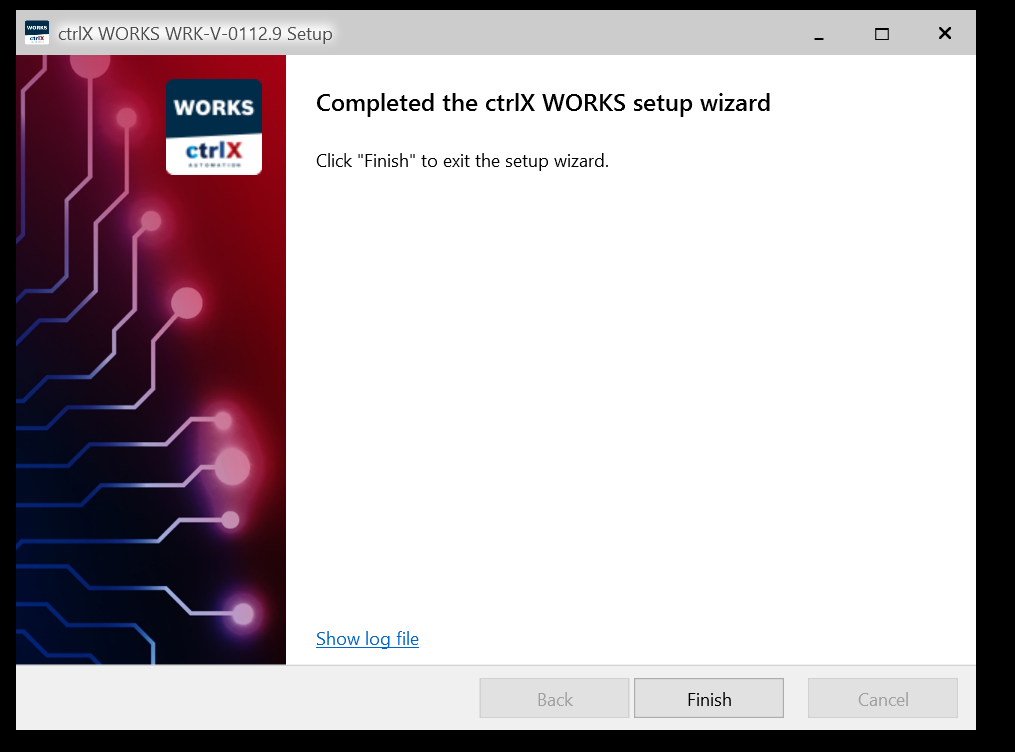
Done!
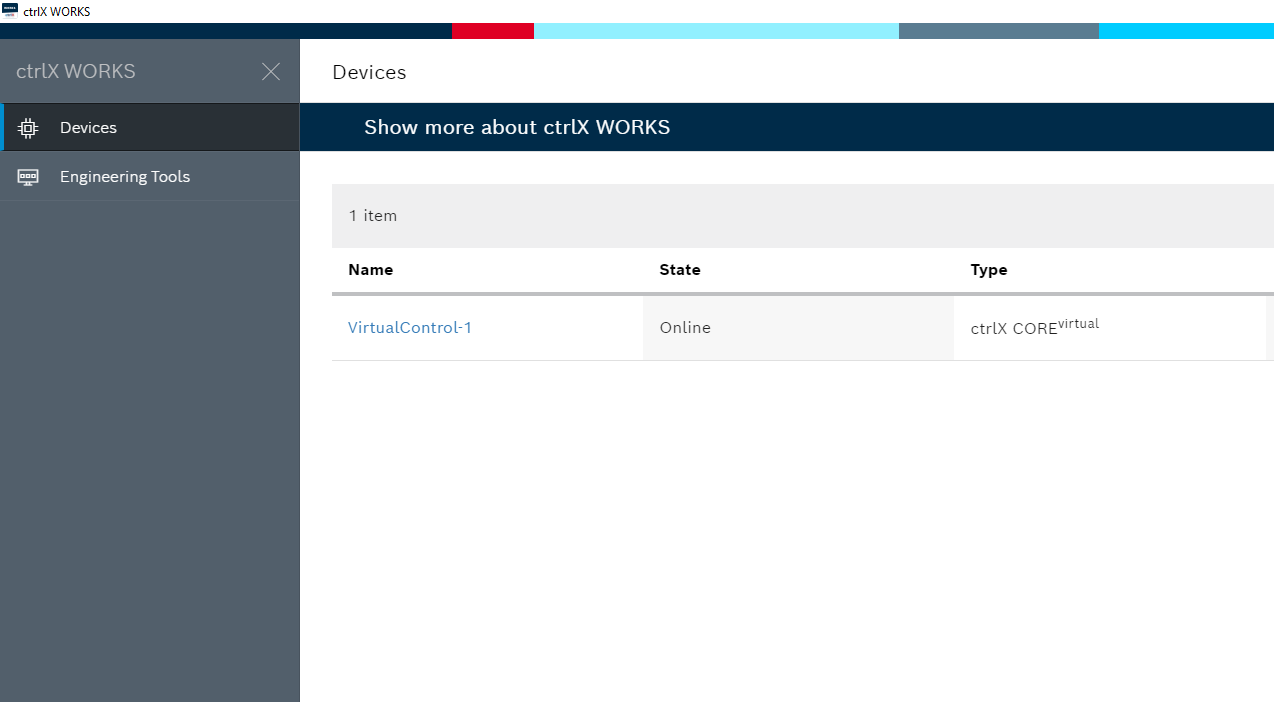
Your First VirtualCore!
Double-click ctrl WORKS WRK-V-XXX to start Ctrlx Works.

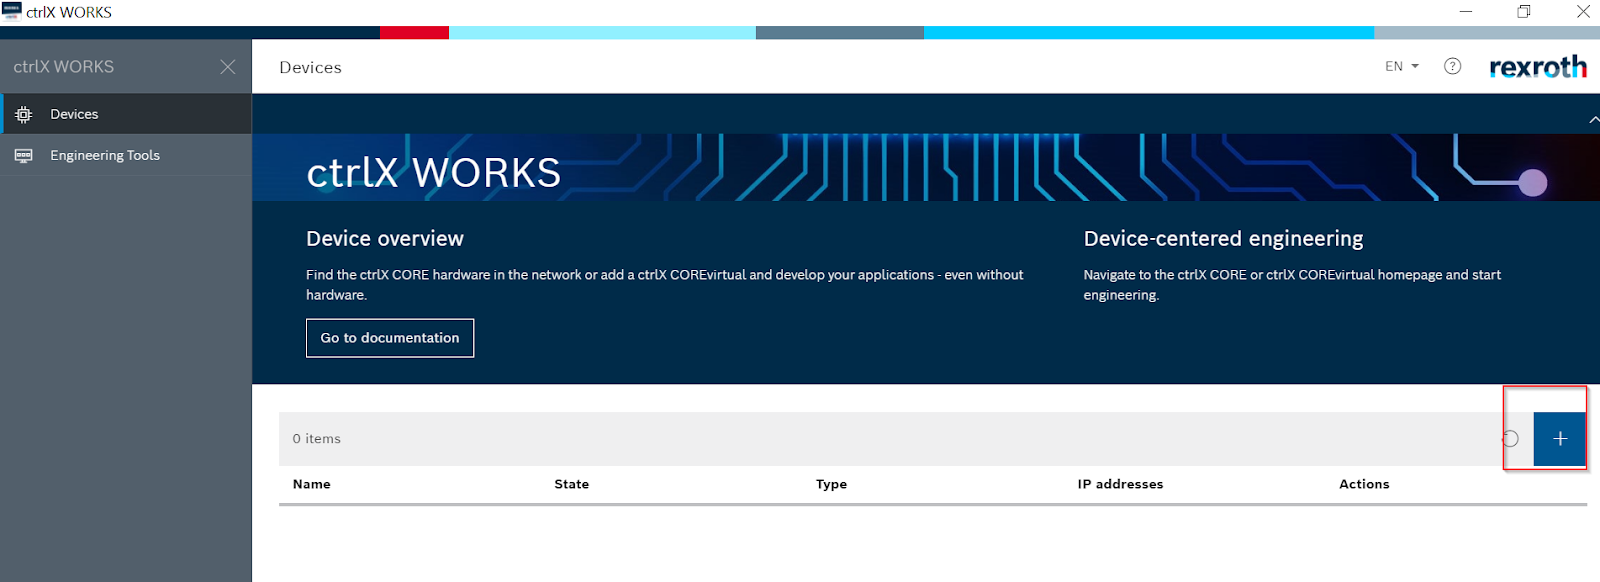
ctrl WORKS will launch and you can configure things like VirtualCore from that tool.

Create a new VirtualCore with +Button.
Enter the VirtualCore name and click OK.

Done!

Edit
You can set the rename your Virtual CORE with the pencil icon.

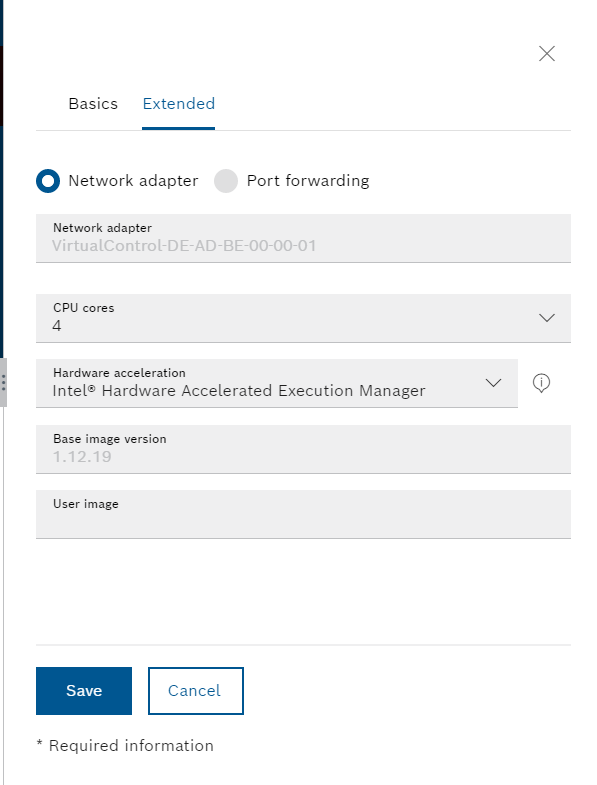
In Basic Tab, you can set the corresponding Core name.

On the Extended Tab, you can set items related to Core Performance such as Network Adapter and CPU Core.
Start your VirtualCore!
Start VirtualCore with the white triangle ICON.

VirtualCoreのStateがOfflineからBootingに変わります。

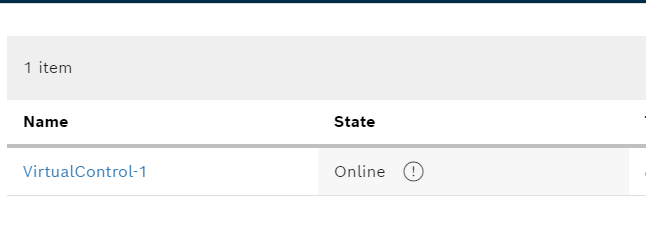
Done! State is now Online.
Access the VirtualCore WebServer
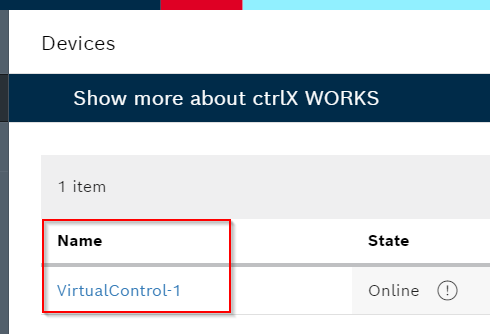
After VirtualCore starts, click VirtualControl-1 to start WebServer.
After Browser starts, click Advanced.

Proceed with Accept the Risk and Continue.

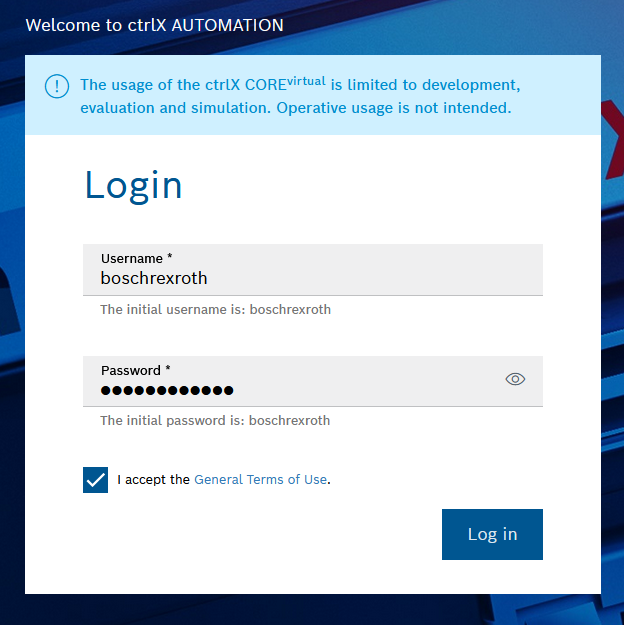
Done! Login screen is displayed.
By default, Username and Password are also boschrexroth.
Web Server of Ctrlx Virtualcore was displayed.

Configure the IP Address
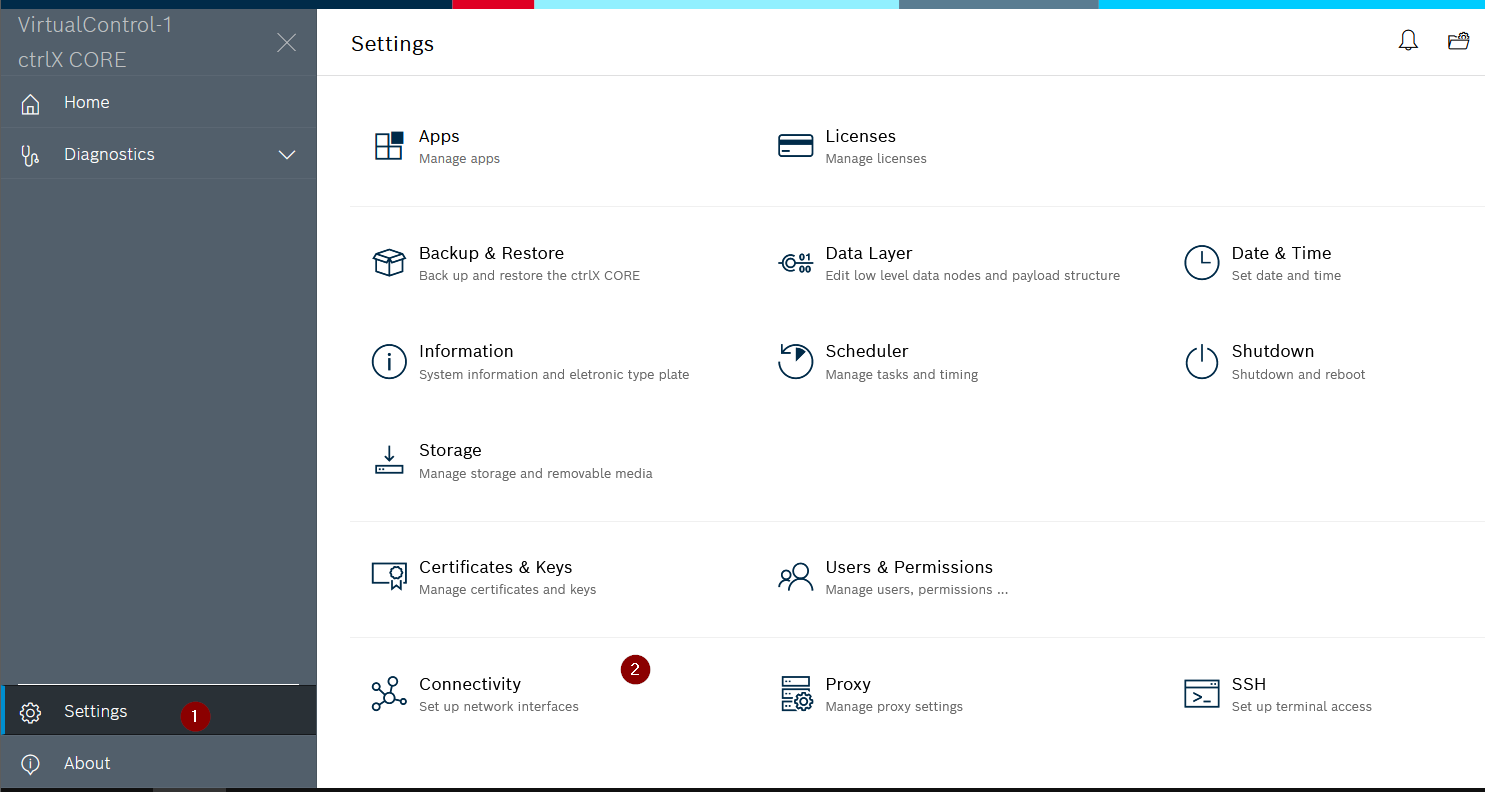
Click Settings>Connectivity and set the IP Address.
eth0 was displayed. It will be VirtualCoe’s Network Adapter.
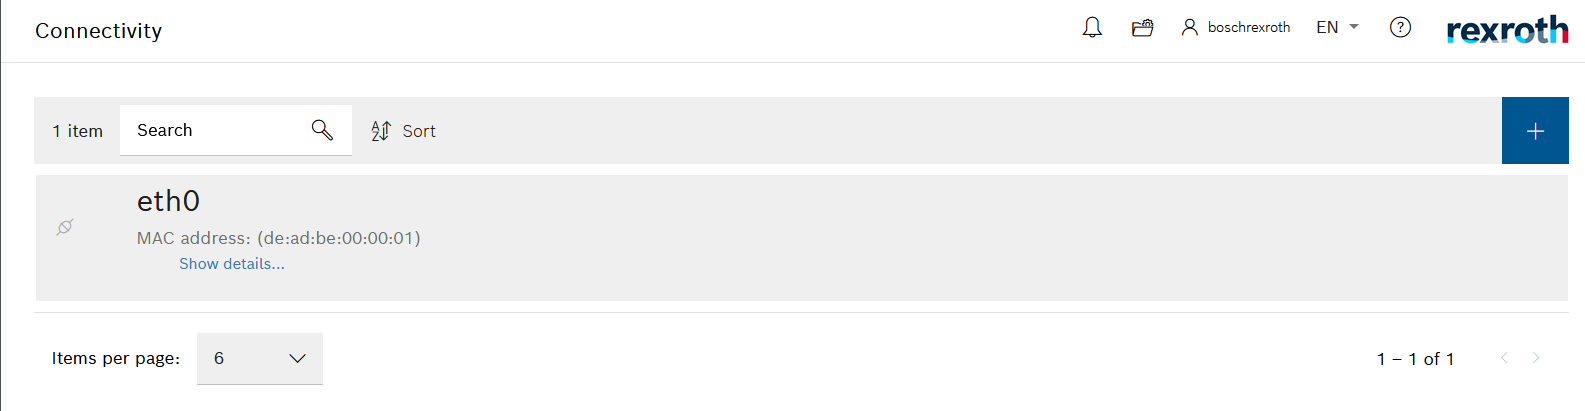
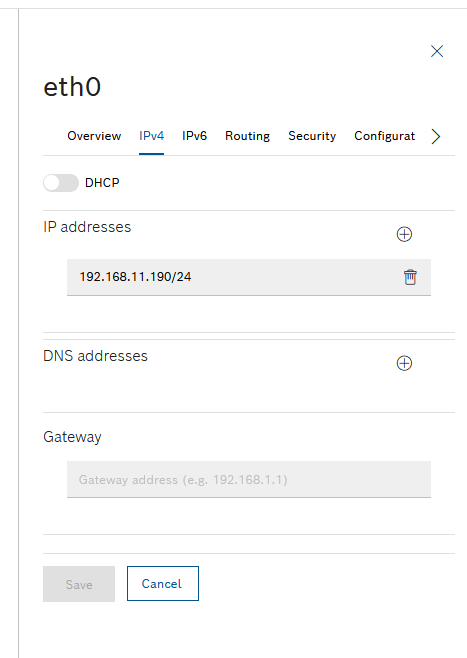
After clicking eth0, you can change the IP of the Network Interface.
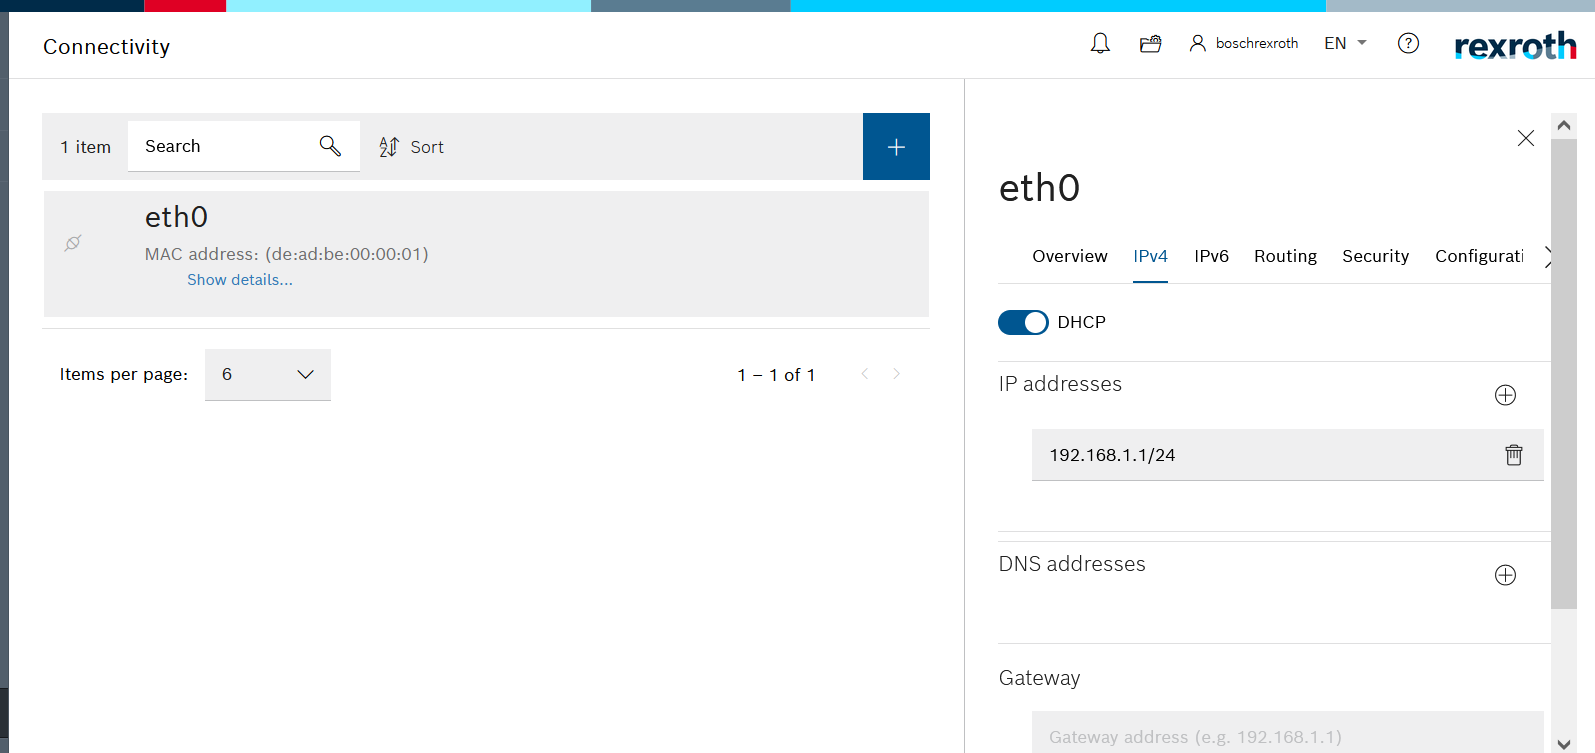
This time it will be 192.168.11.190/24.
PLC APP?
ctrlX PLC implements a Scalable PLC Solution and integrates conventional PLC functions and IoT functions into one. As I wrote about ctrlX AUTOMATION at the beginning, it is Linux Ubuntu Core Operation System with enhanced real-time capabilities, and you can install the necessary Snaps according to the actual application.
Snaps in ctrlX AUTOMATION are called “Apps” and can be downloaded from ctrlX Store and 3rd-party.
Of course, the PLC APP has automatic code creation via basic Function Modules, Program Templates, and REST API, but protocols such as OPCUA and MQTT, which are essential for IoT, are also implemented. EtherCAT, as well as Ethernet/IP and Profinet are supported also in the Fieldbus area.
And the best part is that the PLC APP is based on Codesys V3.

Characteristics
- 1k instruction execution time
- Bit Operation 2us
- Integer Operation 2us
- Real Operation 4us
- Program and data memory limits are device memory itself
- Up to 110kb Retain memory
- IEC 61131-3 Language Support
- ctrlX MOTION can be controlled from PLCopen Library
- ctrlX Data Layer accessible from REST/OPC
- Automatic code creation via REST interface (ctrlX PLC API)
- Tools and Runtime sense are security communication
- Etc..
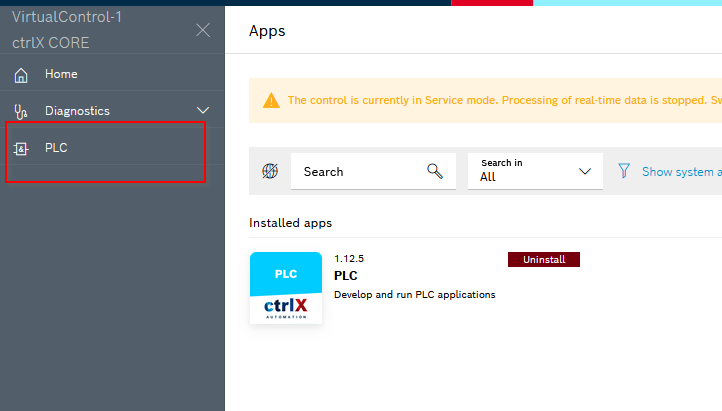
Install
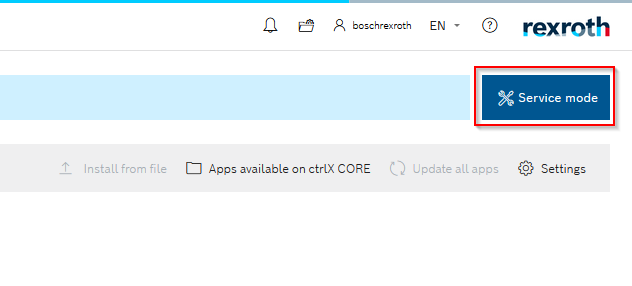
Change to Apps management screen in Settings>Apps.
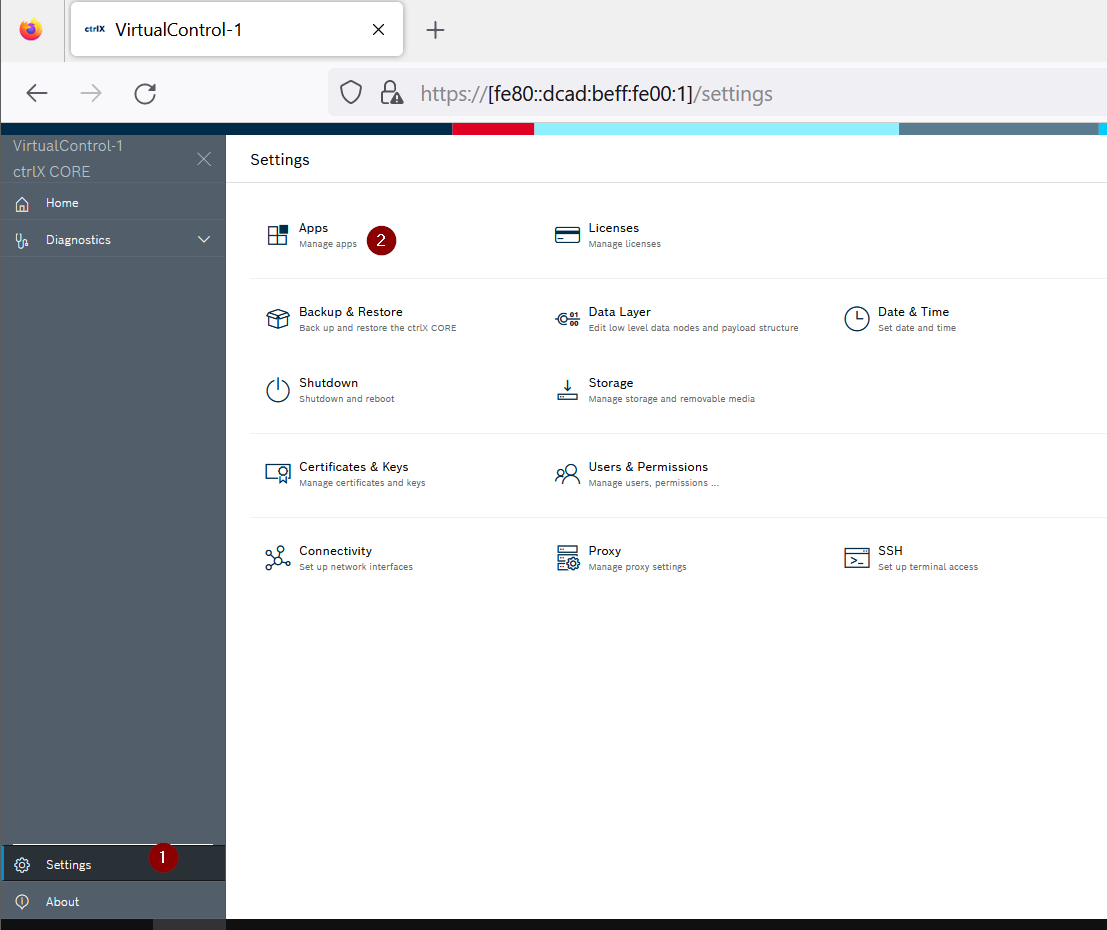
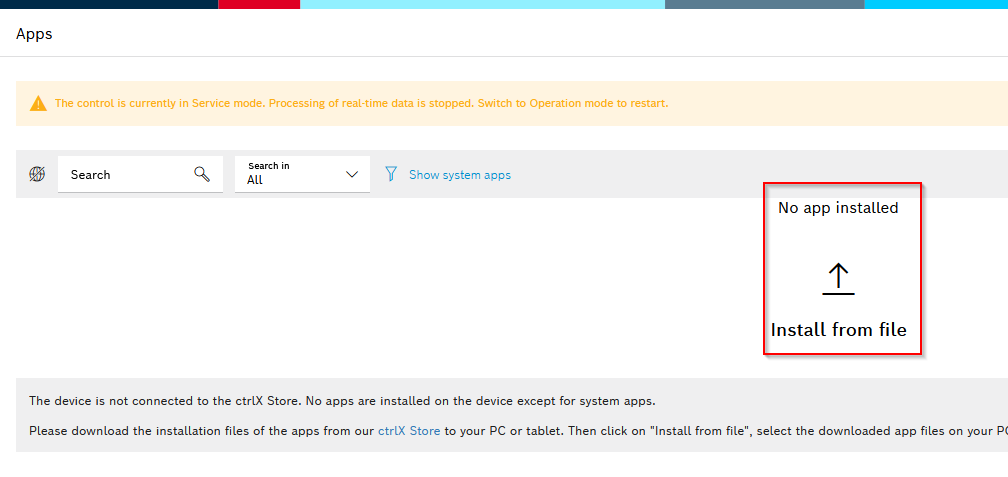
It changed to the Apps installation screen.
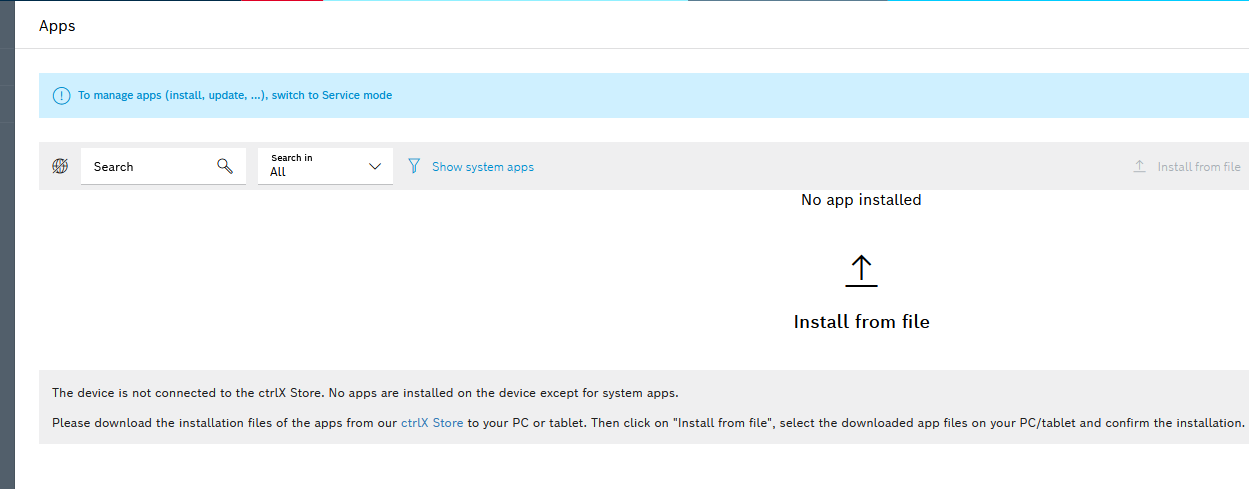
Change
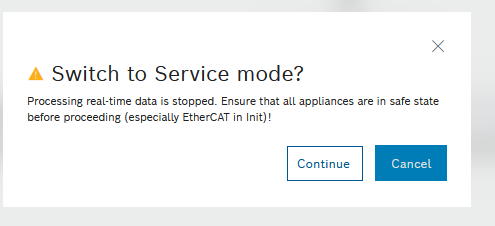
Switch Ctrlx Virtualcore to Service Mode with the Service Mode button on the right. Apps cannot be installed without Service Mode.
Switching to Service mode will stop the real-time data processing.
Proceed with Continue.
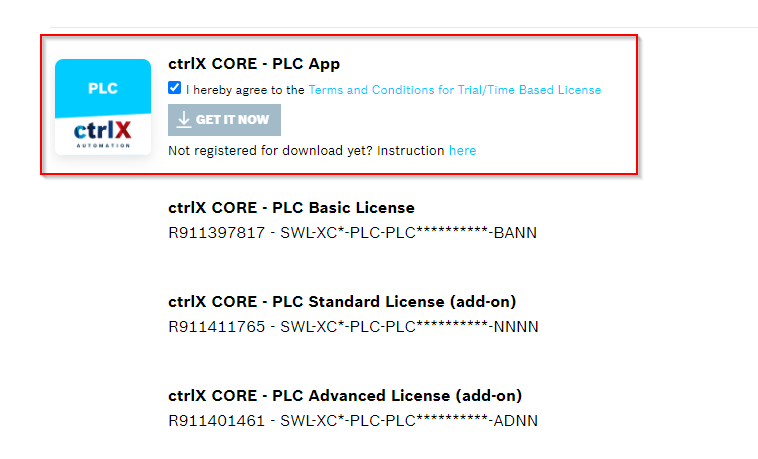
Download the PLC Apps
Download PLC Apps from the link below.
https://developer.community.boschrexroth.com/t5/Store-and-How-to/ctrlX-CORE-PLC-App/ba-p/13298
A .tar compressed file has been downloaded.
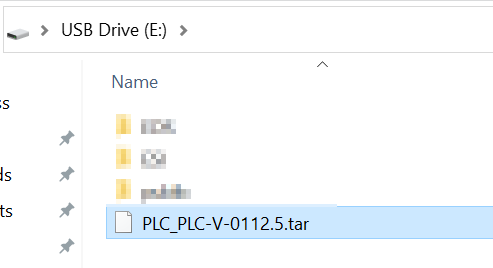
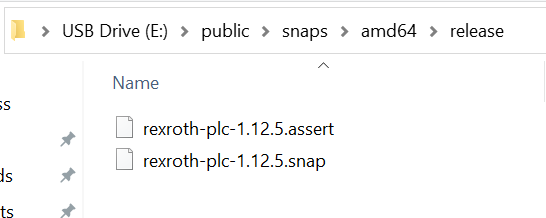
There is a .snap File that is decompressed with 7-ZIP.
Install the Apps
Install Apps with Install from file.
Open rexroth-plc-1.12.5.snap from earlier.

File is uploading to System…

Proceed with Install.

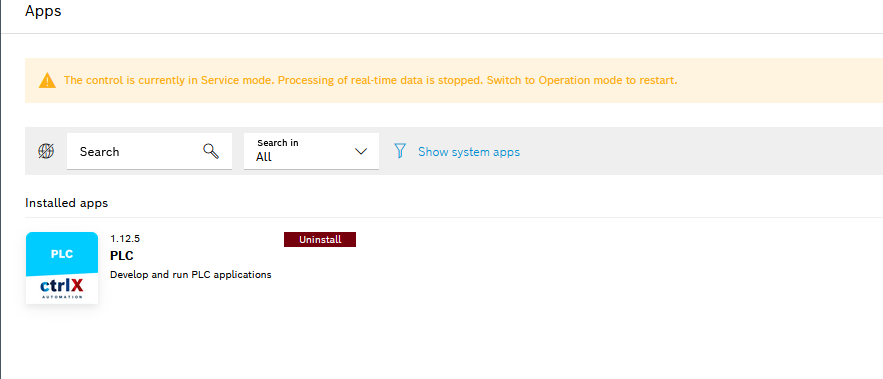
Done! The PLC App is now installed.
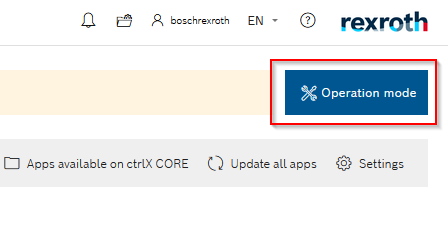
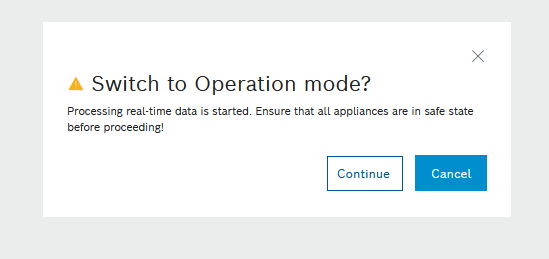
Change to Operation Mode
Now we can change CtrlX back to Operation mode.
Real-time data processing is activated in Operation Mode.
Proceed with Continue.
Start the ctrlX Engineering
“PLC” has increased from the menu of VirtualCore.
Start the Ctrlx engineer tool with Start ctrlX PLC Engineering.

Proceed with Open Link.

wait a moment…

Done!CtrlX Engineering has started.

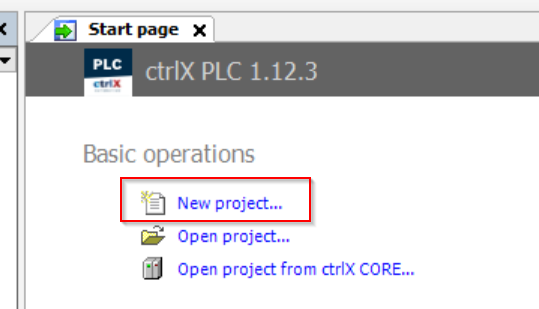
Your First Project
Let’s create a simple project. ctrlX PLC Engineering is the same operation as Basic Codesys.
New Project
Basic Operations>New Project to create a new project.
Choose ctrlX COREvirutral as your Templates.
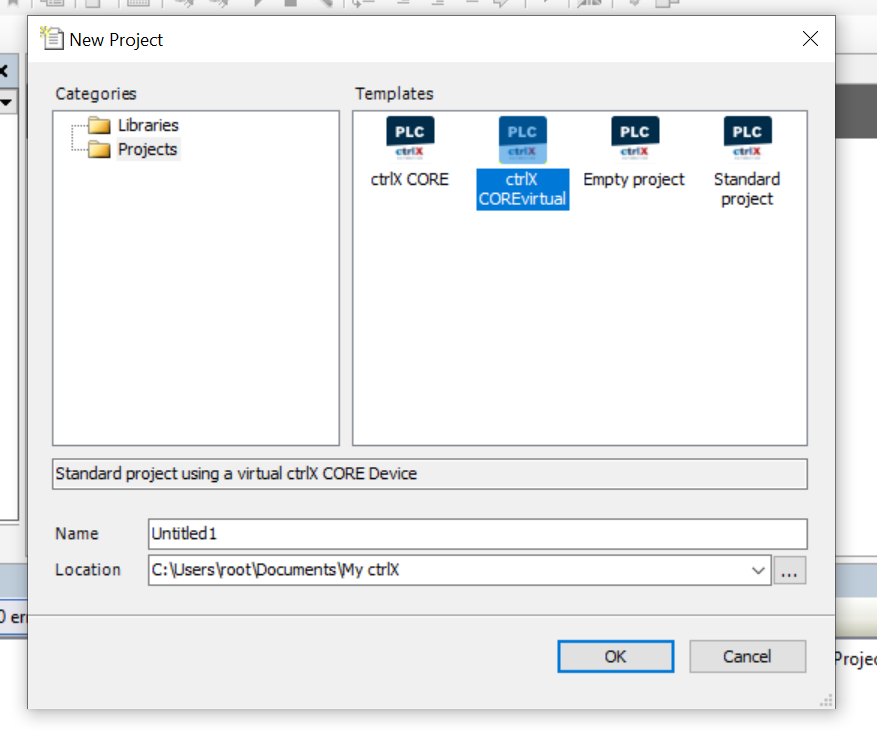
A project has been created.
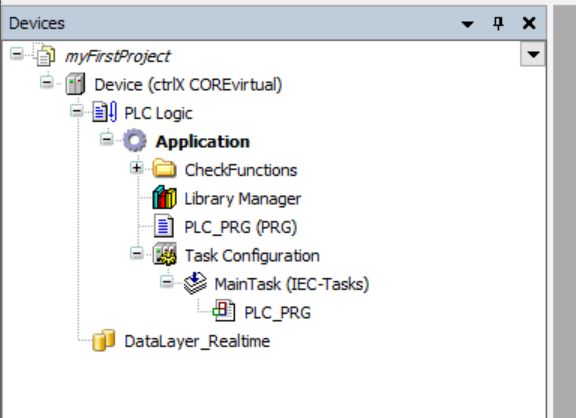
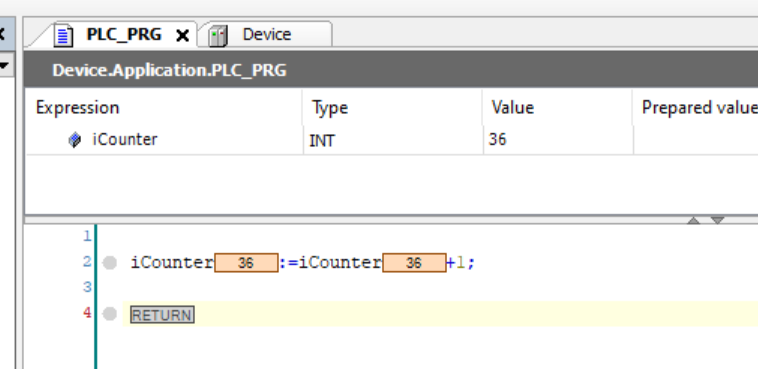
Program
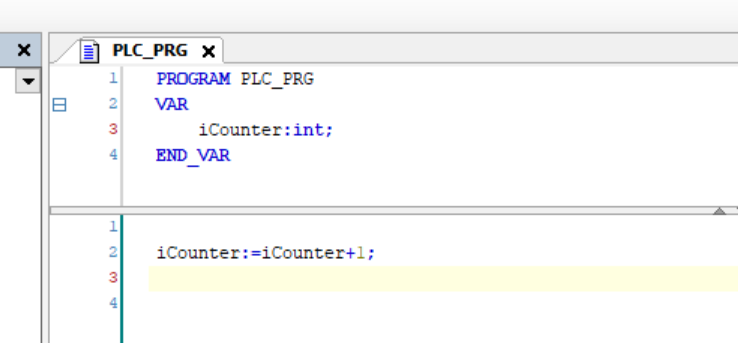
Create a new program with PLC_PRG.

The screen is almost the same as Codesys.
Write a program that adds variables in cycles.
Login!
Before downloading the program, first change the IP address of VirtualControl-xxxx’s Network Adapter from the Control Panel.

Now we can download the project.

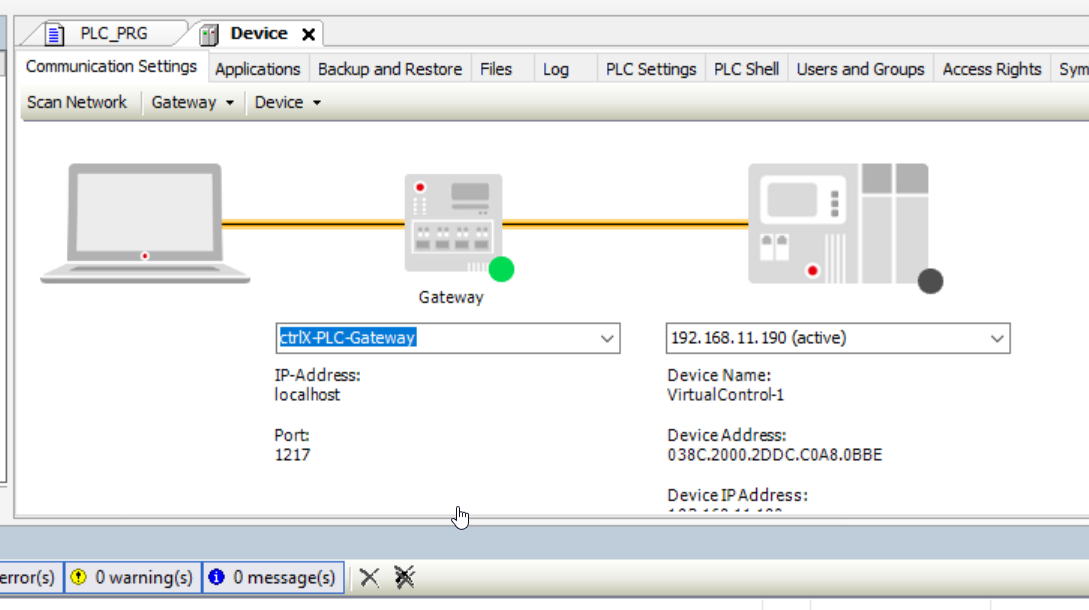
Communication Settings screen is shown.
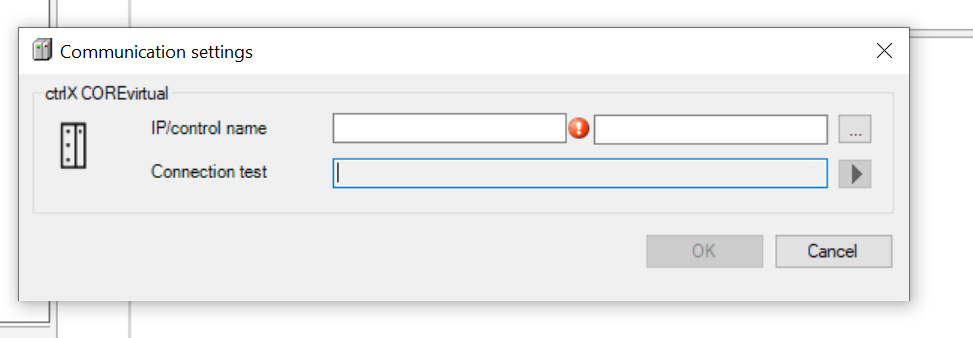
Enter the VirtualCore IP and click OK.
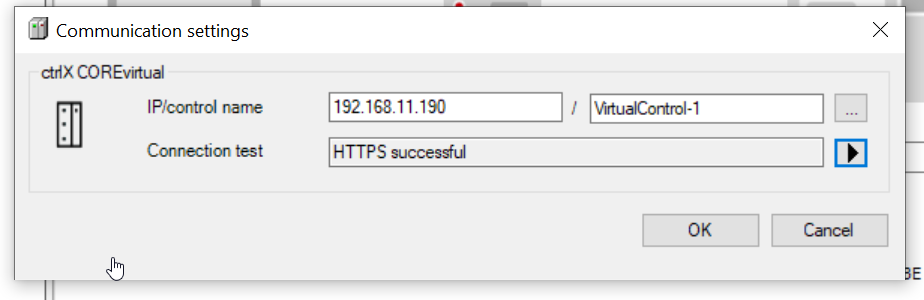
Accept the certificate > OK to proceed.

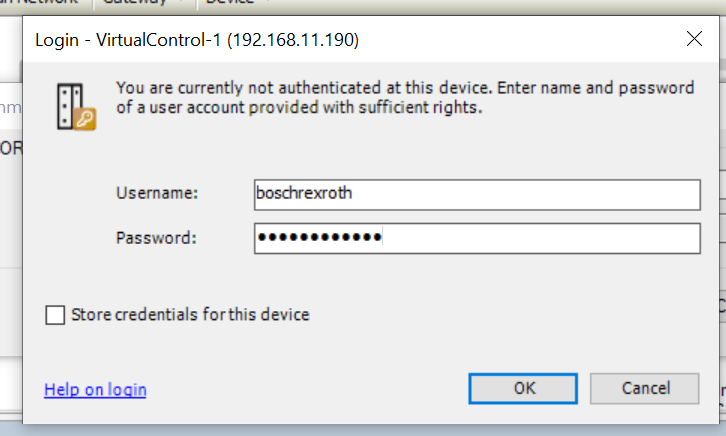
Username and Password are the same as WEB Server Login information.

Username:boschrexroth
password:boschrexroth
Done! Connection is established.
Login again and confirm with Yes.

The program has been downloaded.
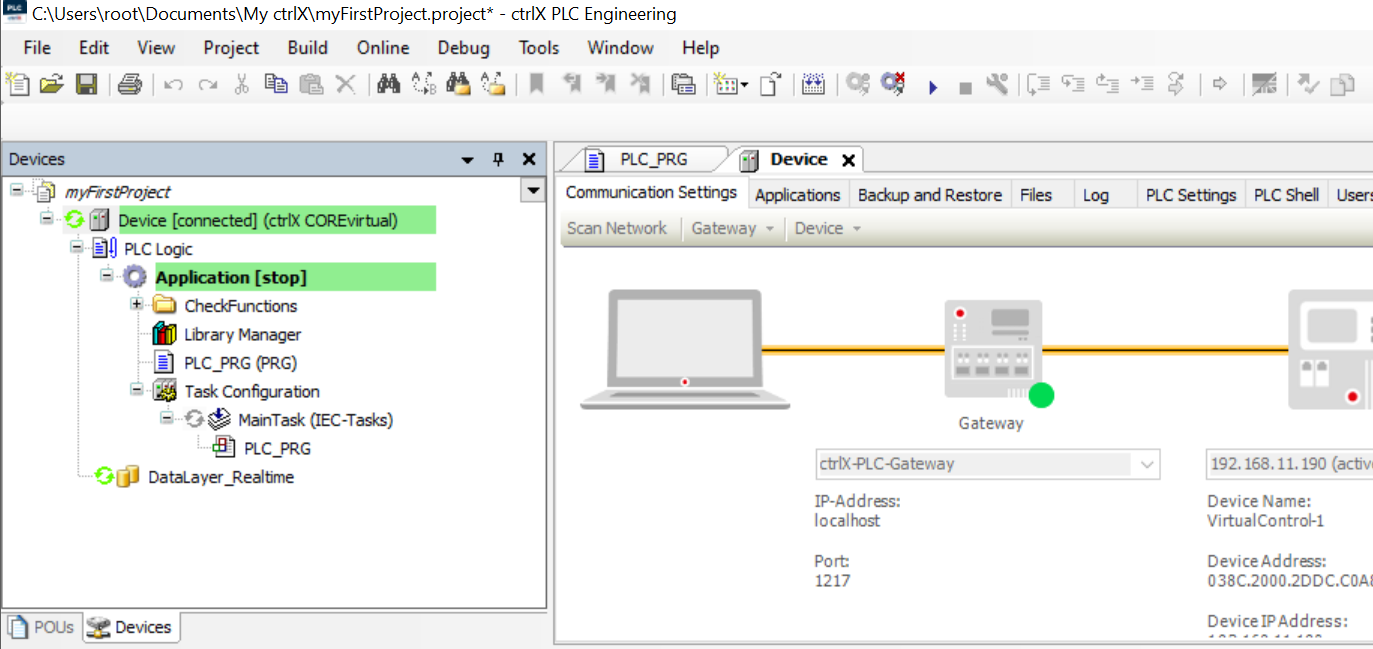
Run the Runtime Application.
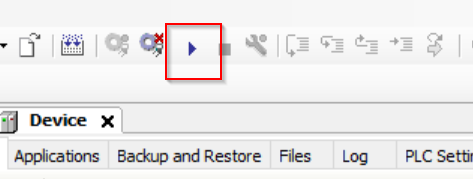
Running the Done! program.