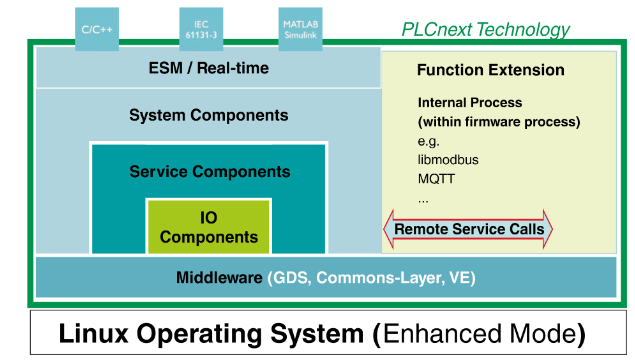
RSCはRemote Service Callsの略称でPLCNEXTのProcessとデバイス間で通信します。RSCはAPIを提供しており、そのAPIを使用することによってPLCNEXT Technology Firmwareのコア的なコンポーネントにアクセスできるようになります。
RSC Serviceは以下のエリアで使用できます。
- Axioline services
- Axiolineデバイスのデータ読み書き
- PROFINET services
- Profinet デバイスのデータ読み書き
- Device Interface services
- オペレーションシステムとコントローラーハードウェアの情報アクセス
- GDS services
- GDS(Global Data Space)データ読み書き
PyPlcnextRsc Installation
以下のコマンドでPython版のRsc Service ライブラリをインストールできます。
PyPLCnextRscは簡単なRSC Client ライブラリでPythonからRSC Serviceを使用することができます。
注意するのはこのPackgeはまだ開発中なので、機能も100%揃えていません。
| pip install -U pyplcnextrsc |
Documents
https://pyplcnextrsc.readthedocs.io/en/latest/index.html
Reference Link
以下はPLCNEXTの関連記事です。
http://soup01.com/ja/category/plcnext/
Edit the RscGatway.settings
このPackageはTLS SocketをDefaultですが、セットアップするのは少し面倒なのでTLSなしでアクセスしようと思います。
そのためにRscGatway.settingsを修正する必要があります。
| cd /etc/plcnext/device/System/RscGateway/ nano RscGatway.settings |
うん…File ‘RscGateway.settings’ is unwriteableのメッセージが出てきます。

ではsudo でAdminを試してみます。
| sudo nano RscGatway.settings |
user admin is not allowed to execute… as root on axcf2152.
ではrootなら編集権限があるってことですね。

Change Root Password
以下のコマンドでroot Passwordを変更します。
| sudo passwd root |
New passwordを入力します。

Retype new passwordで、もう一度入力します。

Password変更OK。

Login as root
rootをLoginします。
| su root |
root@axcf2152になりました。

前回のRscGatway.settings を修正します。
| nano RscGatway.settings |
よし、メッセージなし。
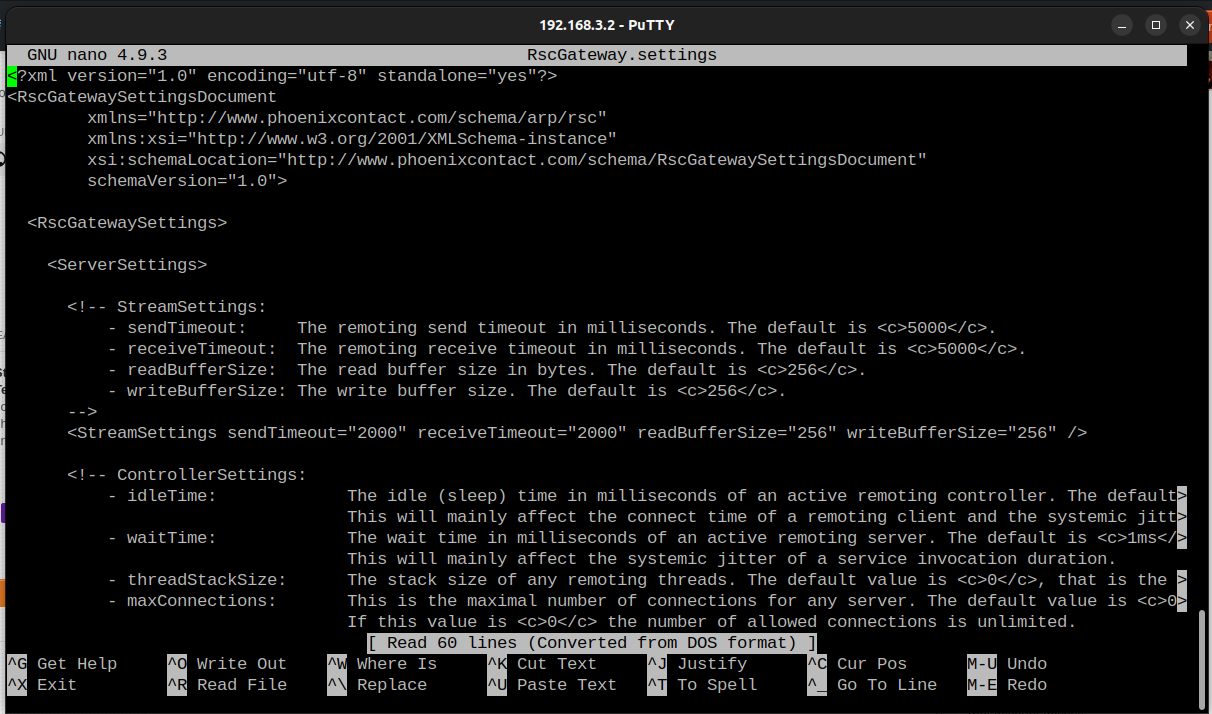
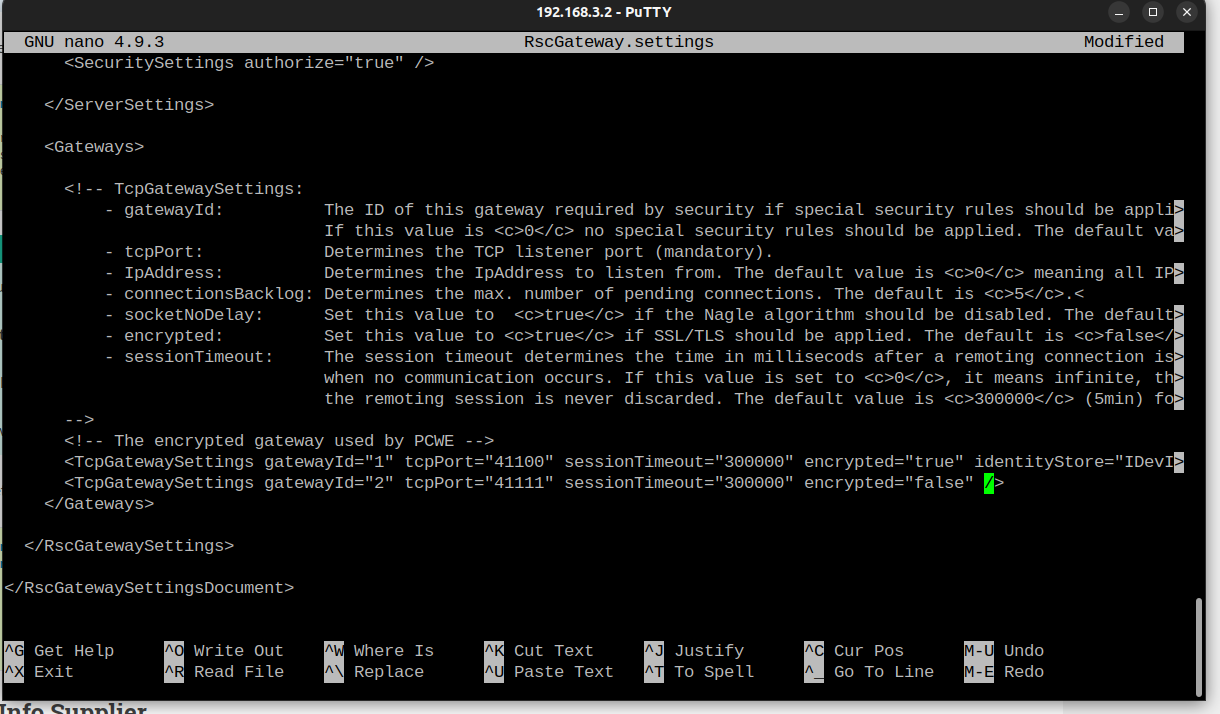
<Gateways></Gateways>のとろろに、<TcpGatewaySettings …>の記述があります。
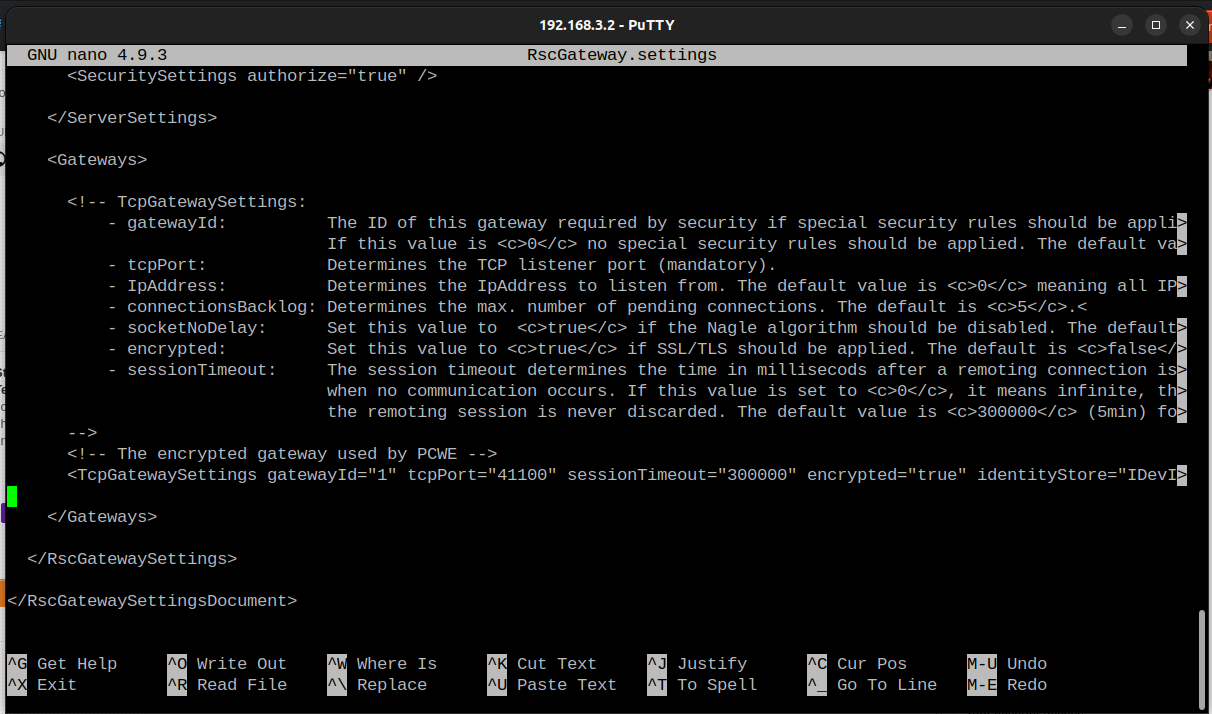
その下に以下の記述を追加します。
それにより、41111はTLSなしのPortとして開放します。Fileを保存しPLCENXTを再起動します。
| <TcpGatewaySettings gatewayId=”2″ tcpPort=”41111″ sessionTimeout=”300000″ encrypted=”false” /> |
Example1
こちらはExample1です。ドキュメントと記述しているCodeとほぼかわりません。
ExtraConfigure()を作成するにはPyPlcnextRscのDevice ObjectはDefaultがTLS有効になってるため、別のConfigurationを作成し渡す必要があります。なのでconf.useTls = False記述があります。
次はsecureInfoSupplier=ConsoleSupplierExampleでは、PlcnextRscを使用するにはLoginが必要です。もちろんこのようにsecureInfoSupplier = lambda:(“admin”,”my_pass”)でも問題ありませんが、基本的にPasswordはコード内に書きません。
ライブラリではConsoleSupplierExampleとGUISupplierExample 2種類のがあり、Login動作できるExampleを提供しています。
| from PyPlcnextRsc import Device,GUISupplierExample,ConsoleSupplierExample,ExtraConfigure from PyPlcnextRsc.Arp.Plc.Domain.Services import IPlcManagerService, PlcStartKind conf = ExtraConfigure() conf.useTls = False with Device(‘192.168.3.2’, secureInfoSupplier=ConsoleSupplierExample, port=41111, config=conf) as device: print(“Device is connected!”) |
実際そのコードを実行すると、UserNameの入力が求められます。

adminを入力しEnterします。
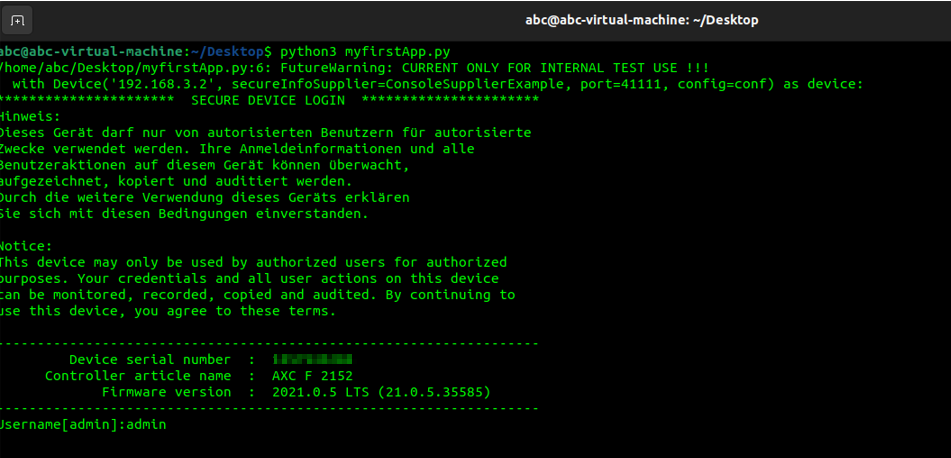
Passwordを入力し、Enterします。
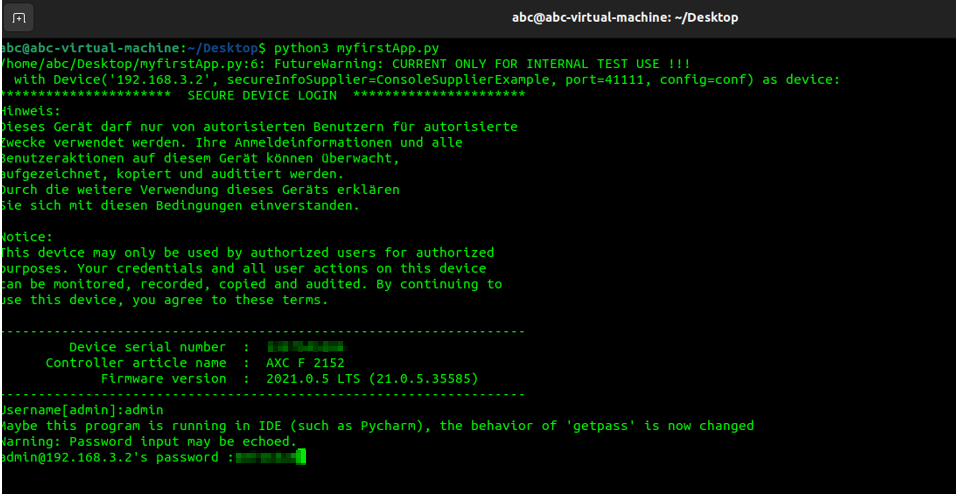
Device is connected!のテキストメッセージが表示されれば、Login成功のことです。

Example2
Example1とあまり変わらなく、secureInfoSupplier=GUISupplierExampleに変更しただけです。
| from PyPlcnextRsc import Device,GUISupplierExample,ConsoleSupplierExample,ExtraConfigure from PyPlcnextRsc.Arp.Plc.Domain.Services import IPlcManagerService, PlcStartKind conf = ExtraConfigure() conf.useTls = False with Device(‘192.168.3.2’, secureInfoSupplier=GUISupplierExample, port=41111, config=conf) as device: print(‘Device is connected..’) |
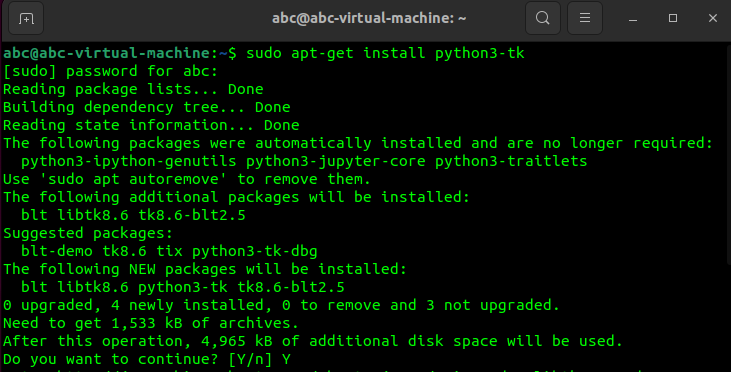
Error:Your Python doesn’t have tkinter for GUI
もしCodeを実行するときこのエラーが出たら、まずtkinterをインストールする必要があります。
Error :Your Python doesn’t have tkinter for GUI

以下のコマンドを実行します。
| sudo apt-get install python3-tk |
Do you want to continue?出たら、Yを入力しEnterします。
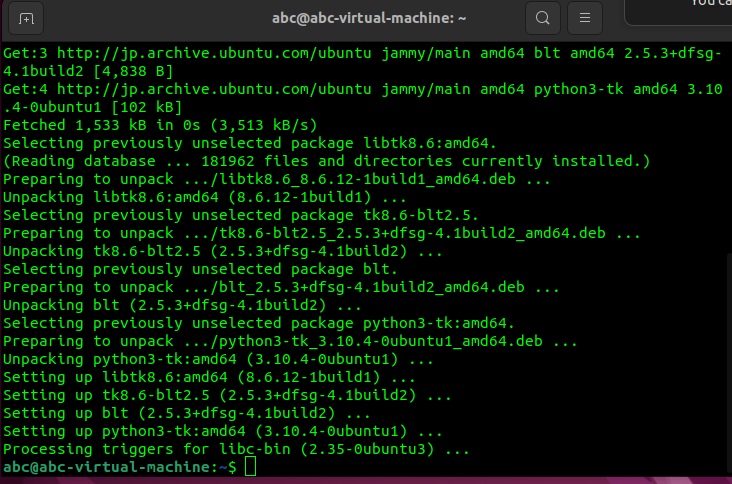
しばらく待つと、インストール完了。
Run again
今回はUserNameとPasswordがLoginする画面になります。

同じくDevice is connected..のメッセージが出たら、実行成功です。
