This is the second episode of the Yokogawa PLC article. This article introduces WideField3 tool installation and simple operation.
Come on, let’s enjoy FA.
Reference Link
Install Tools
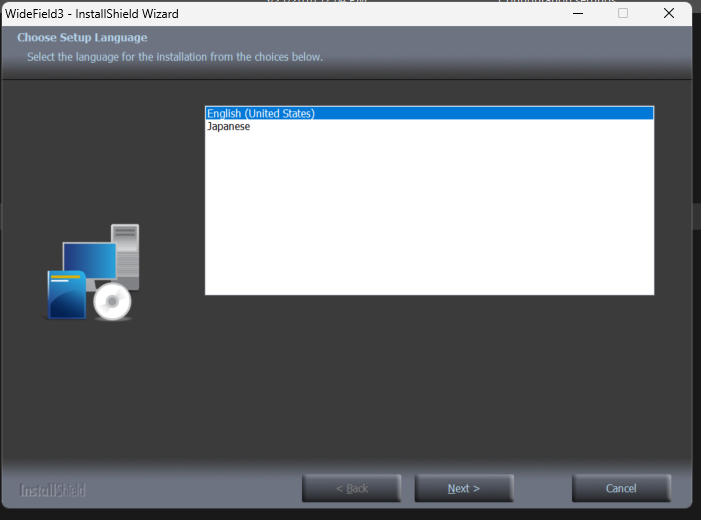
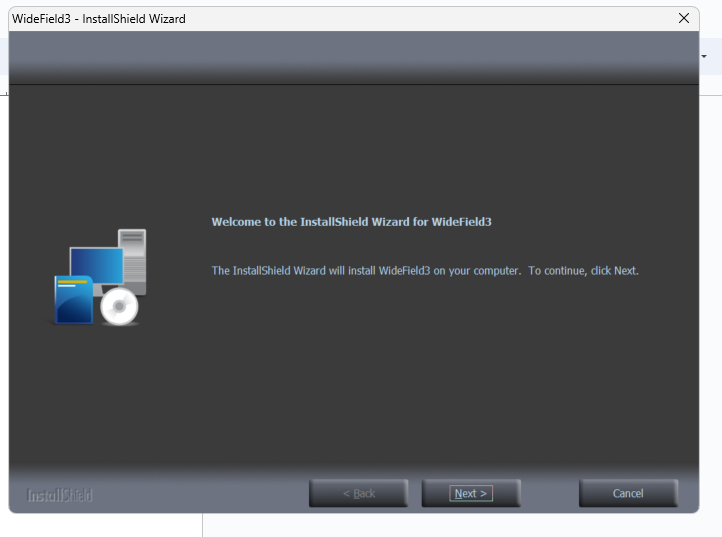
Purchase and install WideField3 from Yokogawa Electric. As I basically use English, set the tool language to English and press Next> to proceed.
Click Install to proceed.

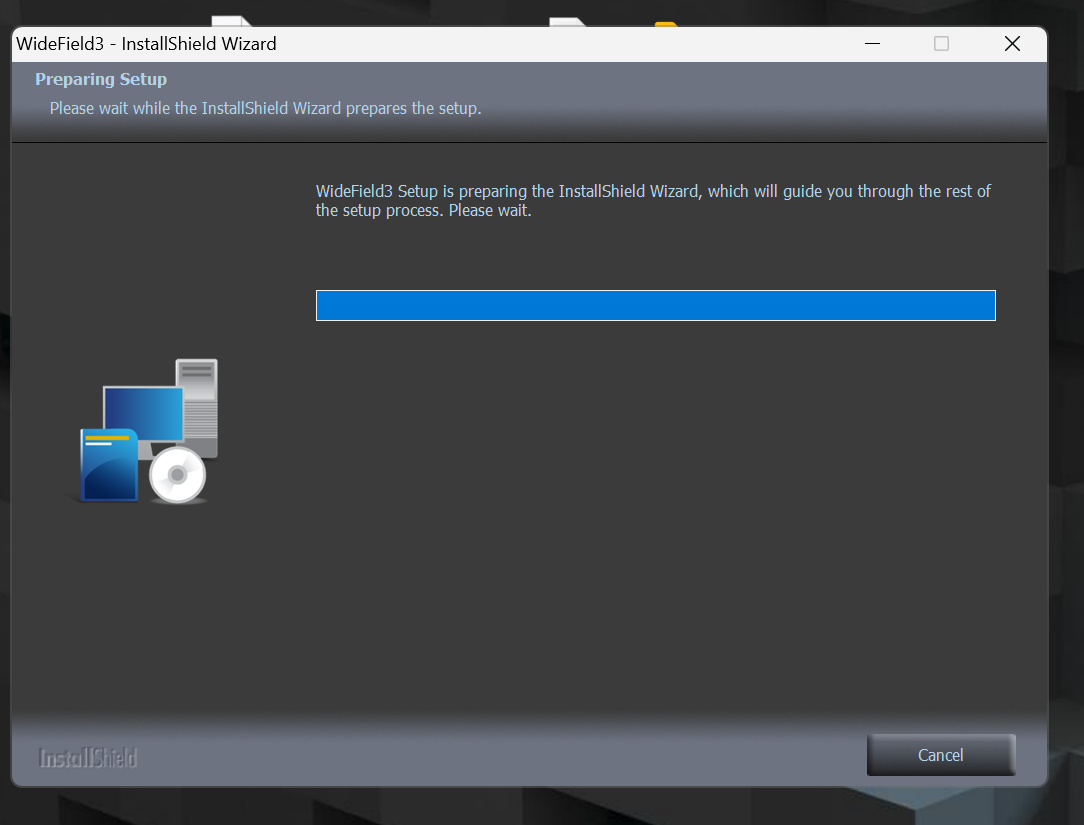
Just a second..
Another installation screen will appear, proceed with Next>.
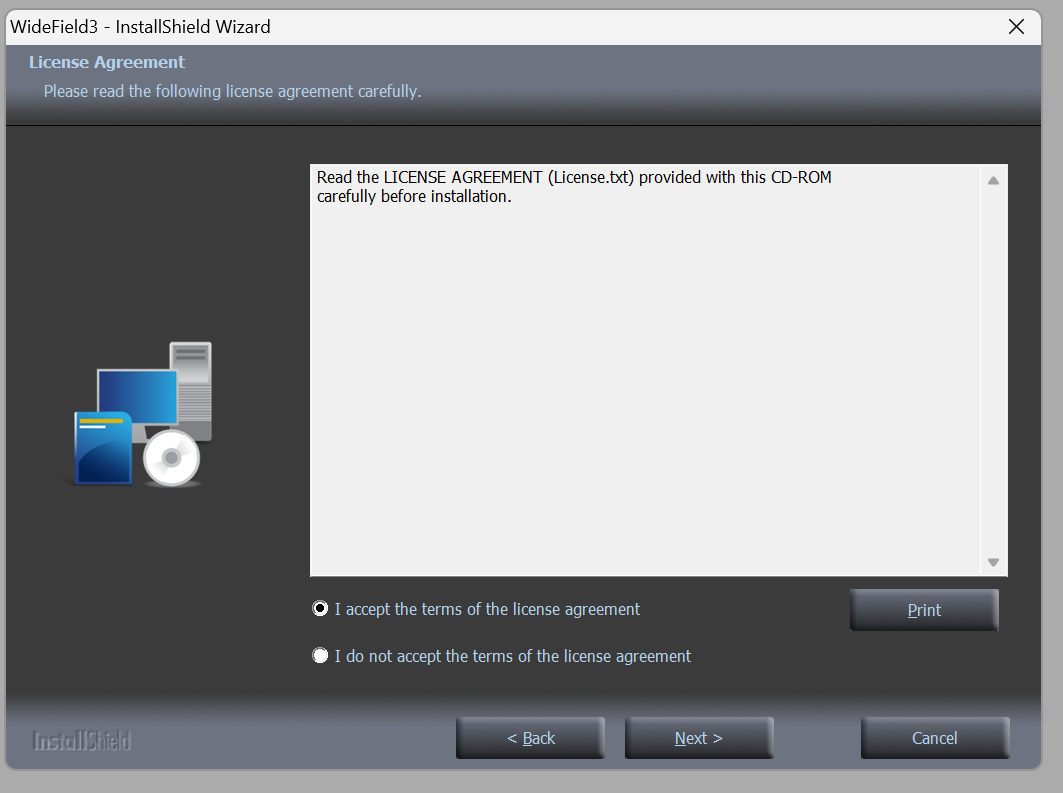
Agree to the licence and proceed with Next>.
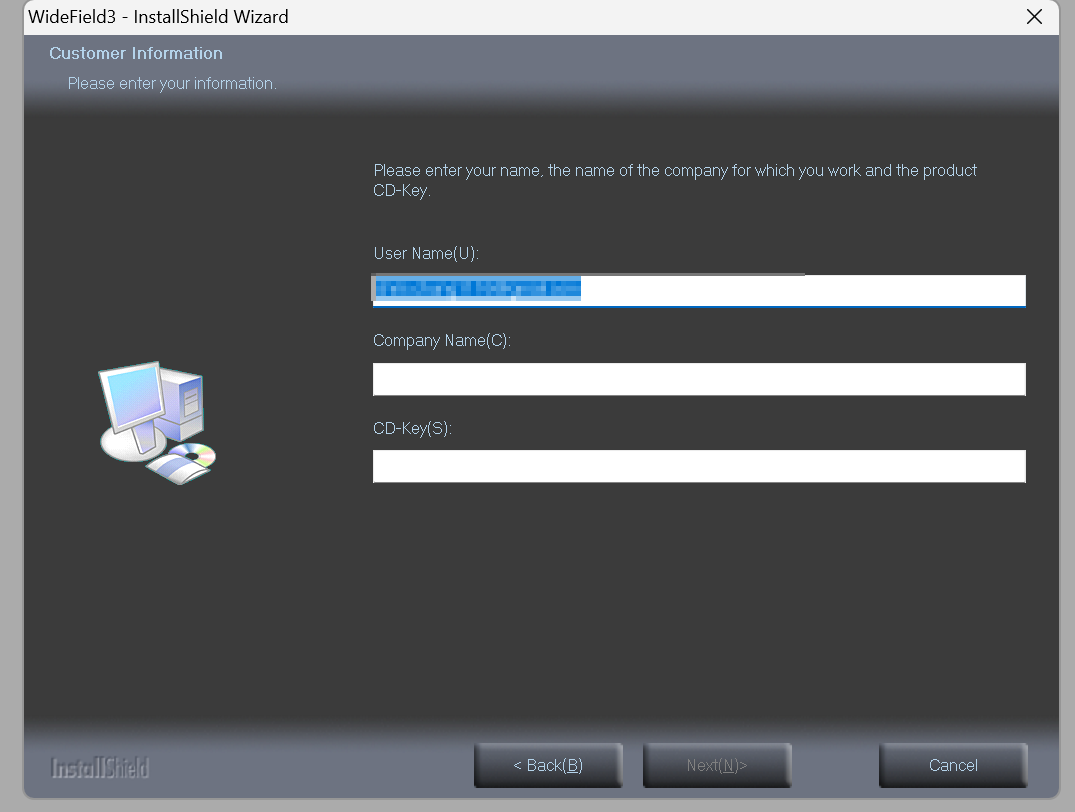
Enter licence information and other details and proceed with Next>.
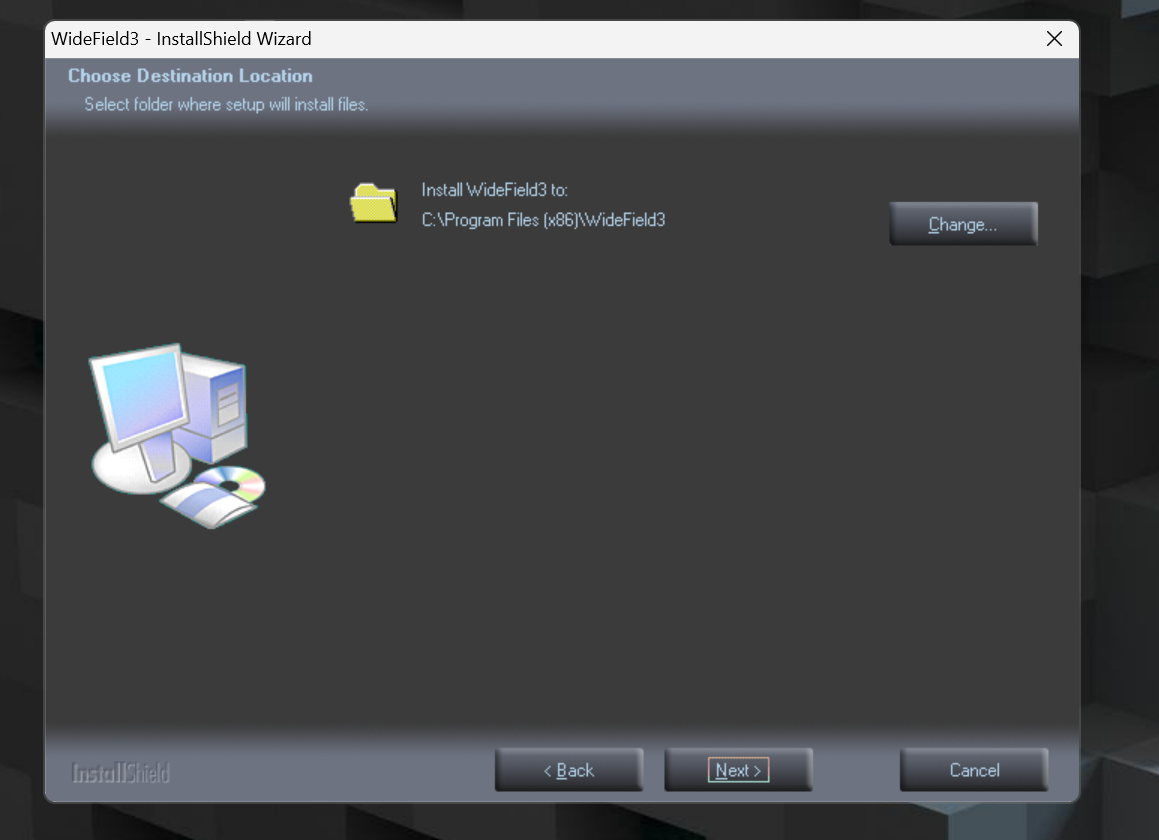
Specify the installation Directory of the tool and proceed with Next>.
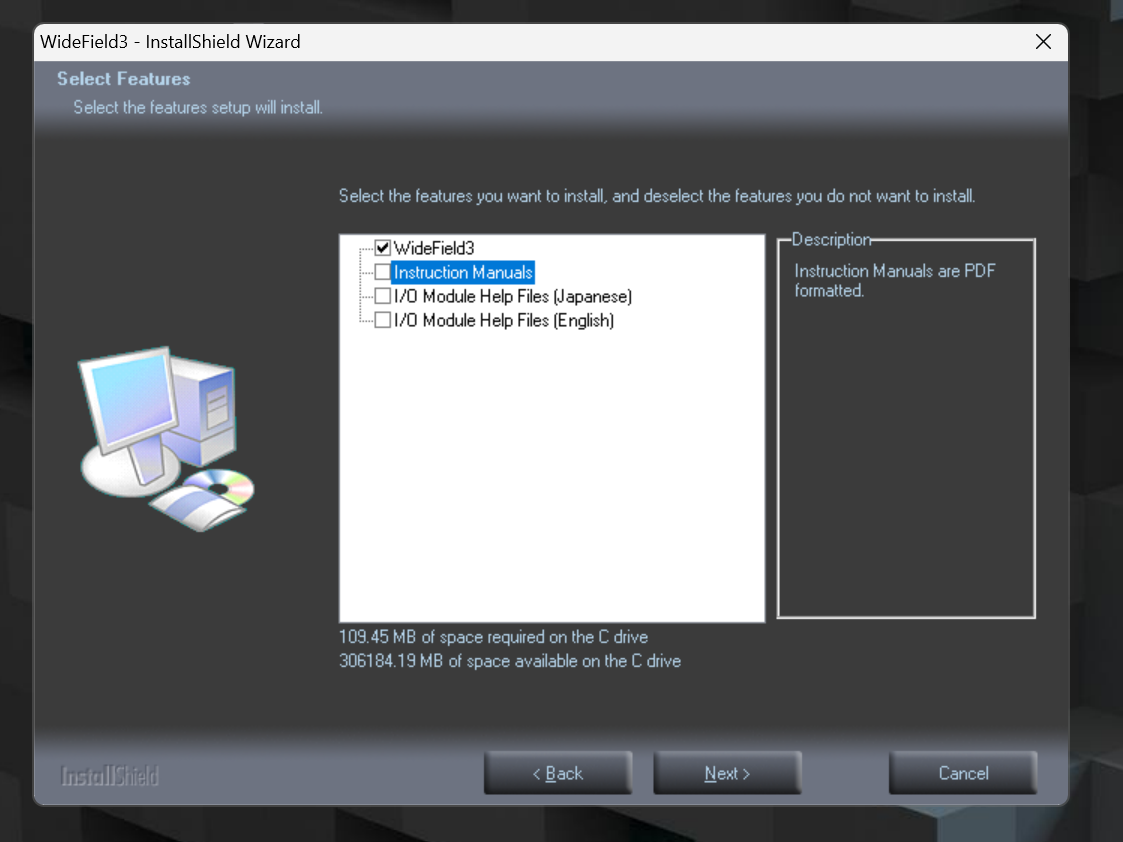
If you want to install software other than the main engineering tools, select them and proceed with Next>.
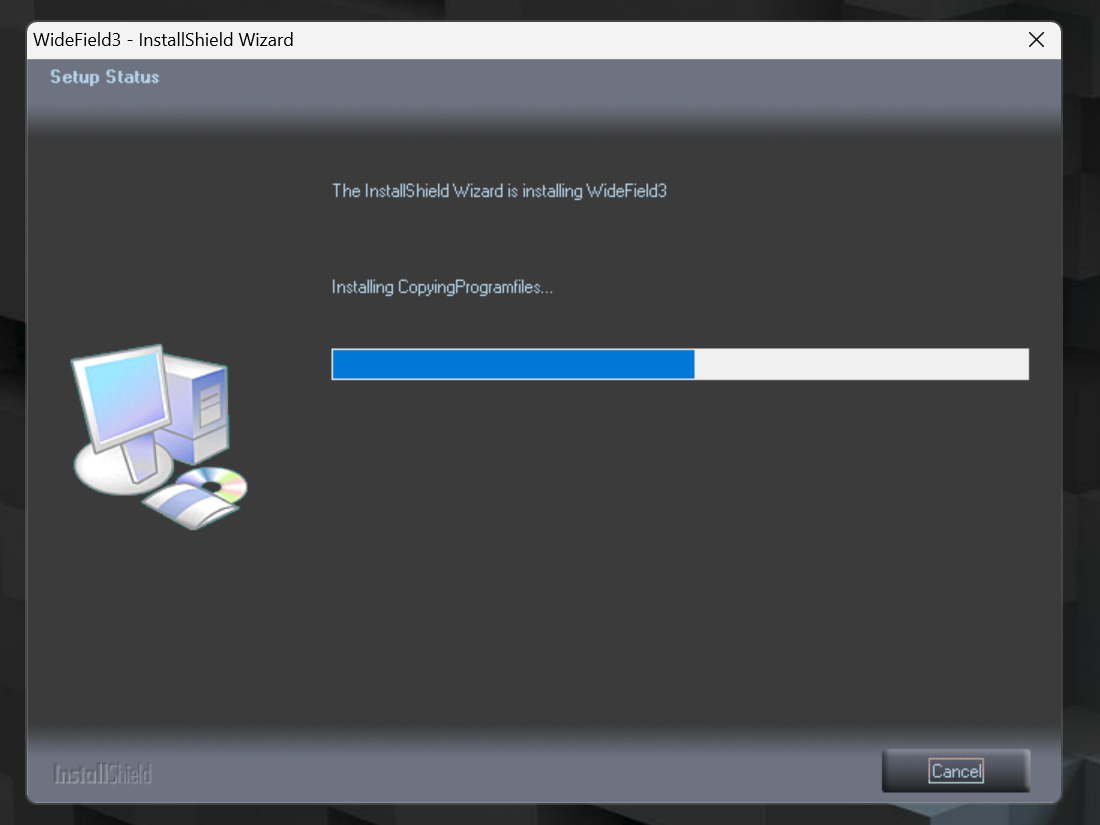
Proceed with the set-up in Install.

Just a second..
Done!
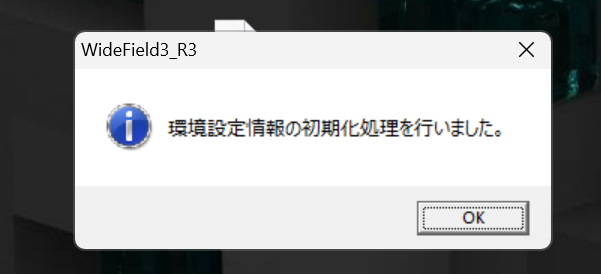
WideField3 is now installed.
Install Driver
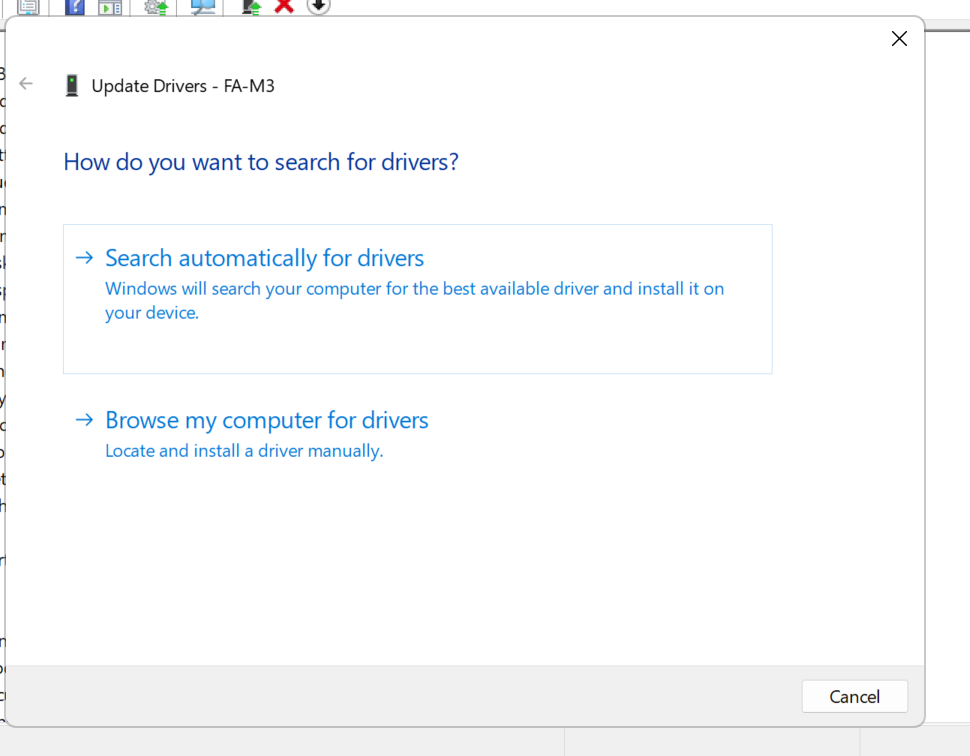
Next, set up a USB Driver for connection to the main unit CPU.
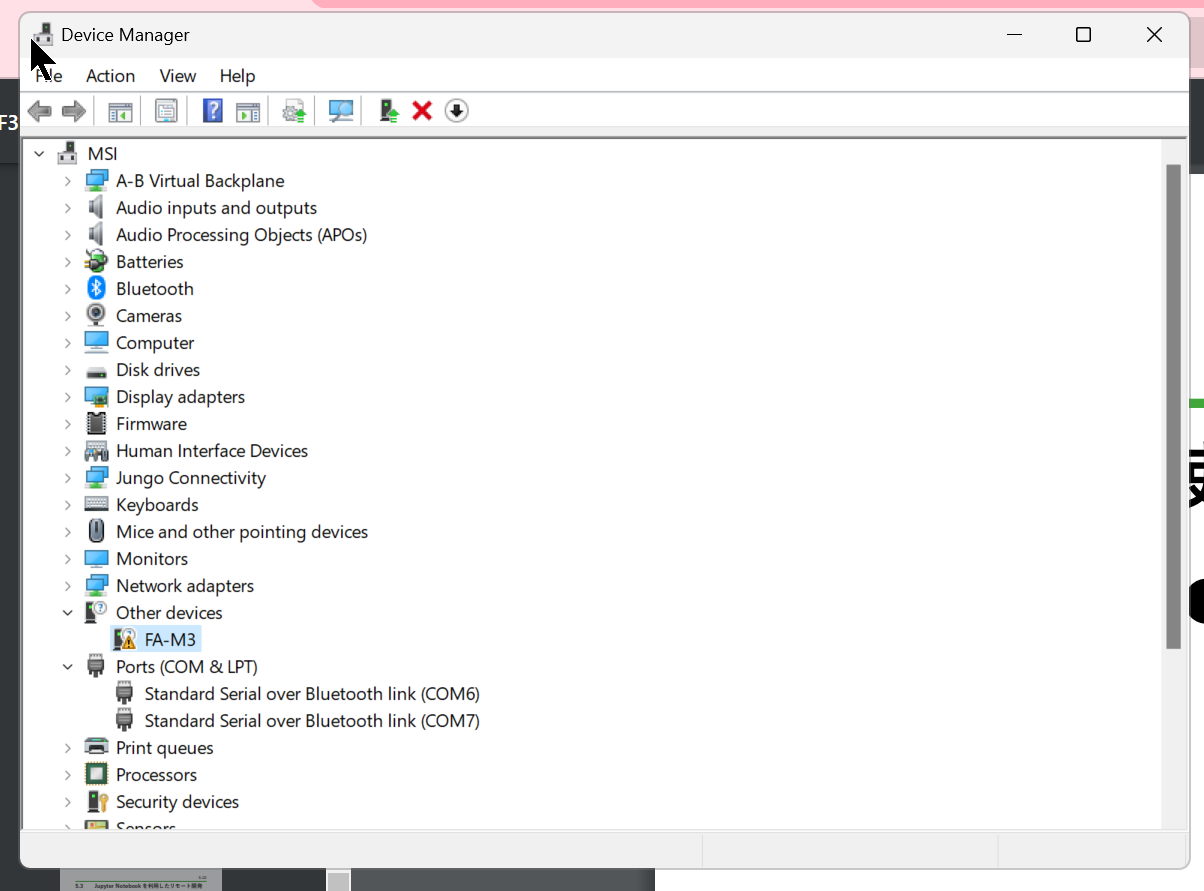
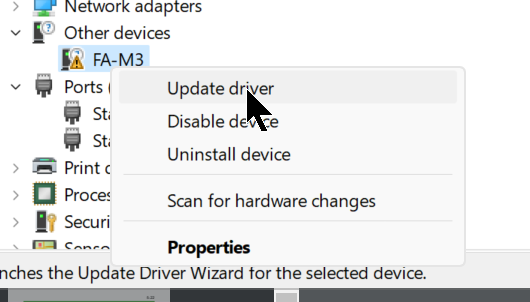
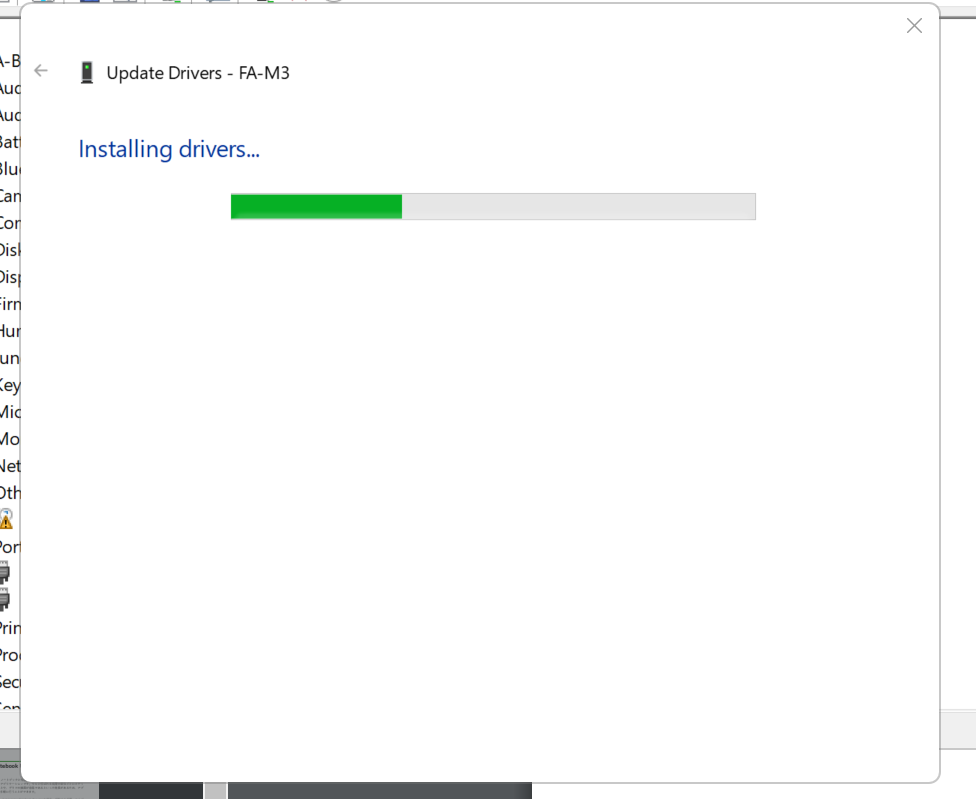
FA-M3を右クリック>Update Driverをクリックします。
Install the USB Driver in Browse my computer for drivers.
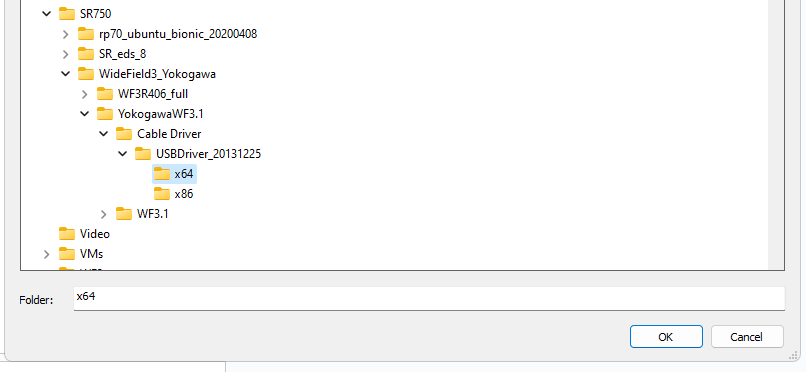
Set up the following Directory.
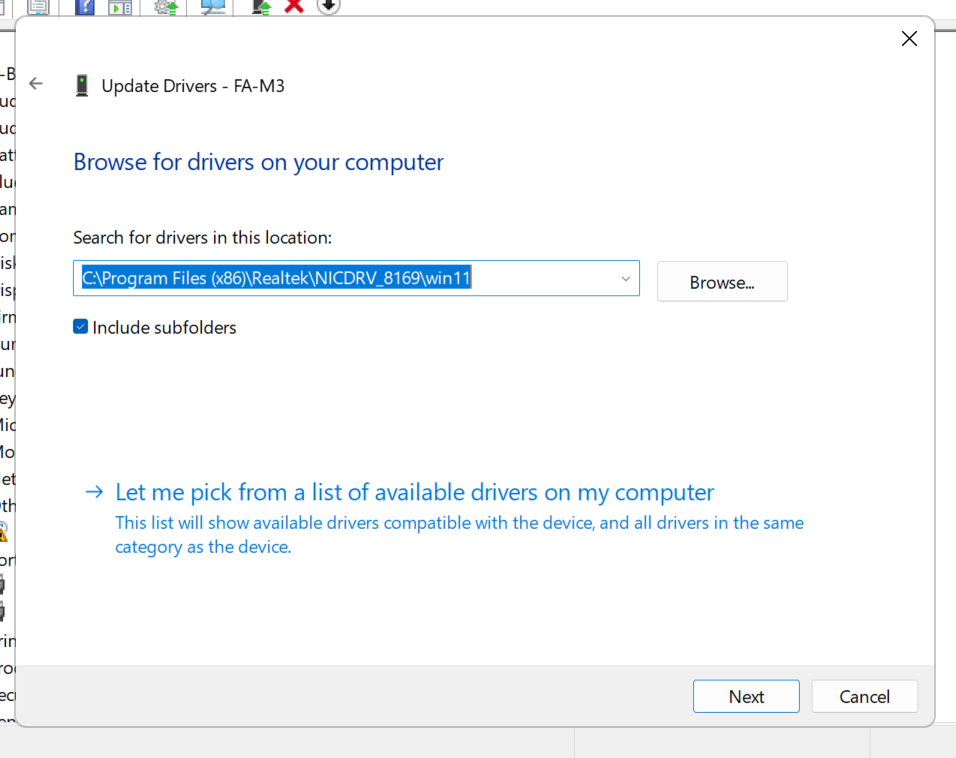
Set x64 as you are a 64Bit operating system.
Just a second..
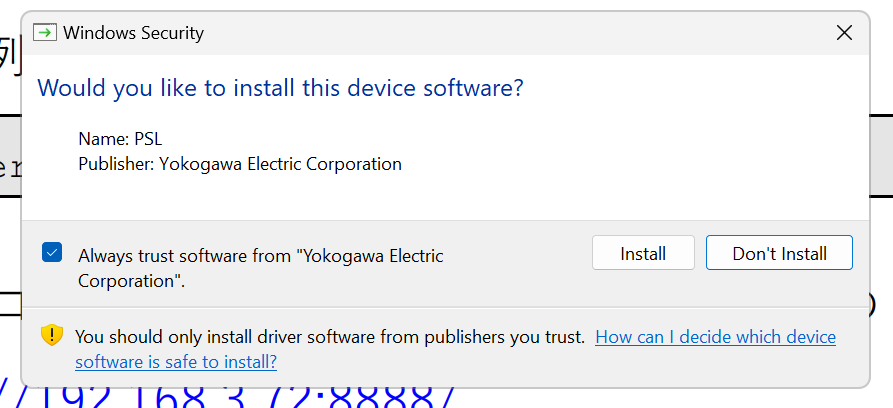
Proceed with Install.
Done!

USB Driver has been installed.

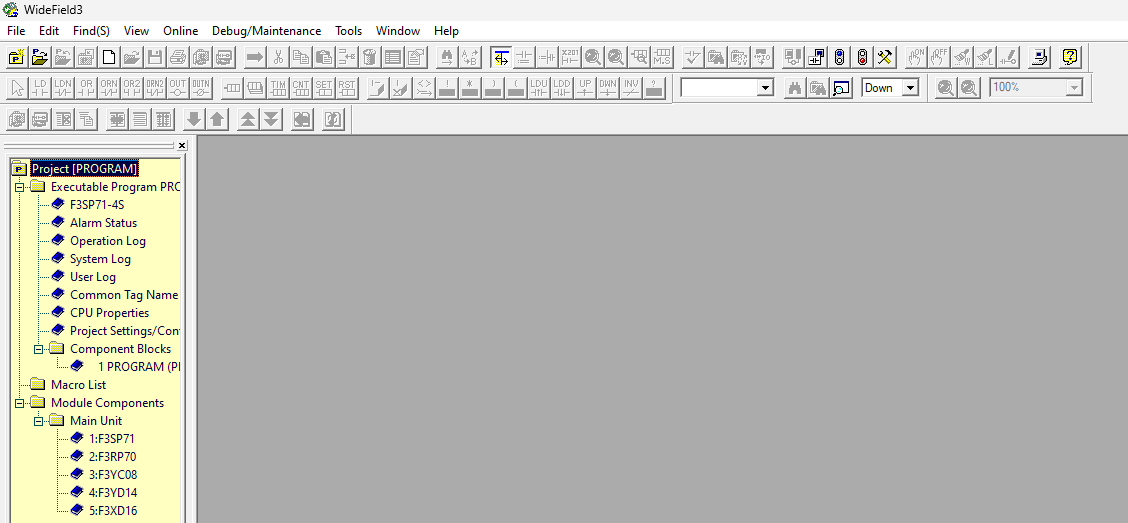
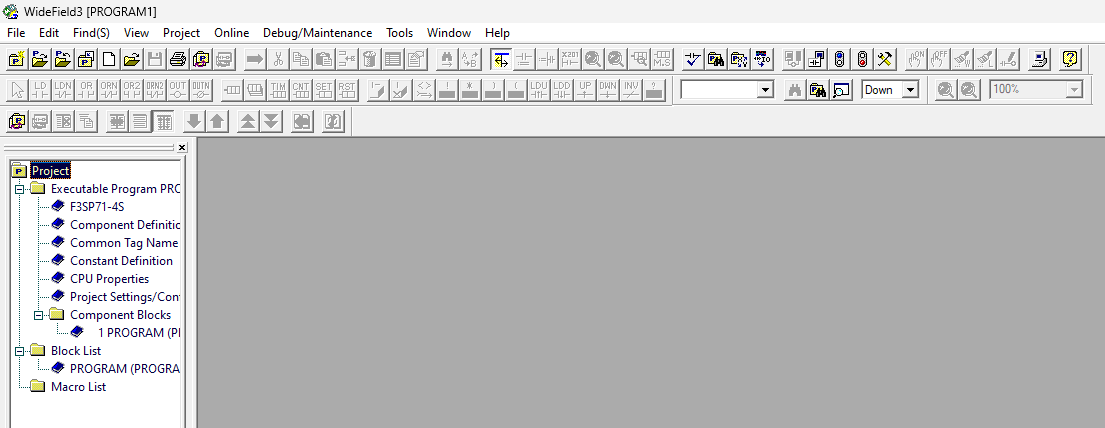
Your First Project
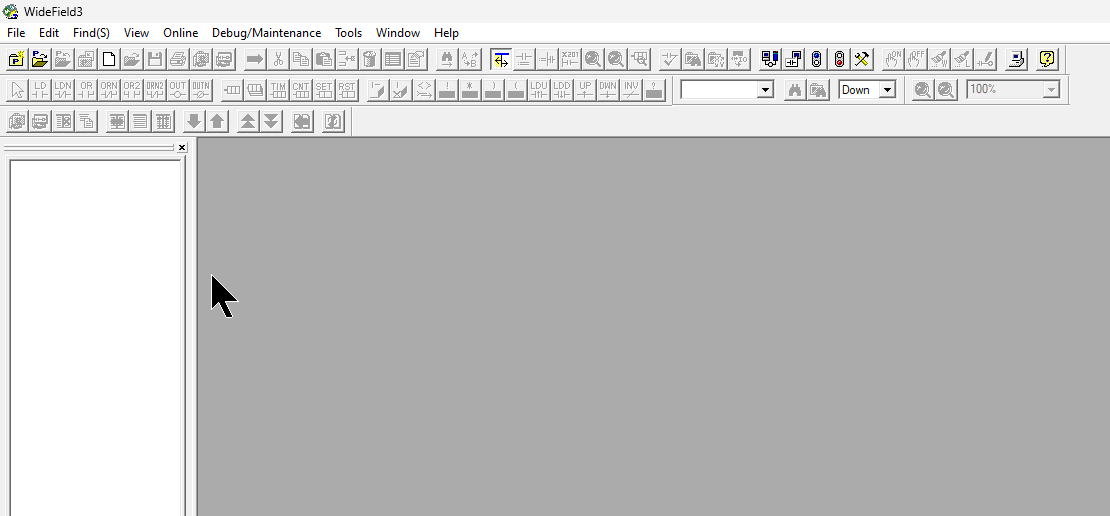
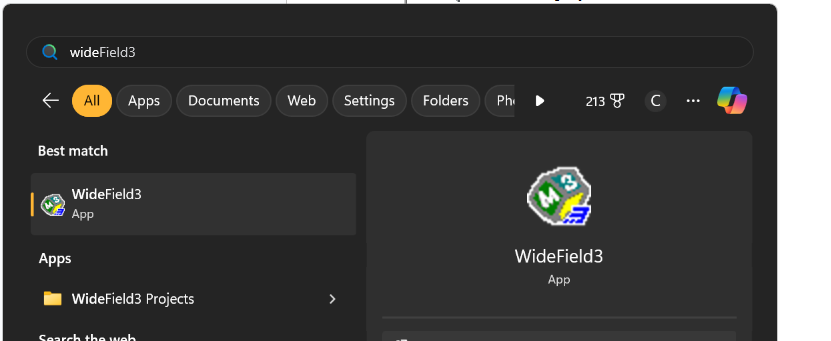
Start WideField3.
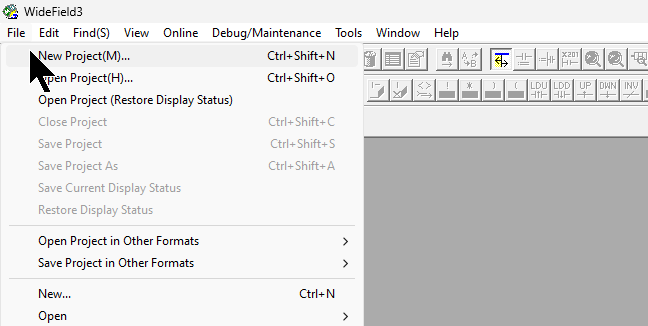
Create a new project under File>New Project.
Set up Communication
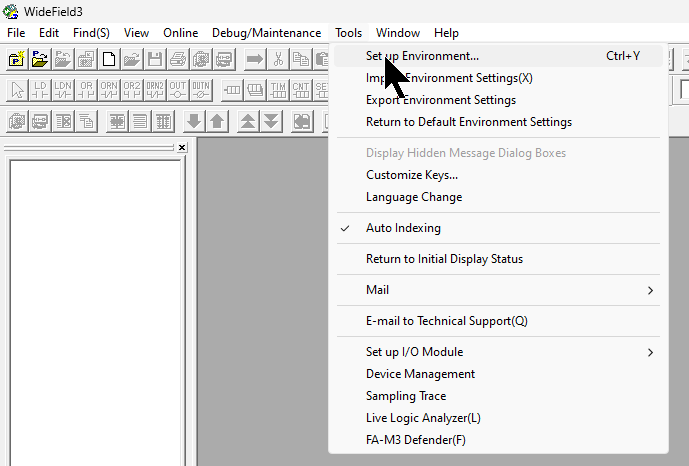
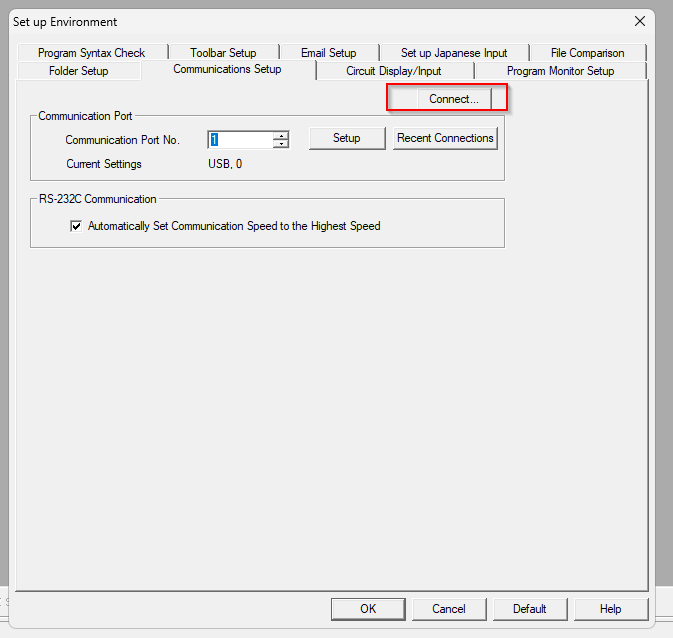
Next, open Tool>Set up Environment to configure the USB connection settings for the PC and CPU.
Open the Communication Setup tab, set the Communication Port No to match the Device Manager you have just set and click the Setup button.
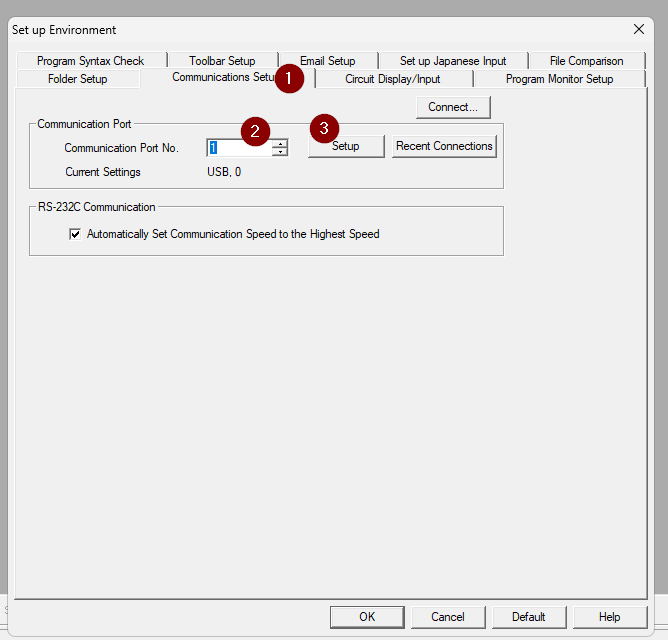
This time, the CPU is connected via USB, so select USB.

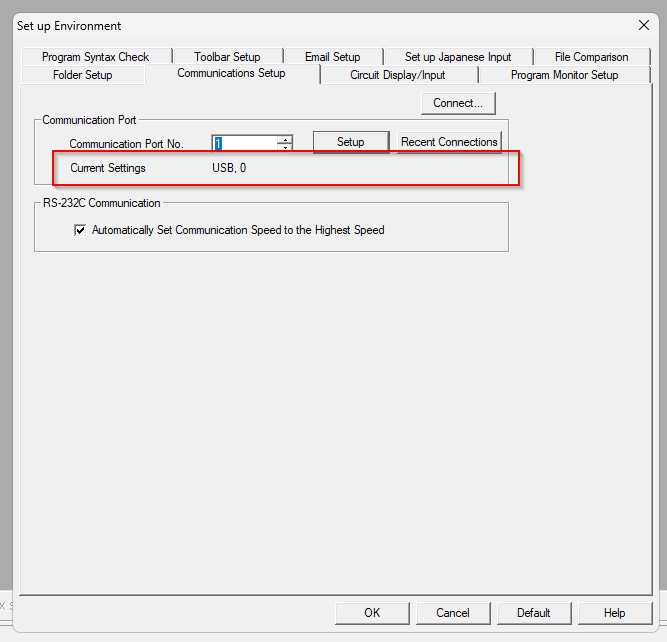
Done!
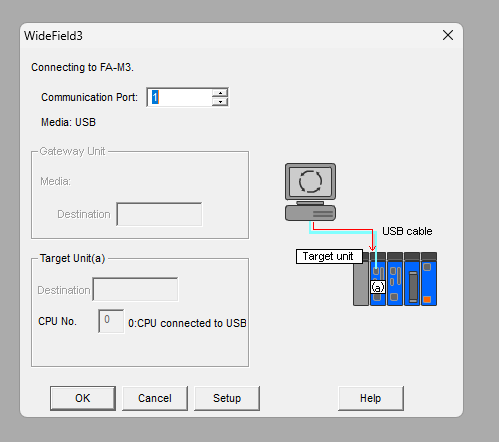
Connect to PLC
Click on the Connect button to connect to the CPU.
OK to proceed.
Just a second..
Done!
The WideField3 and CPU are connected now.
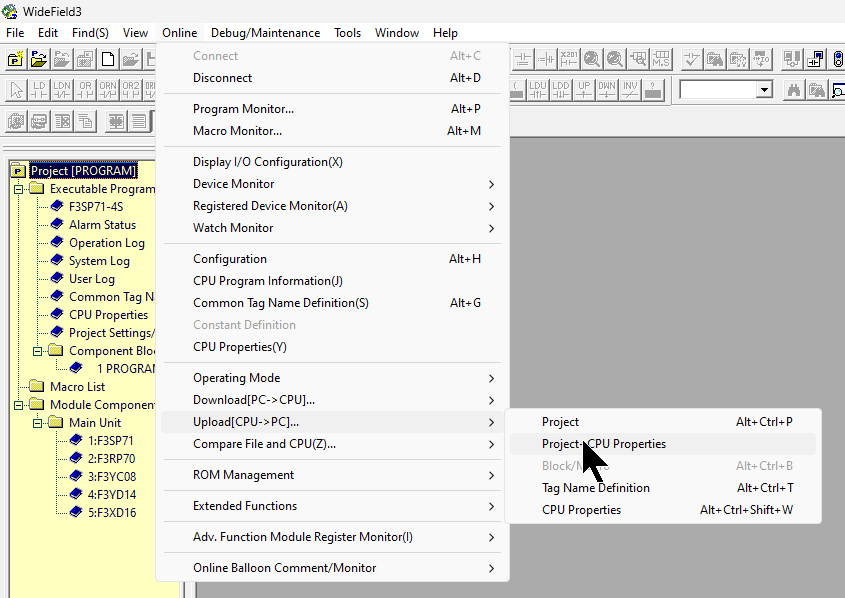
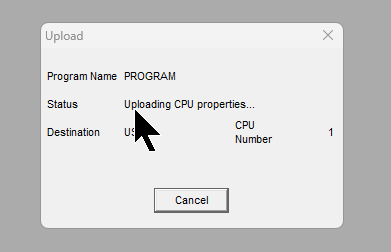
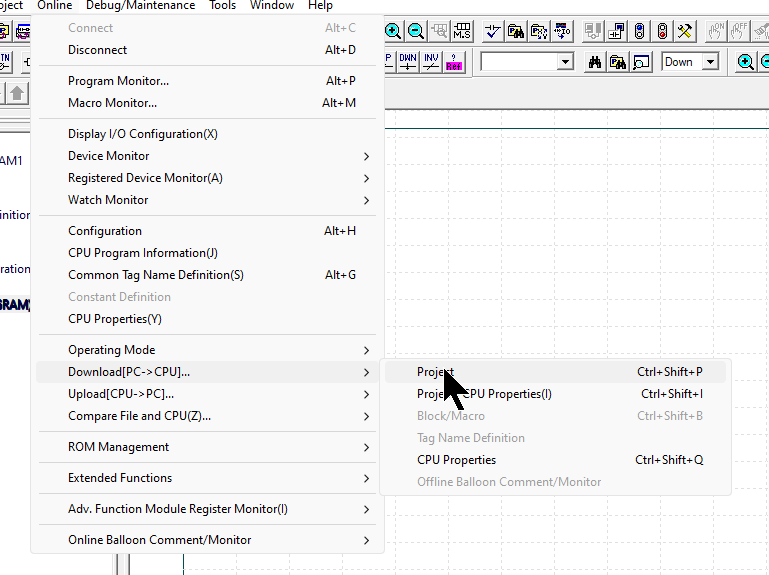
Upload the Project
Online>Upload[CPU->PC]>Project-CPU Properties to suck up CPU projects and settings.
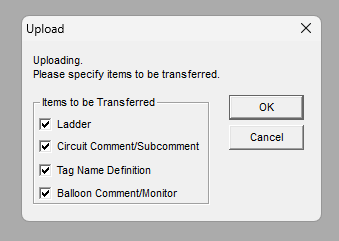
Proceed with Ok.
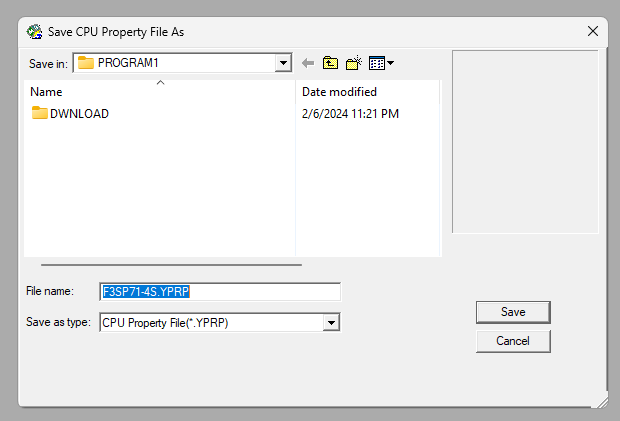
Sets the destination for your projects.

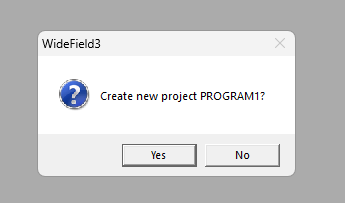
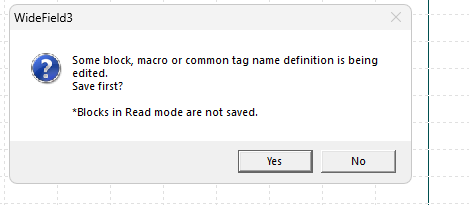
Proceed with Yes.
Just a second..
Set the project name.
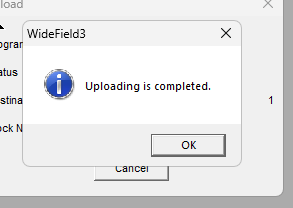
Done!
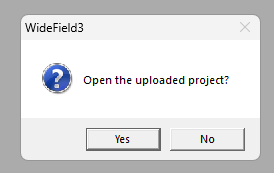
Open the project with Yes.
Done!
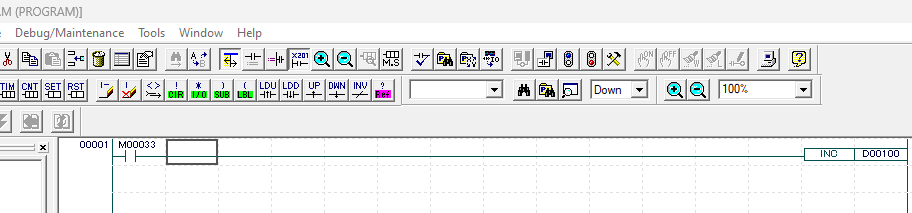
 Sample Project
Create a simple addition programme as follows.
Download the Project
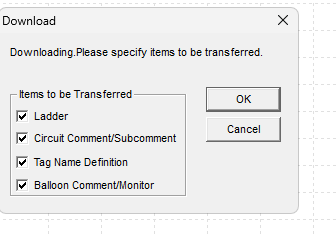
Download the project at Online>Download[PC->CPU]>Project.
Proceed with Yes.
OK to proceed.
Just a second..
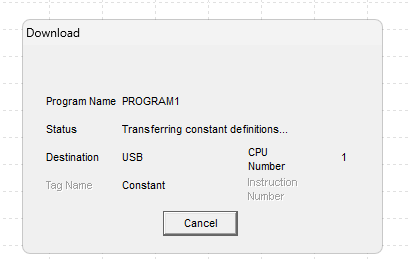
Done!Shift the CPU to Run Mode with Yes.

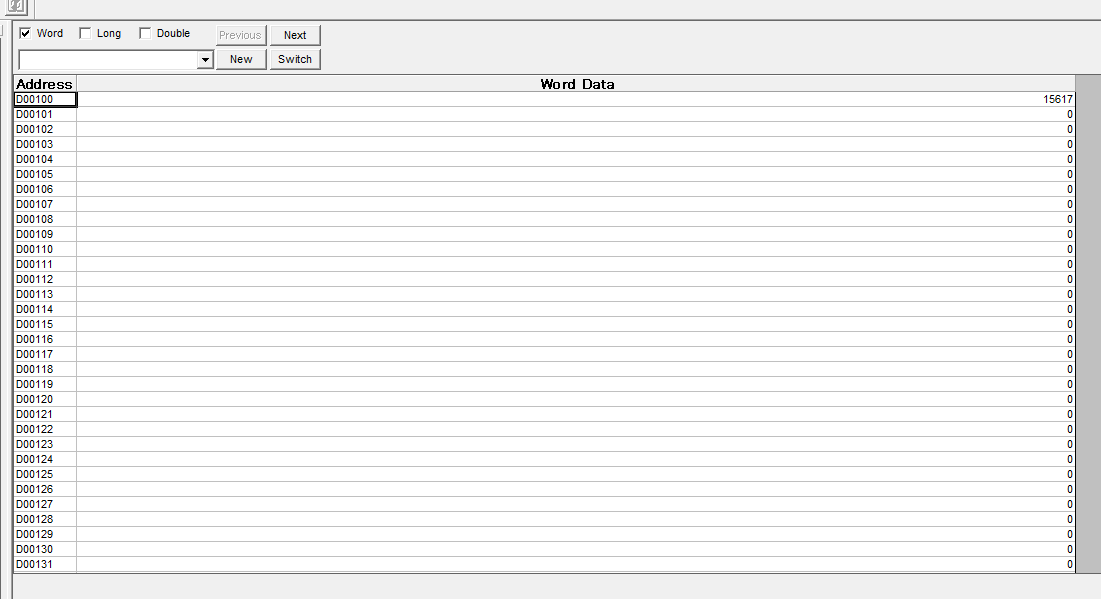
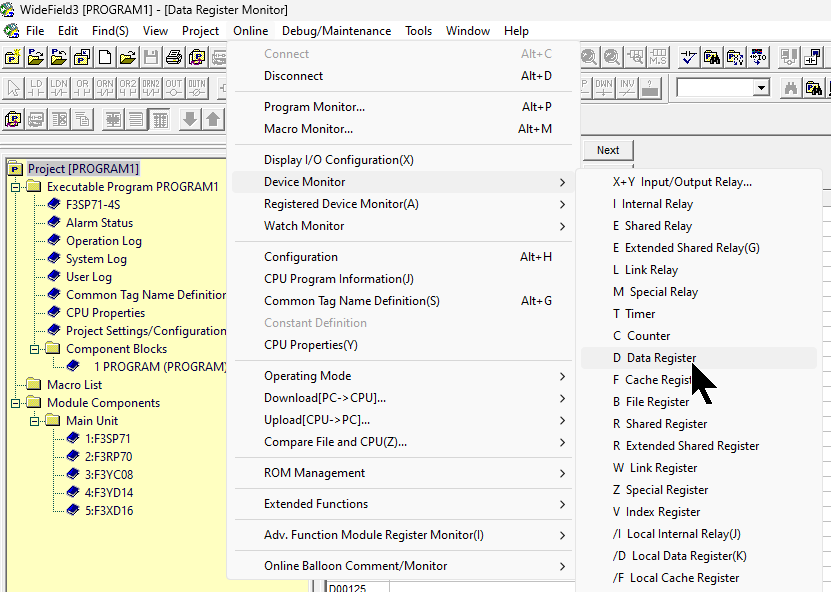
Device Monitor
The last step is to monitior the CPU’s D registers with Online>Device Monitor>D Data Register.
Done!