This is a new series where we’ll explore various topics using FATEK’s M-PLC. We’ll start by covering the basics: installing the tools, operation, connection, program creation, and Download.
Let’s enjoy FA.
Foreword
Thank you from the bottom of my heart for visiting my technical blog and YouTube channel.
We are currently running the “Takahashi Chris” radio show with Full-san (full@桜 八重 (@fulhause) / X) which I deliver every Wednesday night.
Sharing, not hoarding, technical knowledge
We publish technical information related to factory production technology and control systems for free, through blogs and videos.
With the belief that “knowledge should be accessible to everyone,” we share practical know-how and real-world troubleshooting cases from our own field experience.
The reason we keep it all free is simple: to help reduce the number of people who struggle because they simply didn’t know.
If you’ve ever thought:
- “Will this PLC and device combination actually work?”
- “I’m having trouble with EtherCAT communication—can someone test it?”
- “I want to try this remote I/O, but we don’t have the testing environment in-house…”
Feel free to reach out!If lending equipment or sharing your configuration is possible, we’re happy to verify it and share the results through articles and videos.
(We can keep company/product names anonymous if requested.)
How can you support us?
Currently, our activities are nearly all unpaid, but creating articles and videos takes time and a proper testing environment.If you’d like to support us in continuing and expanding this content, your kind help would mean a lot.
Membership (Support our radio show)
This support plan is designed to enhance radio with Mr Full.
https://note.com/fulhause/membership/join
Amazon Gift List (equipment & books for content production)
Lists equipment and books required for content creation.
https://www.amazon.co.jp/hz/wishlist/ls/H7W3RRD7C5QG?ref_=wl_share
Patreon (Support articles & video creation)
Your small monthly support will help to improve the environment for writing and verifying articles.
https://www.patreon.com/user?u=84249391
Paypal
A little help goes a long way.
https://paypal.me/soup01threes?country.x=JP&locale.x=ja_JP
Just trying to share things that could’ve helped someone—if only they’d known.
Your support helps make knowledge sharing more open and sustainable.
Thank you for being with us.
soup01threes*gmail.com
Technical knowledge shouldn’t be kept to ourselves.
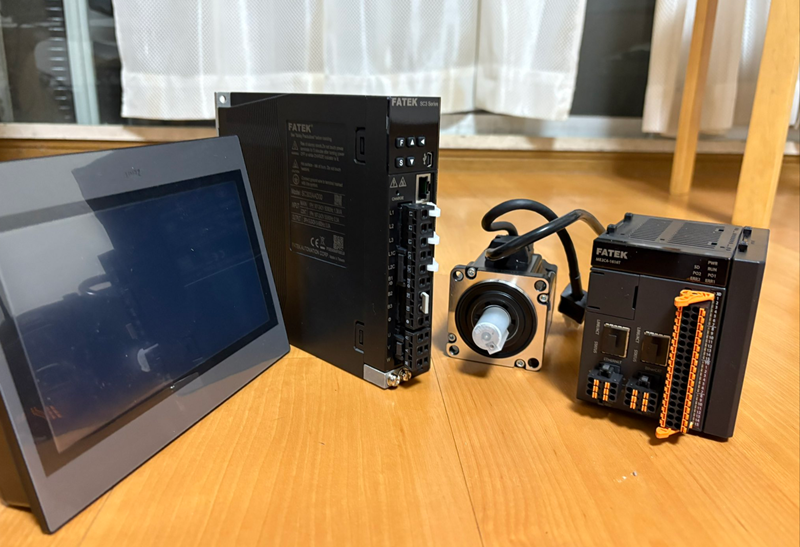
FATEK?
FATEK Automation Corp. was established in Taiwan in 1992 by a group of engineers with extensive experience in PLC design and development. Our product line focuses on PLCs, HMIs, IoT solutions, SCADA application software, OPC servers, and power supplies. We continuously pursue R&D and innovation to expand into broader application fields, aiming to become a professional and reliable comprehensive solution provider.

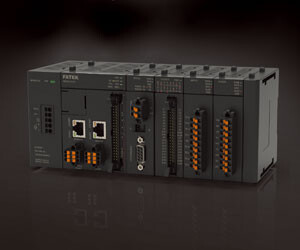
M Series PLC?
FATEK’s M Series PLC achieves long-term stable system efficiency through a high-performance hardware design dedicated to logical operations. Its low-power, fanless, and heat-sink-free system architecture ensures high stability. Without relying on complex, large operating systems, the PLC operates instantly without delay after power-up.
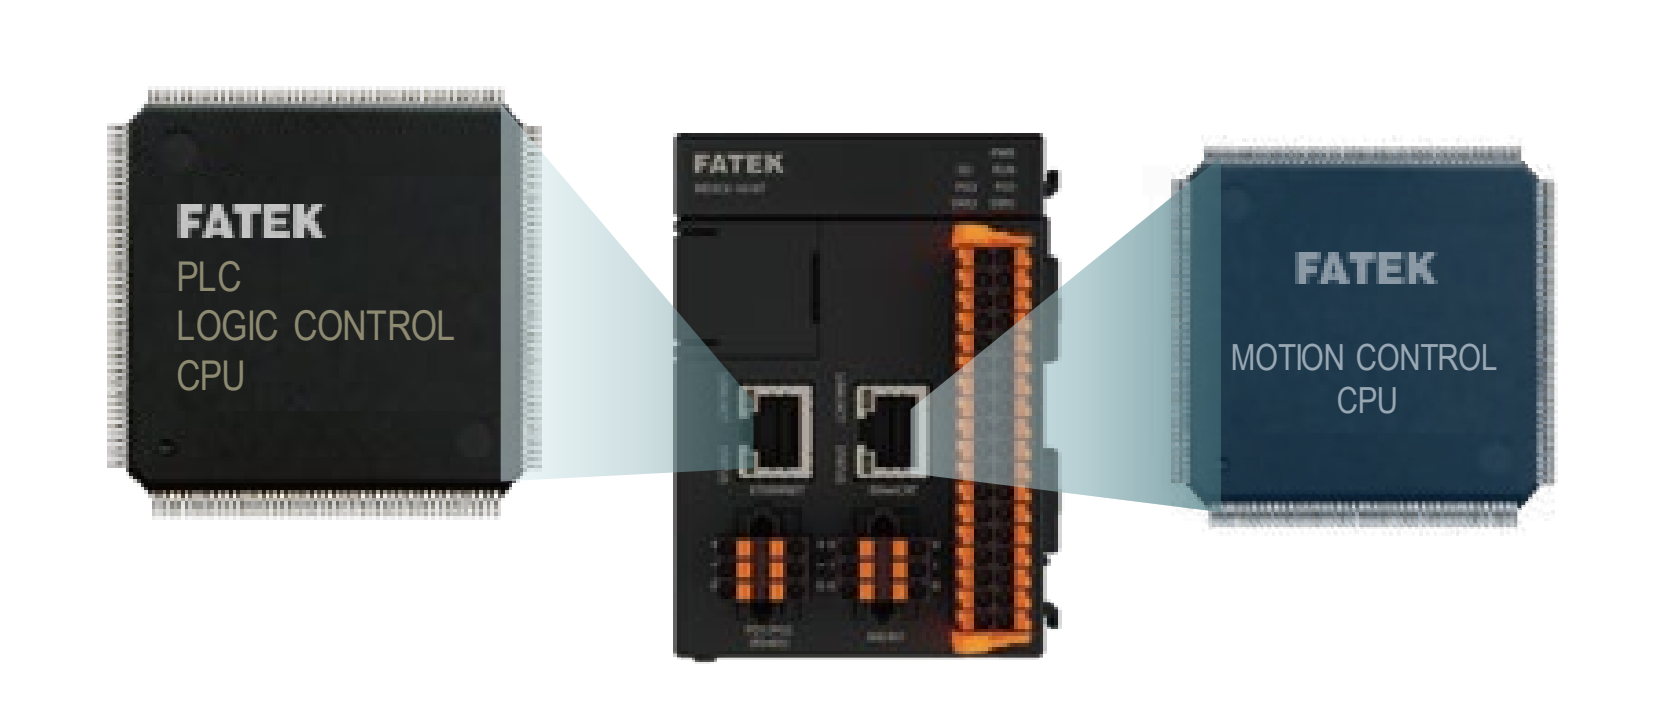
Independent Operation Control CPU
Motion control operates independently of the PLC logic program, ensuring that even complex high-speed, high-precision motion control requirements are executed without being affected by program scan times or other interrupt tasks. This guarantees the highest control accuracy and stability.
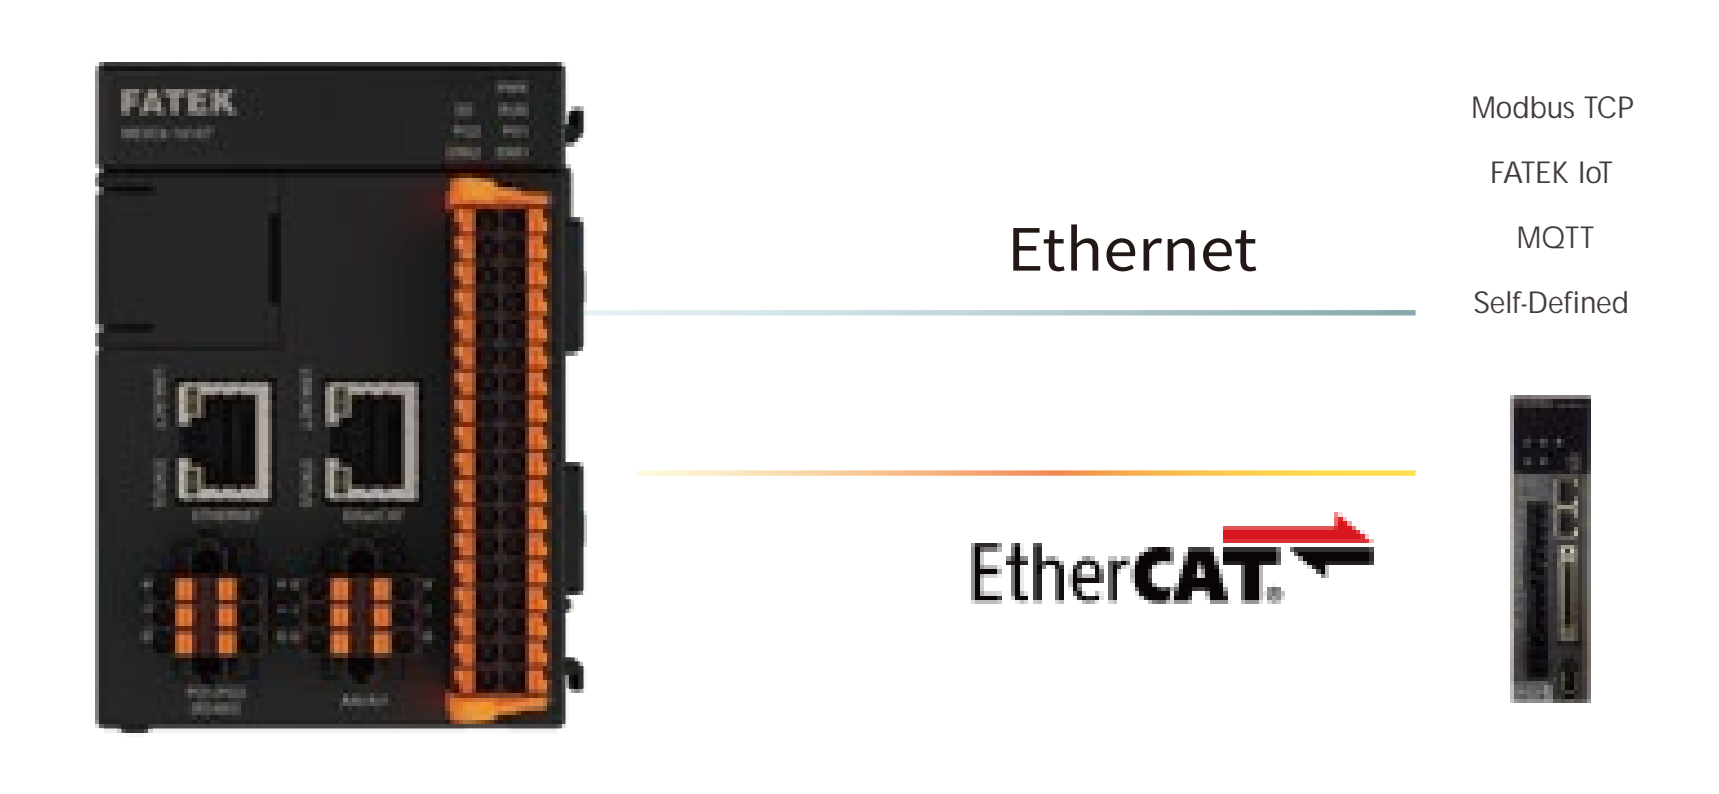
EtherCAT flexibility and ease of integration
The EtherCAT fieldbus seamlessly connects with EtherCAT servos* from other brands, delivering high-speed transmission while providing a highly reliable and efficient control method.
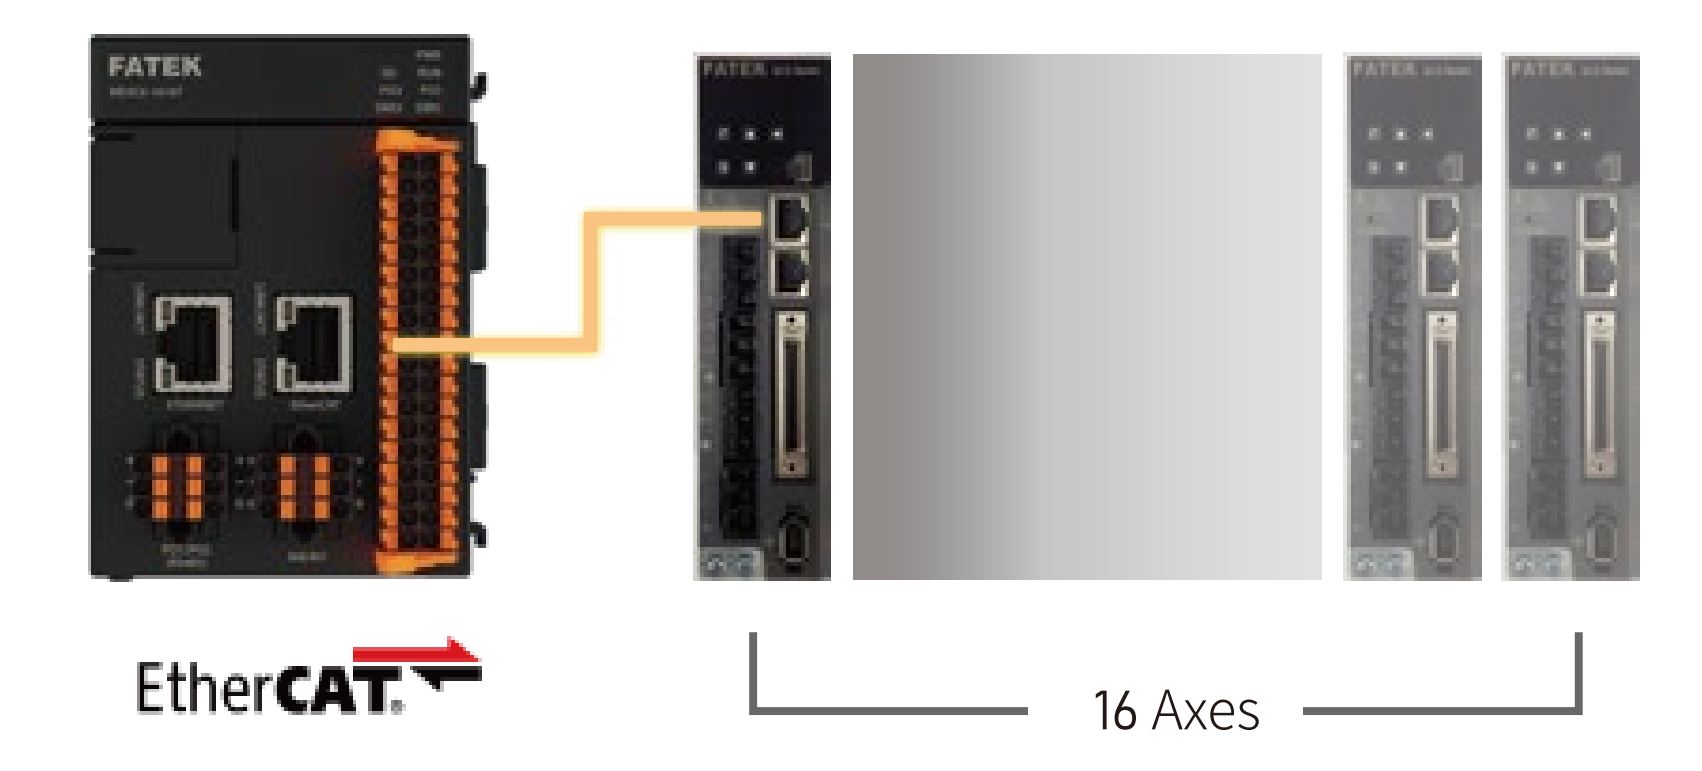
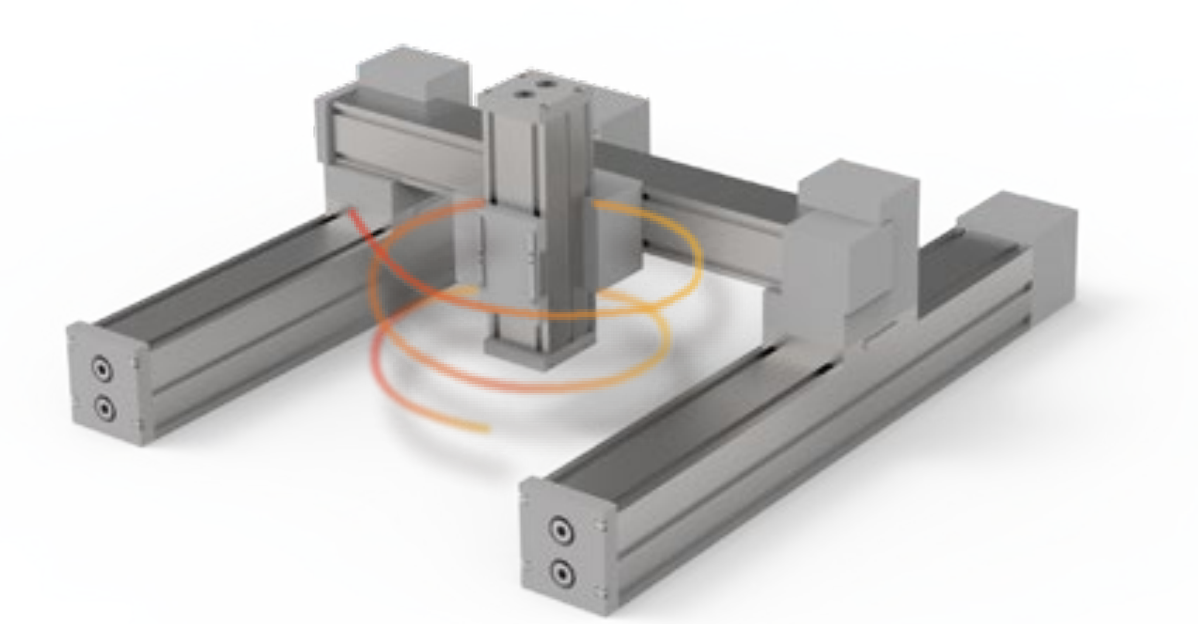
16-axis synchronous motion control
Capable of simultaneously controlling up to 16 servo drivers without requiring expansion of motion control modules or linking multiple CPUs. Achieves high-precision multi-axis simultaneous coordinated control. Each axis can perform advanced motion synchronization control.
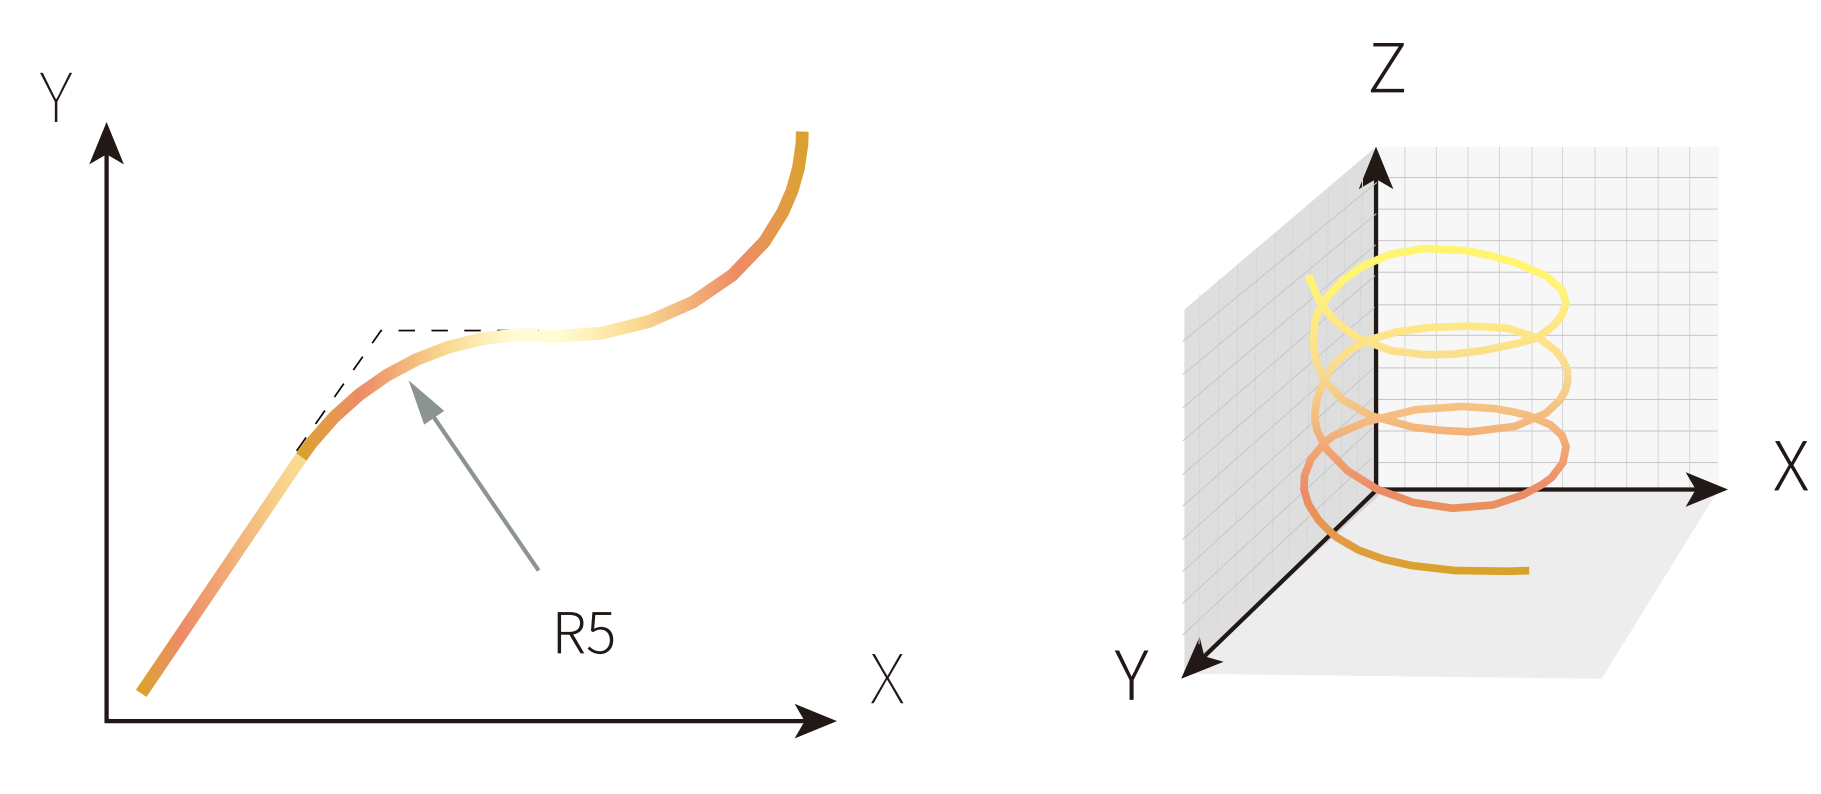
Advanced interpolation function
Equipped with built-in linear, circular, and helical interpolation functions, it can draw continuous arcs between two motion points. Additionally, two motion trajectories can be connected with auxiliary arcs, enabling smooth transitions and reducing mechanical vibration.
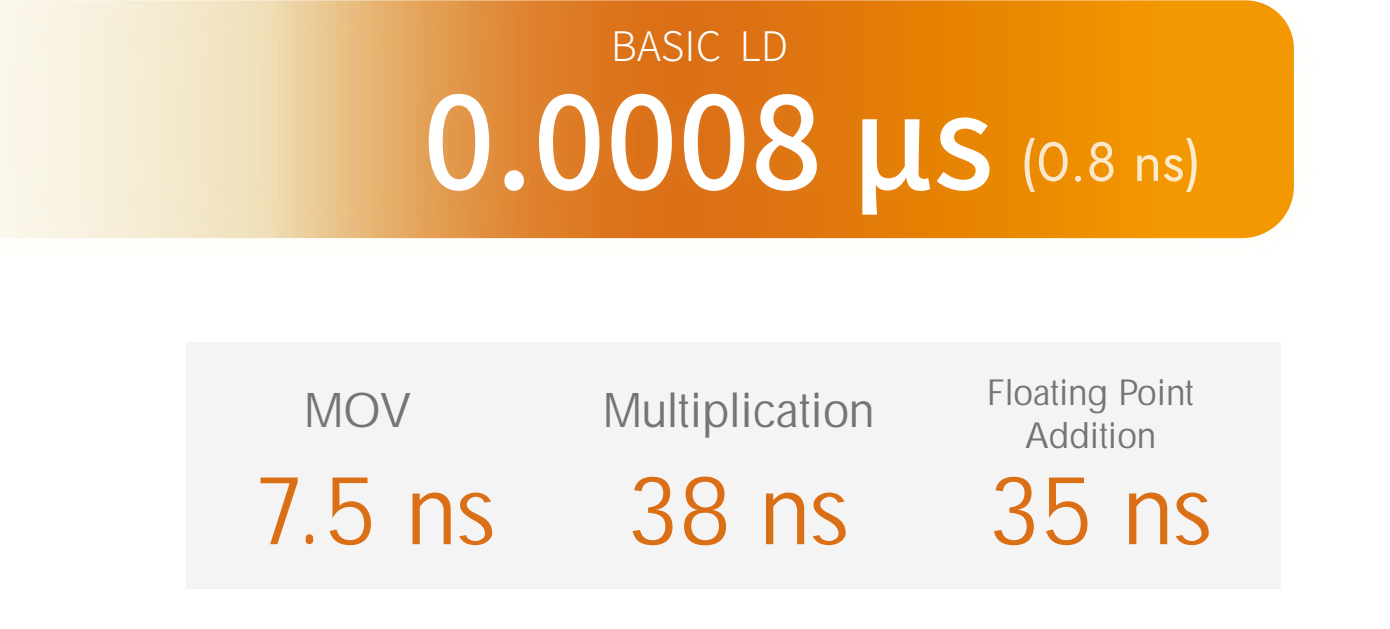
Ultimate Command Processing Speed
Innovatively developed high-performance processor and high-performance algorithms. Achieves an ultimate speed of up to 0.8ns in command processing speed.
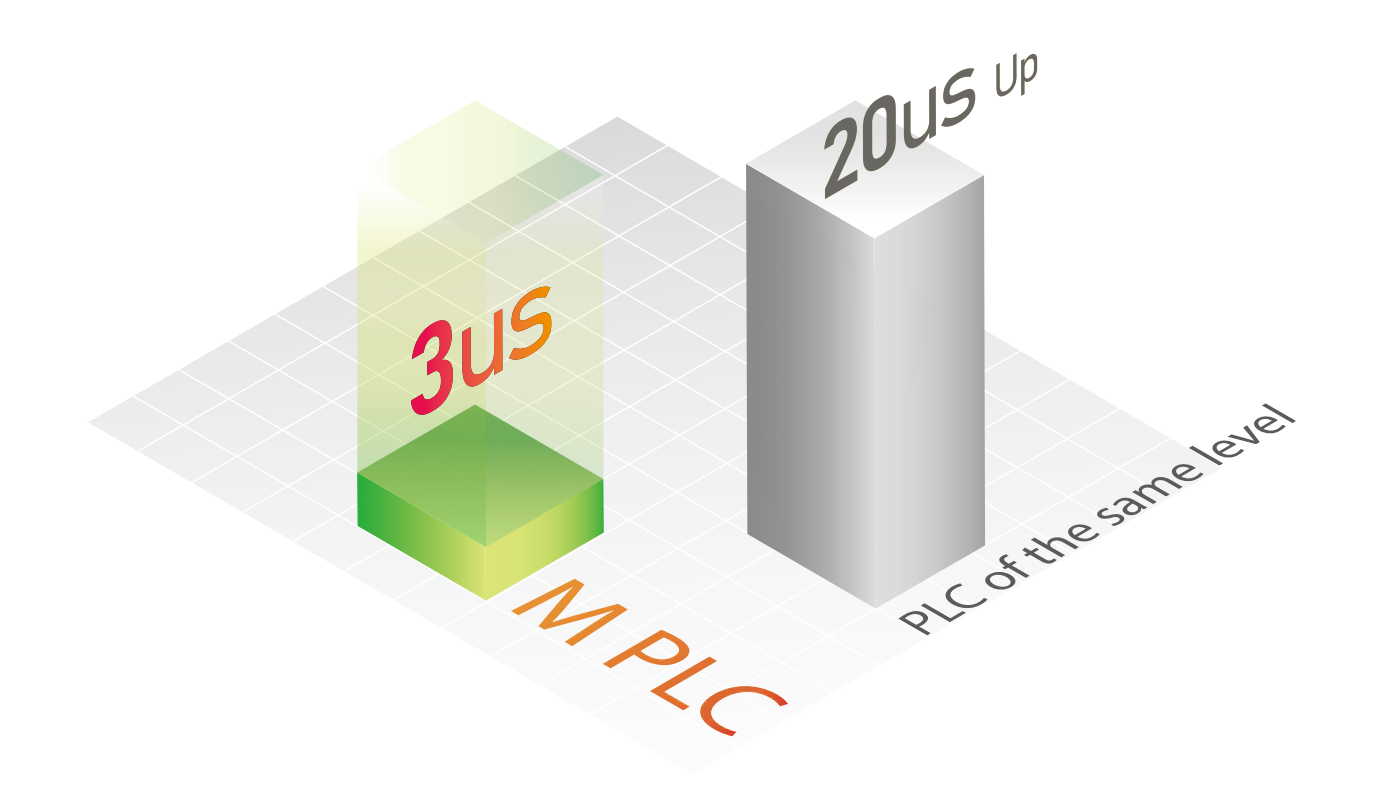
Ultra-low interrupt latency
With a top-class ultra-low interrupt latency of just 3 microseconds, it guarantees precise execution for control requests requiring high-speed response and ultra-low latency, completely unaffected by program complexity or PLC scan cycle time.
Ultra-high precision motion control performance
The dedicated motion control CPU independently handles motion control tasks, enabling real-time and precise execution of complex or large volumes of motion control commands without affecting scan time.
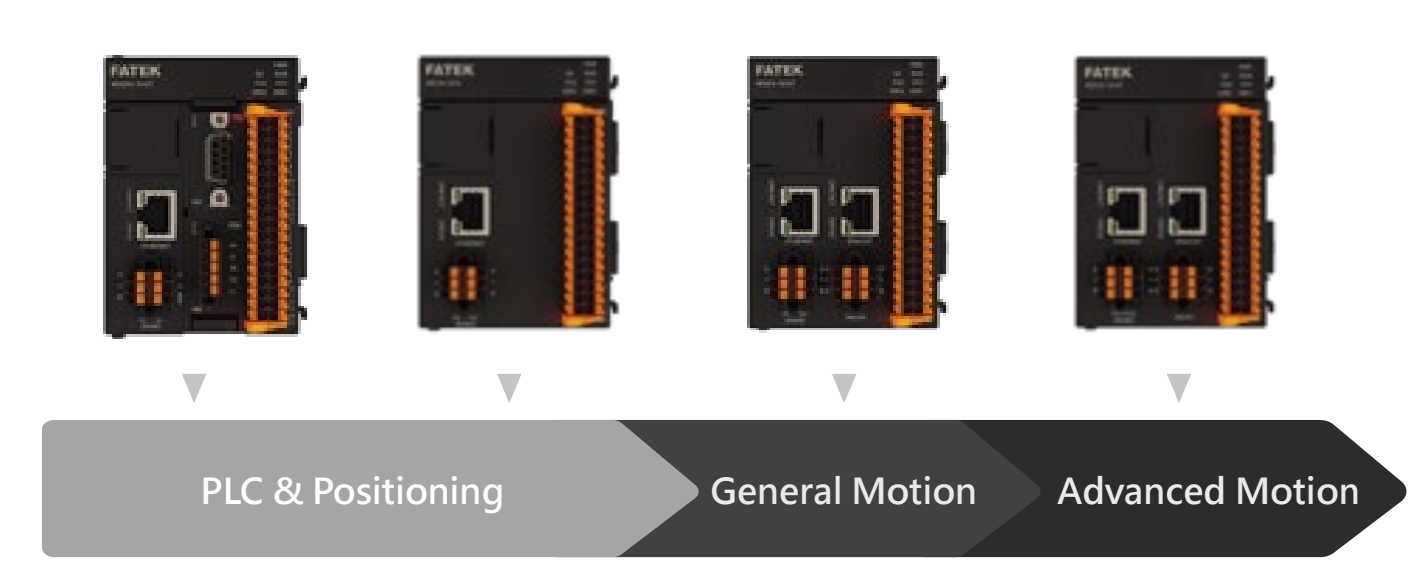
A versatile model for diverse scenarios
It encompasses everything from PLC control to advanced multi-axis motion control, featuring multiple general-purpose models: MQ, MA, MU, MS, and ME. From a small number of I/O points to comprehensive control solutions covering entire factories with tens of thousands of points, it provides versatile and flexible solutions.
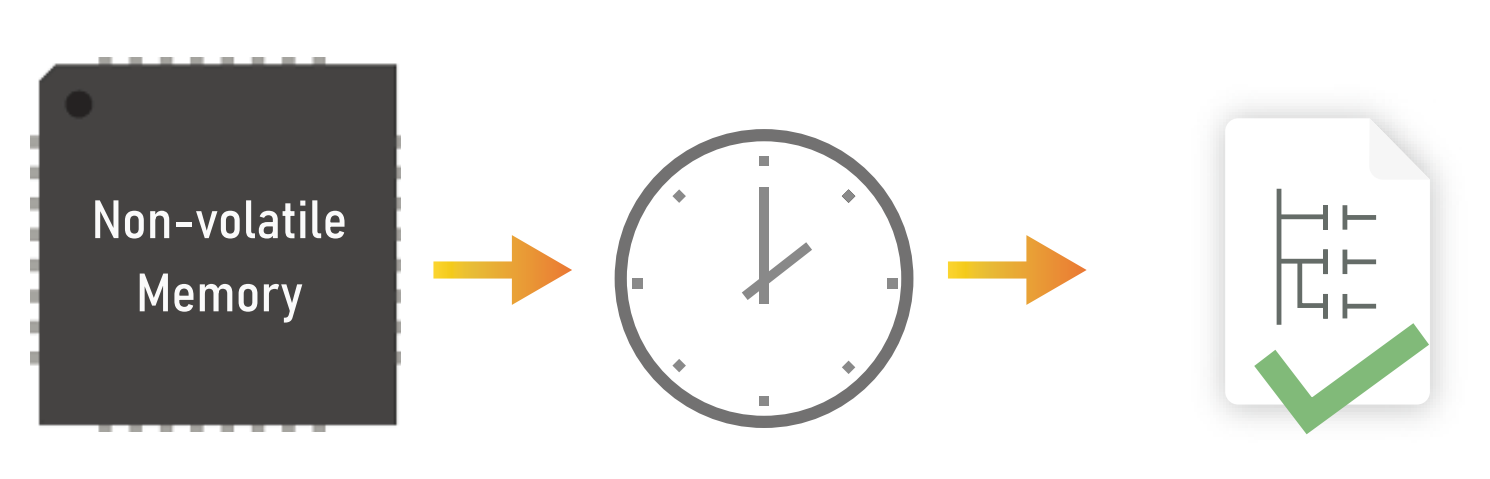
Battery-free program memory
It features non-volatile memory for both program and data storage, eliminating the need for batteries to maintain internal data retention. You no longer need to worry about data loss or corruption due to dead batteries.
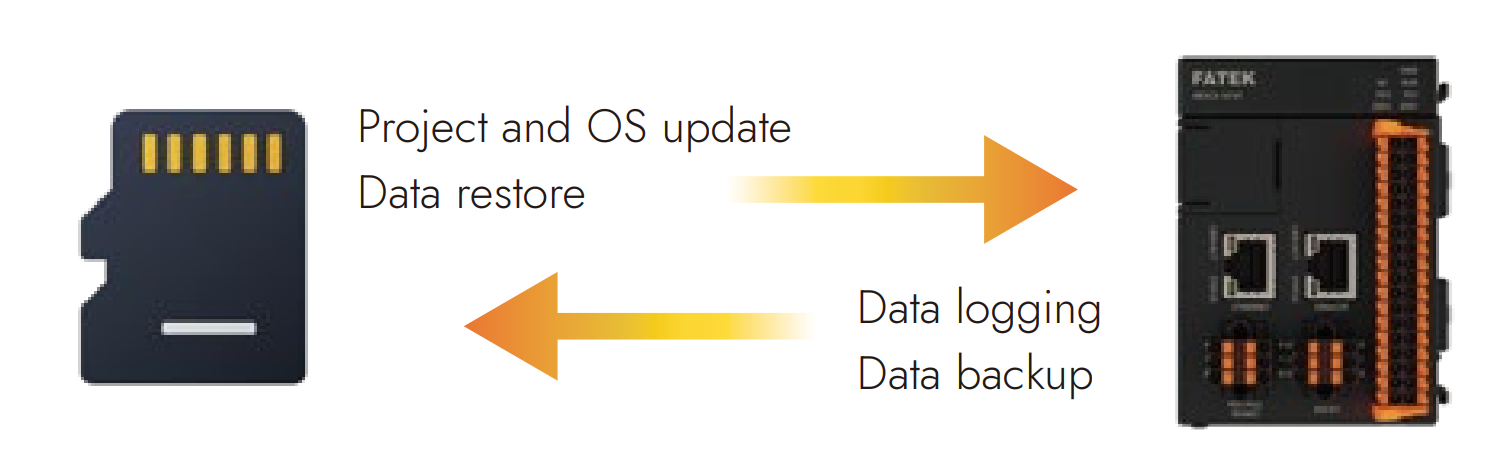
microSD card expansion slot
Recorded data can be saved directly to a microSD card. Project updates, OS updates, and data backup/restore operations can also be performed via the microSD card. This allows users to complete data recording, project loading, and system maintenance without a computer.
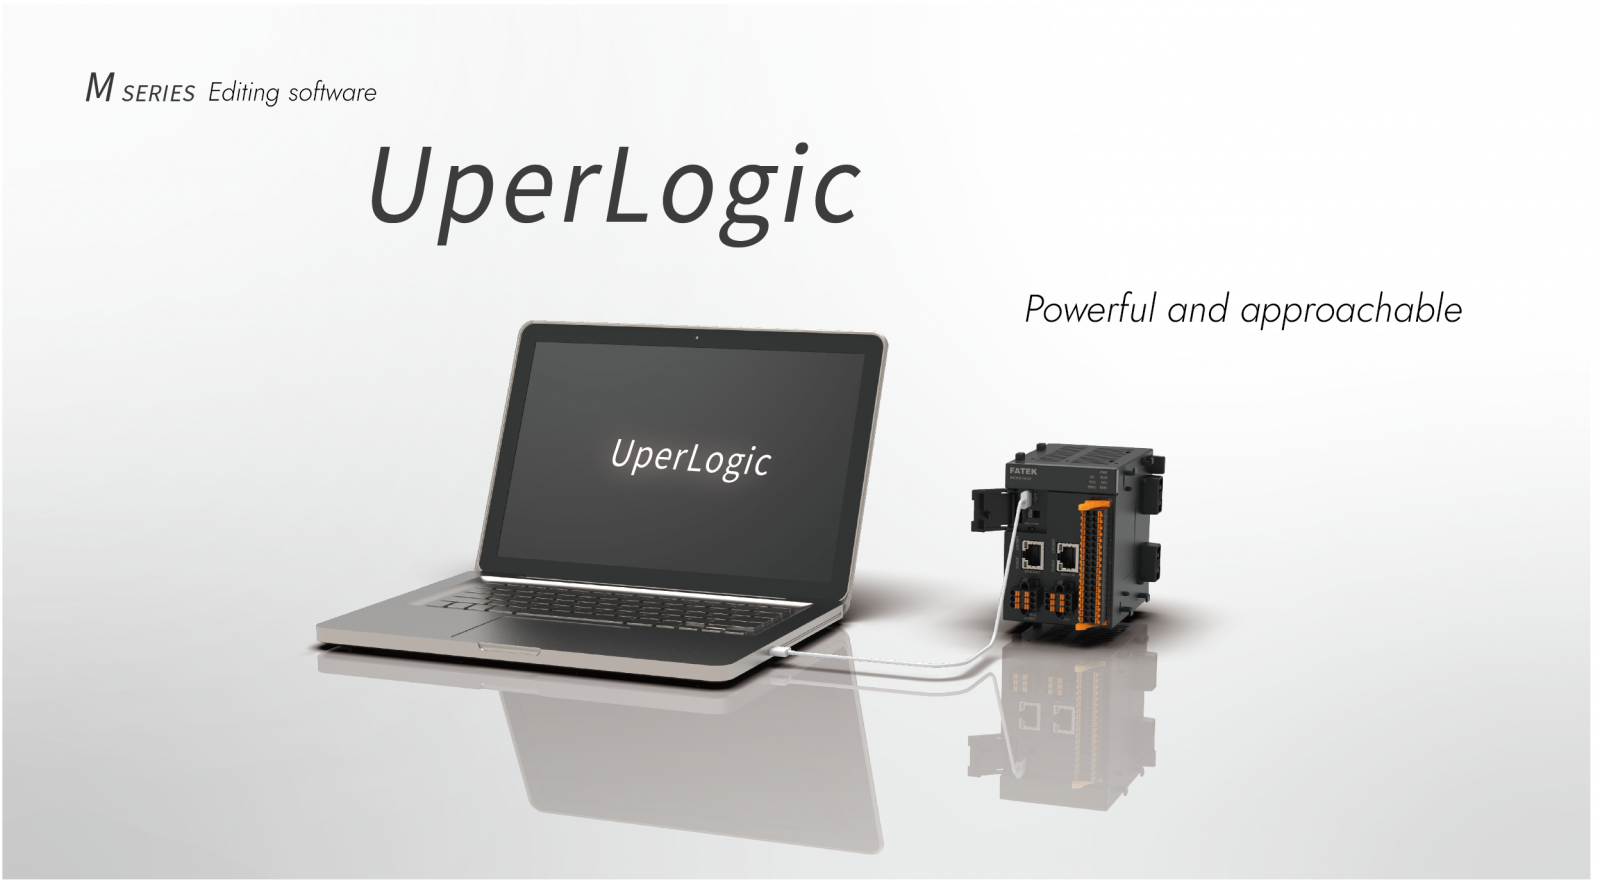
UperLogic?
UperLogic is professional PLC software primarily used for designing and configuring the new generation of M-Series PLCs. It runs on the Windows operating system and is designed entirely in accordance with Windows environment operating conventions.
The window interface is displayed in a style commonly used today. It is easy to learn and use, allowing both beginners and experienced users to operate in a highly efficient manner. The software adopts a project concept, displaying program development content hierarchically and visually, presenting relevant work content to users at a glance.
Program development and maintenance can be performed through intuitive operations. Furthermore, it provides convenient keyboard and mouse shortcut operations, enabling highly efficient program editing and testing.
Additionally, it offers an MDI (Multiple Document Interface) editing program screen, allowing different sections of a program to be displayed simultaneously for comparison, copying, and editing.
Key Features and Functions
- Full support for global tags, regional tags, and system tags allows programmers to configure and manage registers in a more intuitive manner.
- Supports Ladder Diagram (LD), Structured Text (ST), and mainstream PLC language editing, as well as custom Function Modules (FCM).
- Provides three modes: Offline Editing, Online Monitoring, and Online Editing for safer and more convenient program design and machine testing.
- In addition to the monitoring table function for real-time monitoring of online registers, a data chart tool is also provided, enabling register data from different sources to be displayed simultaneously on a graph more intuitively for easier comparison.
- The new Device View function allows more intuitive configuration of system parameters and settings for PLCs and IO modules. Device size, power consumption, module resources, and other information can be known in advance. In online monitoring mode, IO data can be directly monitored and modified, providing insight into PLC system status.
- Users can divide the entire development work into several program units according to different functions or other classification methods, allowing independent input of annotations and testing, which greatly facilitates program development and subsequent maintenance work.
- Diversified program search functions support memory configuration and cross-reference features in addition to basic search functionality. This enables users to more quickly understand memory usage and rapidly search for and open related functions or program window screens for registers in use to modify parameters.
- Provides a program syntax check function that can be initiated by the user or automatically executed by the system when the user issues an operation command.
- Comprehensive intellectual property protection is also provided. In addition to project passwords, program passwords, data passwords, and download passwords, protection measures such as Program ID and PLC ID are also implemented, allowing user projects and systems to be assigned according to designer or operator roles. Different password permissions protect system security and intellectual property.
- Supports complete motion control functions including servo commissioning, motion monitoring diagrams, motion trajectory preview, and motion flow blocks. Servo and cam-related settings (E-CAM) can be easily configured, enabling convenient and systematic planning of motion control processes.
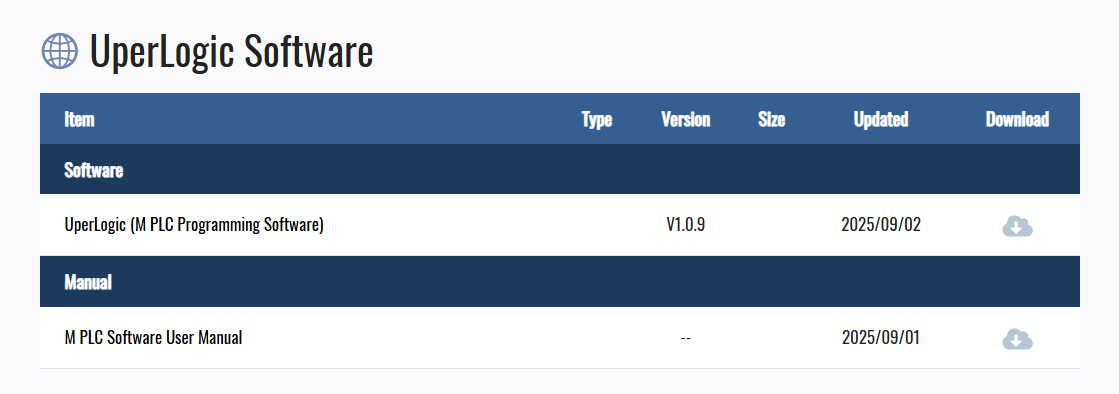
Download UperLogic
Download the UperLogic software from the link below.
Installation
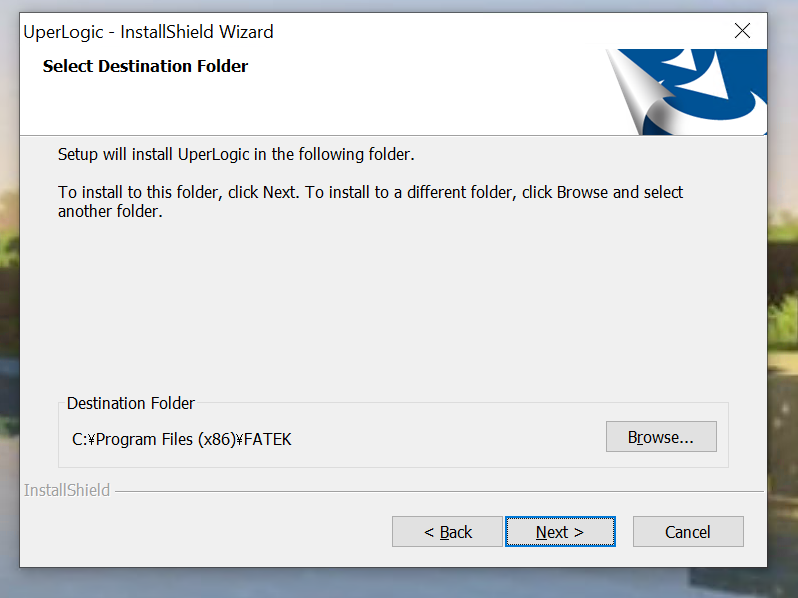
Launch the setup file you downloaded earlier and proceed by clicking Next.
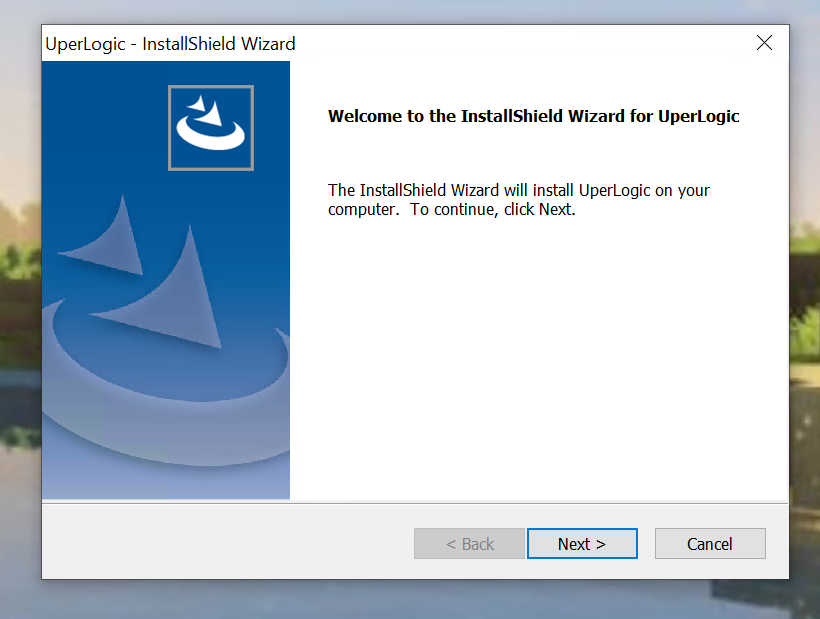
Next> to proceed.
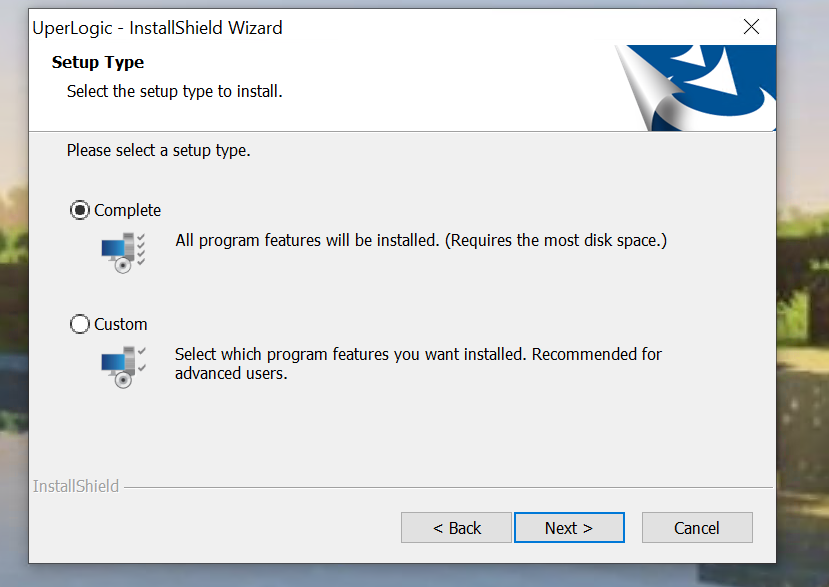
Select “Complete” and proceed by clicking “Next >”
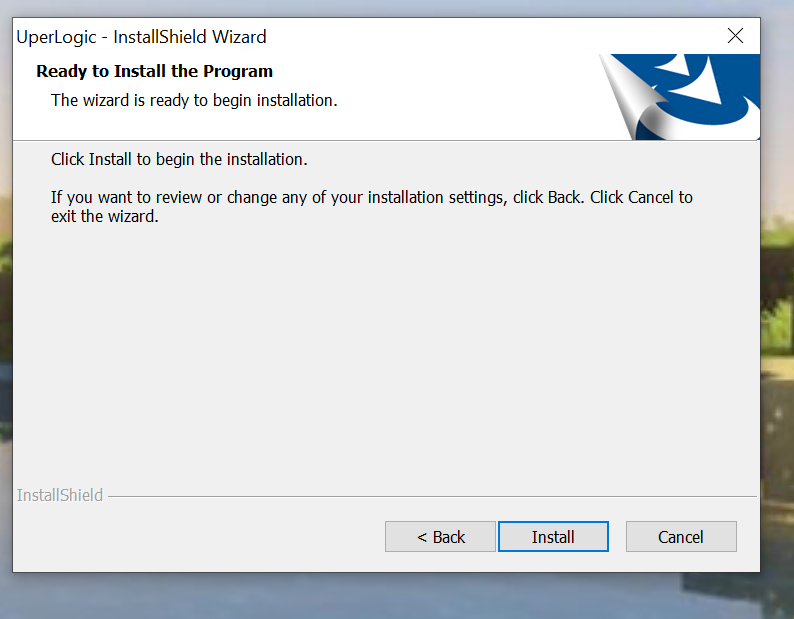
Click Install.
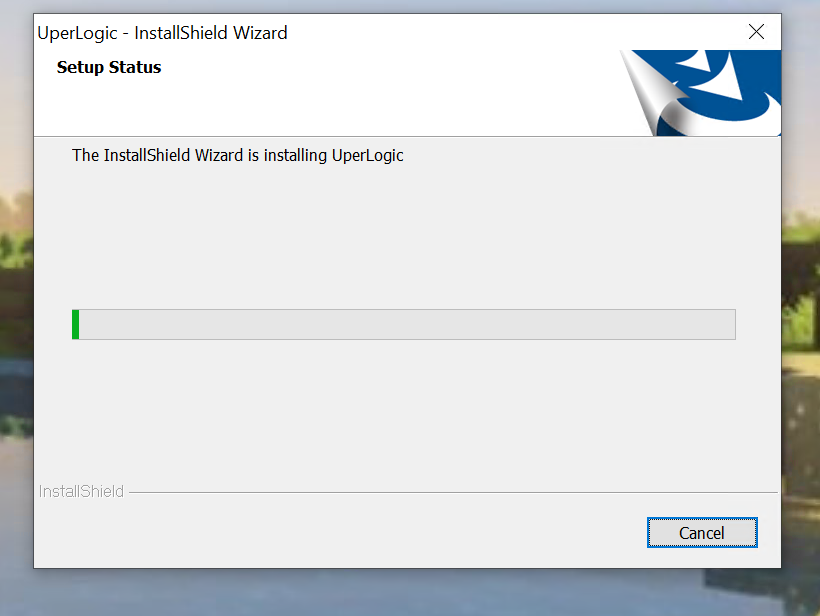
Please wait a moment…
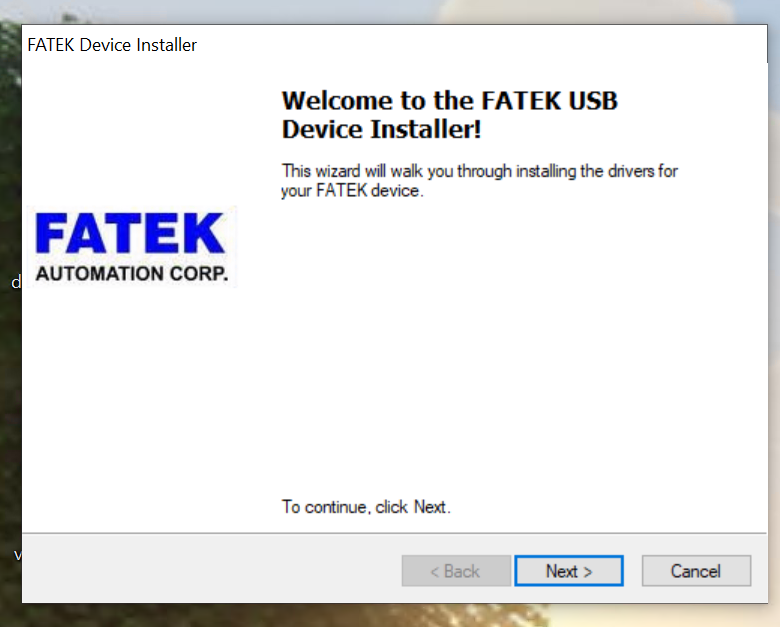
Next, the USB driver installation screen for connecting to the FATEK PLC appears. Click Next to proceed.
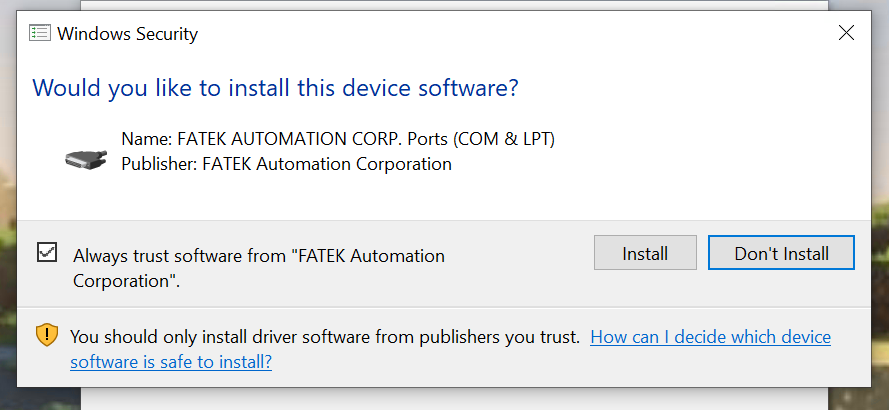
Proceed with the installation.
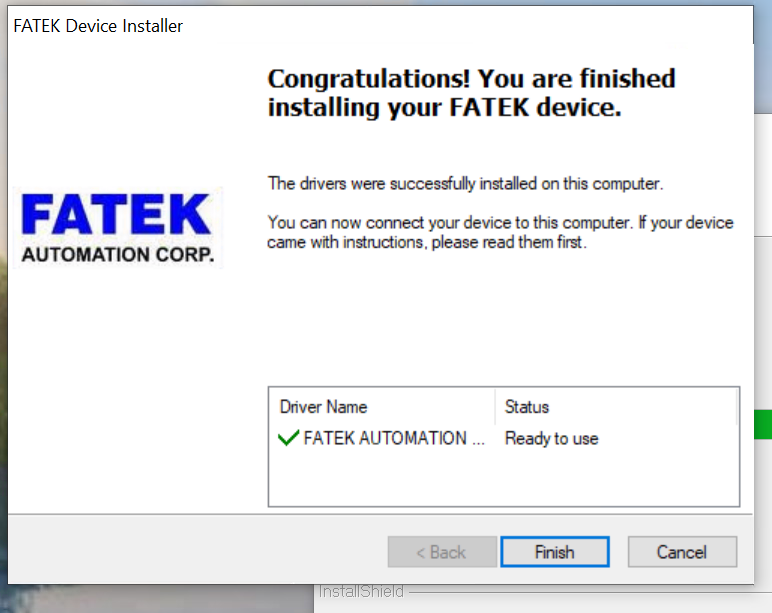
Done!
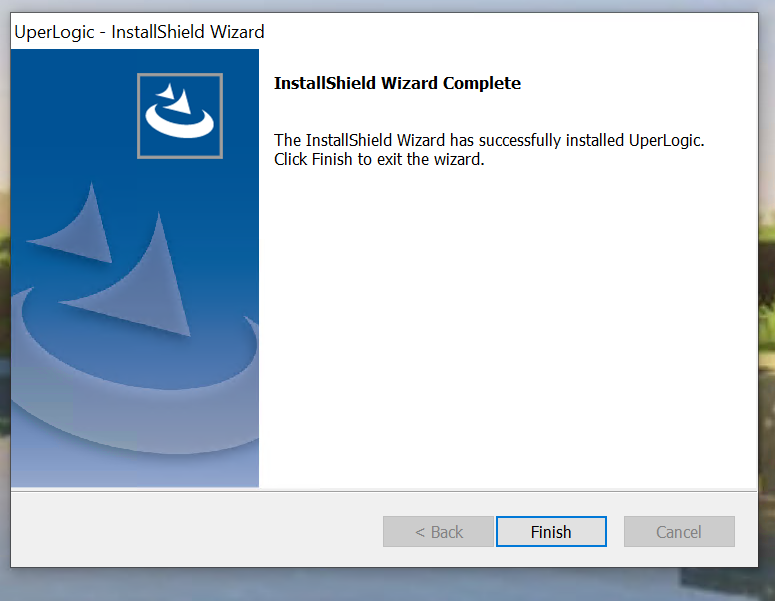
This completes the installation of UperLogic.
Start UperLogic!
Now let’s launch the UperLogic we just installed.

Please wait a moment…

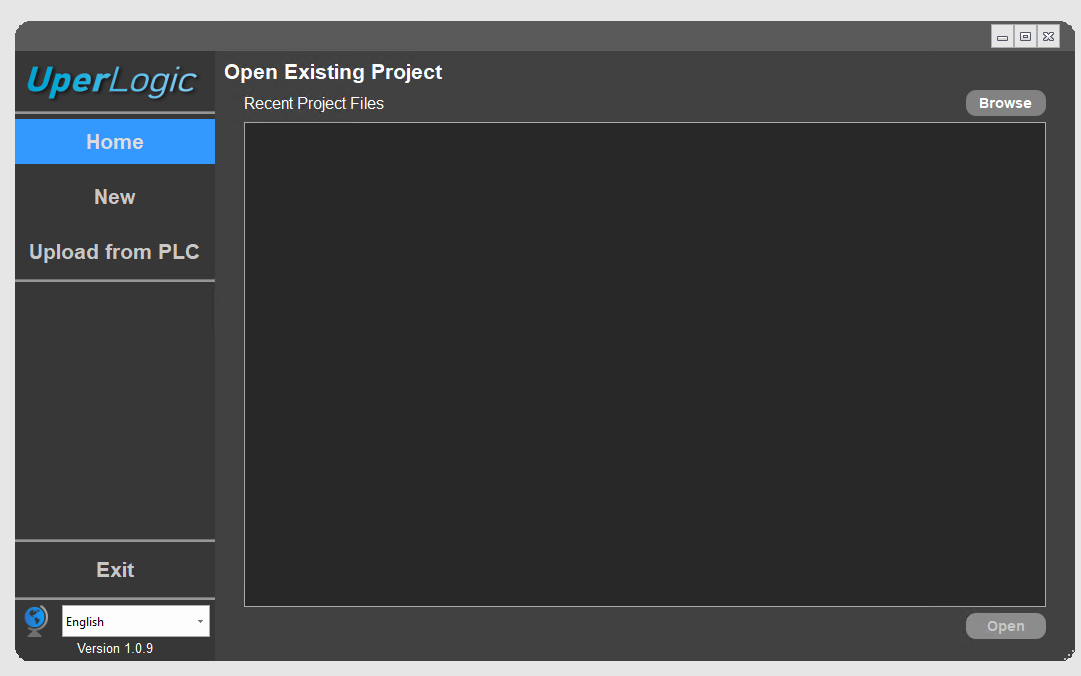
Done!
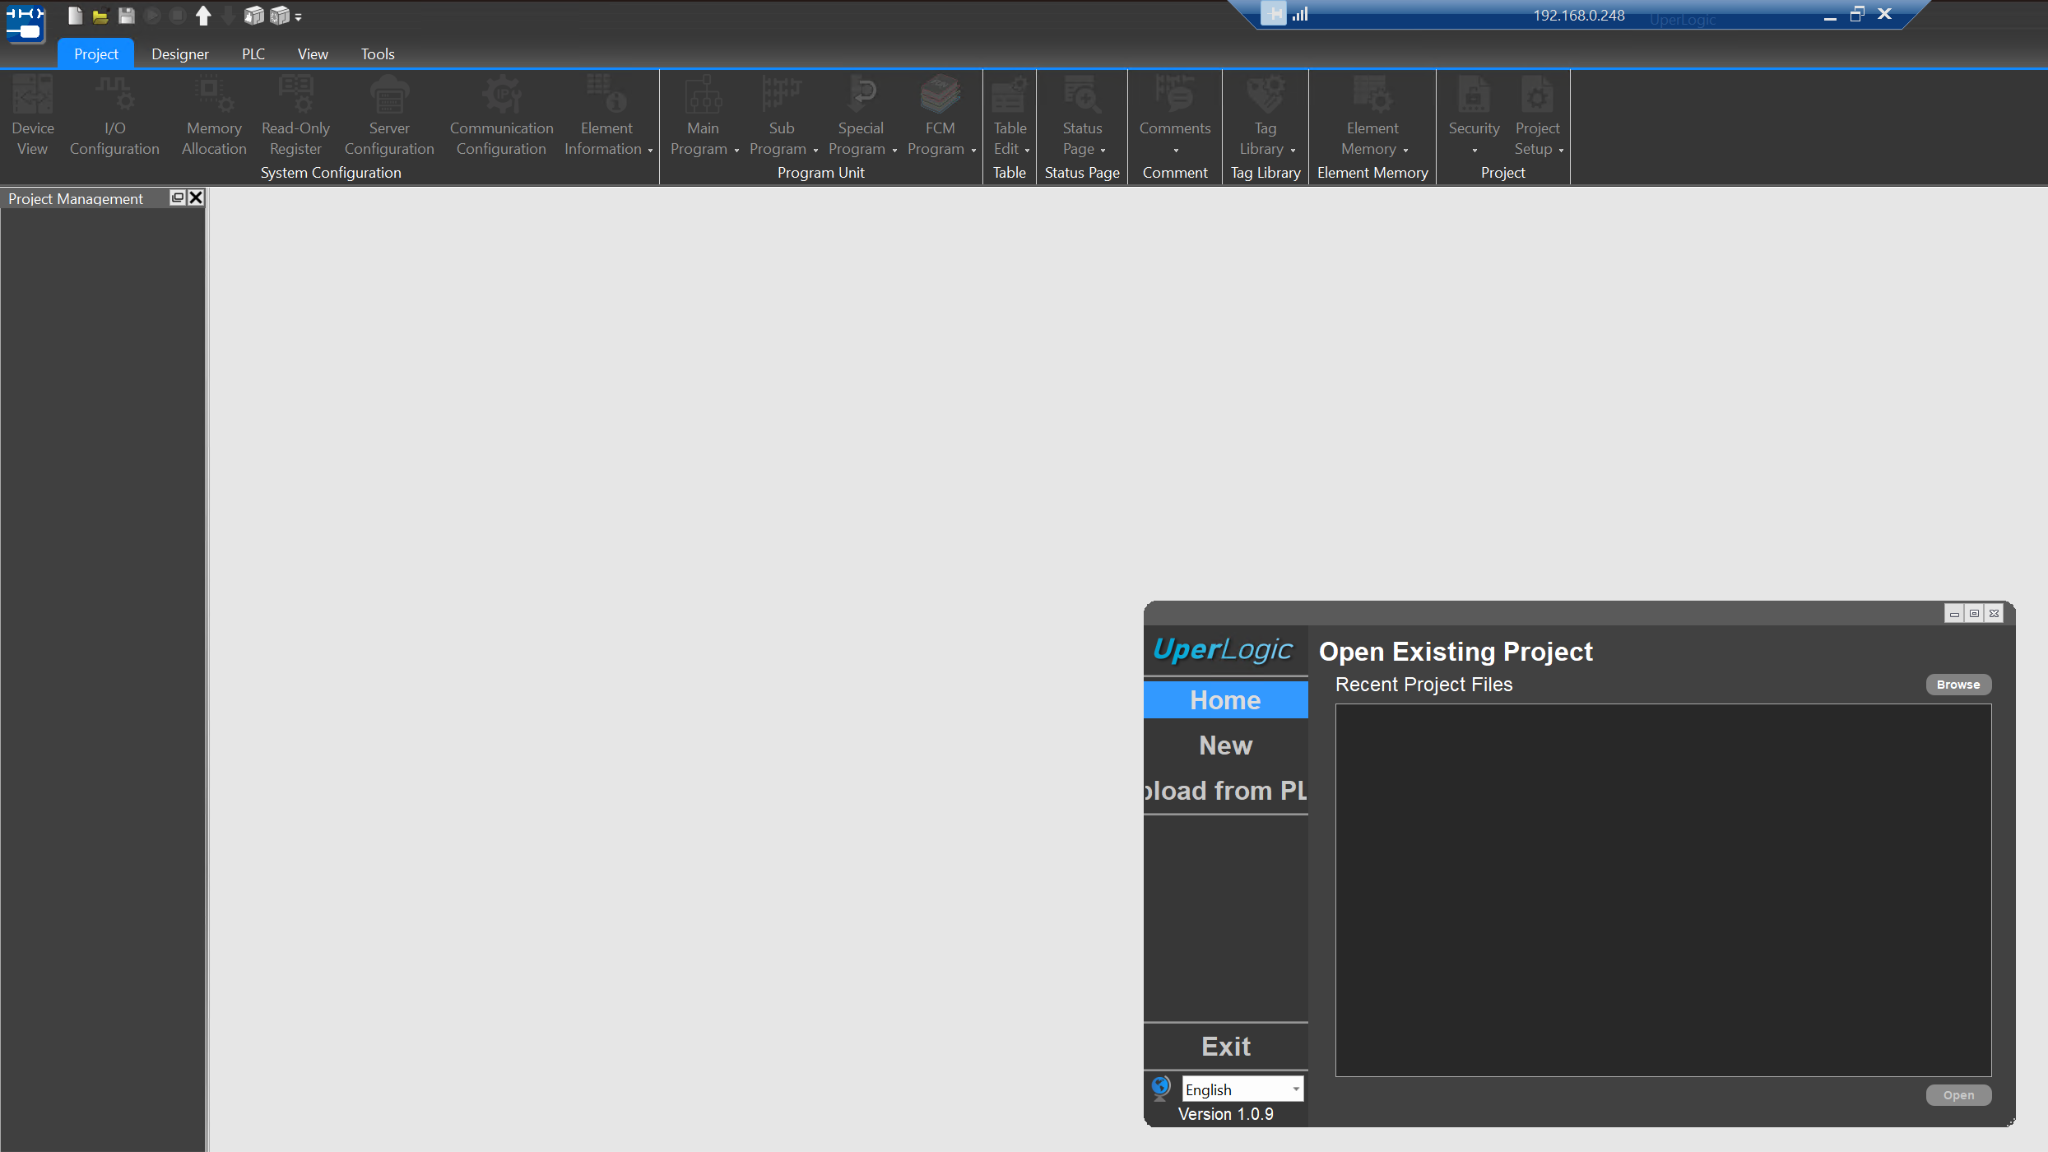
Creating a New Project
Next, click New to create a new project.
Select the PLC model to use for the project. For this article, we will use the ME3C6-1616.
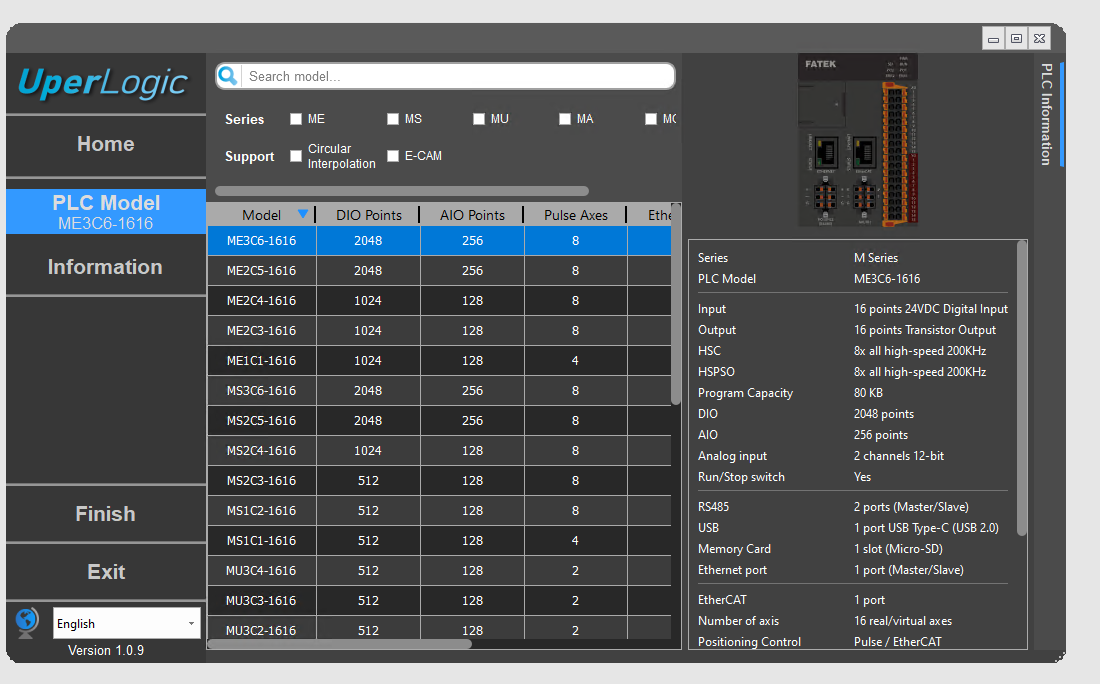
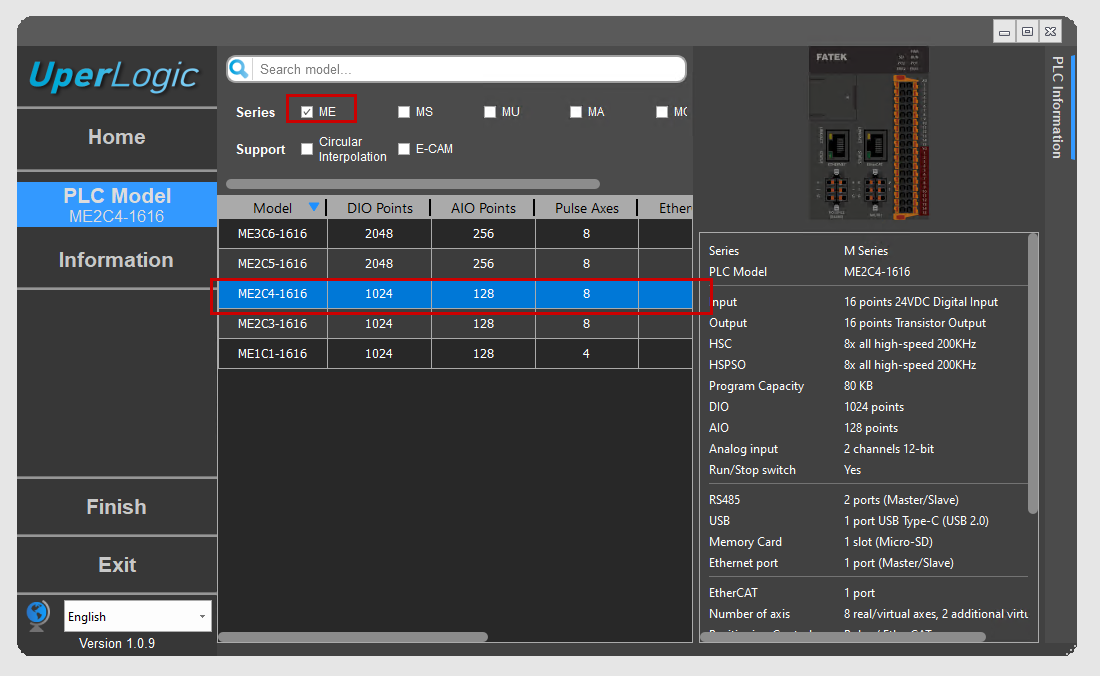
Additionally, you can change the PLC model displayed from the Series checkbox.
After selecting the PLC model, the next step is to set the PLC project name.
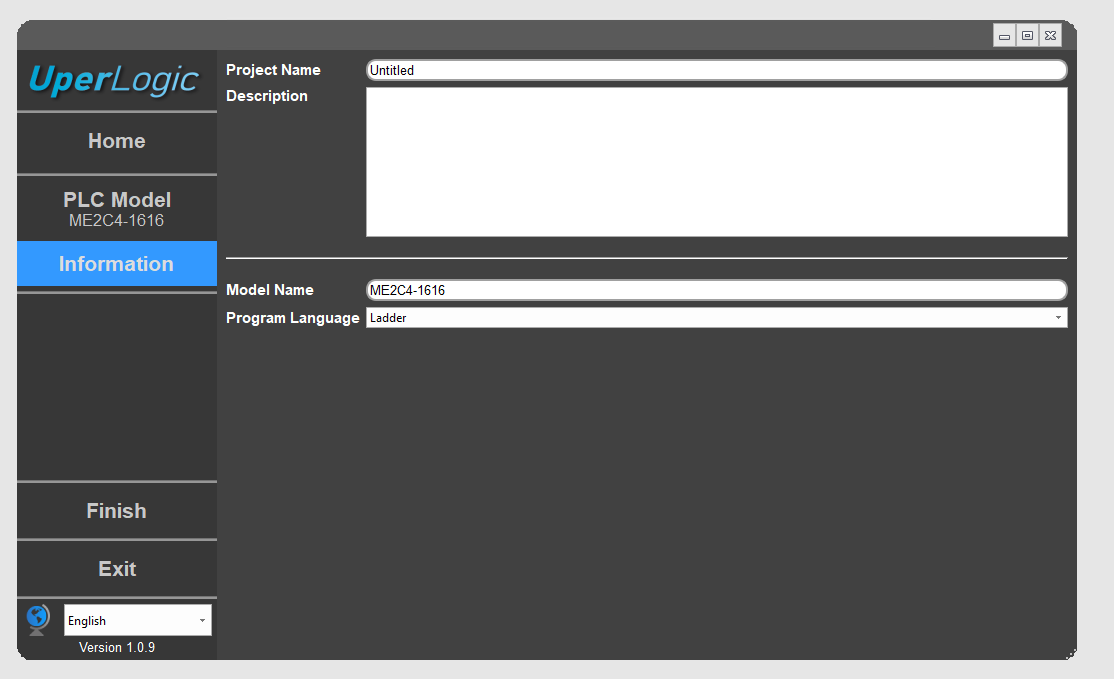
Additionally, you can create programs in either Ladder or ST by selecting from the Program Language drop-down box.
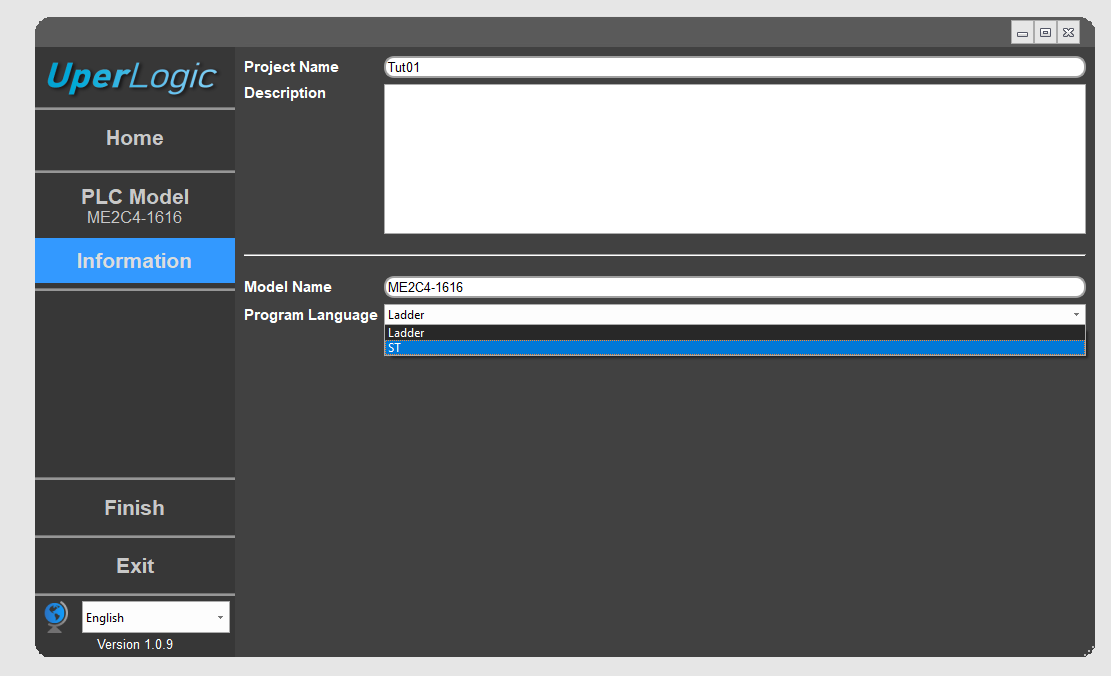
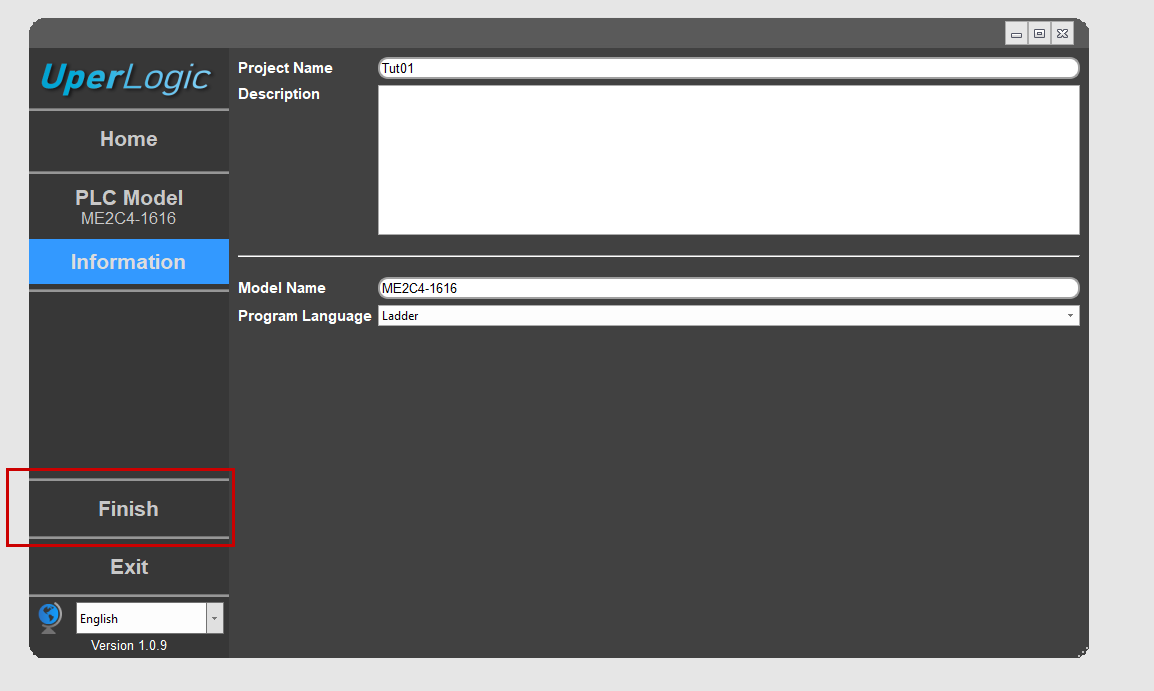
In this article, we’ll select the ladder. Then, click Finish to complete the project.
Done!This is your first UperLogic project.
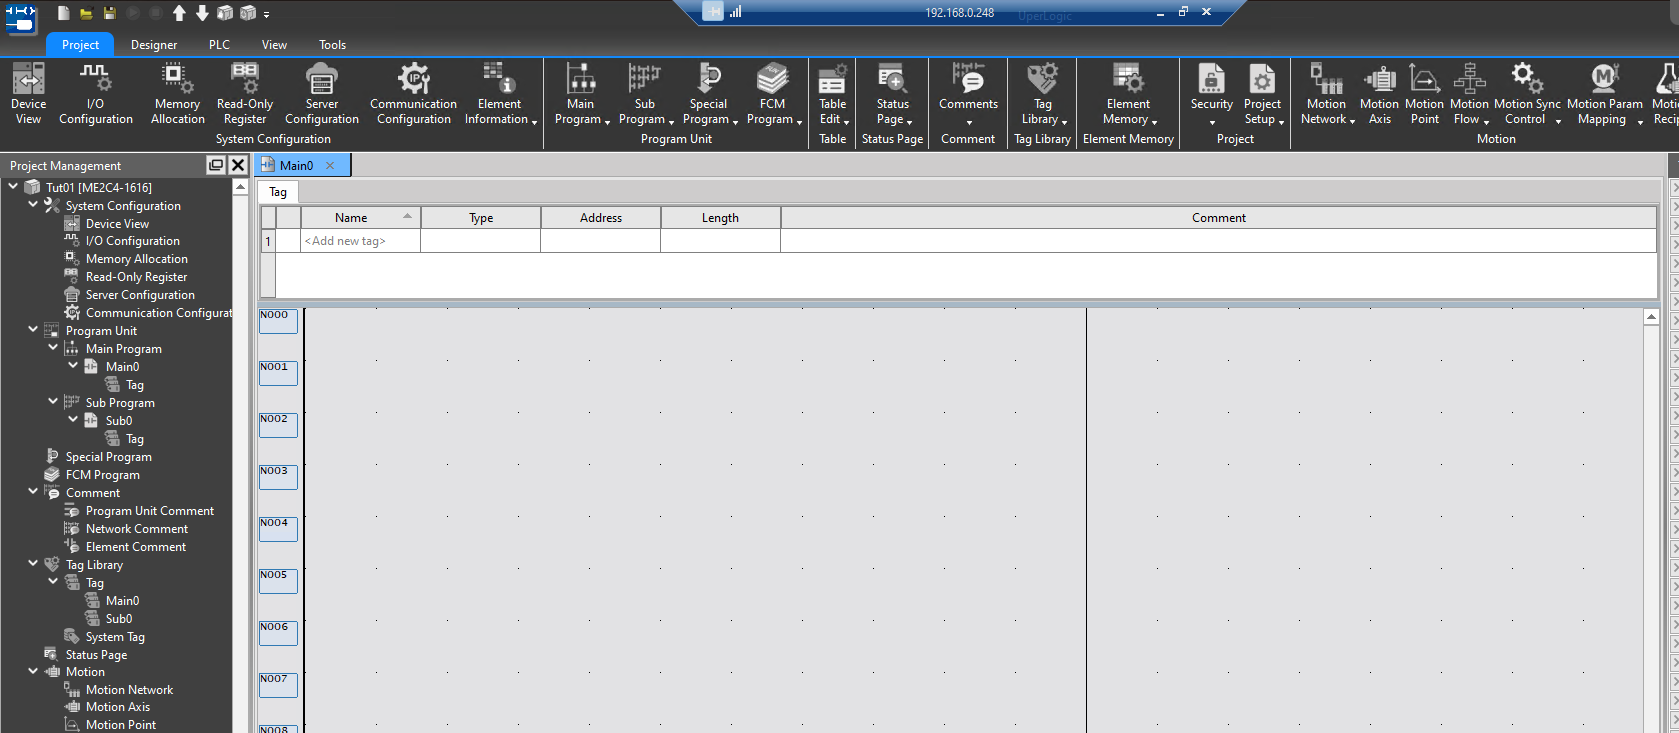
Your First Ladder program!
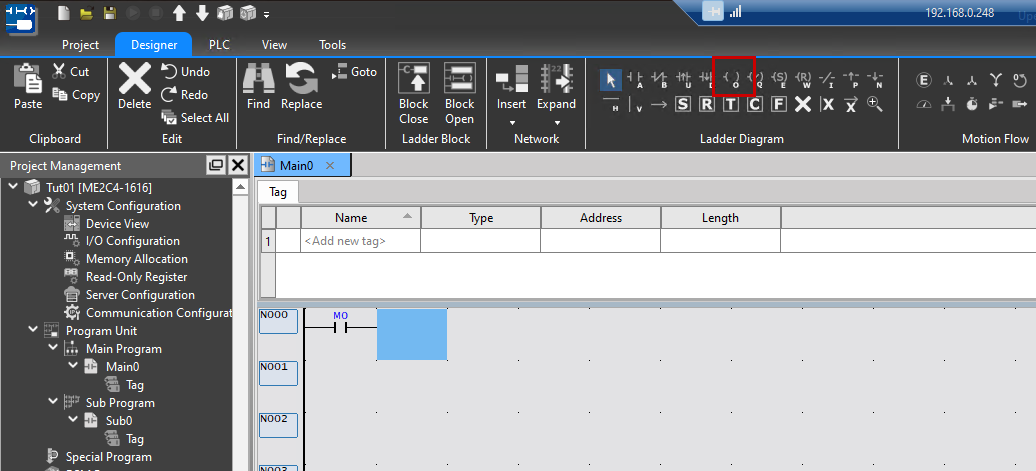
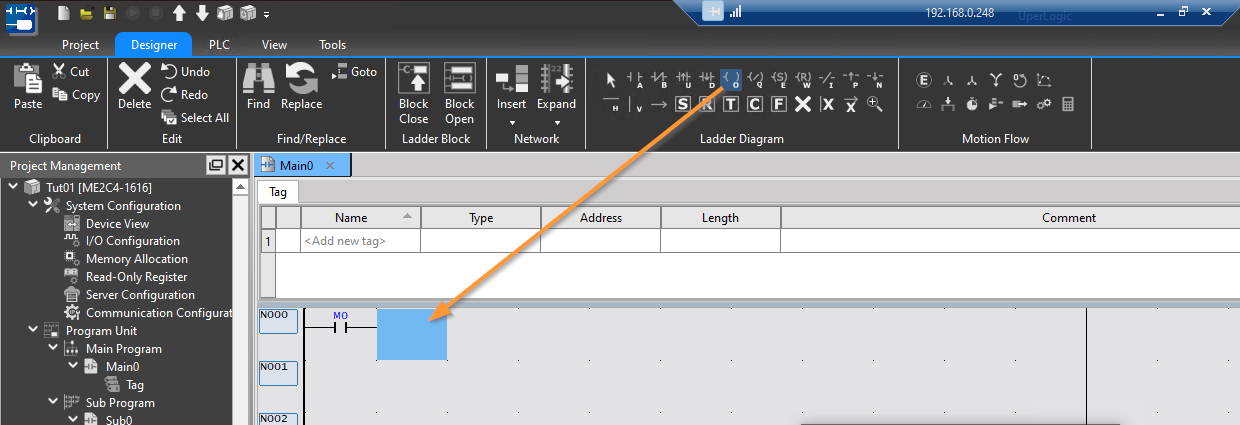
Now let’s create our first ladder program. Open the Designer Tab and add each ladder component from the Ladder Diagram.
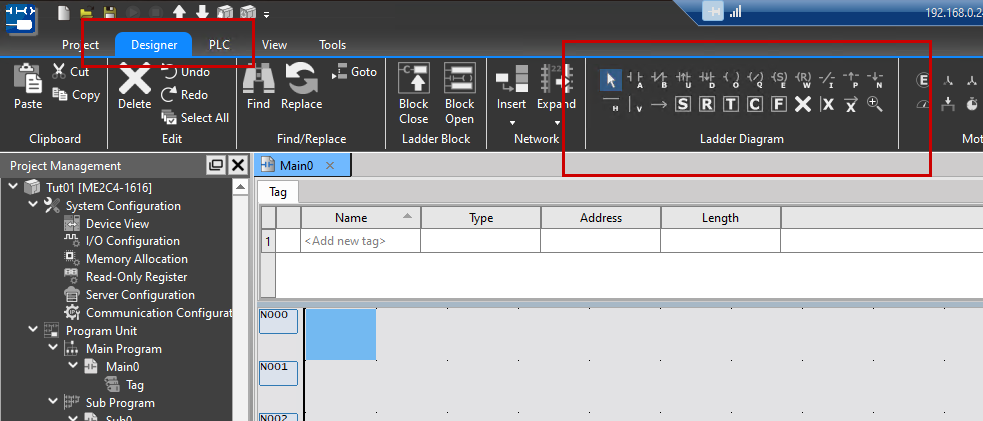
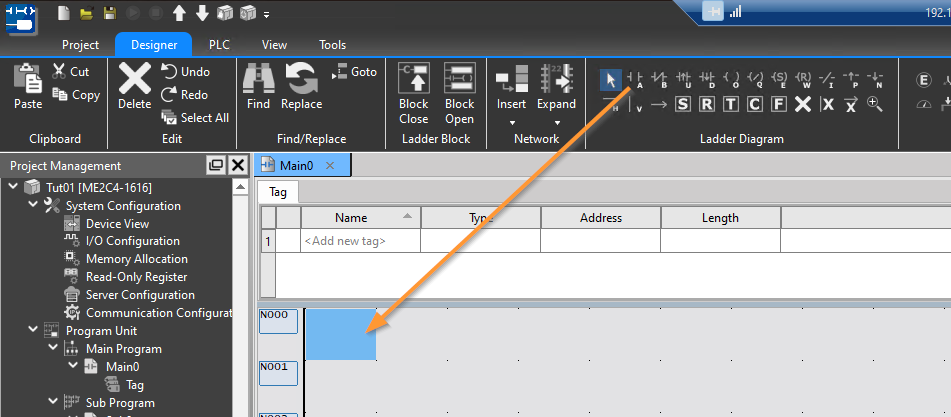
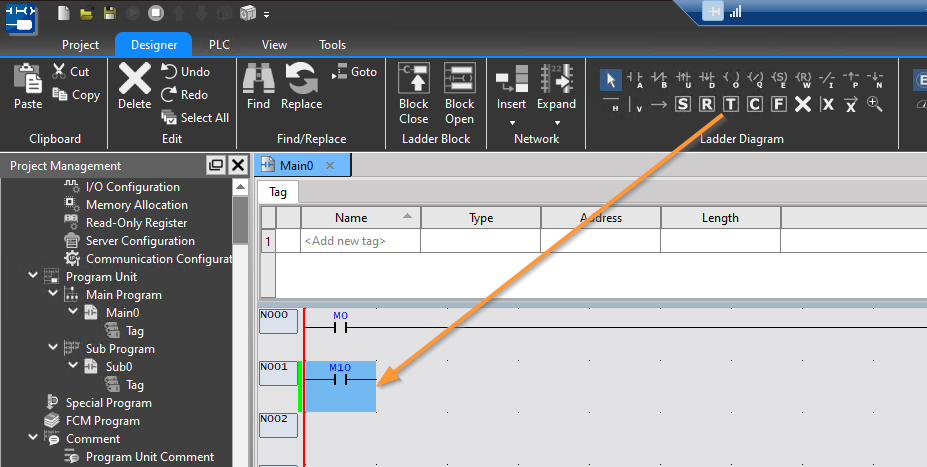
Add A contact
To add the A contact first, select the A contact from the Ladder Diagram and drop it onto N0000.
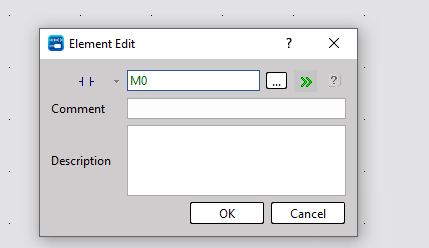
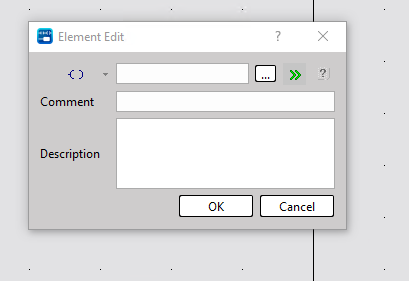
The part editing screen will appear.
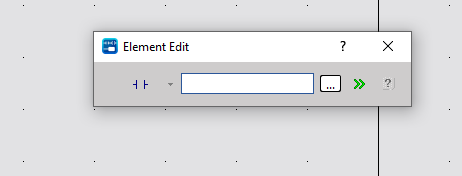
Click the >> icon below.

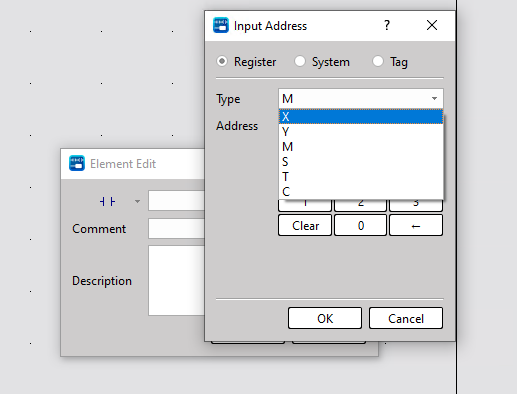
You can edit the detailed settings for the component. Click the button here to set the contact number.

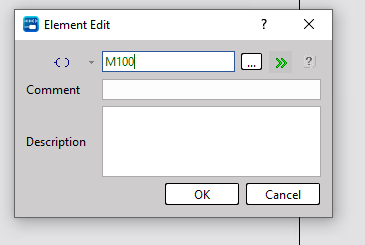
In this example, we will set M0.
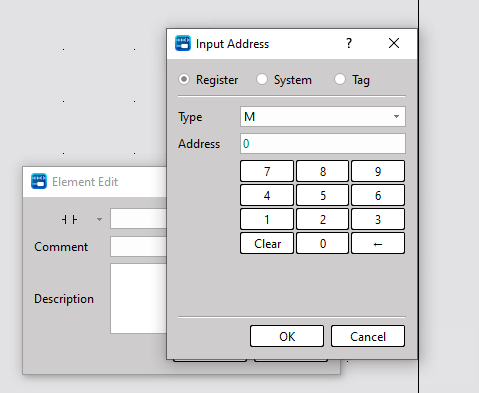
You can also select a different type of device from the Type drop-down list.
Finally, click OK to add the part.
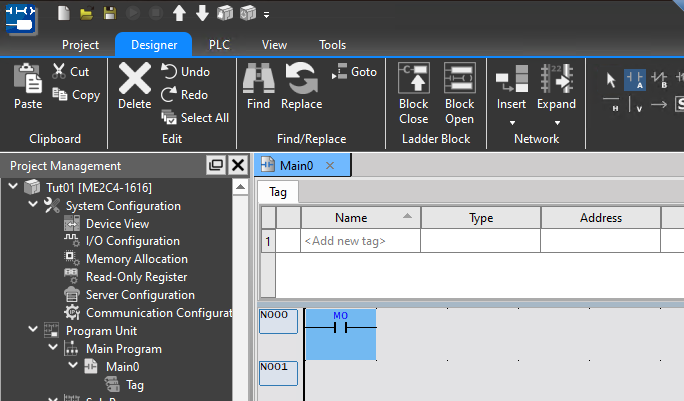
Done!This is the first ladder component to be added.
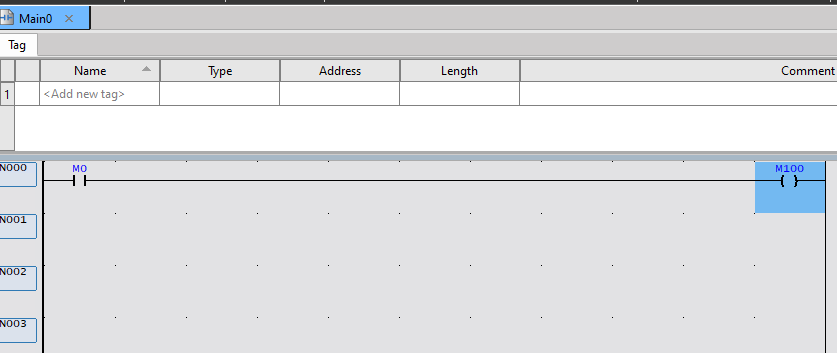
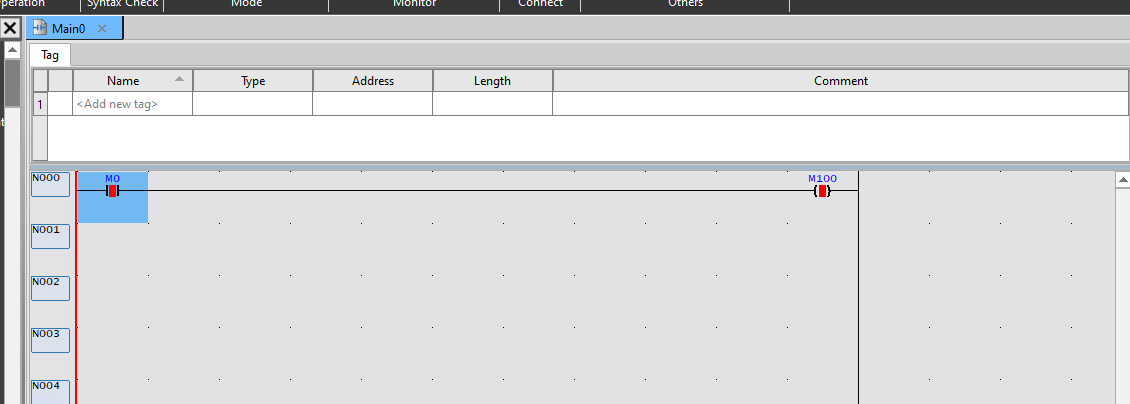
Add coil
Next, we’ll add the coils.
Select the coil from the Ladder Diagram and drop it into N0000.
The same part modification screen as before will be displayed.
This time, we’ll set it to M100.
Done!And so I was able to create my first ladder circuit.
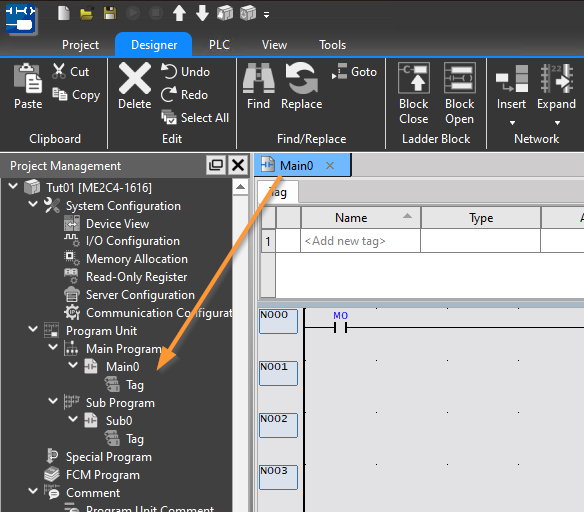
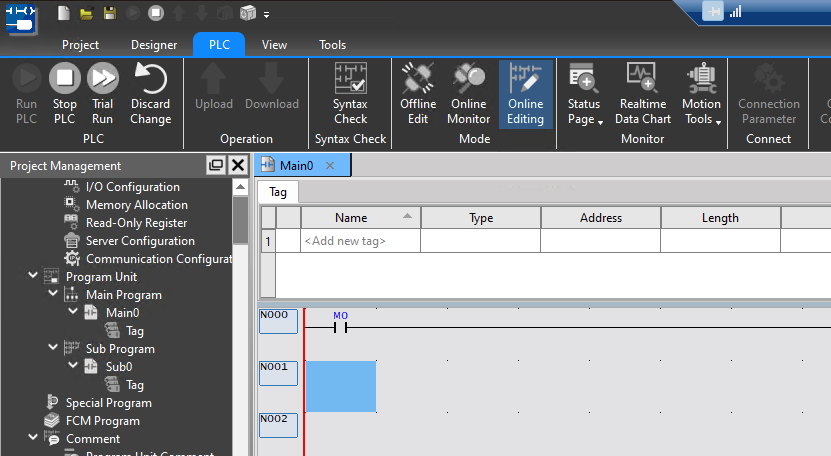
Where is the program?
Actually, the program we’re editing is located in Program Unit → Main Program → Main0.
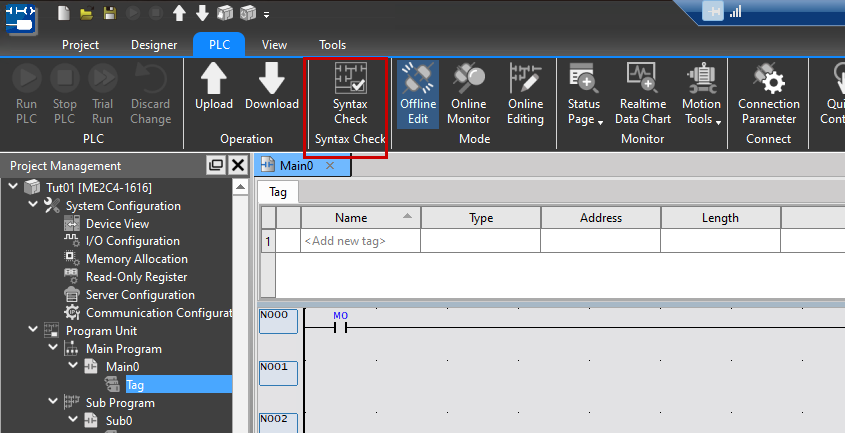
Compile
Finally, go to PLC → Syntax Check to check the program for errors.
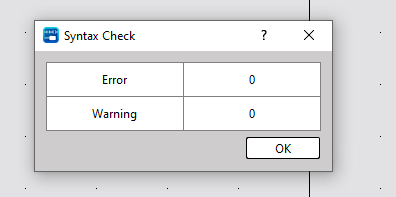
Done!There are no errors or warnings.
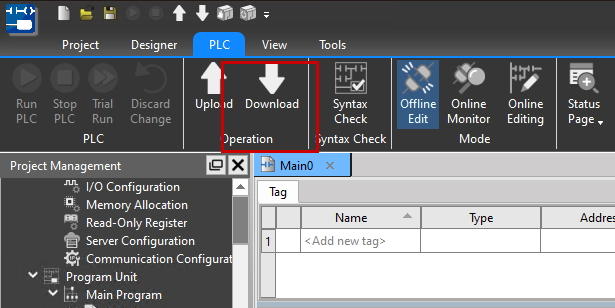
Download
Next, let’s download the project to the PLC via PLC→Download.
The parameter setting screen for connecting to the PLC will be displayed.
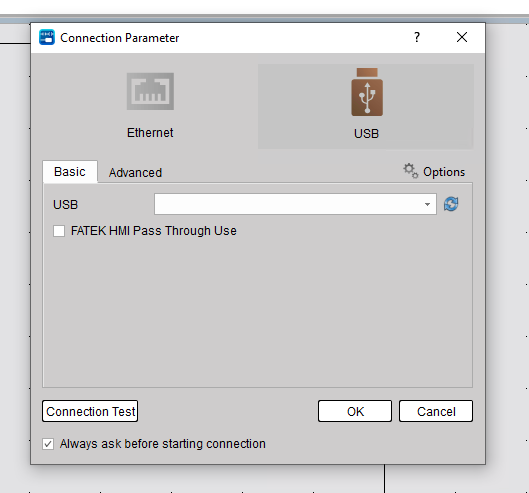
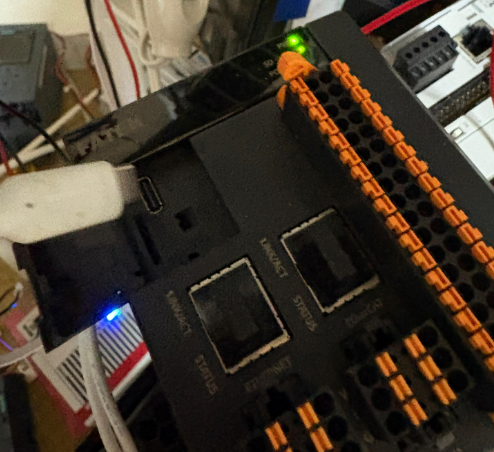
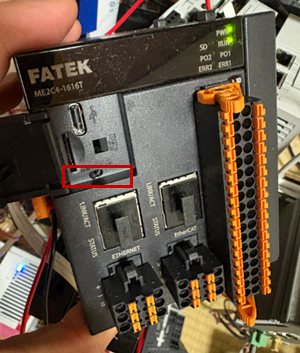
Connect the M-PLC to your PC using the USB-C port on the main unit.
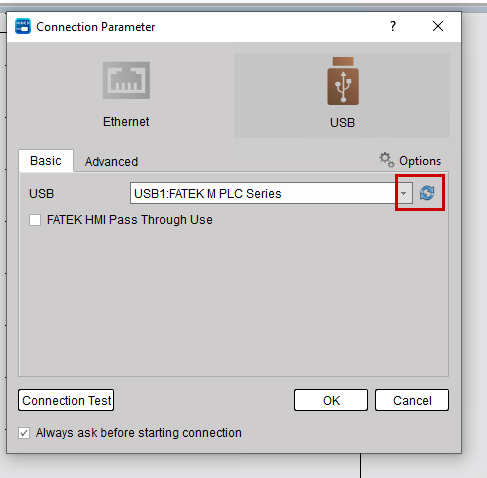
If the USB Driver does not appear, please click the button highlighted in red in the image below.
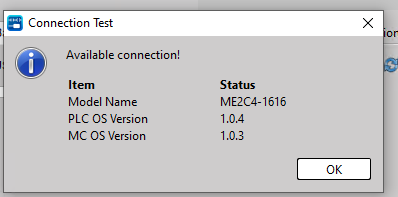
Next, click the Connection Test button in the lower-left corner to perform a communication test.
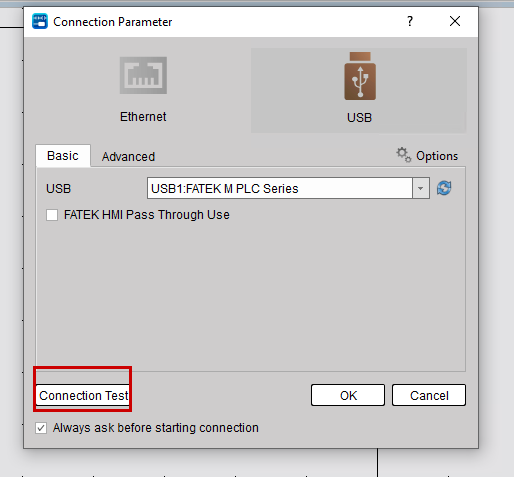
Done!The connection between the PC and PLC is fine. Then click OK and download the project to the PLC.
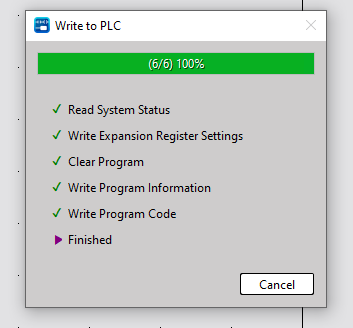
Check the different locations for Offline and Online, then click the Download button.
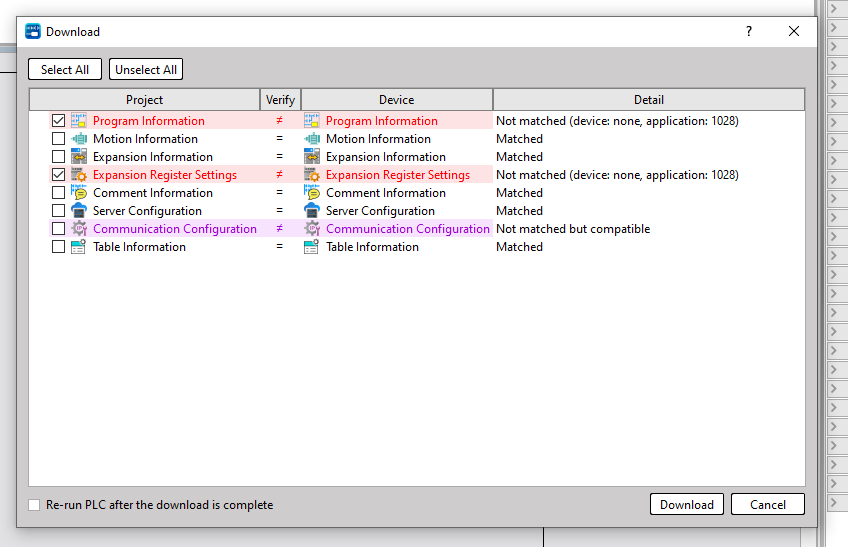
Done!
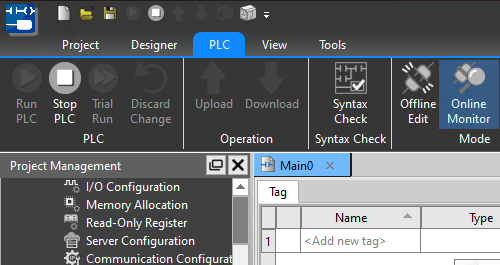
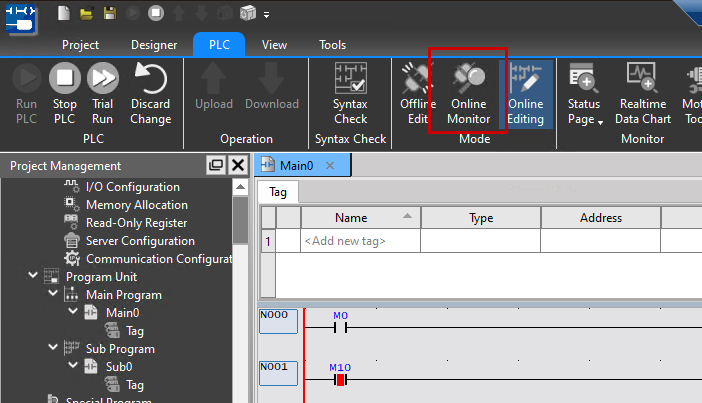
Online Monitor
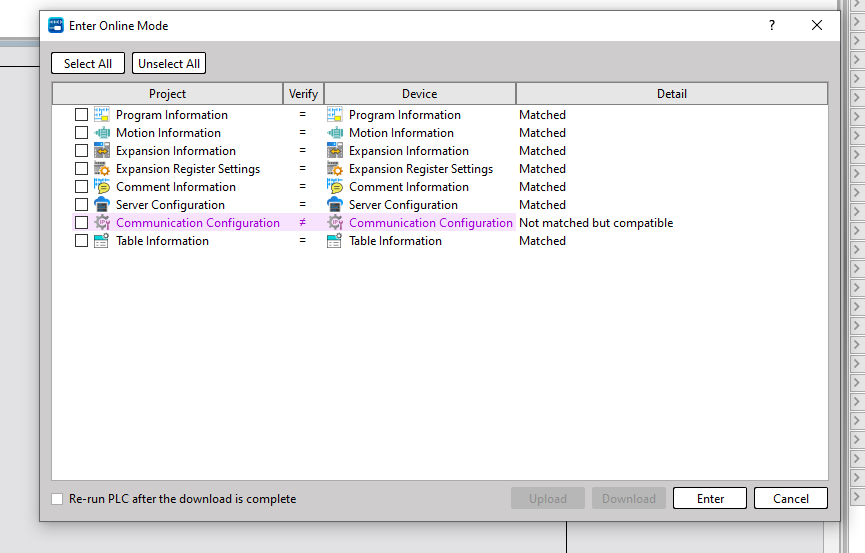
This time, check the current program status via PLC → Online Monitor.

Done!All items match.
Set the PLC to RUN mode
Next, click the Run PLC button to switch the CPU from Stop to Run mode.
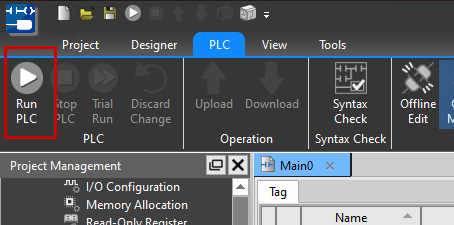
If the following message appears, the physical switch on the PLC unit is set to STOP.

Done!The PLC has entered Run mode.
ON/OFFBit Devices
Next, if you want to change the ON/OFF value of a contact while monitoring, right-click the corresponding device → select ON/OFF or press K/Shift+K.
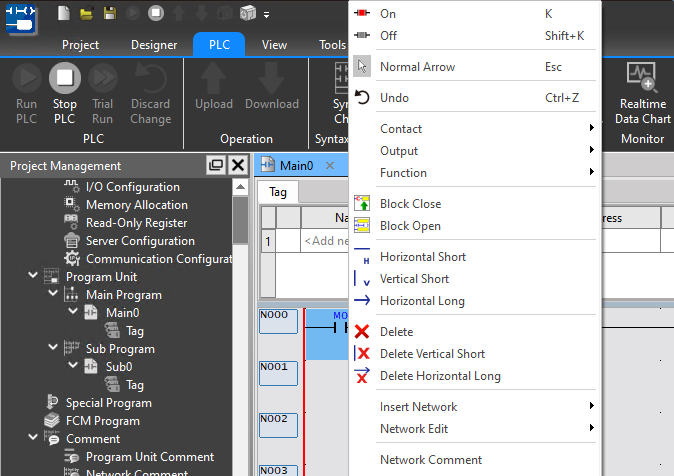
Done!
Online Editing
To perform online editing, click PLC → Online Editing.
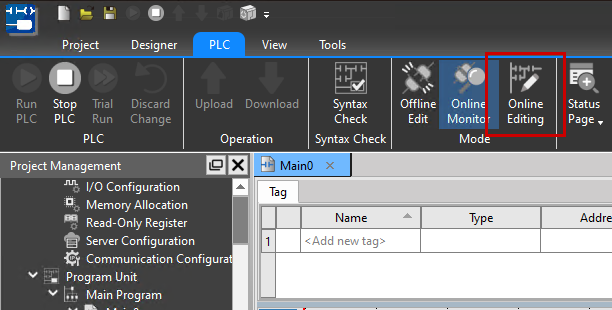
You are now in Online Edit Mode.
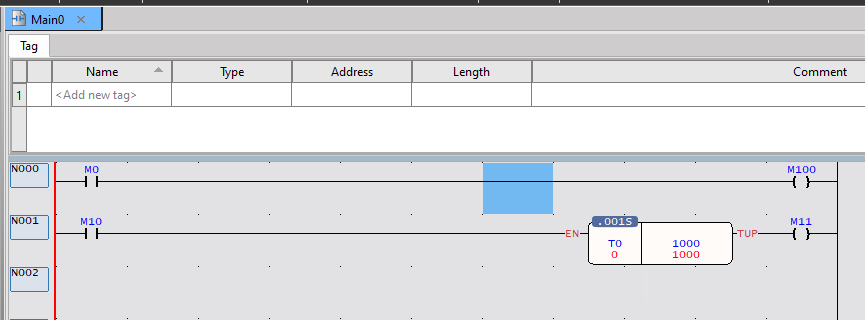
Add Timer
Insert a new circuit and add a Timer to the Ladder Diagram.
The Timer Add screen has appeared.
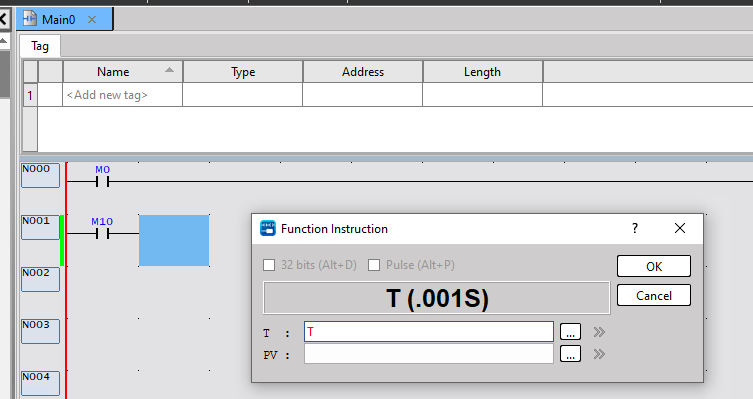
Enter the timer number in the T field, and set the PV to the desired time.
Once all parameters are entered, proceed by clicking OK.

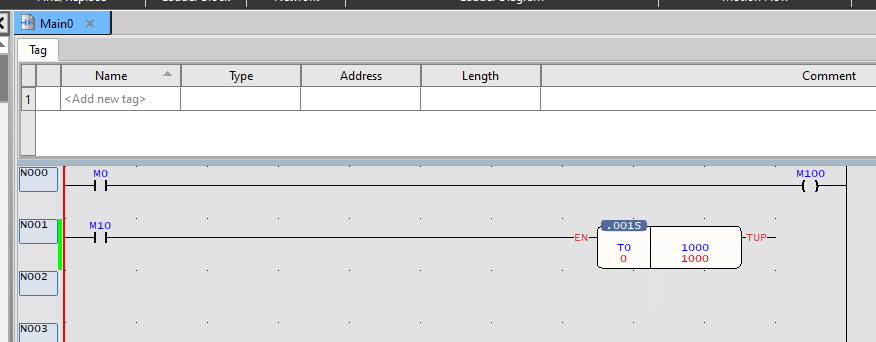
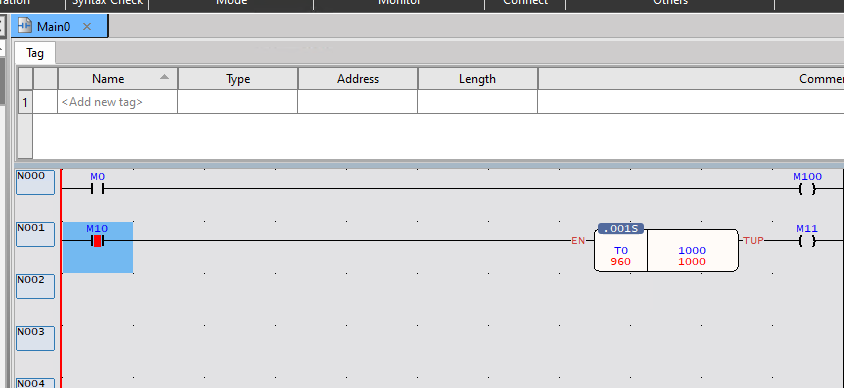
Done!A timer has been added.
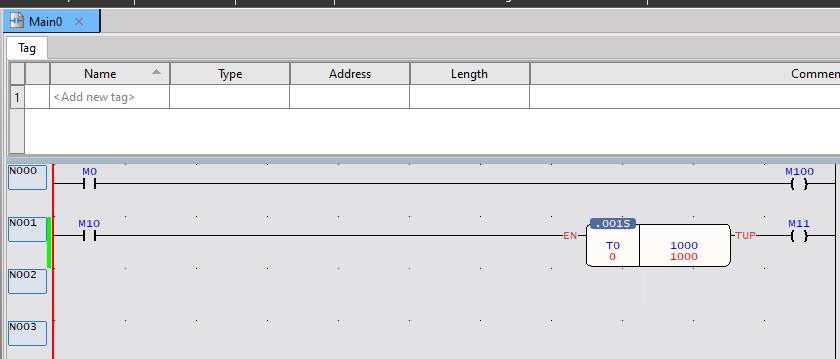
Add Coil for Timer Output
Finally, connect the coil to the Timer’s output.
Trial Run?
Unlike domestic PLCs, when editing online, changes to projects or programs are not immediately written to the PLC. To activate the current changes, you must write them to the PLC’s execution section via Trial Run.
Click [PLC] → [Trial Run] on the function bar to perform a trial run of the PLC.
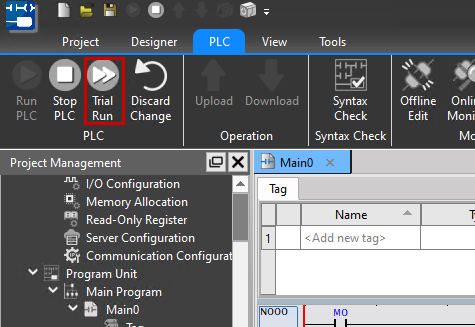
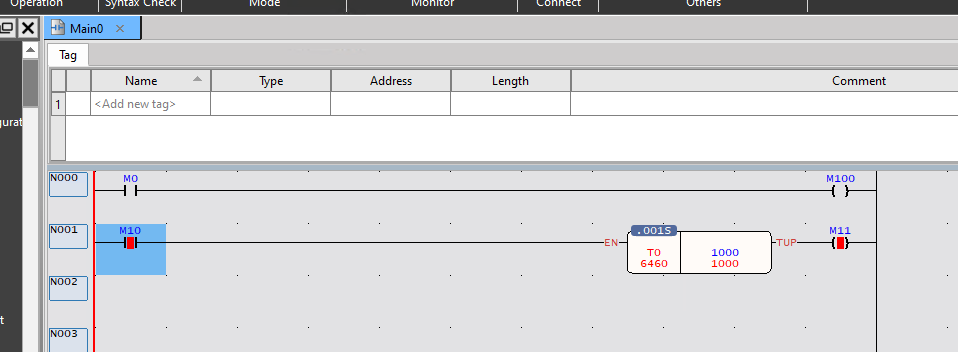
Done!The program you added earlier via Online Editing is now running.
The Timer can now be turned on properly.
Save the current program to the CPU
To apply the program you just edited to the CPU’s ROM, select PLC → Online Monitor again. Since debug content during online editing exists only in the PLC execution section, you must re-download the current project content to the PLC when exiting online edit mode.
Note: This operation will stop.
When transferring the modified program to the CPU, the following popup will appear.
- Current Content: The current project content is written to the PLC.
- Trial Run Content: Reverts to the project content from the previous Trial Run and writes it to the PLC.
- Original Content Before Online Editing: Restores the project content to the state before entering online editing and writes it to the PLC.

Done!