TIAを使ってるとき、Tools→External applicationsという項目気にしたことありませんか?ちょっとこの項目を色々いじってみたら自分だけのTIAを作れる!のような感じになりますね。日本語だと外部アプリケーションみたいな感じですね。
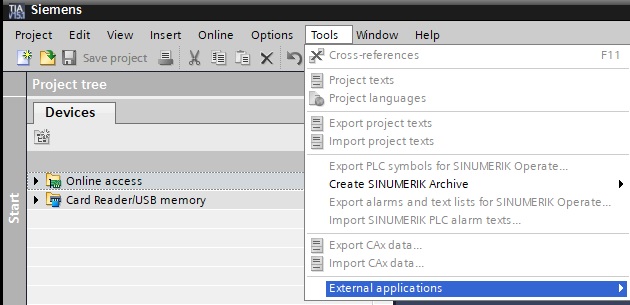
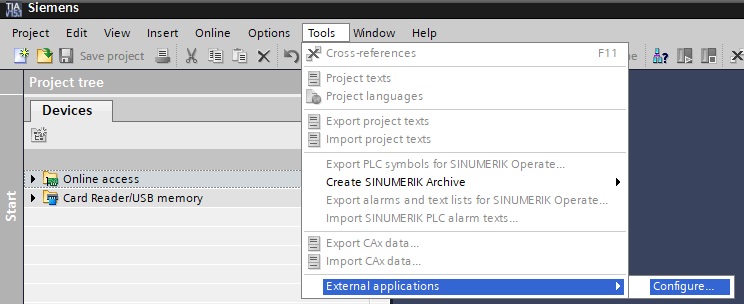
まずTools→External applications→Configureをクリックします。
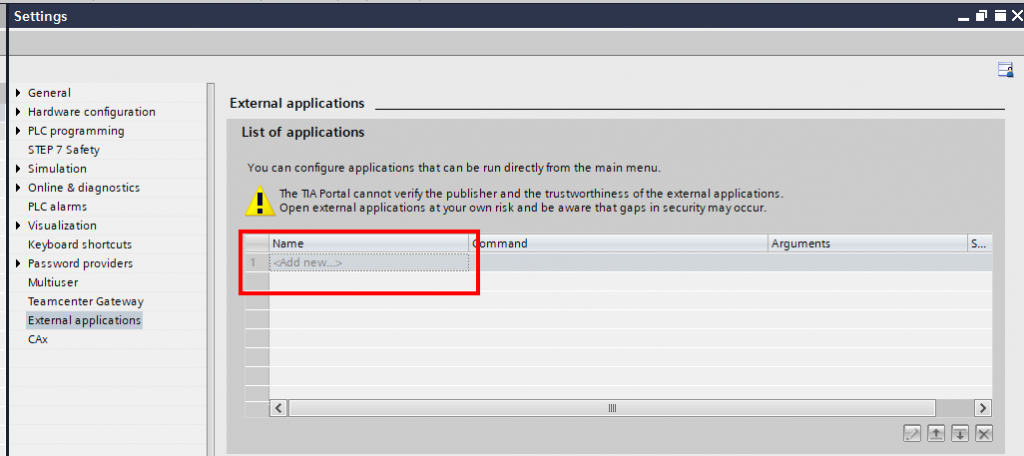
画面がSettingsのところへ変わりました。
ここで赤枠の<Add new…>を押します。
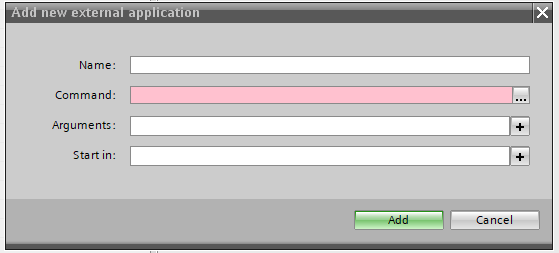
Add new external applicationのPop upが出てきます。
- Name:外部アプリケーションの名前
- Command:考えたとしてはTerminalを起動してるとき入れるのコマンドのような使え方です。Windows のコマンド
- Arguments:コマンド実行するときのOptionsなど。まぁ、ArgumentsはArgumentsです。
- Start in:そのアプリケーションはどこのPathで実行するのか。
では、まず試しにパソコンのEthernet AdapterのIPをDHCPに変えるのアプリケーションを作ってみます。
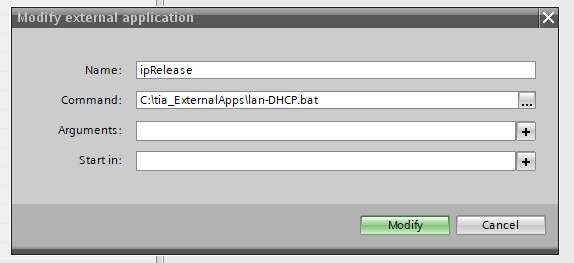
- Name:ipRelase
- Command:今回はbatファイルを実行します。
- ArgとStartinはそのままにします。
そしてModifyを押し完成させます。
そうするとTools→External applicationsの次はipReleaseが一つ増えました。
これは先あなた追加したアプリケーションですね!

今回、もっと実感あるのアプリケーションを作ってみますね。
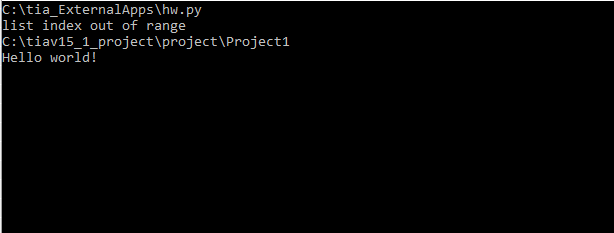
この外部アプリケーション実行すると、Pythonが実行されます。そしていまが開いてるプロジェクトの場所がわかるようになります。簡単明瞭。名前hw.pyにします。
import sys
args = sys.argv
try:
print(args[0])
print(args[1])
print(args[2])
except Exception as e:
print(e)
import os
print(os.getcwd())
print(“Hello world!”)
a = input()
まずプロジェクトを開きますね。
C:\tiav15_1_project\project\Project\Project1ですね。

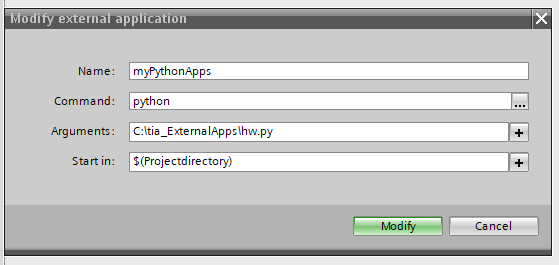
- Name:myPythonApps
- Command:python
- Arguments:先の hw.pyが保存した場所。
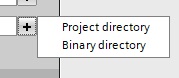
- Start in:Project directory・Binary directoryが両方選べます。
- Project directory:いま開いてるプロジェクトの場所でこのアプリケーションを起動します。
- Binary directory:TIAがインストールされるところにあるBin Folderの中に実行します。
つまりこんな感じですね:
実行すると以下のPopupが出てきます、つまりこれから起動するアプリケーションが危険かもしれませんよ~ということ。OKを押します。
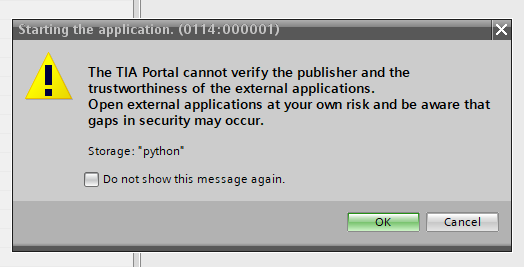
お!ちゃんとできましたね。
次のStepは?これを起動する方法わかれば、Opennessと連携するともっと効率的にプログラム作れるじゃないかな?って。
Advantages & Disadvantages of Siemens’ TIA Openness
Using XML Templates in TIA Openness
SIMATIC Openness: Automating creation of projects
はい、お疲れ様です。ー