Unityはリアルタイム開発プラットフォームで実際様々なゲーム開発に使われています。現在はVirtual Communicationのソフトがたくさん、例えばSiemensのNXやこの間自分紹介したFactory IOなど、そして今回紹介するのはUnity Asset Storeで販売されているGame4Automationです。
Game4Automationとは?
Game4AutomationはUnity上で走るVirual CommunicationのFrameworkです。
もしあなたが機械メーカや自動化の会社で実機の立ち上げなどの時間を短くしたい方、
もしあなたはUnityを3D HMIとして使用し3D Model状態を可視化やコンドールしたい方、
Game4Automationは悪くない選択肢思うかもしれません。
Game4AutomationはUnity のUser Interfaceを強化しエンジニアをもっと簡単でUnityを操作することができす。このFrameworkは様々なFAメーカのDriveやSensorのComponents提供し、3D Modelにも実機のControllerと接続することができます。
そのGame4AutomationはProfessionalやStarter kitなどのバージョンがあり、自分がインストールしたのはStart-kitです。Starter-kitは以下の機能をSupportします。
- Drives・Sensor・Interface・Signal Valuesの階層的な表示
- Interface・Signal・Drives・Drivesの周辺機器・Sensor・Picking・Sources・SinkのScript
- Sinumerik・Simatik ・Simotion のTCP/IP Interface提供
- CADENASから簡単に3D PartsをImport
- Starter VersionはS7-300/S7-400/S7-1200/S71500/Sinumerik/SimotionのTCP/IP Interface提供
交換性Version:Unity 2020.3

Unity Hub Install
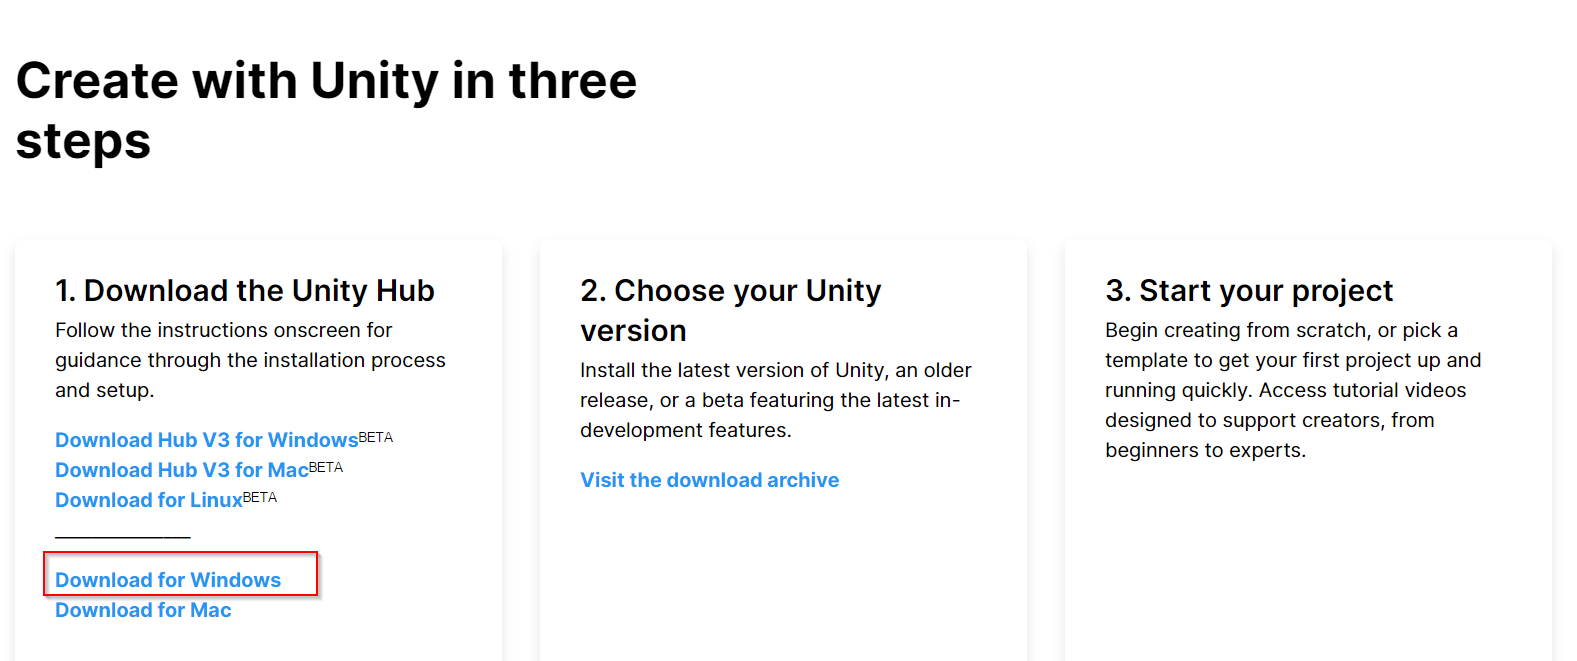
まず下記のLink4をアクセスし、Unity Hubをダンロードします。
https://unity3d.com/jp/get-unity/download/archive

Downloads for Windowsをクリックします。
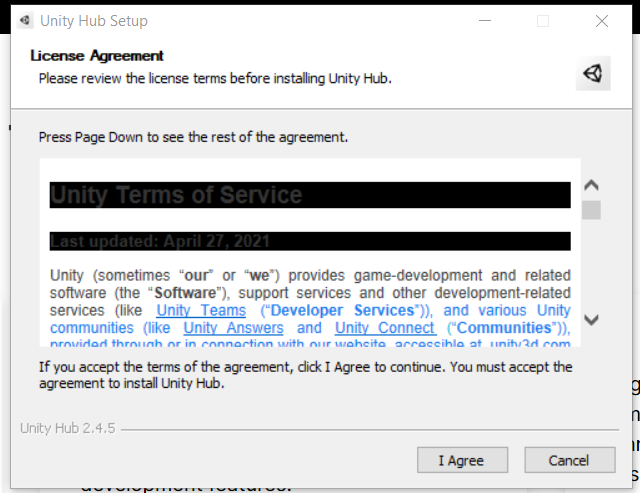
このようなExeがダンロードされました。

EXE実行します。I Agreeします。
Install Pathを設定し、Install。
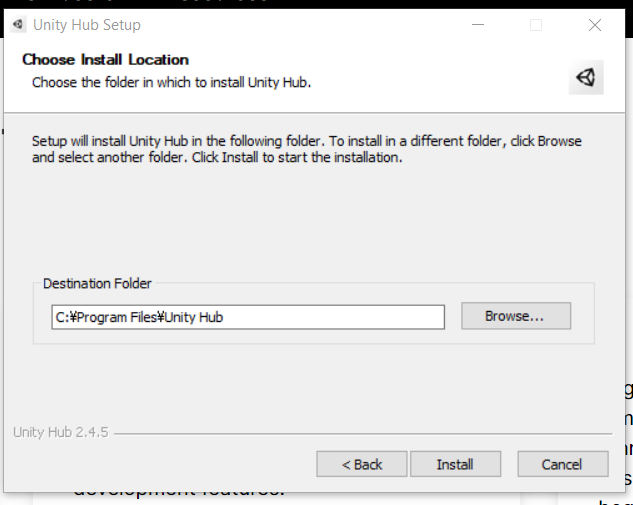
しばらく待ちます。
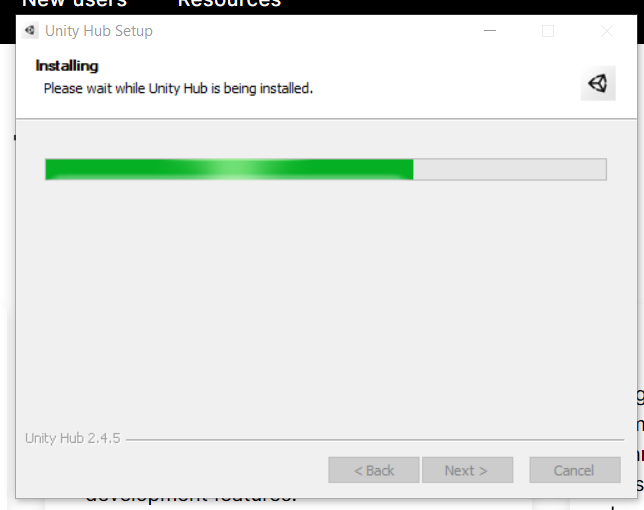
これでインストール終わりです。Finishで終了します。

Sign-in/License
Unity Hubを起動すると、Firewallからそのアプリケーション許可しますか?って。
Allow accessします。

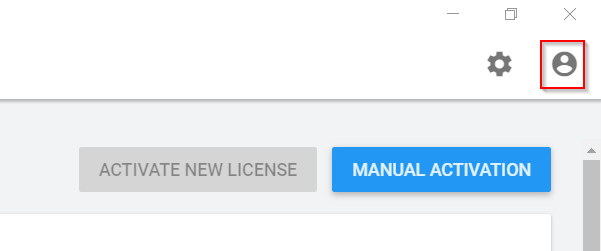
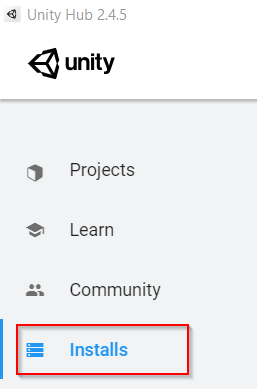
Unity Hubの画面が出てきます。

右側の顔ICONをクリックします。
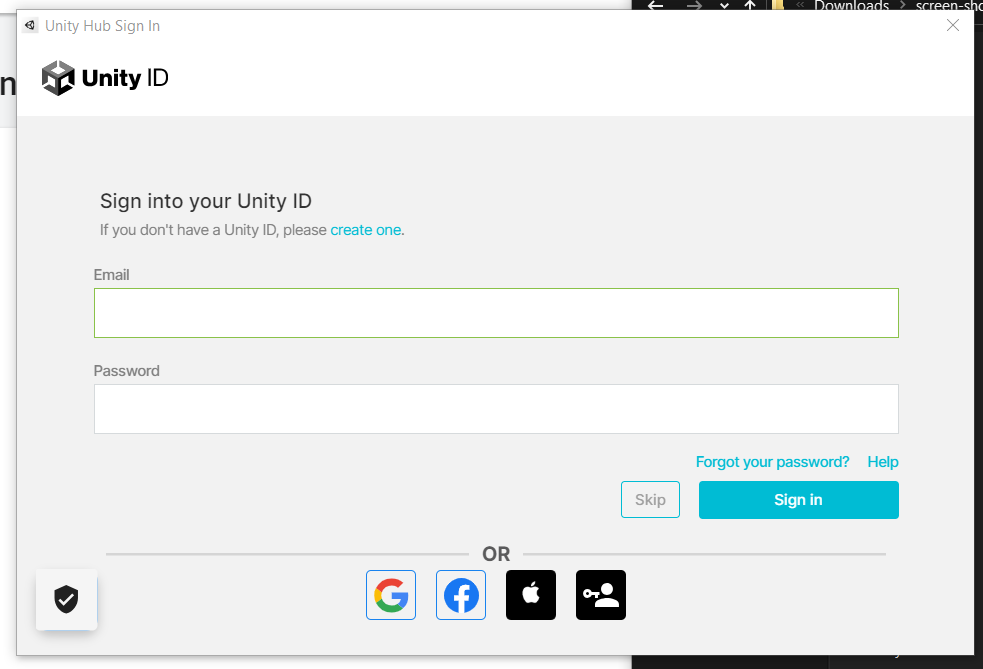
Sign inします。

IDある方ならSign inし、ない方は作成しましょう。
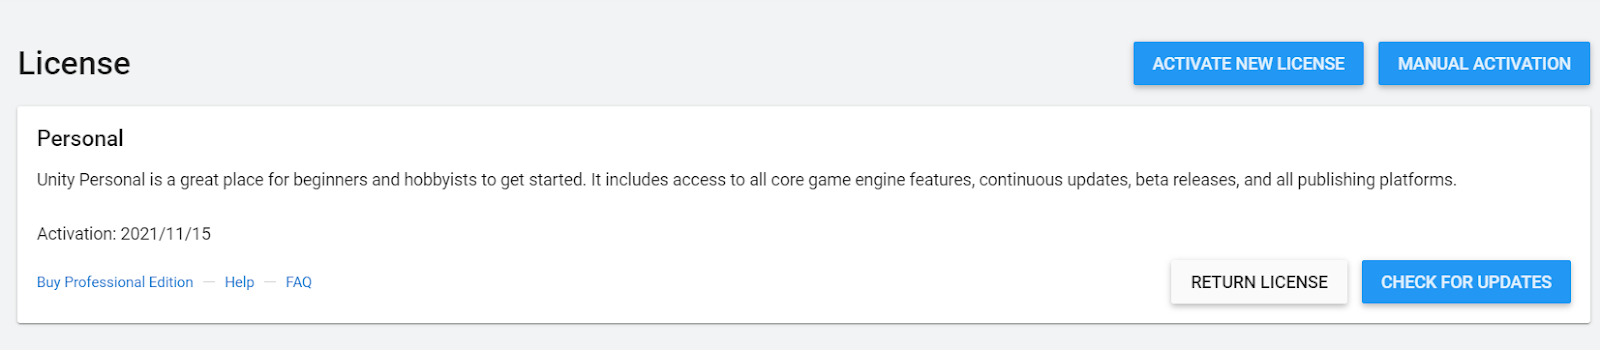
ID Sign in終わったら、ACTIVATE NEW LICENSEクリックします。

Unity Personal>I don’t use Unity in a professional capacityを選び、Doneします。

これでLicenseもOKです。
Unity2020.3 Install
次はUnity 2020.3をインストールします。
ADDします。

Unity2020.3.22f1(LTS)を選び、Nextします。
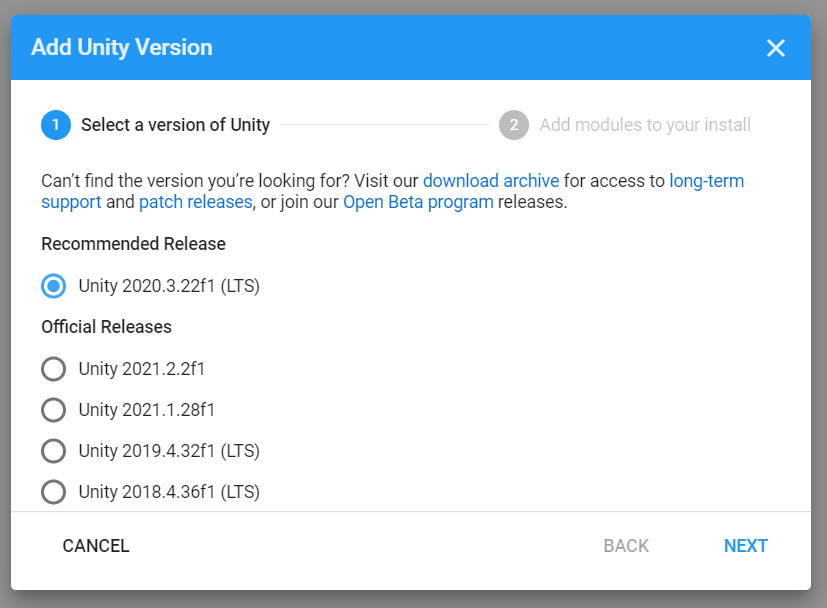
Nextします。

もしPCにVisual Studio Community 2019なければ、必ず入れるようにされます。NEXTします。
VSのLicenseを同意し、DONEします。

それでInstallsは2020.3.22f1がインストール始めます。

最初にはまずVisual Studio Community 2019をインストールします。
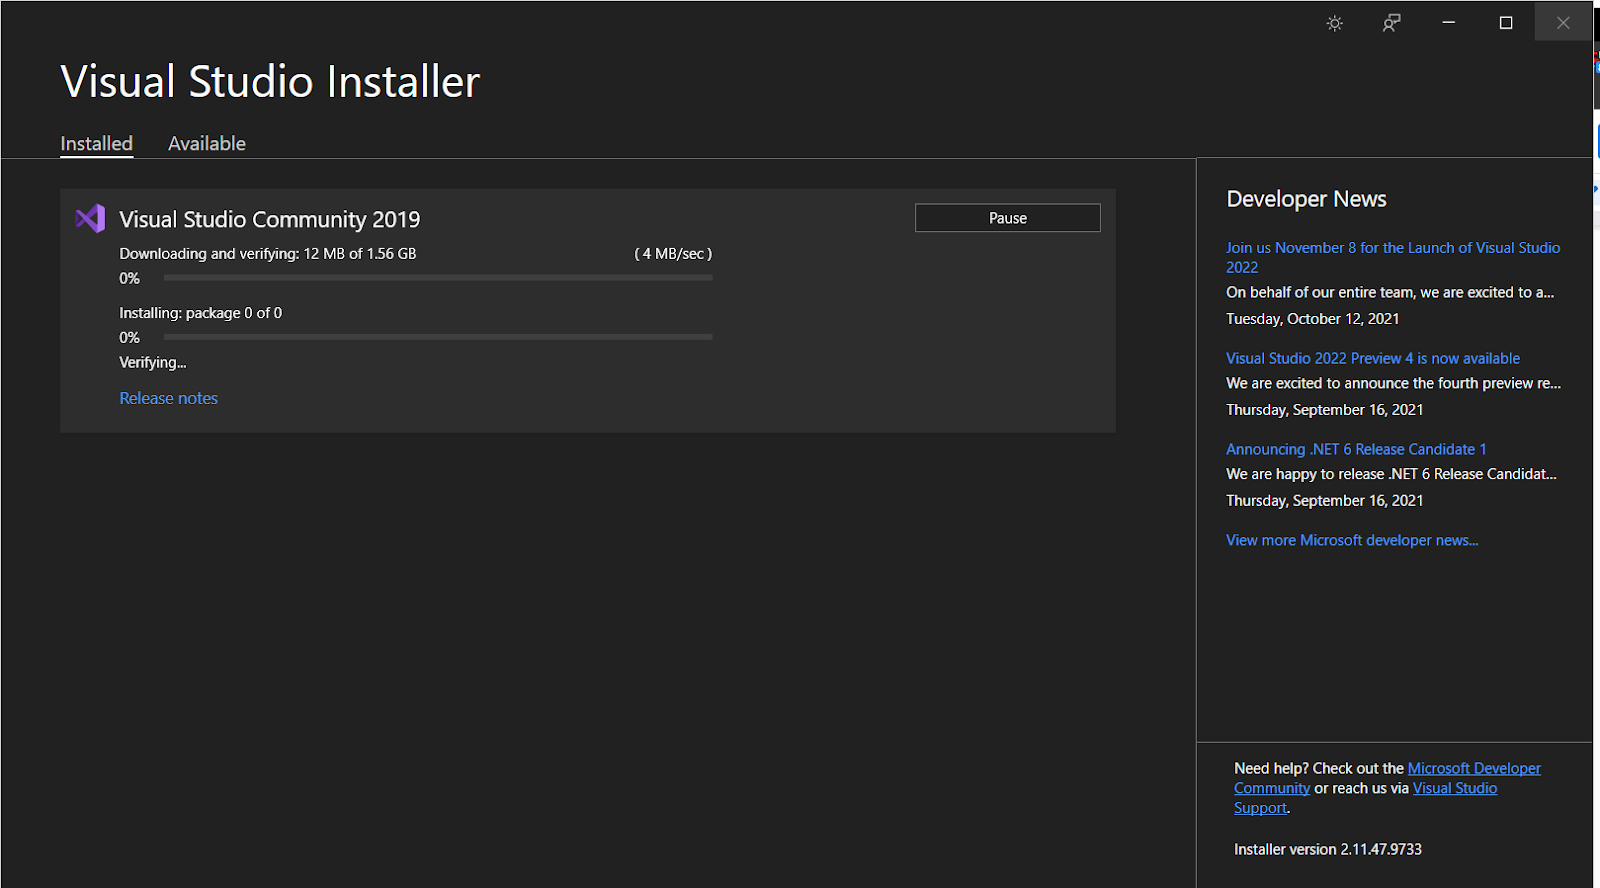
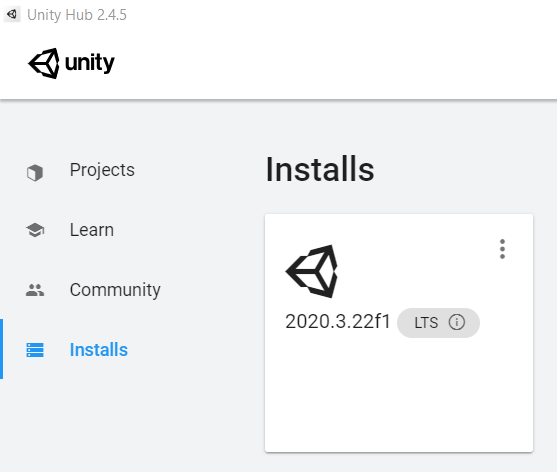
もうしばらく待ちますと、2020.3.22f1がインストール終了です。
Game4Automation Import
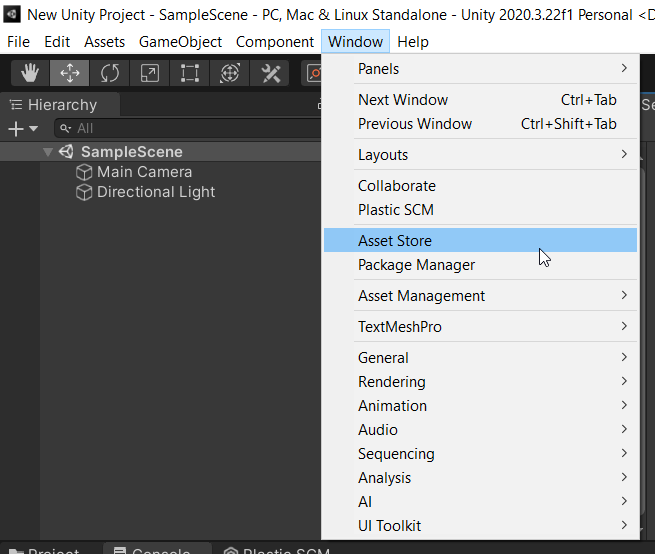
新しいプロジェクト作成し、Window>Asset Storeします。
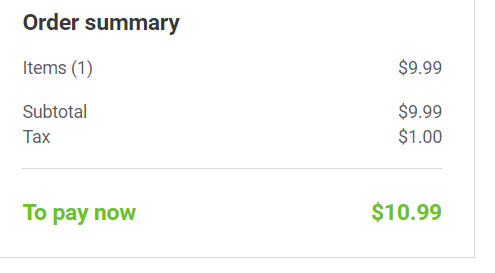
あ、下記のLINKからGame4AutomationのStarter-kit購入できます。
https://assetstore.unity.com/packages/tools/utilities/game4automation-digital-twin-starter-139866
Open in Unityします。

Package Managerが起動され、PackageをDownloadします。

PackageをImportします。

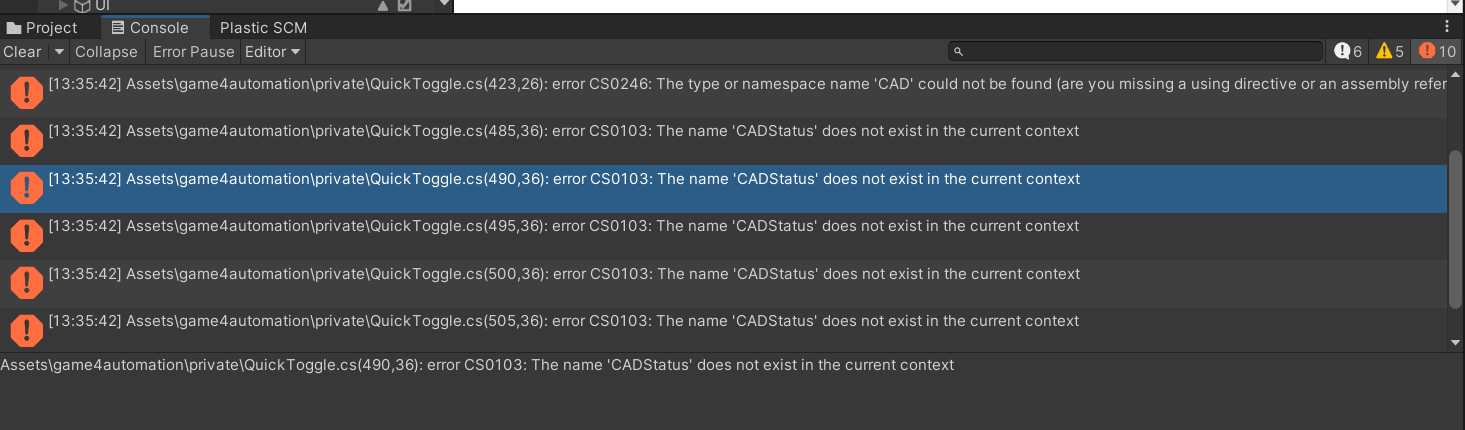
次はCAD-Object does not exit in…みたいなエラーが出てきます。
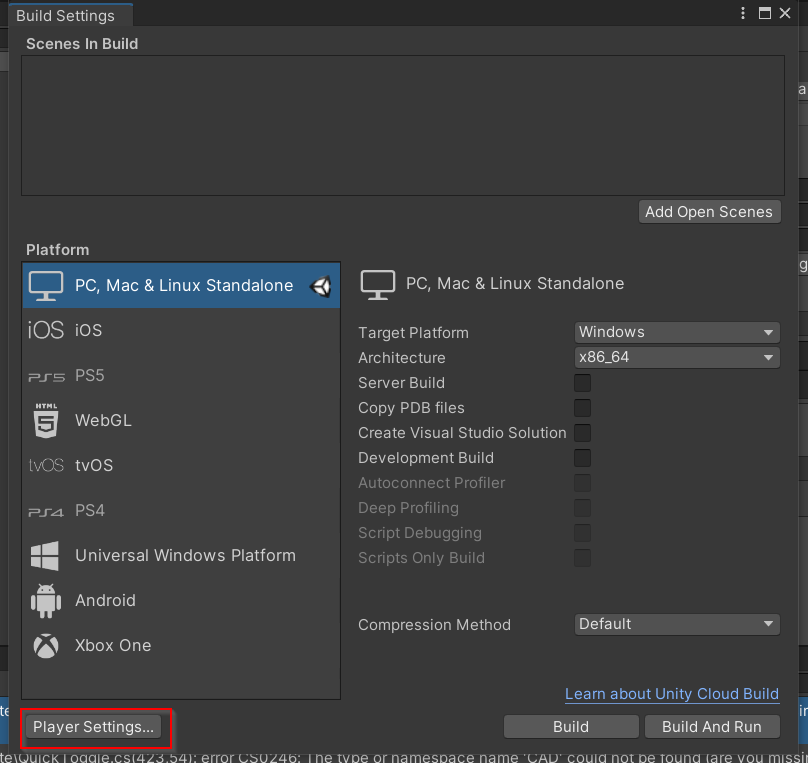
File>Build Settingsします。

Player Settingsをクリックします。
Project SettingsのTab出てきます。右にSearch Windowsがあります。

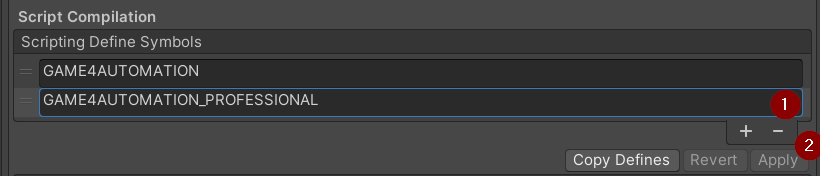
Scripting Define Symbolsを検索します。
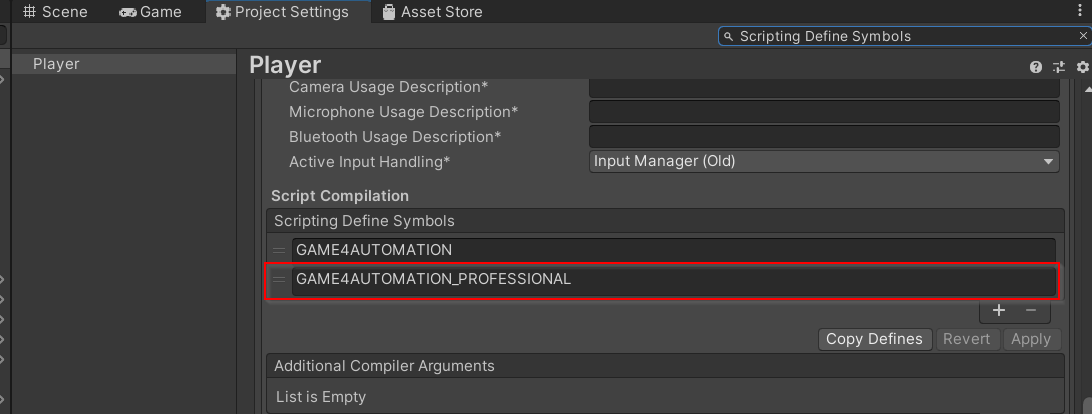
次はGAME4AUTOMATION_PROFESSIONALを選び、ーボタンで削除し、Applyします。
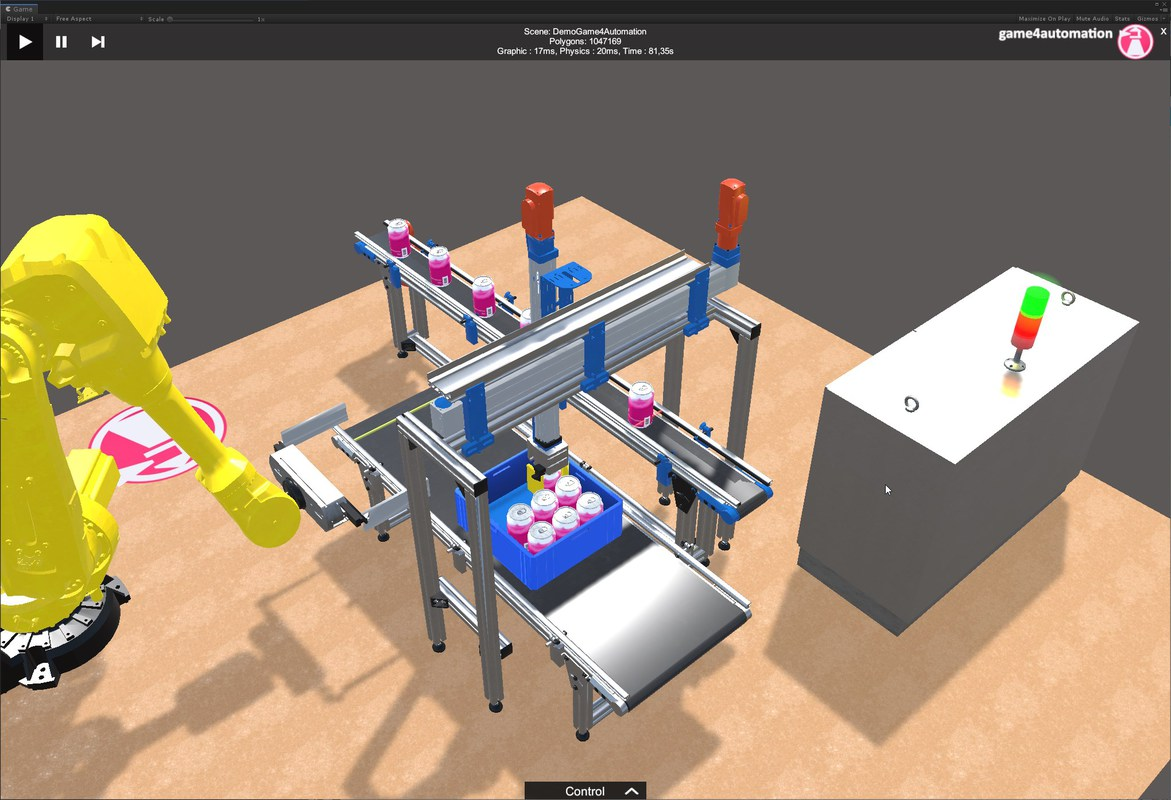
Result
最後
はーい、お疲れ様です。
もしなにか質問あれば、メール・コメント・Twitterなどでもどうぞ!
Twitterのご相談:@3threes2
メールのご相談:soup01threes*gmail.com (*を@に)