This time I will show how to configure the Codesys runtime as a Ethernet/IP Scanner and Connect with Molex EtherNet/IP Adapter.
Here is the Version that I am using:
New Project
File>New Project to create a new project.

Choose Standard project and OK.

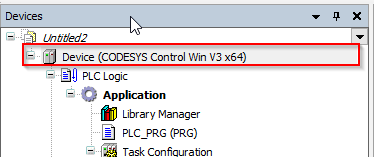
This time I am using PC Runtime, Codesys Control Win V3 x64 is my choice.

ESD Download
We need a file that called EDS to configure our Ethernet/IP network.
EDS is an Electronic Data Sheet, a text based format document that has all the communication settings.
This time we are using TCDEI-8D0P-DYU-G02 Ethernet/IP Modules that made by Molex.
you can download the EDS files in the follow link:
https://www.molex.com/molex/mysst/doCenter.action

Please select the EDS files download link.

you can see all the EDS files after unzipping the files.

ESD Install
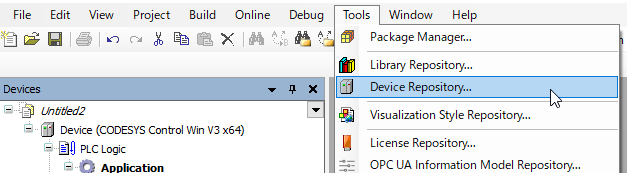
Tools>Device Repository.
Click the Install button.

Choose the EDS Files that you downloaded before, you can see new devices are inserted.

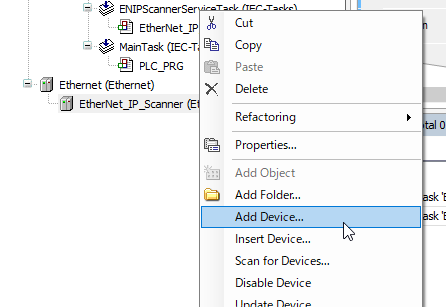
Insert the EtherNet/IP Scanner
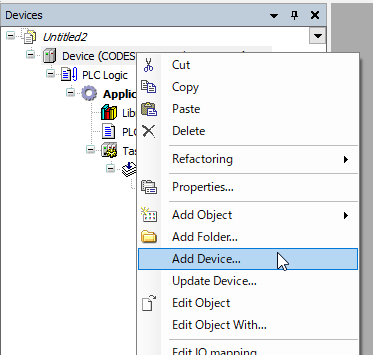
Right Click the Device>Add Devices to any Fieldbus Driver.
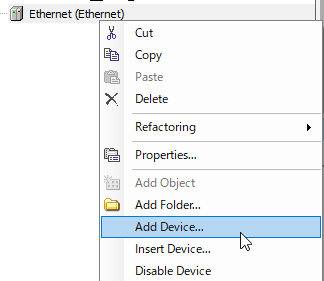
Browse EtherNet/IP>Ethernet Adapter>Ethernet, and Click Add Device.

Right Click the Device that you added in the previous step , click Add devices again.
Choose the EtherNet/IP Scanner, then press Add Device.

ONLINE
Before we insert our Adapter devices, Let’s check if the Runtime can be online or not.
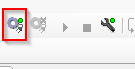
Click the Codesys Icon and press Start PLC.
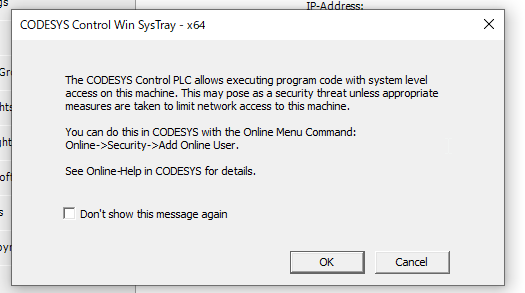
If you see the text “64” is changed to Red, the runtime is started.

Then double click the Devices in the top level of your project.
Communication Settings>Scan Network.
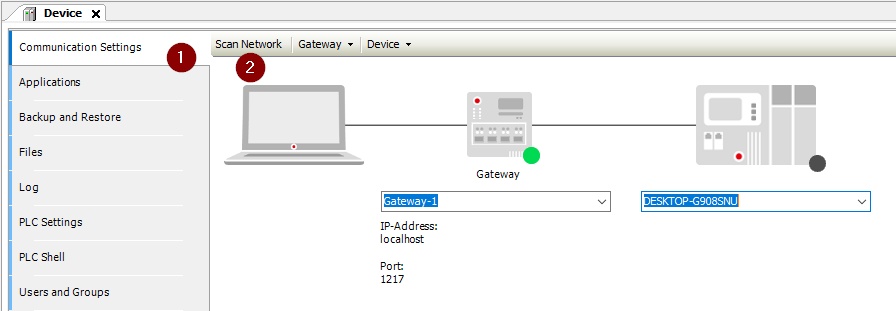
Choose the Device that codesys is scanned.

Enter your UserName and Password , Press OK.

The current screen is shown if your connection is established.

Press Login.
Yes.
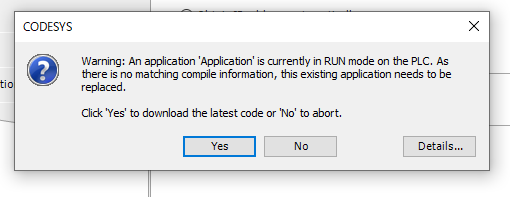
Finally press the Play Button to Start the PLC.

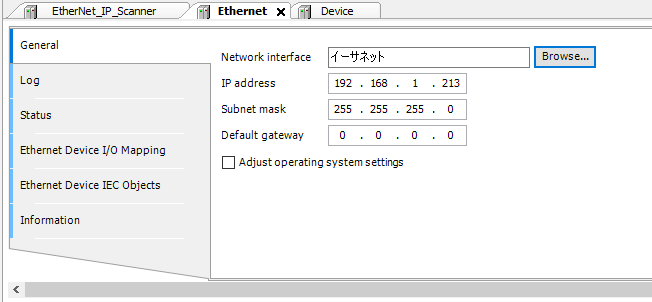
Ethernet Adapter Settings
Click the Ethernet Tab, and then General>Network Interface > browse to search your network interface card.

You can see all the network interface card in here.
Choose the right one , and then press OK.

Now the Network interface IP setting is automatically changed.
Insert the EtherNet/IP Adapter
you have 2 ways to configure the network adapter.
Use EDS to import one by one, or using Network Scan.
Method1-One by One
Right Click the IP Scanner and press Add Device.
There is a filter function to save your time.
Find the devices, and Add it.

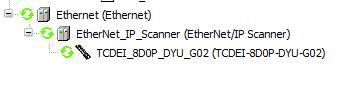
The Adapter is inserted in your network.

if you directly download the Configuration to Runtime, A red Triangle is Displayed.
It means that the device can not be accessed because of some error .

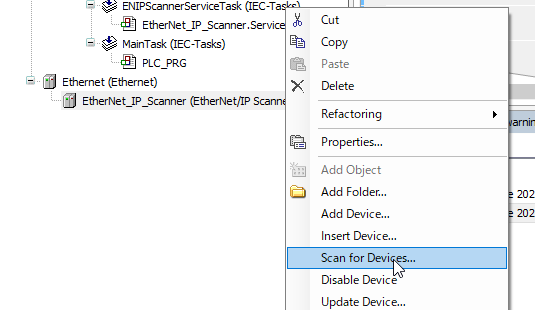
Logout one time, and right click the IP scanner >Scan for Devices.
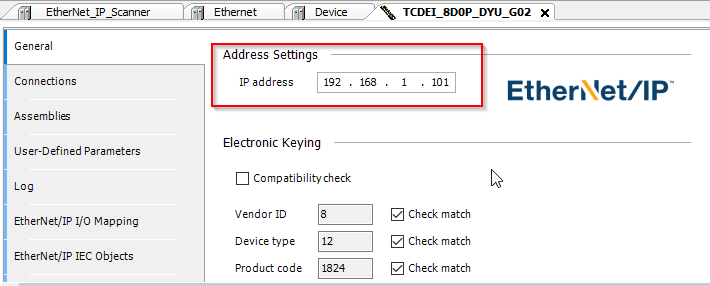
Codesys will scan all the adapter in the Ethernet/IP Network, 192.168.1.101 is set for our devices.

Click the Adapter.

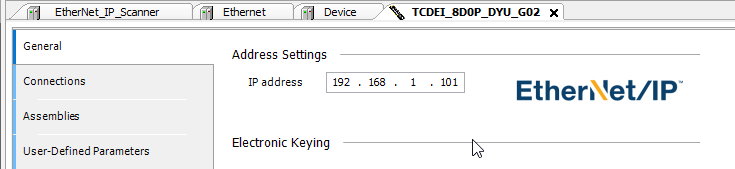
Go to the General >Address Settings of your Adapter, change the ip and login again.
Now you can see the Green icon on the left side of devices.
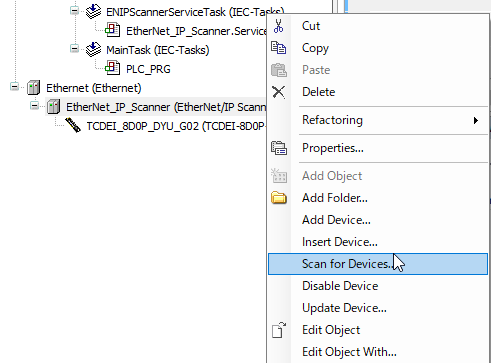
Method2-Scan for Devices
Let’s check if the IP Scanner is really working of not first.

Right Click the IP Scanner and press scan for Devices.
Wait a seconds..
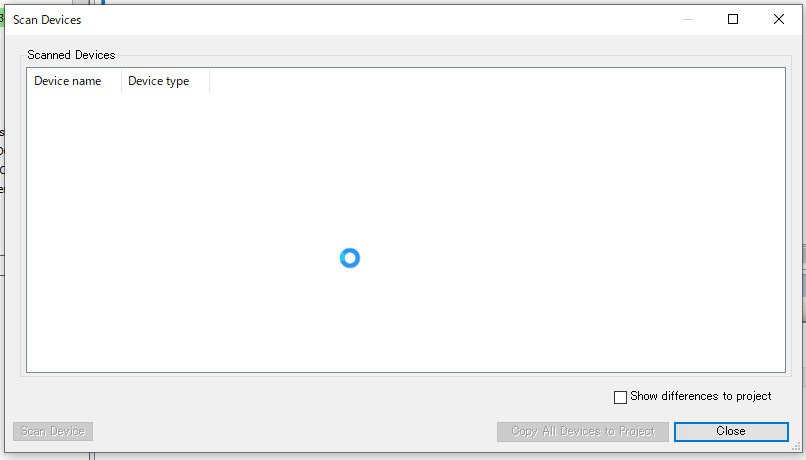
Choose the Devices that you would like to add into your network, then copy to project.

the configuration will be uploaded to your project.

And also the IP setting.
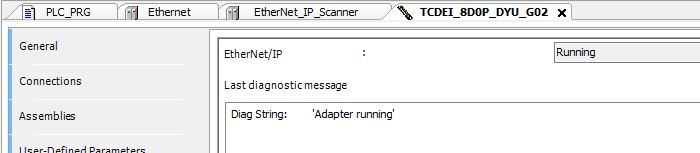
The Devices is working Normal in your network ;)!

Finally
you can click the Device and view the current status.
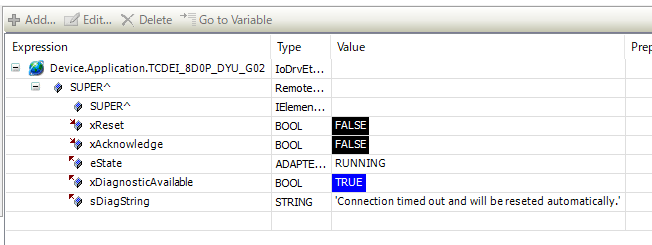
If you see the ! mark – it means that the device is resumed to normal but did not acknowledge.

In the IEC Object View, you can see the state,Reset,Help String..etc.
you can right click the devices and choose Acknowledge Diagnosis to acknowledge the error.

In the Log view, you can view all the alarm record.
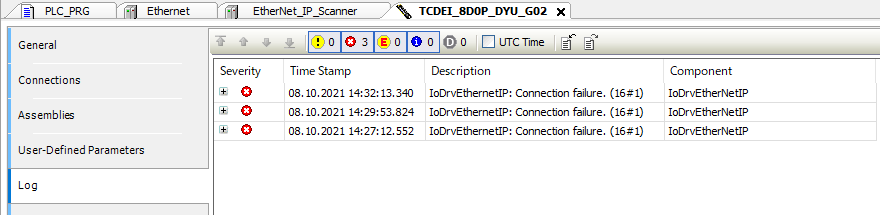
Using a program to reset the alarm is also possible .
