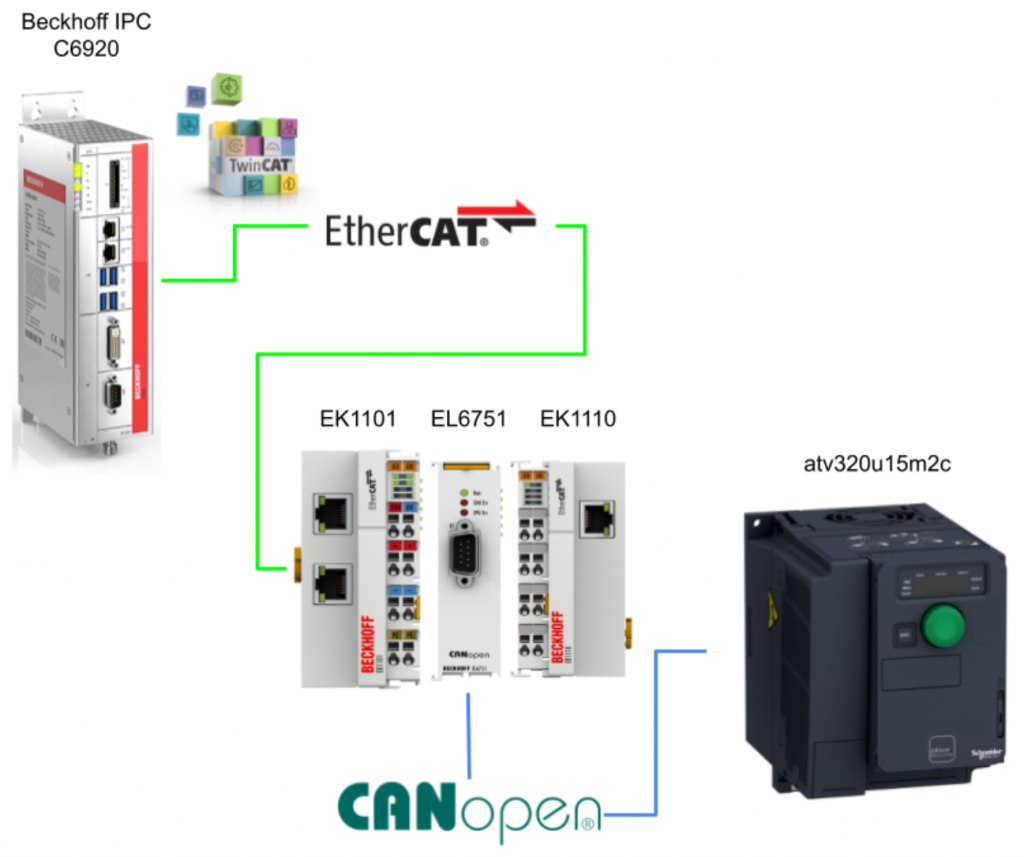
In this article, we continue to use the Beckhoff EL6751 and explain how to Import the input terminal blocks and STO status from Schneider’s ATV320.
The article also describes the configuration of the ATV320, but the focus is on the Open-Closed Principle (OCP) concept description. (The previous TwinCAT was converted into a library and diverted this time.)
Let’s get started.
Reference Link
Implementation
ATV320 Side
Configuration
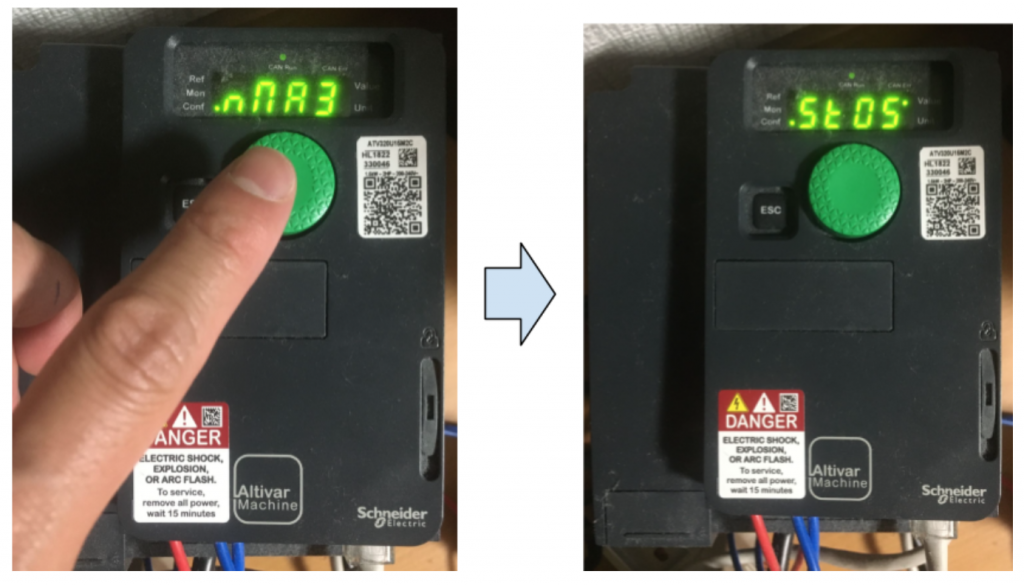
rNA3
Open rNA3Menu, Default is free, but this time we will set to 3BDA (STOS, STO state), where STOS is INT (Signed16), 0 = Normal (IDLE), 1 = STO triggering in progress (STO), 2 = Fault (FLT).
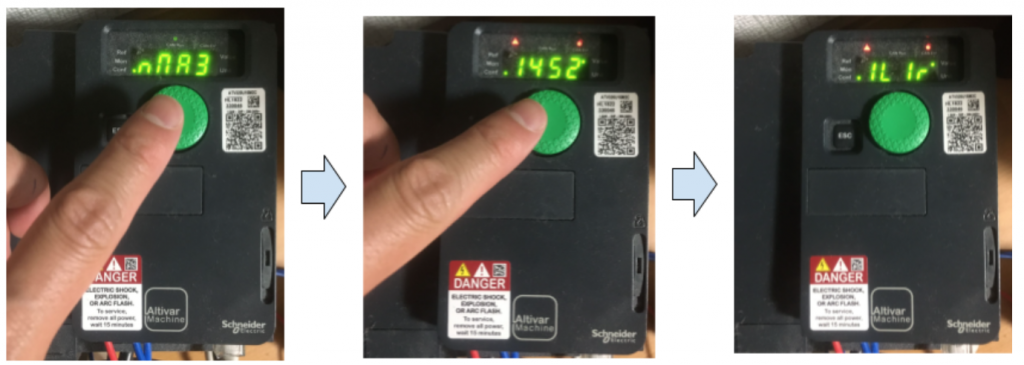
rNA4
Open rNA4Menu, Default is free, but this time set it to 1452 (IL1R), where IL1R is INT (Signed16) and is the input state with built-in terminal in ATV320.
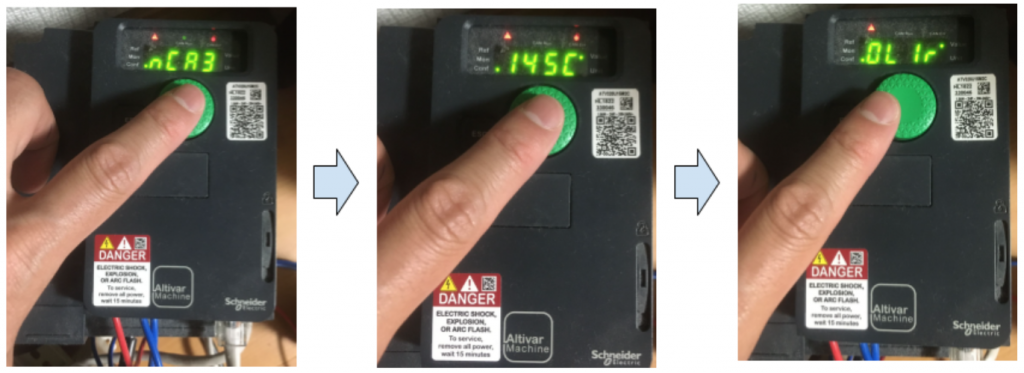
nCA3
Open nCA3Menu, Default is free, but this time set it to 145C (OL1R), OL1R is INT (Signed16) and can control the ATV320 built-in output points.
TwinCAT Side
Download the Library
Download the previous article from Github as a library.
https://github.com/soup01Threes/TwinCAT3/blob/main/ATV320_EL6751.library
Import Library
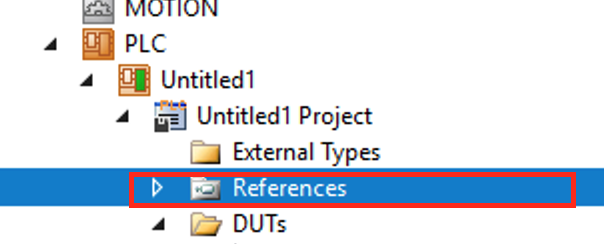
The Function Block created in the previous article has been Libraryed.Click TwinCAT>PLC>PLC Project>Reference.
Here is a tutorial to show you how to use Library in TwinCAT3:
Click the Add Library Button.

Double Click the Advanced.. button.

Click the Library Repository… Button.

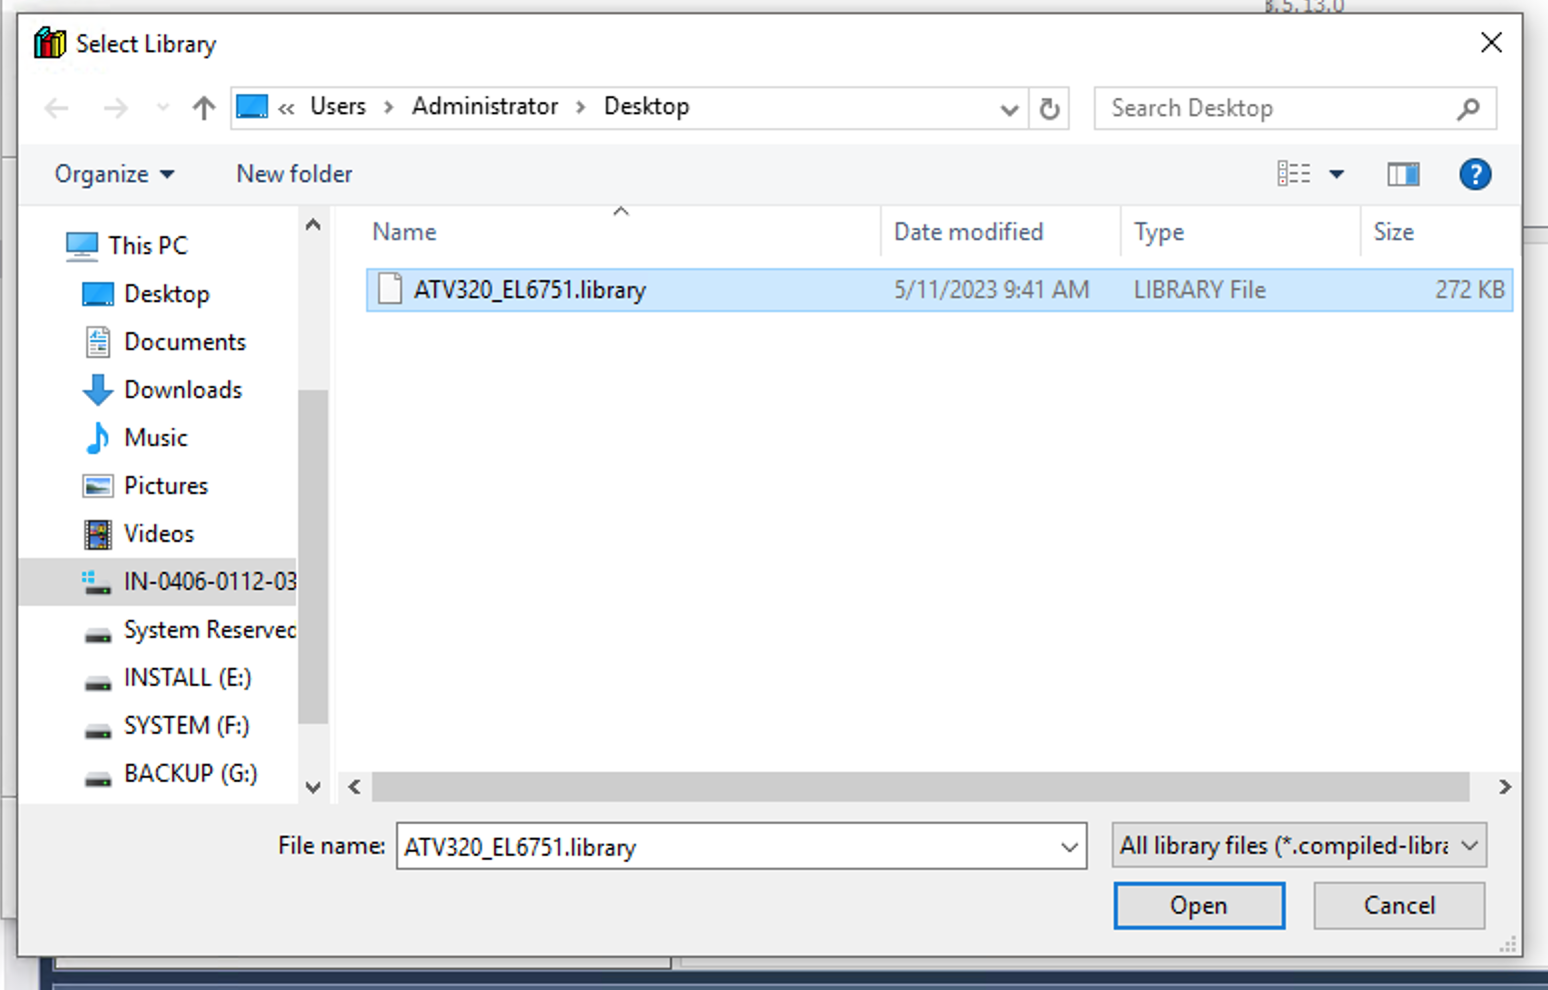
Press Install.. Button to import the library from External File.

Choose the library that you downloaded from the previous link and open it.
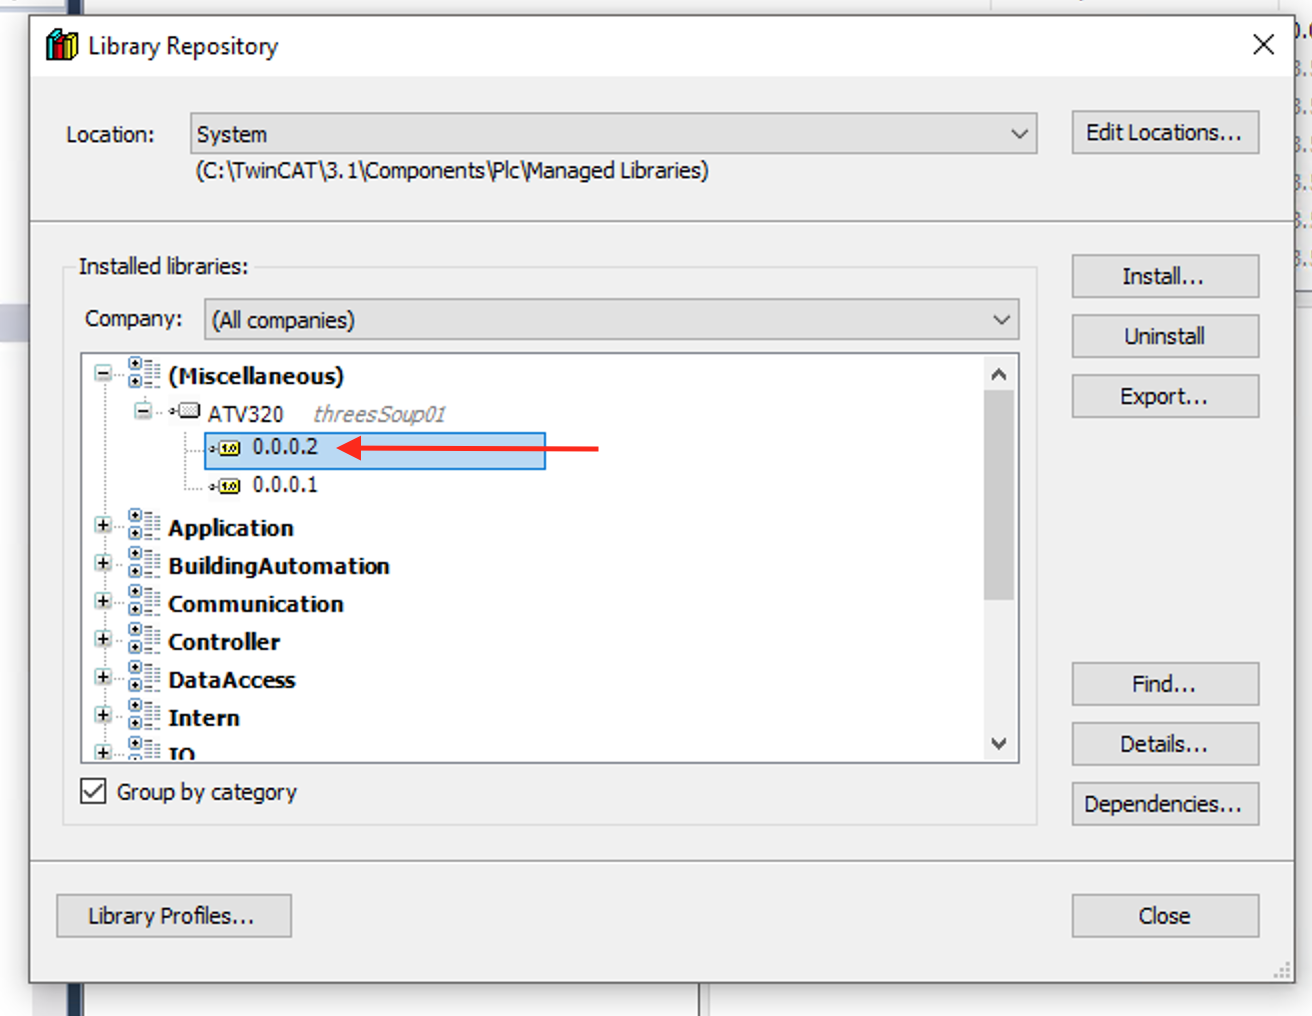
Done!Choose 0.0.0.2 and Close to process.
Finally please click the OK button to import your ATV320 Library into your project.
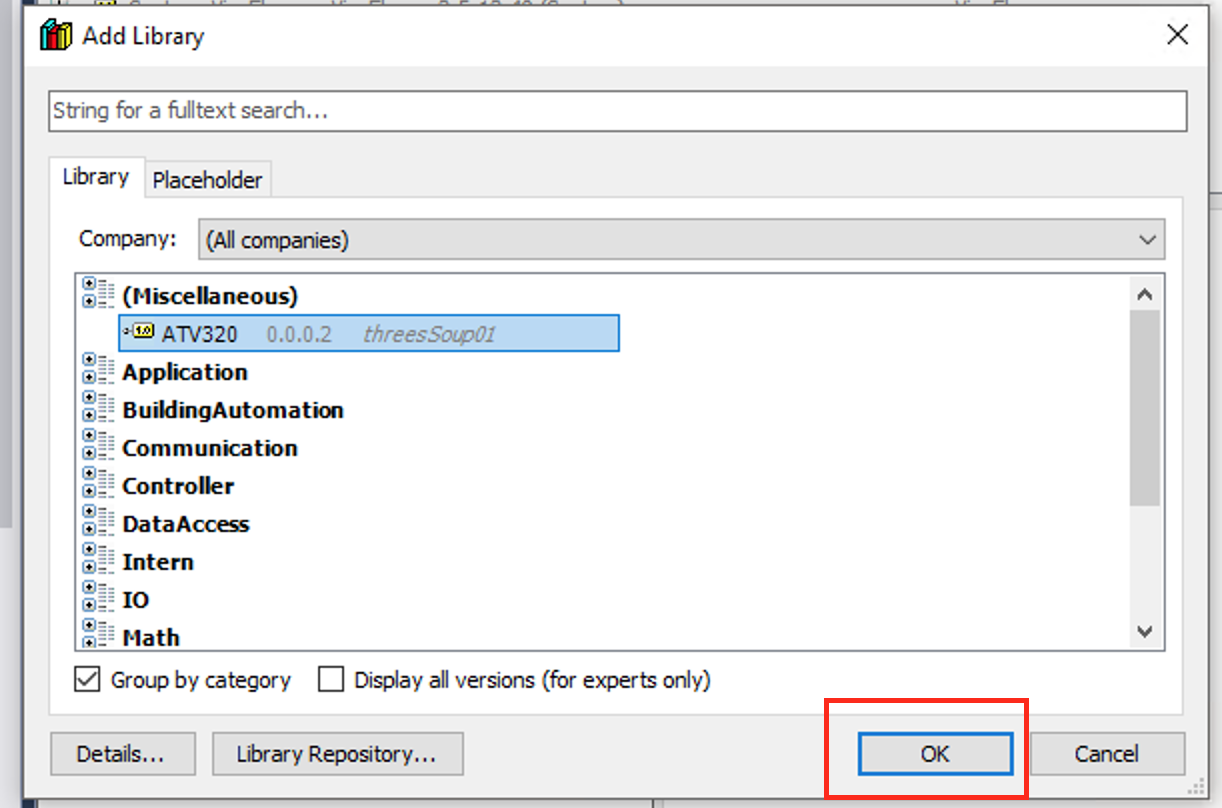
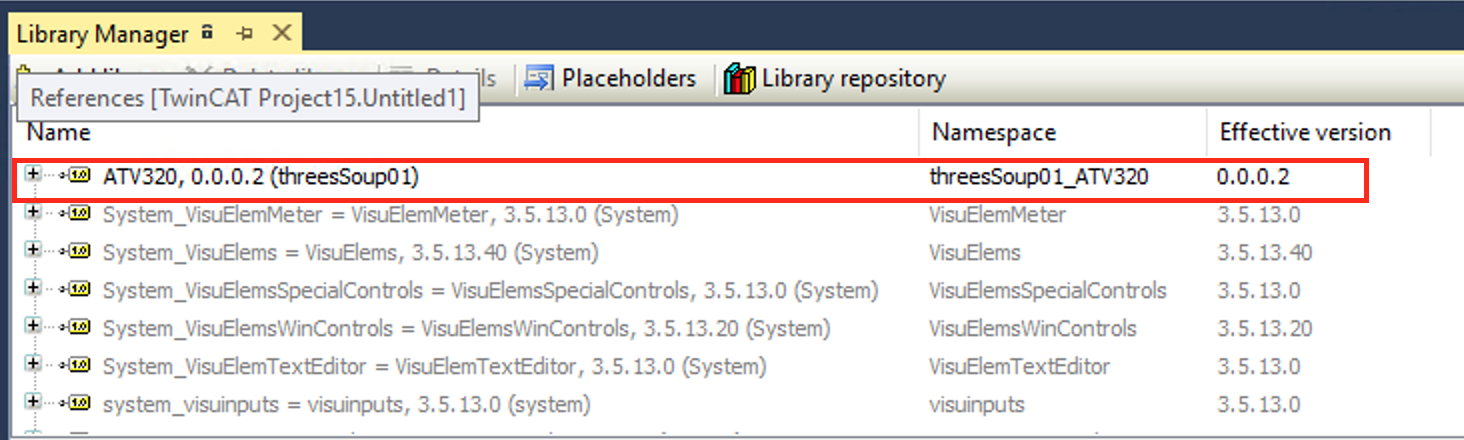
You will see ATV320,0.0.0.2(threesSoup01) in your Library Manager.
Program
Next, we will extend the Library’s Function Block to modify it so that it can incorporate additional signals from the ATV320 in this article. This is related to the programming principle called the “Open-closed Principle (OCP).”
Open-closed Principle (OCP)?
The Open-Closed Principle (OCP) can be summarized as follows: Modules should be open for extension to accommodate changes specific to their applications (Open), but closed for modification of the module itself (Closed).
When a module is open for extension, it means that its functionality can be expanded. This allows for different behaviors in the future, such as adding new features or accommodating specification changes.
Module developers cannot predict or anticipate how their modules will be extended in the future, nor should they try to. Therefore, the flexibility of the module is achieved by being “Open” for extension.
Conversely, being “Closed” means that the module’s source code cannot be modified. Frequent modifications to the source code would require updating and retesting other modules that depend on it. Therefore, for software stability, it is necessary for modules to be closed to modifications.
In summary, the Open-Closed Principle encourages designing modules that are open for extension to accommodate future changes, while being closed to modification to maintain software stability.
Function Blocks should also adhere to the Open/Close principle, where they are open for extension but closed for modification. The implementation of extension functionality should be achieved by adding new code rather than modifying existing code. For example, in this article, the new Function Block is inherited from the existing Function Block and is able to incorporate the STO status and input terminal status of the ATV320. Therefore, it is possible to add new functionality without modifying the existing Function Block.

DUT
DUT_ATV320_HMI_NW3_4_PL
The DUT in this case refers to the variables that display the input terminal and STO (Safe Torque Off) status of the ATV320 on the HMI.
| TYPE DUT_ATV320_HMI_NW3_4_PL: STRUCT DIs :ARRAY[1..6]OF BOOL; STO :BOOL; END_STRUCT END_TYPE |
Function Block
FB_ATV320_NW3_4
Following the Open-Closed principle discussed earlier, we will extend the new Function Block from FB_ATV320_Basic_withHMI.
| FUNCTION_BLOCK FB_ATV320_NW3_4 EXTENDS FB_ATV320_Basic_withHMI VAR_INPUT END_VAR VAR_OUTPUT END_VAR VAR NW3,NW4 AT %I*:UINT; NC3 AT %Q*:UINT; _HMI_NW3_4 :DUT_ATV320_HMI_NW3_4_PL; STO_Triggered :BOOL; END_VAR METH_GetInputStatus METHOD PUBLIC METH_GetInputStatus : BOOL VAR_INPUT iNumbers :UINT; END_VAR |
METH_GetInputStatus
The input terminal status will be returned based on the requested iNumbers value.
| METH_GetInputStatus:=FALSE; CASE iNumbers OF 1: METH_GetInputStatus:=NW4.0; 2: METH_GetInputStatus:=NW4.1; 3: METH_GetInputStatus:=NW4.2; 4: METH_GetInputStatus:=NW4.3; 5: METH_GetInputStatus:=NW4.4; 6: METH_GetInputStatus:=NW4.5; END_CASE |
METH_GetSTO
A method to get the STO Status.
| METHOD PUBLIC METH_GetSTO : BOOL METH_GetSTO:=NW3 = 1; |
METH_HMIUpdate
Finally, we will overwrite the parent Function Block’s METH_HMIUpdate() method. (Since there are new display items for the input terminal status and STO status)
| METHOD PUBLIC METH_HMIUpdate : BOOL _HMI_NW3_4.DIs[1]:=METH_GetInputStatus(1); _HMI_NW3_4.DIs[2]:=METH_GetInputStatus(2); _HMI_NW3_4.DIs[3]:=METH_GetInputStatus(3); _HMI_NW3_4.DIs[4]:=METH_GetInputStatus(4); _HMI_NW3_4.DIs[5]:=METH_GetInputStatus(5); _HMI_NW3_4.DIs[6]:=METH_GetInputStatus(6); _HMI_NW3_4.STO:=METH_GetSTO(); METH_CmdFaultReset(iTrigger:=_HMI.PB.bReset); METH_SwitchOn(iTrigger:=_HMI.PB.bSwitchON AND NOT METH_GetSTO()); METH_DriveRun( iTrigger:=Prop_OperationState = e_ATV320_OperationState.OperationEnabled ,iSetPoint:=_HMI.PB.iSetPoint ); METH_CmdDisableOperation(iTrigger:=_HMI.PB.bDisableOperation); METH_CmdDisableVoltage(iTrigger:=_HMI.PB.bDisableVoltage); METH_CmdQuickStop(iTrigger:=_HMI.PB.bQuickStop); METH_CmdShutDown(iTrigger:=_HMI.PB.bShutdown); _HMI.PL.rCurrentHz:=METH_RPM2Hz(iData:=NW2); _HMI.PL.rCurrentRPM:=NW2; _HMI.PL.State:=Prop_OperationState; |
MAIN
Call the method from your program.
| PROGRAM MAIN VAR ATV320_1:FB_ATV320_NW3_4; ins :ARRAY[1..6]OF BOOL; sto :BOOL; END_VAR ATV320_1.Prop_MaxRPM:=1500; ATV320_1.Prop_MaxHz:=50; ATV320_1.METH_HMIUpdate(); ins[1]:=ATV320_1.METH_GetInputStatus(1); ins[2]:=ATV320_1.METH_GetInputStatus(2); ins[3]:=ATV320_1.METH_GetInputStatus(3); ins[4]:=ATV320_1.METH_GetInputStatus(4); ins[5]:=ATV320_1.METH_GetInputStatus(5); ins[6]:=ATV320_1.METH_GetInputStatus(6); sto:=ATV320_1.METH_GetSTO(); |
Visualization
Actually, in TwinCAT, it is possible to package not only the program but also the graphical interface together as a library.
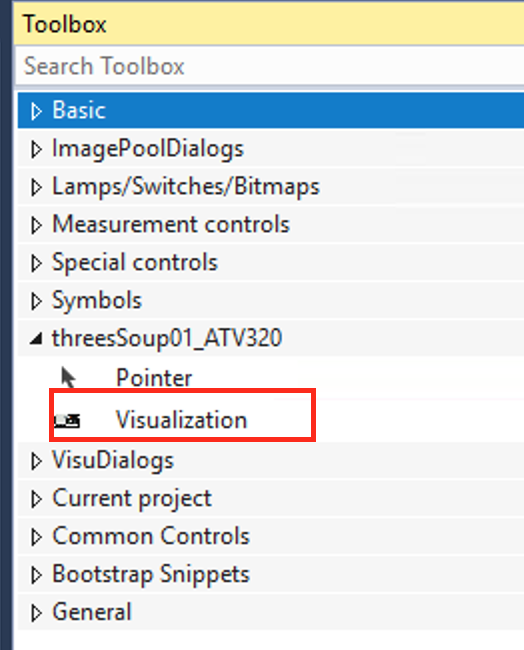
Create a new screen and add the necessary items while using the screens from the library.
| VAR_IN_OUT _hmis_Basic:DUT_ATV320_Basic_HMI; _hmis_NW3_NW4 :DUT_ATV320_HMI_NW3_4_PL; END_VAR |
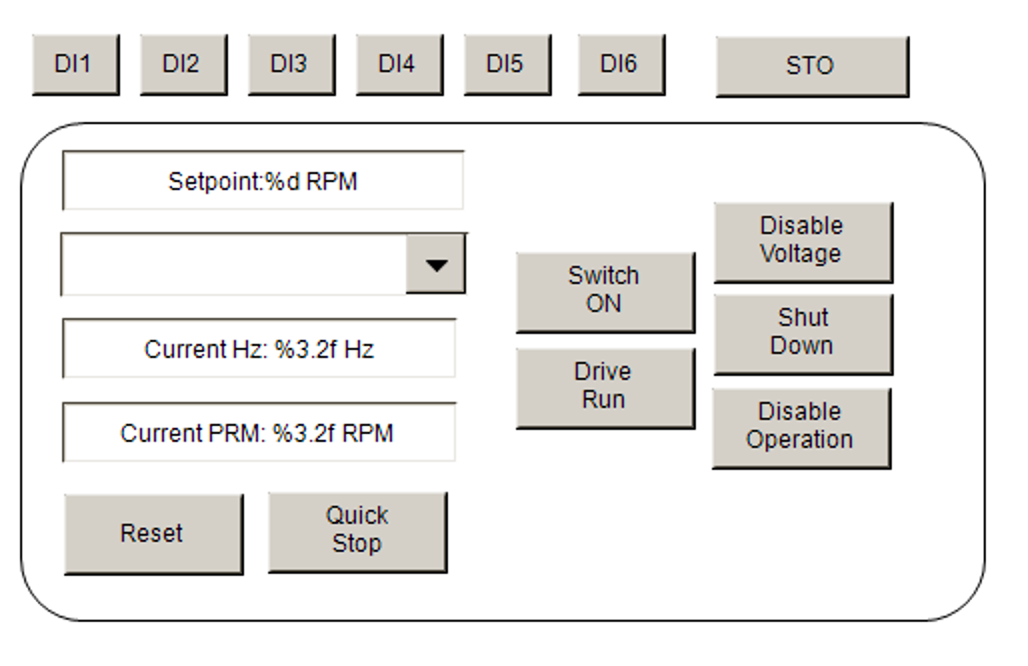
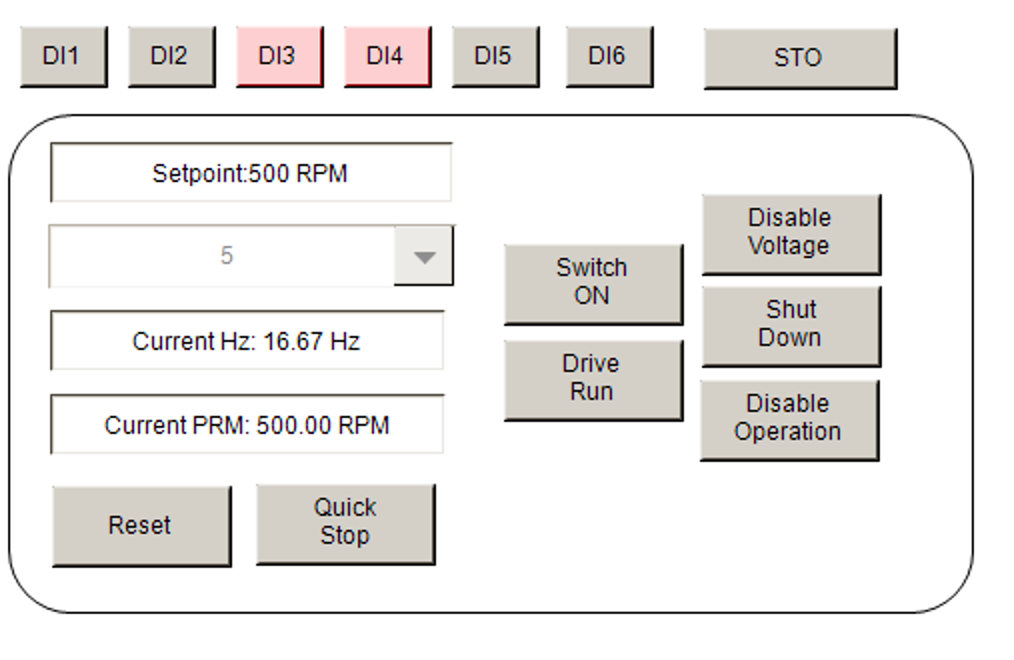
The screen will be simple, but the input terminal status and STO status have been added.
Link
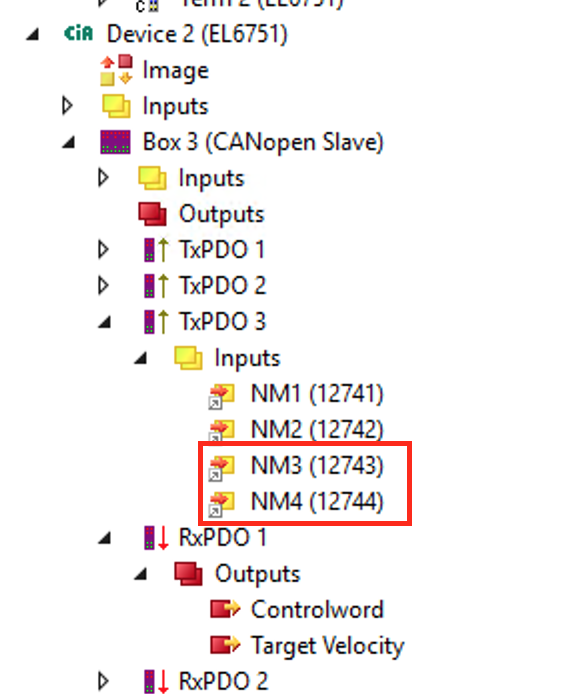
Please do not forget to map your variables to NM3,NM4.
Result
DI3 and DI4 are being used for STO settings, so currently both of them have a value of TRUE, indicating that the ATV320 is outputting.
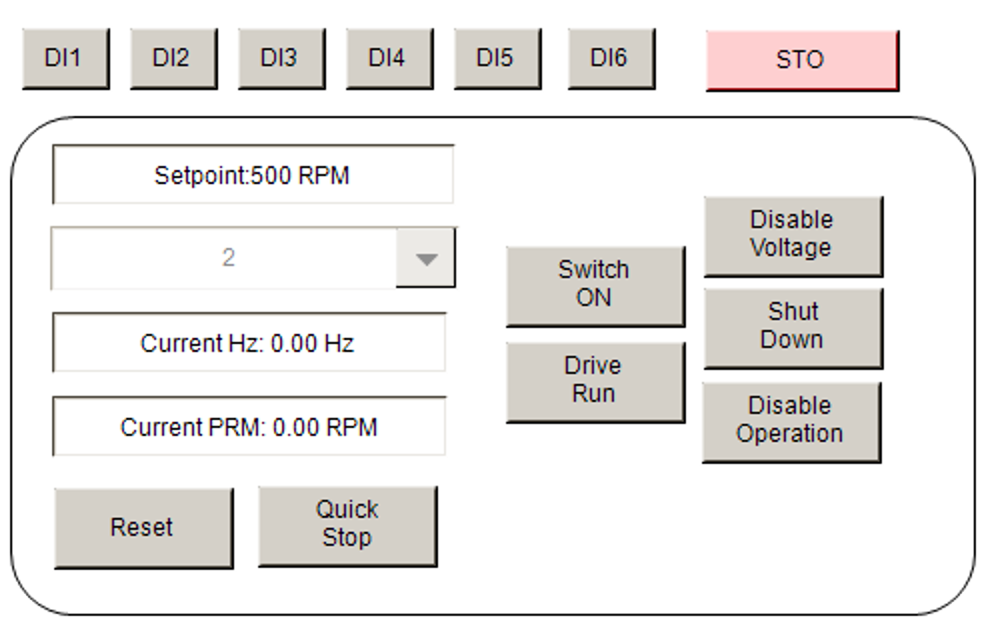
When the emergency stop button connected to the STO is pressed, the STO status becomes TRUE, and DI3 and DI4 become FALSE.
Download
Please Download the Project from this Link:
https://github.com/soup01Threes/TwinCAT3/blob/main/Project_EL6751_ATV320_CANOPEN_Part2.tnzip