This is a new Tutorial series Visual Components – a simple, visual, yet powerful simulation tool that allows you to design and validate new manufacturing solutions. This 3D manufacturing simulation software allows you to design and validate new manufacturing solutions.Let’s get started!
Visual Componets?
Visual Components has several key concepts.
One platform ,all cases
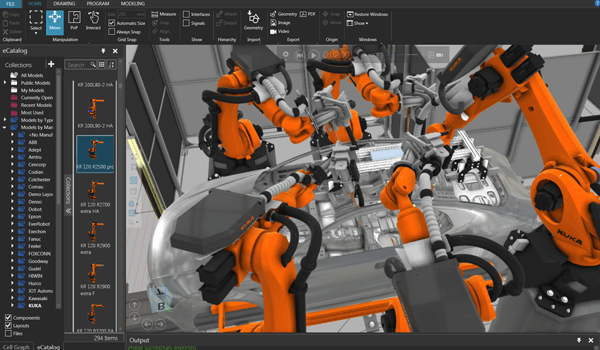
Visual Components is a 3D production simulation and emulation application for everything from Layout Configuration to Material Flow Simulation, Offline Programming, Virtual Commissioning, and VR in the automotive manufacturing environment.
Improve Communication across teams
Successful automated manufacturing systems require transparency and clear communication between different teams, and Visual Components improves communication and collaboration among teams by providing a direct visual view of simulation plans.
Powerful sales acceleration solution
Visual Components is a powerful simulation platform that allows you to design, simulate, and review on the fly with your customers in simple steps that anyone can do.
Six Flow For your virtual Commissioning
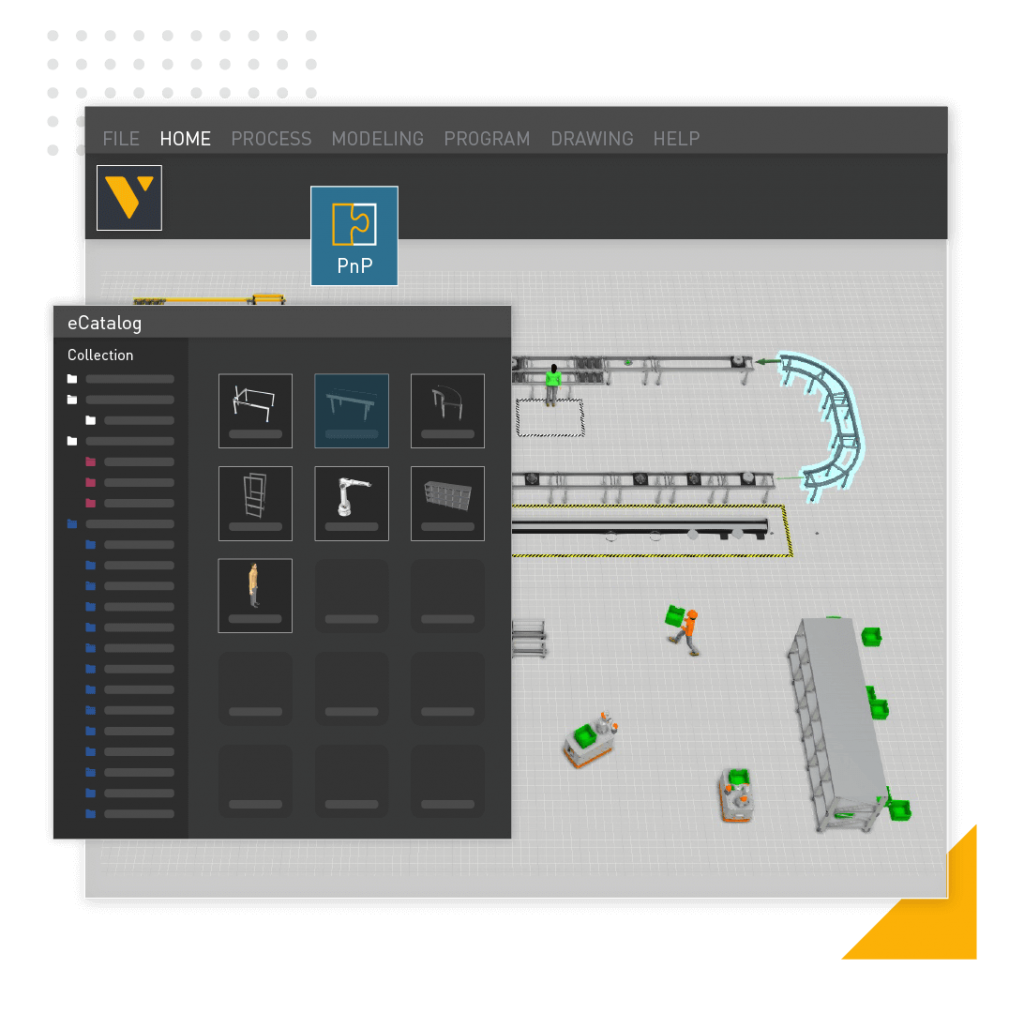
Step1:Design
Build Layouts by importing over 2600 off-the-shelf 3D models or Import your own custom CAD data in Visual Components.
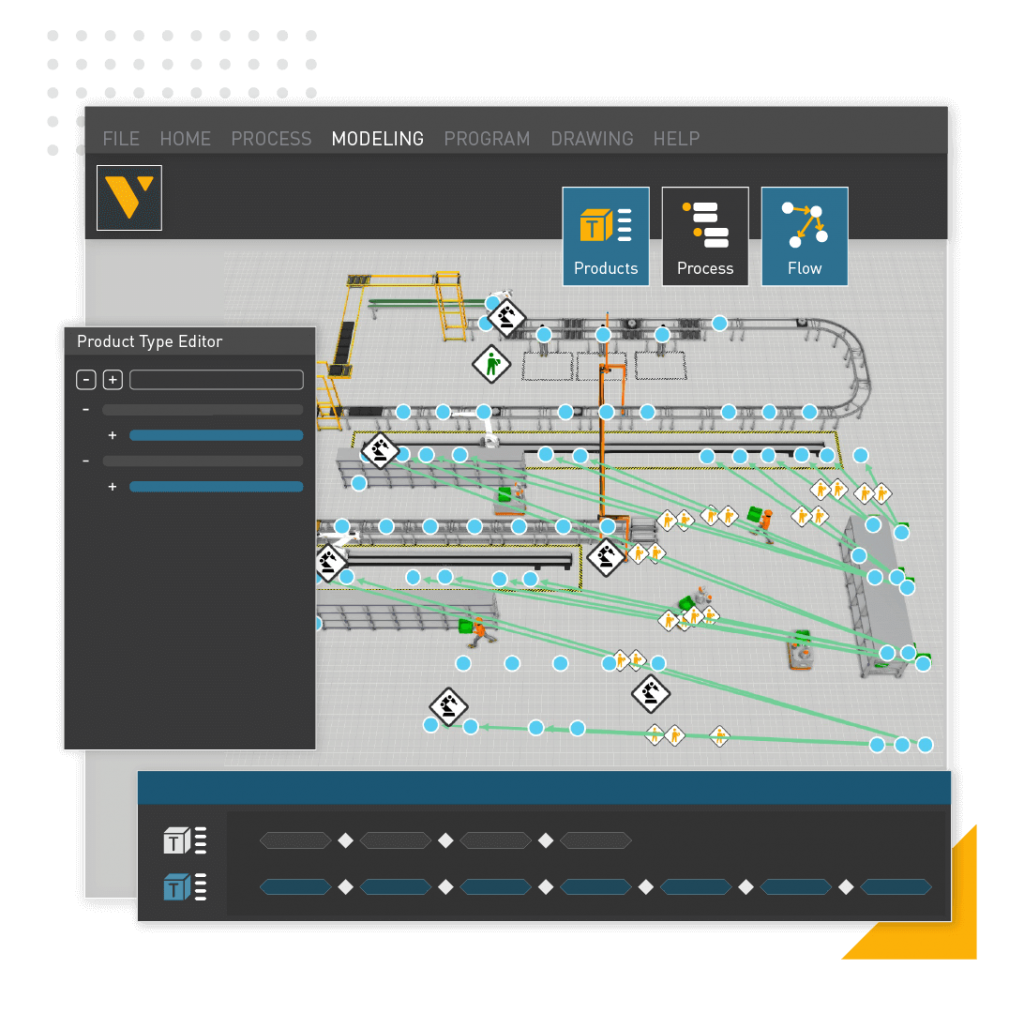
Step2:Model/Program
Using the easy and clear tools to define the process flow or program a robot with just the Mouse Operation.
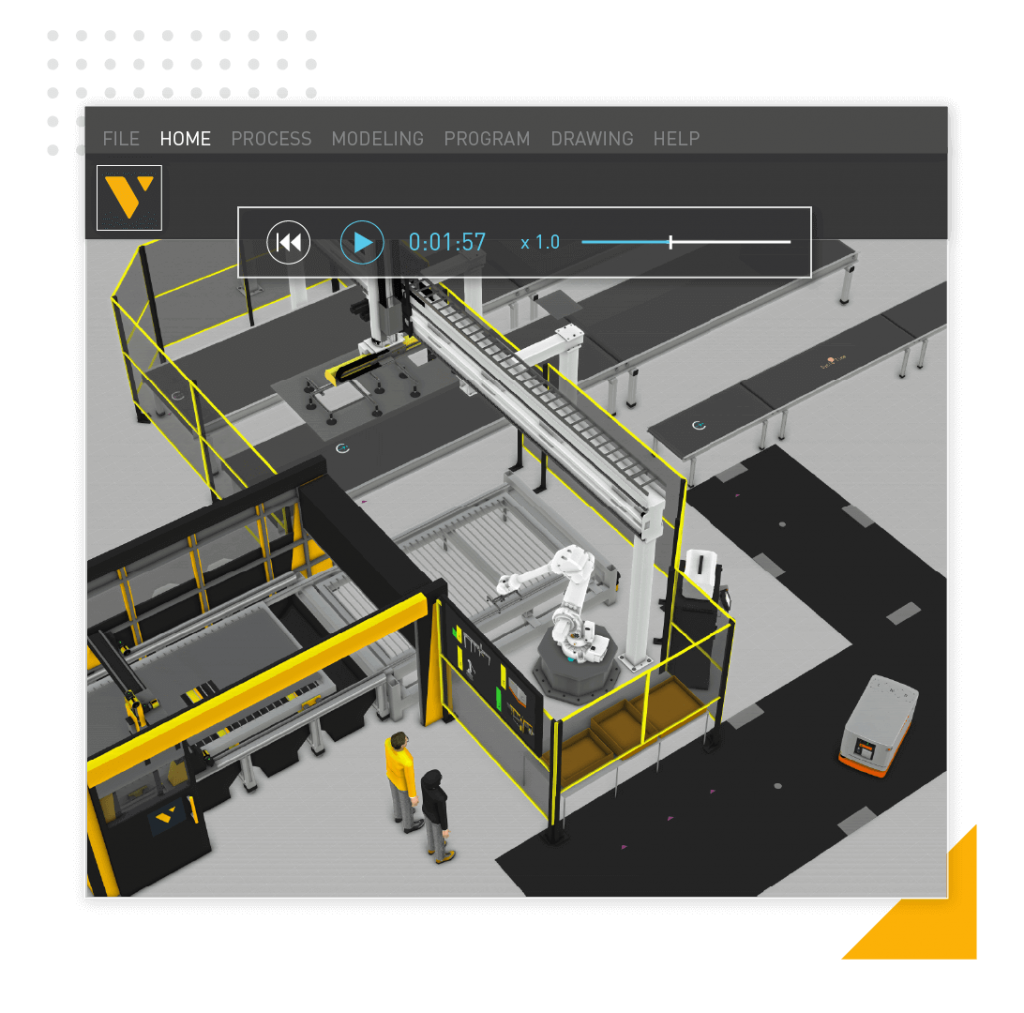
Step3:Simulate
Review the Layout you designed in real life. You can examine your Layout on the simulation and check the simulation behavior of components and processes.
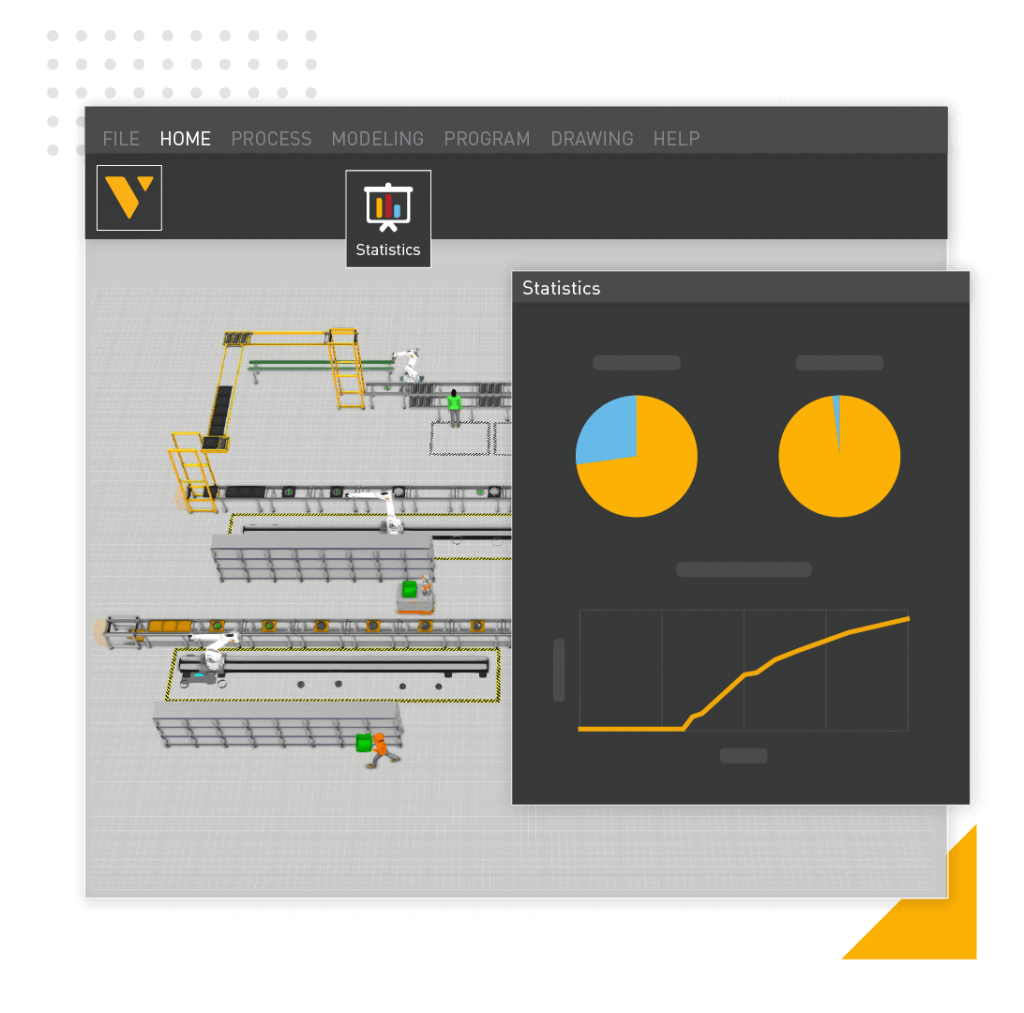
Step4:Analyze
From Simulation, we can identify Process problems and bottlenecks.
Step5:Optimize
Change quickly to arrive at the optimal Process, simulate, and test iteratively.
Step6:Share!
Share and discuss the projects created by your team with customers and other departments.
Installation
Download the Visual Components EXE from the following Link.
https://www.visualcomponents.com/downloads/
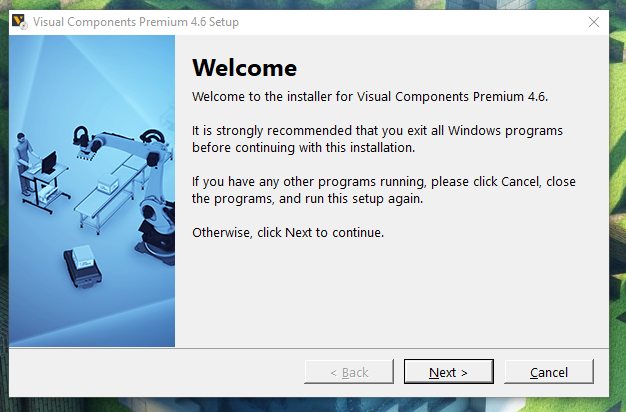
Double-click the Installation File and press Next> to proceed.
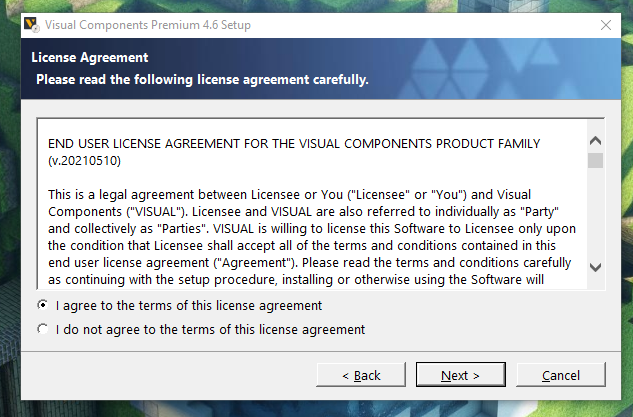
Accept the license and click Next>.
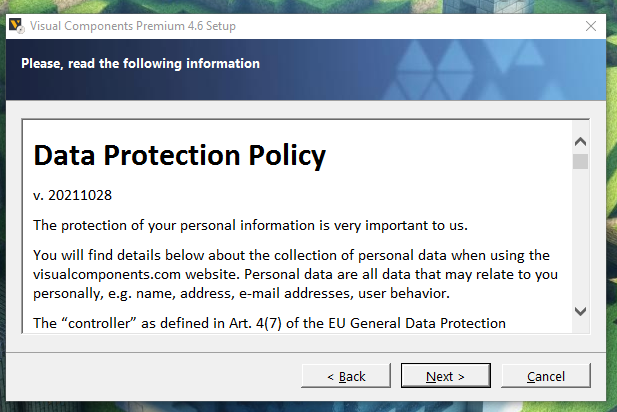
Proceed with Next>.
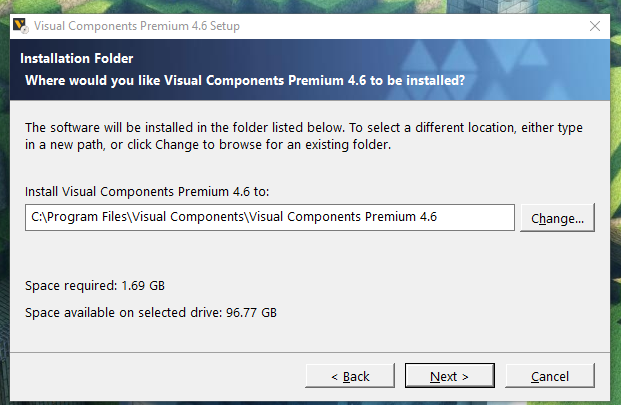
Set the Path for Installation and press Next> to proceed.
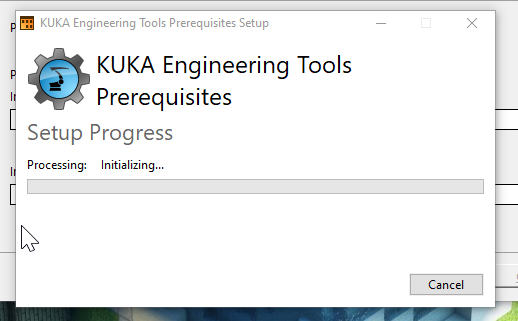
Please wait a moment…
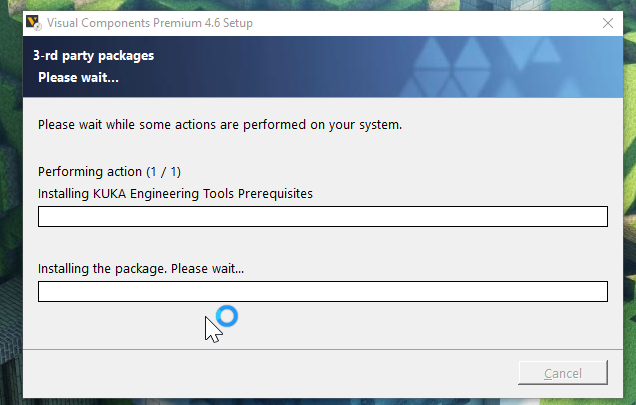
You will also see the KUKA Engineering Tools installation screen on the way.
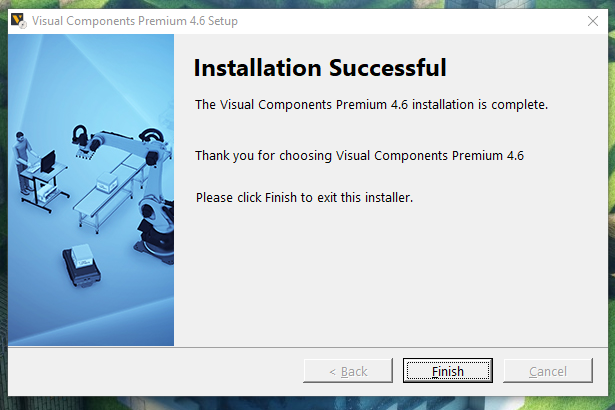
Done!
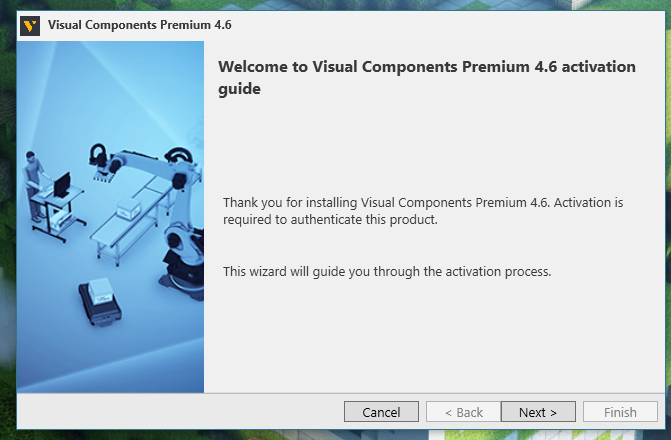
Active
The next step is to activate the Visual Components license.

Proceed with Next>.
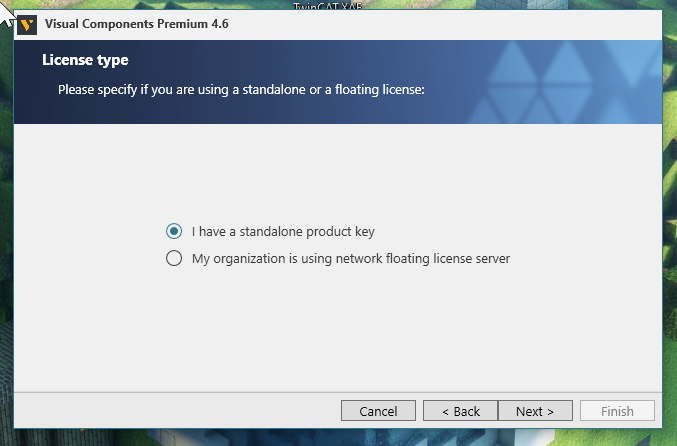
Select I have a standalone product key >Next to proceed.
Enter the Product key.
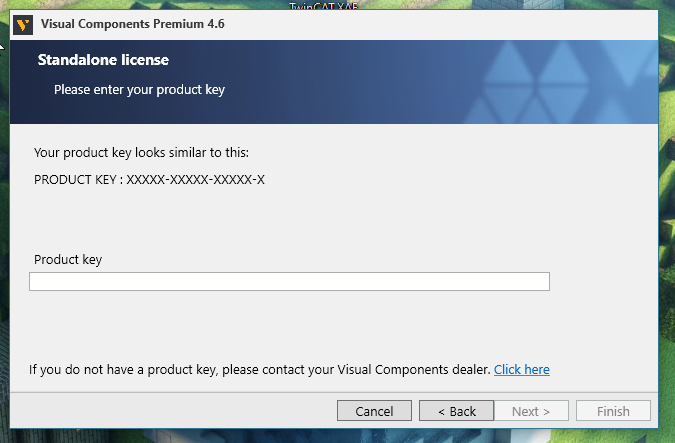
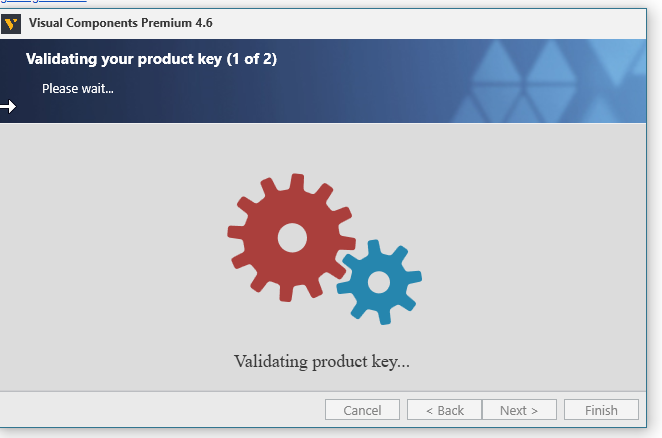
Please wait a moment.
Finally, enter your personal information and you are good to go.
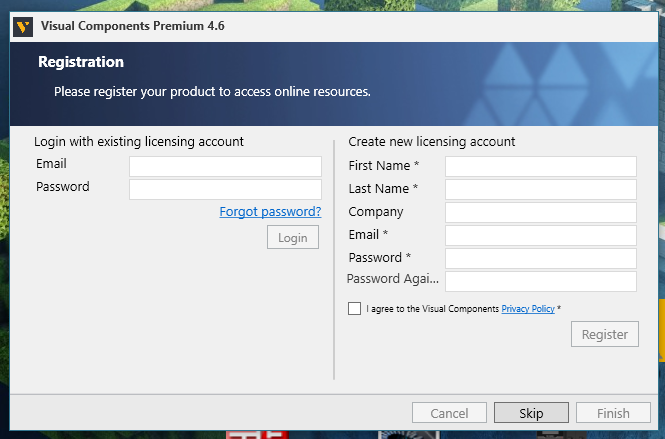
Done!

Start your Application!
Now let’s start the installed Visual Components Premium.
Done! First, the Home screen will be an empty space.

Add new Models
Add a model from a new project.
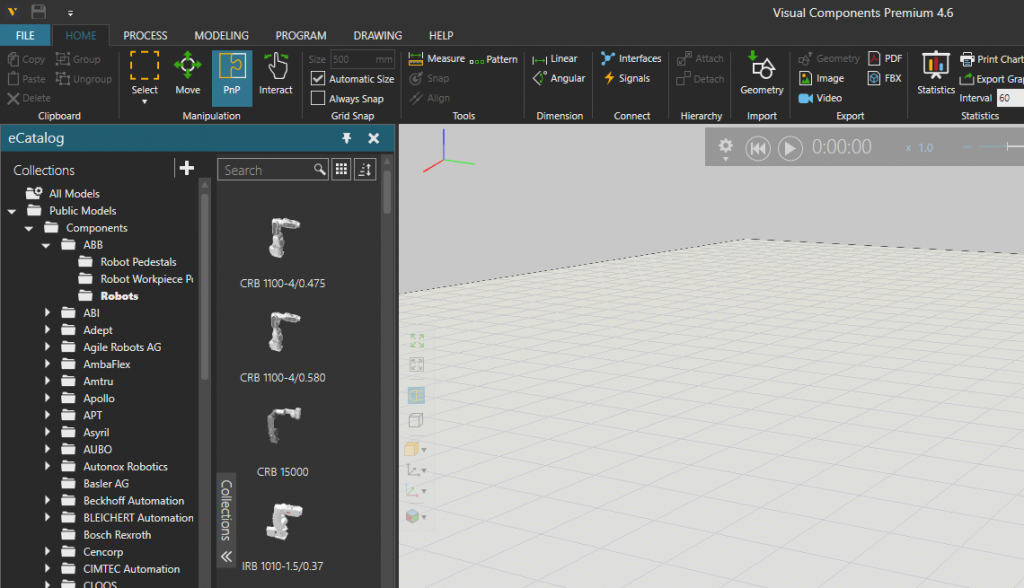
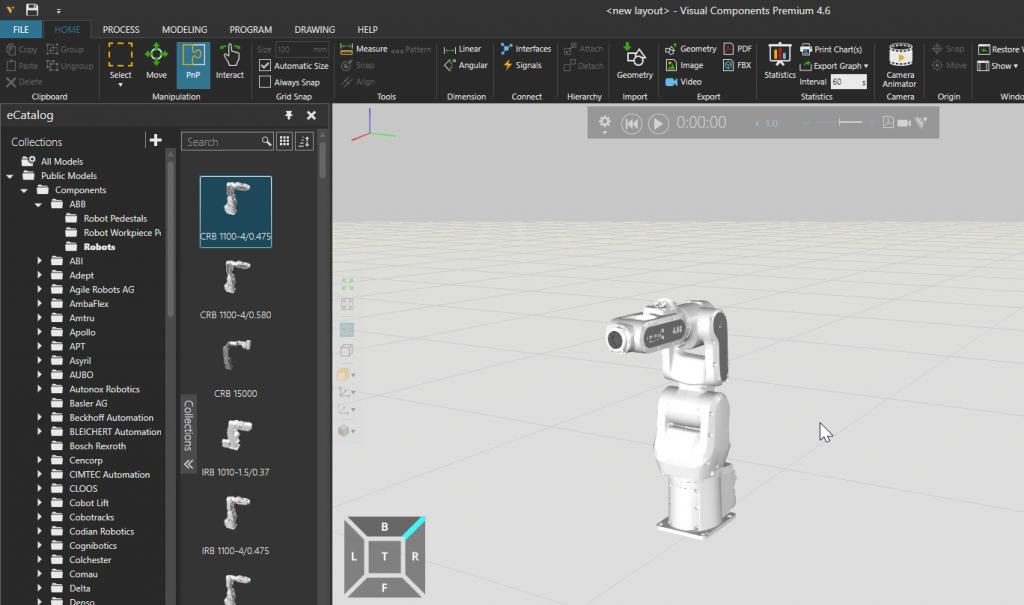
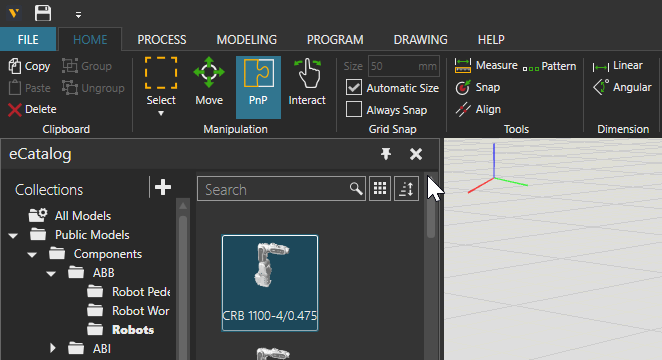
Add ABB robots by going to Collections on the right and then Public Model>Components>ABB>Robots.
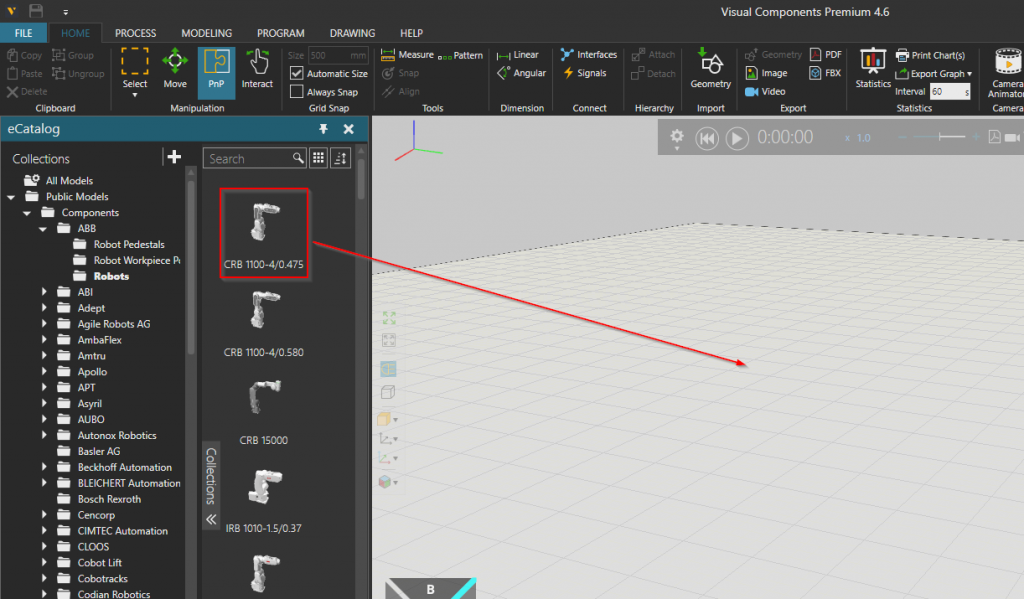
Thus, it is OK to Drop-Drag the robot model directly.
Done! A robot has been added.
Adjust your View
The viewing angle of the screen can be changed with the square ICON in the lower left corner.
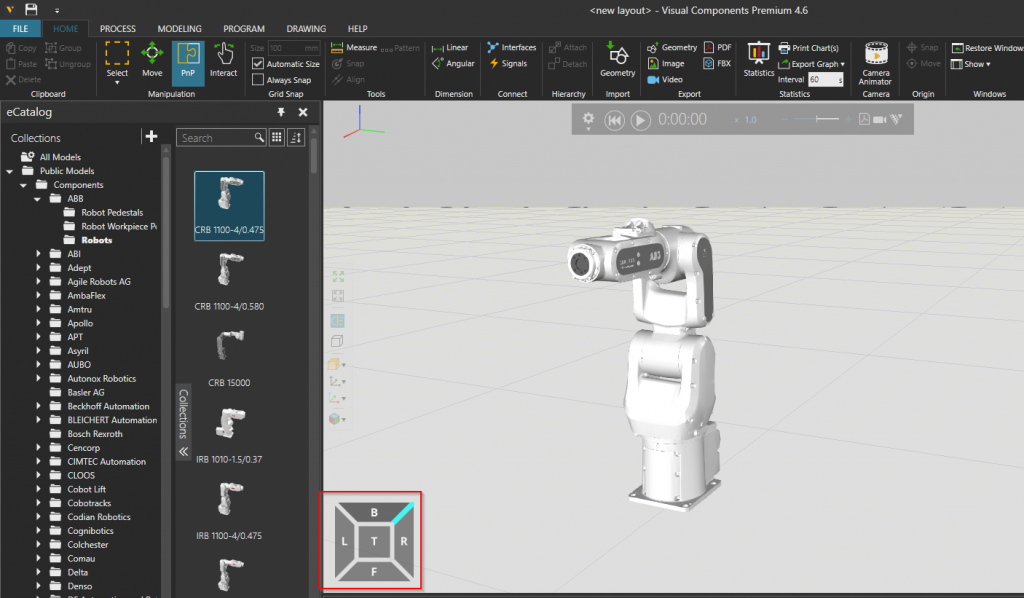
You can change it by doing this.
Move you Model
Click MOVE ICON to move the robot model.
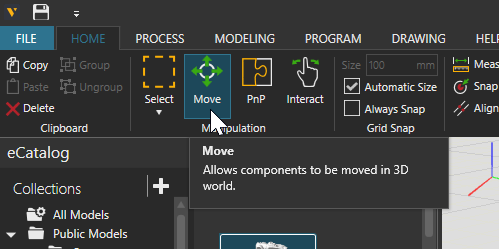
When the MOVE function is enabled, the robot will display ICON for the coordinates.
In this way, the robot can move freely.
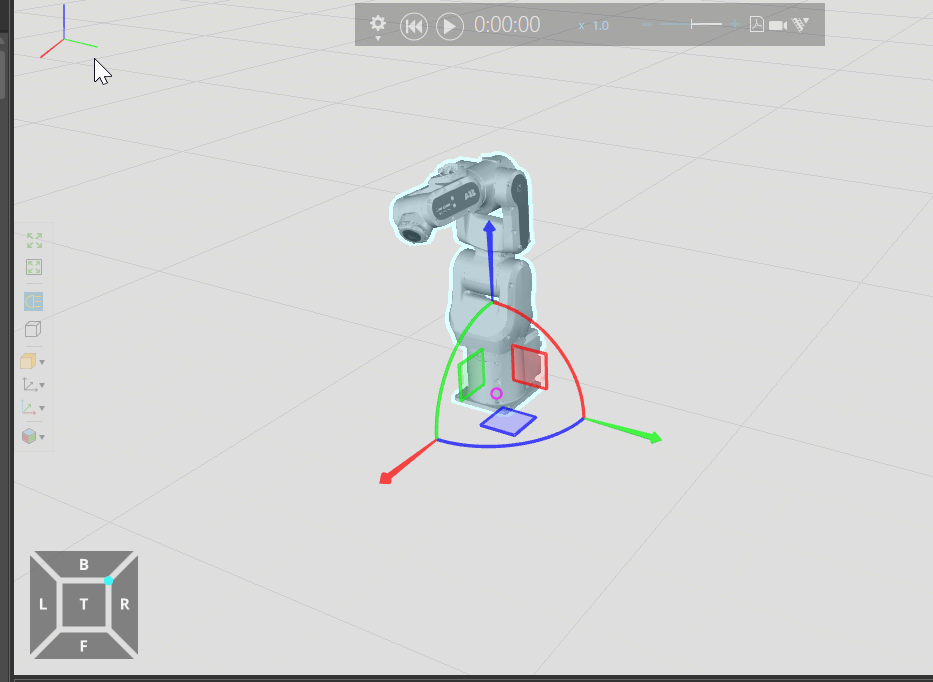
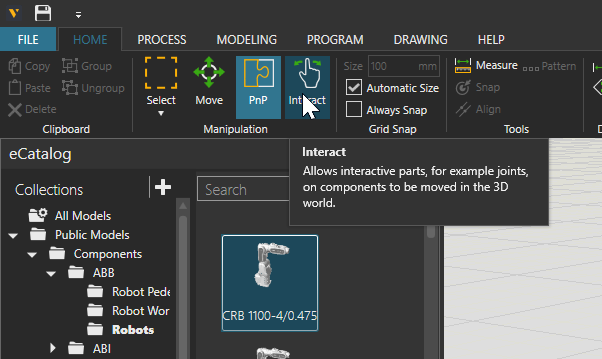
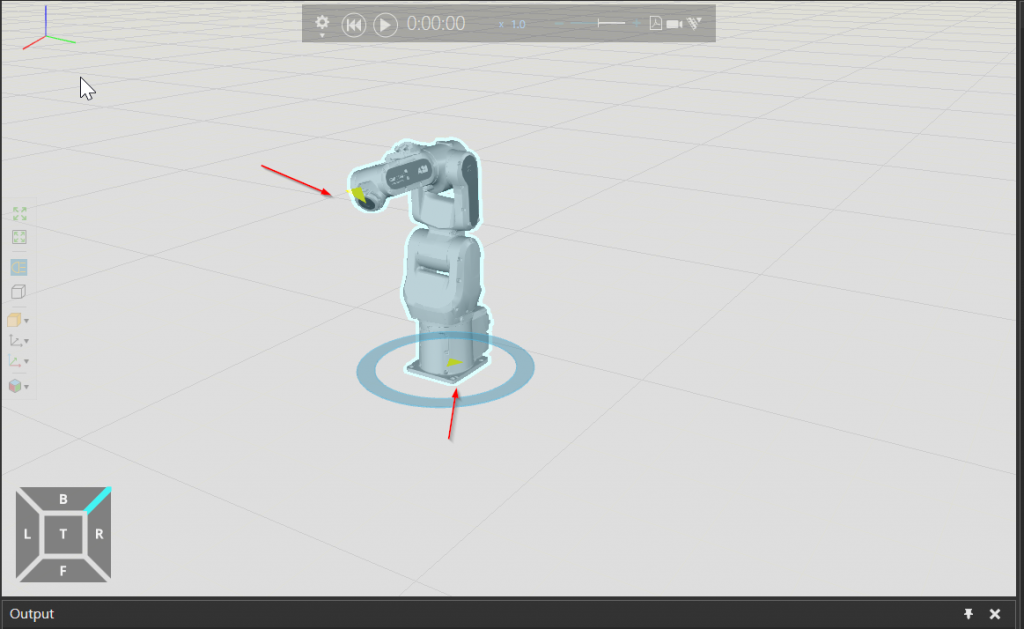
Interact
Let’s switch to Interact mode and move the robot’s joints.
Moving the Mouse while pressing directly on an axis of the robot will move the corresponding axis.
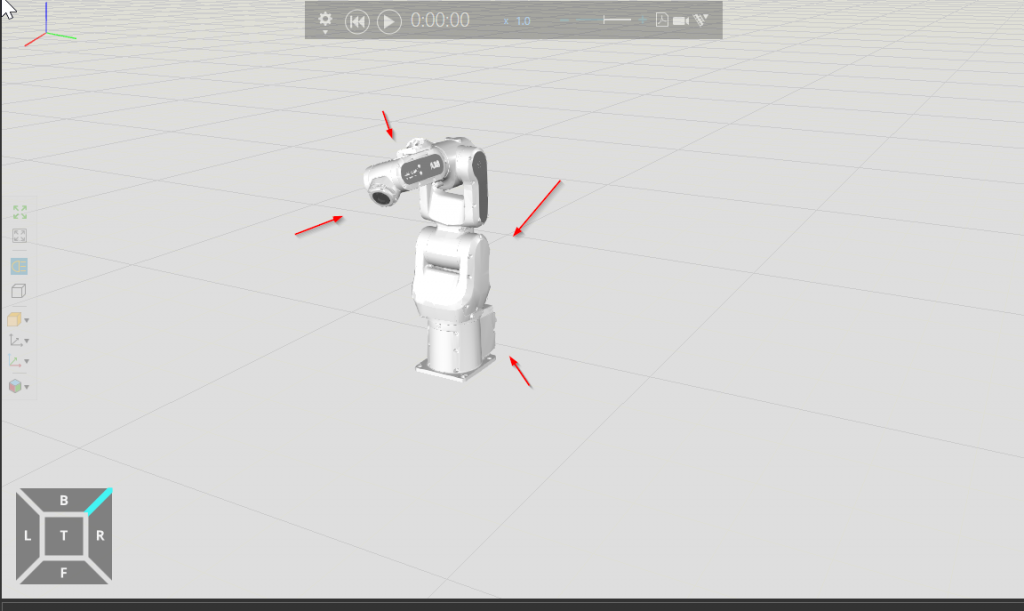
Just like this.
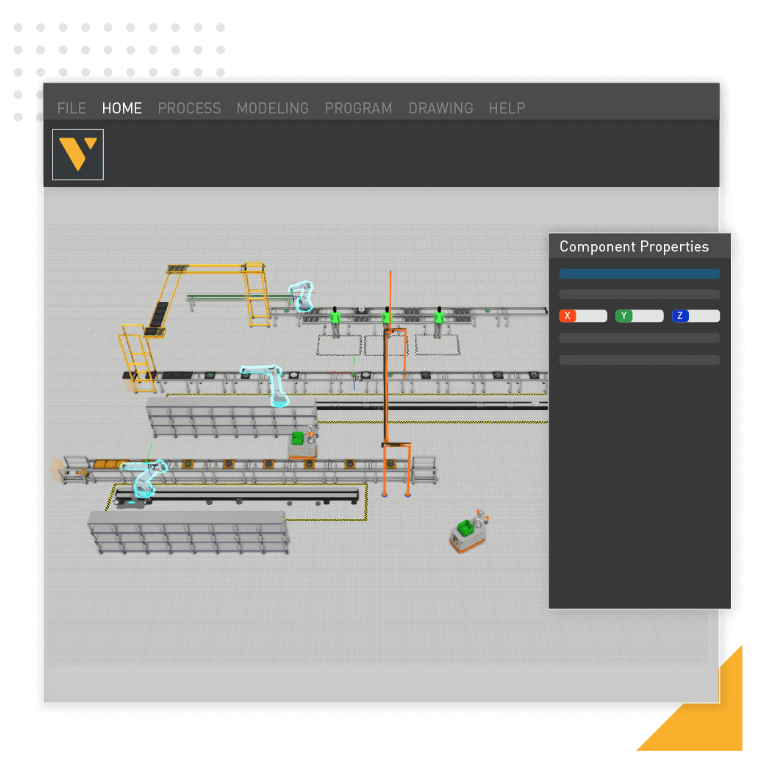
Double-clicking on the robot brings up the Component Properties screen, which lists the current values and other numbers for the six axes.
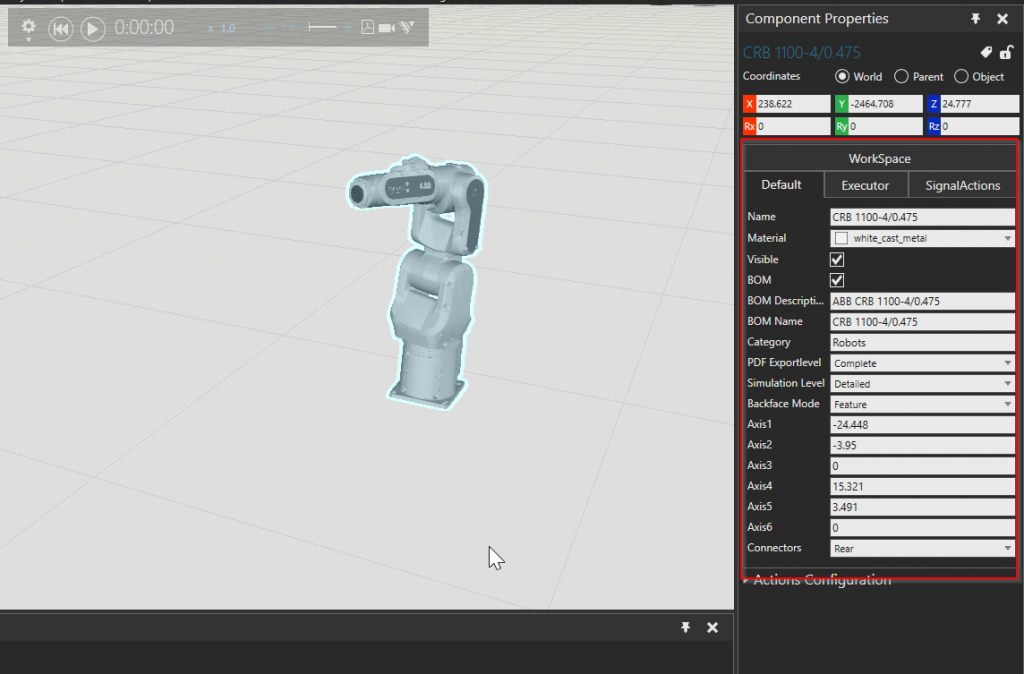
When the robot is moved from Interact Mode, it also changes according to the current value of Axis.
Pnp
Pnp Mode is a mode used to connect different models.
When switched to Pnp Mode, the model turns light blue and has a blue circle at the bottom.
If you move a model while holding down the Mouse button, the corresponding model will move at the same time. because I only have one model in the project right now, you may not know the usage of this mode.Let’s create something new.
Do Some Real Things with Pnp
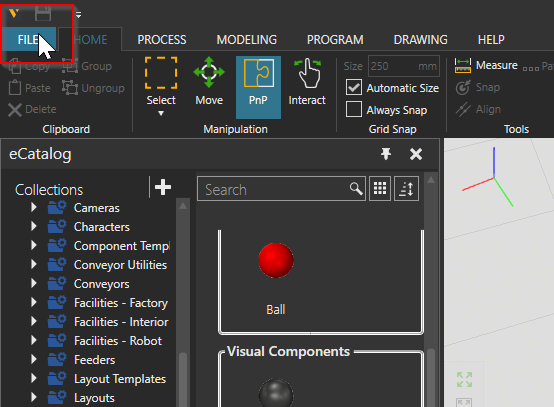
Now let’s actually use Pnp Mode: the Visual Components model catalog is categorized by type and manufacturer. let’s add a Conveyor by going to Models by Type>Conveyor.
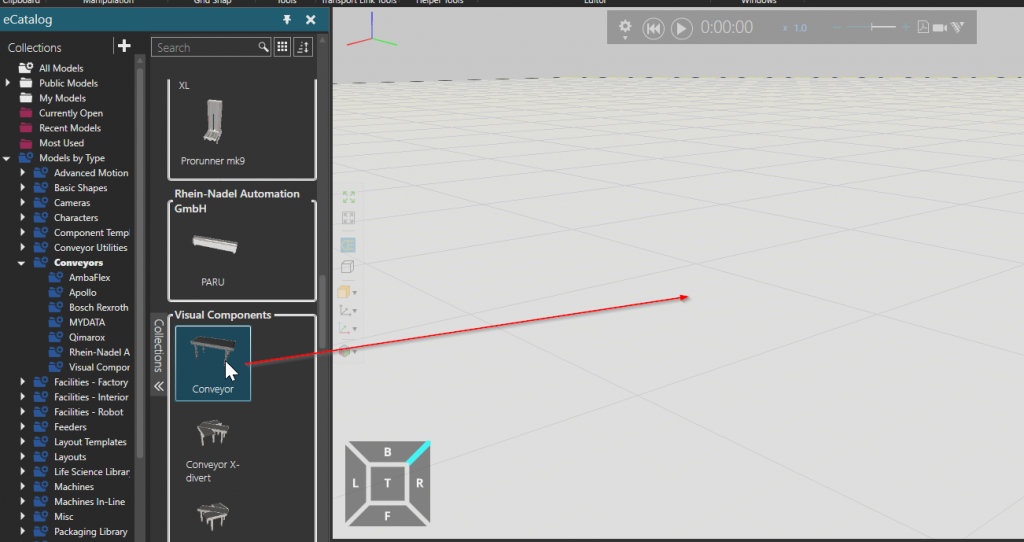
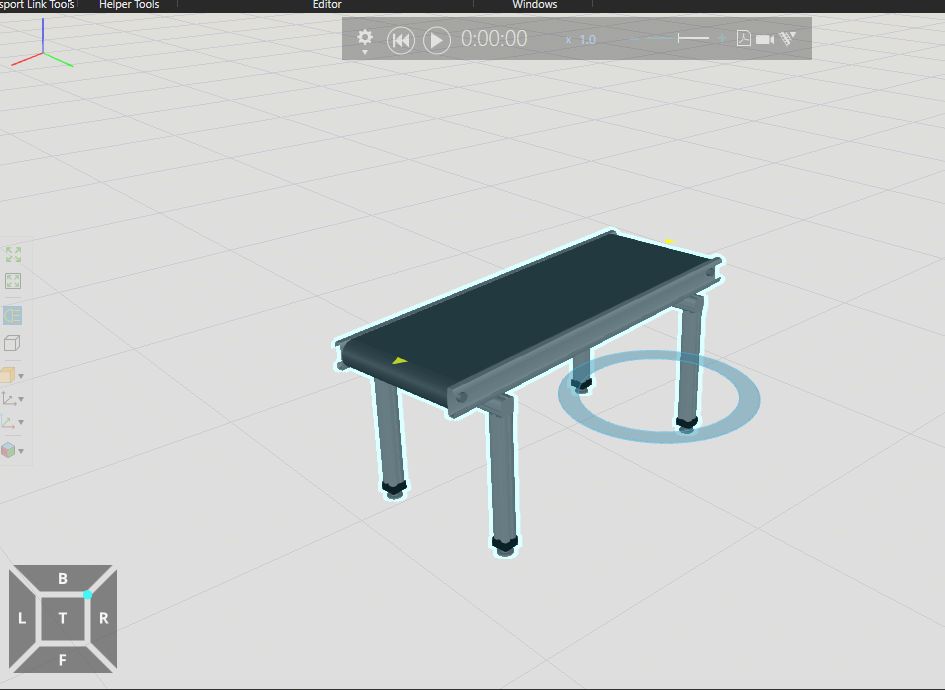
Conveyor has been added.
Next, we add a Feeder, which you can think of as an Object that will generate models at a configurable time.
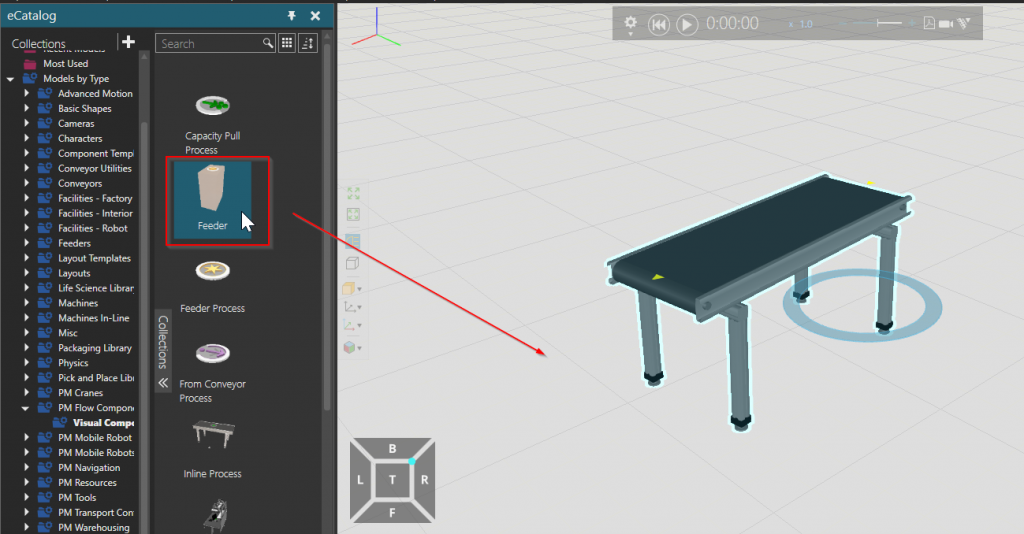
Now a Feeder has also been added.
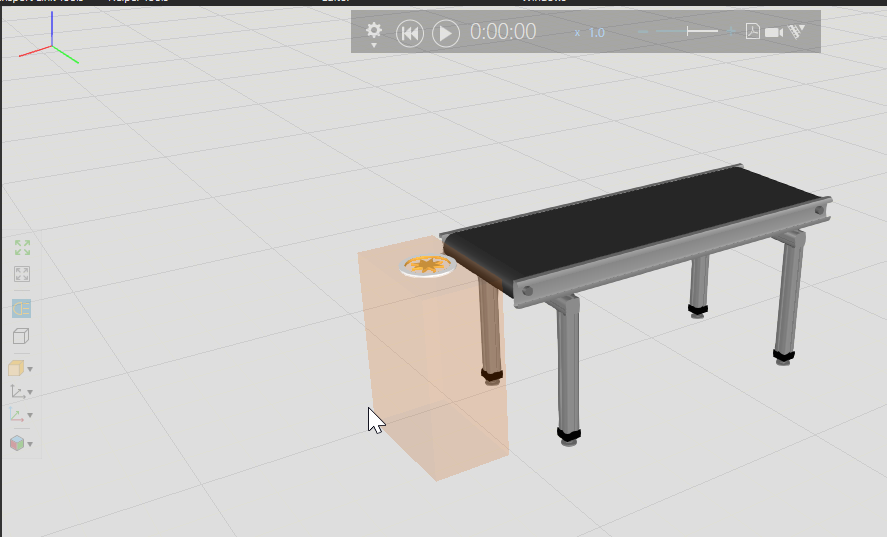
Next, let’s switch to PnP Mode and connect to Conveyor while pressing Feeder.
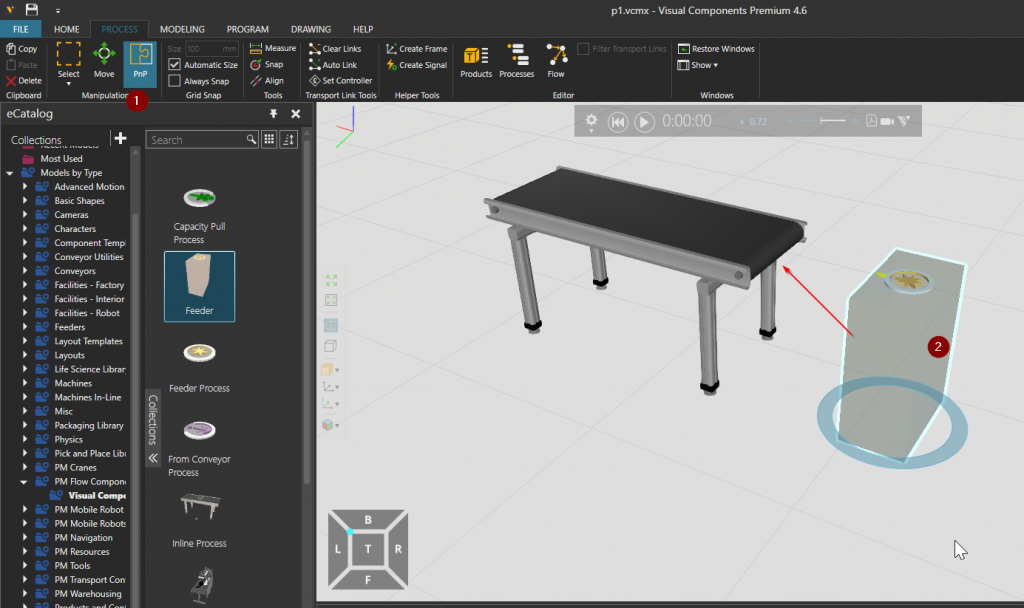
When the Feeder approaches the Conveyor, a green arrow appears, and if the Mouse is released, the Feeder and Conveyor are connected.
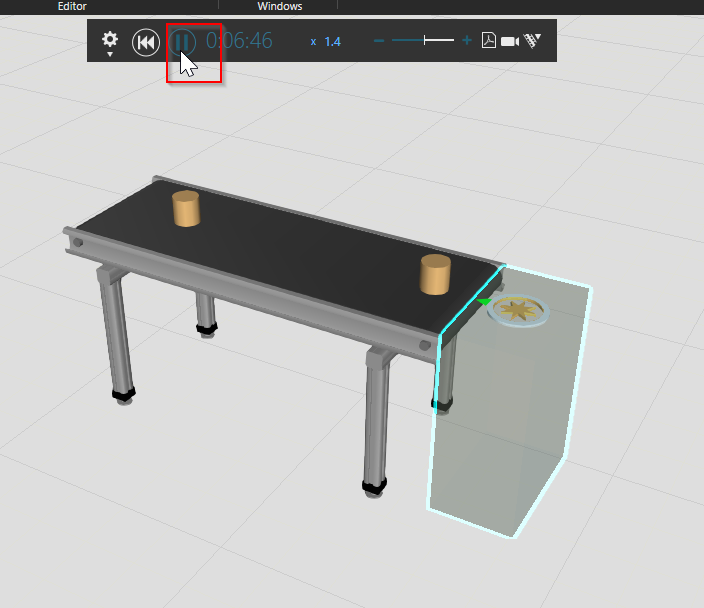
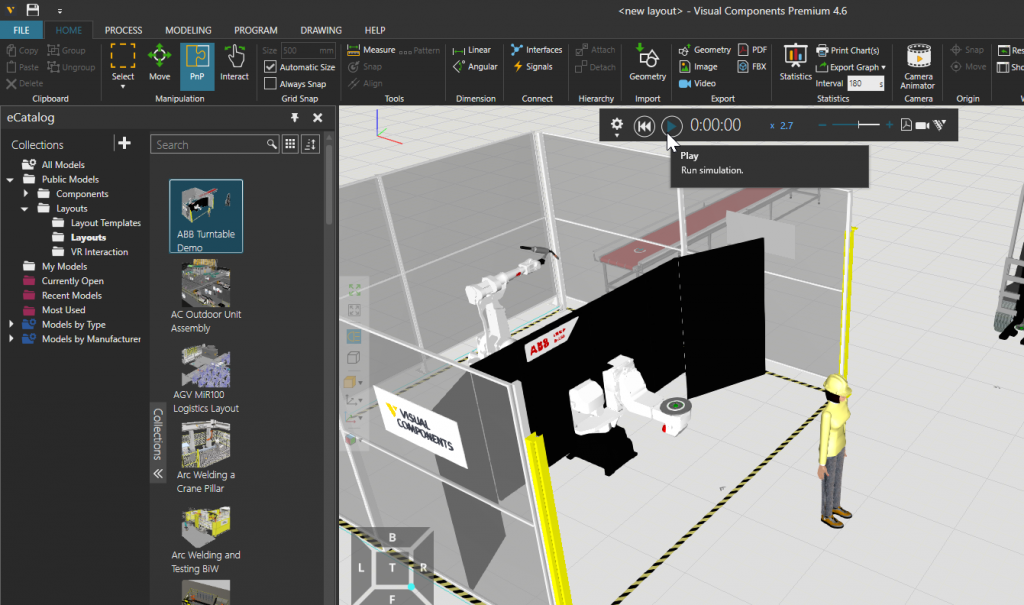
Start Simulation!
Start the simulation with the Play Button in the red frame!

Done!The model generated from the Feeder moves as it is placed on the Conveyor.
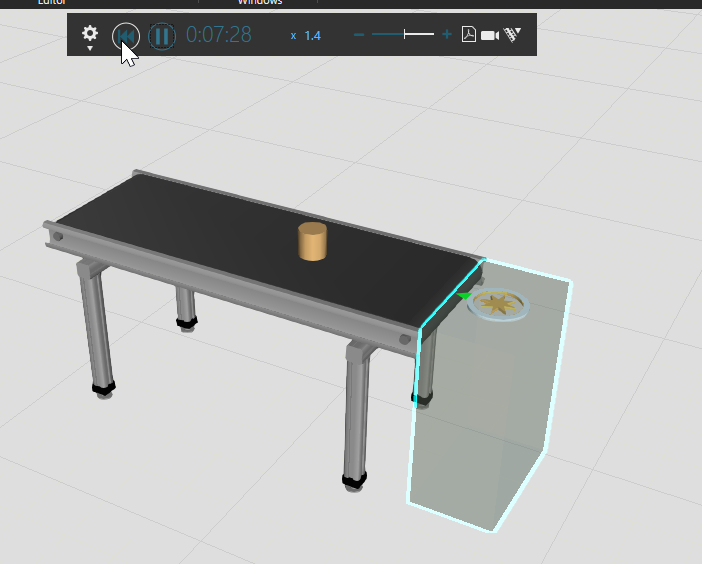
Stop Simulation!
Stop Simulation at the red frame in the figure below.
Reset Simulation
Of course, don’t forget to reset the simulation.
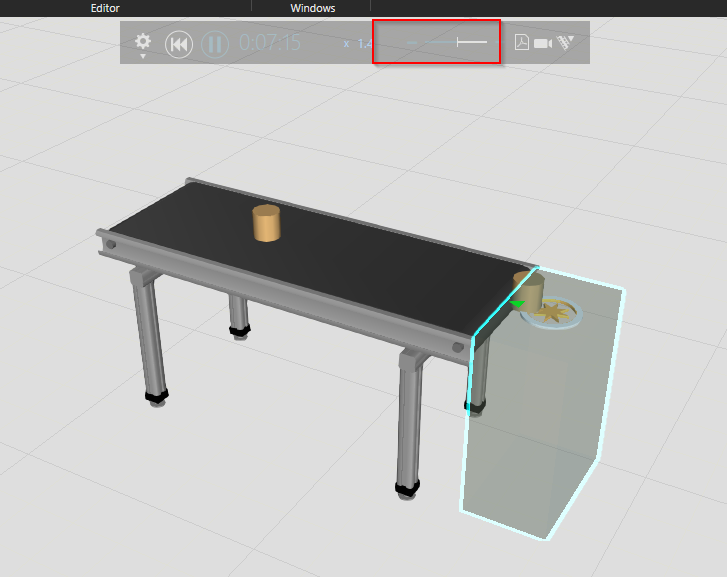
Adjust the Simulation Speed
The Slide bar on the right allows you to set the speed of the simulation.
Clone your Model
You can also duplicate a model. Just right-click>Clone and you are good to go.
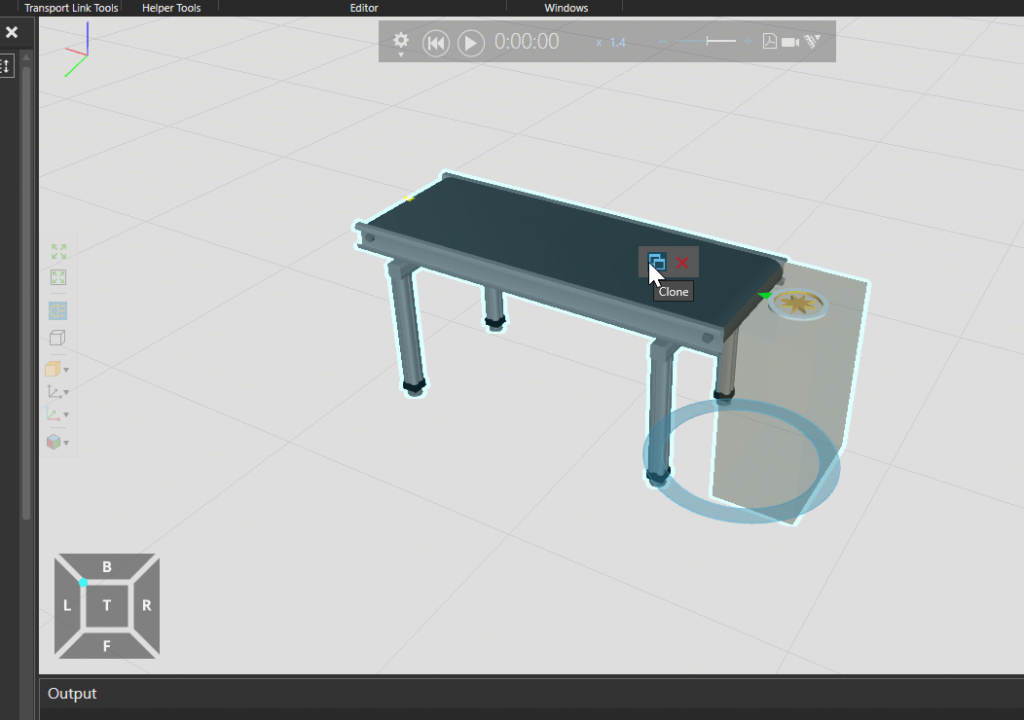
Done!
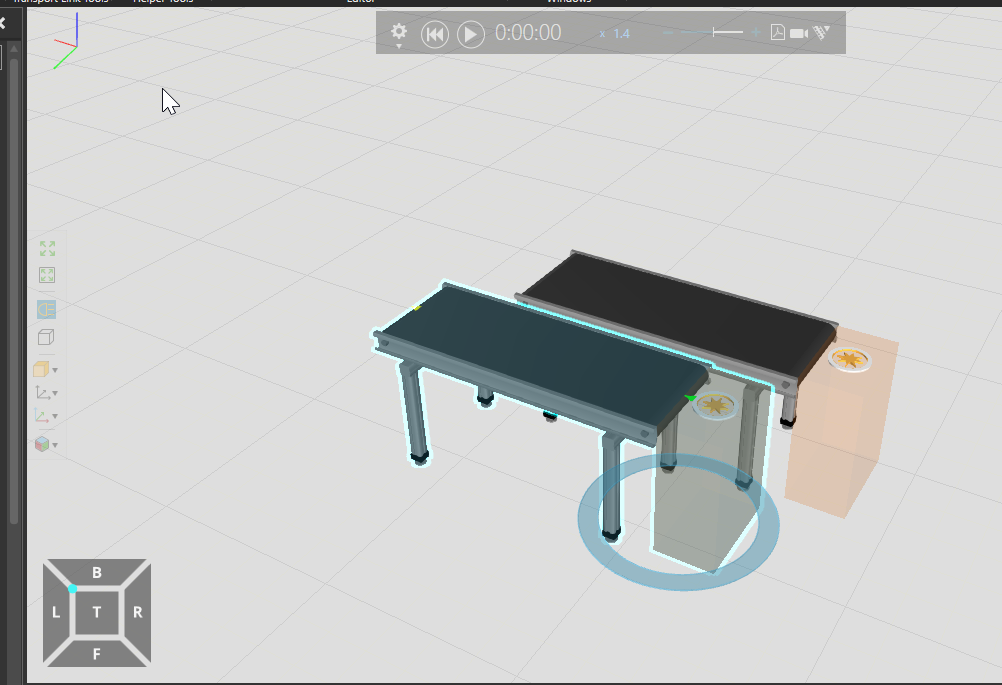
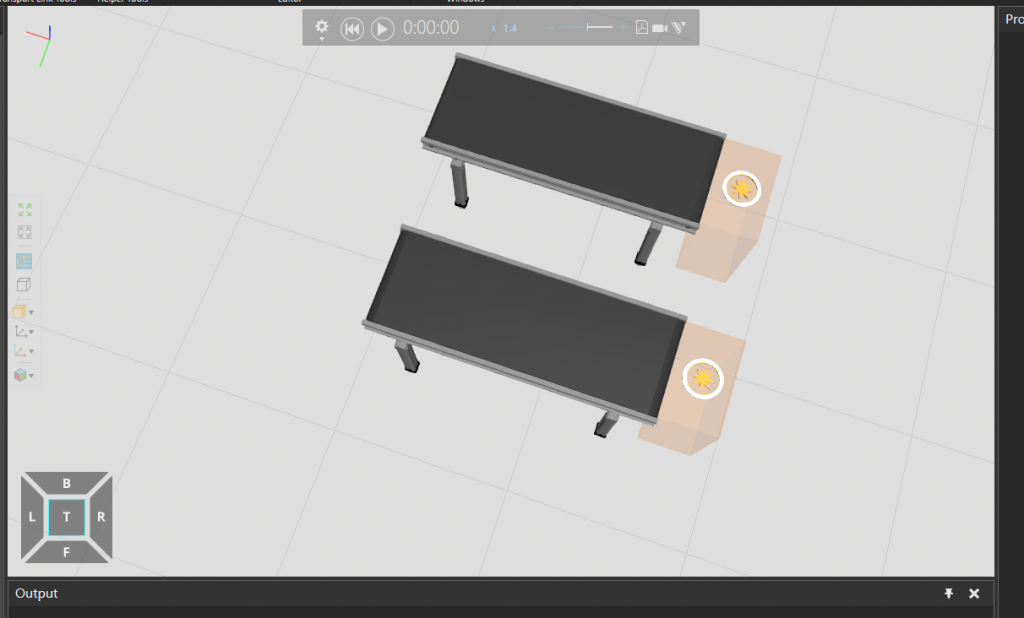
Let’s Line up the Conveyor neatly in preparation for the final Explanation Session.
Add Bottle
The Feeder was generated earlier for the Cube, but this time we will set it up to generate a Bottle.
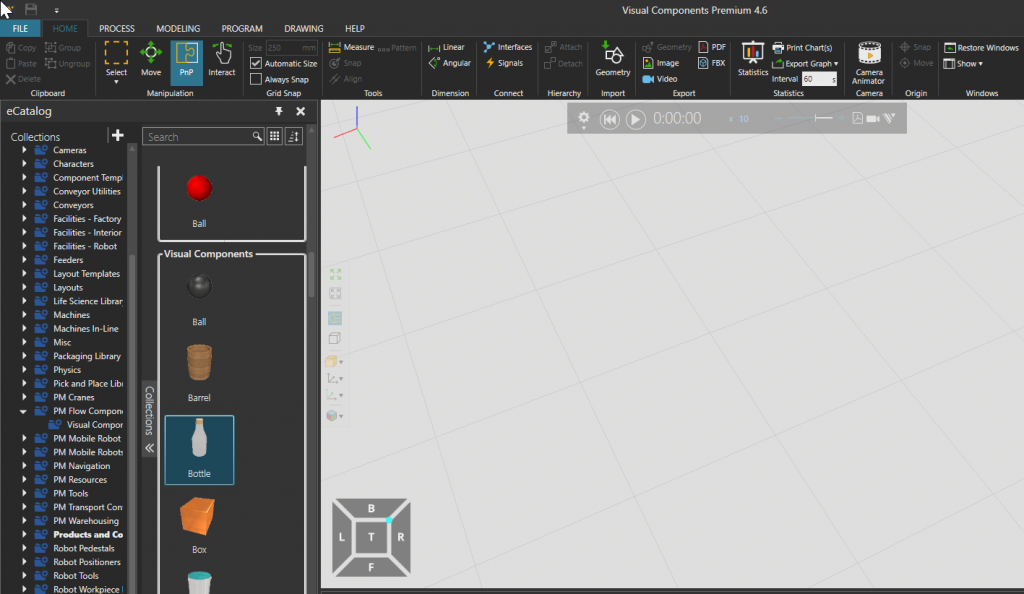
Change Feeder Products
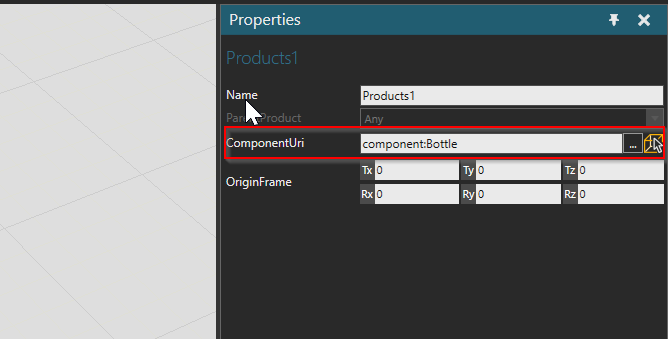
Select Products>Product1.
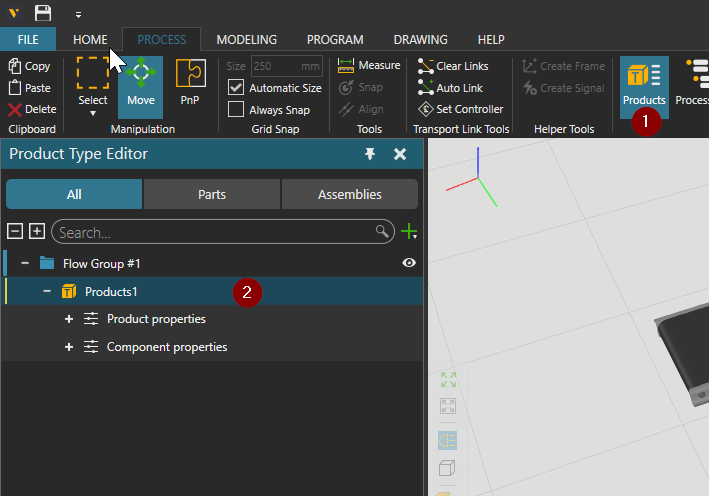
The Properties screen for the corresponding Products appears on the right side of the screen.
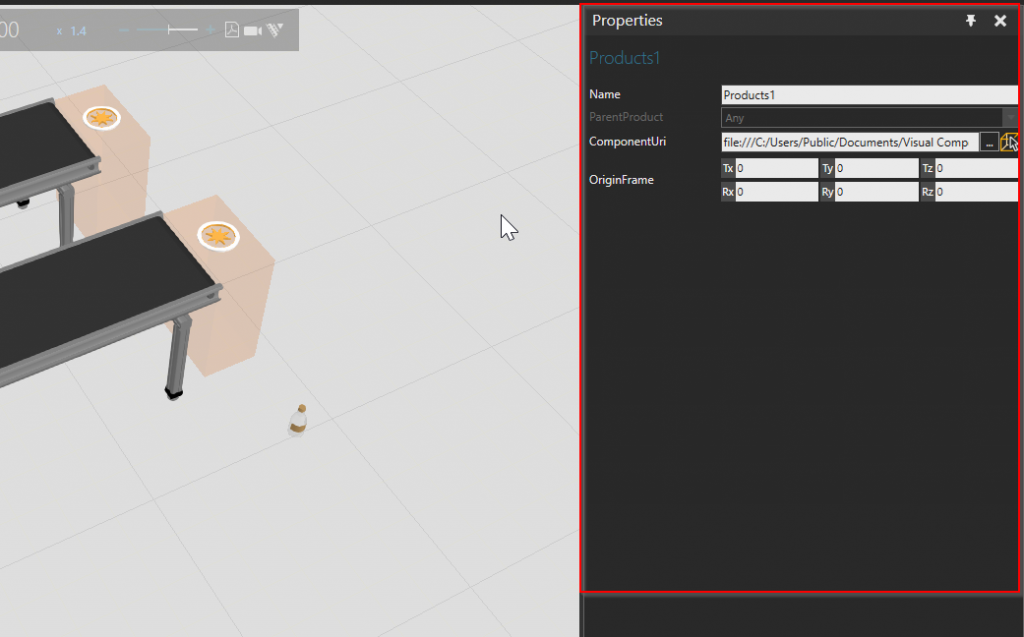
Click on the yellow ICON at the far right to configure what kind of Products the Feeder will generate.
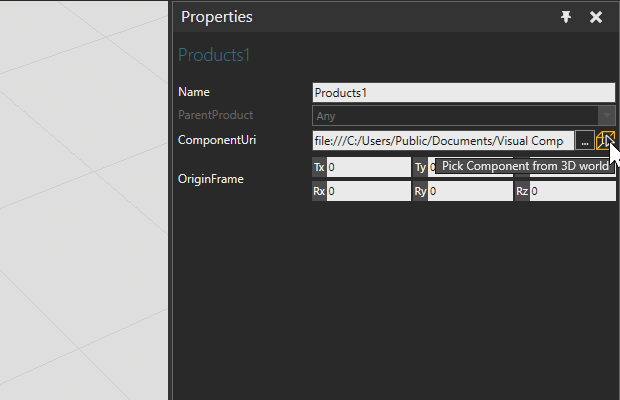
Now select the bottle you just added.
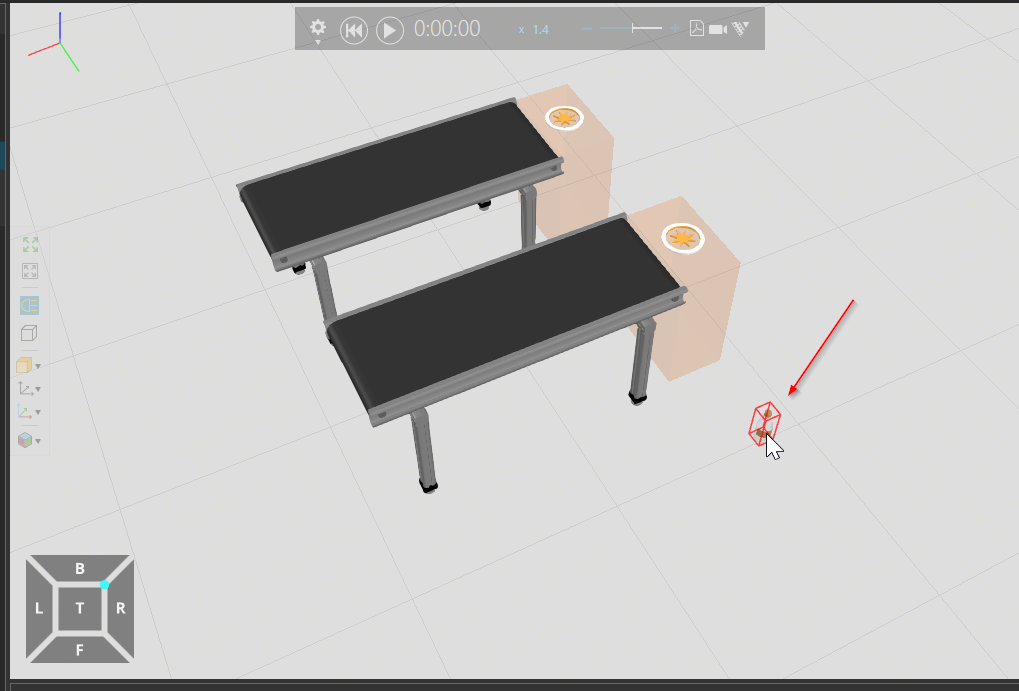
Done!
Test it!
Now you can generate bottles from the Feeder.
Add Build-in Layouts
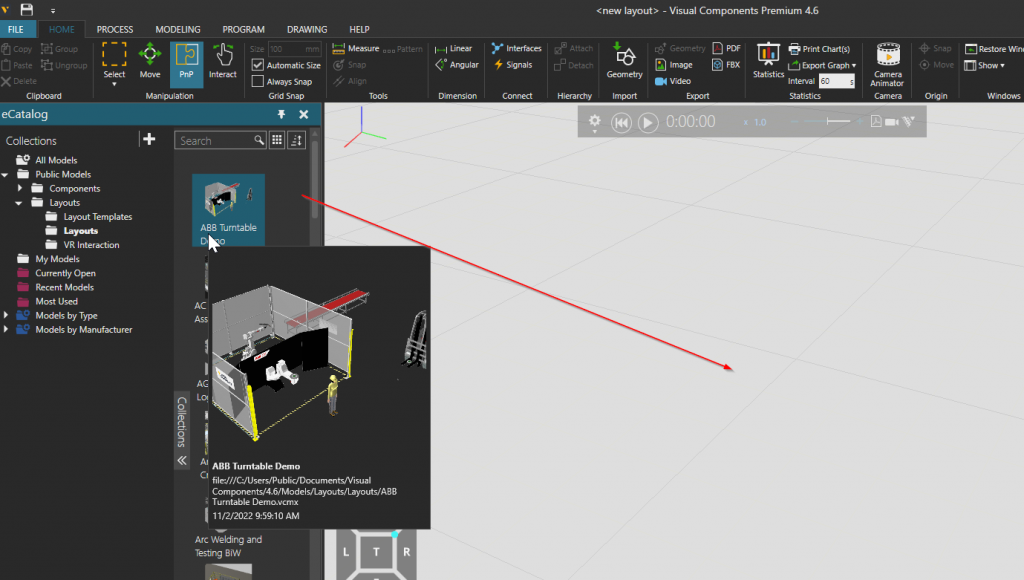
Several Layouts are Build-it so that even a beginner can quickly become familiar with Visual Components. For example, let’s add the AB Turntable demo at Public Go to Models>Layouts>Layouts.
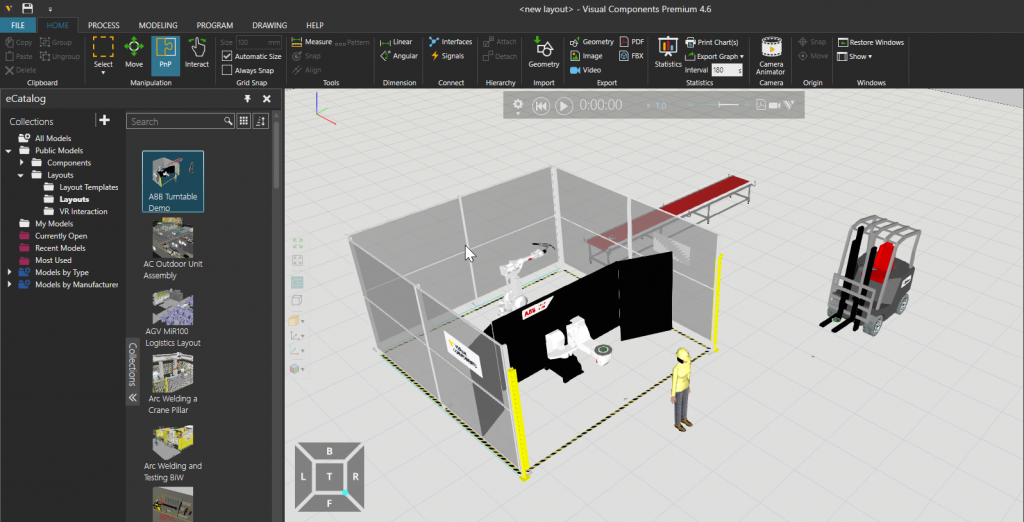
Visual Component’s Build-it Layout has been added.
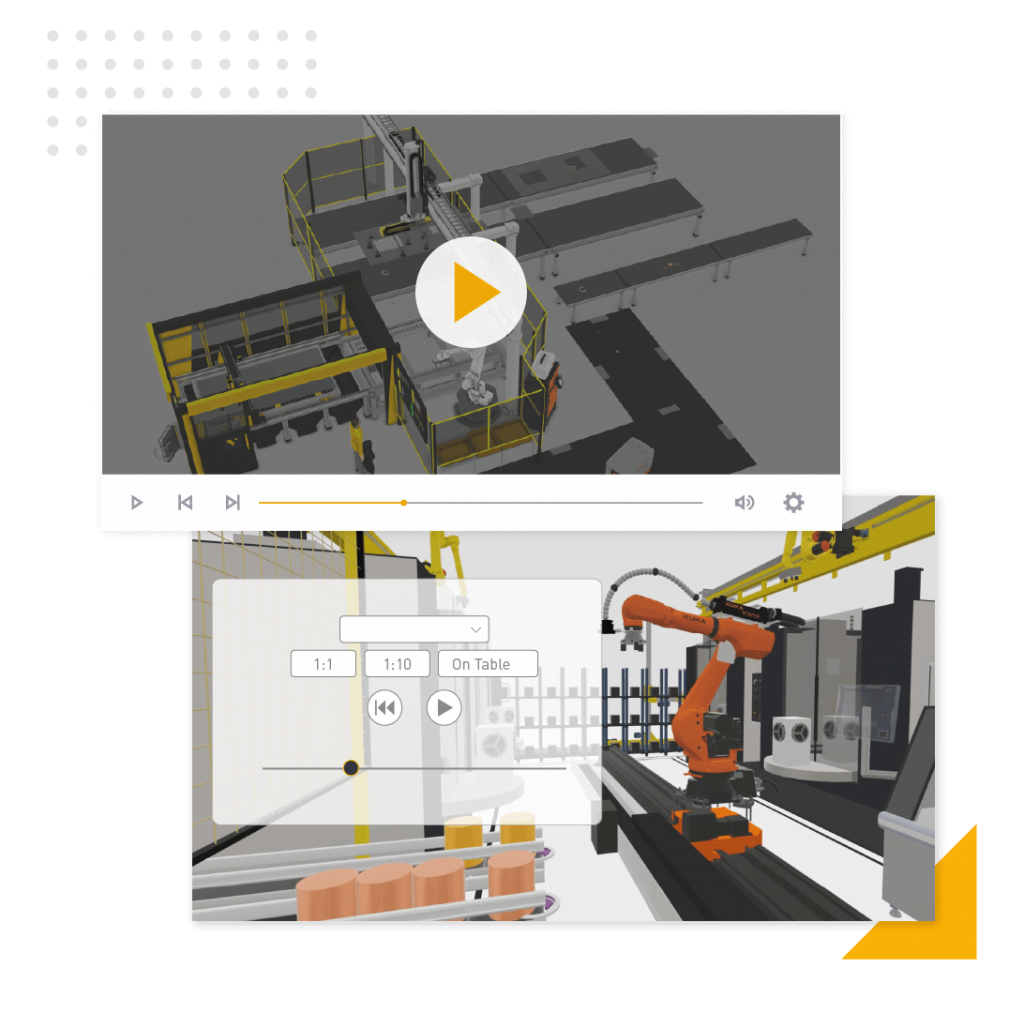
Play Simulation
Finally, simply click the Play Button.
Done!
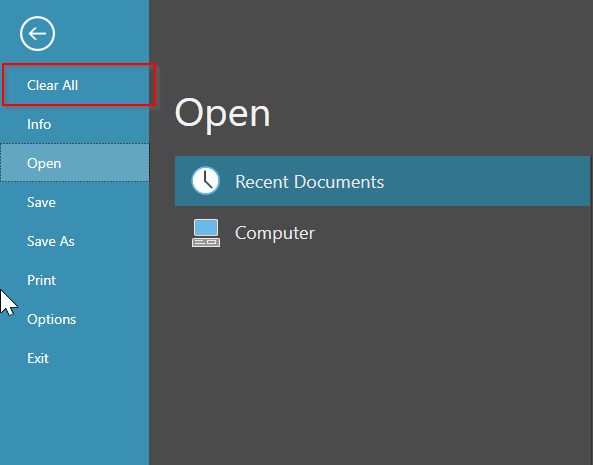
Clear Application
If you want to clear the objects in the project, there is actually a “Clear Application” button.
Click on Clear All.