In this tutorial I will explain how to make a Pick and place application in RoboDK. You would do the same application like this gif at the end of the tutorial.
Let’s Start!
Configuration
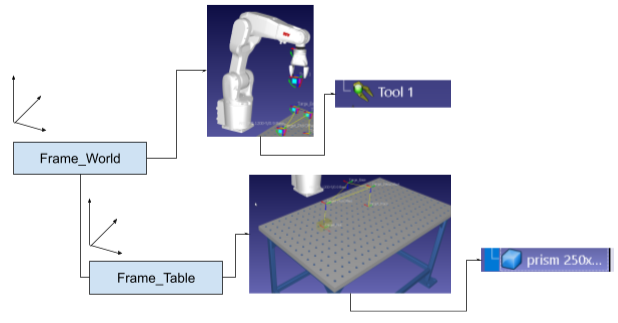
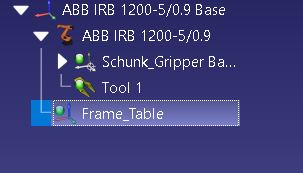
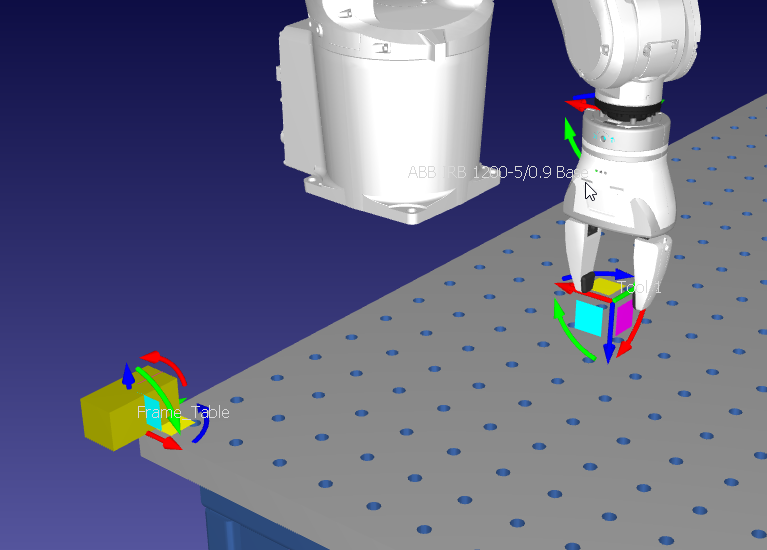
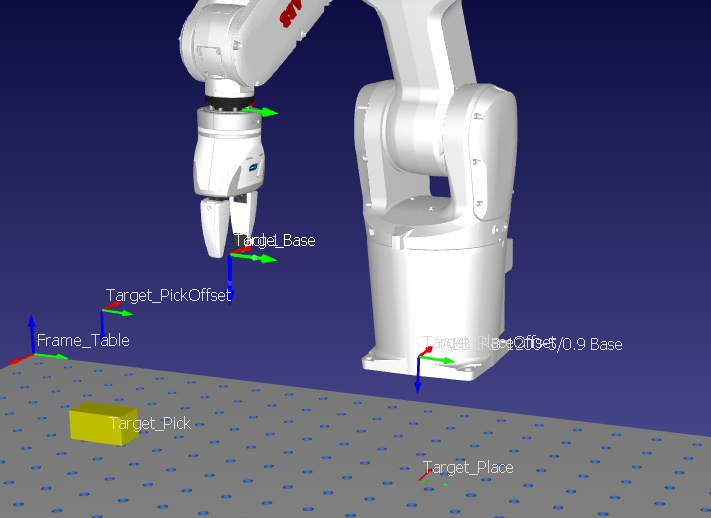
Here is the Configuration. ABB Robot is the main role to pick and place the Box, and Gripper is installed.Frame_World in the Main Frame inside the Robot Frame, and there is a Frame_Table for the Table.Finally there is a small cube on the table.
Import Tools
Let’s import your tools first.Go to the RoboDK Library and Type>Gripper.
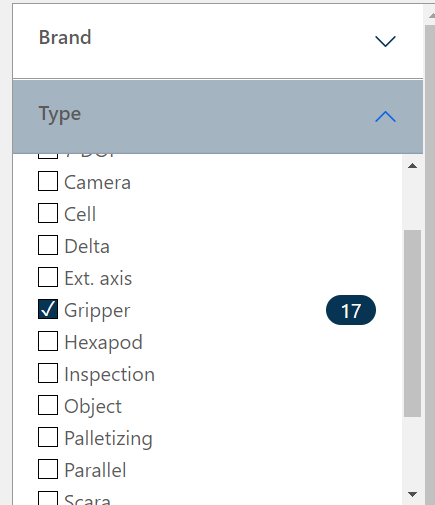
We will use Suchunk GO-ACT this time.
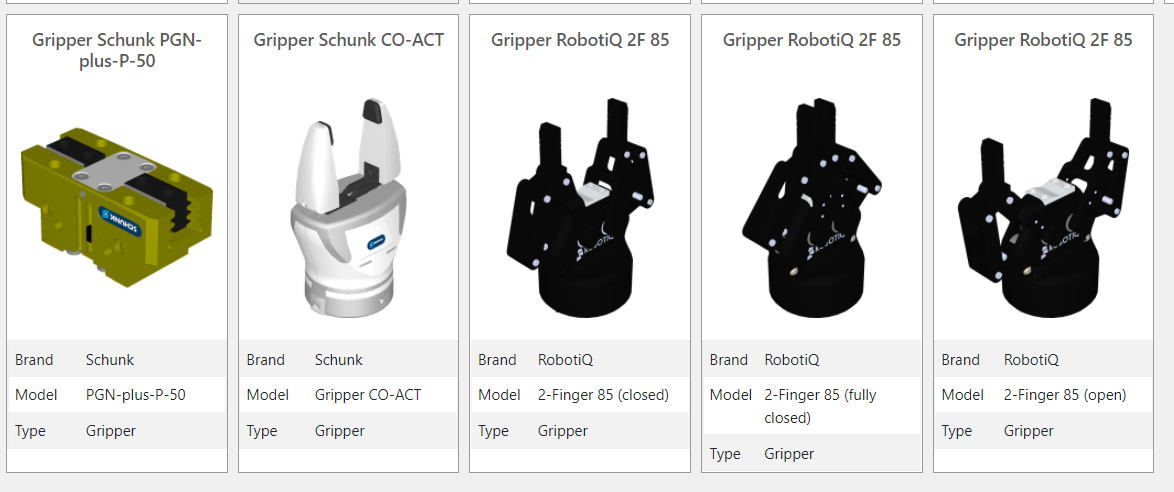
The Gripper like this is imported into your RoboDK Station.

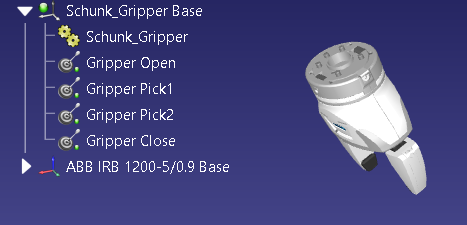
There are 4 scripts in the Gripper that are named GripperOpen,GripperPick1,Gripper2,GripperClose.These programs are used to control the gripper.

Gripper Close
The Gripper will be closed like this.
Gripper Open
The Gripper will be opened like this.

Gripper Pick1
The Gripper will be opened in a “Half Position”.

Gripper Pick2
The Gripper will be opened in another “Half Position”.
Import ABB Robot
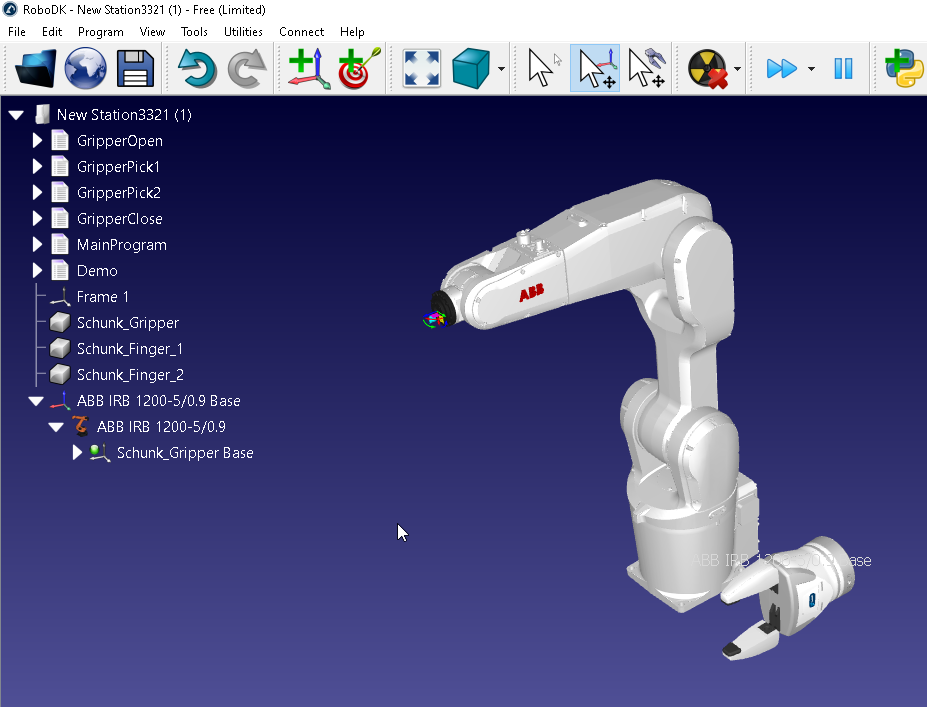
Import your ABB Robot and adjust the position.
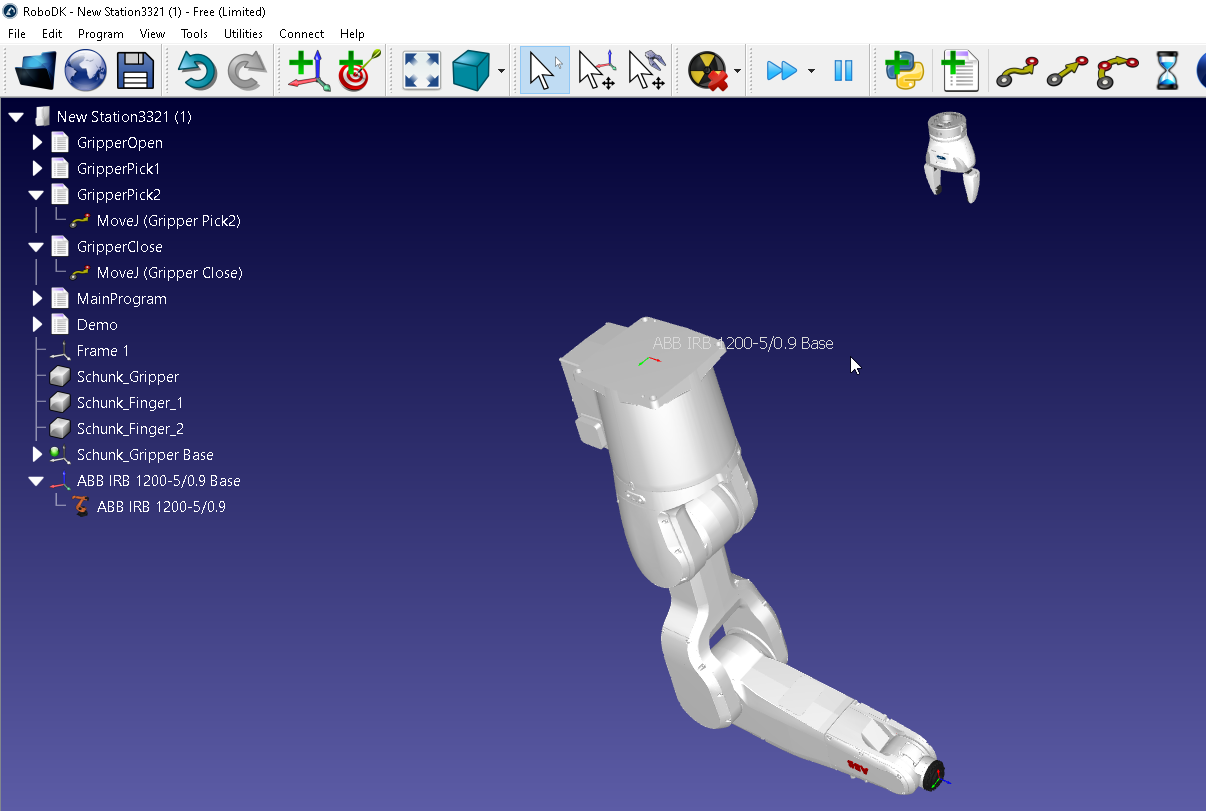
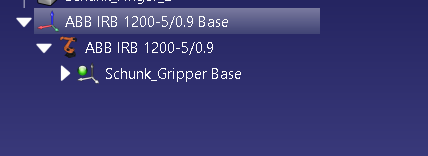
Now the Robot and Tool are in the same environment.
And While you open Schunk_Gripper Base – There are 4 Targets that are configured in here.Open,Pick1,Pick2 and Close.Please adjust if you want.

Tool Adjustment
Next step we need to do, is “installing” your tools to the Robot.
First,Move your inside the Robot Frame.
Just like this.
Right Click Tools>Define Reference Frame.
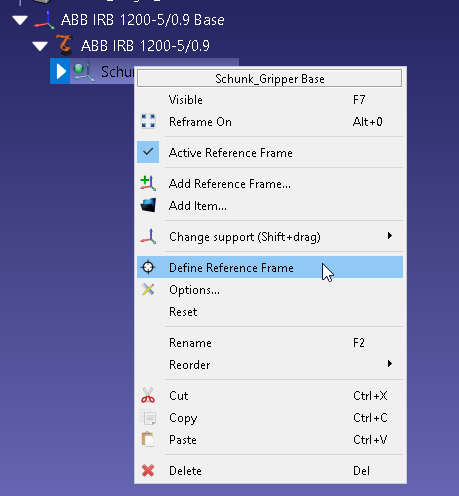
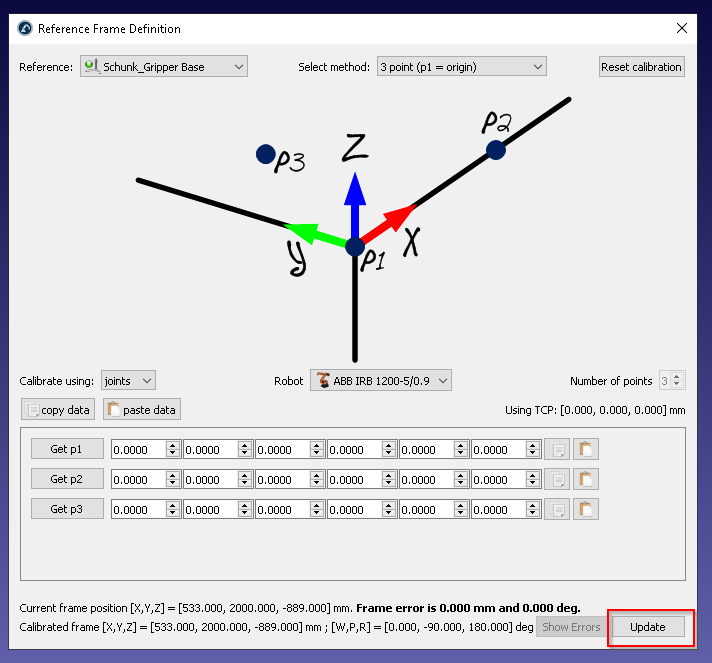
The Reference Frame Definition is shown.

We are using 3Point(p1=Origin) at this time.
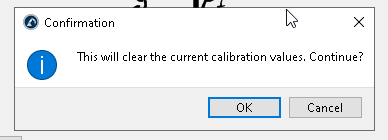
Then press Reset Calibration and Update.

Is that ok to clear the current calibration values?OK.
Update it.
Good! The Tool is installed.

Add TCP
Now we can add the TCP.
Go to your Robot>Add Tool(TCP).
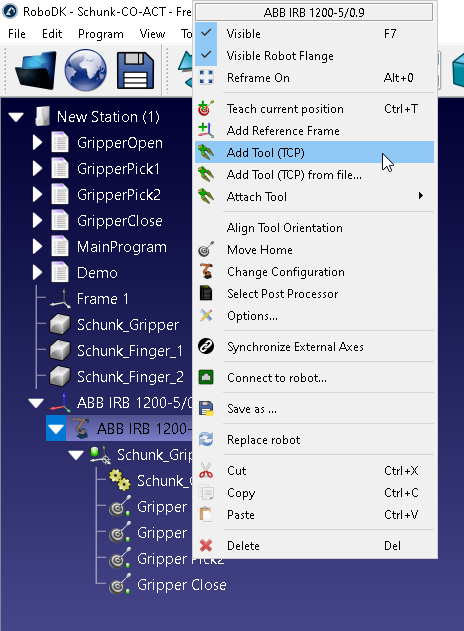
You can see the TCP for your tools now.

If you hold the mouse of the TCP and drop to move it, the ABB Robot will move referenced to the TCP.
Add Table
Let’s Create a Frame_Table reference frame.
And then download the Table Object from RoboDK.

Adjust the Table position.

Add Box
Add a box for Robot to Pick and place it.
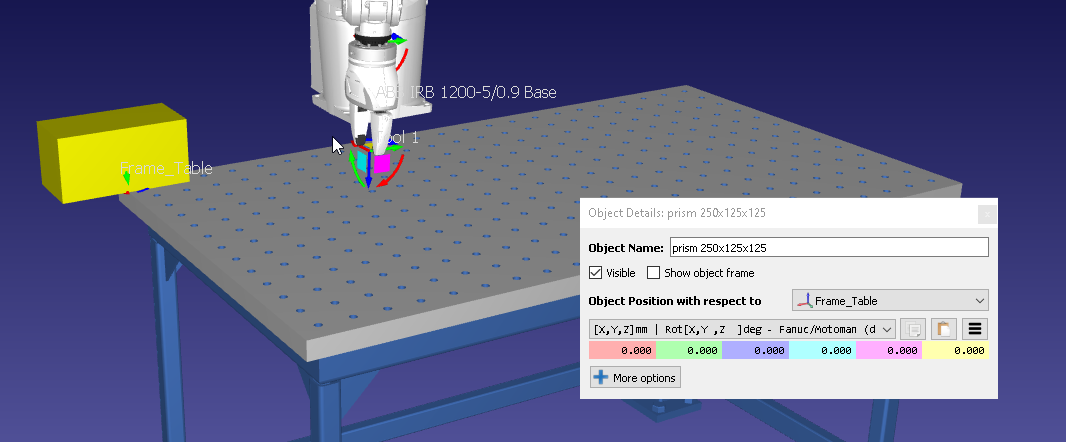
The Box is very big here, we can Directly “scale” it.
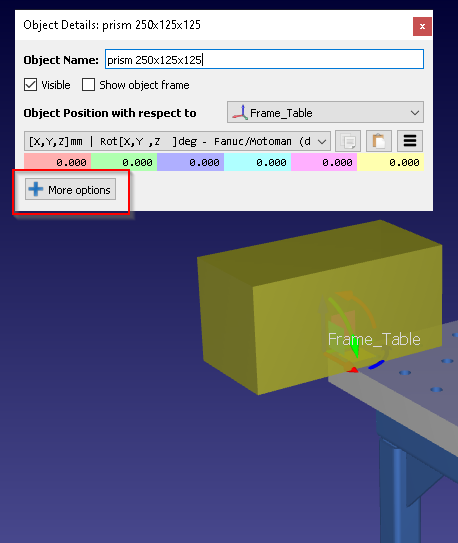
Press + More options.
Press the Apply Scale button to change the size.
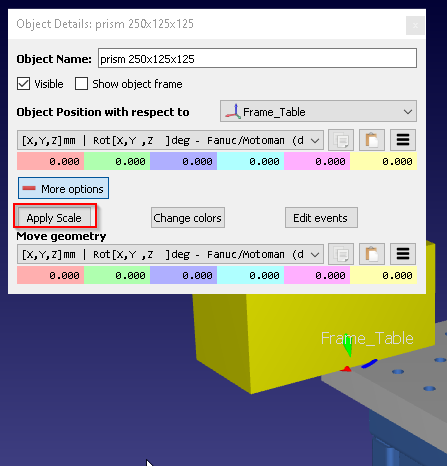
Done!
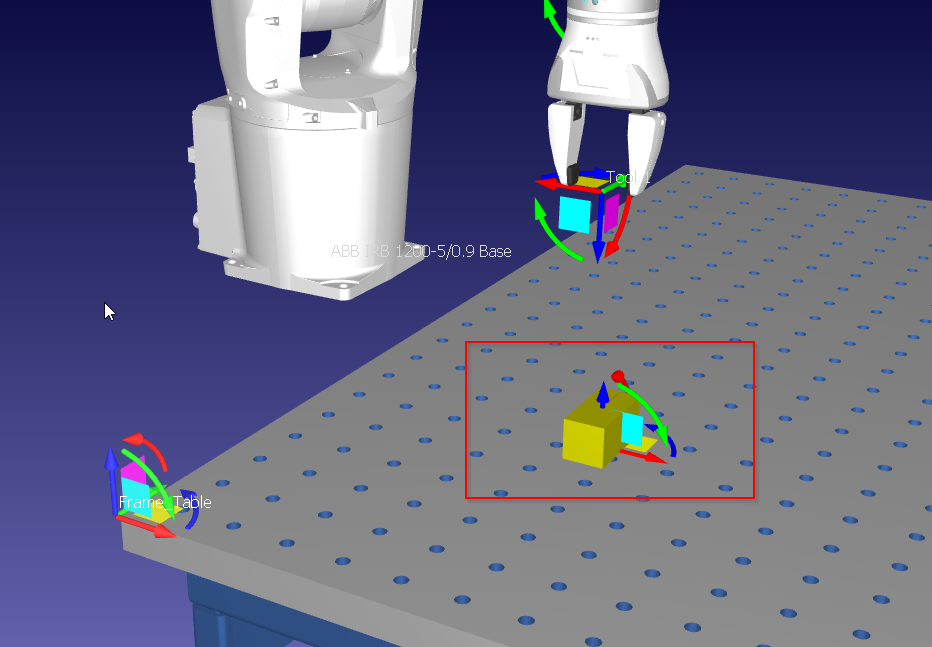
Adjust the Box position.
Teaching
All Objects are installed in your station, we can teach the targets.

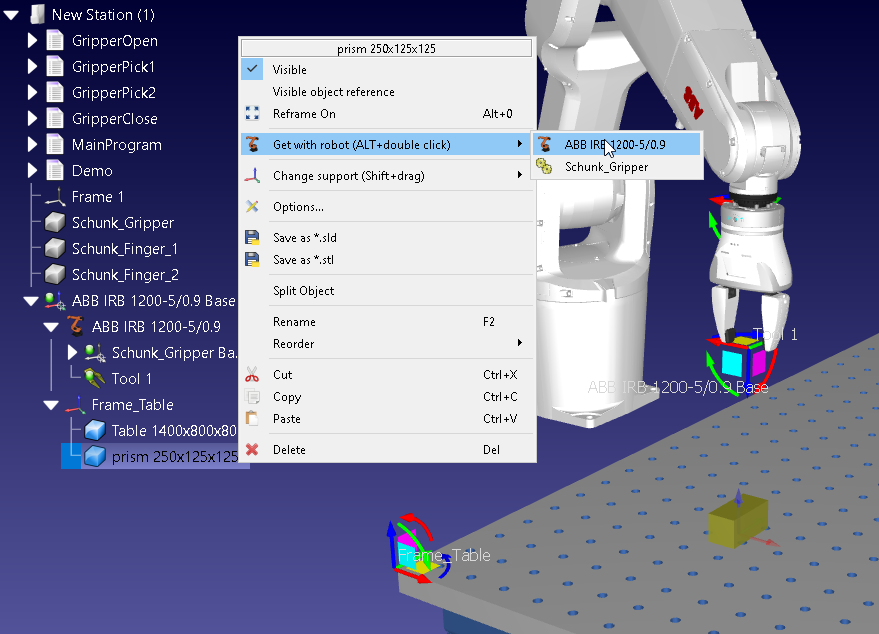
Right click the Box that you inserted in the previous step,
Get with robot>Your Robot Name to directly shift to the pick position!
Thanks for RoboDK!
Let’s set all other Targets.
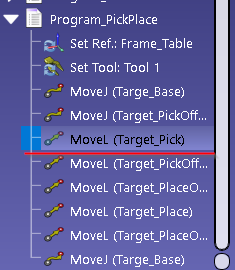
Now we have Pick, Before Pick,Place, Before Place and Original Point.
Let’s double confirm.
Points
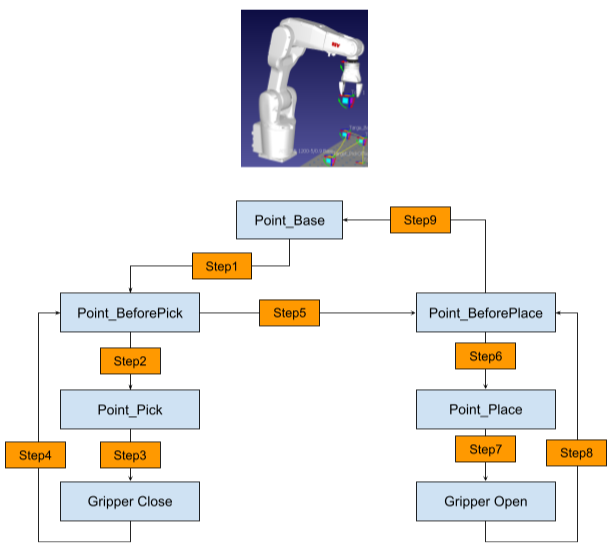
Here is the Working Flow.
Reset Position Program
Simulation Event Instruction
Once the Robot Picks the Box, it can not reset to the previous position.We need a program to “Memory” the original position of the box.
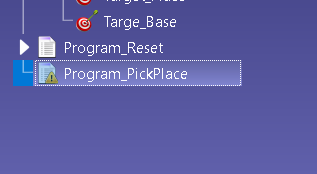
Click the Add a new program linked to the selected robot.

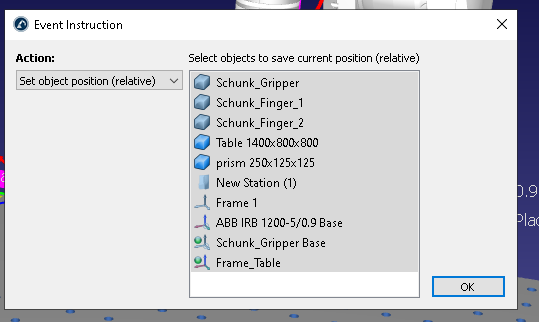
Right click the new robot program>Simulation Event Instruction.

Choose Action>Set object position(relative).
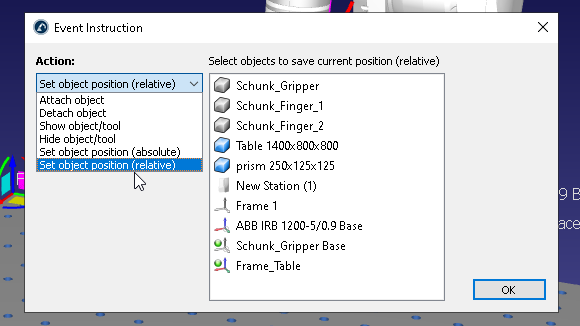
Choose the objects that you need to return to Original, and press OK.
Pick Place Program
Now we can create the Pick and place program.
Just follow the flow and insert the instructions,

Just Run the program once and confirm it.

Pick it!
Move the Robot to the Pick target.

Run the GripperPick1 Program, to check if the gripper can really grip the box or not.
Call it!
And then we will create a program to call the gripper close program.
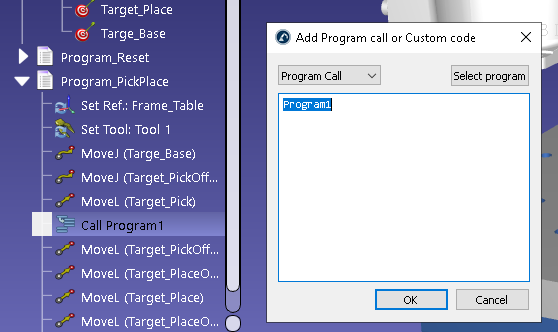
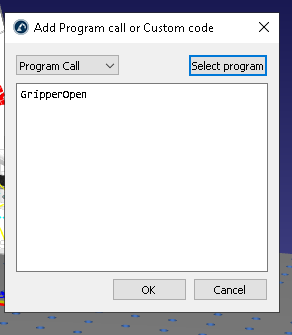
Click the Program call or insert code instruction.

The popup is shown and lets you choose which program that you need to call.
Press the Select Program Button.
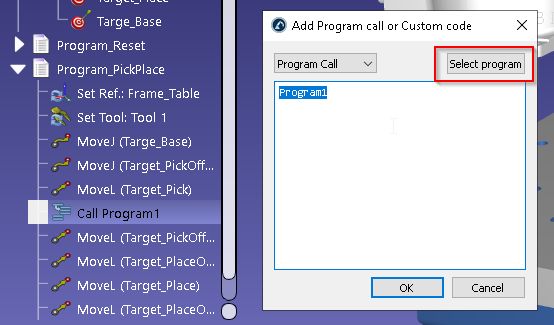
。
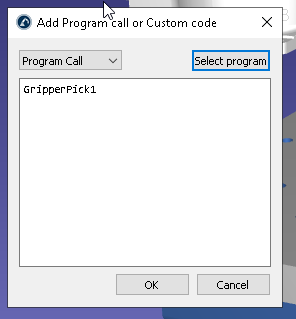
Choose GripperPick1.
And then call the instruction and move the robot to the place position.
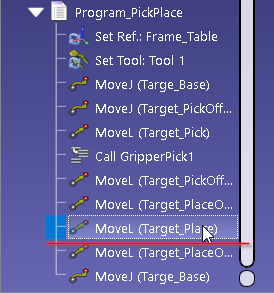
This time we would choose GripperOpen.

OK.
Finished!

Run the program again and Make sure the timing of Gripper Open/Close is correct.
ADD EVENT-Attach Object
Finally we need to configure the Gripper to Pick or place the object.
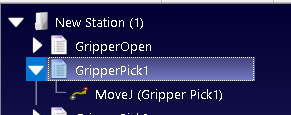
Expand the GripperPick1 Program.
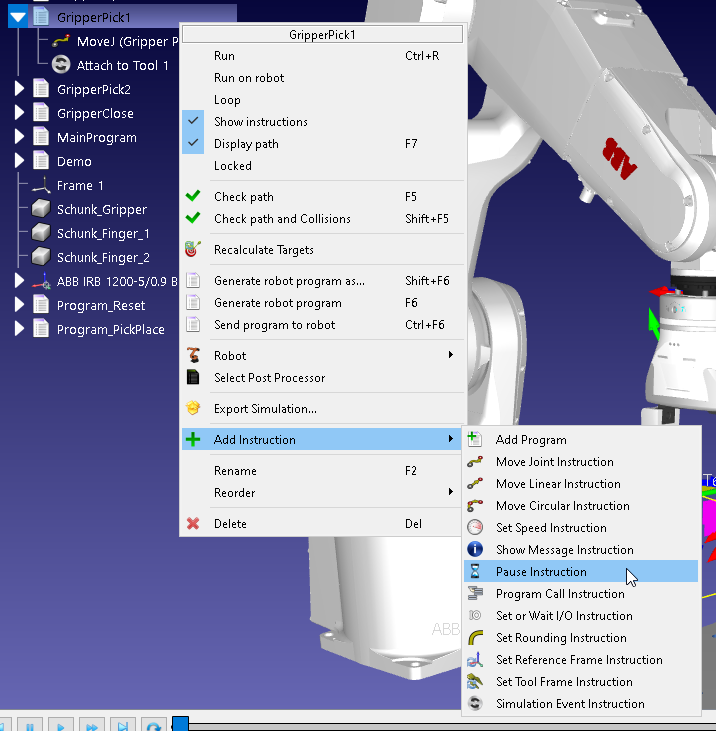
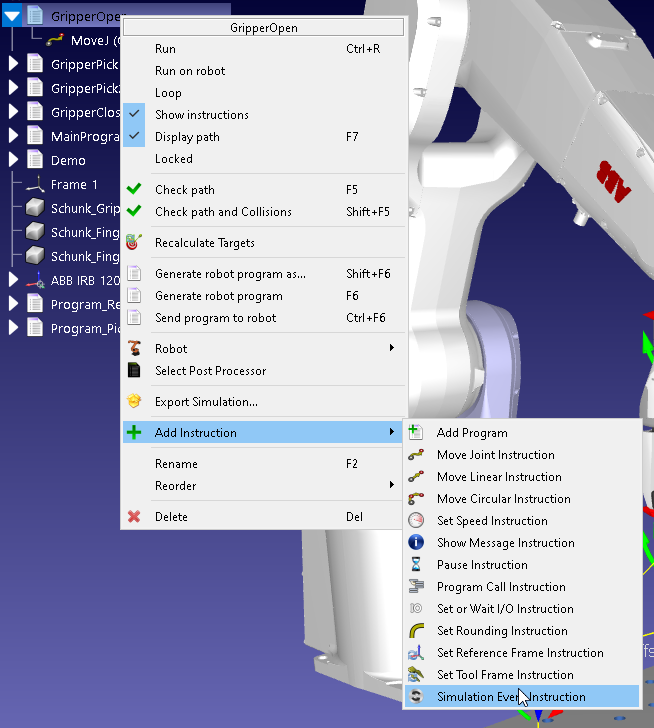
Right Click>Add Instruction>Simulation Event Instruction.

Action>Attach Object.
Attach Object is the operation for the robot to take out something.

Pause Instruction
And then we will insert a pause instruction to make a delay.
500ms Delay is added.

ADD EVENT-Detach Object
As same as the Attach Event,we need to release the box while the robot opens the gripper.
Go to Add instruction>Simulation Even Instruction.
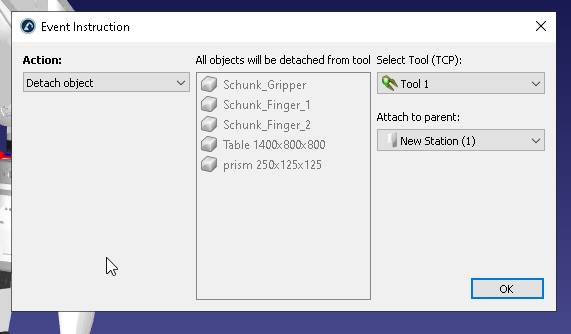
Action>Detach Object.
Select Tool to your Gripper Tool and Attach back the object to the new station.
Finished.

Result
Finally you made a Pick and place application;)!
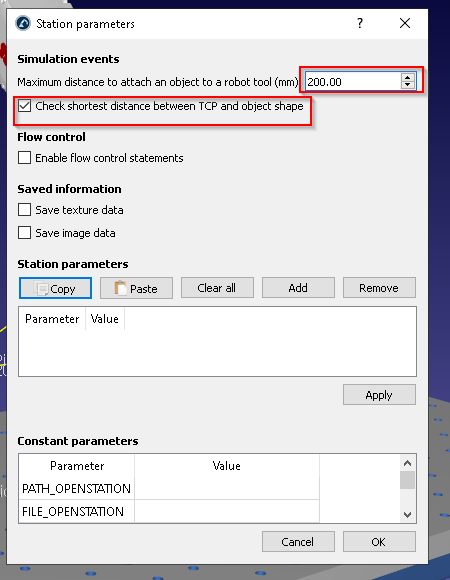
Station parameters
if the pick and place operation is not very smooth, there are some parameters that you can adjust. Go to Station>Station parameter.

Distances to allow the robot to pick an object.