This is a new series of articles and the articles will be developed using the Yokogawa RP70-2L.We start with the OS installation and basic set-up.
Let’s get started!

Download Image
Download the RP70-2L image File from the Link below.
https://myportal.yokogawa.com/s/overview
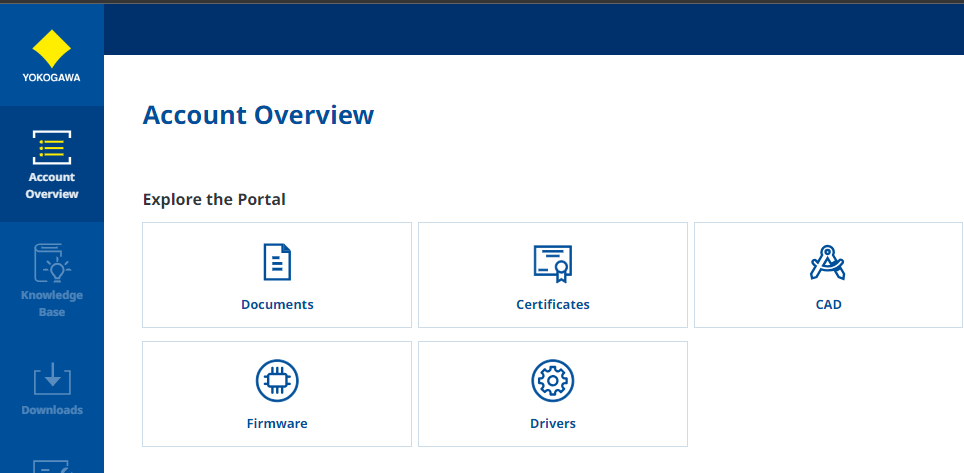
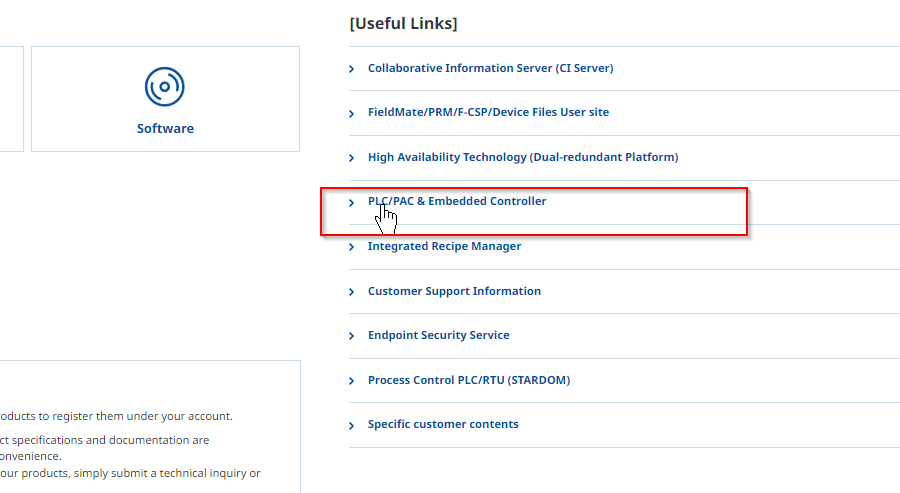
Open Useful Links> PLC/PAC & Embedded Controller.
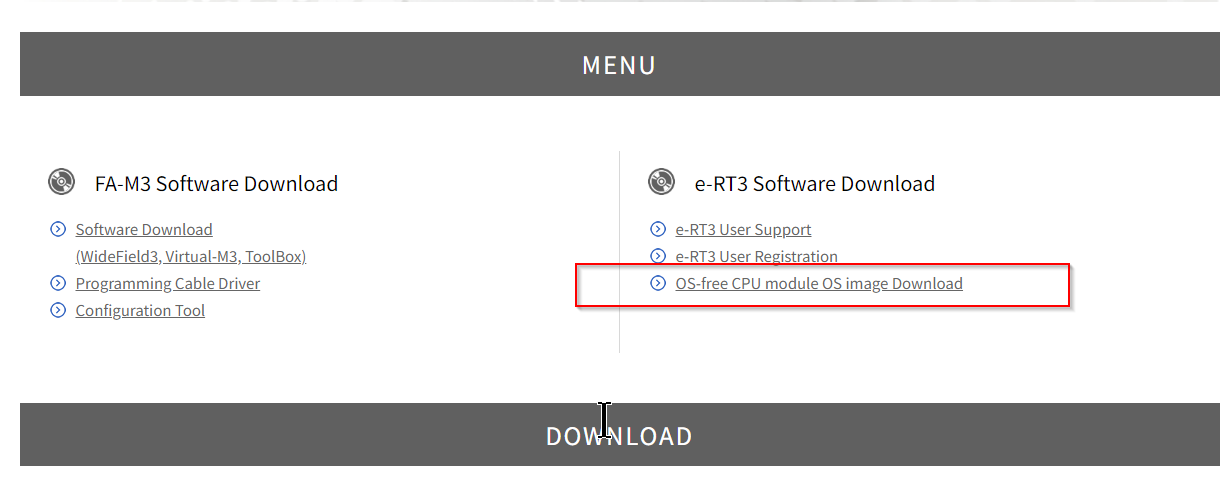
Click OS-free CPU Module OS image Download.
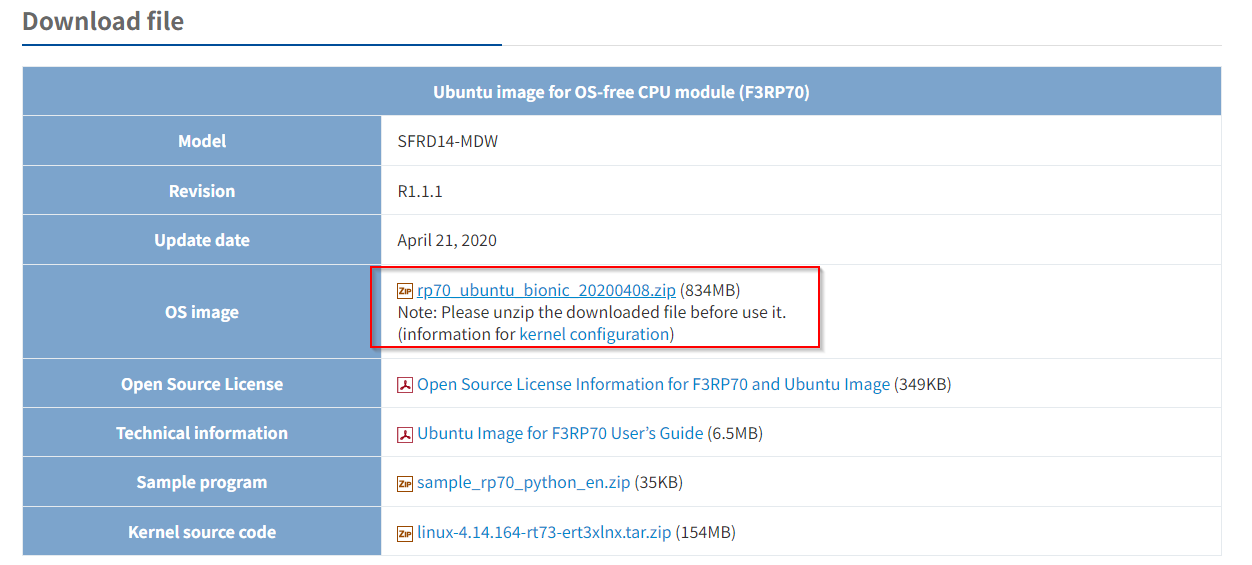
Download the RP70 ImageFile.
Download Rawrite32
Download and install the following Rawrite32 tool to put the OS image File you have just downloaded into the SDCARD.
https://www.netbsd.org/~martin/rawrite32/download.html

Done!
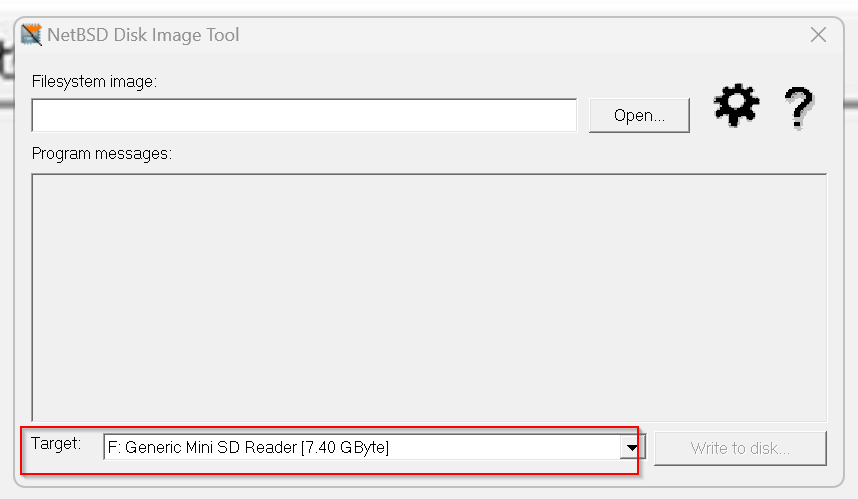
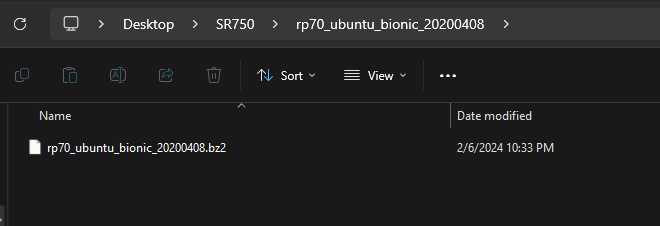
Install OS into SD Card
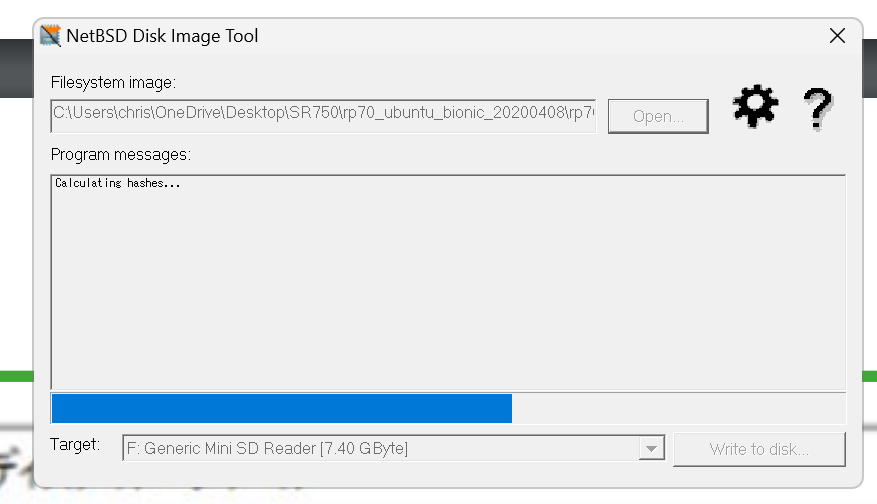
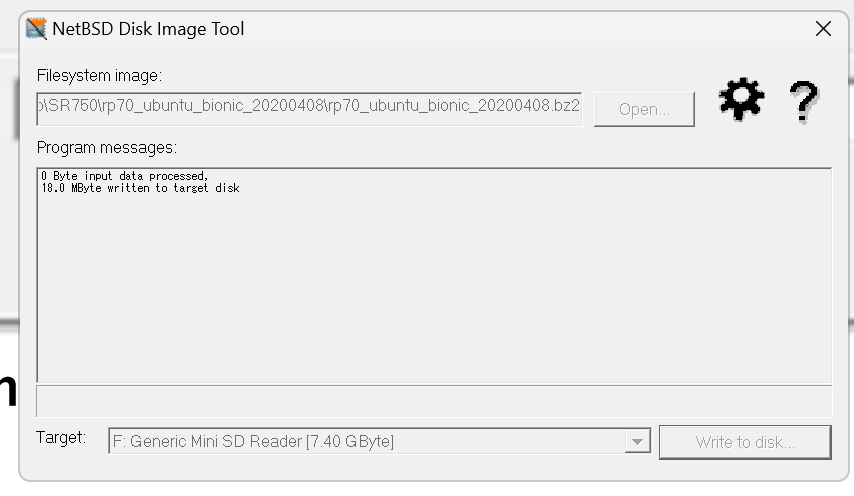
Start the tool that you have just downloaded and set the Drive of the Card-Reader with the Targe inserted into the SD Card.
Click the Open button in the File System Image field.
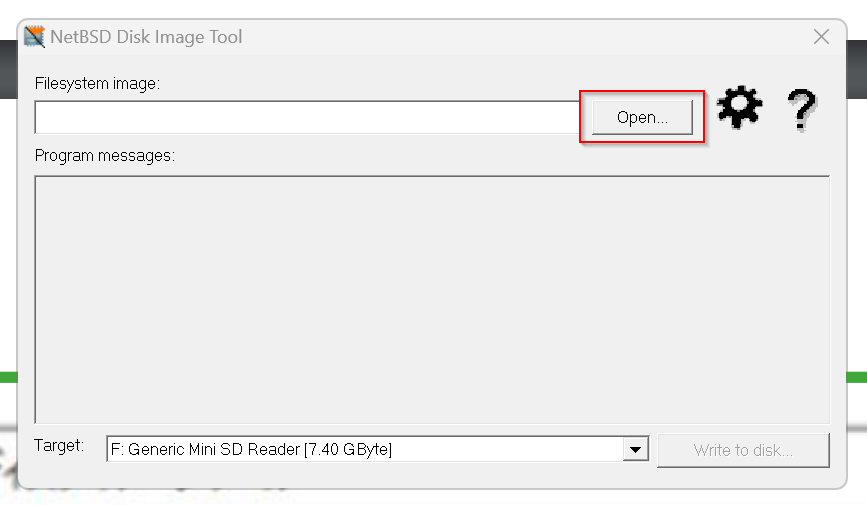
Select File as described earlier.
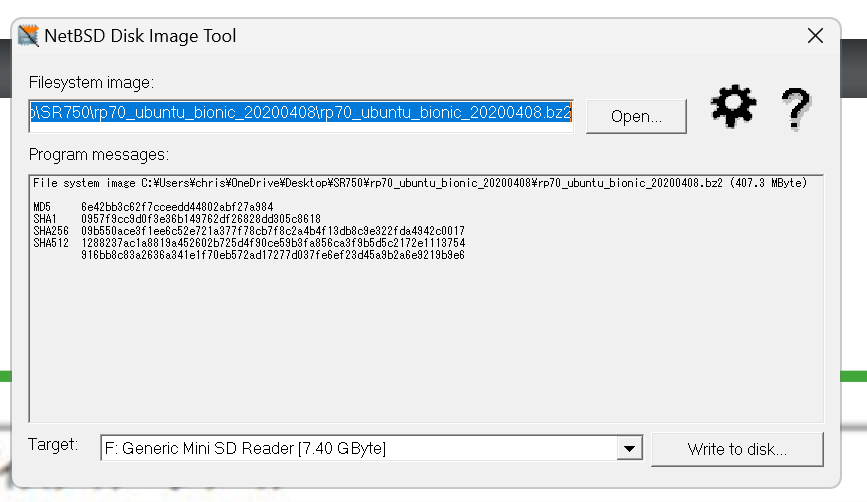
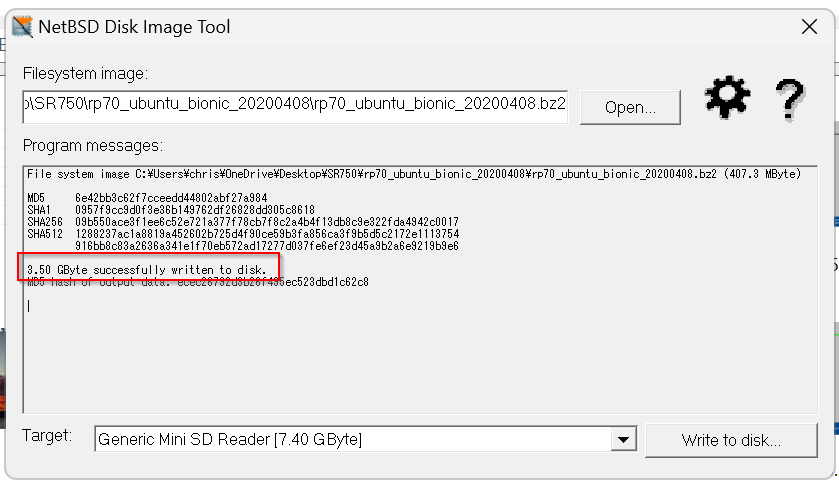
The tool Check File.
Done!
Click Write to disk to write the image file to the SD card.
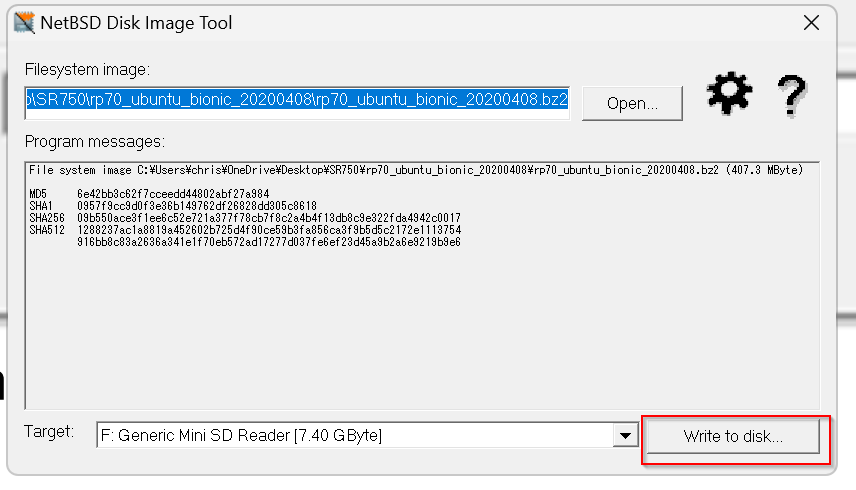
Proceed with Yes.
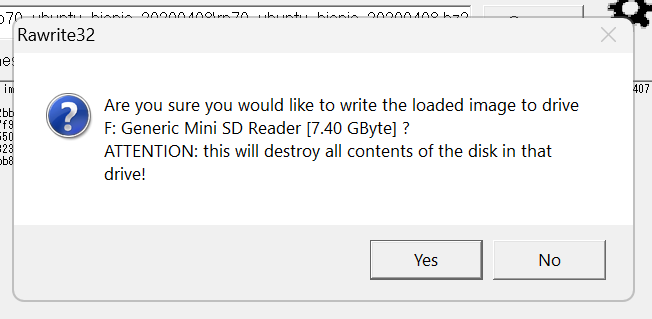
Just a second..
Done!
Insert SD Card
Insert the SD Card into the SD Card Slot of the RP70-2L.
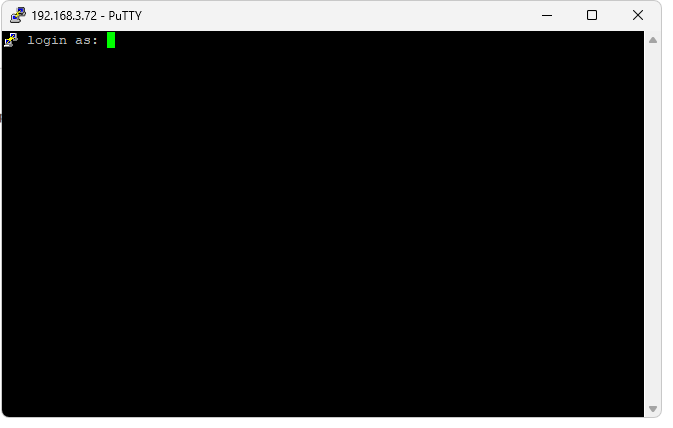
Login
The Default IP of the RP70-2L is 192.168.3.72, so use Putty to access the CPU’s SSH Server.
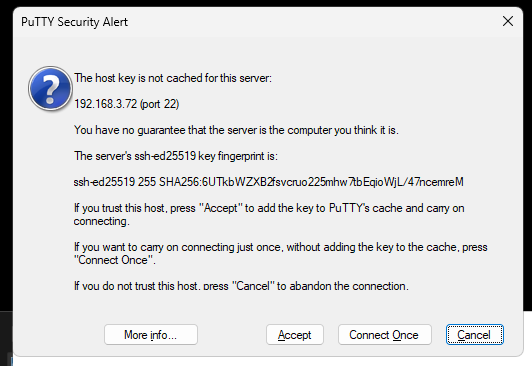
Done!
For root user:.
name:root
root_ert3
For general User:.
ert3
user_ert3
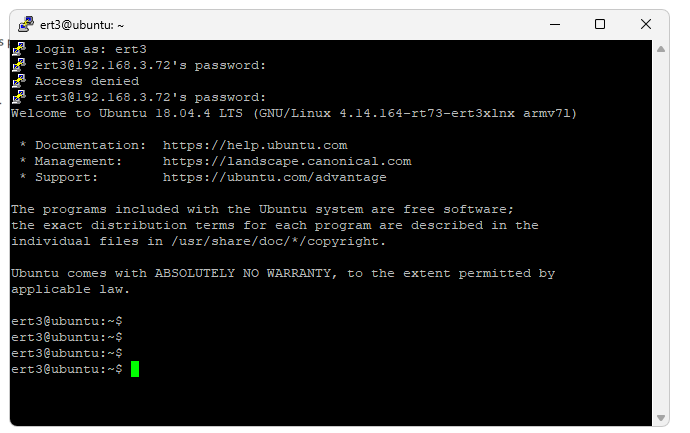
Login as root
The root User can be logged in with the su command.
