This is a new series of articles in which we will examine various aspects of the Pixsys web panel in Italy. First, we will introduce the initial setup after the OPEN-BOX is opened.
let’s enjoy the FA.
Foreword
Thank you from the bottom of my heart for visiting my technical blog and YouTube channel.
We are currently running the “Takahashi Chris” radio show with Full-san (full@桜 八重 (@fulhause) / X) which I deliver every Wednesday night.
Sharing, not hoarding, technical knowledge
We publish technical information related to factory production technology and control systems for free, through blogs and videos.
With the belief that “knowledge should be accessible to everyone,” we share practical know-how and real-world troubleshooting cases from our own field experience.
The reason we keep it all free is simple: to help reduce the number of people who struggle because they simply didn’t know.
If you’ve ever thought:
- “Will this PLC and device combination actually work?”
- “I’m having trouble with EtherCAT communication—can someone test it?”
- “I want to try this remote I/O, but we don’t have the testing environment in-house…”
Feel free to reach out!If lending equipment or sharing your configuration is possible, we’re happy to verify it and share the results through articles and videos.
(We can keep company/product names anonymous if requested.)
How can you support us?
Currently, our activities are nearly all unpaid, but creating articles and videos takes time and a proper testing environment.If you’d like to support us in continuing and expanding this content, your kind help would mean a lot.
Membership (Support our radio show)
This support plan is designed to enhance radio with Mr Full.
https://note.com/fulhause/membership/join
Amazon Gift List (equipment & books for content production)
Lists equipment and books required for content creation.
https://www.amazon.co.jp/hz/wishlist/ls/H7W3RRD7C5QG?ref_=wl_share
Patreon (Support articles & video creation)
Your small monthly support will help to improve the environment for writing and verifying articles.
https://www.patreon.com/user?u=84249391
Paypal
A little help goes a long way.
https://paypal.me/soup01threes?country.x=JP&locale.x=ja_JP
Just trying to share things that could’ve helped someone—if only they’d known.
Your support helps make knowledge sharing more open and sustainable.
Thank you for being with us.
soup01threes*gmail.com
Technical knowledge shouldn’t be kept to ourselves.
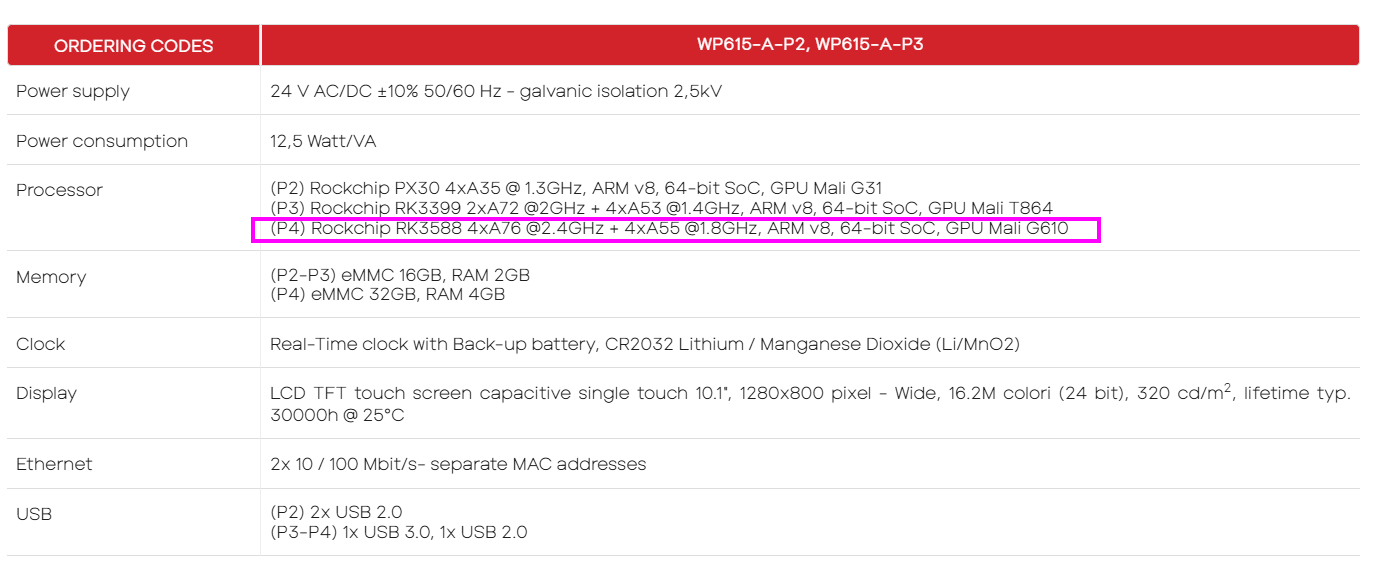
WP615?
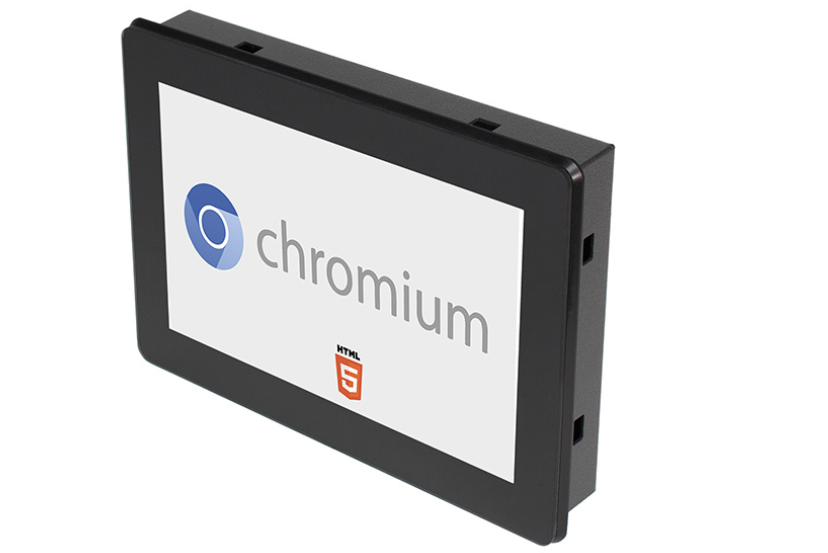
Pixsys’ WP615 is a web panel based on the Linux Yocto operating system that can complement devices with integrated web server functionality and HTML 5 page display. It is conceived as the ideal interface for Codesys and TwinCAT PLCs.
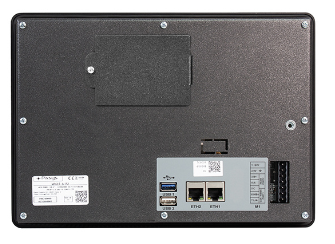
And connectivity includes two 10/100 Ethernet ports with separate MAC addresses to allow separation of the machine/plant network from the enterprise network (ERP, Industry 4.0, Internet access).
The WP615-A-p4 will be used in this article.
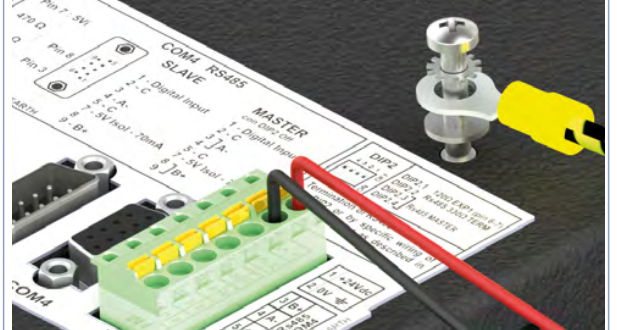
initialization
Wire 24vDC and ground to the Connector behind the panel.
Touch Calibration
When you first start up the panel, you will need to perform a touch calibration. Touch the POINT displayed on the screen.
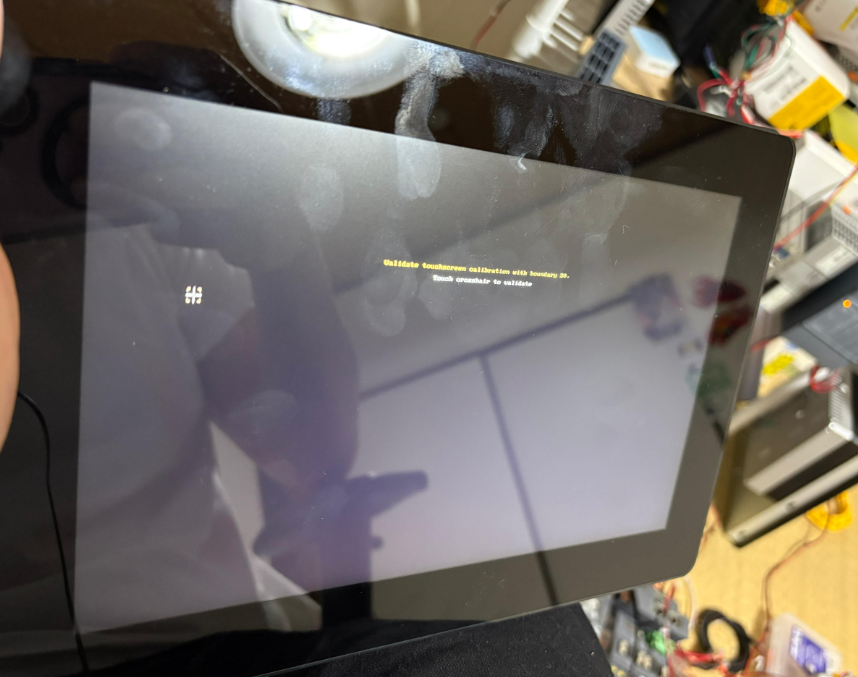
The system is then rebooted.
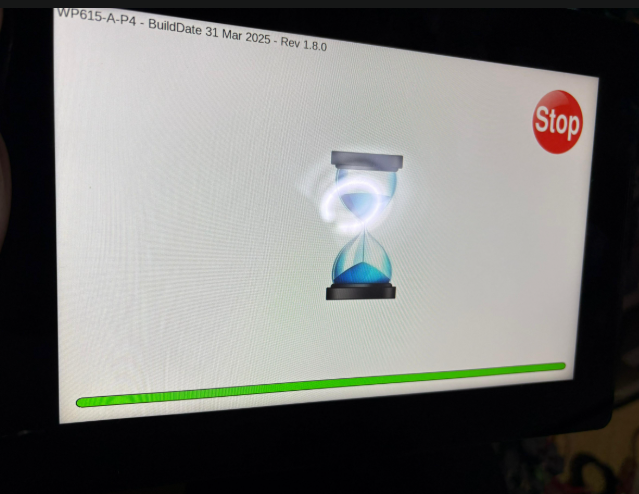
The WP615 configuration screen will appear and the Default username and password will be:
- User:user
- Password:123456
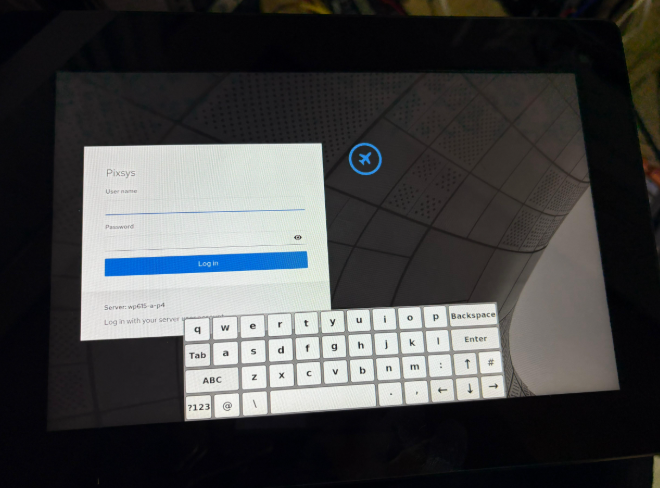
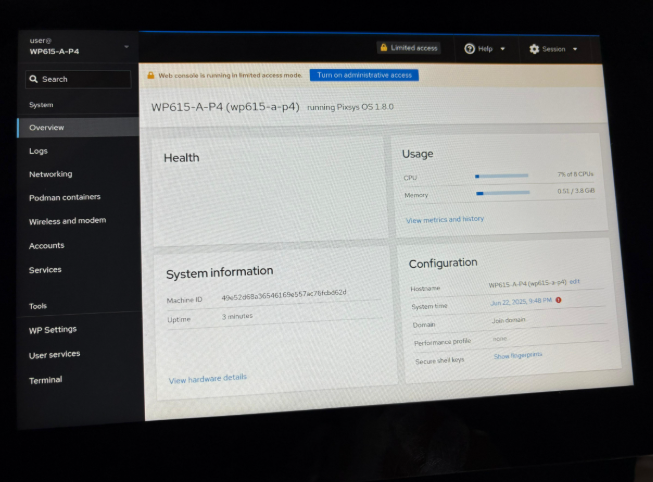
Done!We Login to WP615 Dashboard.
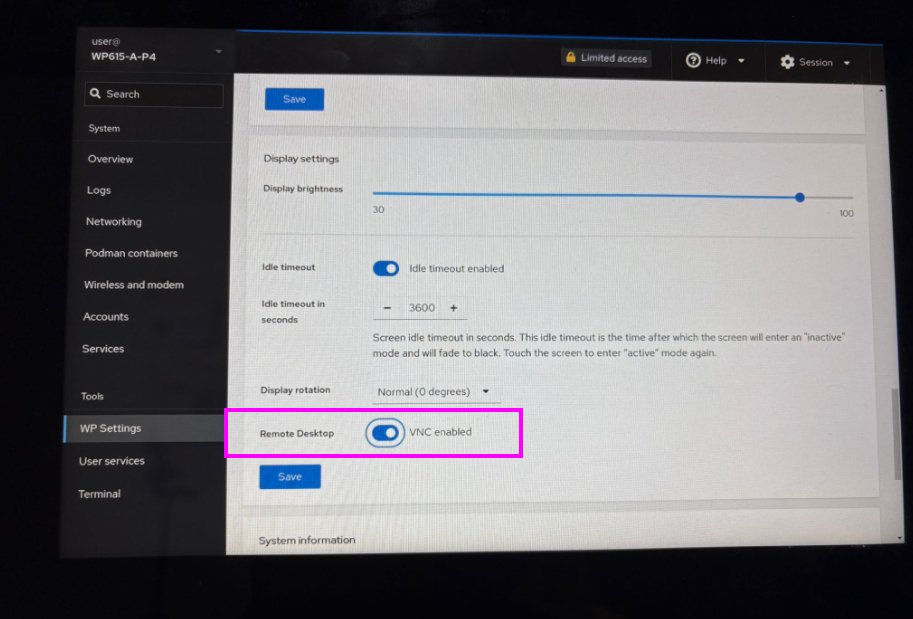
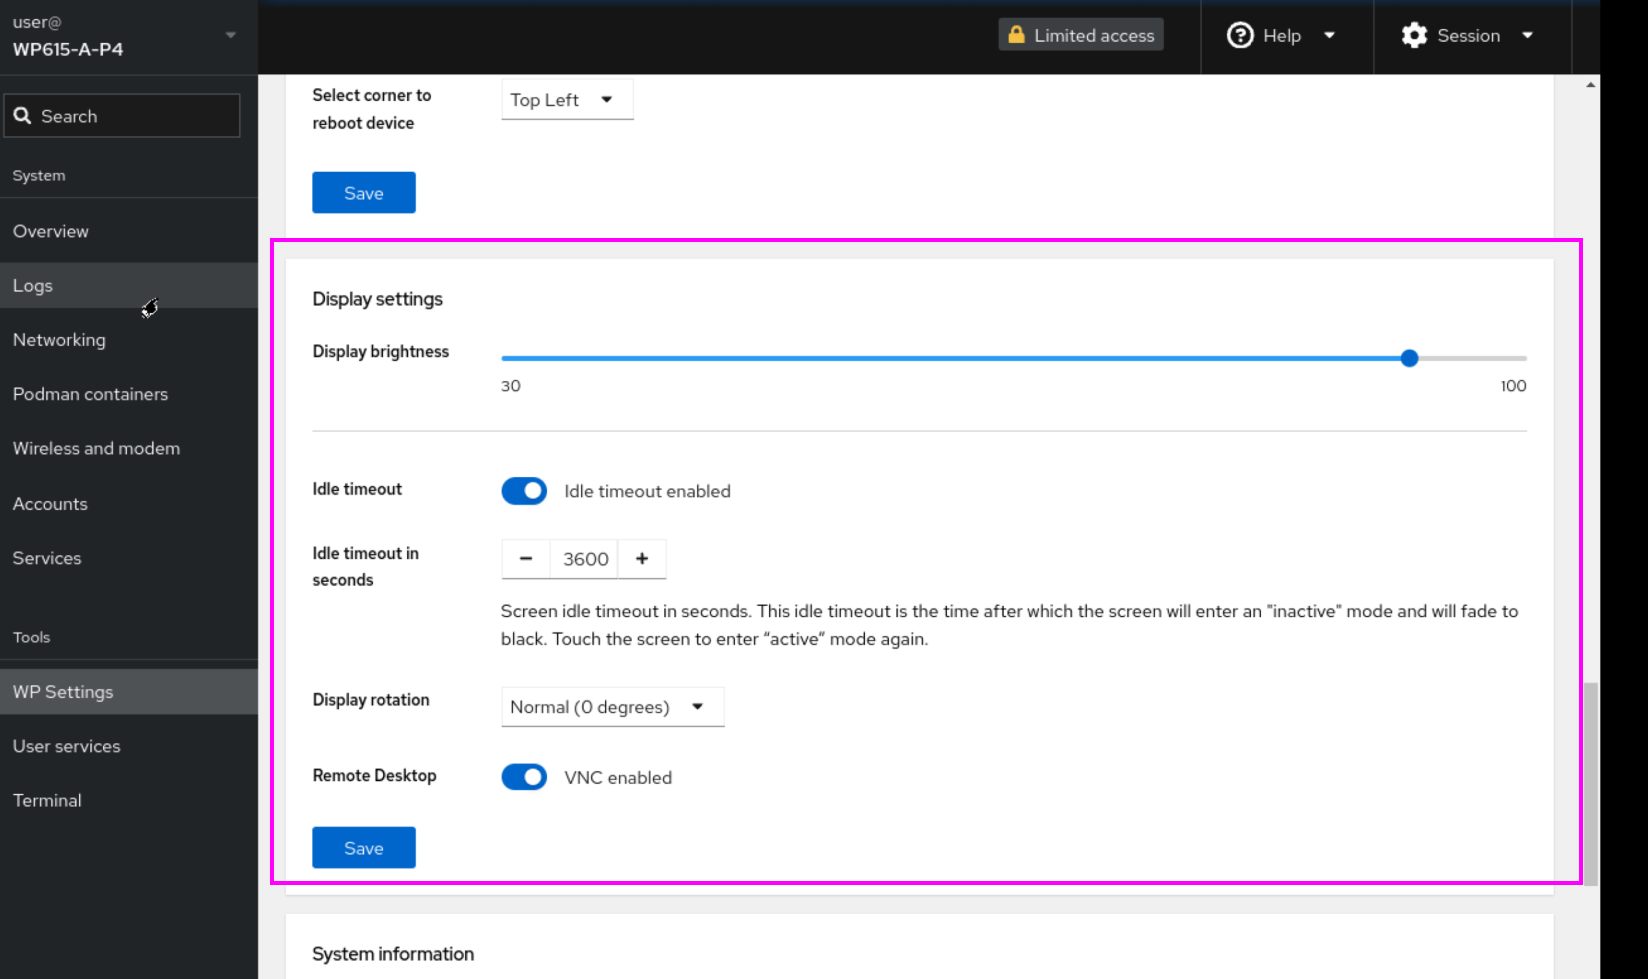
Enabling VNC Server
Please enable the WP Settings>Remote Desktop option so that you can access WP615 from your own PC.
Display Style
You can change the display style of WP615 to Light or Dark in Session>Style.
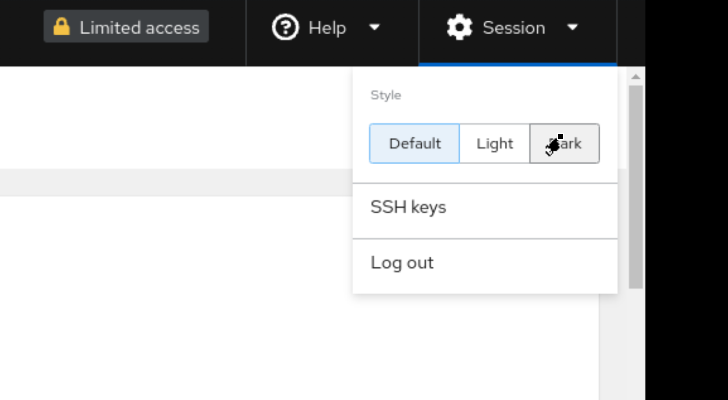
This is the screen style of WP615 in Dark MODE.
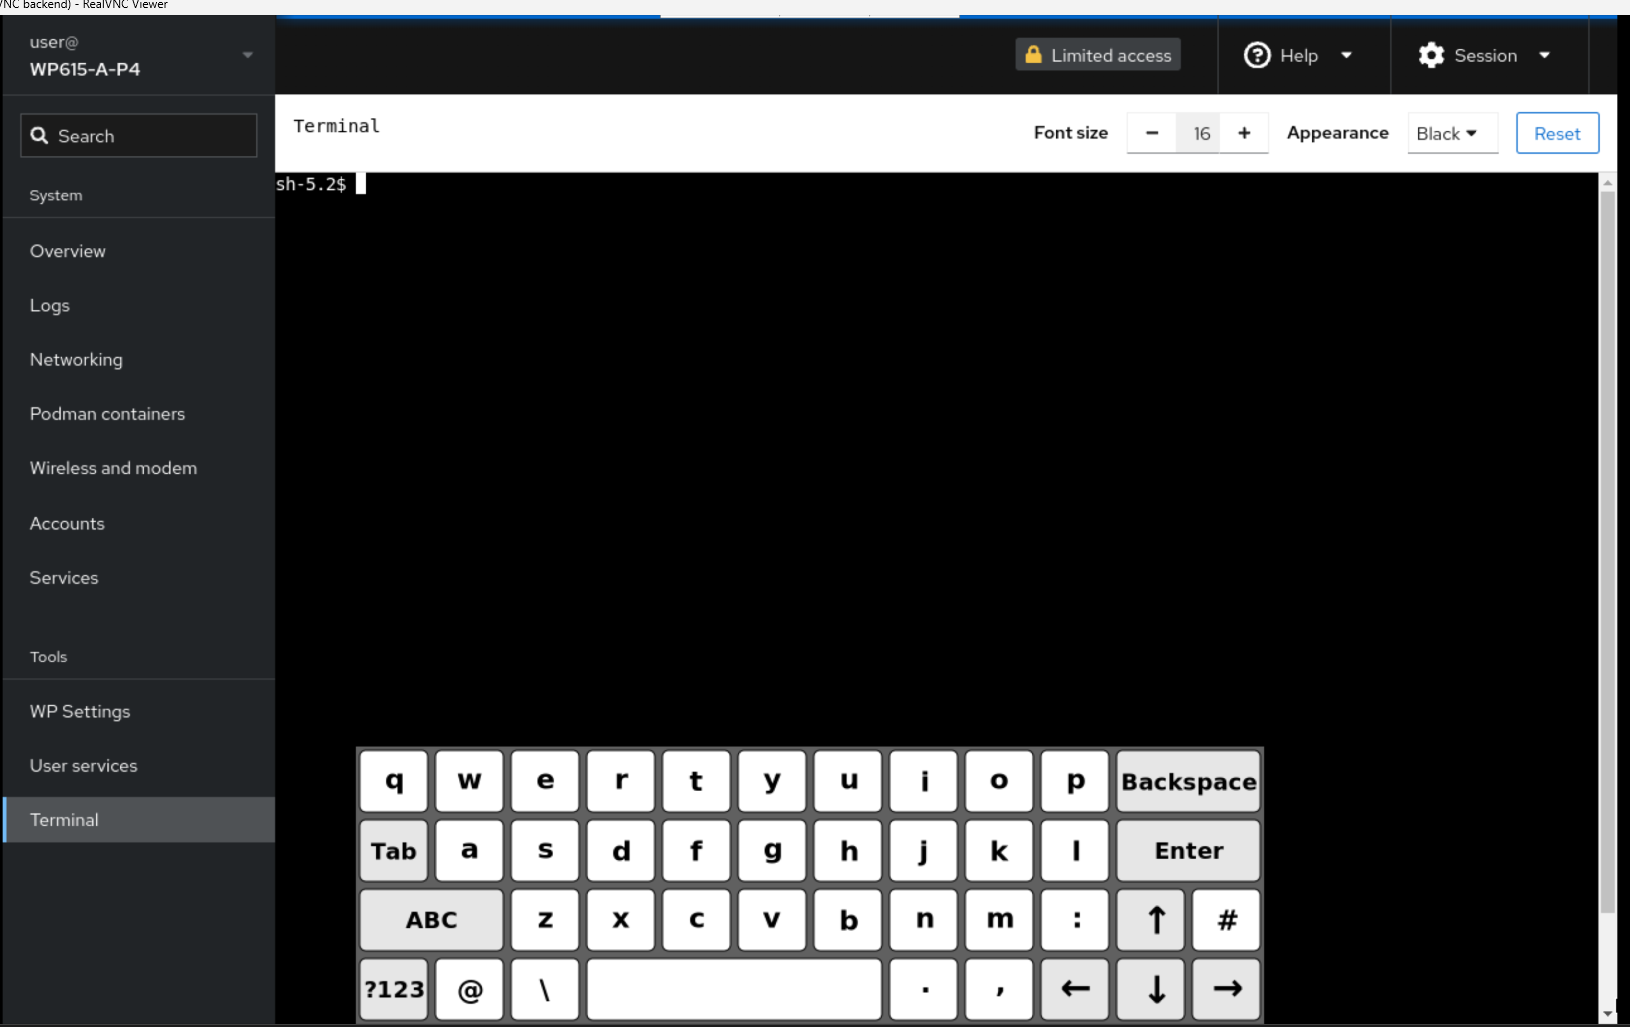
terminal
Terminal operation is also possible directly from the WP615 Dashboard.
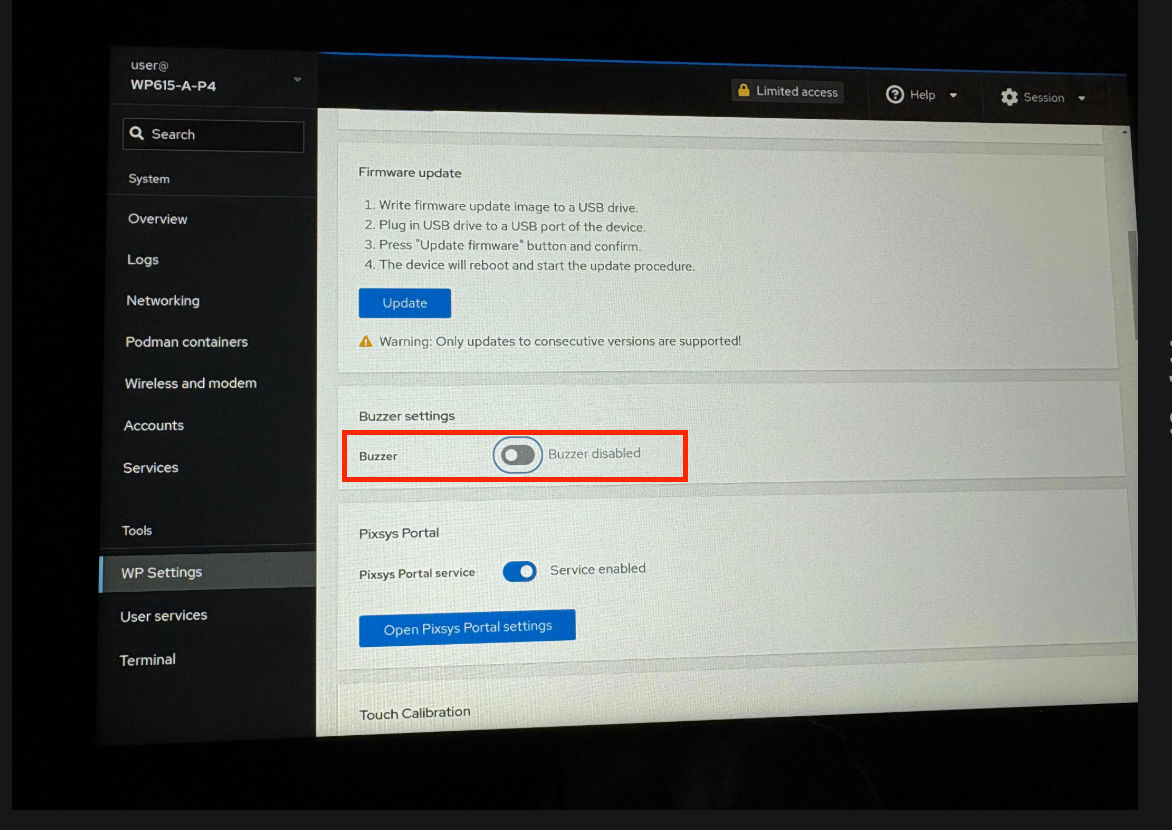
Buzzer enable/disable
You can also disable WP Settings>Buzzer>Buzzer as I work in the middle of the night and the Buzzer is a bit noisy.
Display Options
Screen brightness, standby time, etc. can also be set from WP Settings>Display Settings.
Network Configuration
Configure the Ethernet interface settings for the WP615 main unit. Click Networking from the Menu on the left. From this Networking screen, you can check the current network settings, load, and other information.
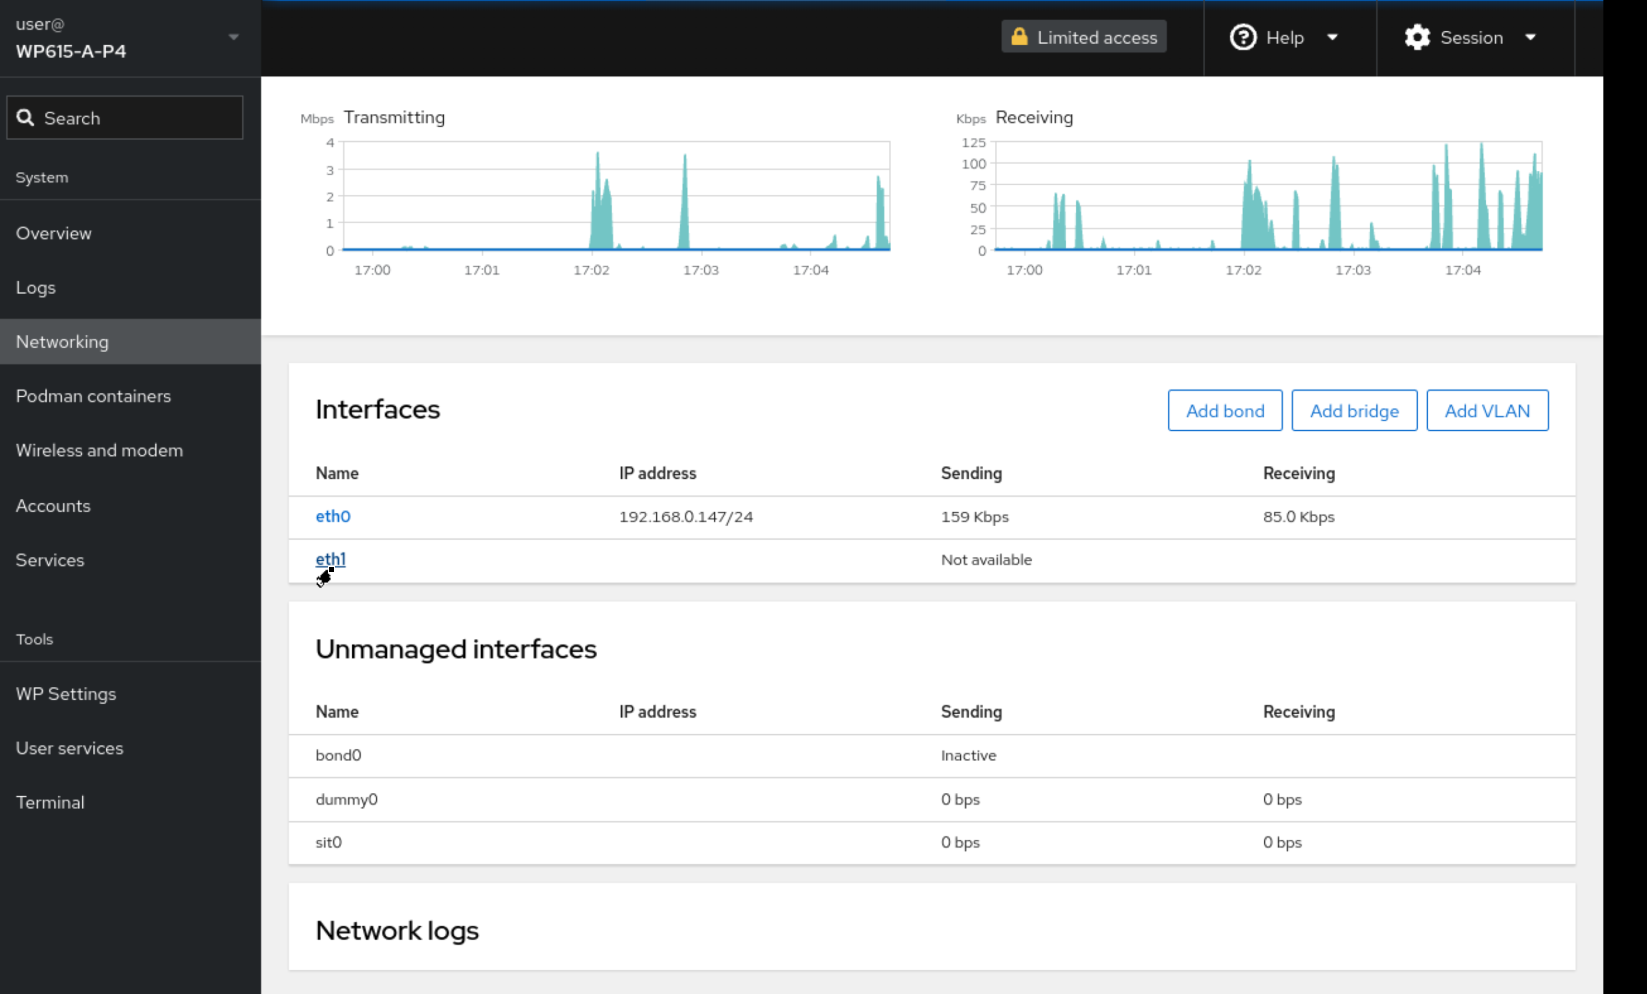
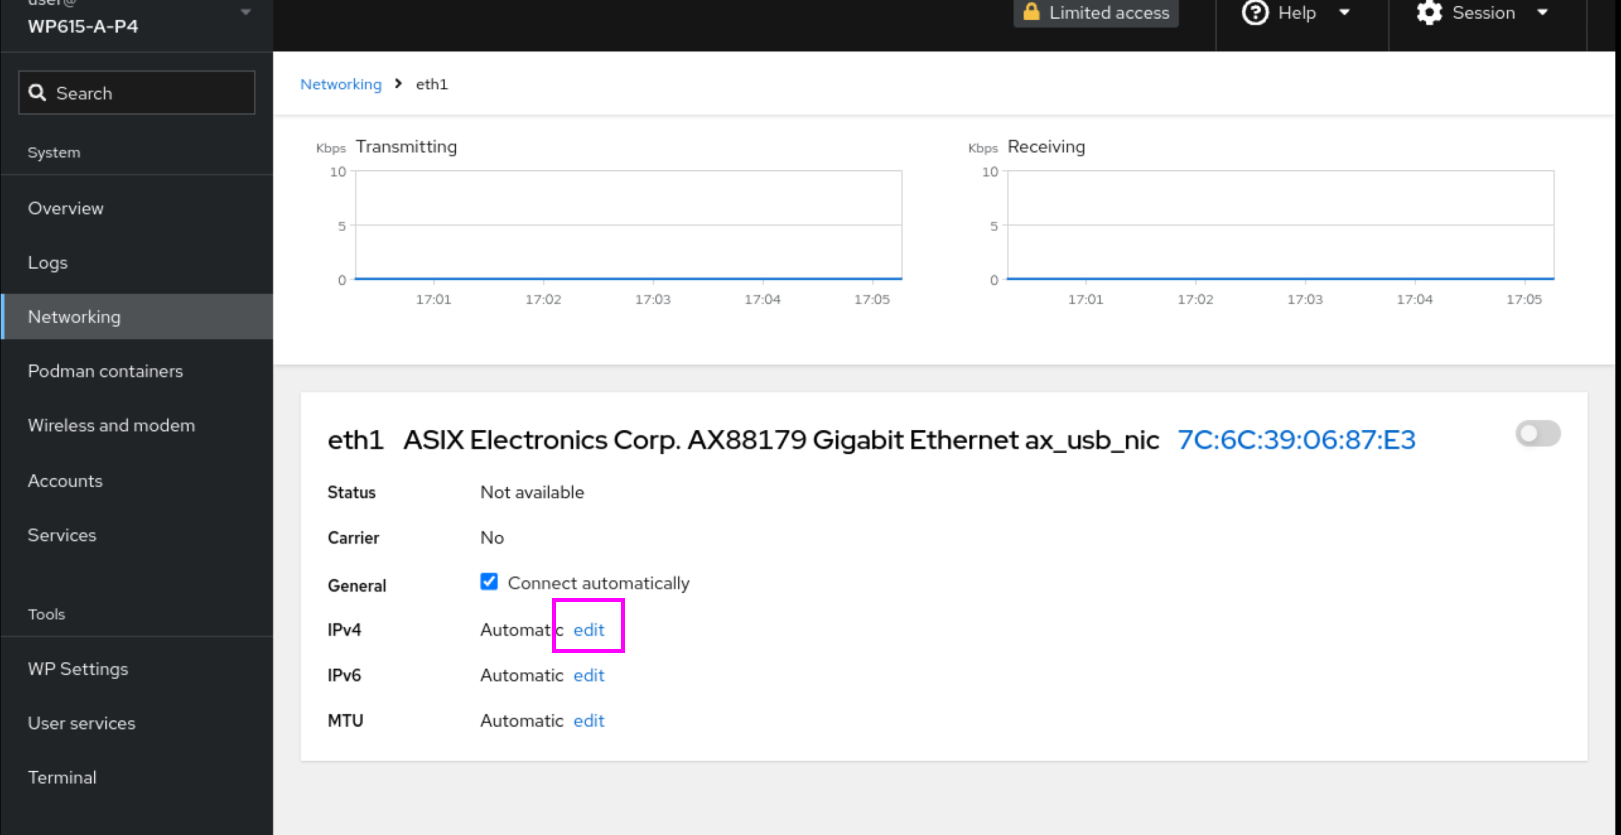
Then click the Edit button next to IPV4 for the Ethernet interface you want to configure.
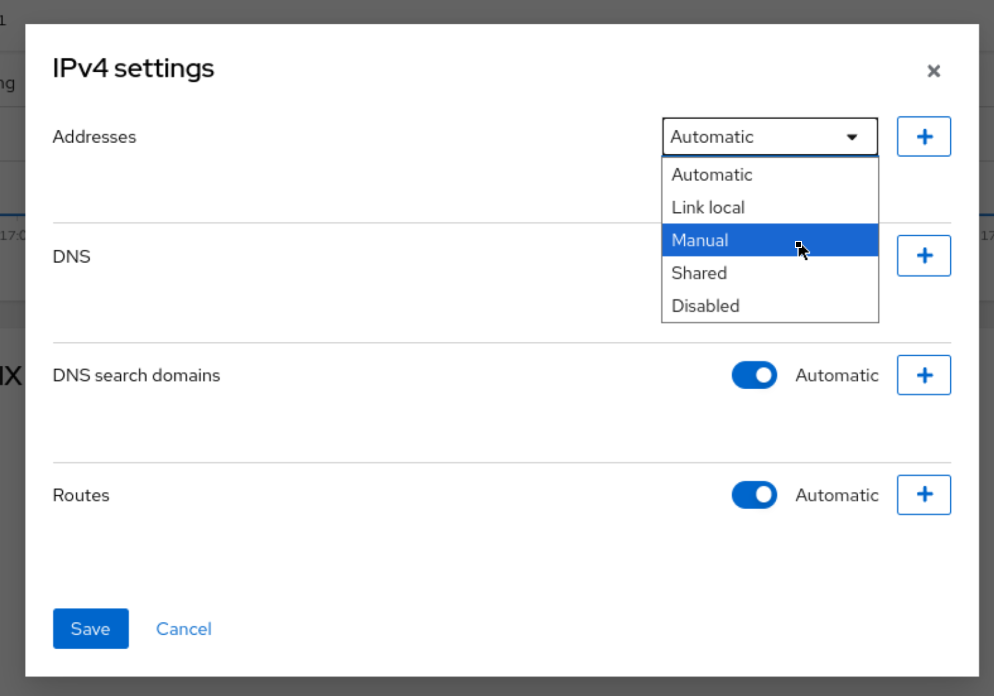
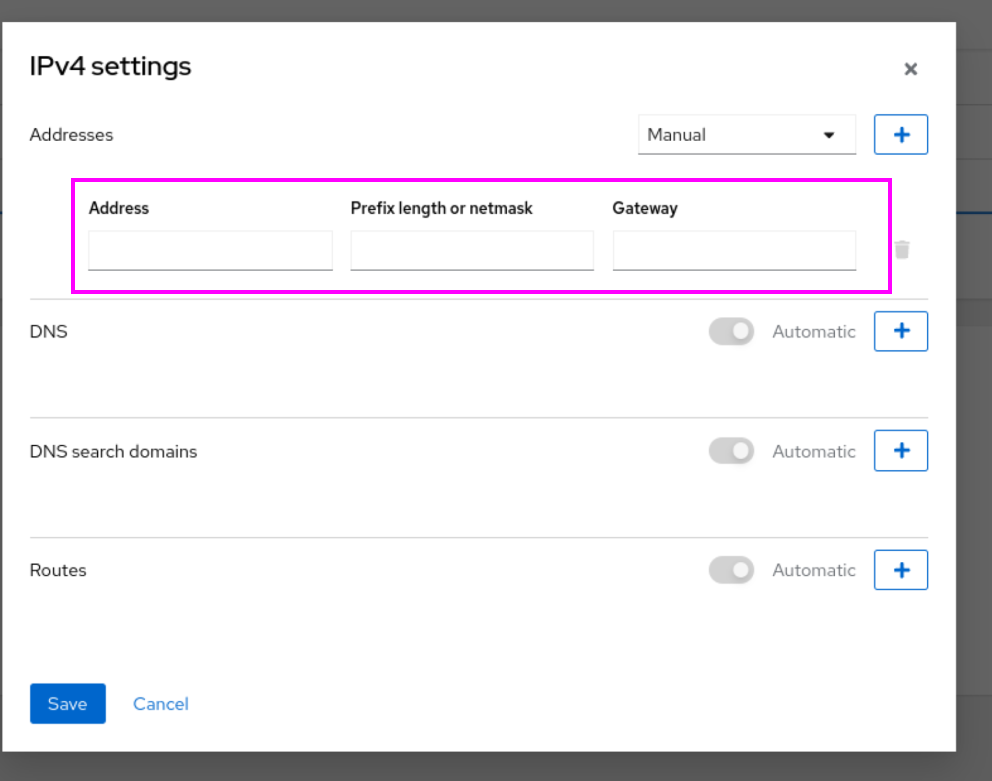
Set Address to Manual for a fixed IP.
Set it up according to your actual application.
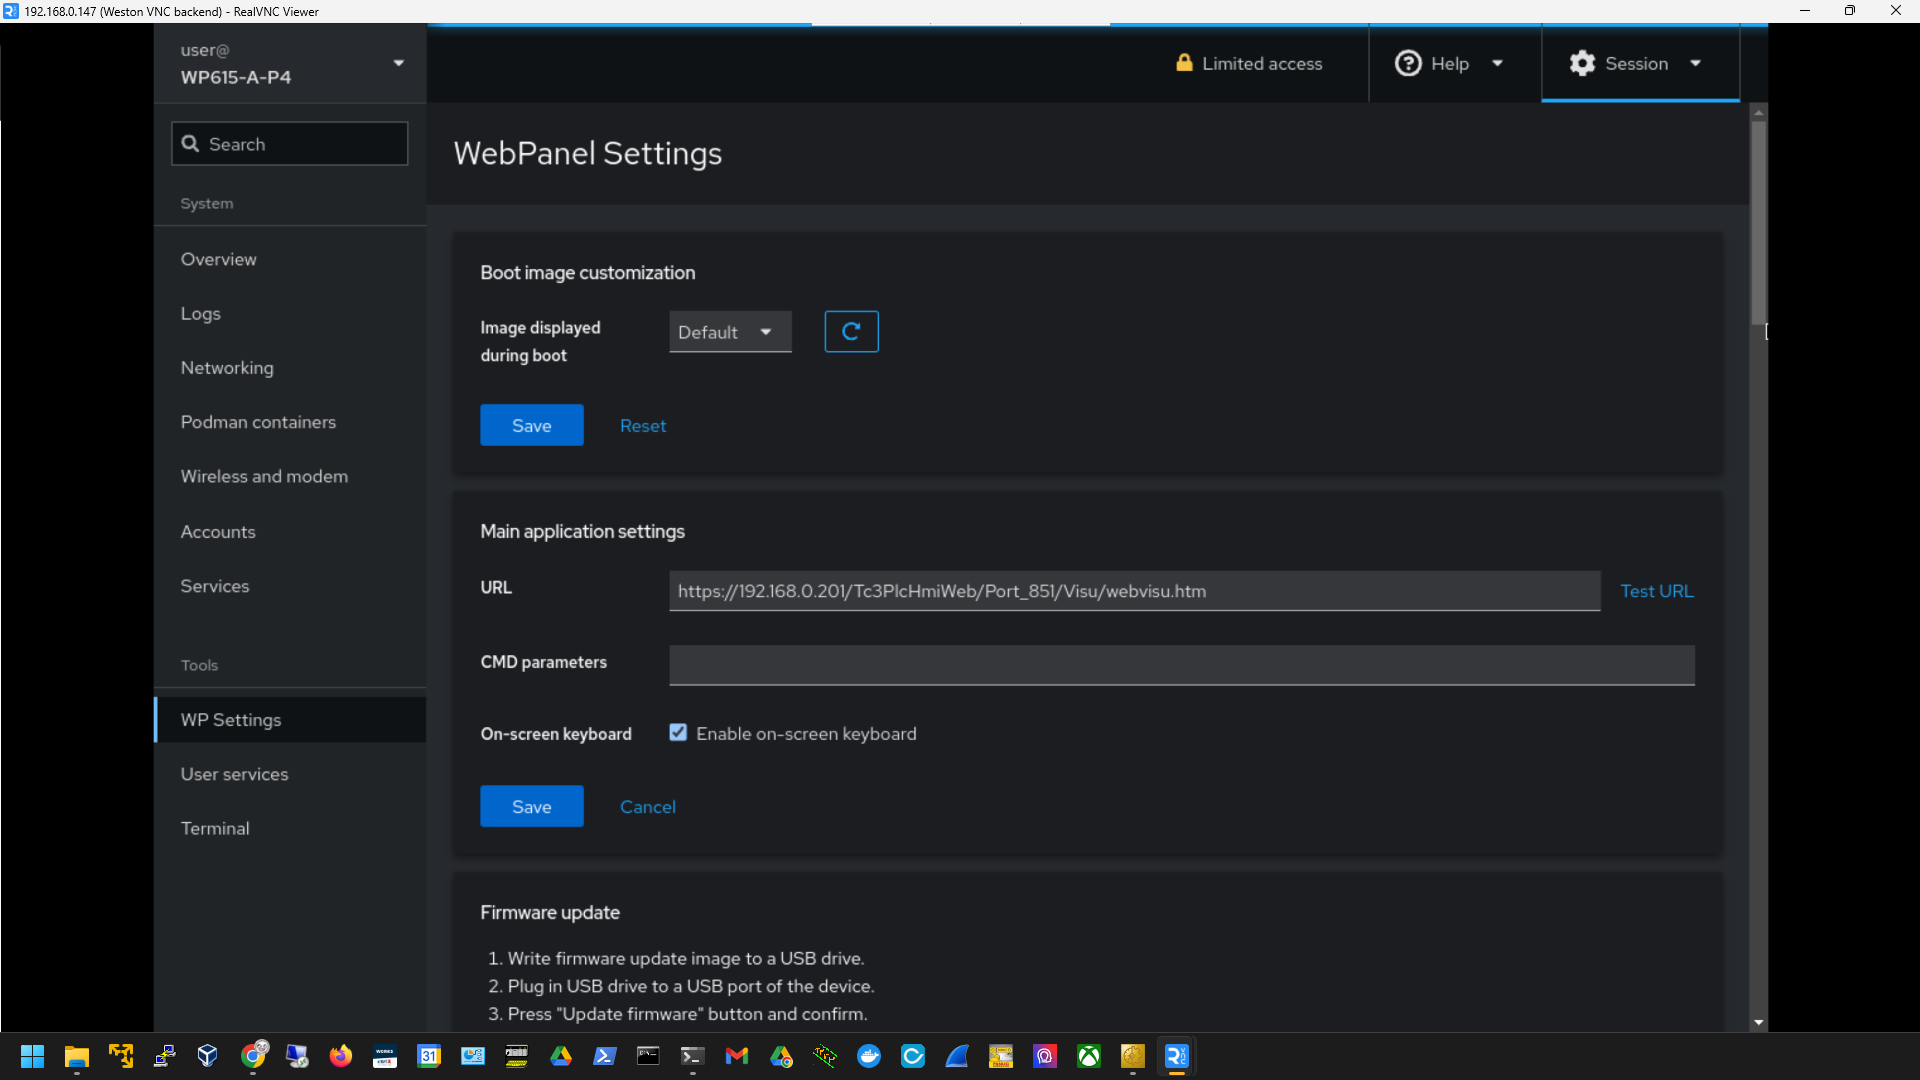
URL
Set the WEB Server you want to display in the WP615 Web Panel under WP Settings>URL.
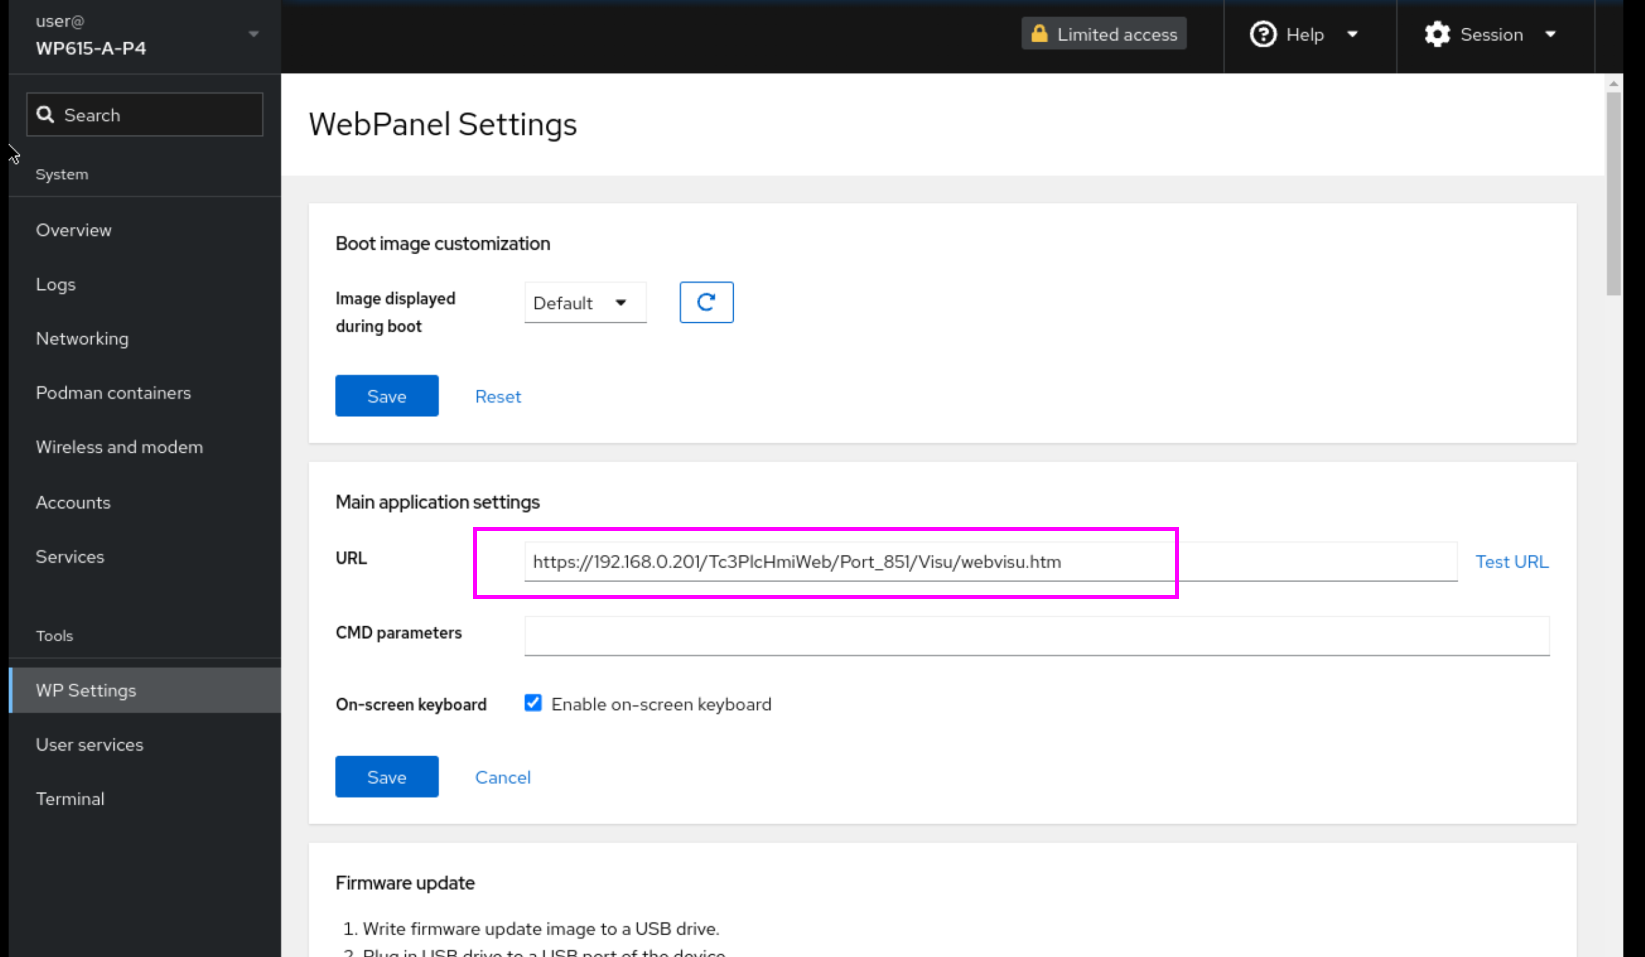
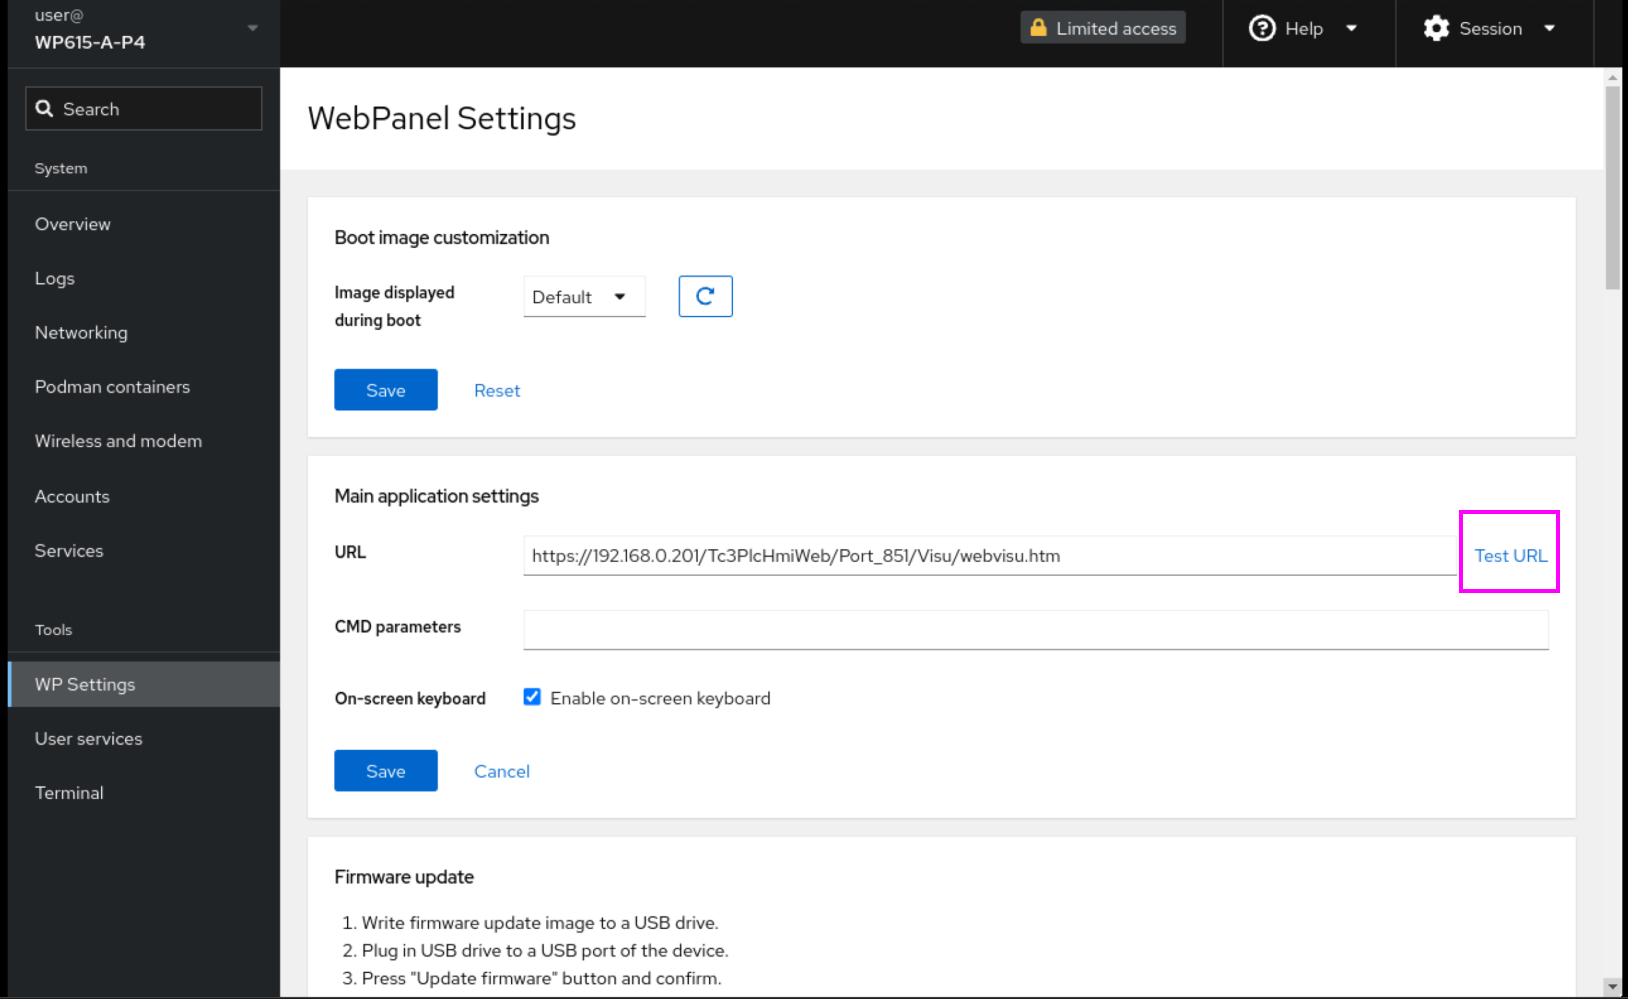
You can then click on the Test URL button next to it to check if the WP615 WEB panel can currently access the corresponding URL.
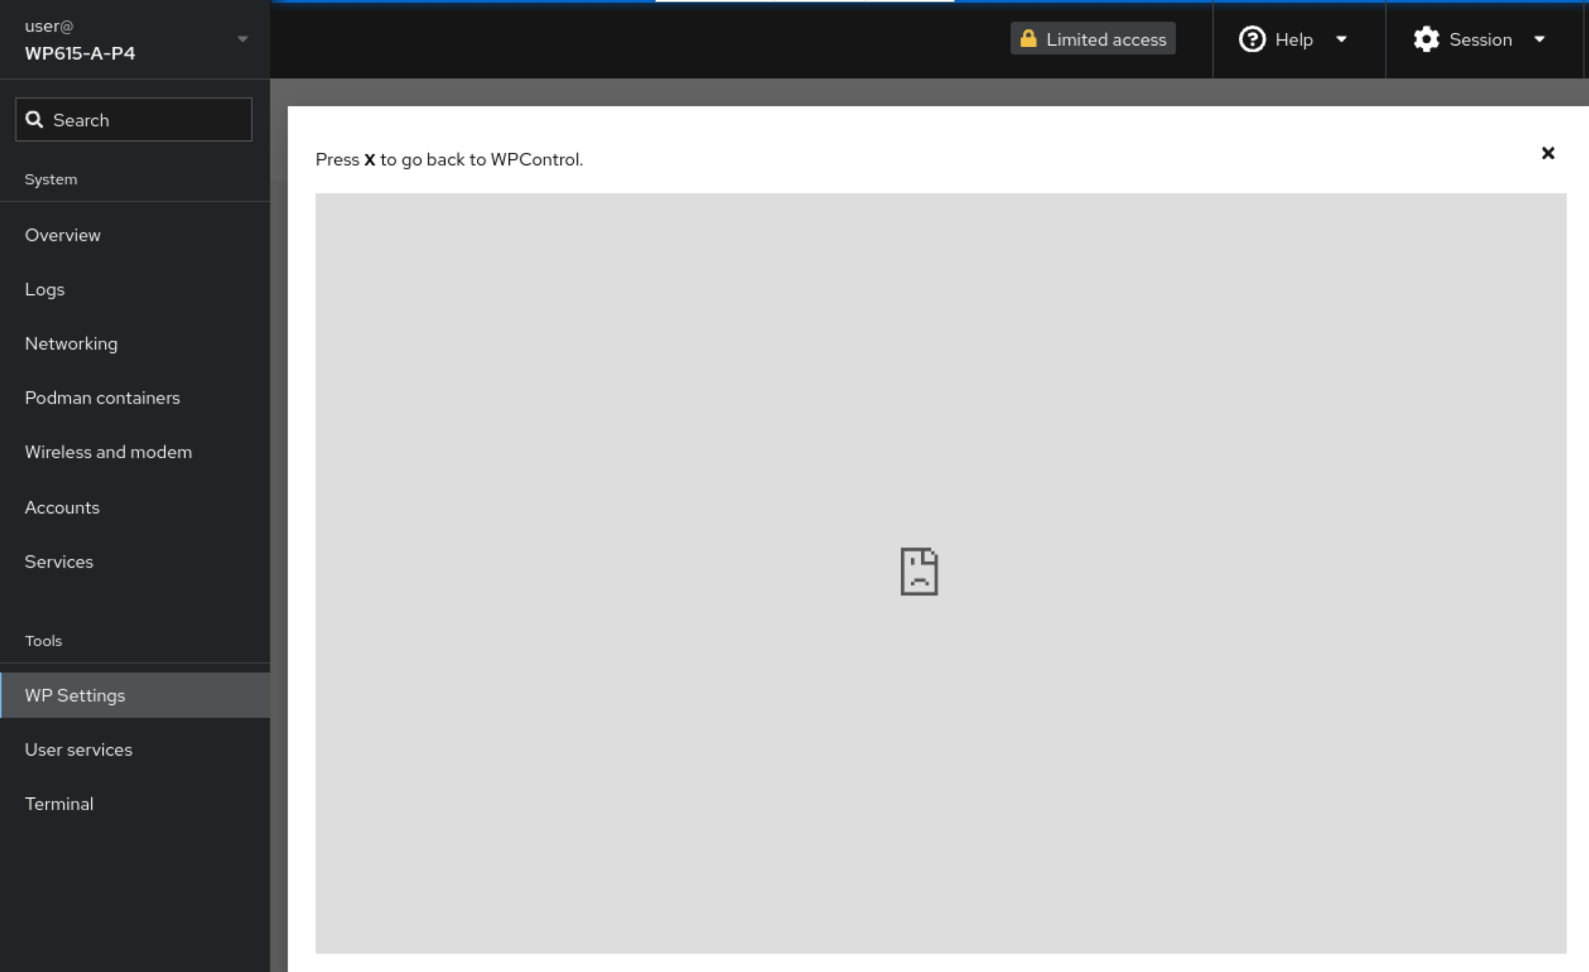
The screen will look like the one below.
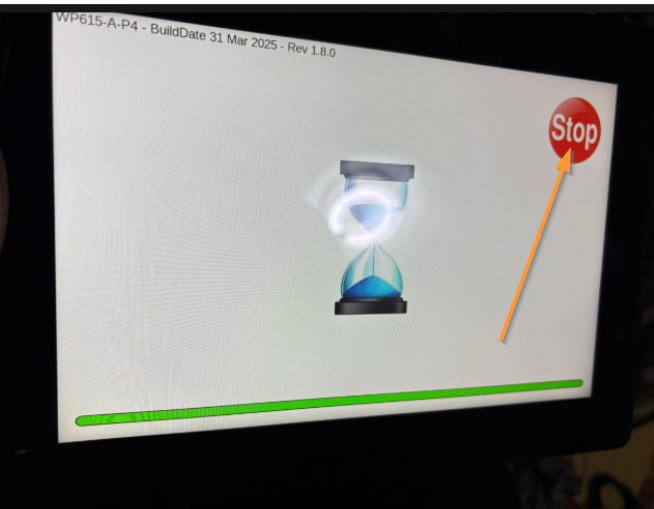
Note that once the URL is set, the initial launch screen of the WP615 Web panel will no longer display the Settings Dashboard, so when launching WP615 Web, you can access the Settings Dashboard by long pressing the STOP button on the right.
restart
Then, to restart the WP615 Web Panel, press and hold the upper left corner of the screen.