This is a new series where we’ll explore various verifications using the Australian-developed Virtual PLC JasperNode. We’ll start with the Runtime installation and a Hello World project! Also, the board used in this article is the Seeed Studio R1025.
Alright, let’s enjoy FA!

Foreword
Thank you from the bottom of my heart for visiting my technical blog and YouTube channel.
We are currently running the “Takahashi Chris” radio show with Full-san (full@桜 八重 (@fulhause) / X) which I deliver every Wednesday night.
Sharing, not hoarding, technical knowledge
We publish technical information related to factory production technology and control systems for free, through blogs and videos.
With the belief that “knowledge should be accessible to everyone,” we share practical know-how and real-world troubleshooting cases from our own field experience.
The reason we keep it all free is simple: to help reduce the number of people who struggle because they simply didn’t know.
If you’ve ever thought:
- “Will this PLC and device combination actually work?”
- “I’m having trouble with EtherCAT communication—can someone test it?”
- “I want to try this remote I/O, but we don’t have the testing environment in-house…”
Feel free to reach out!If lending equipment or sharing your configuration is possible, we’re happy to verify it and share the results through articles and videos.
(We can keep company/product names anonymous if requested.)
How can you support us?
Currently, our activities are nearly all unpaid, but creating articles and videos takes time and a proper testing environment.If you’d like to support us in continuing and expanding this content, your kind help would mean a lot.
Membership (Support our radio show)
This support plan is designed to enhance radio with Mr Full.
https://note.com/fulhause/membership/join
Amazon Gift List (equipment & books for content production)
Lists equipment and books required for content creation.
https://www.amazon.co.jp/hz/wishlist/ls/H7W3RRD7C5QG?ref_=wl_share
Patreon (Support articles & video creation)
Your small monthly support will help to improve the environment for writing and verifying articles.
https://www.patreon.com/user?u=84249391
Paypal
A little help goes a long way.
https://paypal.me/soup01threes?country.x=JP&locale.x=ja_JP
Just trying to share things that could’ve helped someone—if only they’d known.
Your support helps make knowledge sharing more open and sustainable.
Thank you for being with us.
soup01threes*gmail.com
Technical knowledge shouldn’t be kept to ourselves.
What is JasperNode?
JasperNode, based in Newcastle, Australia, is a company founded by a team of software and control engineers who have tackled these challenges for many years. They aim to apply proven principles derived from modern software engineering and AI applications to the unique domain of industrial control.

JasperNode Technical Architecture
(Controller Runtime)
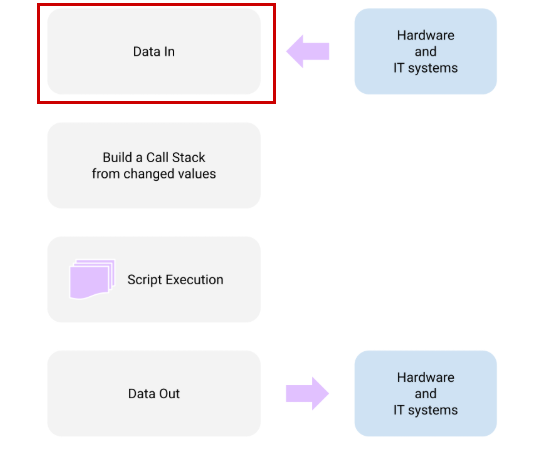
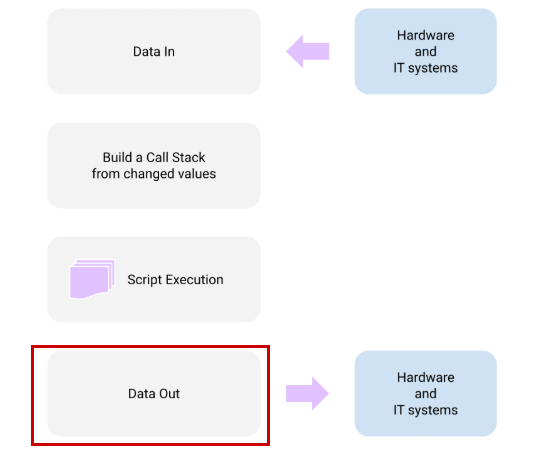
JasperNode replaces the indiscriminate cyclic scanning of conventional PLCs. It employs a deterministic, event-driven “main cycle” consisting of four phases:
Data entry
Reads all values from external hardware/IT systems.
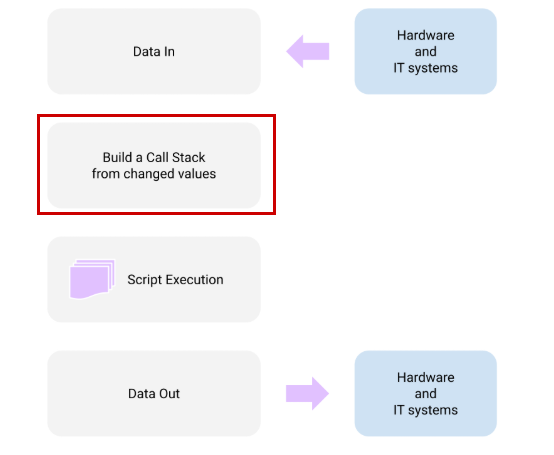
Event Preparation
Identifies only tags whose values have been changed.
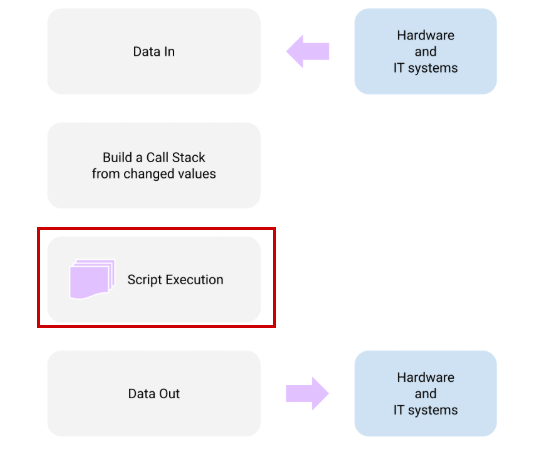
Script execution
It executes only scripts triggered by changes to those specific values.
Data Output
Write all output values in a single batch.
logic language
The control logic is written and executed in JavaScript.
Basic Principles (Atomic Tag Control)
Variables (“tags”) can only be modified by the single script assigned to them. This rule eliminates the common bug where multiple program parts write to the same variable.
Core Component
Separated from the UI and AI chat, it runs in an independent thread (worker).
Tag Engine
A persistent publish/subscribe system that manages all tags and values and triggers script execution.
Connector Manager
Manage all data input/output (I/O) between OT hardware and IT systems.
Script Manager
Responsible for the development, execution, and version control of logic.
Version control
All logic scripts and their modifications are stored within the local database, providing a complete change history and rollback functionality.
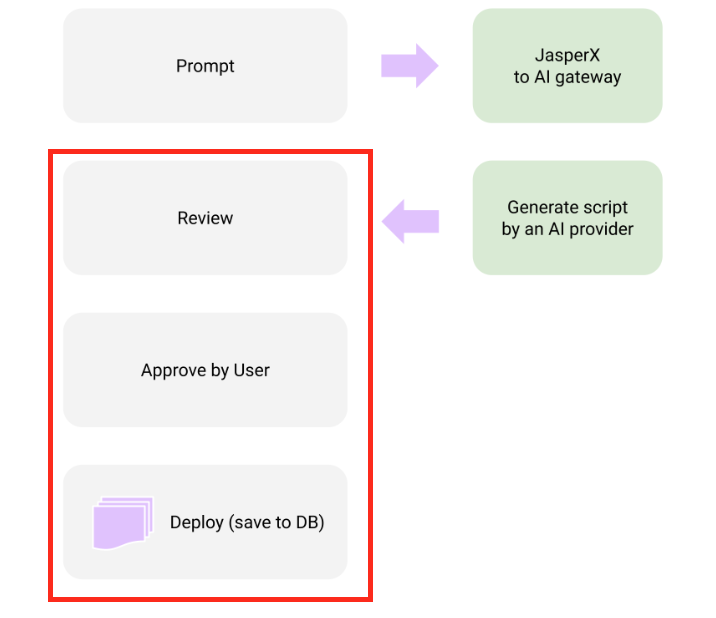
AI Agent Integration
The primary role of the AI agent is to convert natural language prompts from human users into executable JavaScript control logic, create and modify tags, and configure connectors.
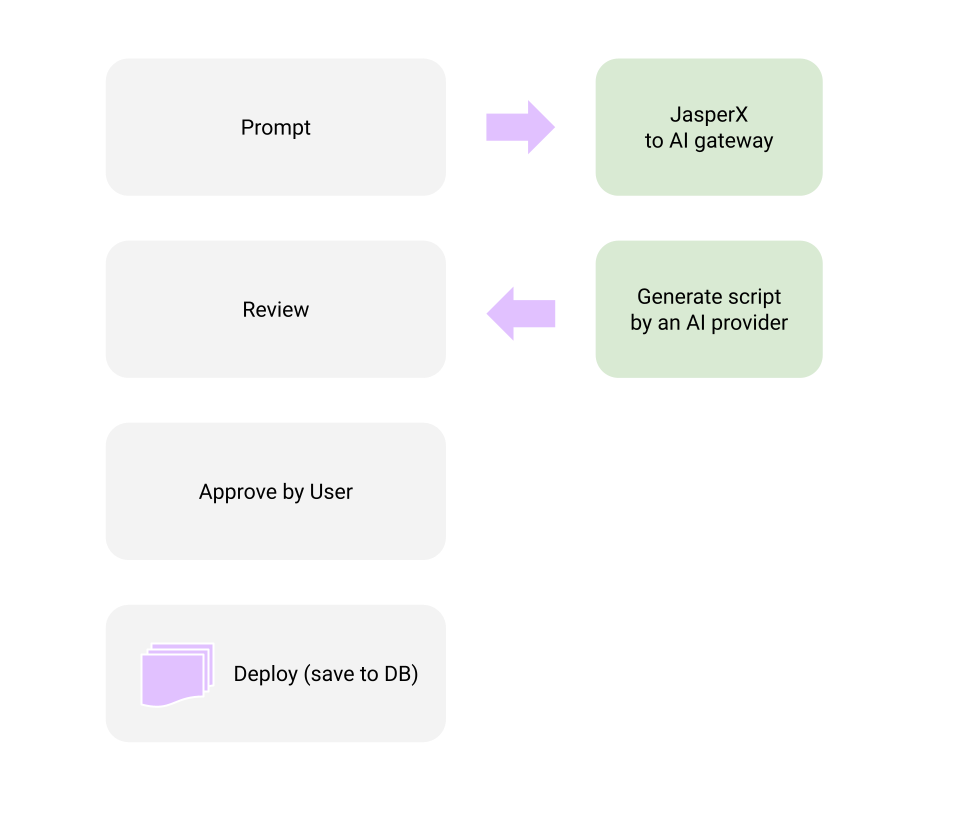
Prompt
Users input natural language commands to generate logic or create connectors to the on-site JasperNode software.
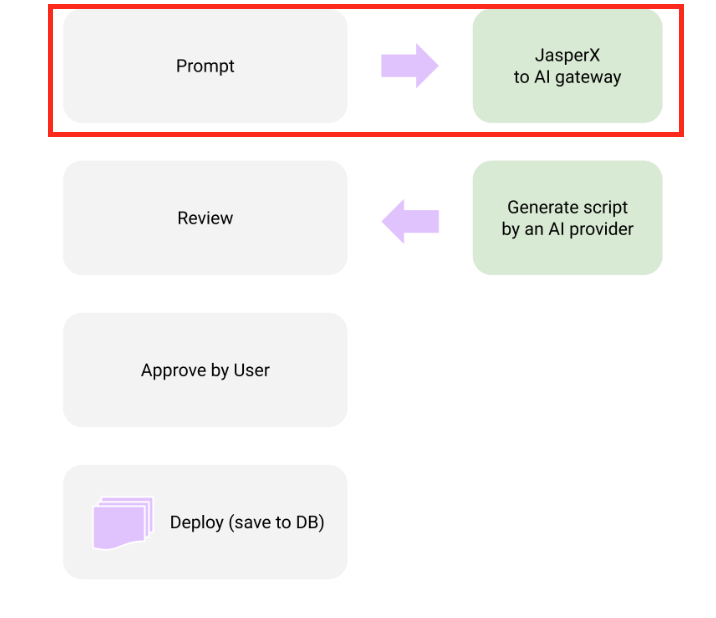
Contextualisation and Generation (on JasperX)
The prompt is securely sent to JasperX, where essential system context is added. The AI agent generates all components required for the task, including necessary connector settings, new tags (variables), and JavaScript control logic.
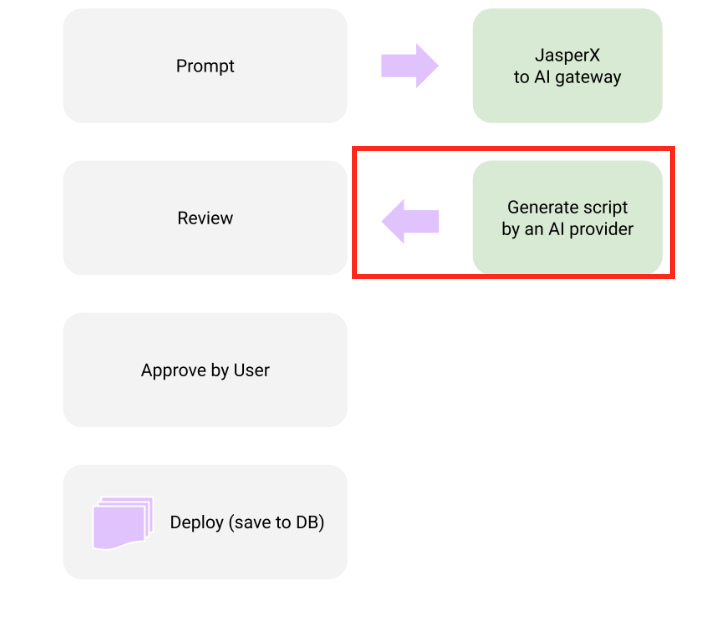
Review and Deployment
The generated code and configuration are returned to the user. As the human-in-the-loop, the user can review and approve items (critical tasks) before deployment to the production system.
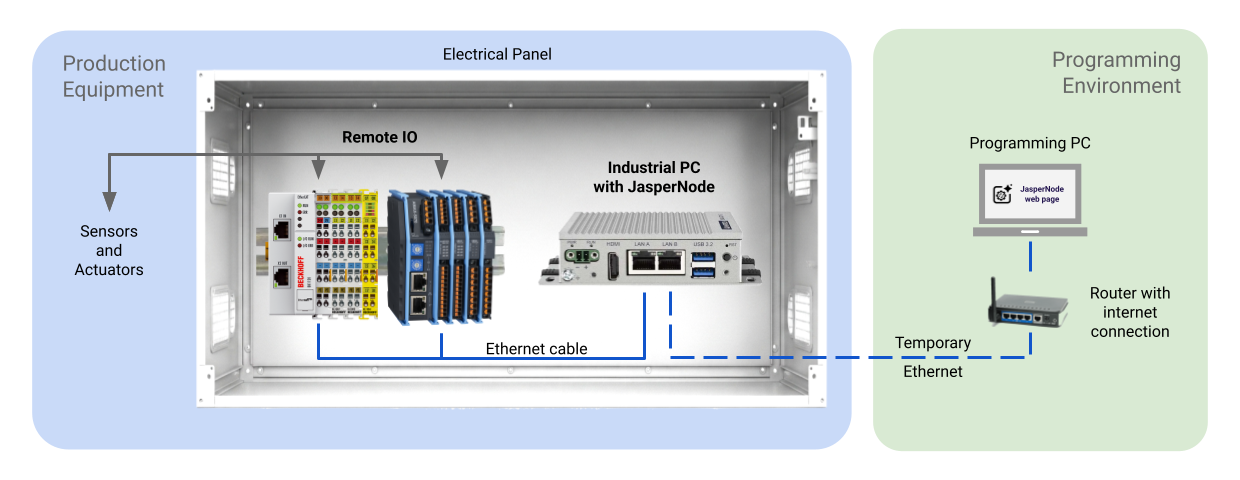
Connection example
This is an example connection. The internet connection is for programming purposes only and is not required for code execution.
Supported protocols (connectors)
JasperNode supports multiple industrial and IT protocols for connecting to hardware and software infrastructure.
Hardware Connectors (OT)
- Modbus TCP (client and server)
- Siemens S7 – Reading/Writing Siemens PLCs
- Ethernet/IP (under development)
- BACnet/IP (under testing)
- EtherCAT (under testing)
Software Connector (IT)
- MQTT – The modern Industry 4.0 protocol (sparkplug B only)
- InfluxDB – Database Logging
- Email – Send an email
- HTTP Server – Creating a Mini API Server
- HTTP client – reading data from websites
- Node-RED – Reading and Writing Tags
Implementation
Runtime Installation
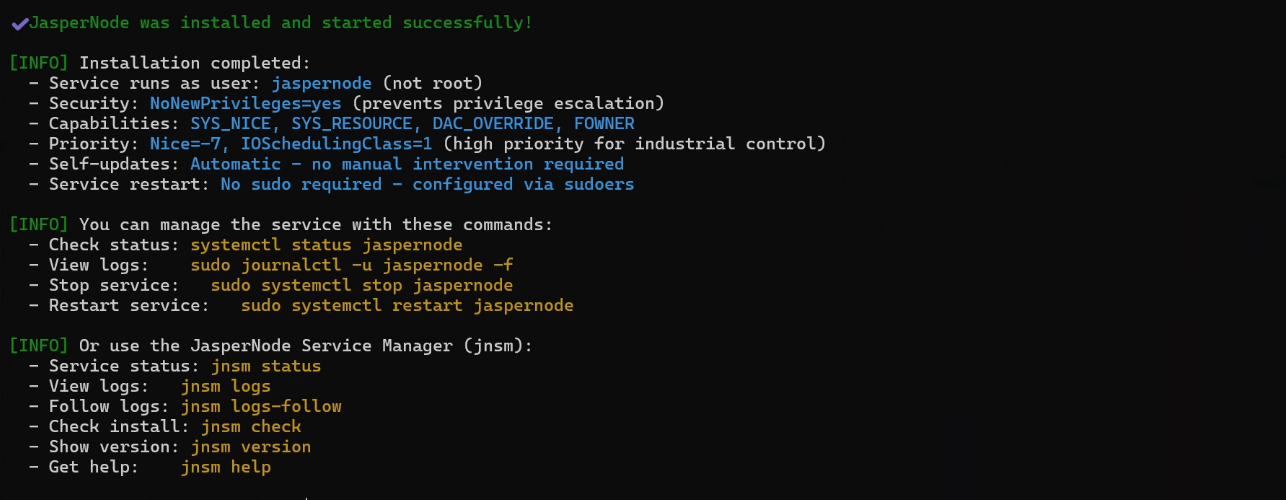
Obtain the installation command from JsperNode and execute it on the target PC.

Done!If the console displays output as shown below, the installation of JsperNode is complete.
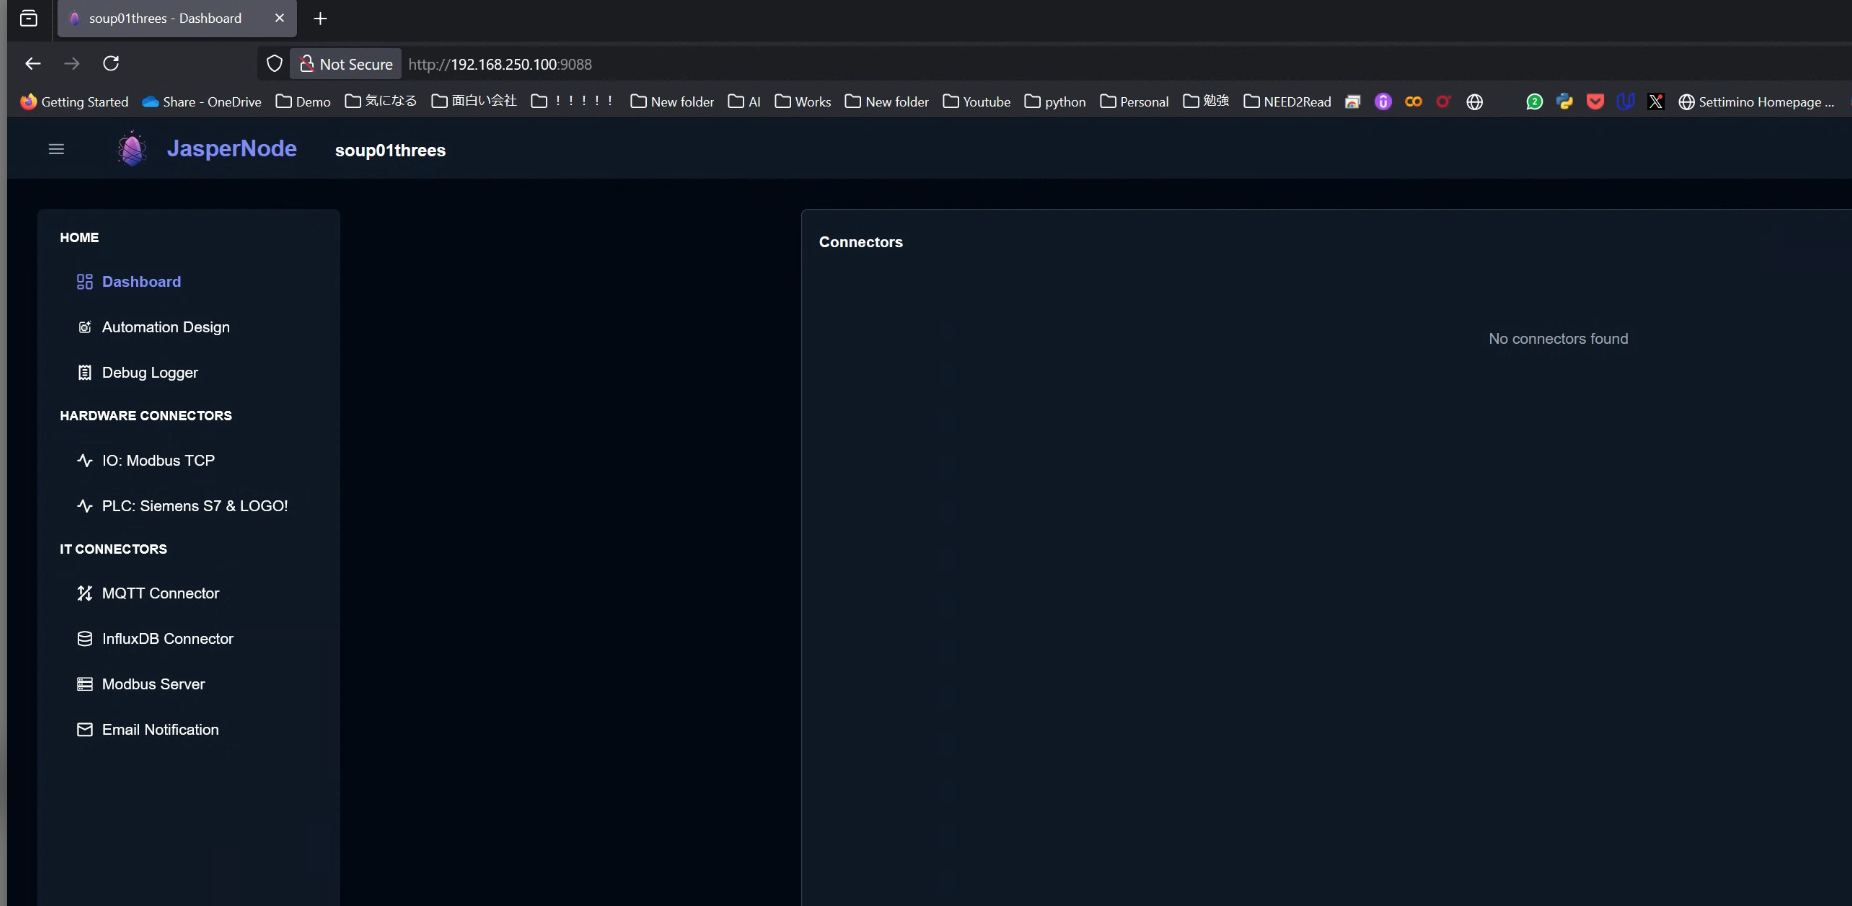
Dashboard
Next, access the IP address:9088 of the PC where JasperNode Runtime is installed.
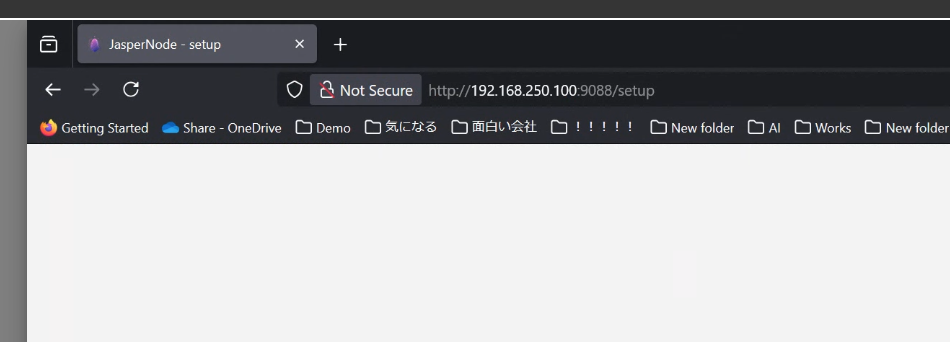
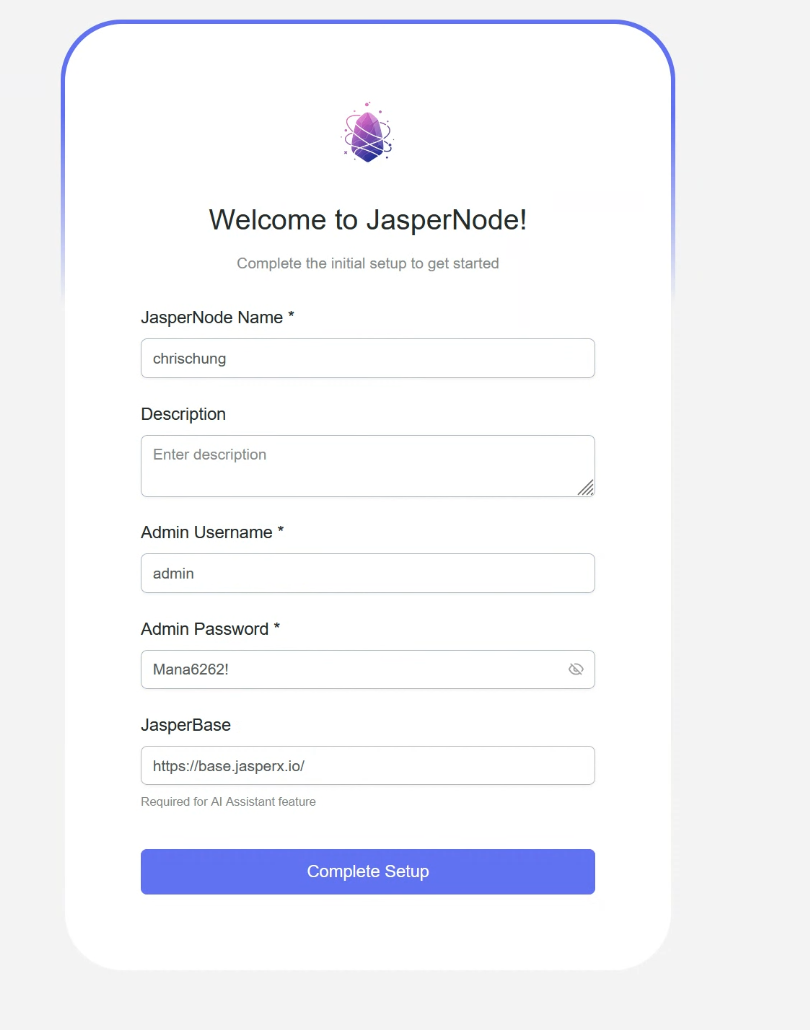
This is the JasperNode Dashboard. Initial configuration requires settings such as your User name and Password.
Next, enter your Username and Password and log in.
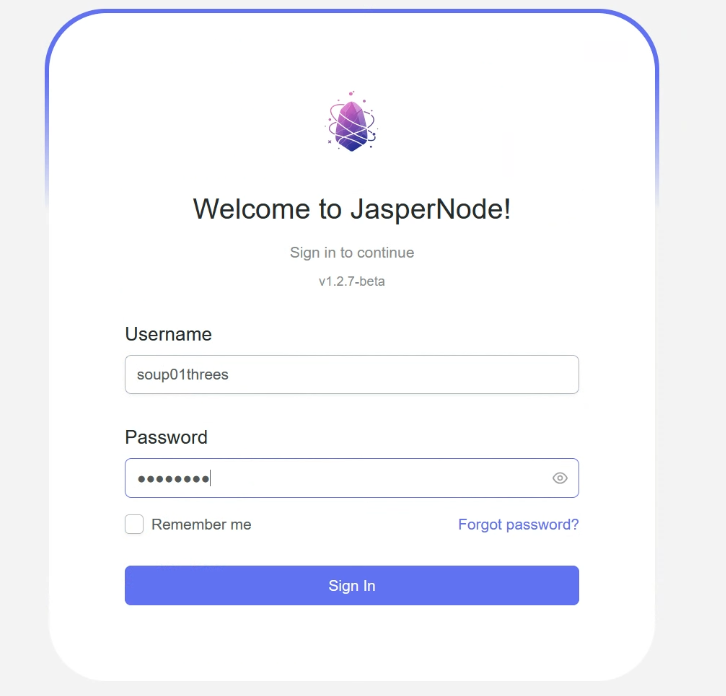
Done!You have now successfully logged into the JasperNode Dashboard.

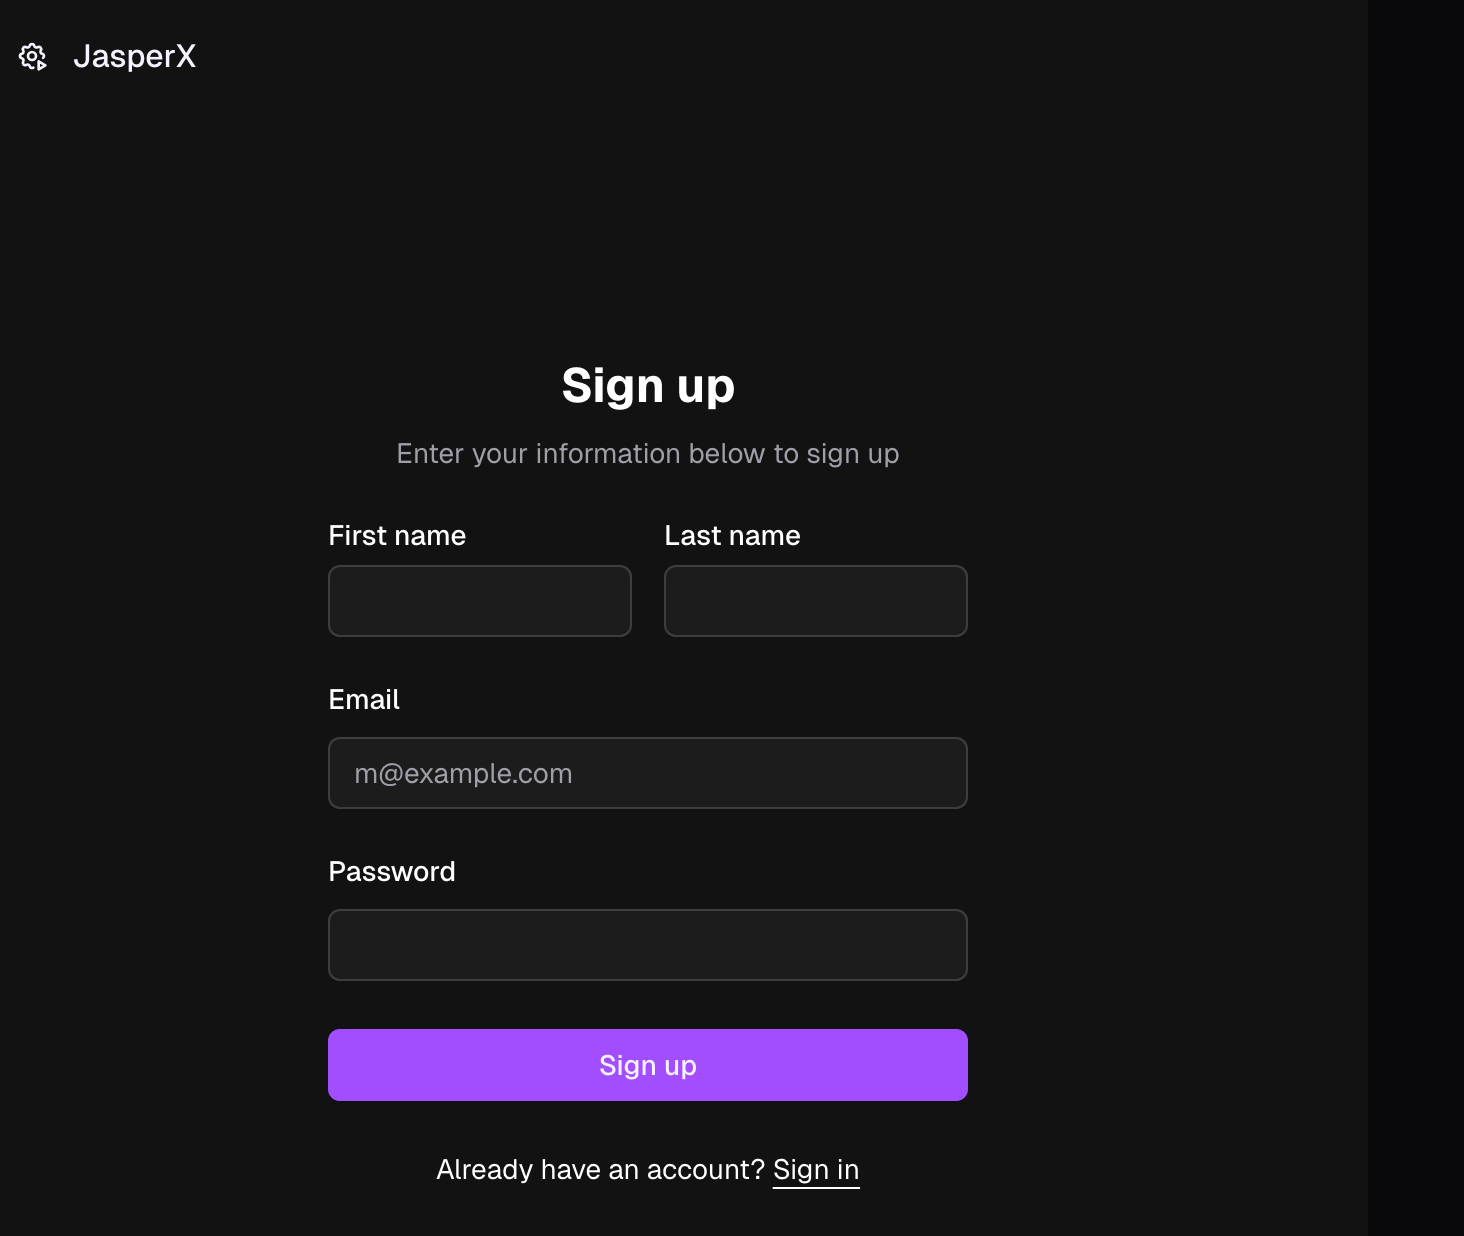
Register an account
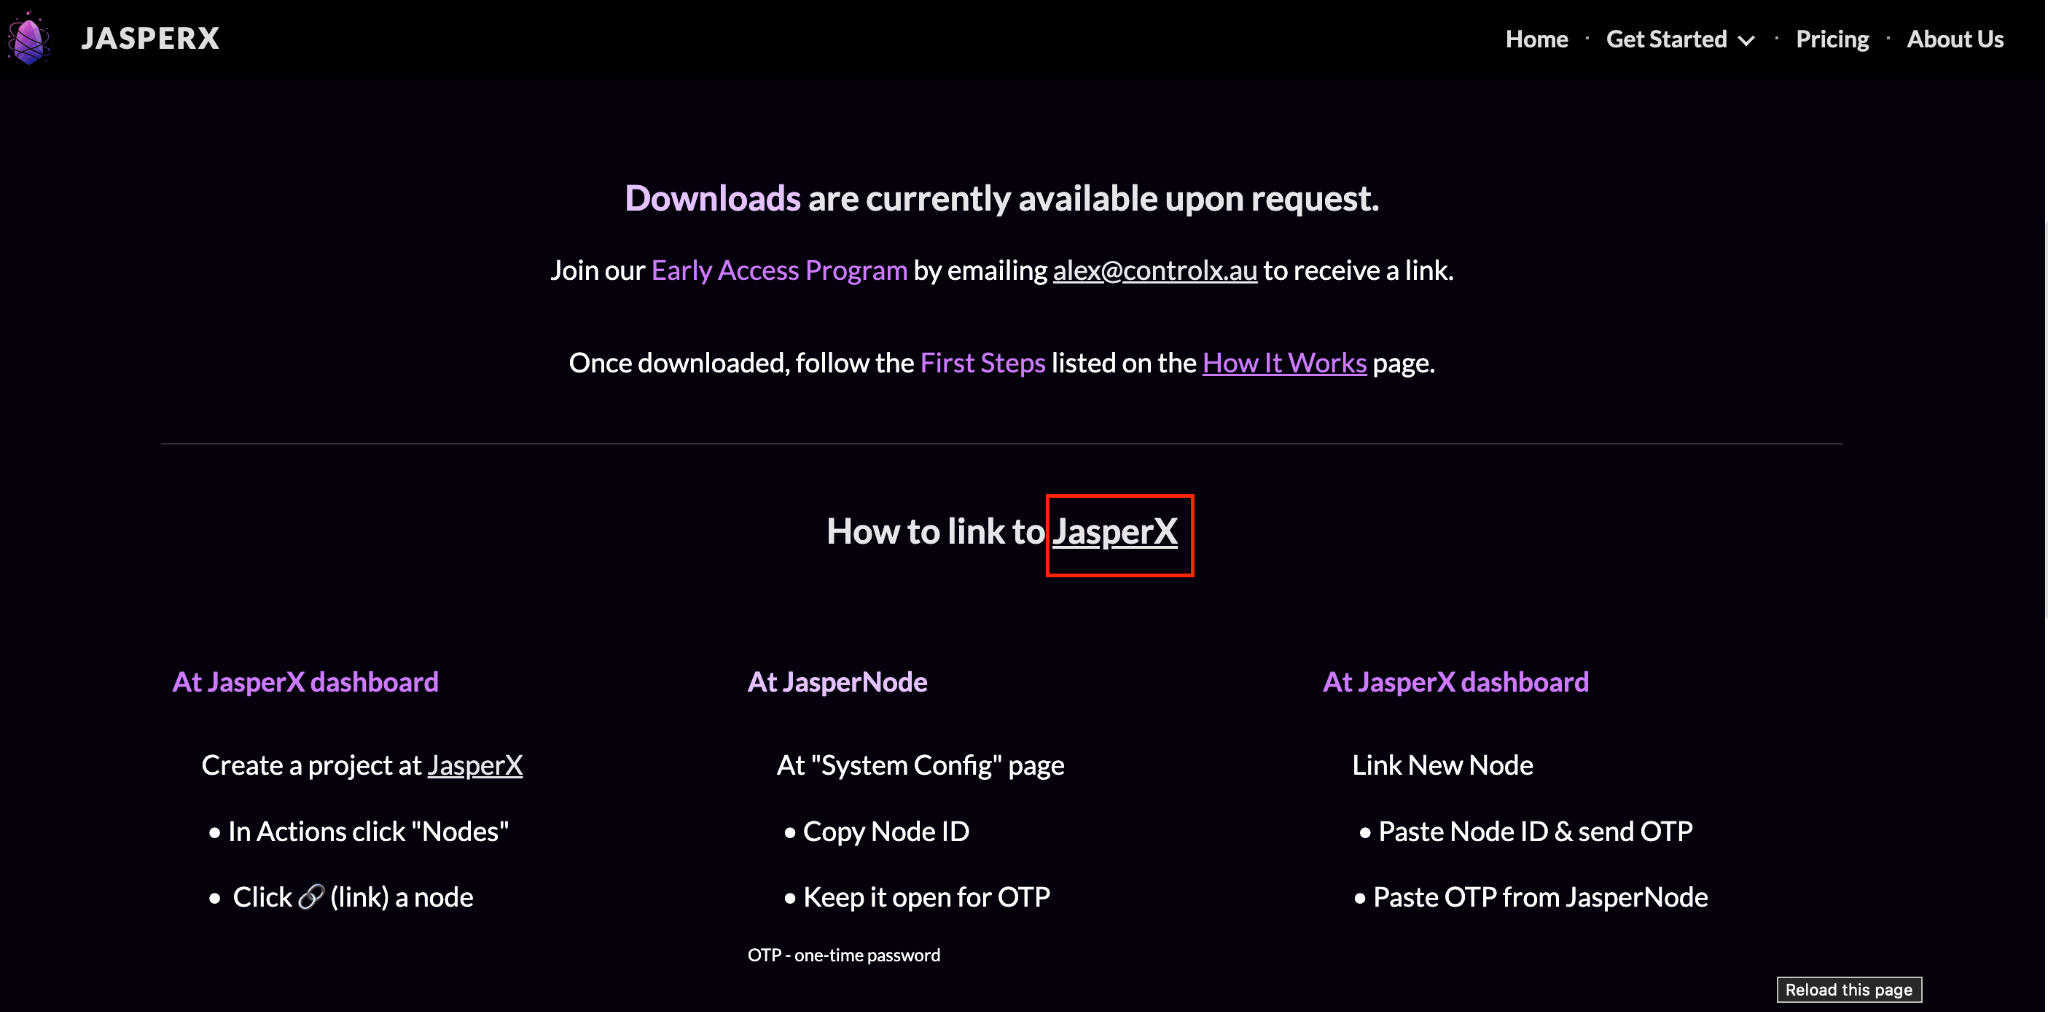
Please access the URL below and click on the section marked in red.
This is the JasperNode account registration screen.
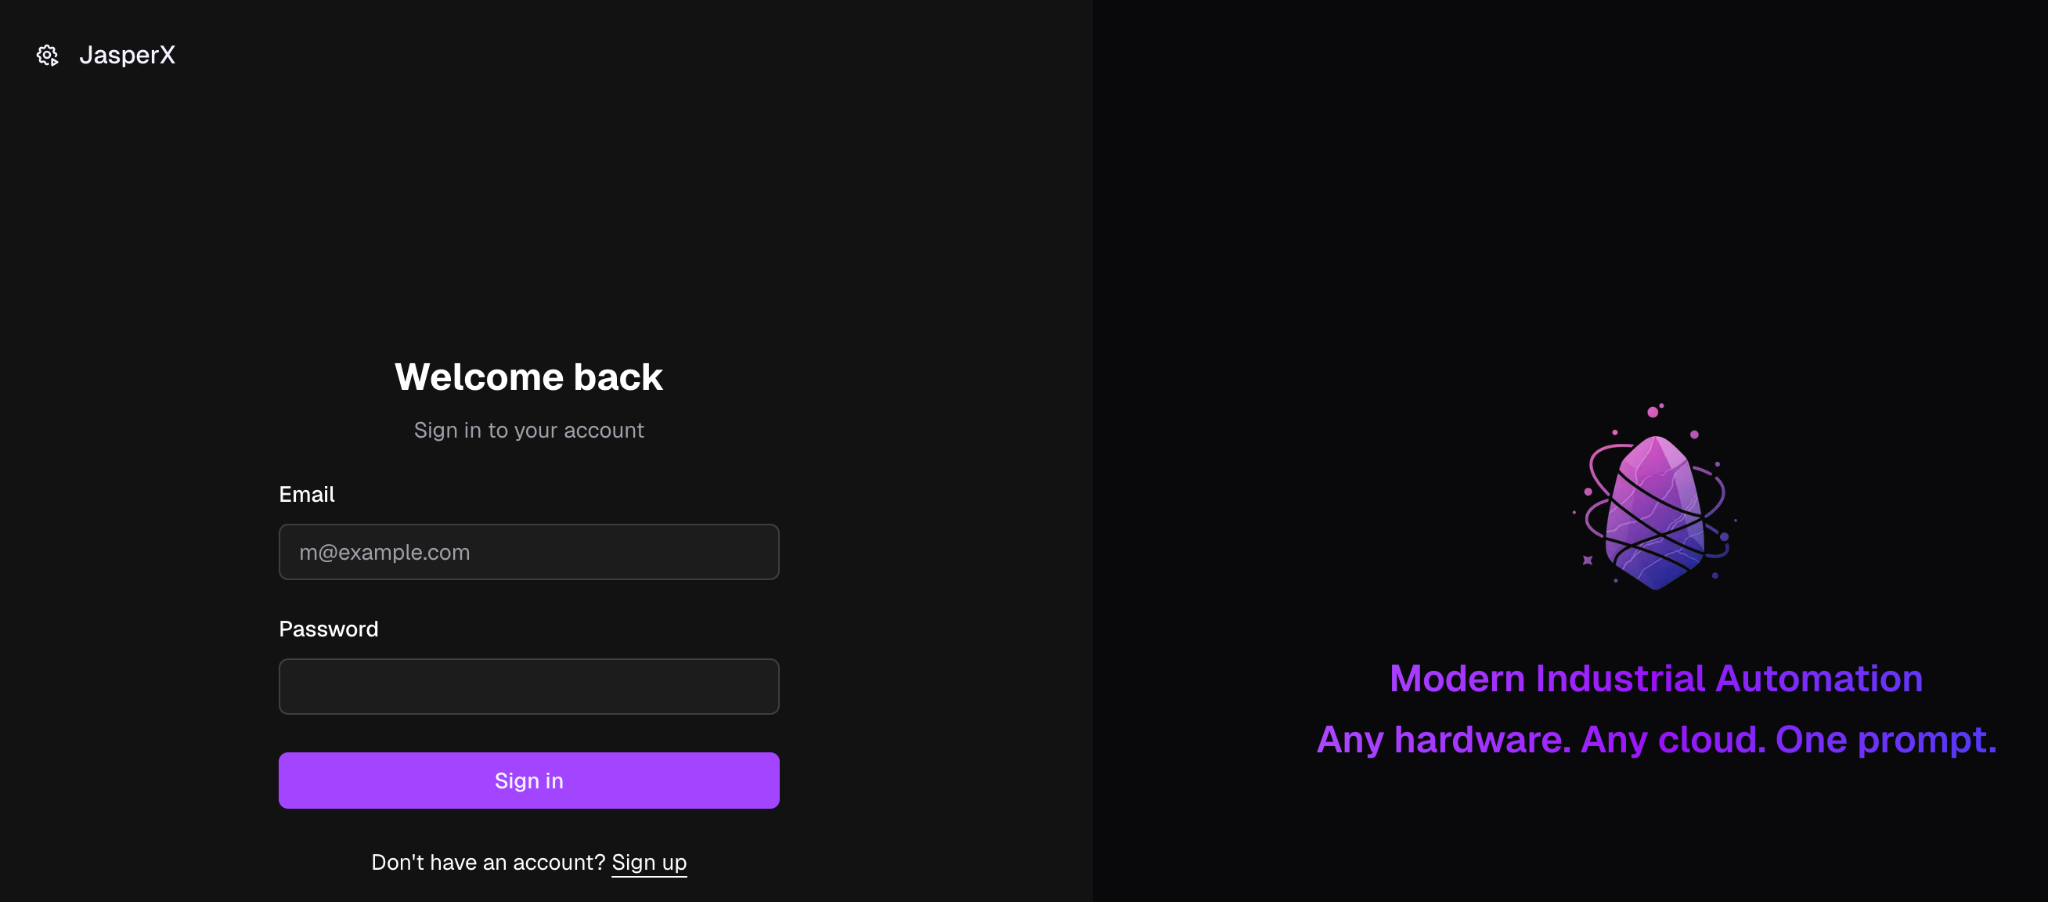
Let’s register a new account.
Done!This is the JasperNode device management screen.
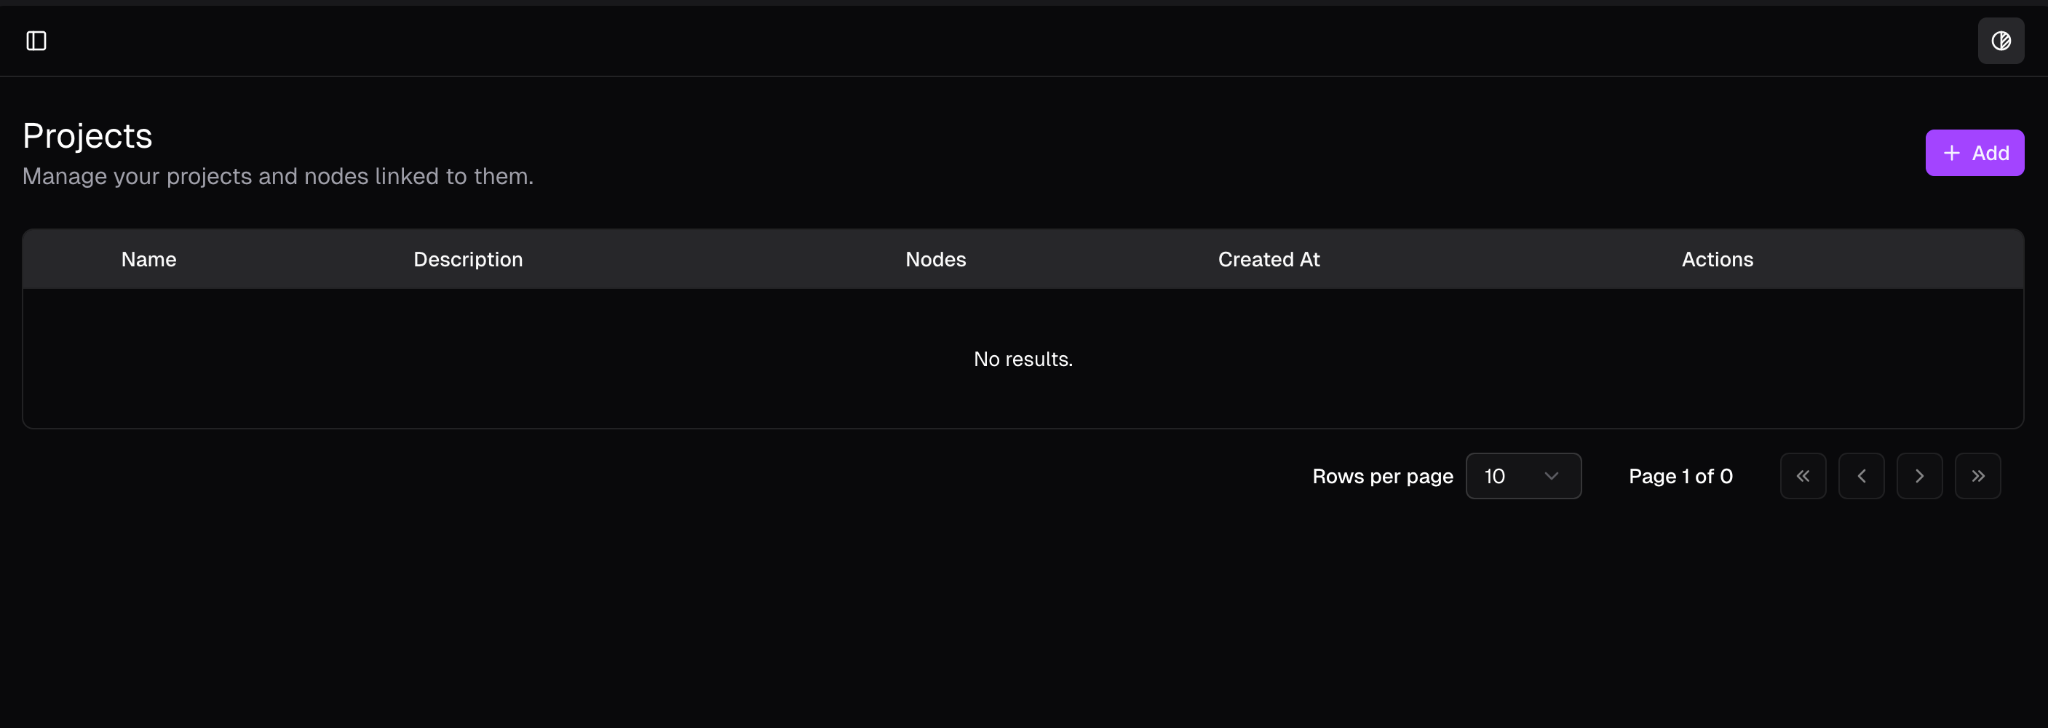
Add a new project
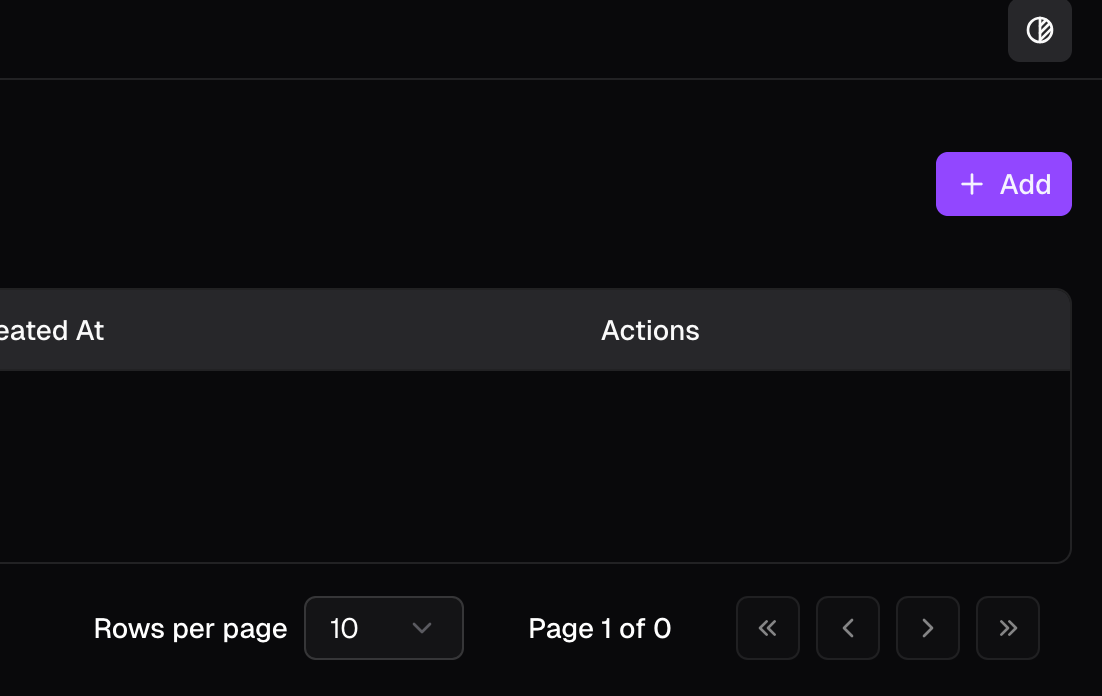
Next, let’s add a new project using the +Add button on the right.
Enter the project name → Click Create Project.
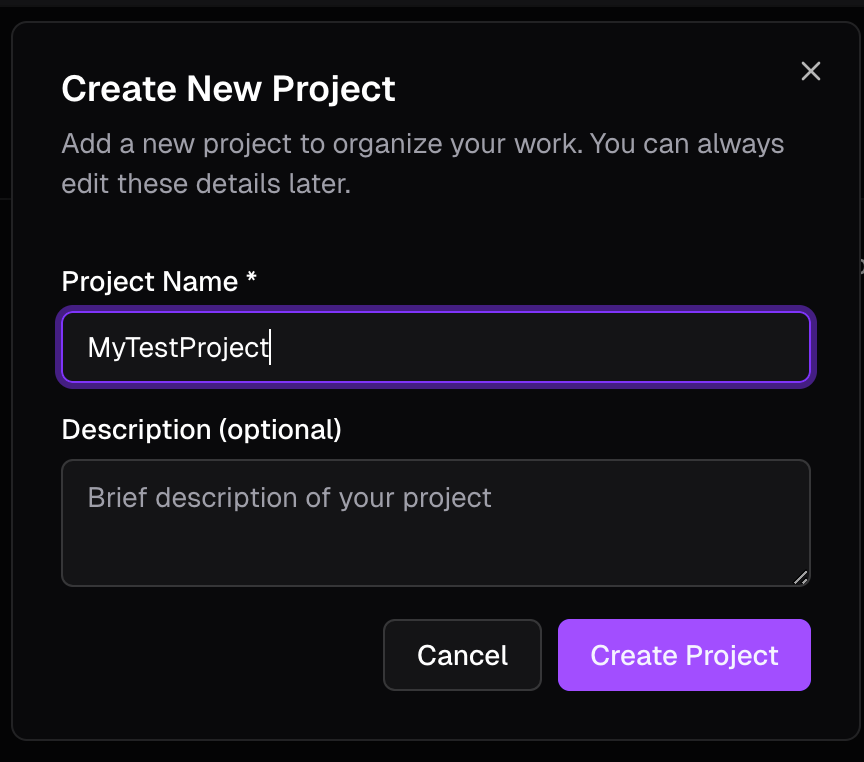
Done!A new project has been added.
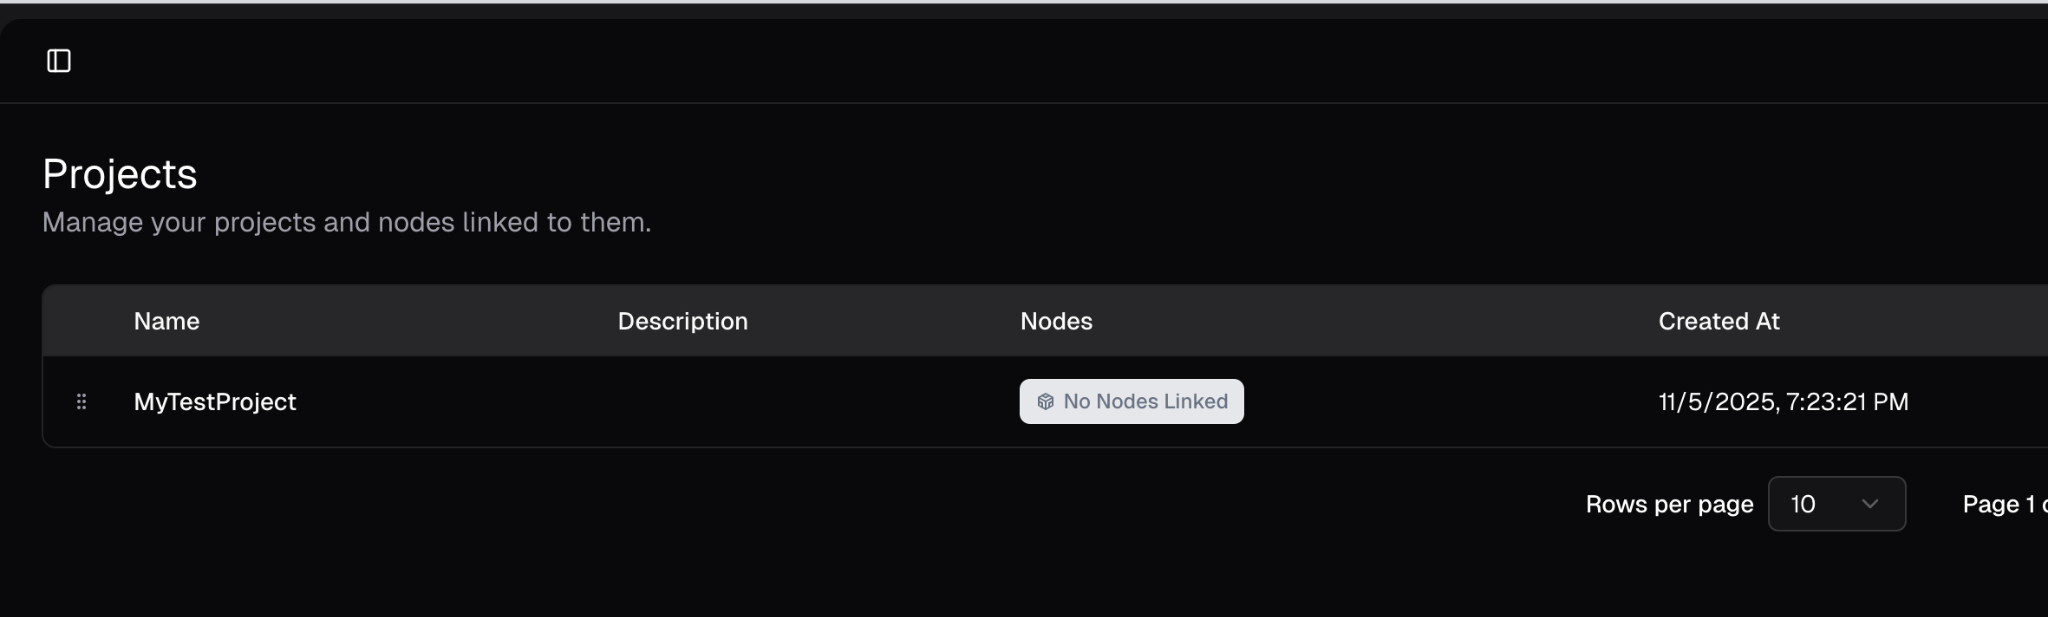
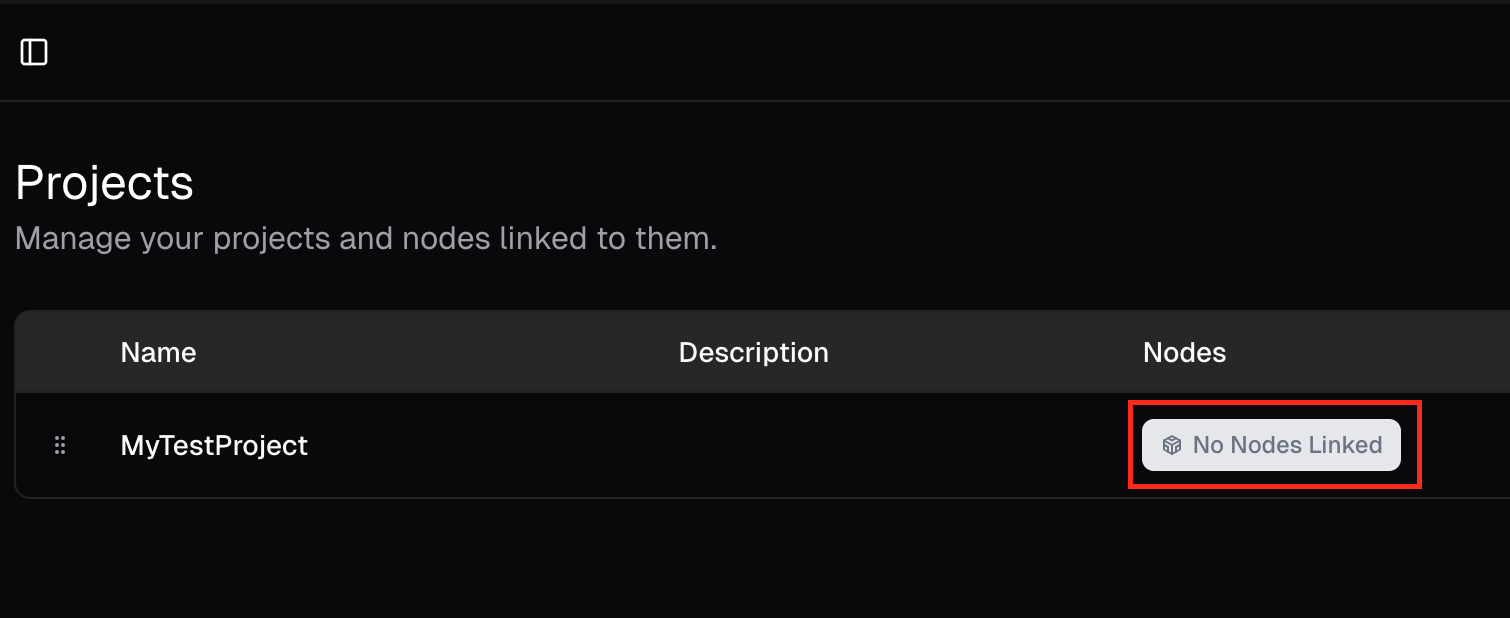
Connect the device
Next, link the project to R1025, where you previously installed the JsperNode Runtime. Click on the “No Nodes Linked” section under Nodes.
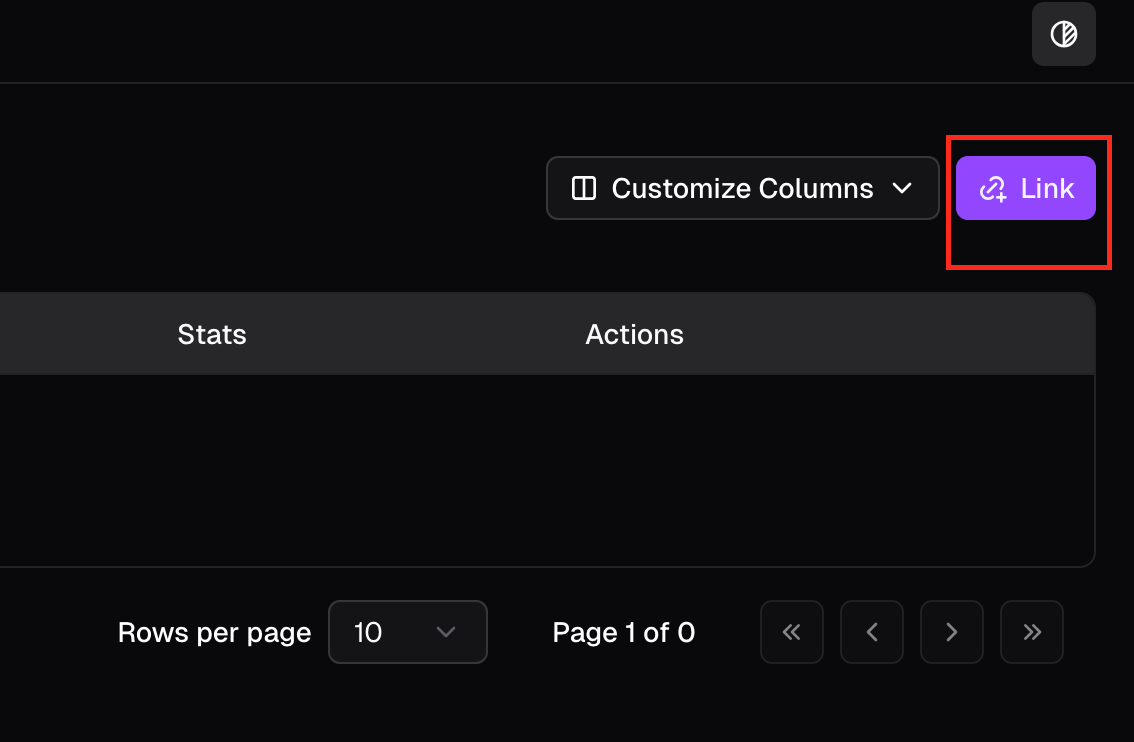
The Nodes editing screen will appear.

Click the Link button on the right.
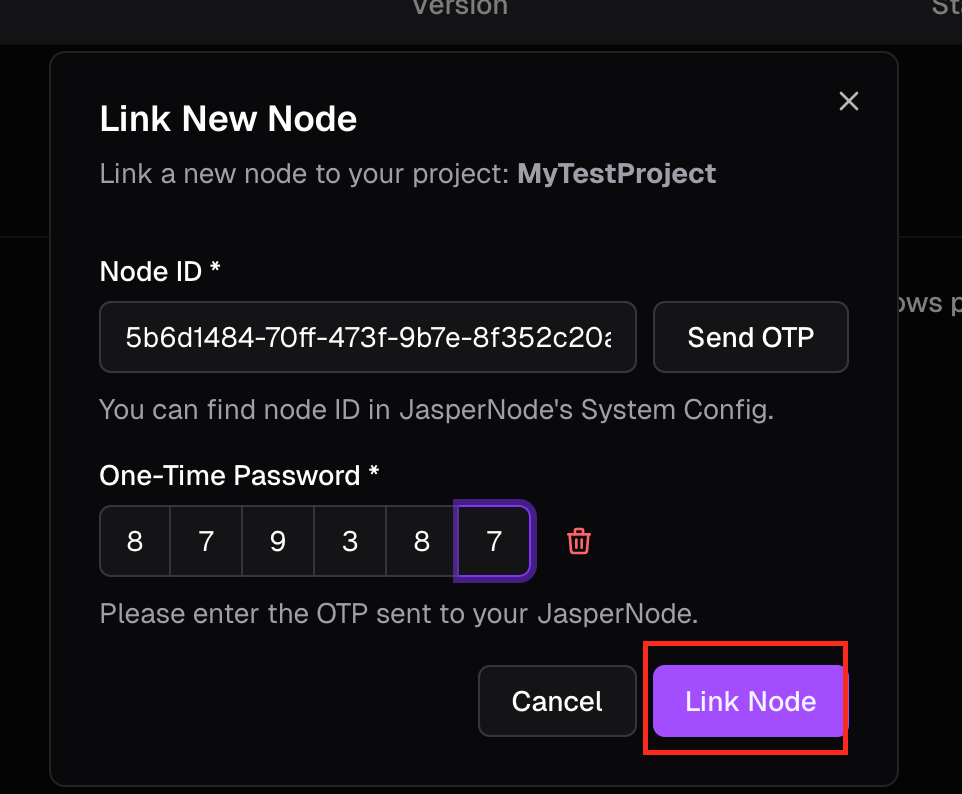
The Node ID and One-Time Password input screen will be displayed.
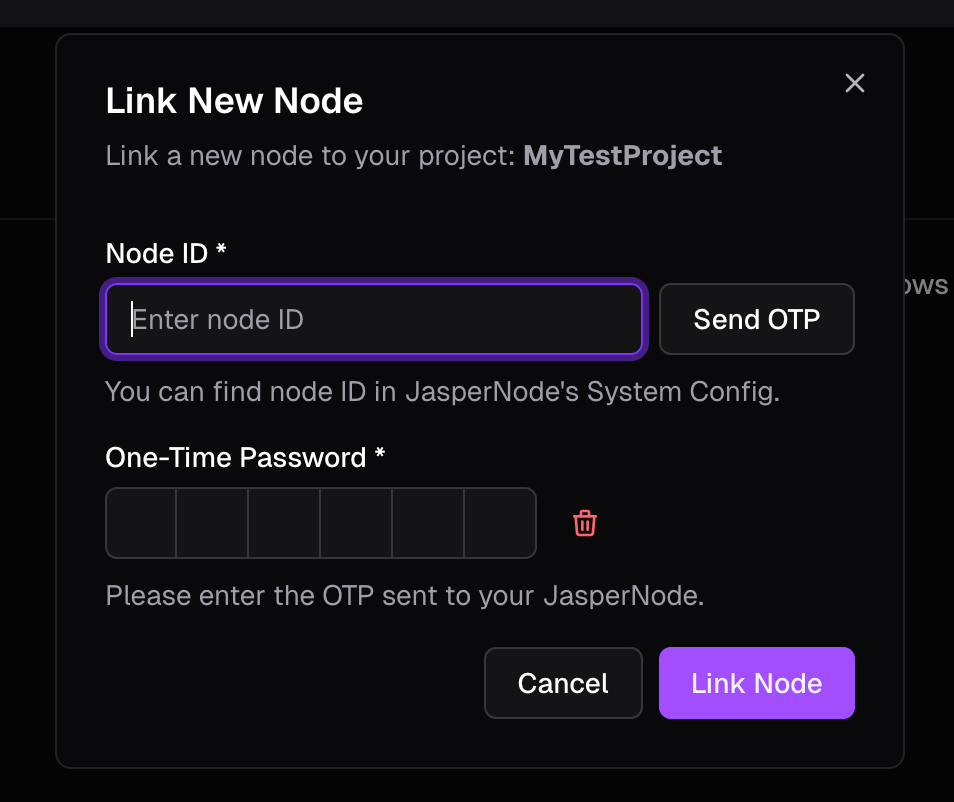
Access the web server on R1025 where JasperNode Runtime was installed earlier.
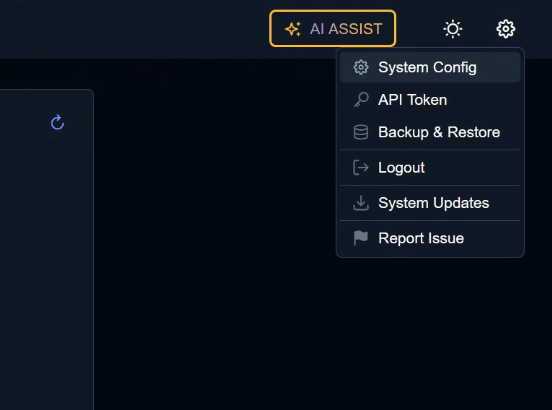
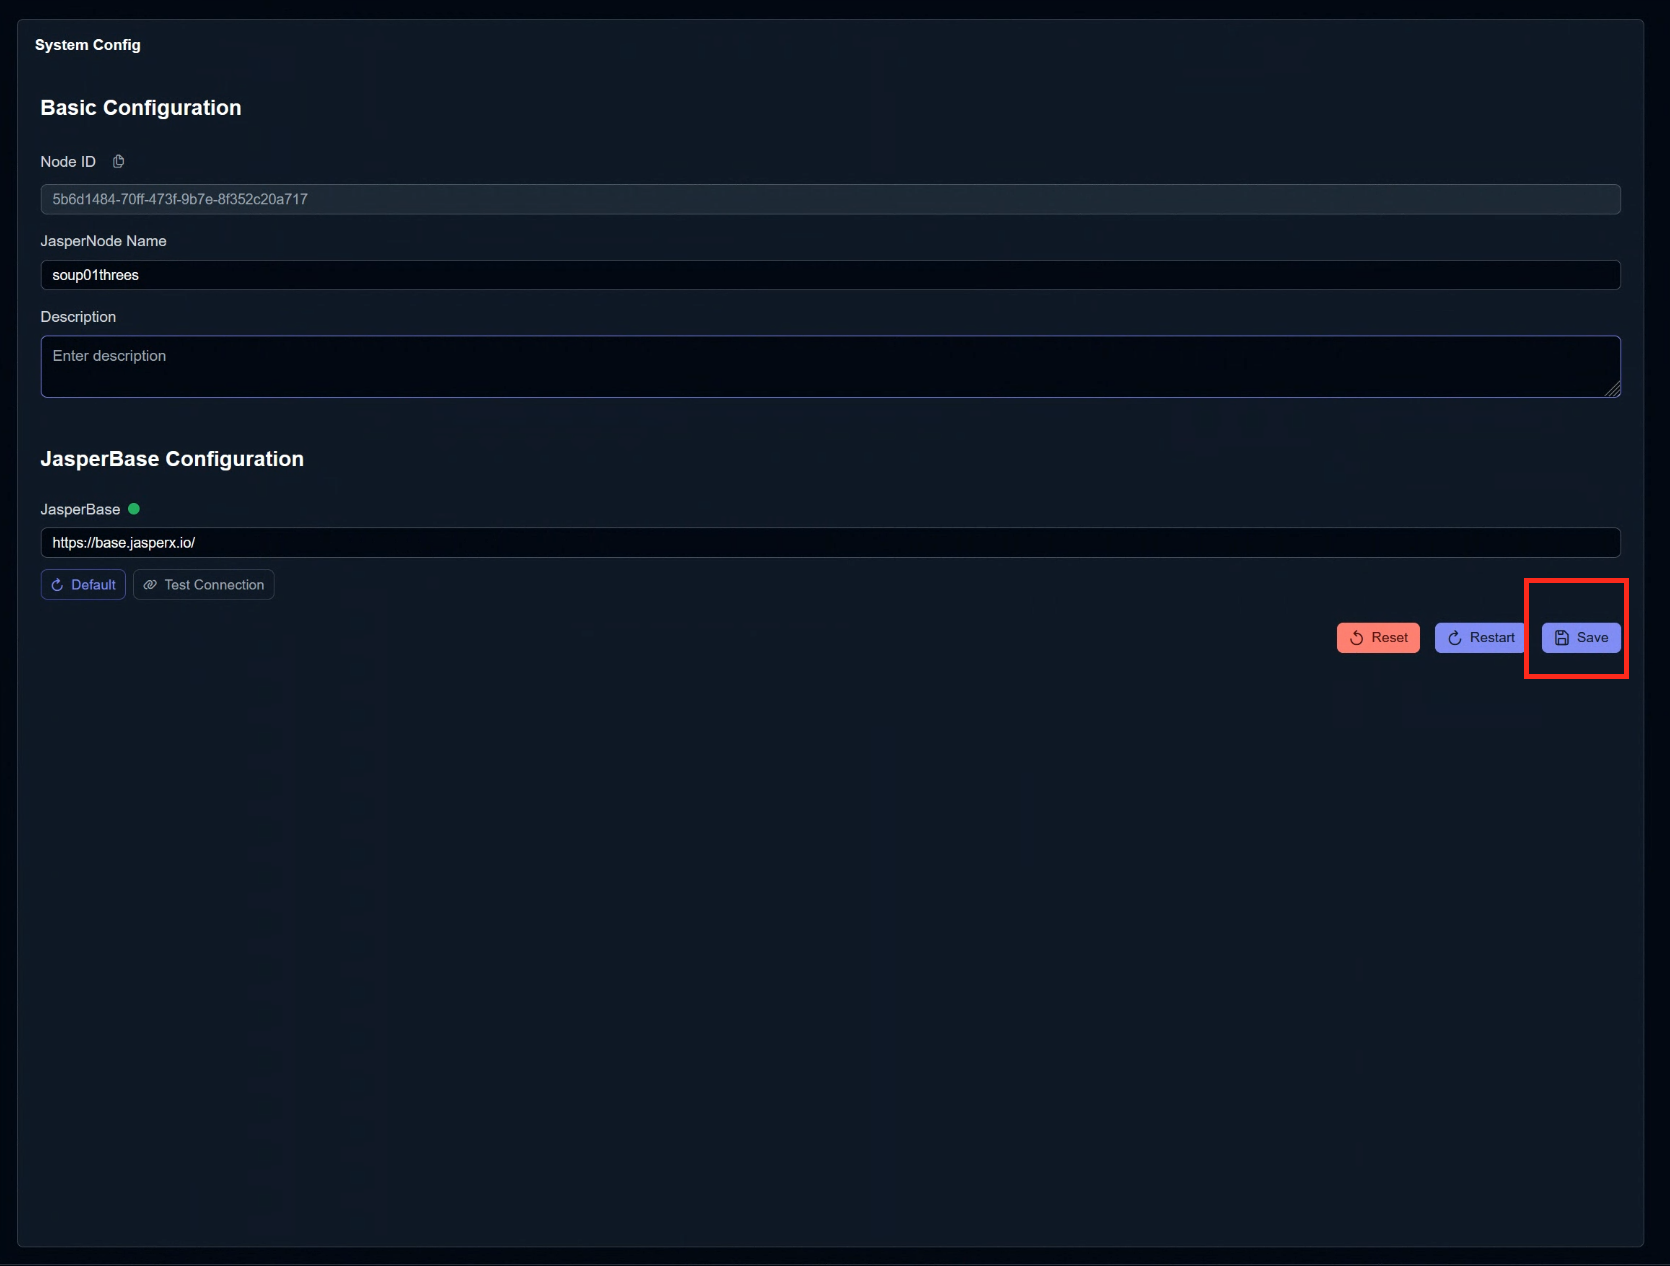
Click the cogwheel icon → System Config on the right.
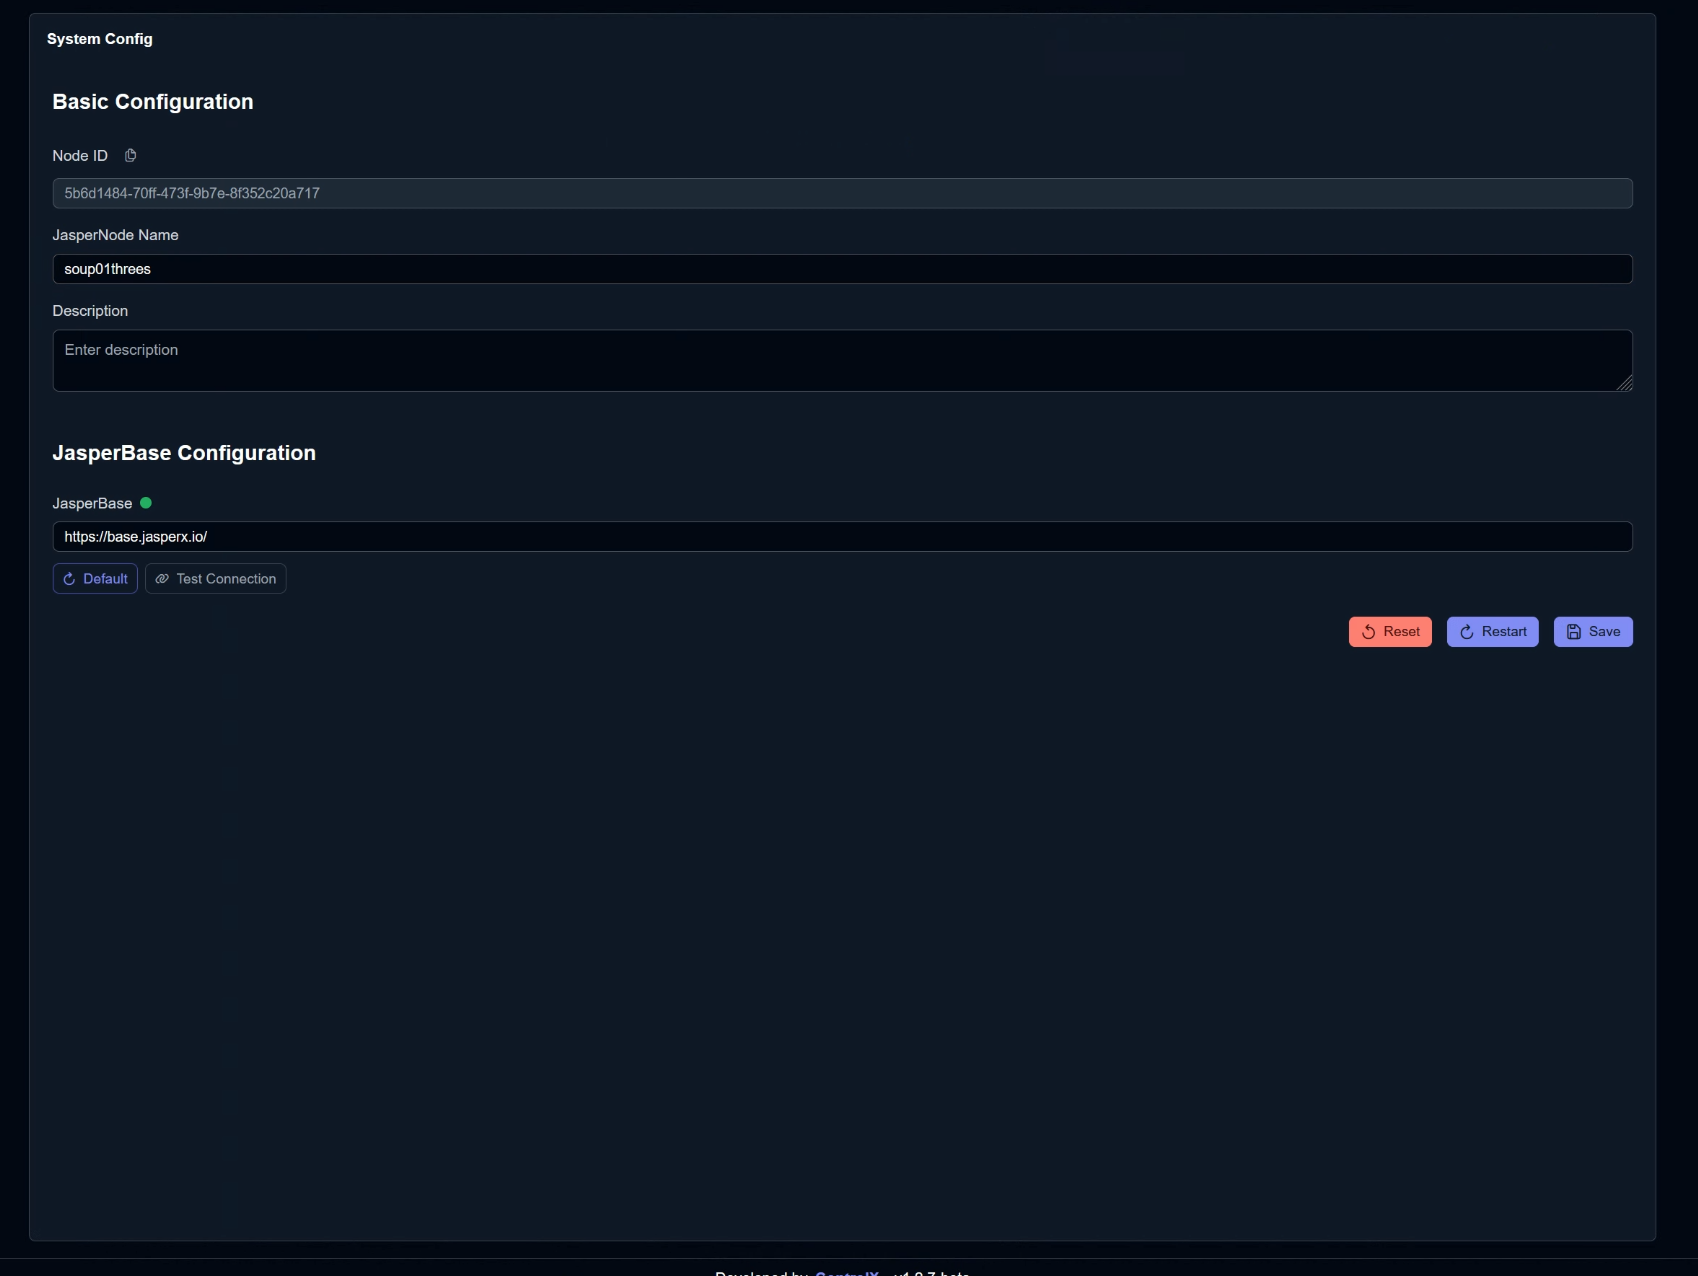
The Basic Configuration screen will appear; copy the code in the Node ID field.
Return to the JasperNode management page, paste the Node ID, and click Send OTP.
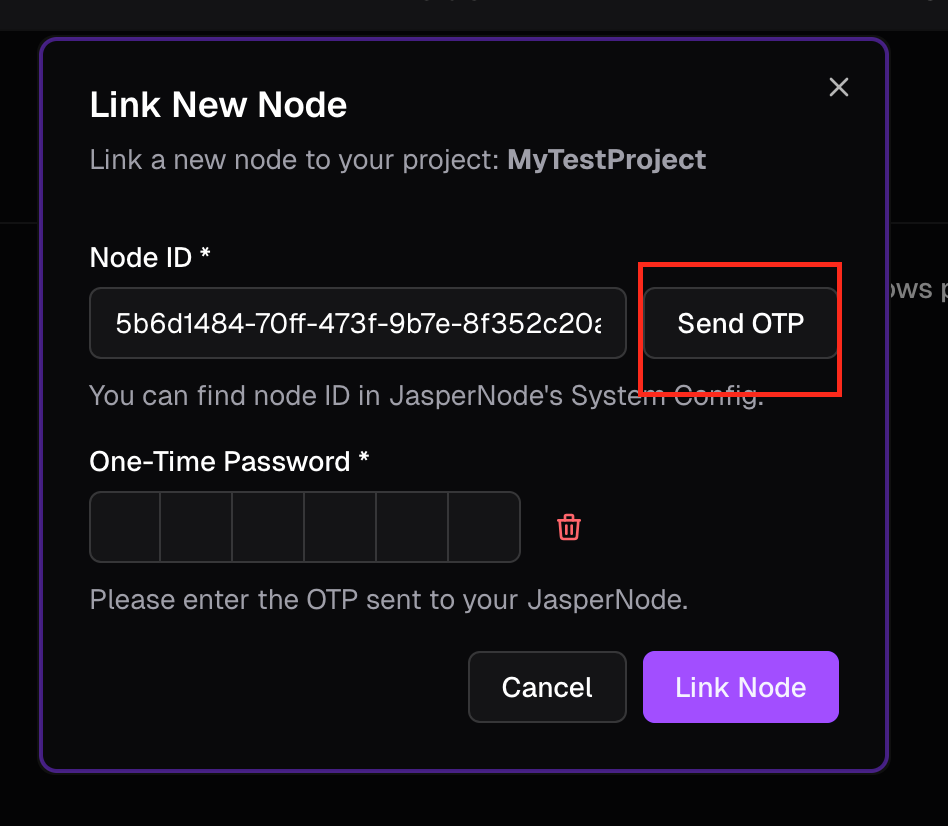
Done!
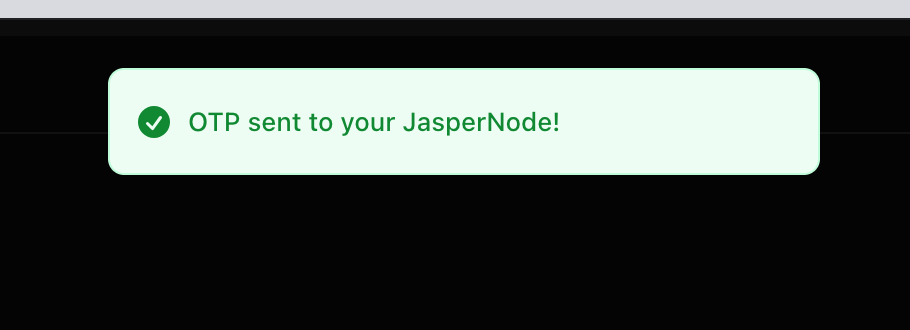
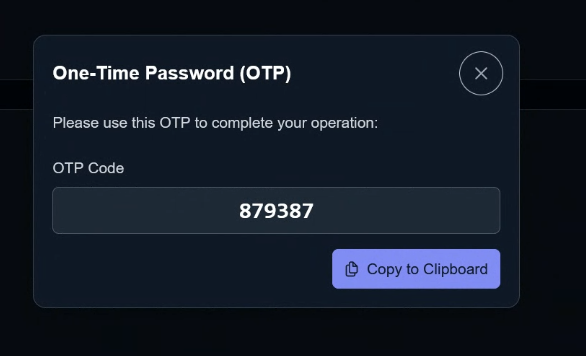
Then, the One-Time Password will be displayed on the web server of the PC where JasperNode Runtime is installed; copy that password.
Paste into the One-Time Password field and click the Link node.
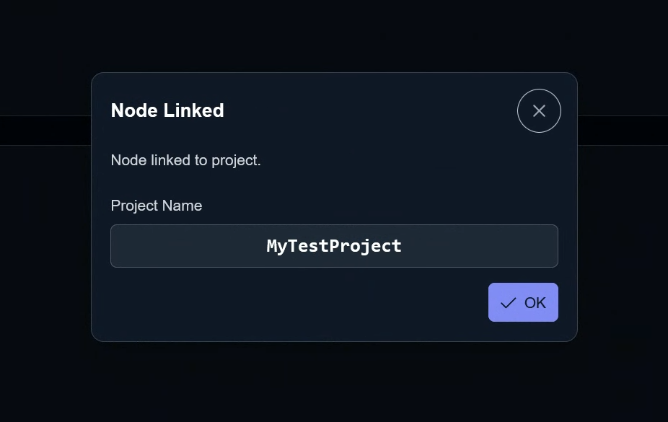
Done!That completes the link.
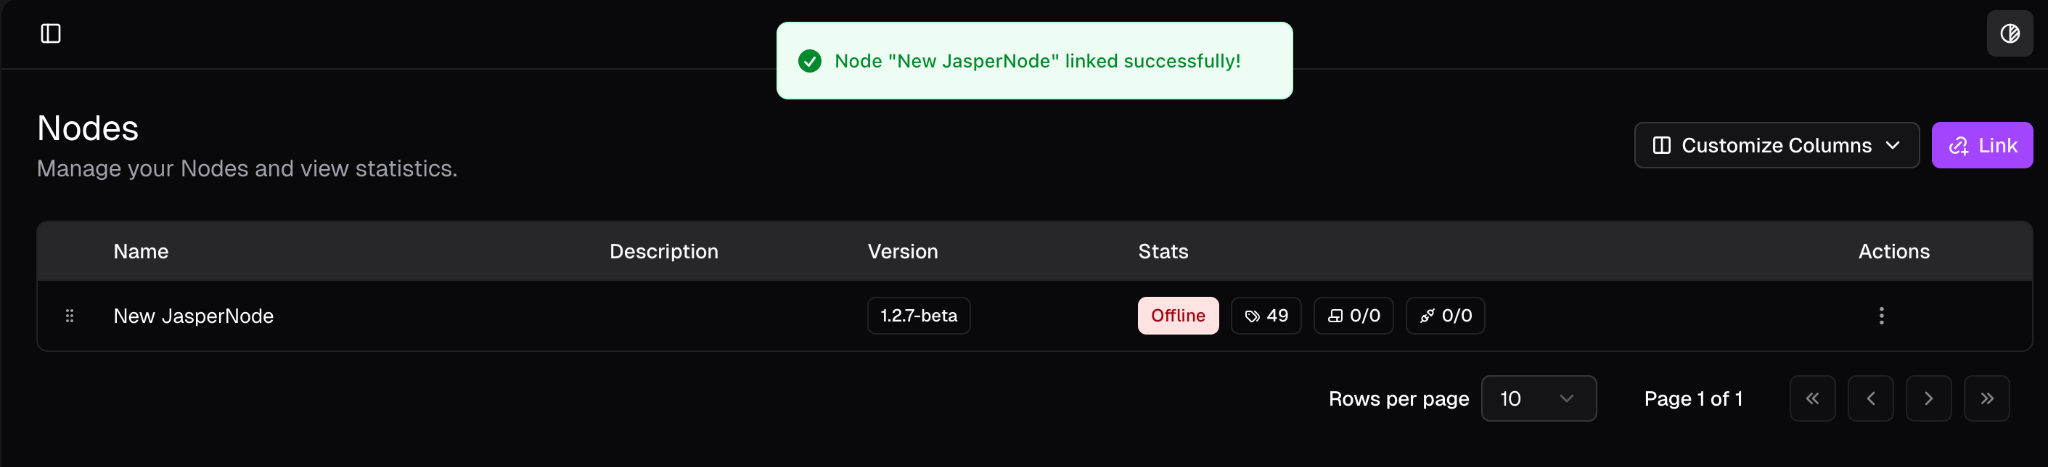
Don’t forget to save your settings at the end.
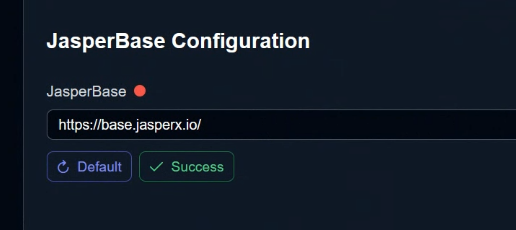
Additionally, you can click the “Test Connection” button to verify that the JasperNode Runtime and Server are successfully connected.

Done!
Generating code with AI?!
JasperNode features AI ASSIT, enabling the automatic generation of control codes and tags via generative AI.
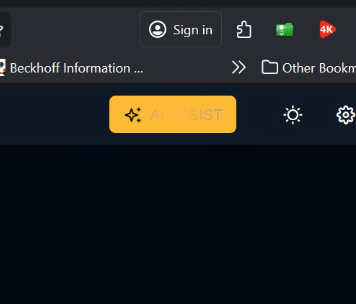
If everyone sends requests in the same way as CHATGPT, code will be generated directly for your project without the need for copy-pasting.
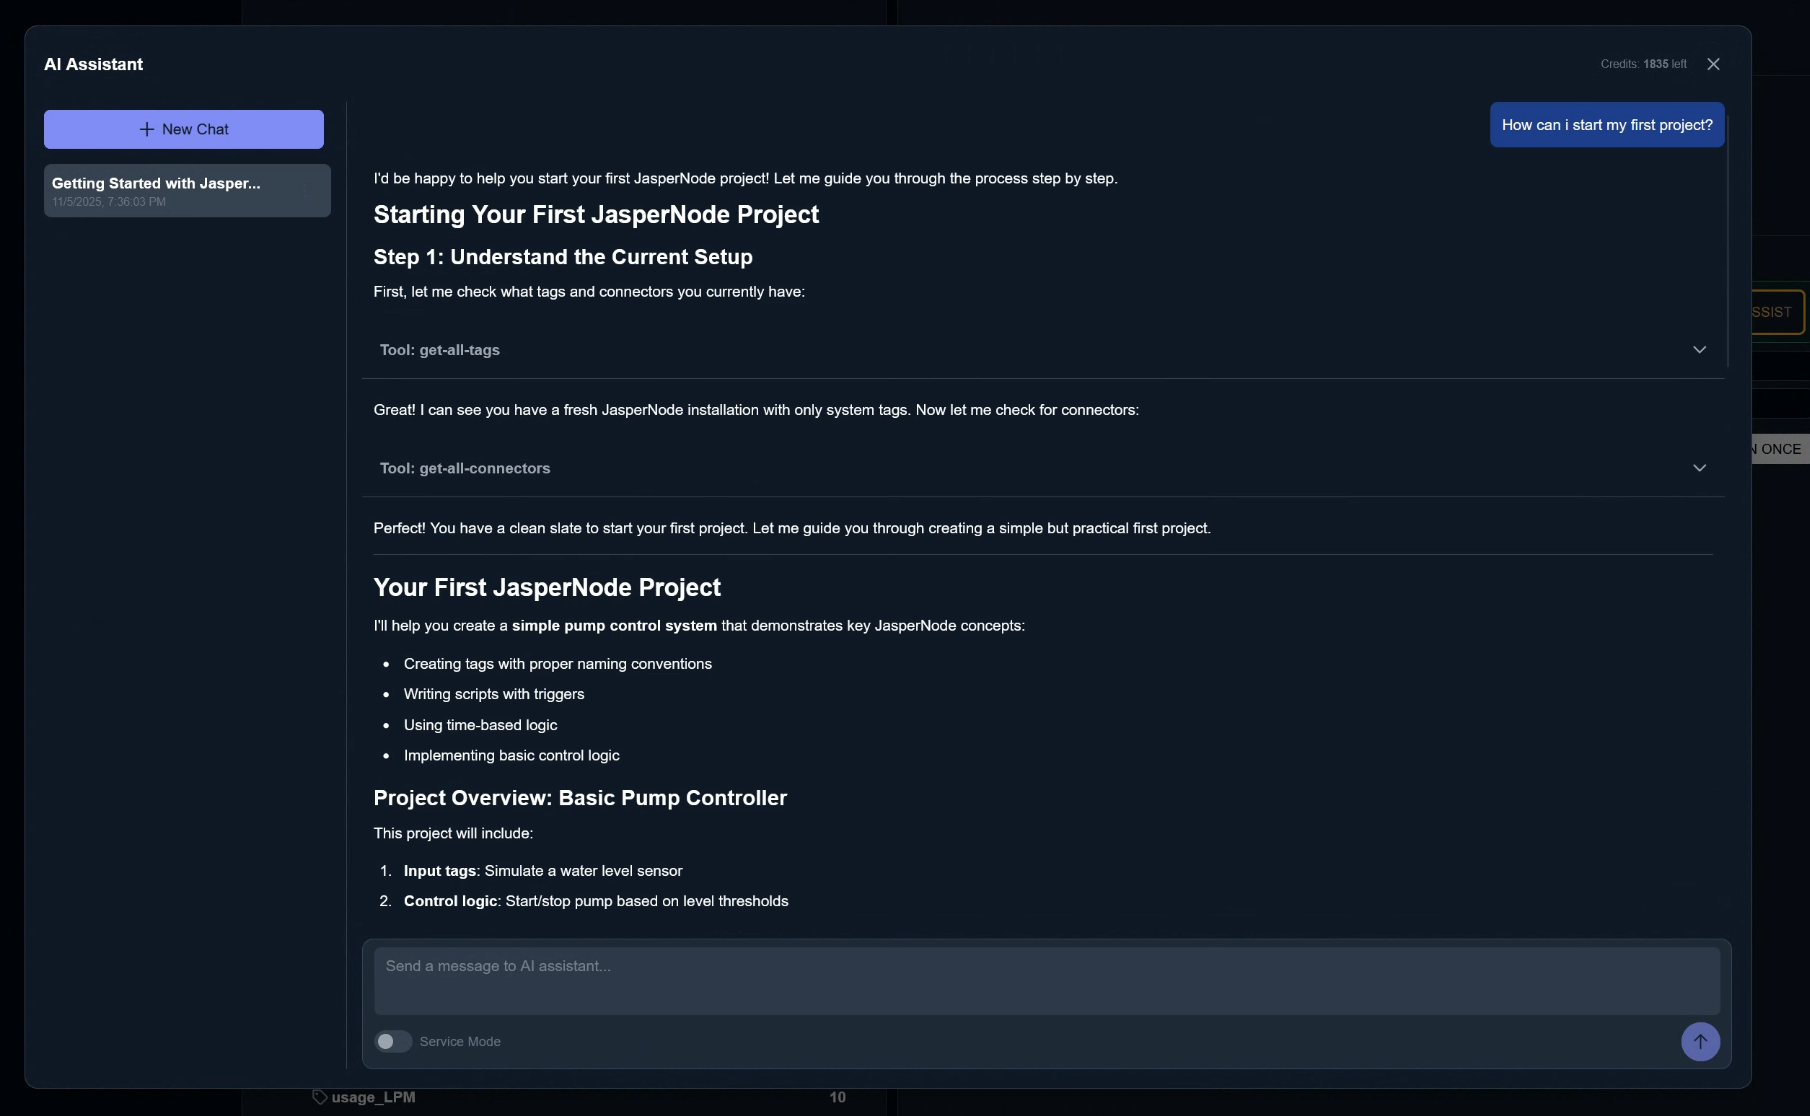
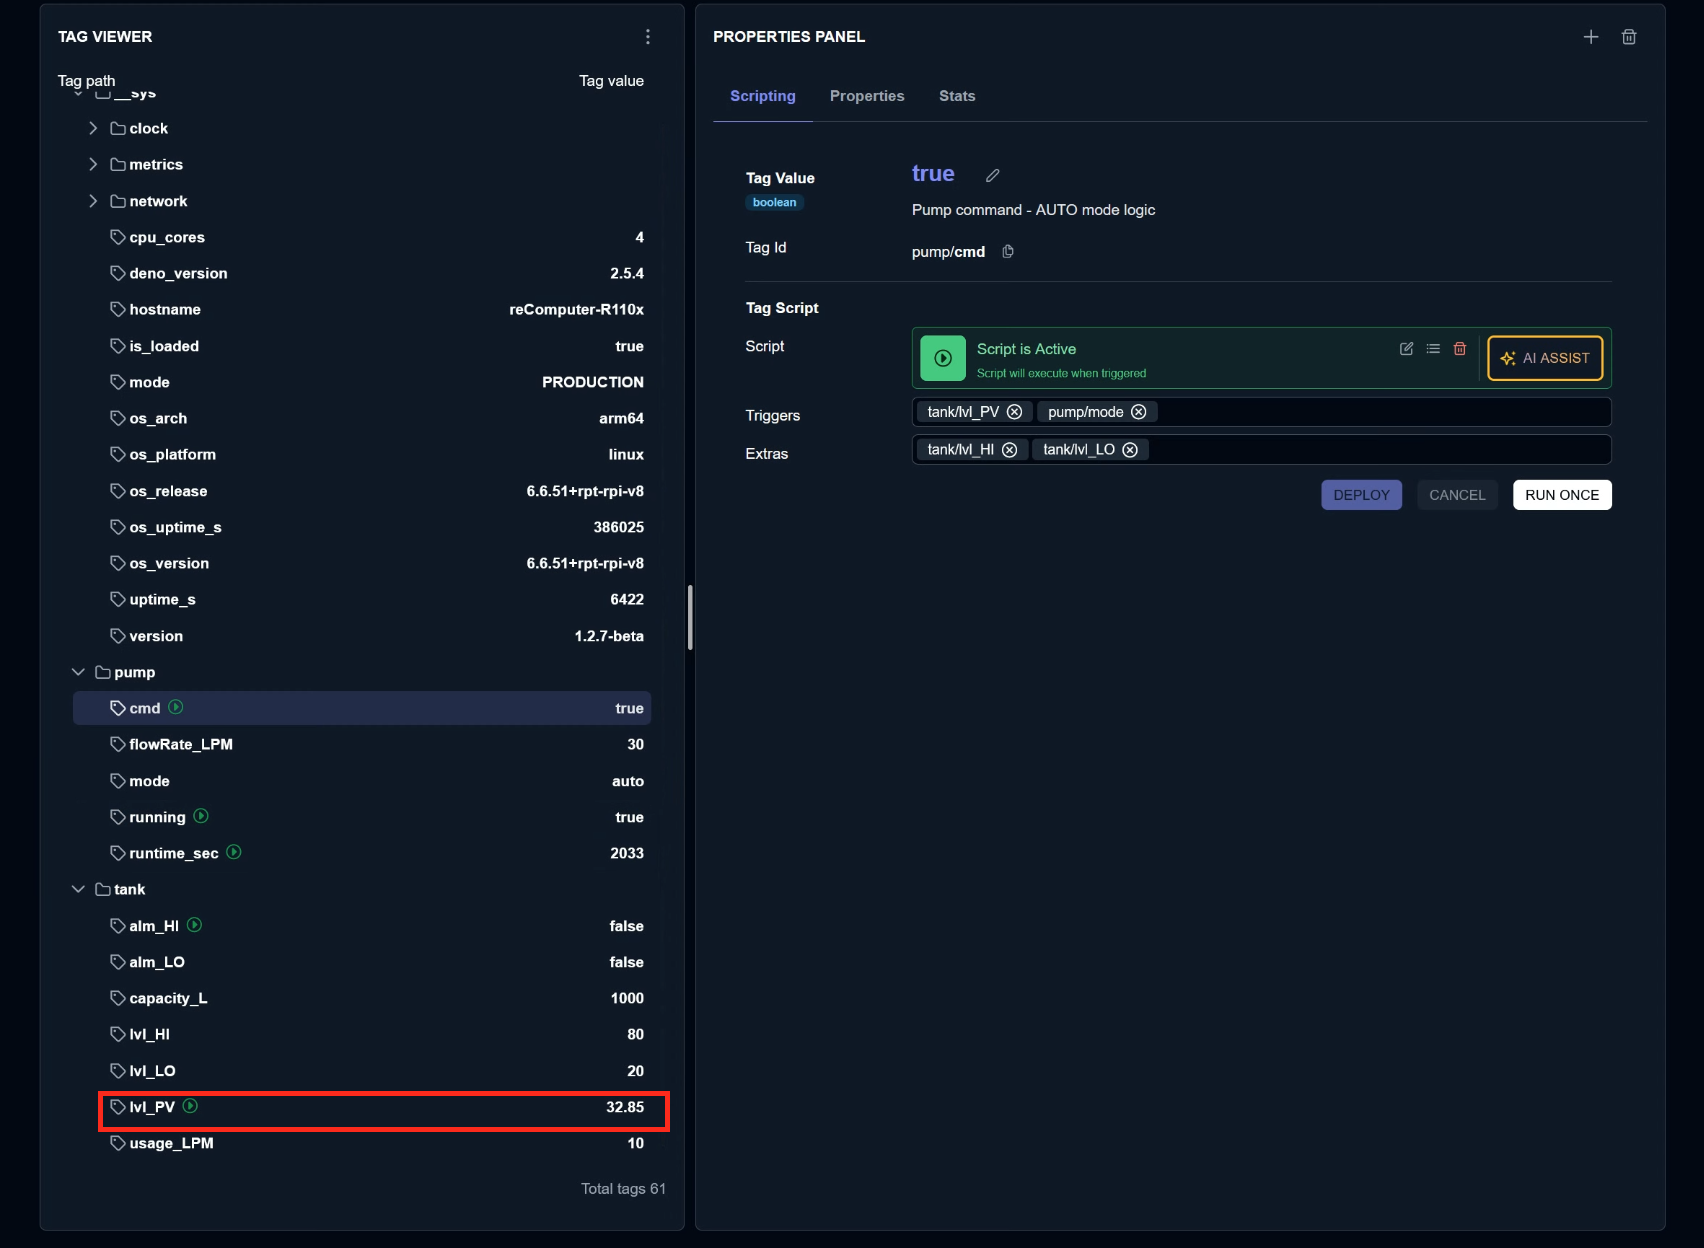
Done!This time, we had AI ASSIT generate a simple control programme for the PUMP.
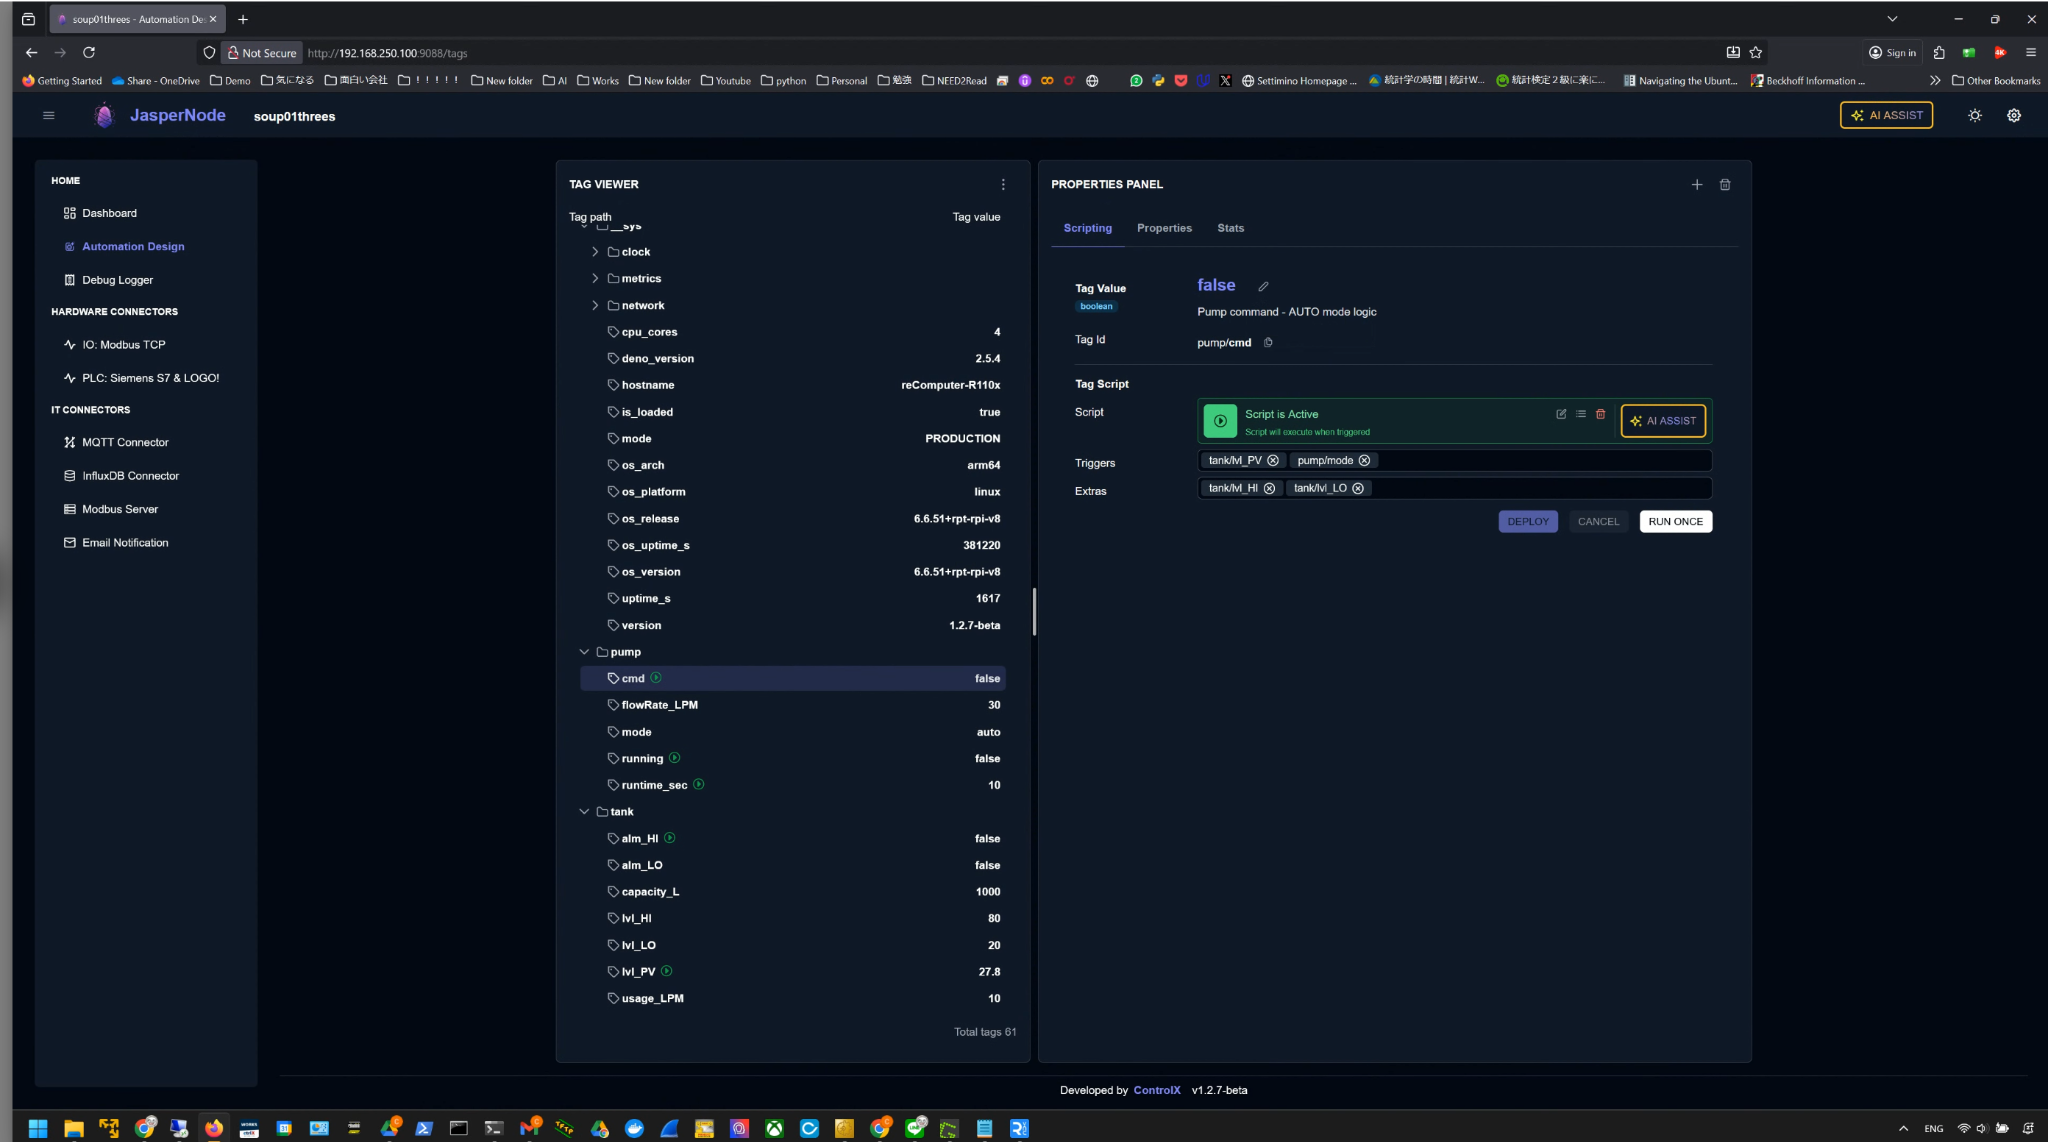
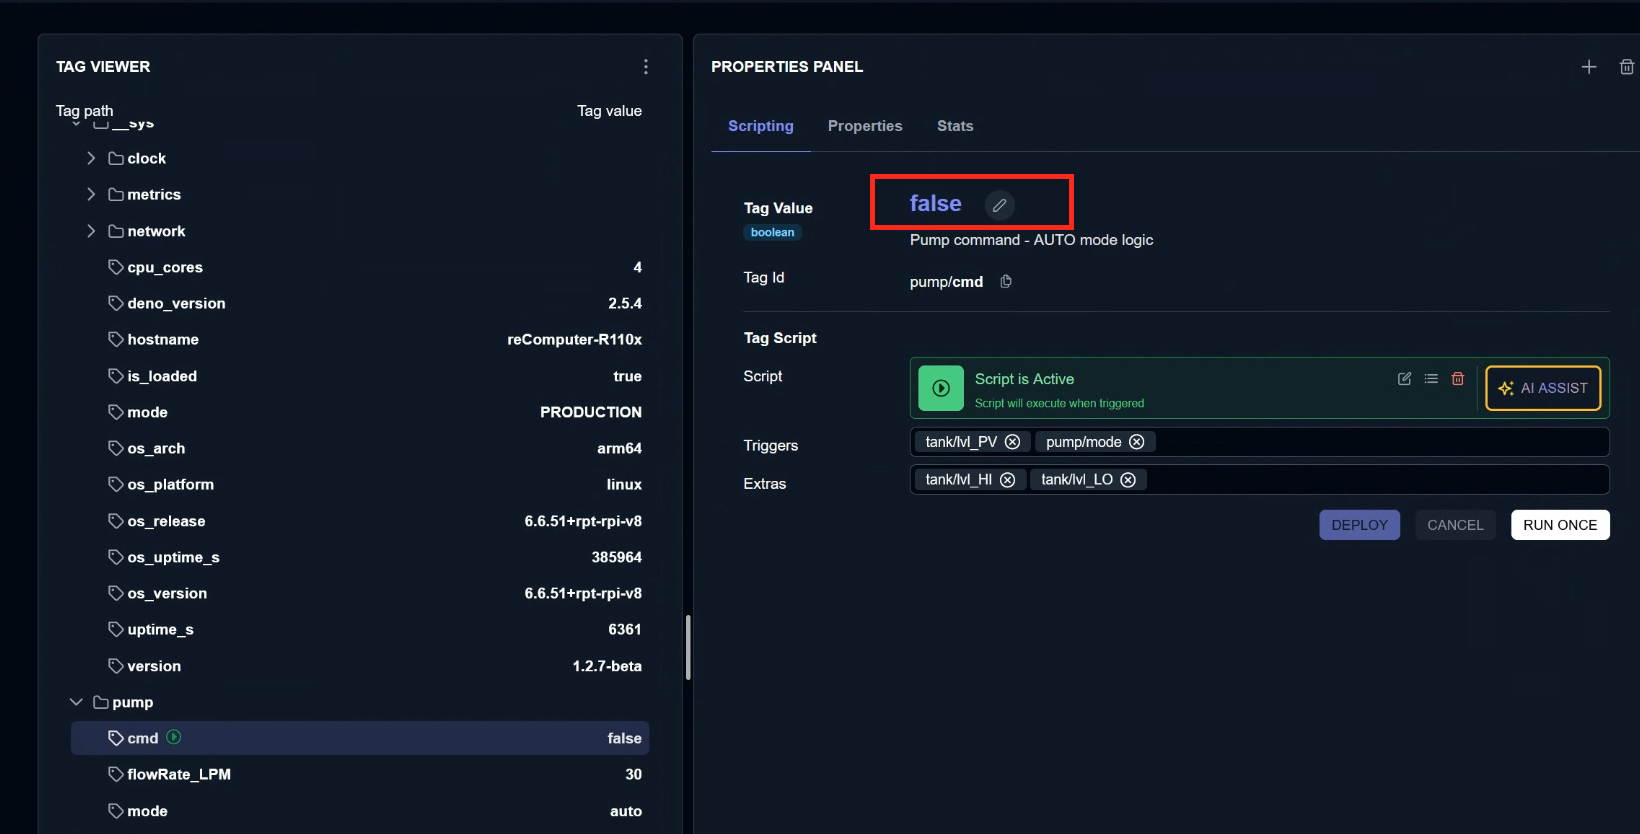
To change the Tag Value, please click the pencil icon next to it.
Set to True.
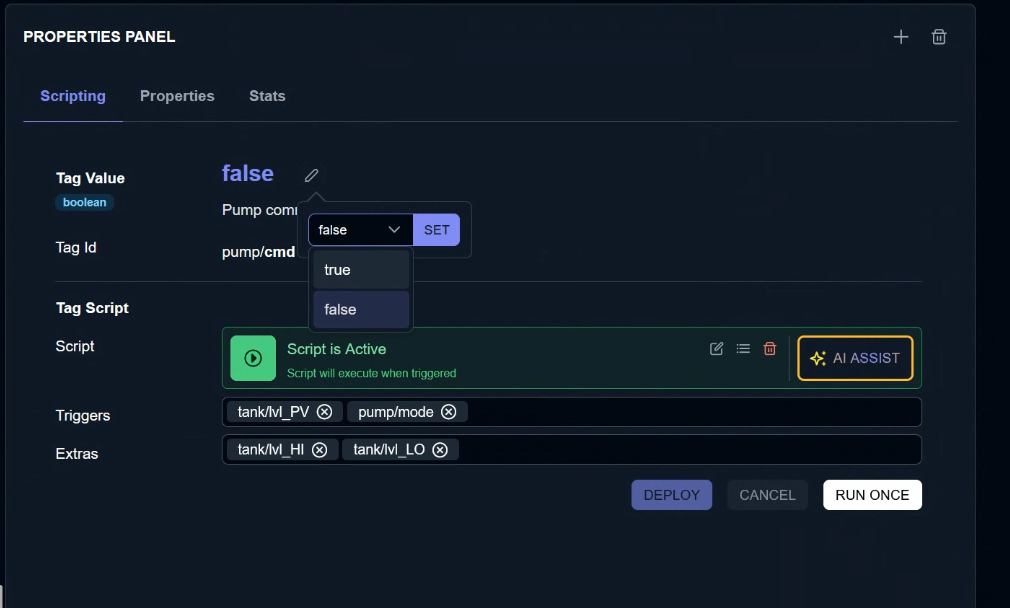
Finally, execute the script once using SET→RUN ONCE.
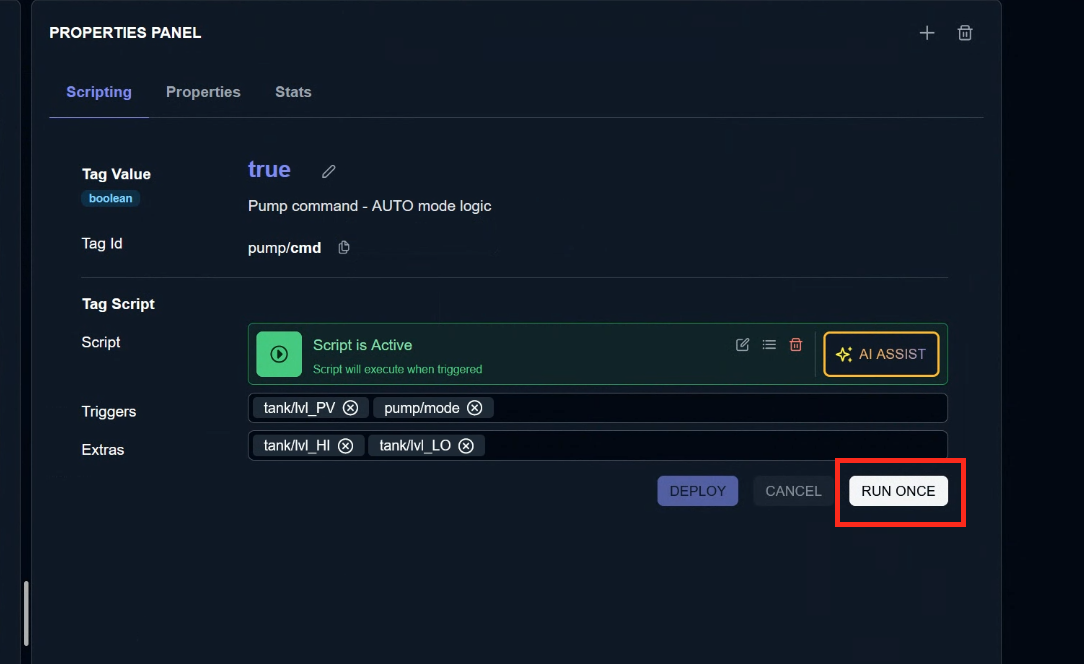
Done!The Tank’s PV value tag is gradually increasing.