In this last tutorial I show you how to add the switch into the Inventory.
This time I will explain how to add the network and Configure some basic settings on the switch.
Reference Link
http://soup01.com/en/category/cisco/meraki-en/
Insert Network
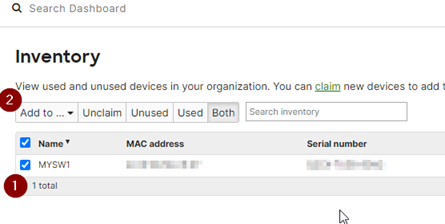
Go to Organization>CONFIGURE>Inventory.

You should see the switch that was inserted before.
Select the switch and click the add to button.
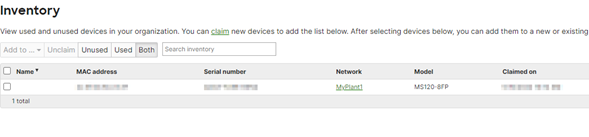
Choose New network and enter the network name, then press the create network and add button to add a new network.

The switch is added into your network group.
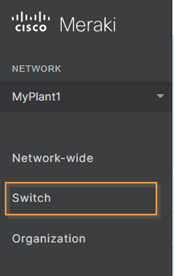
Switch setup
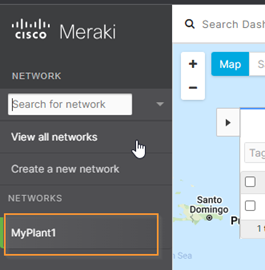
Click the network that you inserted in the previous step.
Switch item is shown in the drop list.
Open the switch and click the switches.
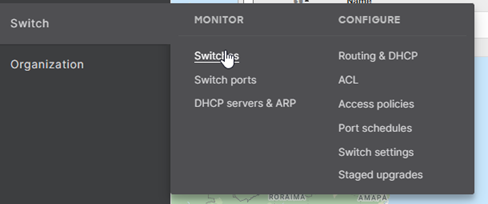
All the devices connected in this network are shown in here.

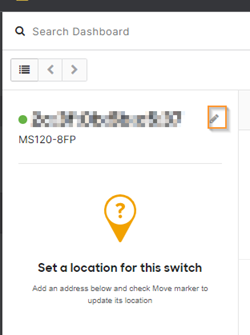
Click on the switch and More detailed information can be viewed here.
For example, whether the device is in online condition or not.
My device is connected to the home router in port 1 and connected to the meraki cloud.
So a small up arrow icon is shown.
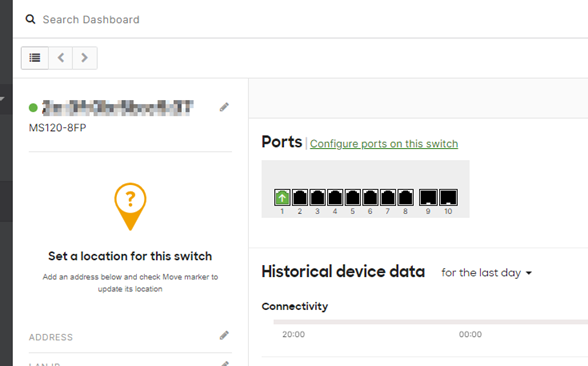
And also the power condition, summary and event history can be viewed.
Change the name
In default the switch name is set as the Mac address and you can change it at any time.
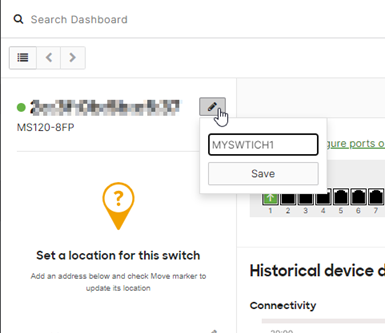
Press the small pencil icon .
Enter your switch name and save it.
your switch is renamed!
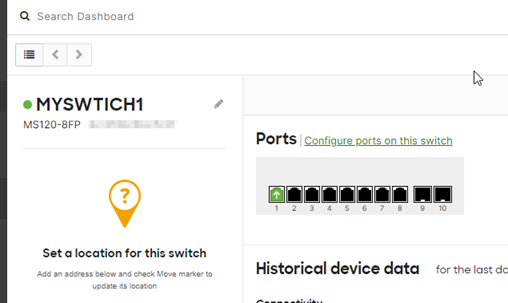
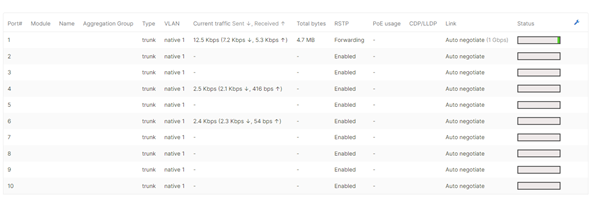
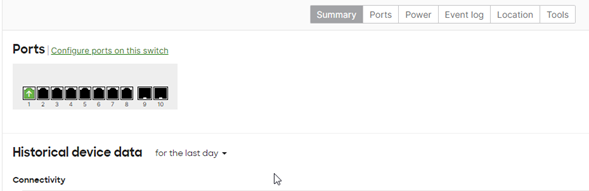
Port Condition
Finally let’s view the port condition now.
Now port1 is connected to the internet and Port4,6 are connected with other devices.
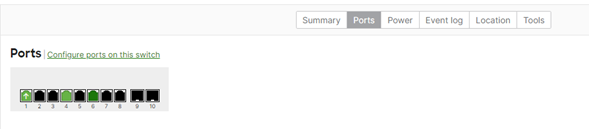
In the Summary view you can get all the information of Speed/Interface Enable/Vlan number..etc.
You do not need to go to the site and plug the ethernet cable and can check it in anywhere..