This is the second part of the Pilz PSS4000 series. In this article, I will create ST blocks from PSS4000 and execute them on the PSSu PLC. The PSS4000 supports IEC 61131 programming and allows the creation of Function Block Types, POU Types, and Function Types.
The programming method I will introduce today is Non-Safety-Related ST Blocks, which can also be executed on both “ST Resource” and “FT Resource” in the PAS4000. The ST resource is not intended for safety purposes and is only applicable for non-safety-related operations (such as start/stop signals). If the signal in question affects the safety operation of the machine, please do not create control programs in the ST resource.
In the PAS4000, the ST resource is shown in green, while the inverse FS block is shown in yellow.

Thanks!
PSSu H PLC1 FS SN SD is borrowed from Pilz Japan, Thanks !!
PILZ
PILZ supports FA sites as a total solution supplier with safety and automation technology solutions, guaranteeing not only human safety, but also machine and environmental safety, to ensure the safe operation of machines and equipment. Pilz has 42 local companies and branches worldwide and is active in various fields such as packaging, the automotive industry, robotics applications, as well as wind power and railway technology.

Office:
ピルツジャパン株式会社
〒222-0033
横浜市港北区新横浜3-17-5
いちご新横浜ビル 4階
HP
Reterence Link
ADD POU
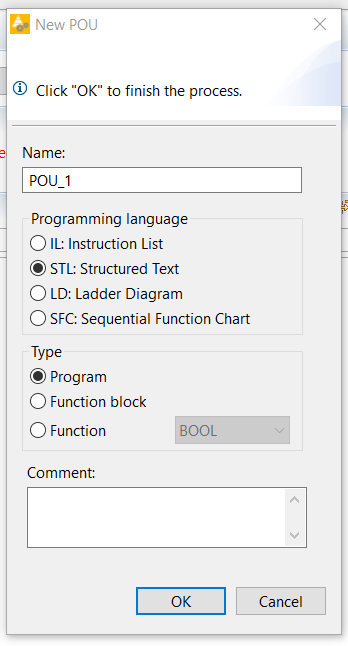
Right Click the IEC61131 programming>New >Device to Add new POU.

You can set 4 programming languages and 3 types of program Type. This time, we use STL (Structured Text), which is the same as Siemens’ SCL and Beckhoff TwinCAT’s ST.
I set the Type to “Program”, but I will introduce Function Block and Function in the Future article, so please enjoy it.
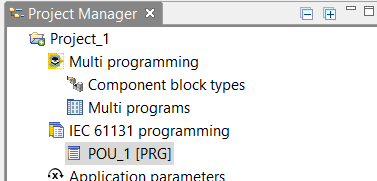
POU_1[PRG] is added.
EDIT
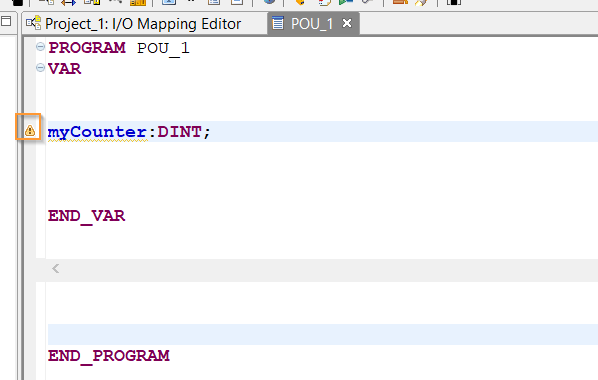
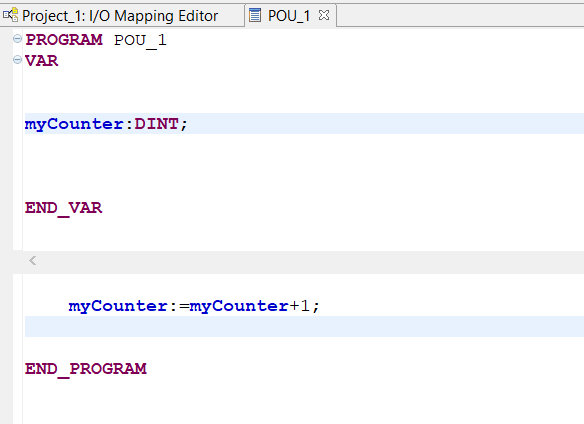
The ST Editor will display when you double click the POU_1 Program unit.

Area1 is the variable declaration area and Area2 is the area where the program is created.

Please declare a variable that is named myCounter of DINT type between VAR and END_VAR. A yellow ICON is attached next to it, but it is a warning that the corresponding variable is not used in the program.
Next, create a very basic program that adds myCoutner in every Cycle. I think the advantage of using STL/ST/SCL is that it can be programmed immediately regardless of the vendor’s PLC.
Build
Compile your project from Build>Build All.

Task Configuration
Set the calling task in the PLC. Click Hardware configuration>Device_0>ST resource.

The Resource Assignment Editor is displayed, and settings such as program call and Task Cycle Time adjustment can be configured from this editor.

Select IEC61131 programming>POU_1 (that is, the program you created earlier) and drop it to Resource >ST resource on the right.
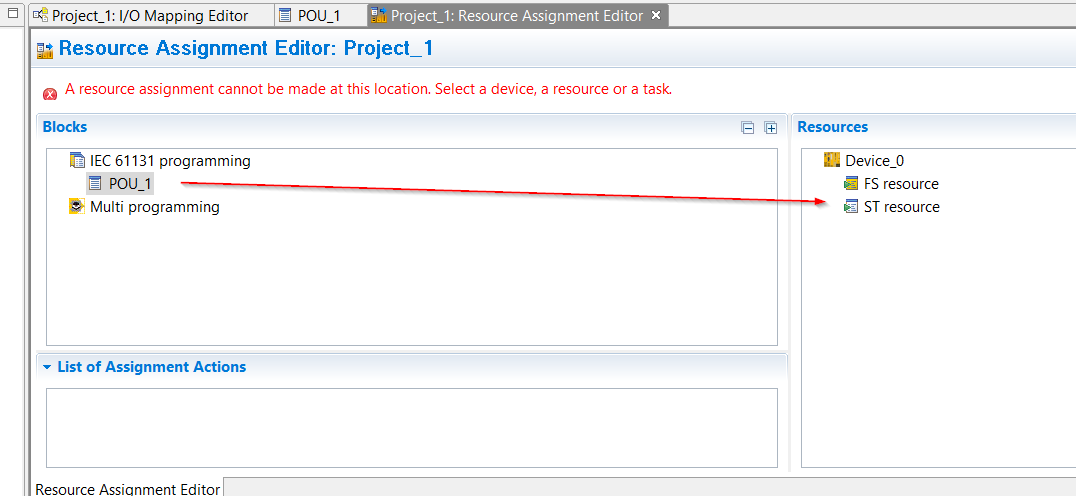
Such an operation like this – . Device_0 now calls POU_1.
In Properties, you can configure settings such as Task cycle and Type.

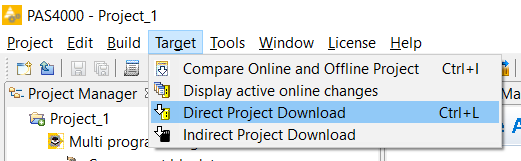
Download
Target>Direct Project Download to Download the Project to CPU.
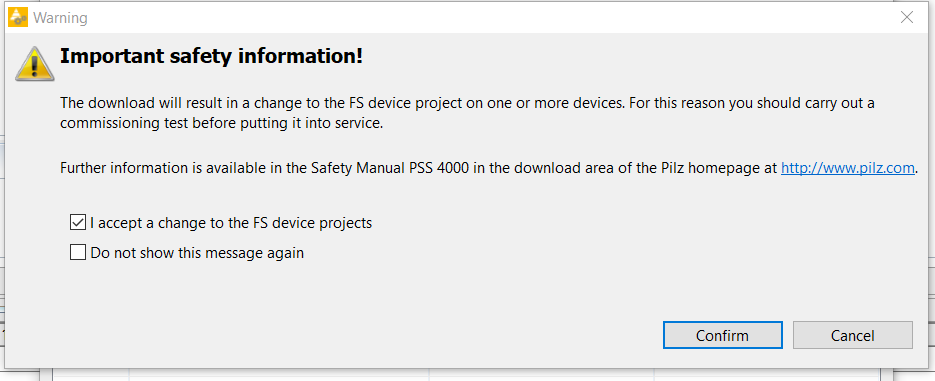
Download Popup is shown and press “Start Download” to start to transfer the program.

Enter the Checkbox of ”I accept a change to the FS device projects”のCheckbox amd press Confirm to Download it.
Just a second..
Done!
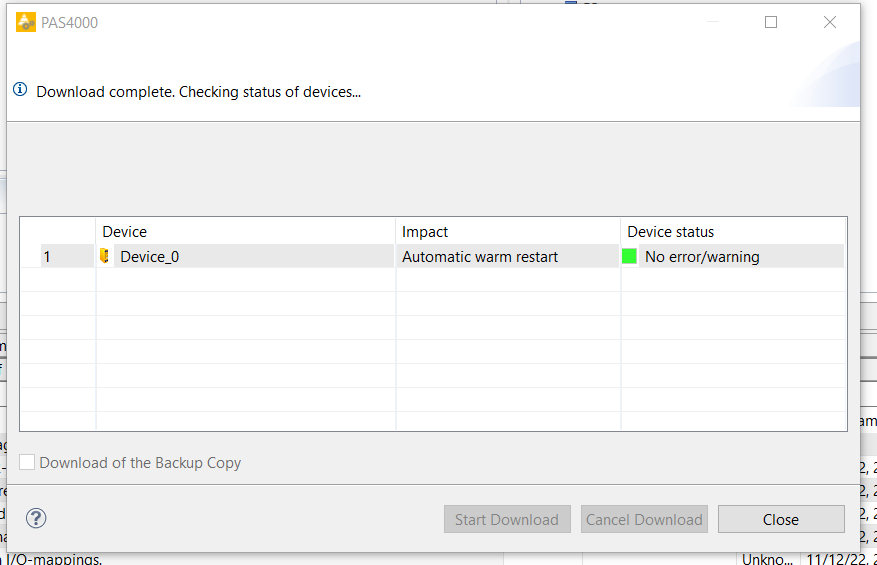
ST RUN of the CPU lights up.

Monitor
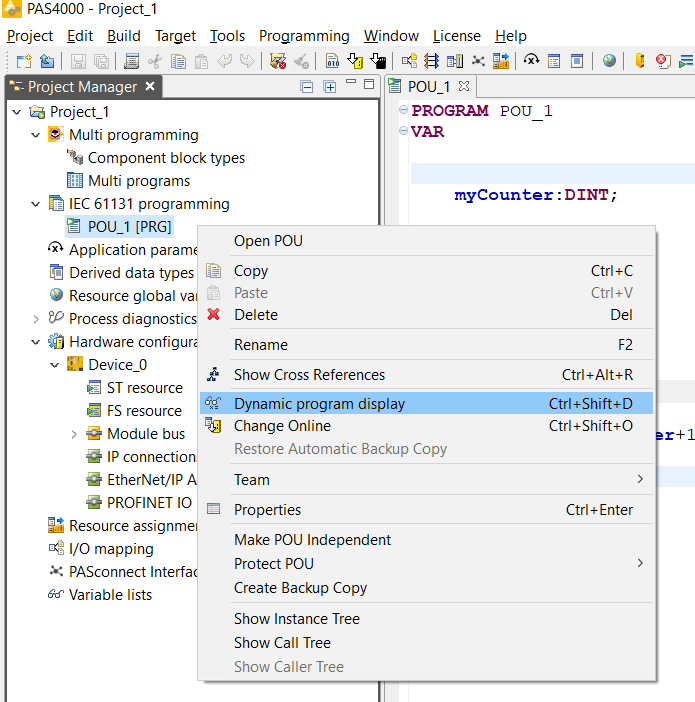
Now we can monitor the program. Right-click POU_1 created earlier > Dynamic program display to monitor Program.
The Monitor screen is displayed under the PAS4000 software.
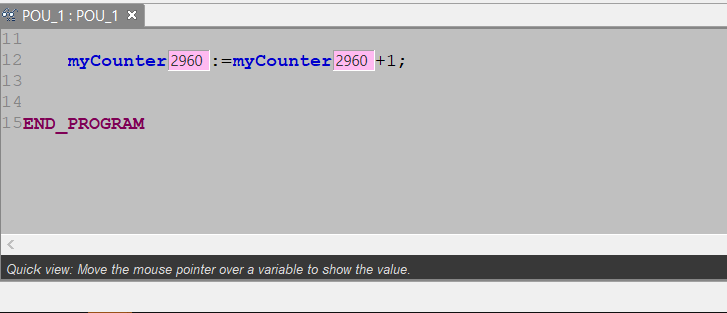
Click “Start dynamic program display” on the right to start Monitor.

Just like this:

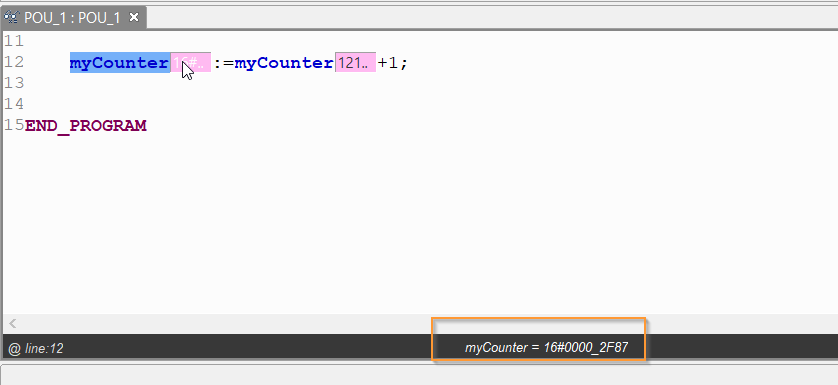
The current value of the variable is also displayed at the bottom of the Monitor screen.
Bonus 1-Show hide declaration
There is a button of Show/Hide declaration part in the Monitor screen.
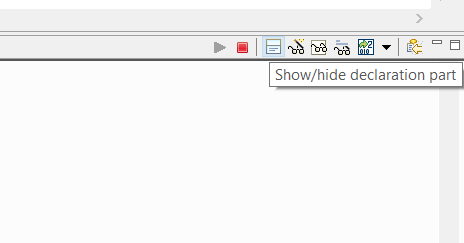
You can show/hide the parts of VAR.._END_VAR in your Engineering tools.
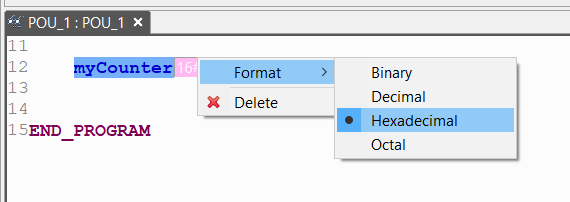
Bonus 2-Show Data in Other Format
Right-click on the variable to display the Format Menu, and you can switch the display with Hex/Bin/Dec/Oct.
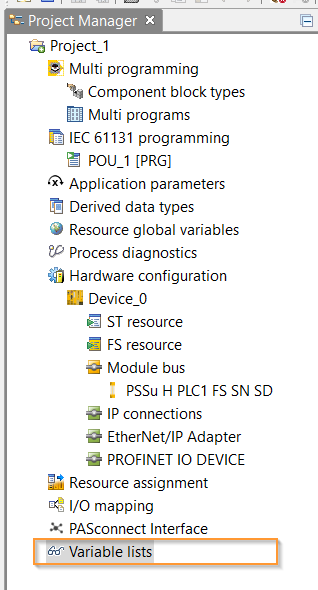
Bonus 3-Variable lists
The last is Variable lists. You will probably use this feature the most. Right-click Show Instance Tree.

The variables currently in the ST resource are displayed from the Instance Tree.
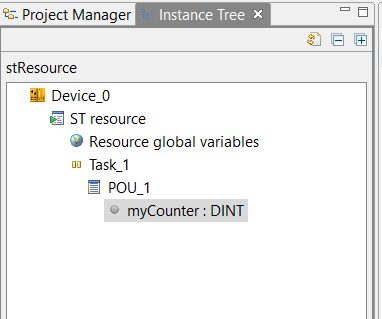
Add Variable to variable List allows you to set variables to be added to the Variable lists.

The myCounter variable has been added to the Variable lists VarList1.
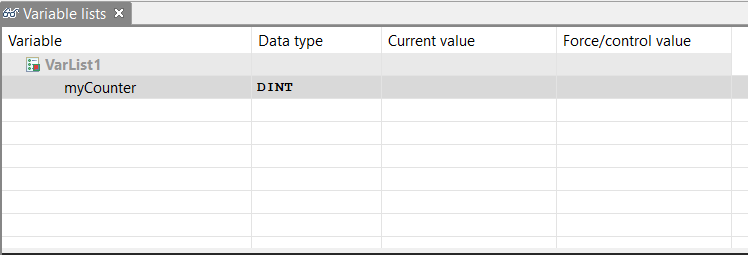
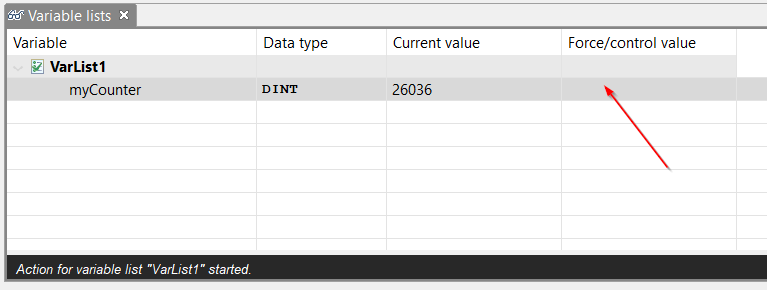
Now you can directly monitor it.

You can change the current value of the variable from the Force/Control value Field.
When clicked, a Force/Control Value Pop up will appear.
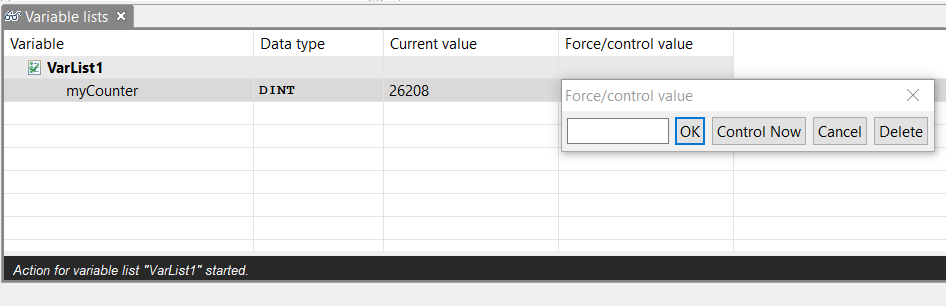
Just like this!
If you click Object in the Variable lists, you can see the variable you just added.