It is a tutorial series about Pilz Safety Controller PSSU PSSu H PLC1 FS SN SD. First, I will introduce the download of the tool, the startup of the PLC, and the firmware update.
Let’s Start!
Thanks!
PSSu H PLC1 FS SN SD is borrowed from Pilz Japan, Thanks !!
PILZ
PILZ supports FA sites as a total solution supplier with safety and automation technology solutions, guaranteeing not only human safety, but also machine and environmental safety, to ensure the safe operation of machines and equipment. Pilz has 42 local companies and branches worldwide and is active in various fields such as packaging, the automotive industry, robotics applications, as well as wind power and railway technology.

Office:
ピルツジャパン株式会社
〒222-0033
横浜市港北区新横浜3-17-5
いちご新横浜ビル 4階
HP
Downlaod
Please download the Setup file from this link:

Install
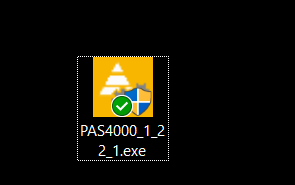
Unzip the PAS4000 installation file>Launch the exe file.
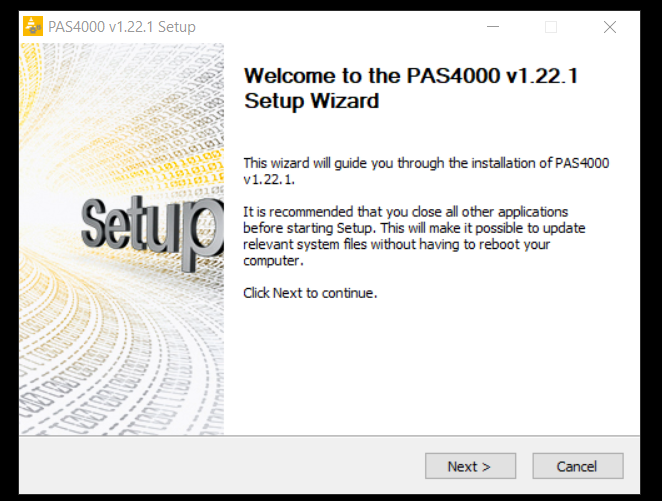
Installation is started.

Next>.
Agree the Licnese.

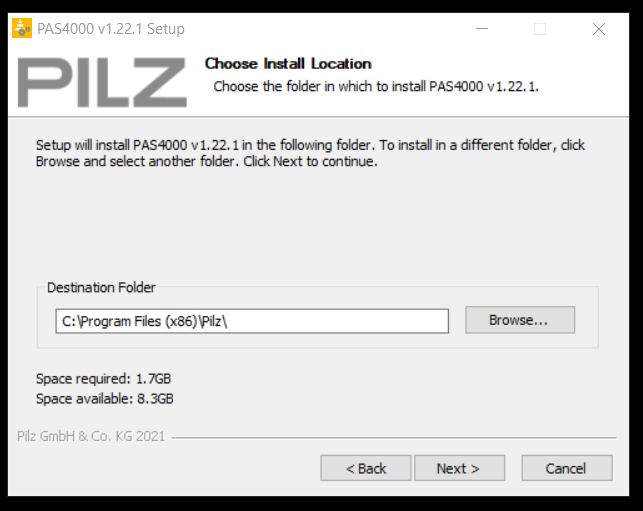
Configure the installation Directory>Next.
Install it!

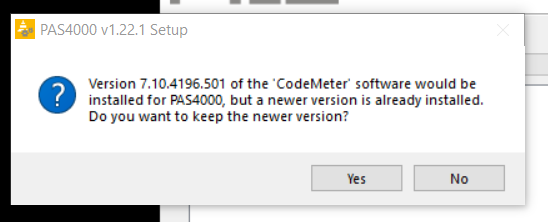
Would you want to keep the CodeMeter as the newest version?Yes.
Please wait a mins..

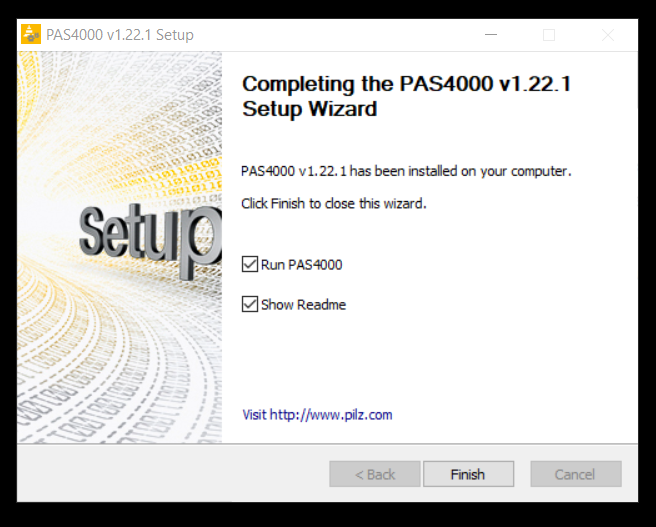
Done!
Connect the LAN Cable!
Connect your PC with the LAN port on the Pilz CPU.

Power Supply
Please do not forget to supply the 24v DC to the Connector X1 and X2.

Start your PAS4000!
Start your PAS4000 Software!

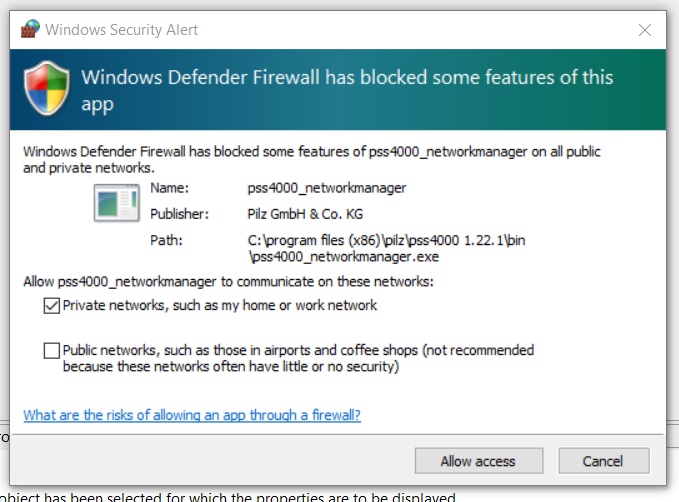
Please click “Allow access” if there are some Windows Security Alerts shown.
Same as the previous one.

Done!PAS4000 is started.

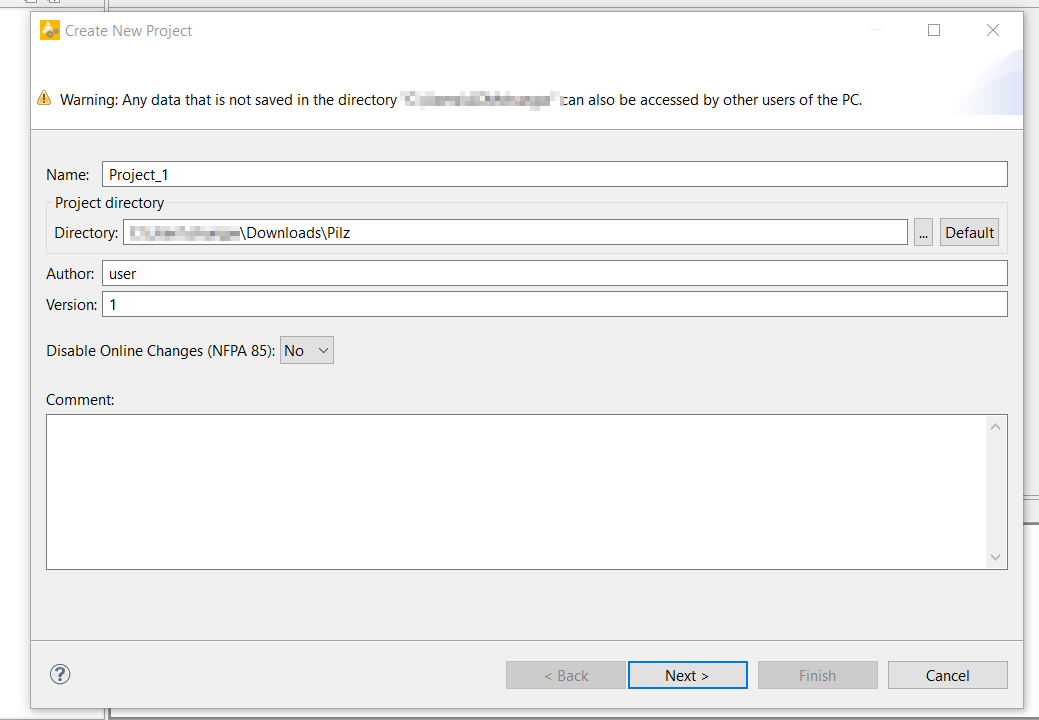
New Porject
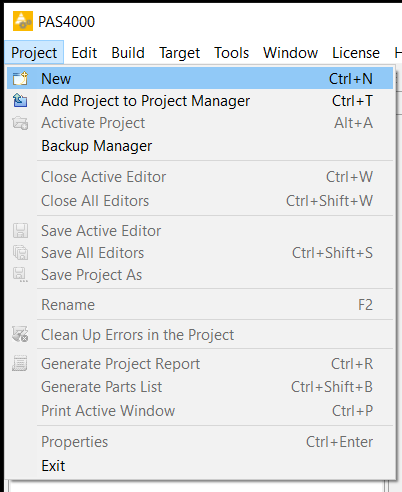
Go to Project>New to create a new project.
Enter your project name and Next.
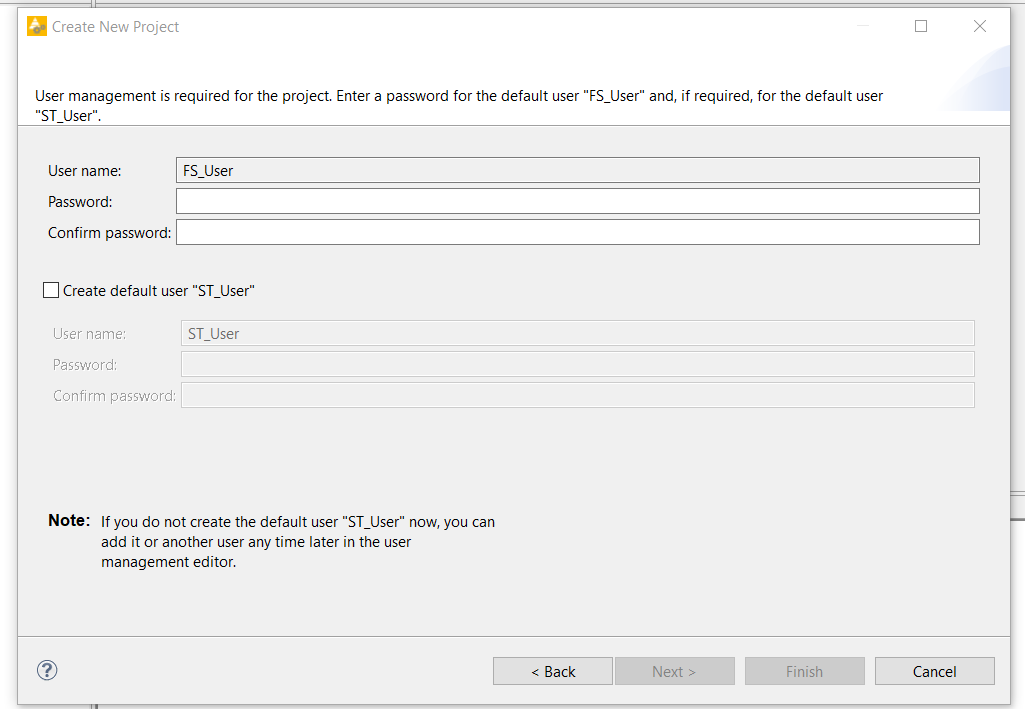
Now you need to configure the password of your project – and the User name is FS_User.
Finish!
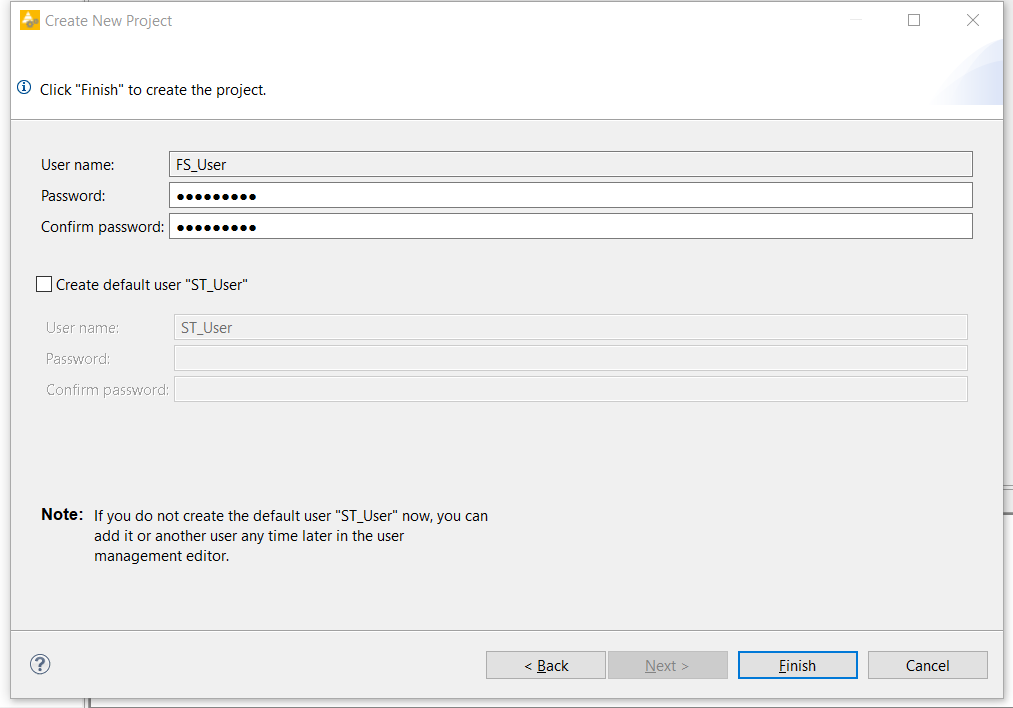
Project is created.

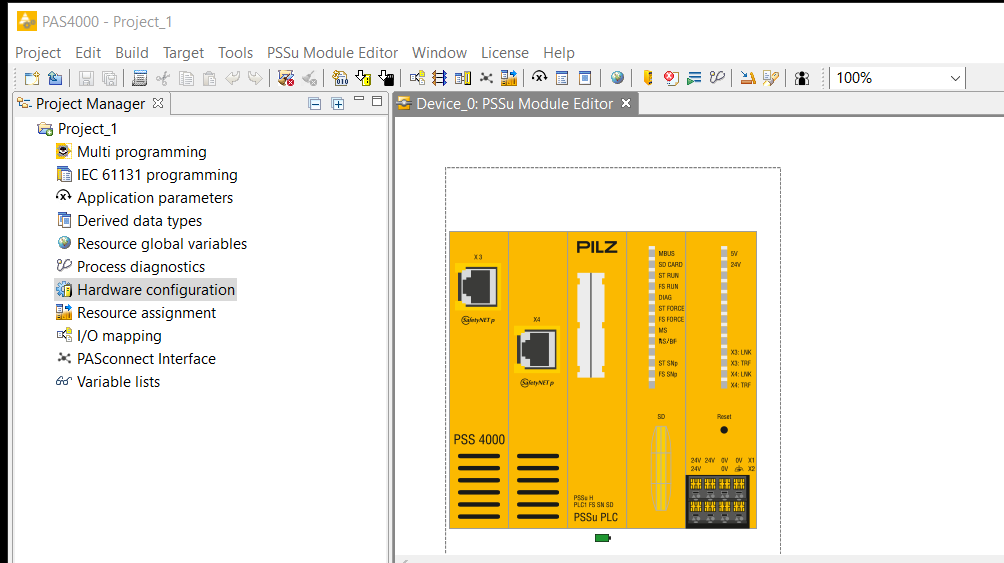
Add new PLC
Now we can insert the PLC in our project. Go to Hardware configuration>Right Click>Select New Device.

PSSu H PLC1 FS SN SD is used in our tutorial – Choose PSSu H PLC1 FS SN SD in the Product Type field, but also the Firmware
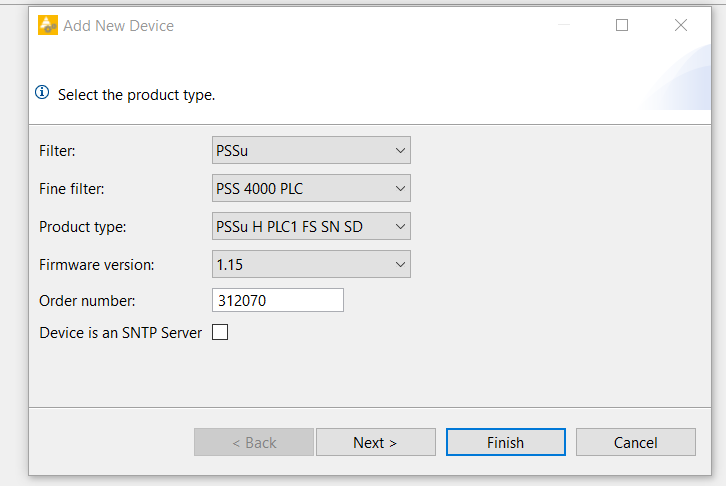
Done!PLC is inserted.
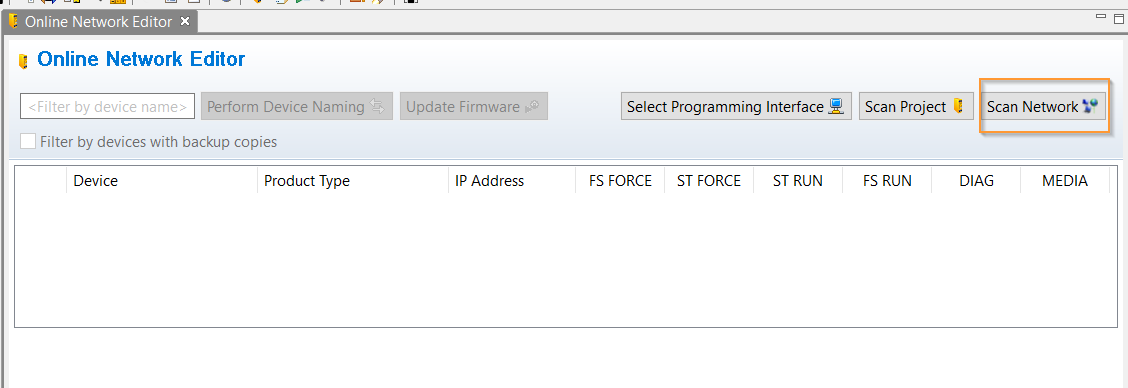
Search Device
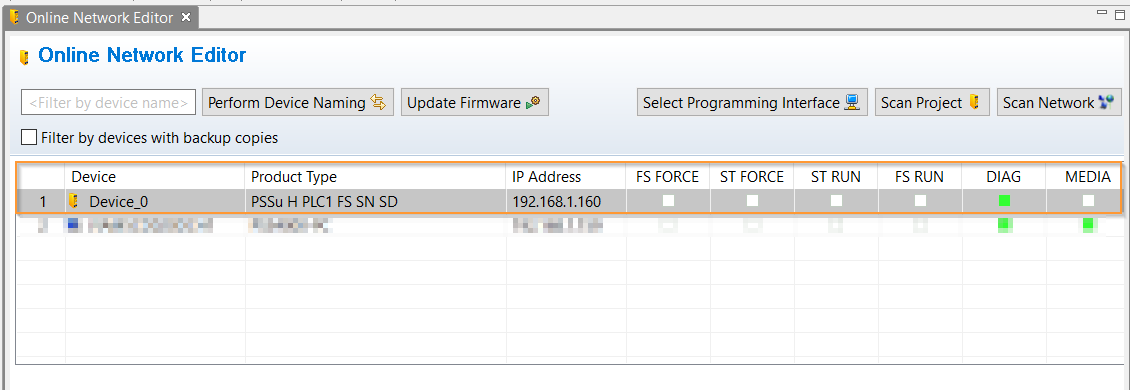
Click the “Online Network Editor” to start searching your CPU.

Click the “Select Programming interface” to configure your network interface.

Select the Network adapter and ip >OK.

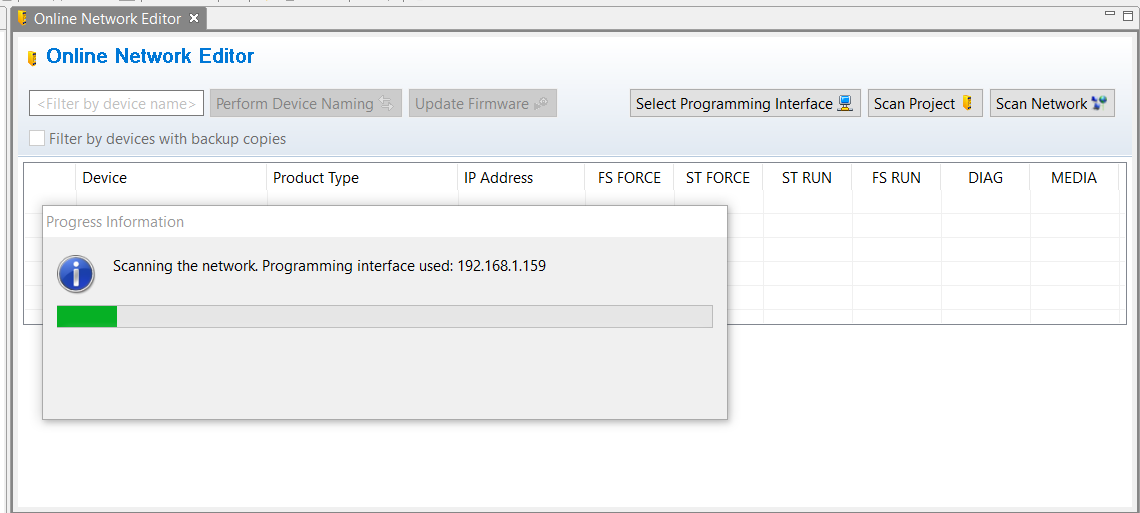
Press the Scan Network button to search your CPU now.
please wait a minute..
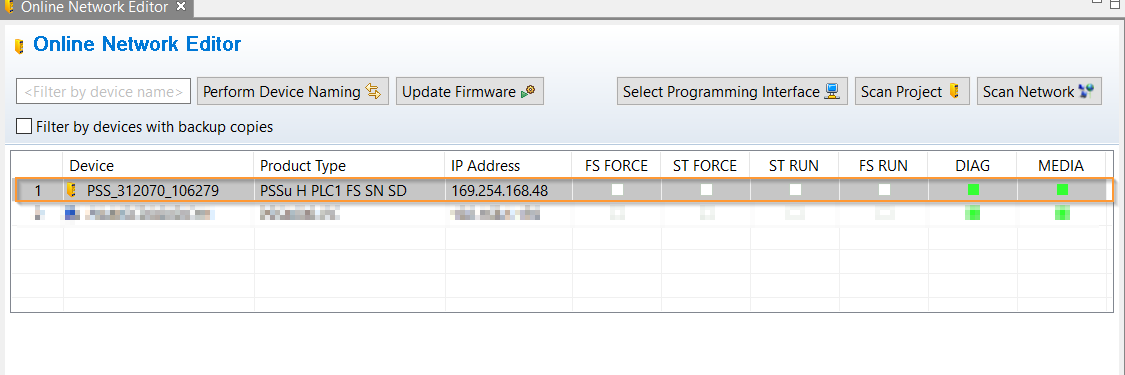
DonE!PSSu H PLC1 FS SN SD is found!
Do not Forgot the SD Card!
Please do not forget to insert your SD Card in the CPU!
https://youtube.com/shorts/_zOXodbSwQc
Download
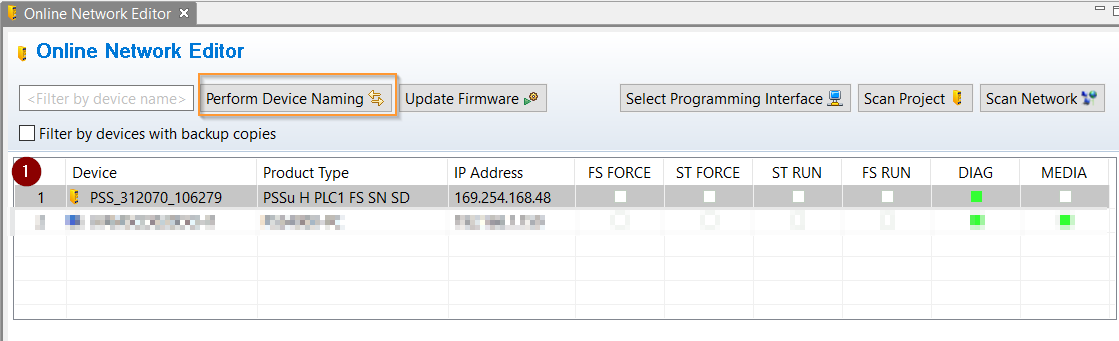
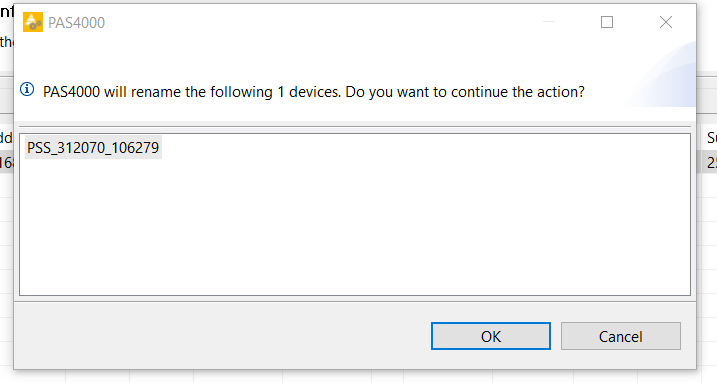
Select the PLC and Click “Perform Device Naming” to assign the device name to your CPU.
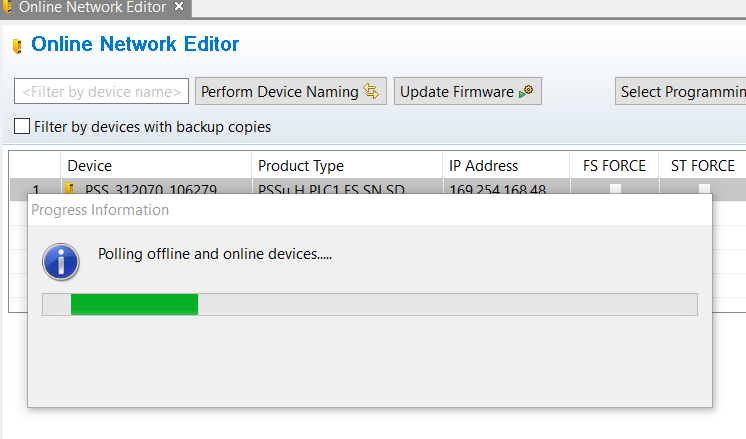
Please wait a minute..
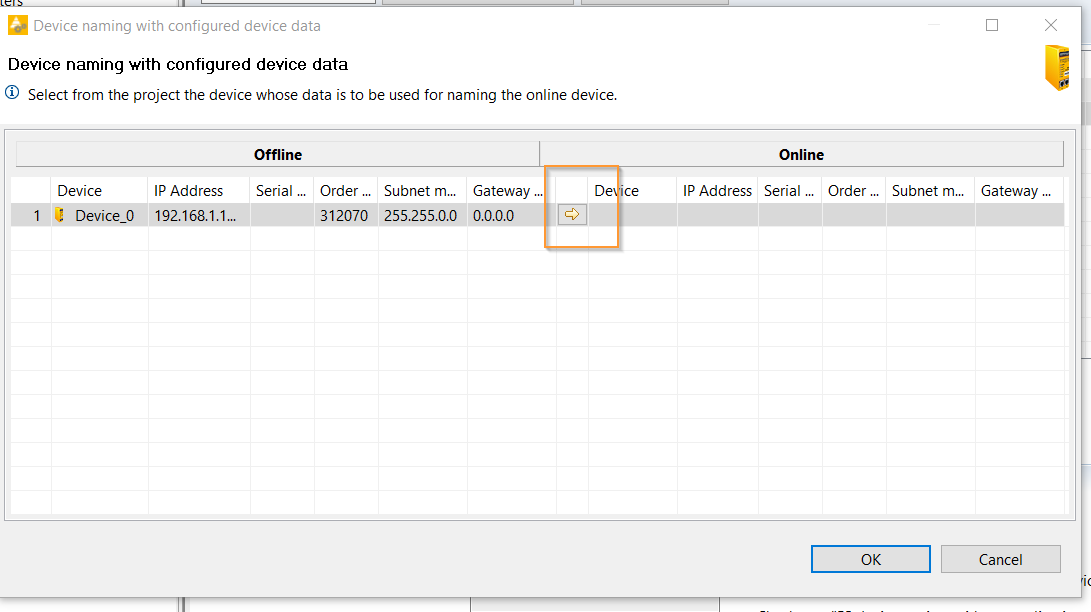
Device naming screen is shown, and please click the yellow button.
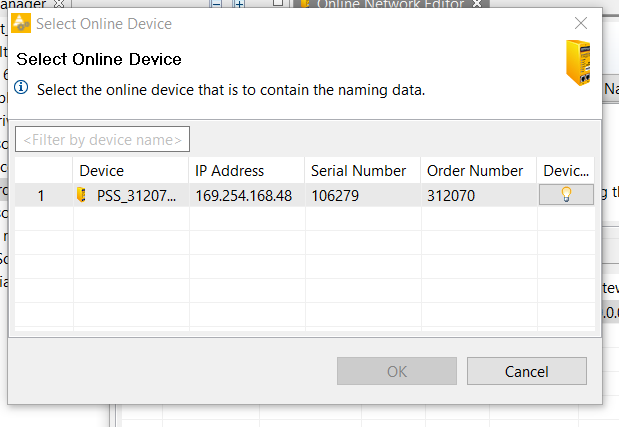
A popup of Select Online Device is shown.
There is a Device identification function to help you identify the target is really which you need , if servals cpu is installed in your application.

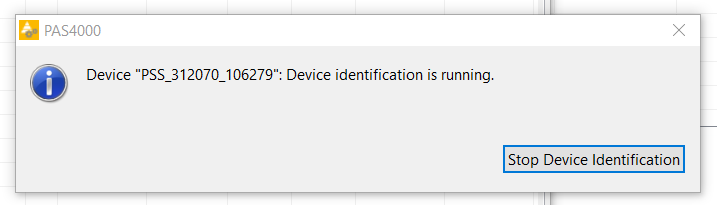
Here is the LED status while the Device identification function is running.
Select the PLC and OK.
Please wait a minute..
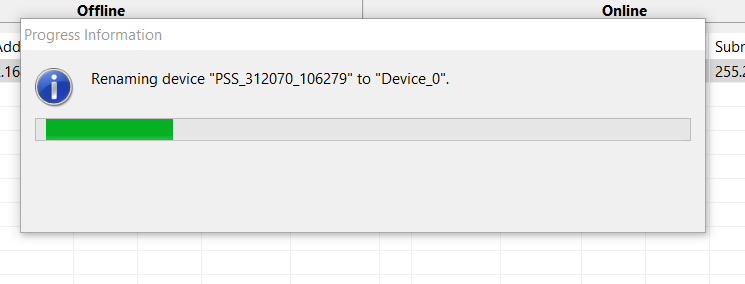
Done!Device Name is changed and PLC will re-start again.
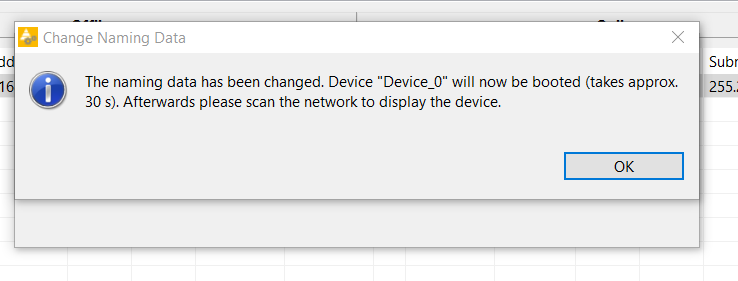
Now we can confirm if the device name is changed or not by using the “Scan Network” Function.

Done! IP is changed.
Update firmware
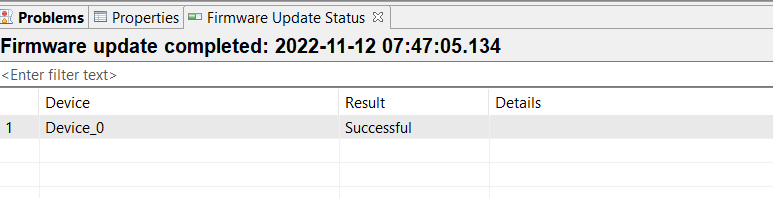
Now we can update the firmware.Go to Online Network Editor and click the Update firmware button.

Choose your target > Start firmware update to start the firmware update.

If you see a “updating firmware..(xx%) “ is shown , the update process is running.

Done!
And we can check the firmware version from the Online network editor also.

Diagnostic Log
FInally we can check the Diagnostic information by Tools>Diagnostic Log.
