In this article, we introduce the next generation of Solution, which enables automatic generation of PLC code from Beckhoff TwinCAT3 and PLCOpenXML-compatible model definitions in Selmo Studio, thanks to Selmo Studio for lending us the Trial License.
Let’s get started!

Selmo?
Selmo was founded in 2018 with Selmo Automation GmbH, followed by Selmo Technology GmbH in 2019, which filed an international patent application in 2021, achieved academic proof of solving the state explosion problem in 2022 and was nominated for the prestigious Austrian s national patent award nomination for the next generation of Automation Solutions.

Selmo Studio?
Selmo Studio is also a Solution that can significantly reduce software development time, replacing conventional manual programming with process Model and automatic conversion to error-free PLC code. This allows even people with no programming knowledge to automate machines efficiently.
Selmo Studioha is an excellent Solution that can automatically define all machine states and convert them into error-free PLC code, programmed using drag-and-drop only, making Selmo Studio easy and efficient to use, even for users without programming skills. Selmo Studio can be used easily and efficiently even by users with no programming skills.

4 steps to your ready-to-use software
There are four main steps to automatically generating code in Selmo Studio.
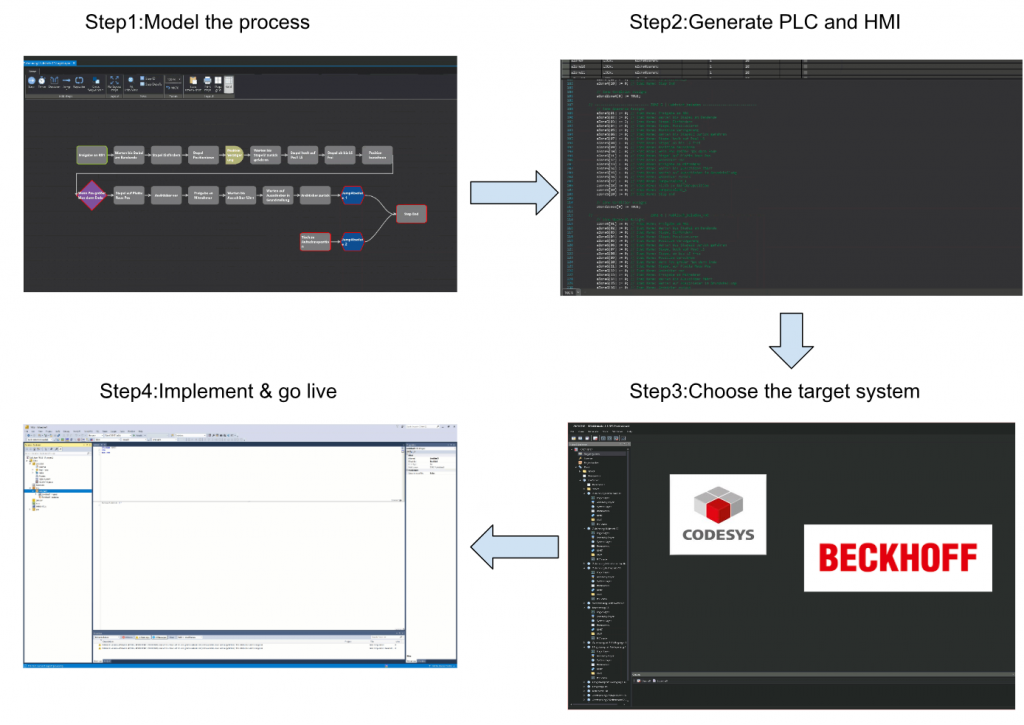
Step1 Model the Process
First, the Process of the machine is defined and converted into a model based on the required functions. The only operation required then is Drop-Down.
Step2 Generate PLC and HMI
The next step is to generate the PLC code (PLCopen XML) and HMI from the model created from Step 1.
Step3 Choose the target system
Simply select the target system to which you want to export the PLC code. Models can be generated for any PLC open hardware.
Step4 Implement & go live
Once the code has been generated, implement it in the target system and you are done. All you need to do is perform IO checks and then start and commission the system with the HMI automatically generated by Selmo Studio.
Installation
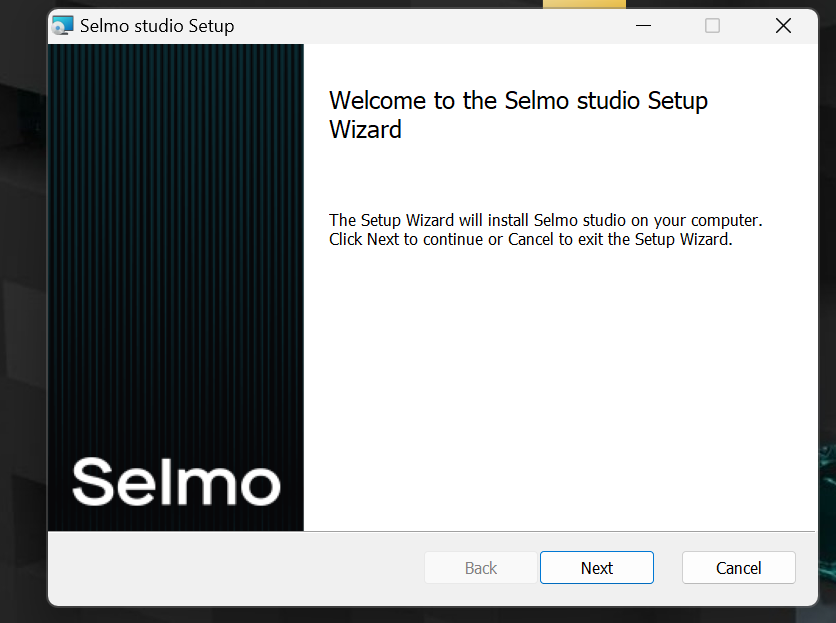
You will receive an Installation File from Selmo to start the installation.
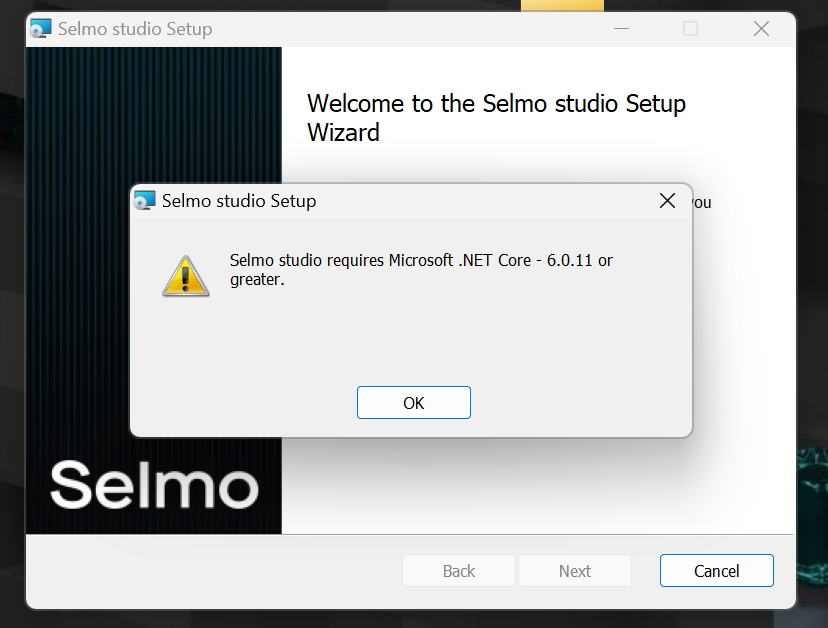
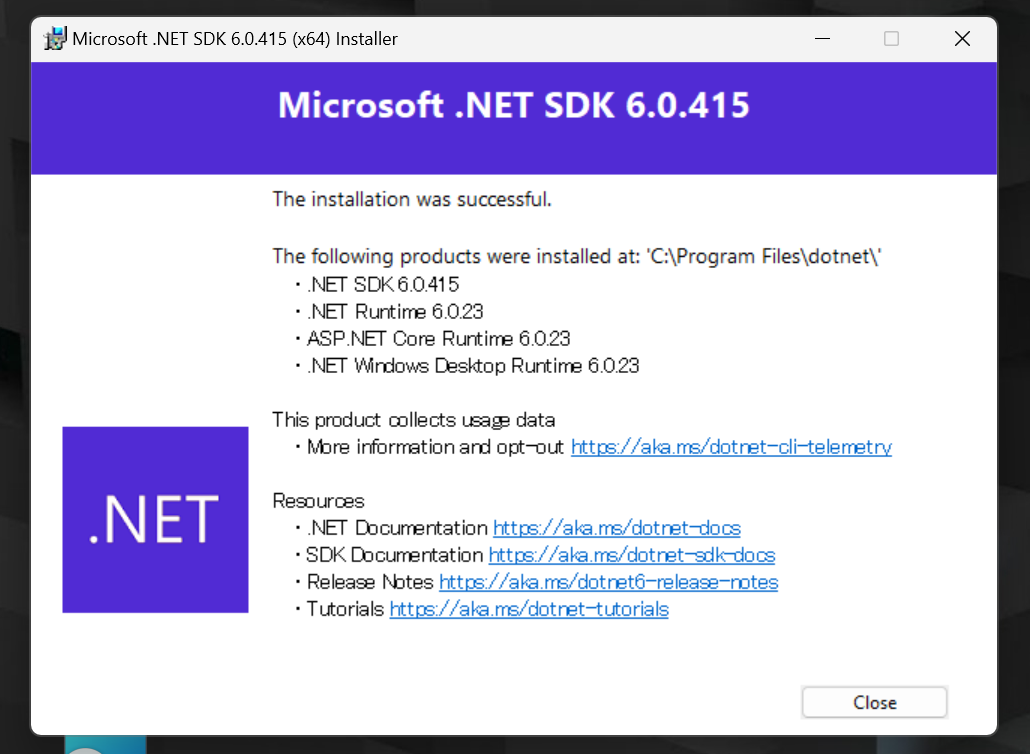
Selmo Studio requires .NET Core -6.0.11 or higher and will generate an error if the PC is not installed.
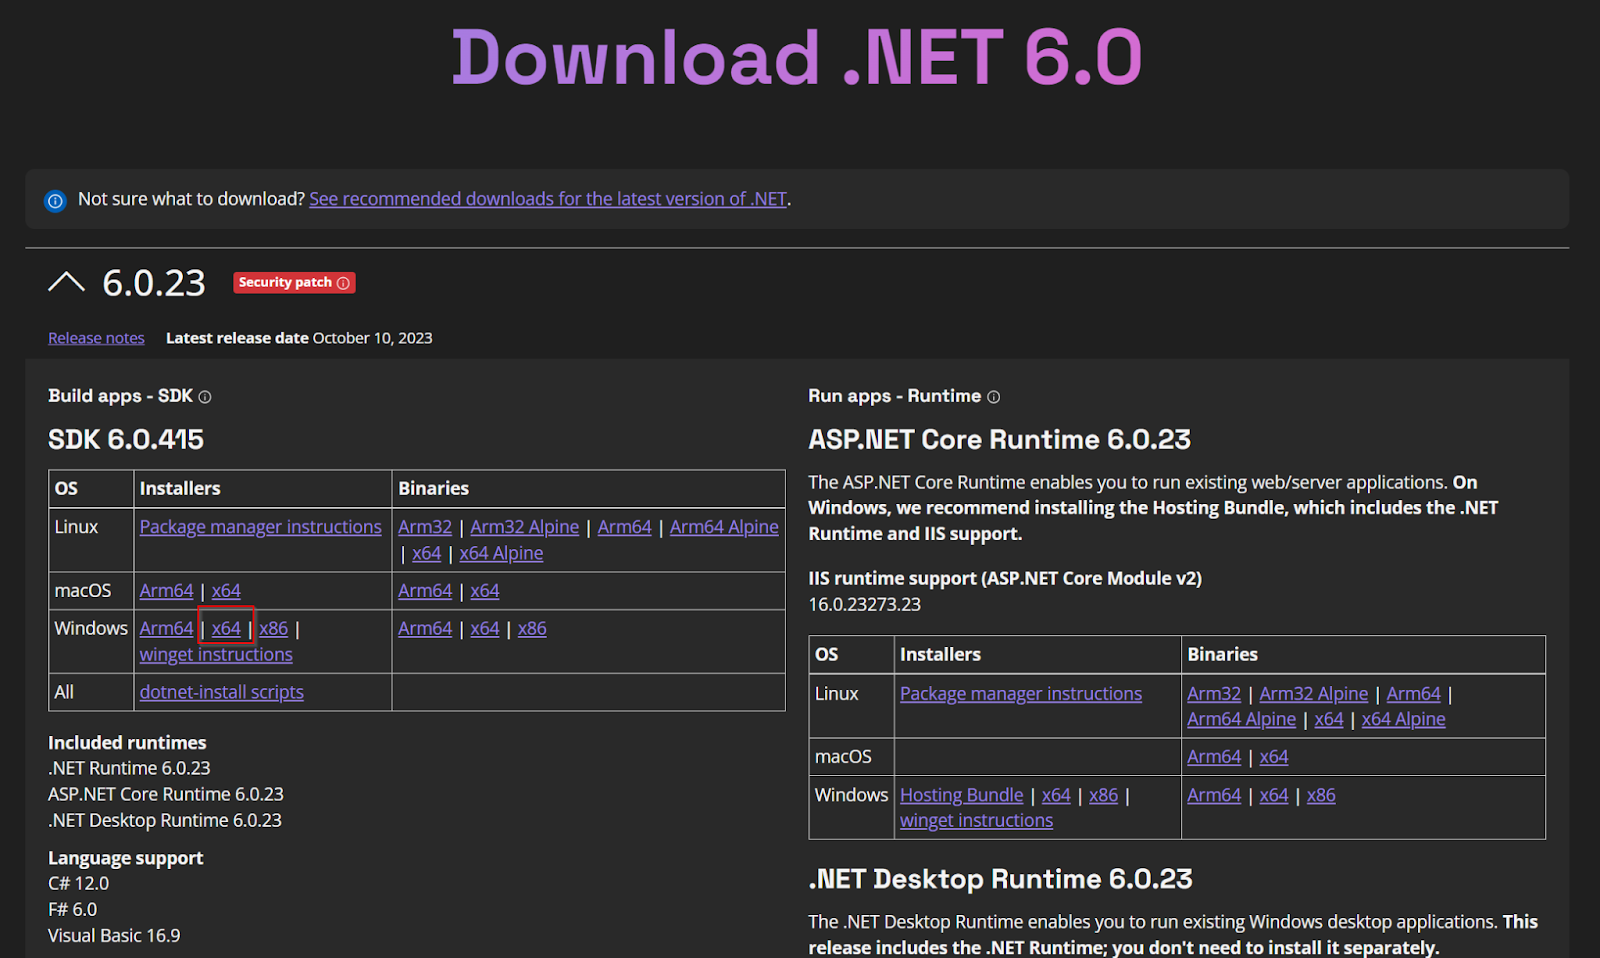
.NET 6.0
Download .NET 6.0 from the Link below.
https://dotnet.microsoft.com/en-us/download/dotnet/6.0
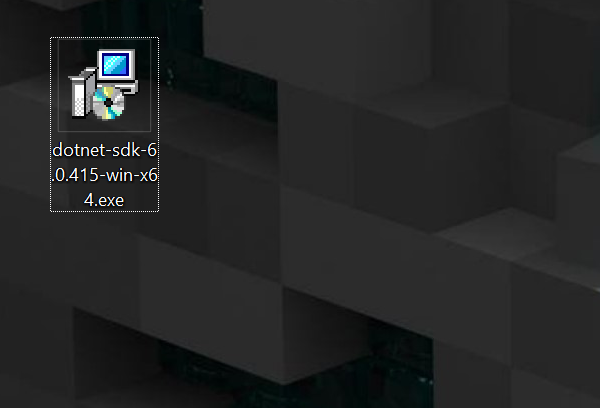
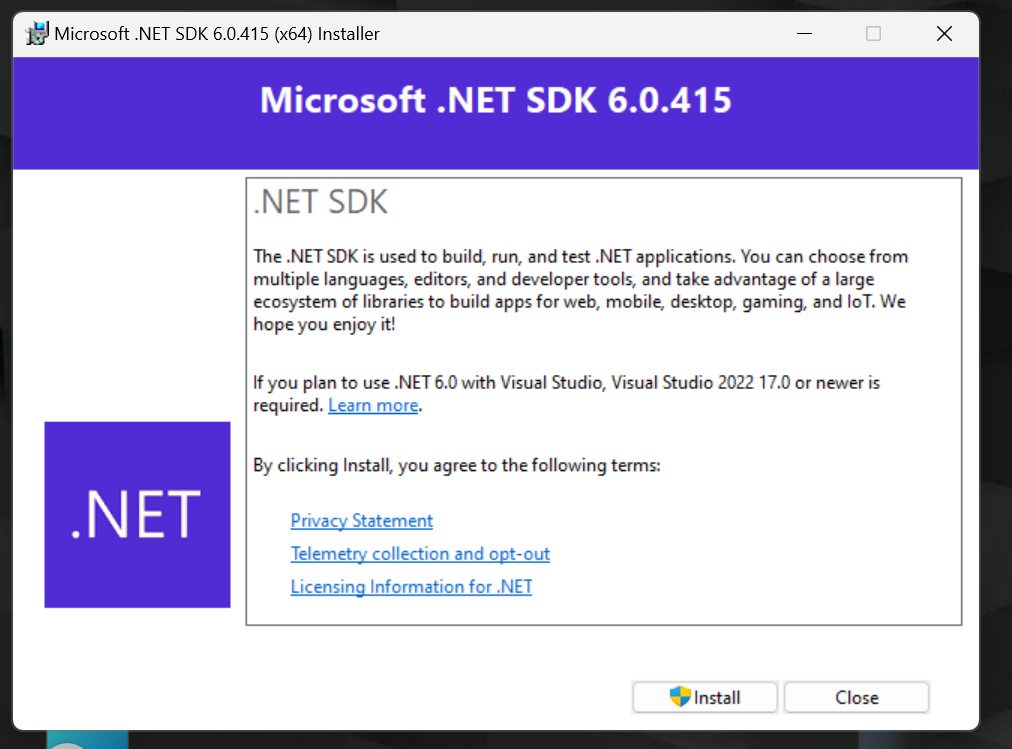
Launch the Downloaded File.
Proceed with Install.
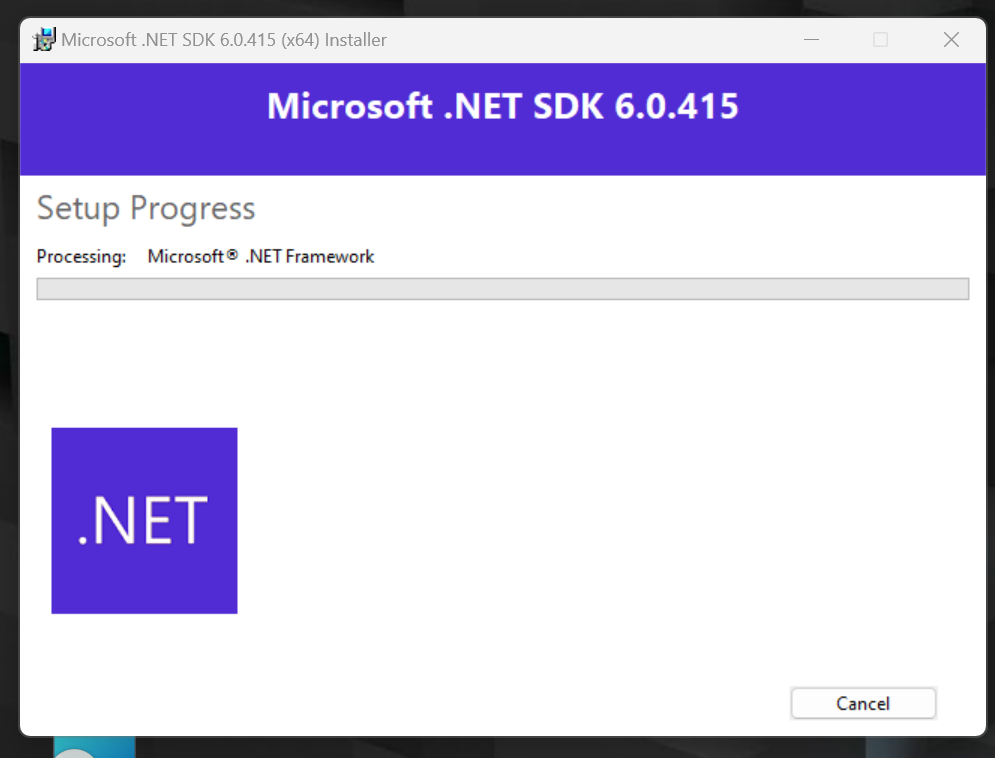
Just a second..
Done!
Again
This time there are no more errors in the installation of Selmo Stuido Proceed with Next.
Agree to the license and proceed with Next.
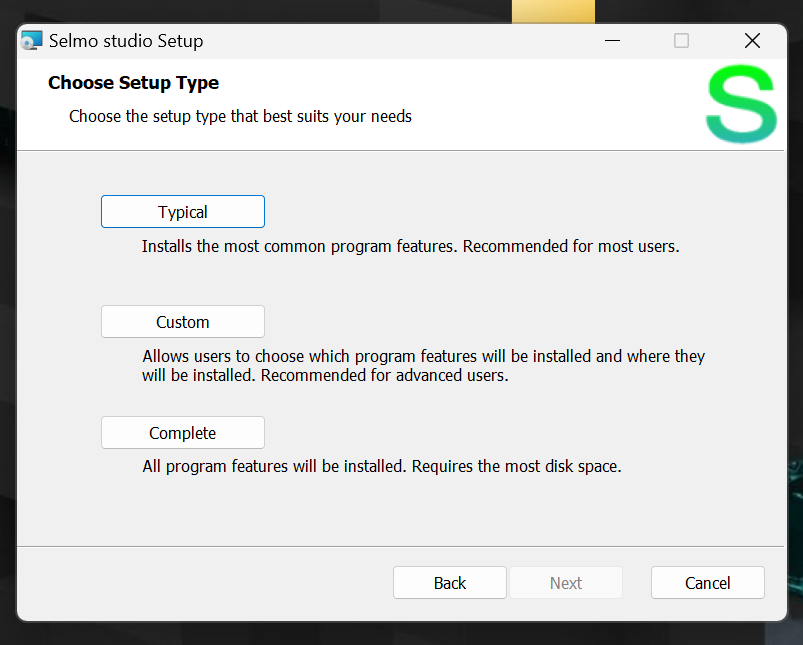
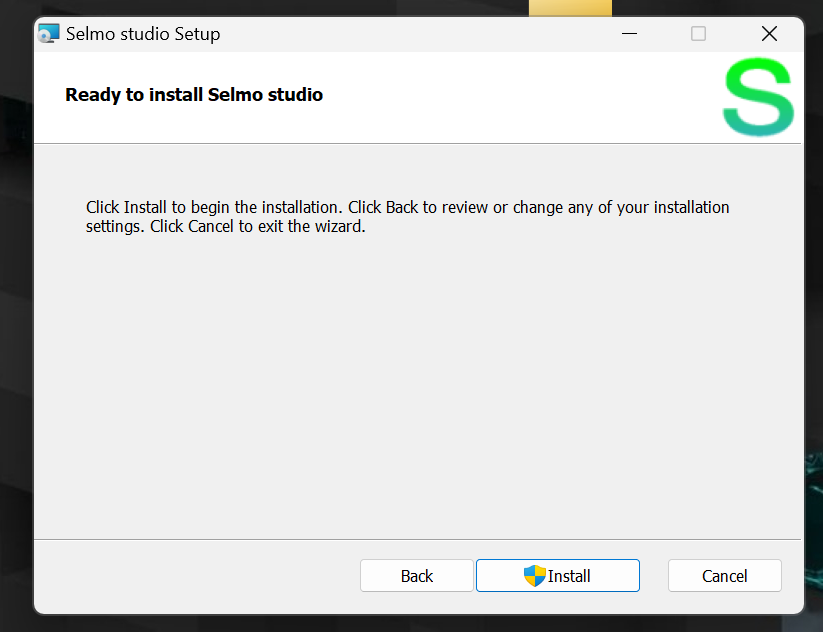
It is safest to install as Complete option.
Click on the Install button to proceed.
Just a second..
Done!
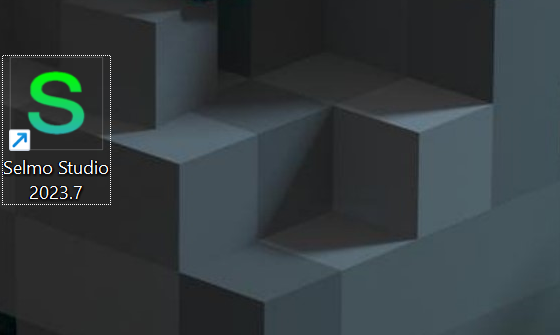
Start your Application!
A Selmo Studio ShortCut is automatically created on your Desktop, so start the application.
Just a second..
Enter License
A license is required to use Selmo Studio.
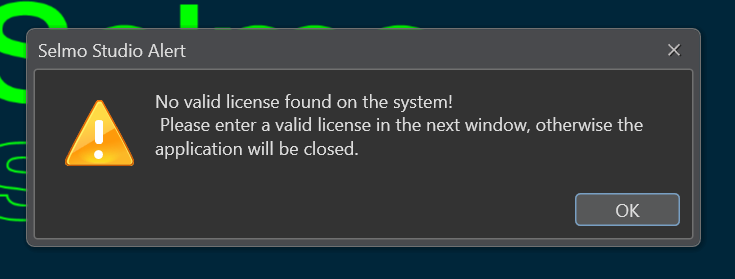
Click OK and the screen changes to the licence installation screen.
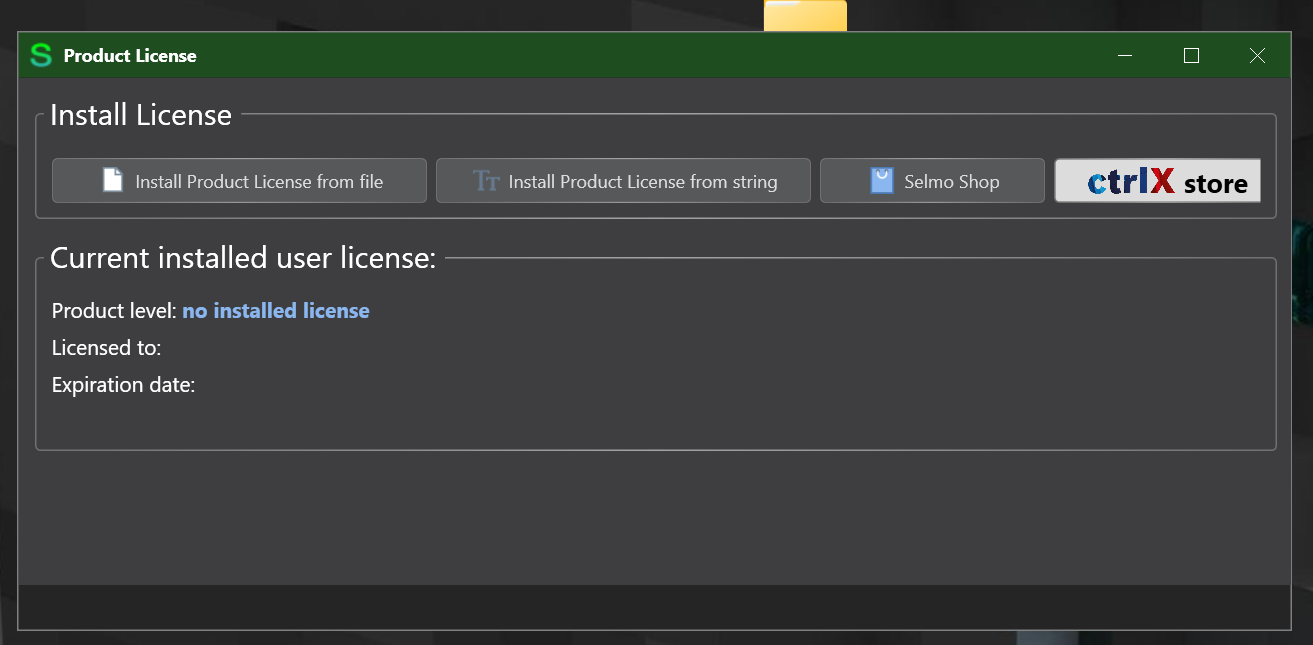
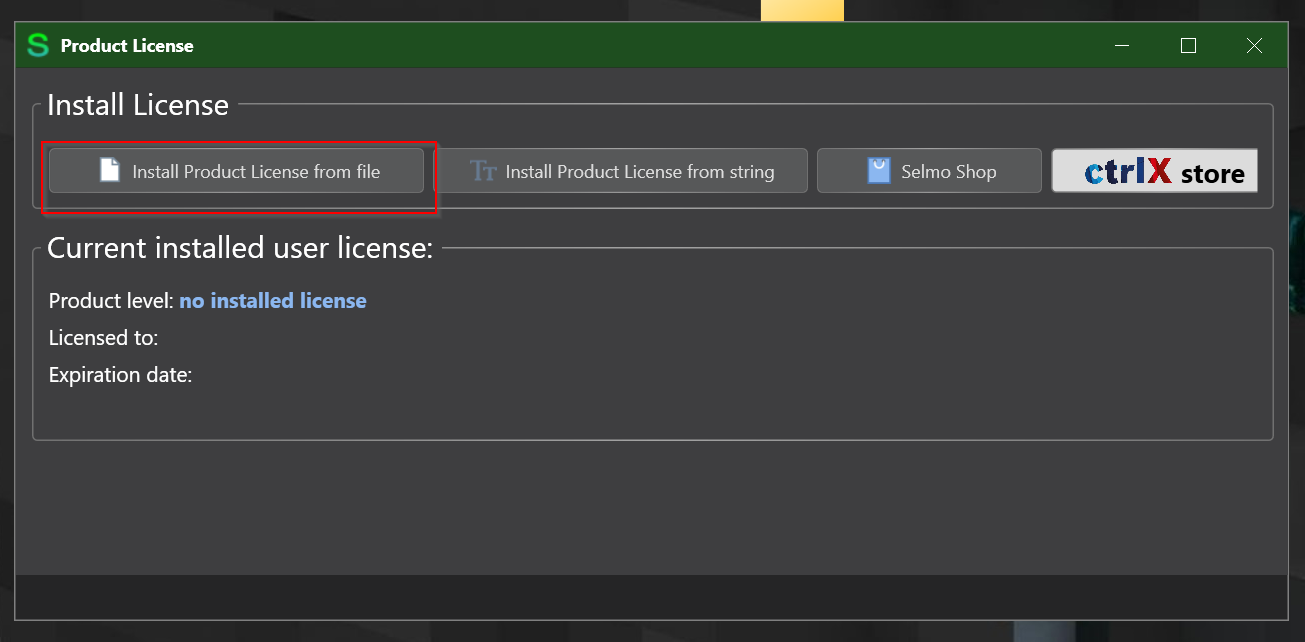
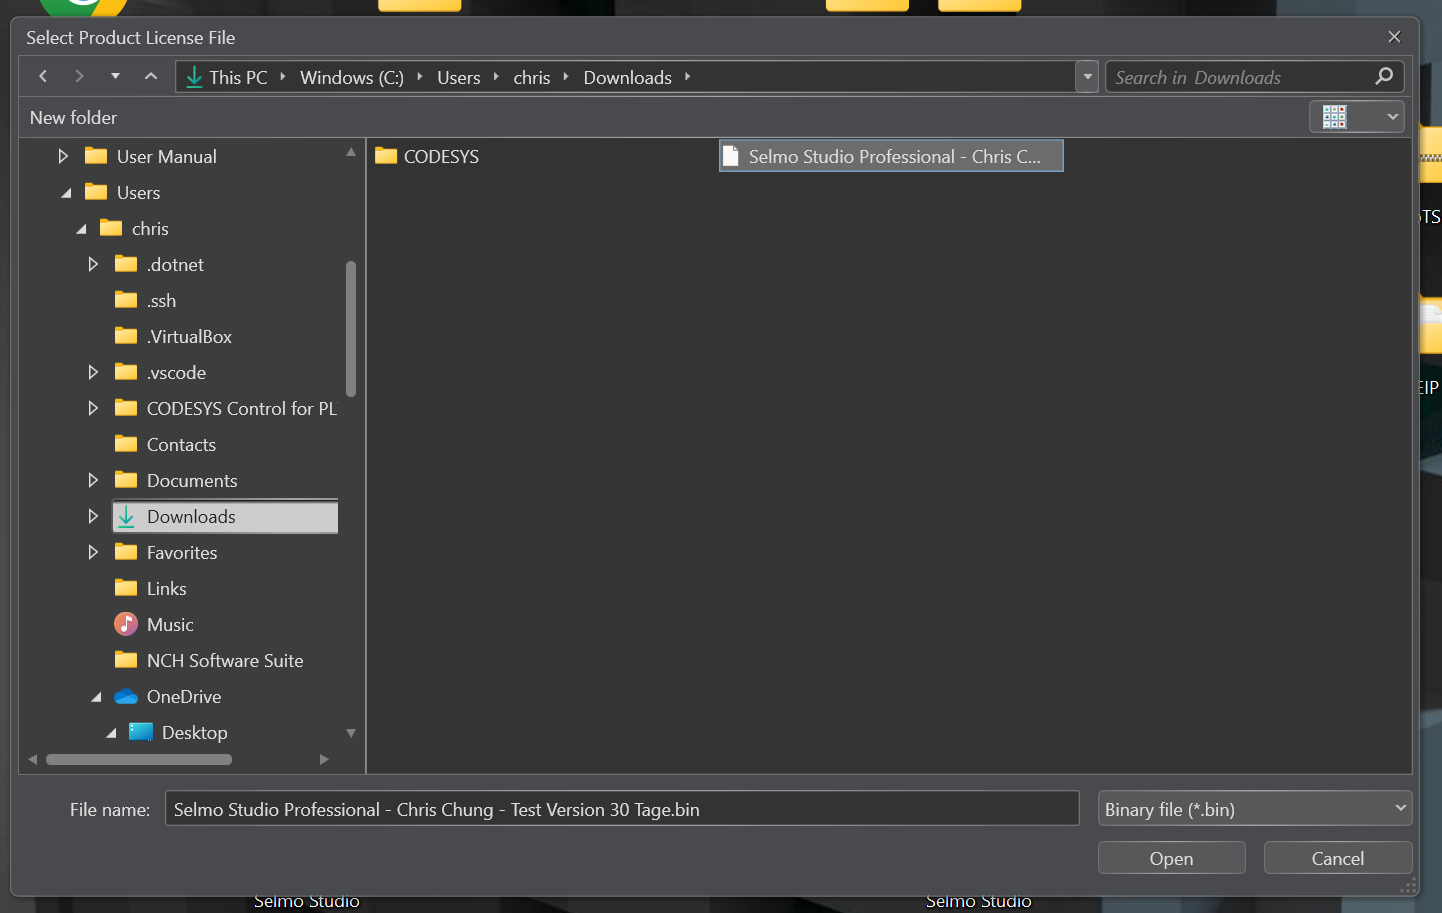
If you received the Trial Software from Selmo, they should have sent you a license file with it, so click ‘Install Product License from File’ here.
Select licence >Open.
Done!
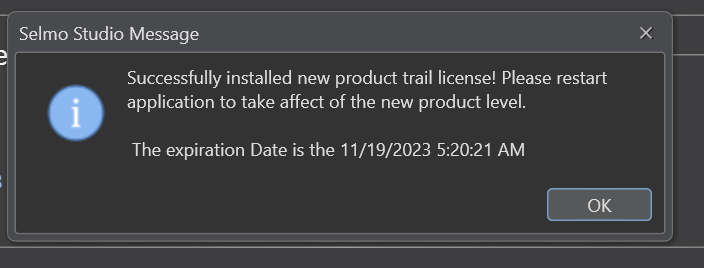
The licence has been Activated.
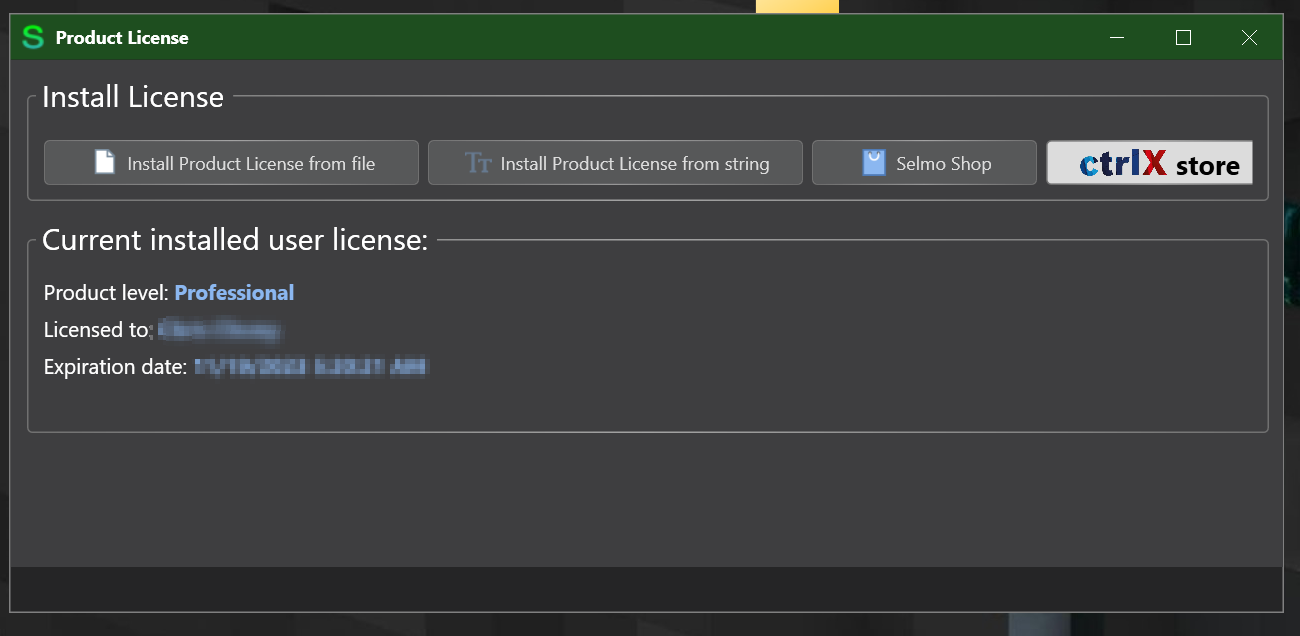
And Selmo Studio was also activated!
New Project
In this article, I will start with a simple operation, explaining the operation and concept of Selmo Studio as I go along.
Selmo Studio
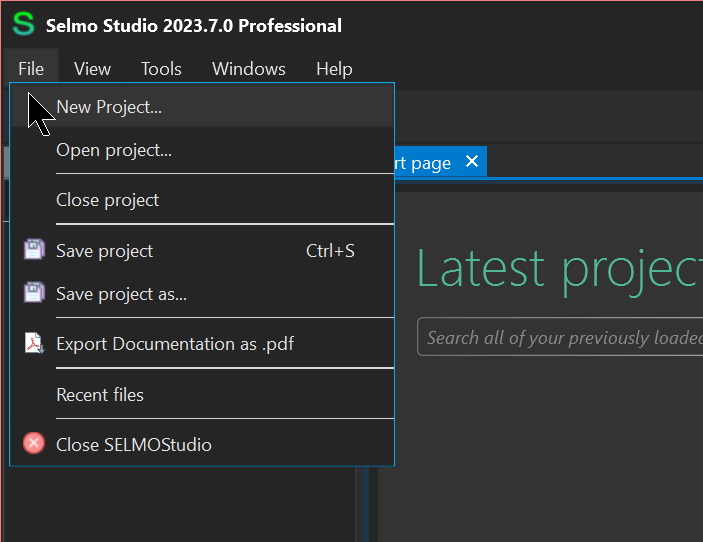
Create a new project under File>New Project.
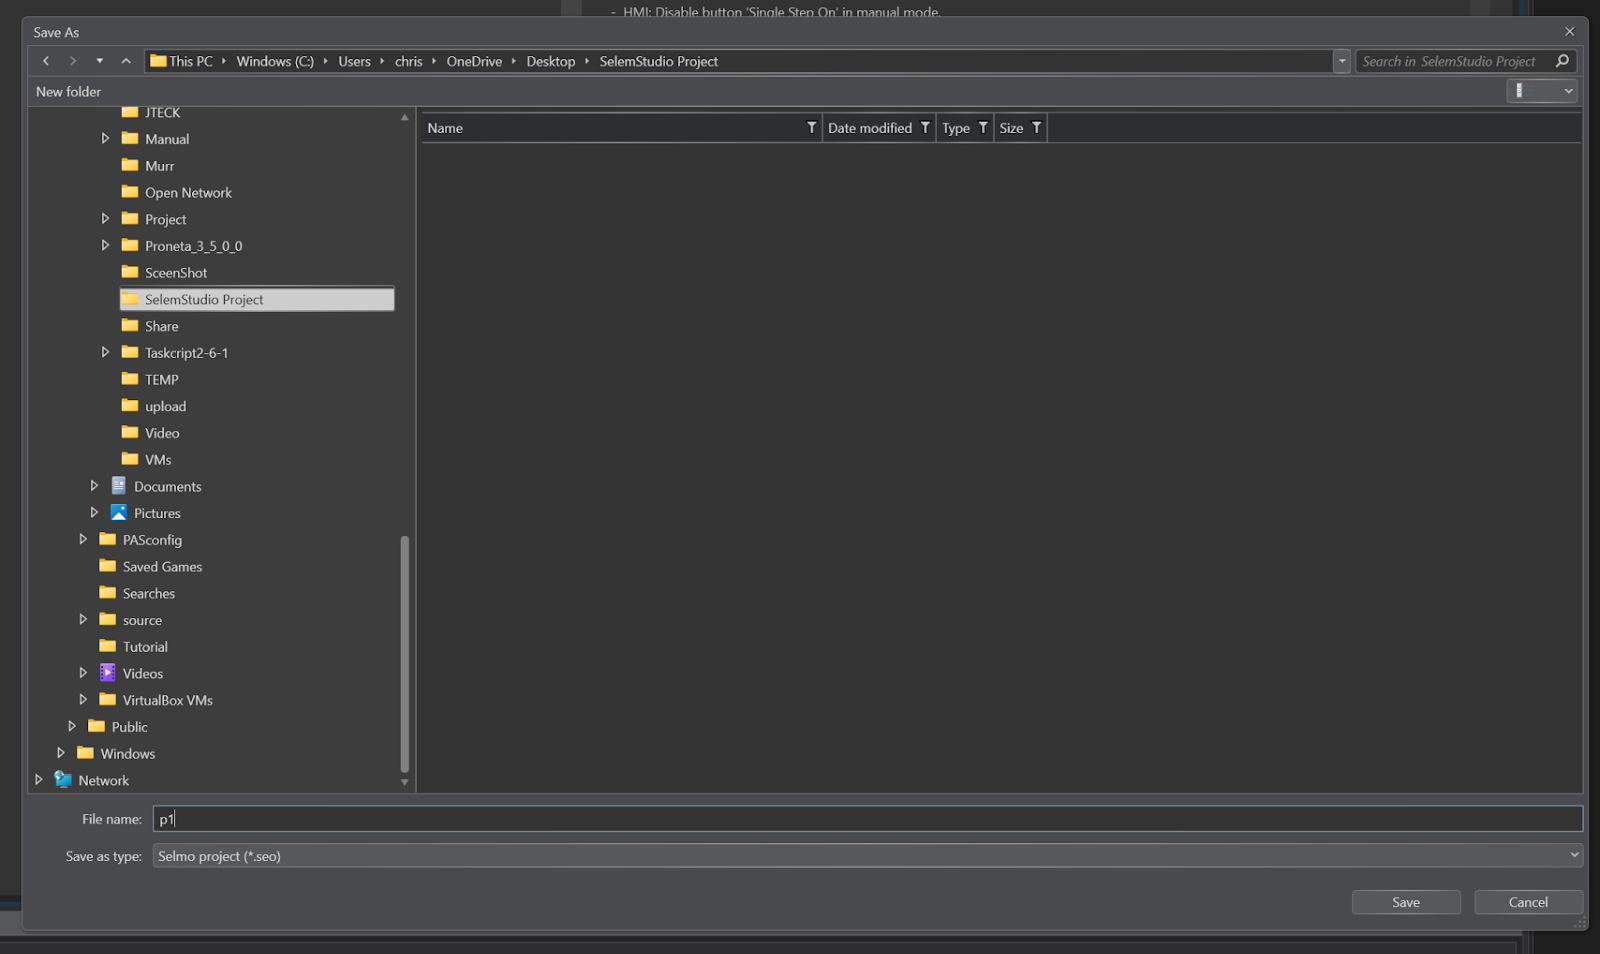
Sets the destination for the project.
Done!A new project has been created.
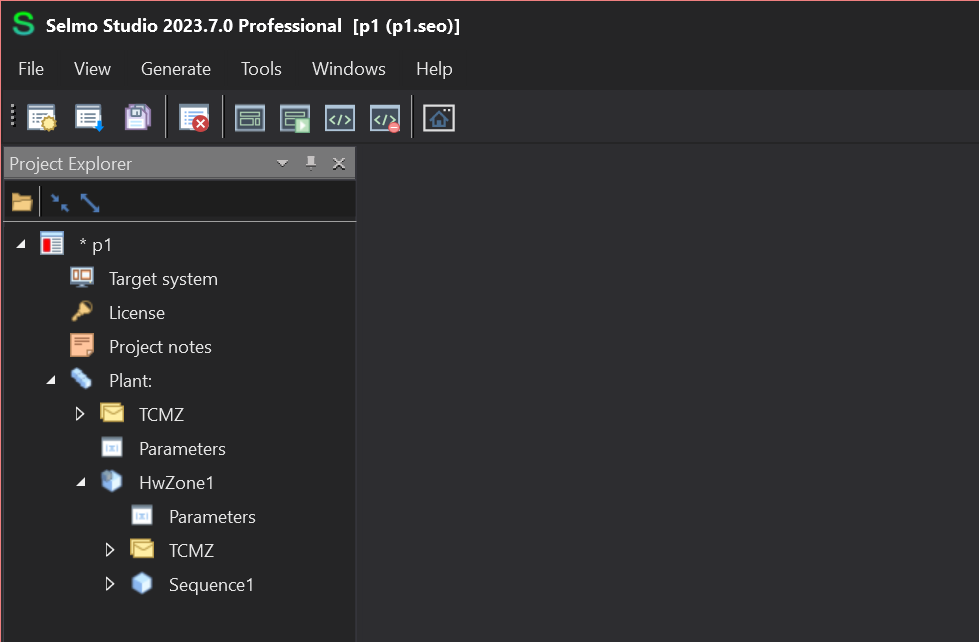
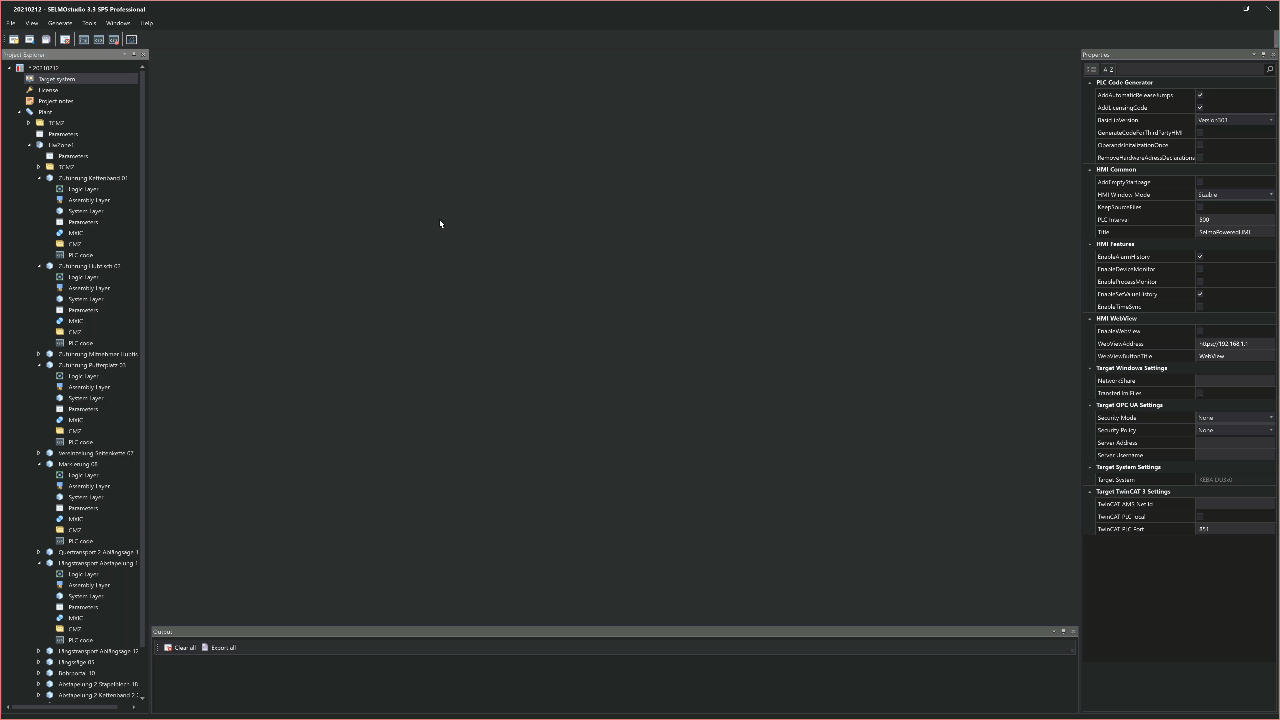
Project Stucture
Before proceeding with the following description, the project structure of Selmo Studio is first described.
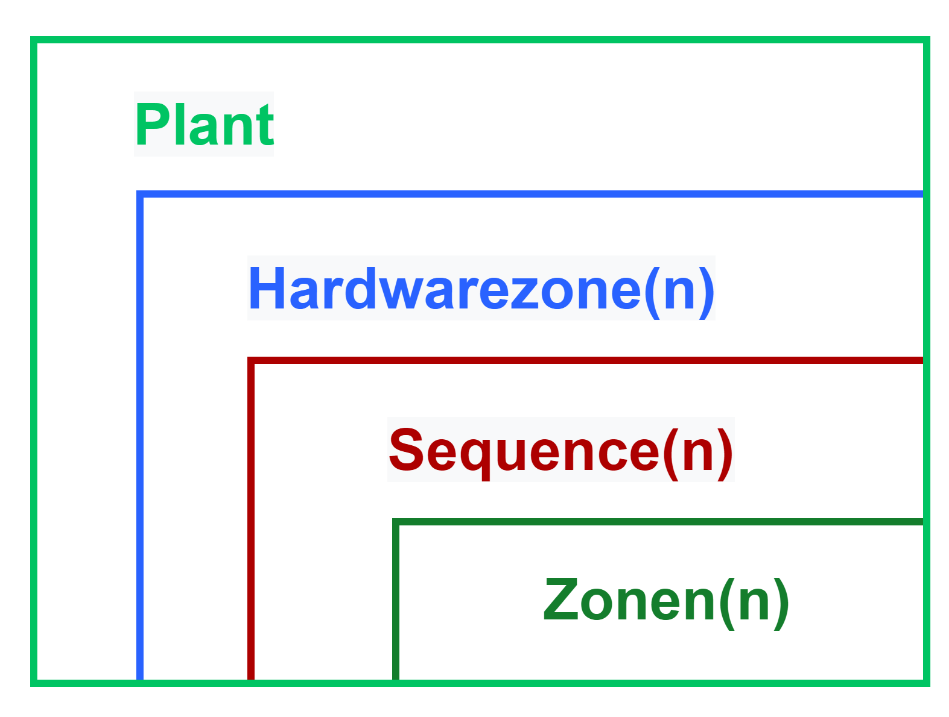
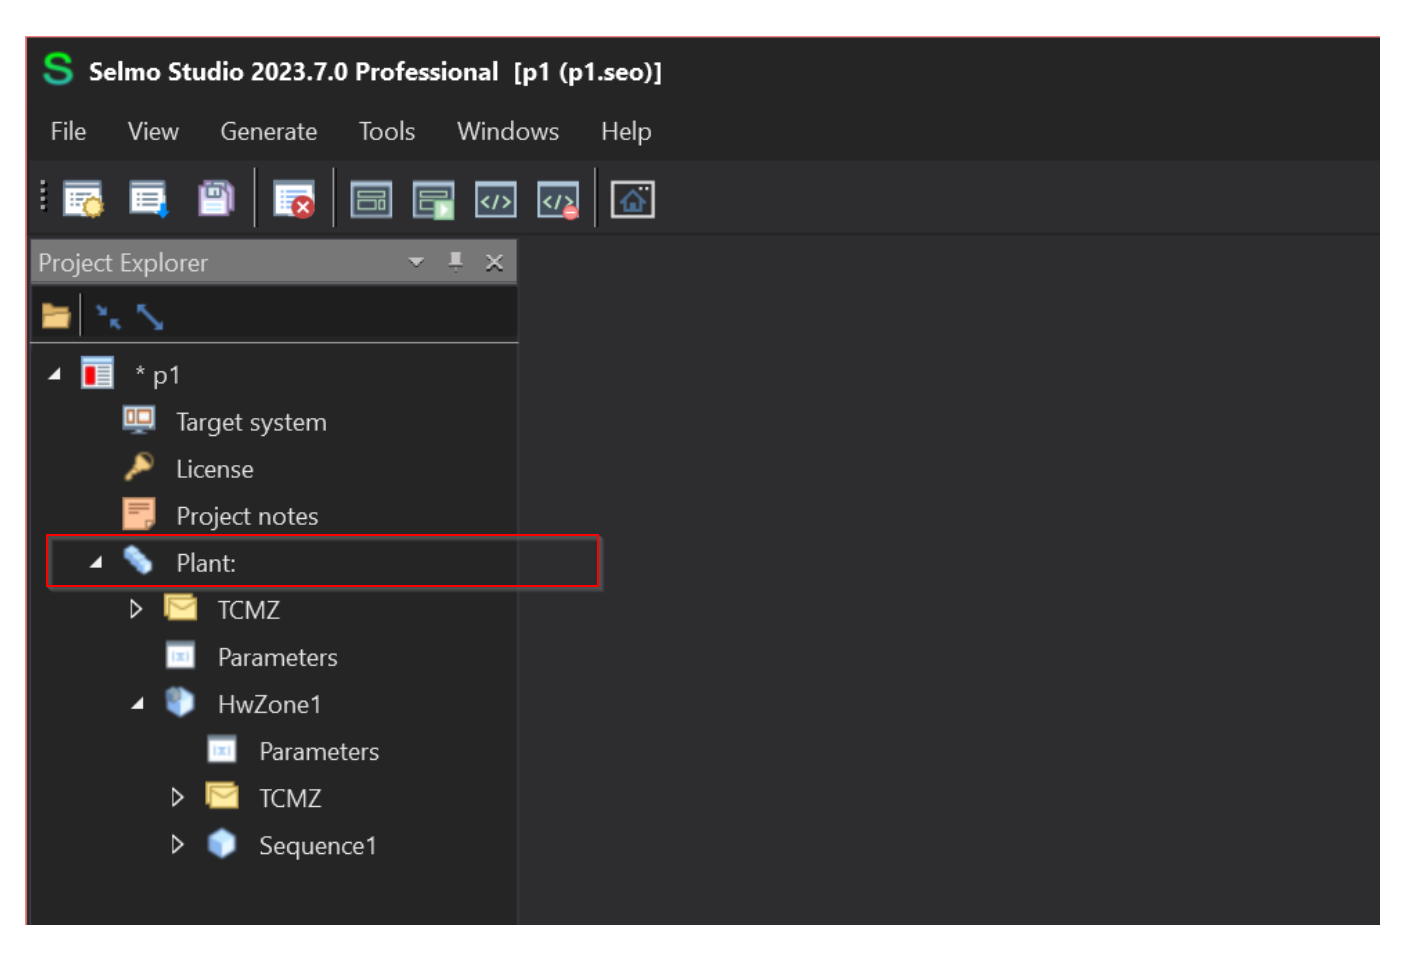
- The top level of the project is called Plant and represents the entire system.
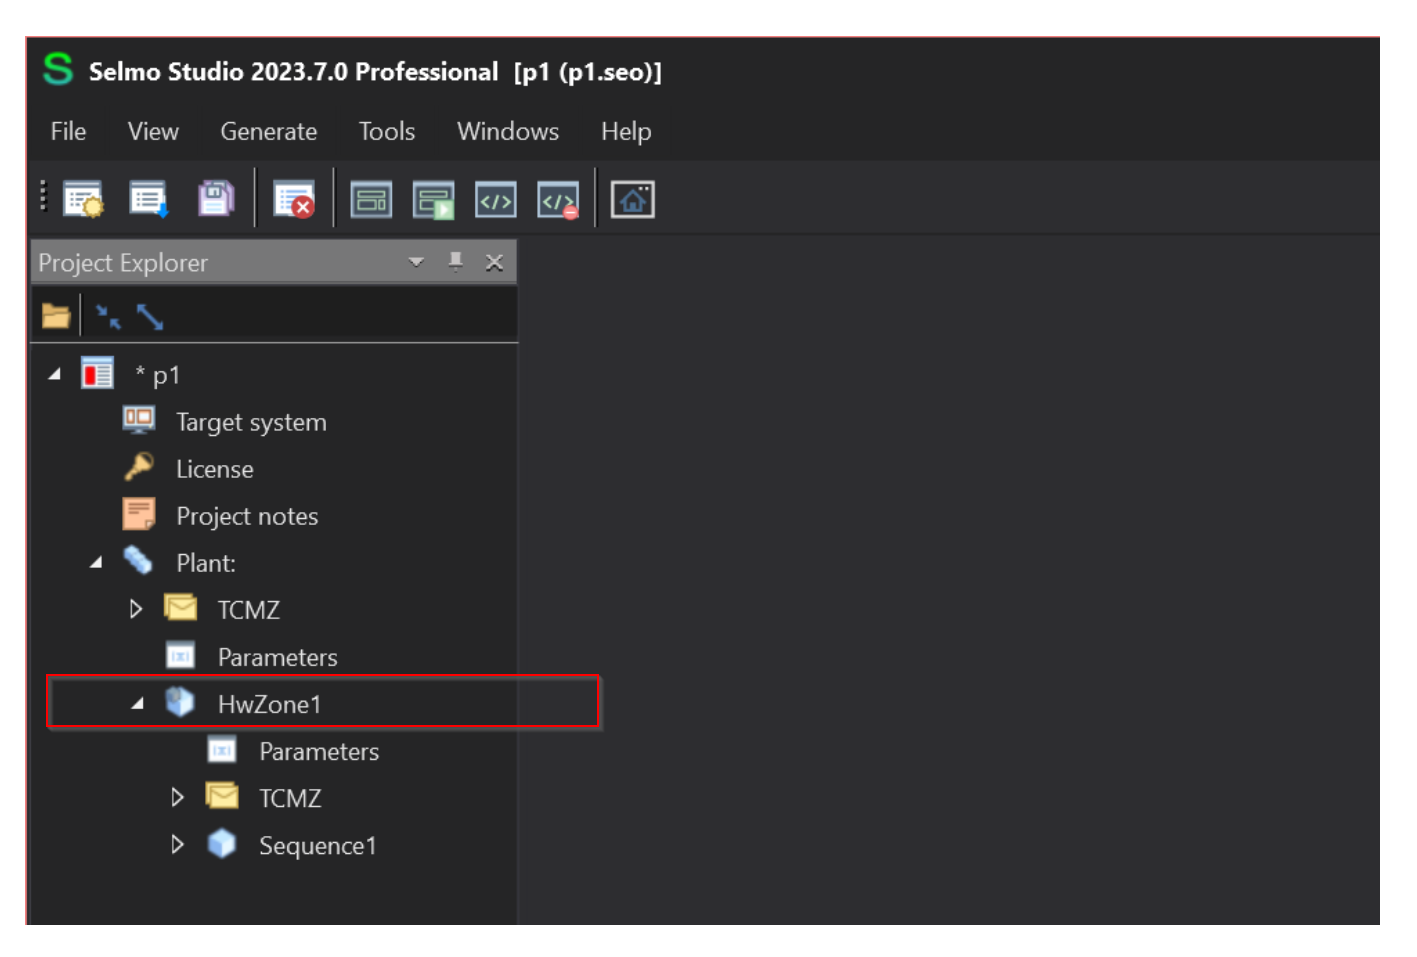
- Plant always has at least one sub-level Hardwarezone.
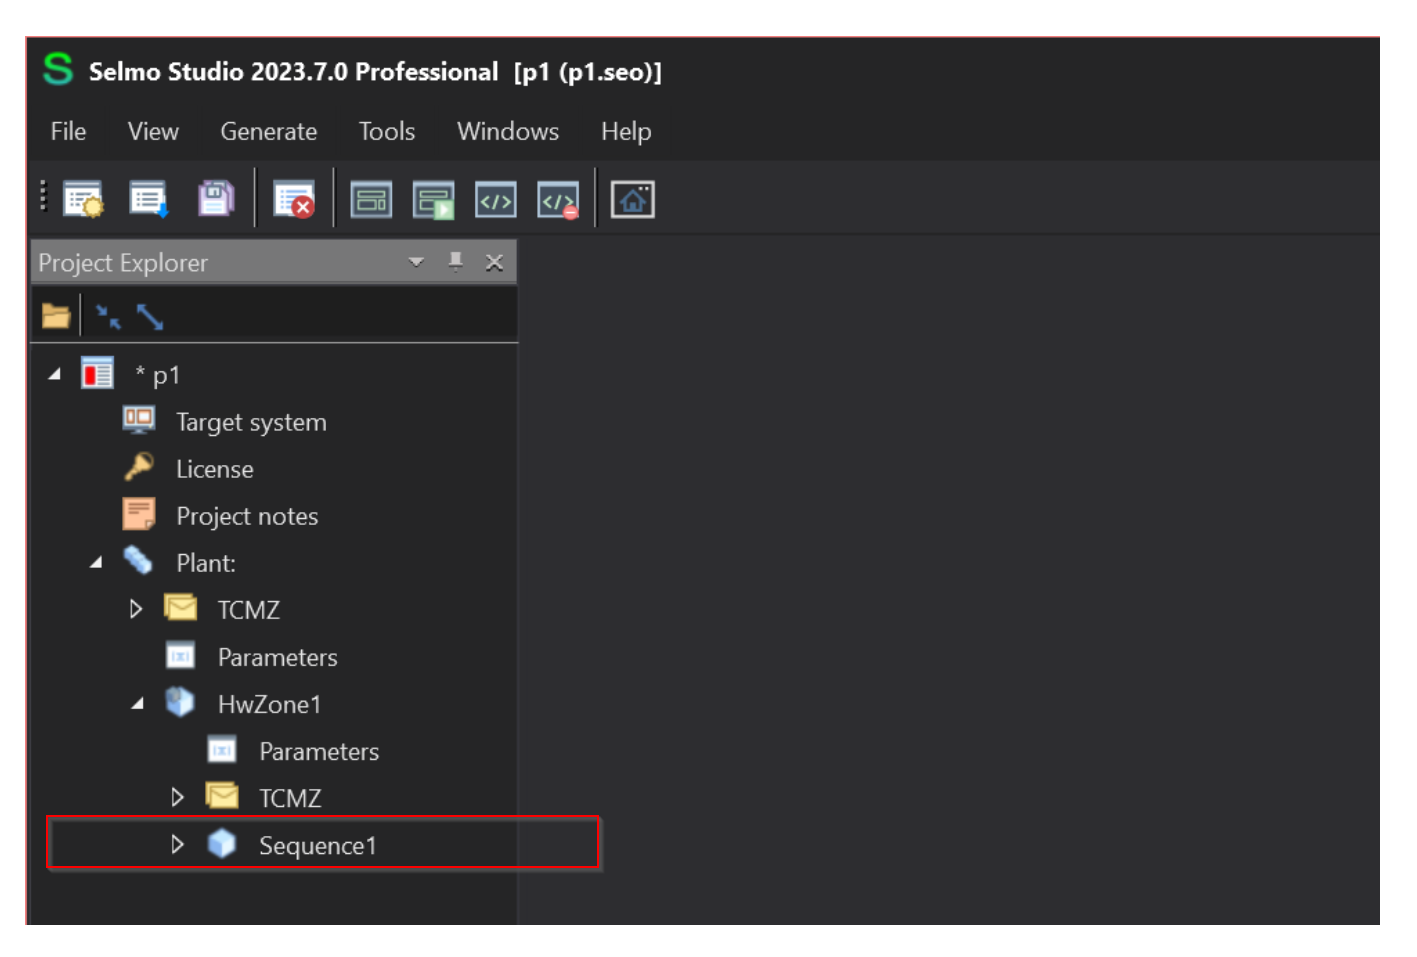
- A Hardwarezone can have one or more Sequences.
- That Sequence can only have one Hardwarezone allocated to it.
- Its Sequence is a Sub-System that defines a logical process description.
- The Sequence also has the following components
- Logic Layer: describes the process
- System Layer: defines the state of the Zone.
- MXIC: Defines the interlocks in Manual mode.
- CMZ: Monitors the state of the Zone.
Plant
In industry, the term Plant describes facilities and equipment used in the manufacture and processing of products and raw materials. For example, factories, plants, power stations, refineries… Plants can be very large and complex, and often require specialist knowledge and skills to operate and maintain. The term ‘Plant’ in Selmo Studio refers to this.
HWZ(Hardware Zone)
A HwZone represents a specific area of a machine or cell area with automatic and manual control. Each HwZone has its own configuration, the size of which depends on the machine or cell configuration and is controlled from one or more sequences, as indicated by the “Hardware Zone” in Selmo Studio.
Sequence
Sequence is also a control system that executes a sequence of predefined steps or states. For example, the Step Controller also has multiple memories to represent the actions and states of each Step. Such a Step Controller is controlled by external inputs and internal logic, as indicated by the word “Sequence” in Selmo Studio.
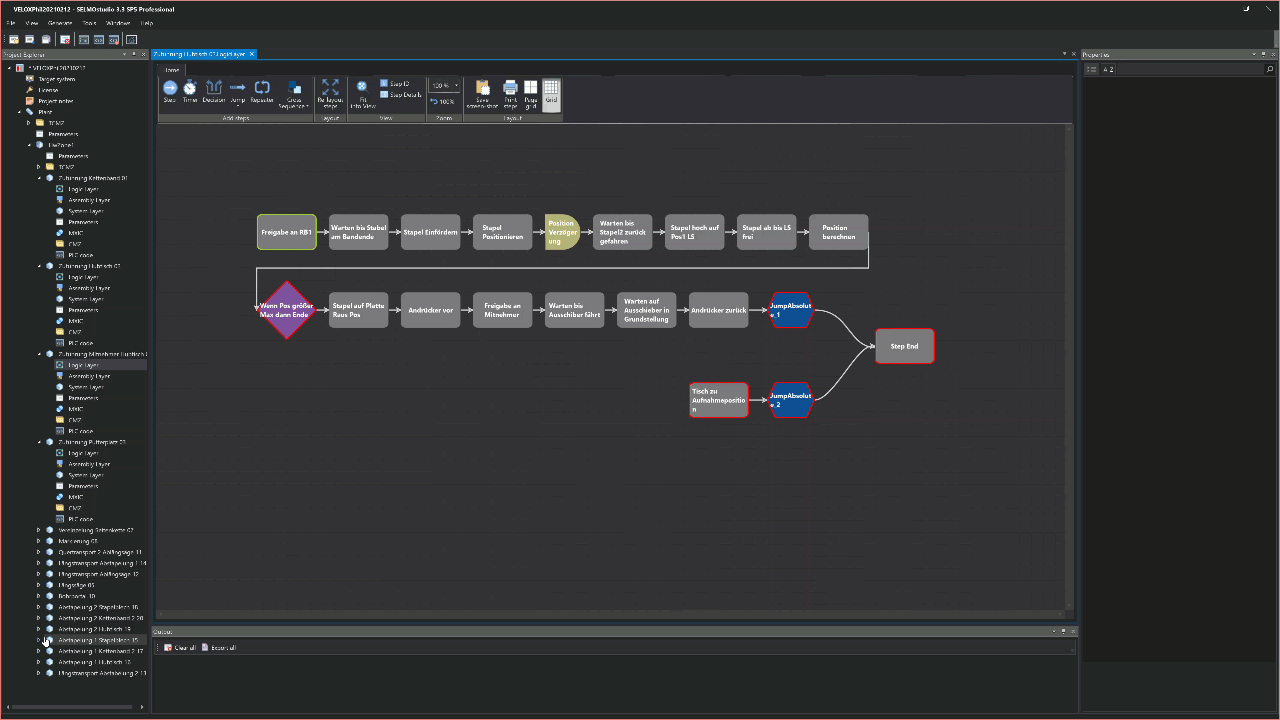
Create Logic
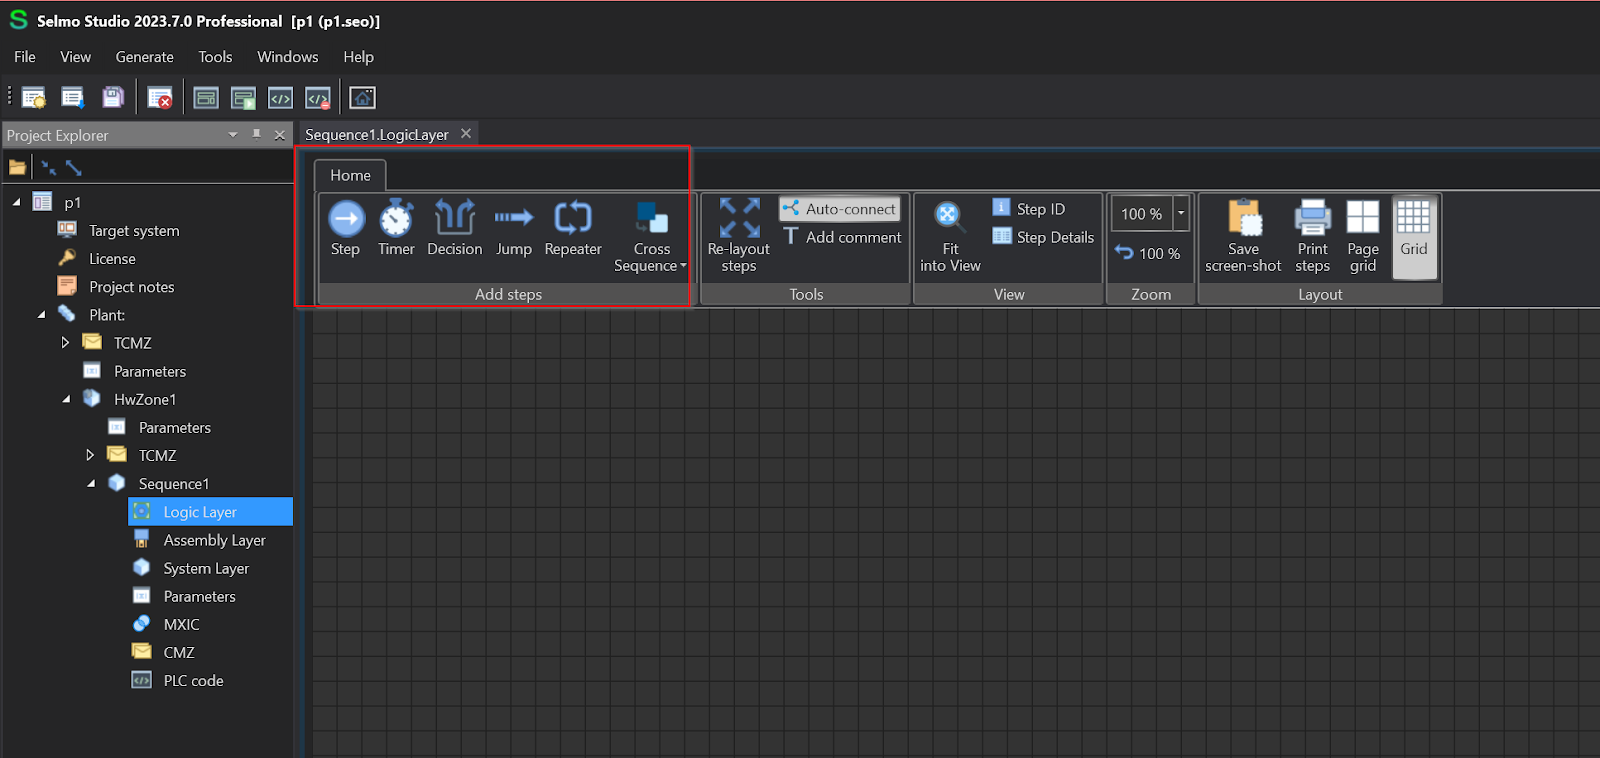
In Selmo Studio, the logic of the manufacturing machine is divided into two layers: the Logic Layer and the System Layer.
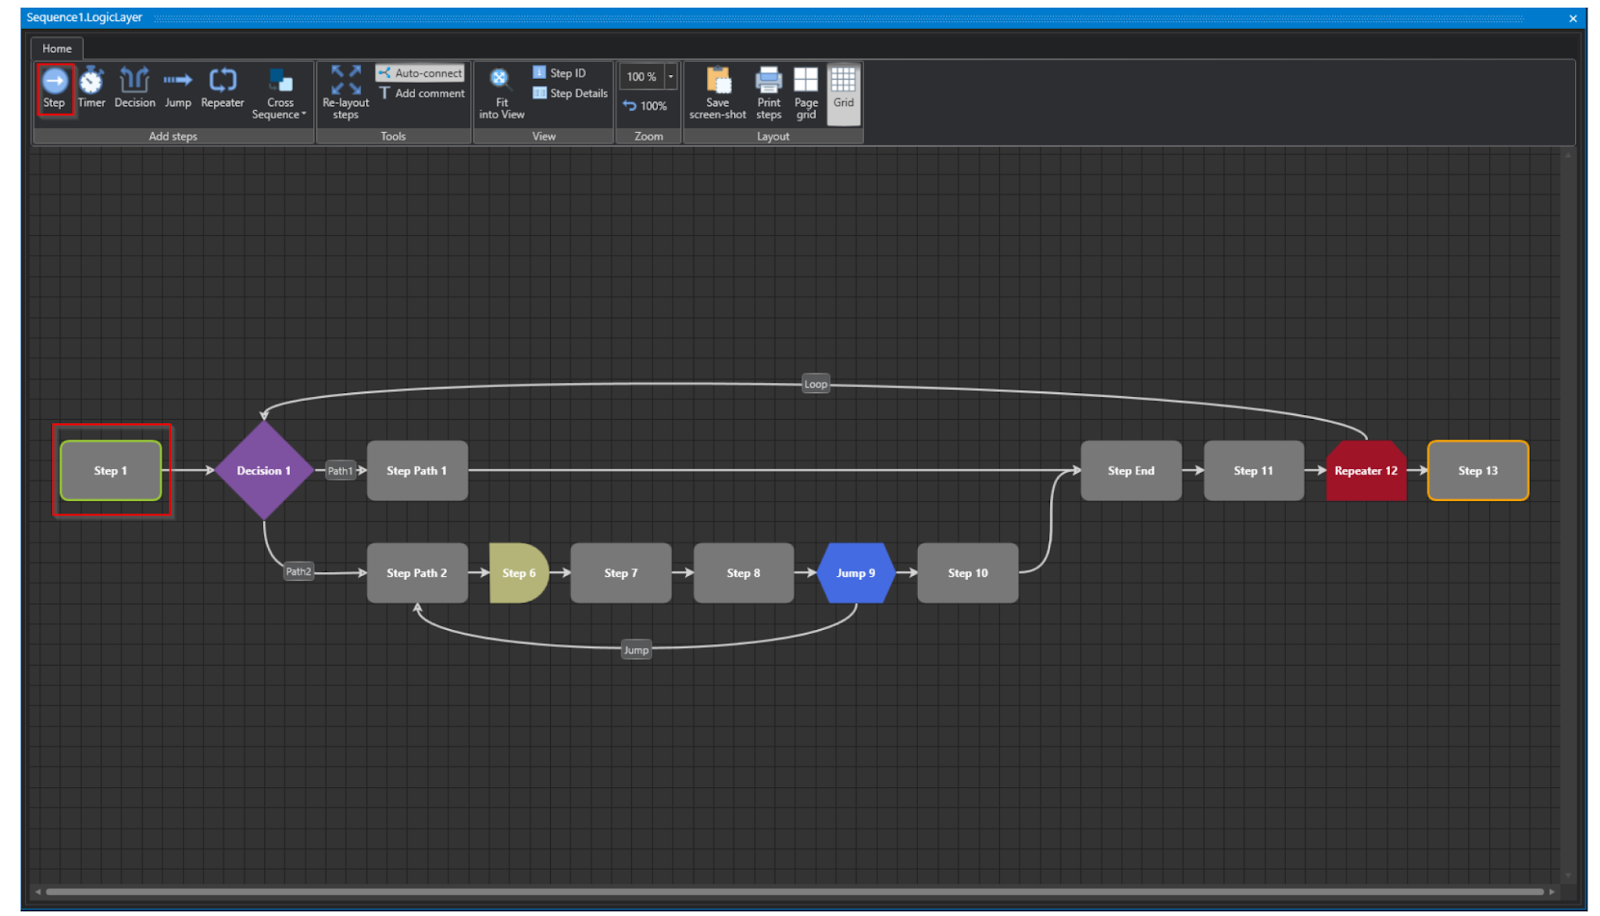
Logic Layer
The Logic Layer contains the technical requirements of the machine and Selmo Studio provides five different parts, which can represent the relationships between individual steps.
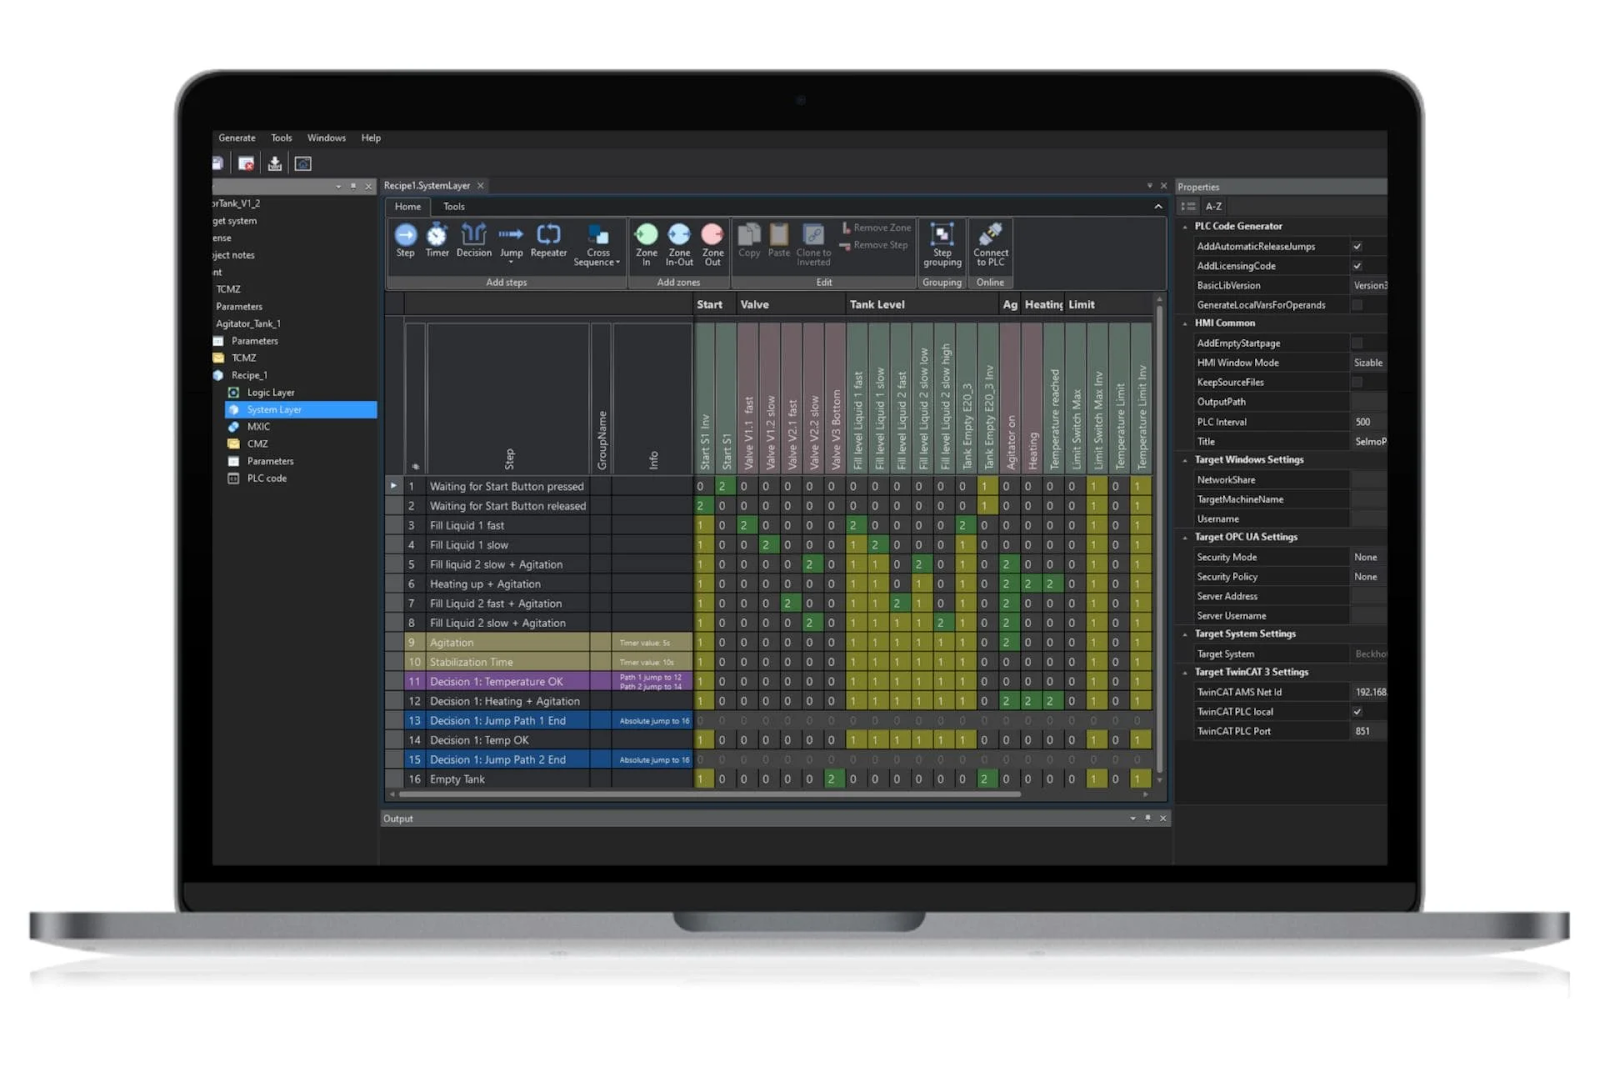
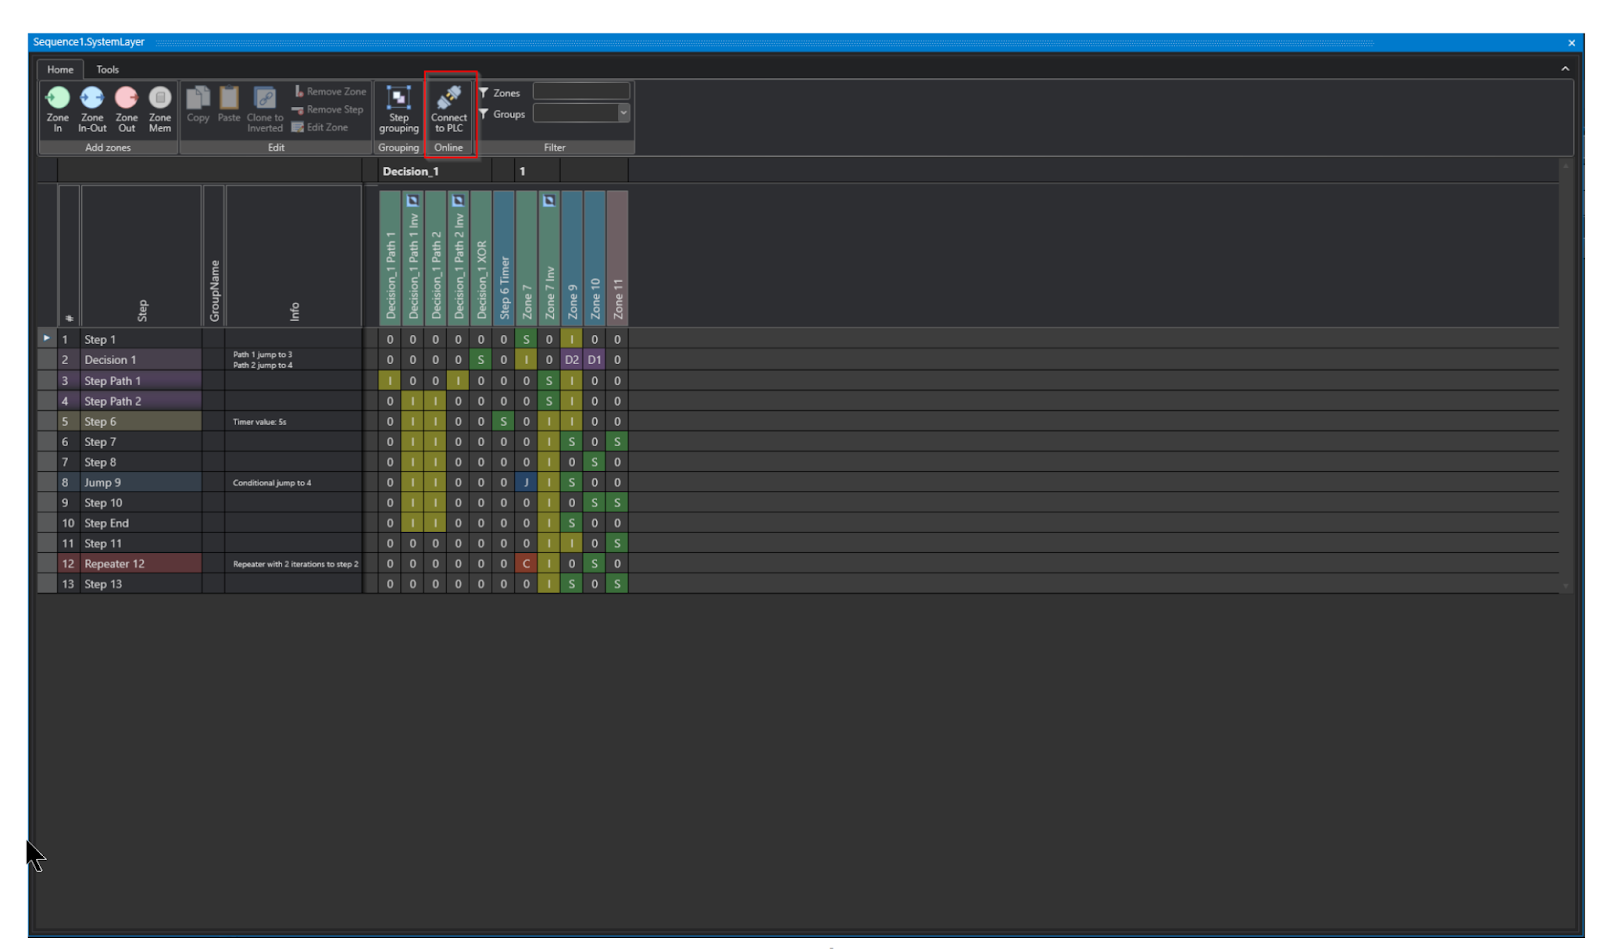
System Layer
The System Layer defines the interface between the machine and other systems, for example.
Logic Layer
First, create a machine Step from the Logic Layer.
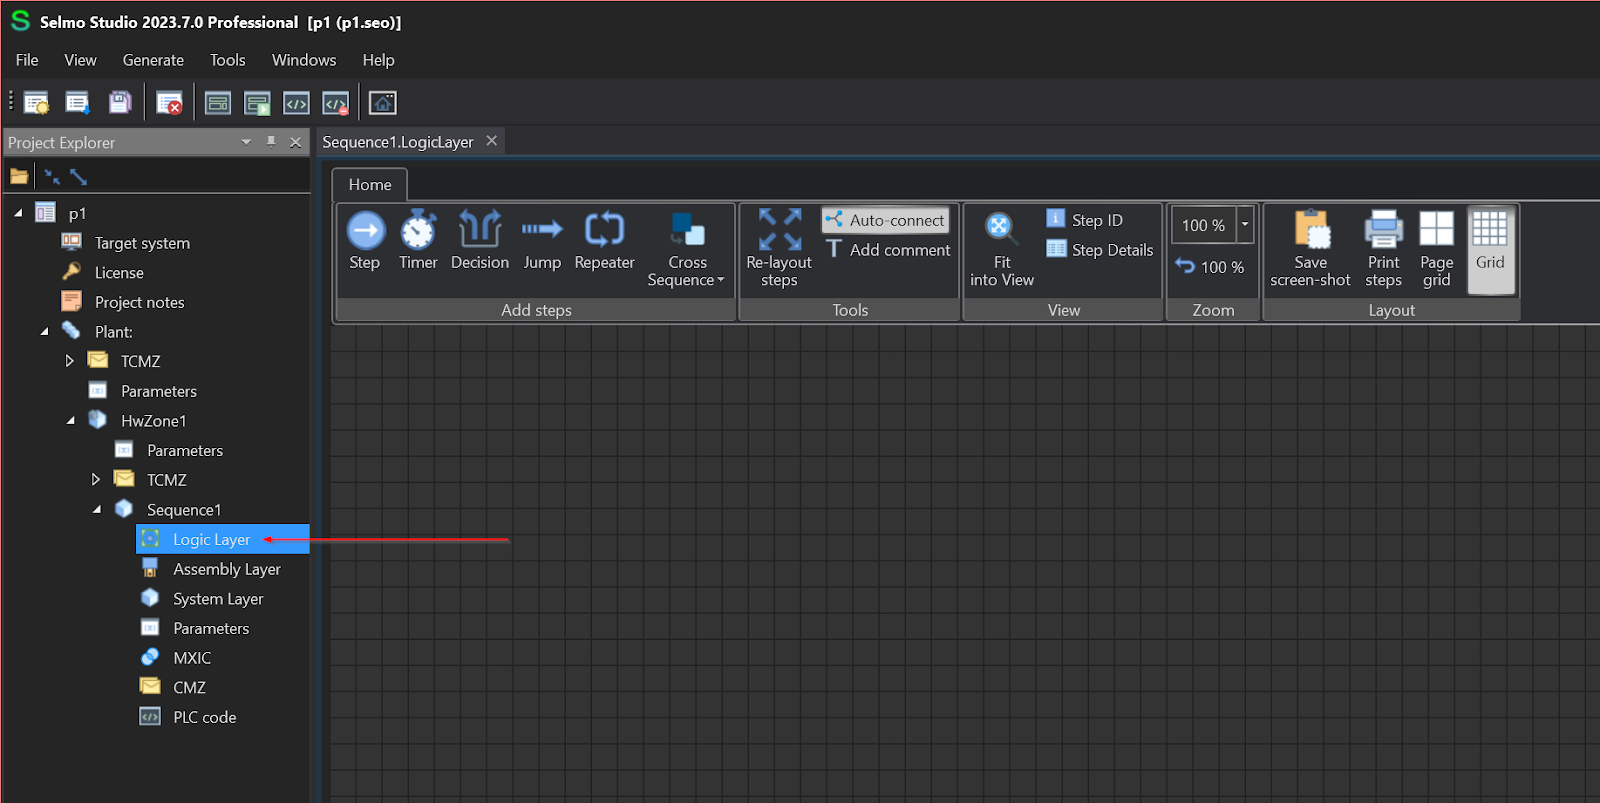
You mentioned earlier that Logic Layer offers five different components:
- Step
- Timer
- Decision
- Jump
- Repeater
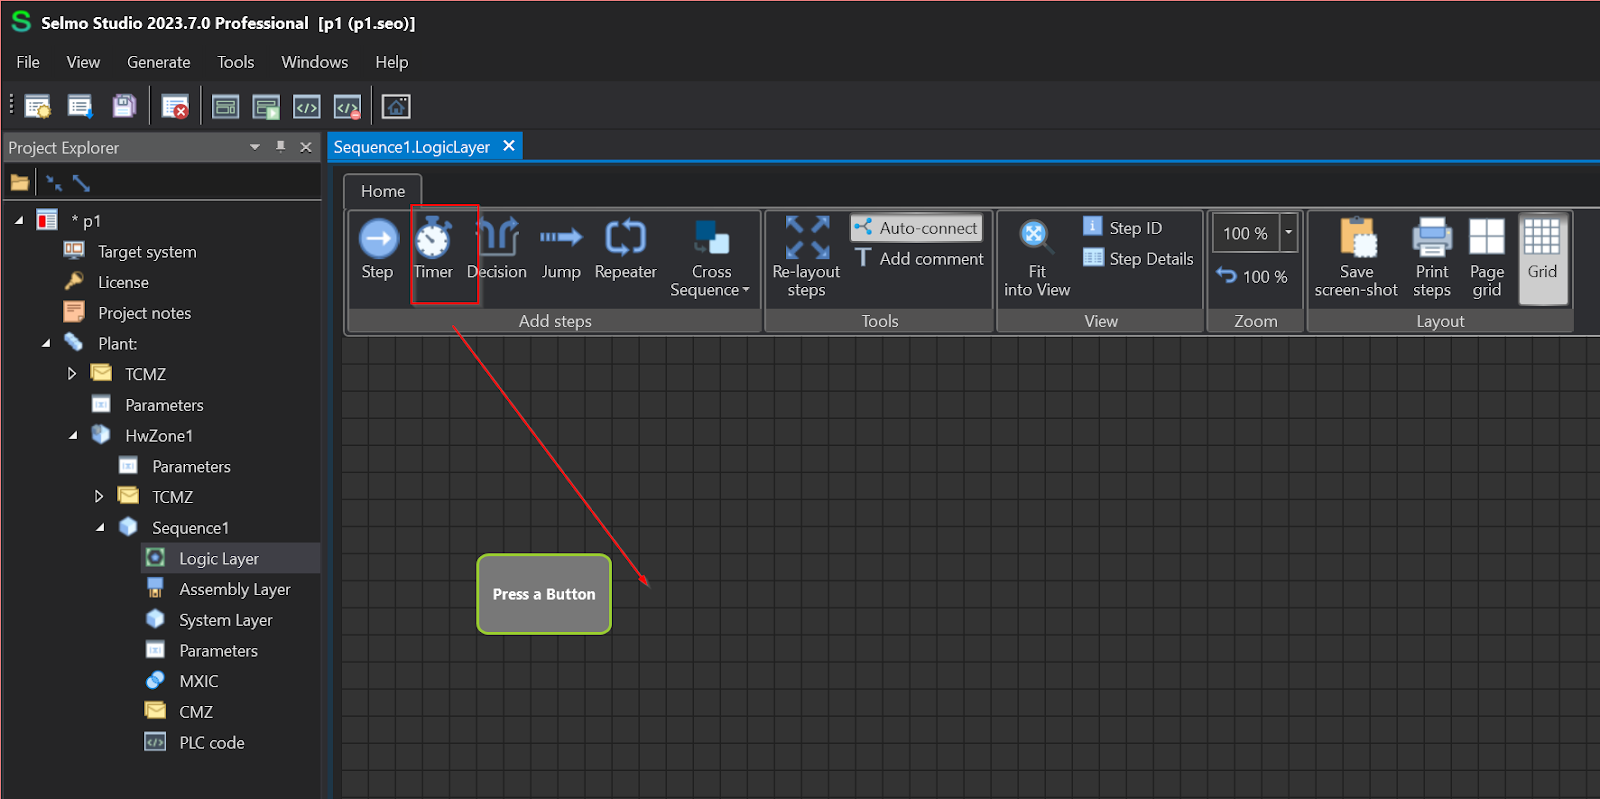
Step1:Wait Button Press
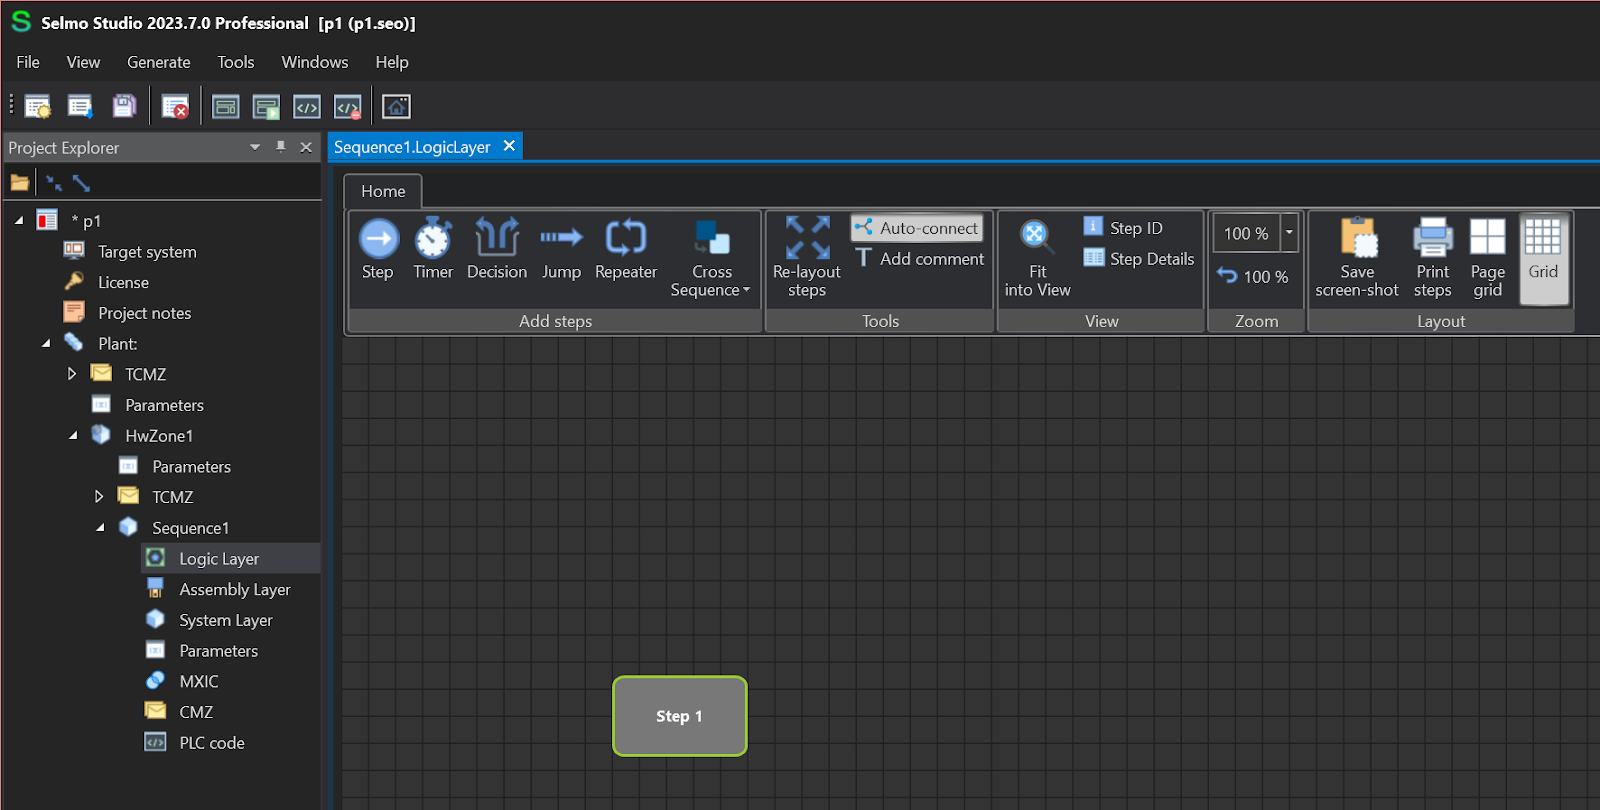
Step 1 waits for the button to behave True, so the Step component is added to the Flow.
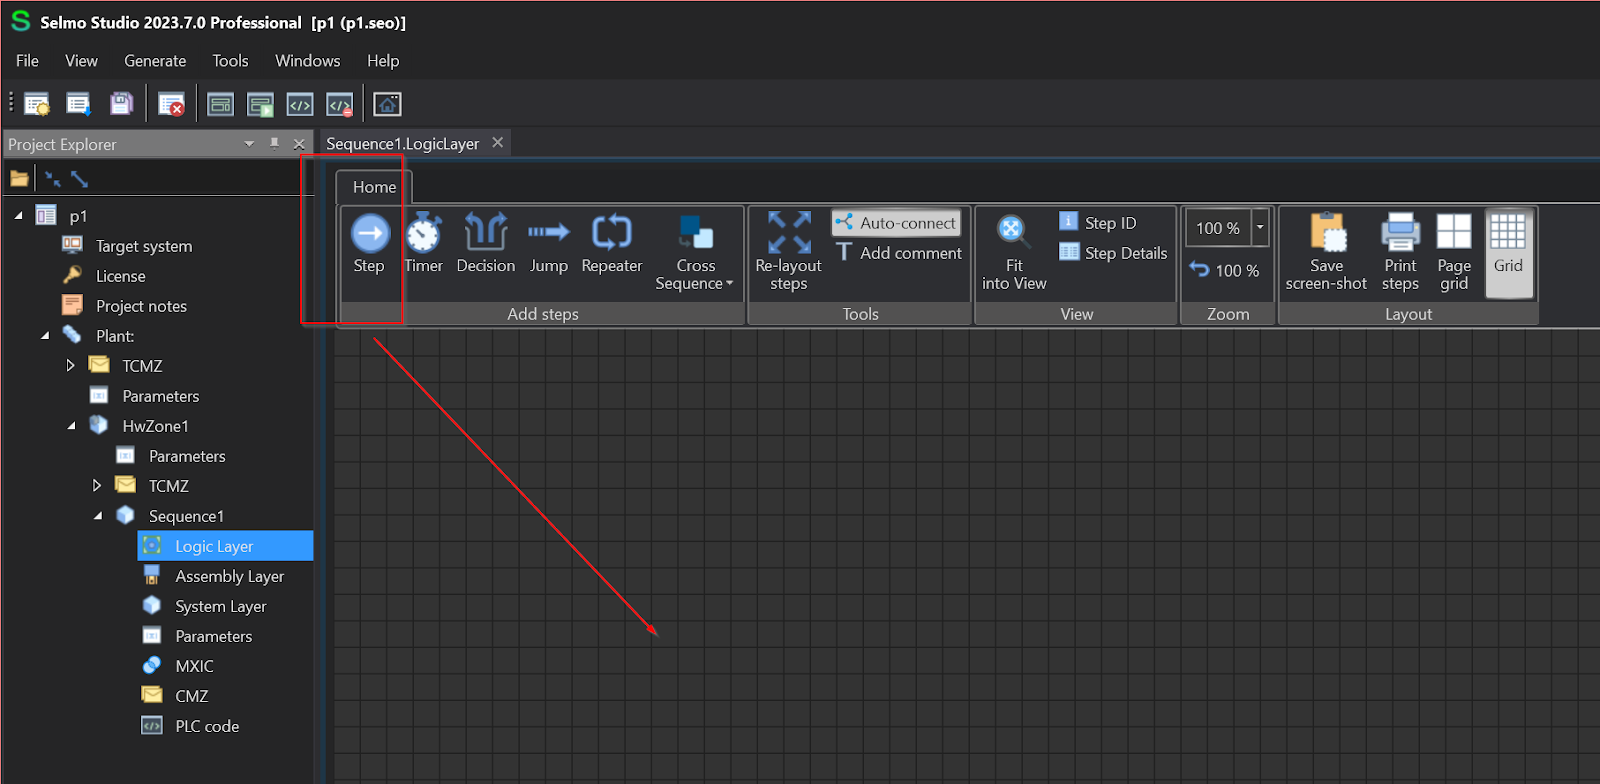
Done!Step components have been added.
You can change the name of the Step at will. To change it, double-click on the component directly.
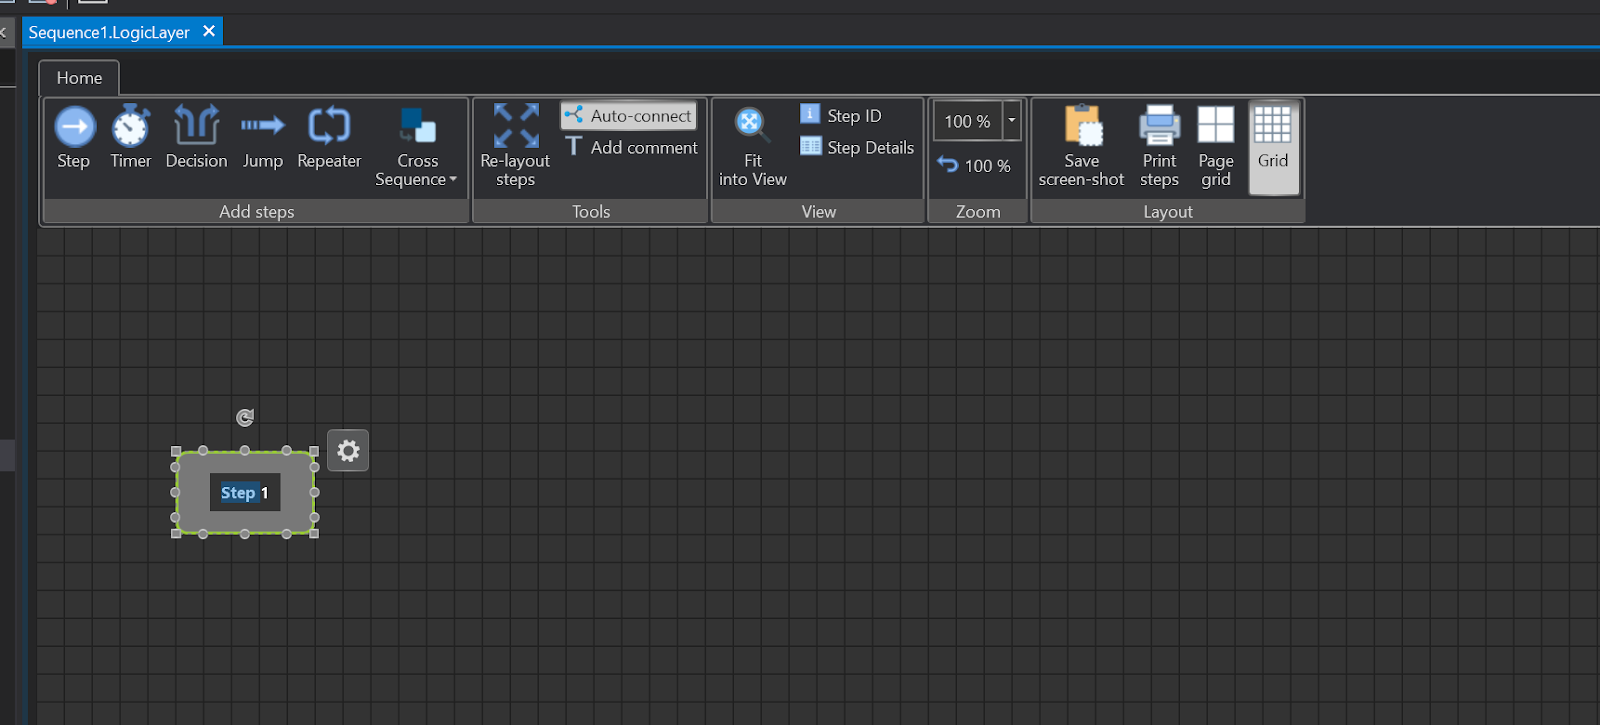
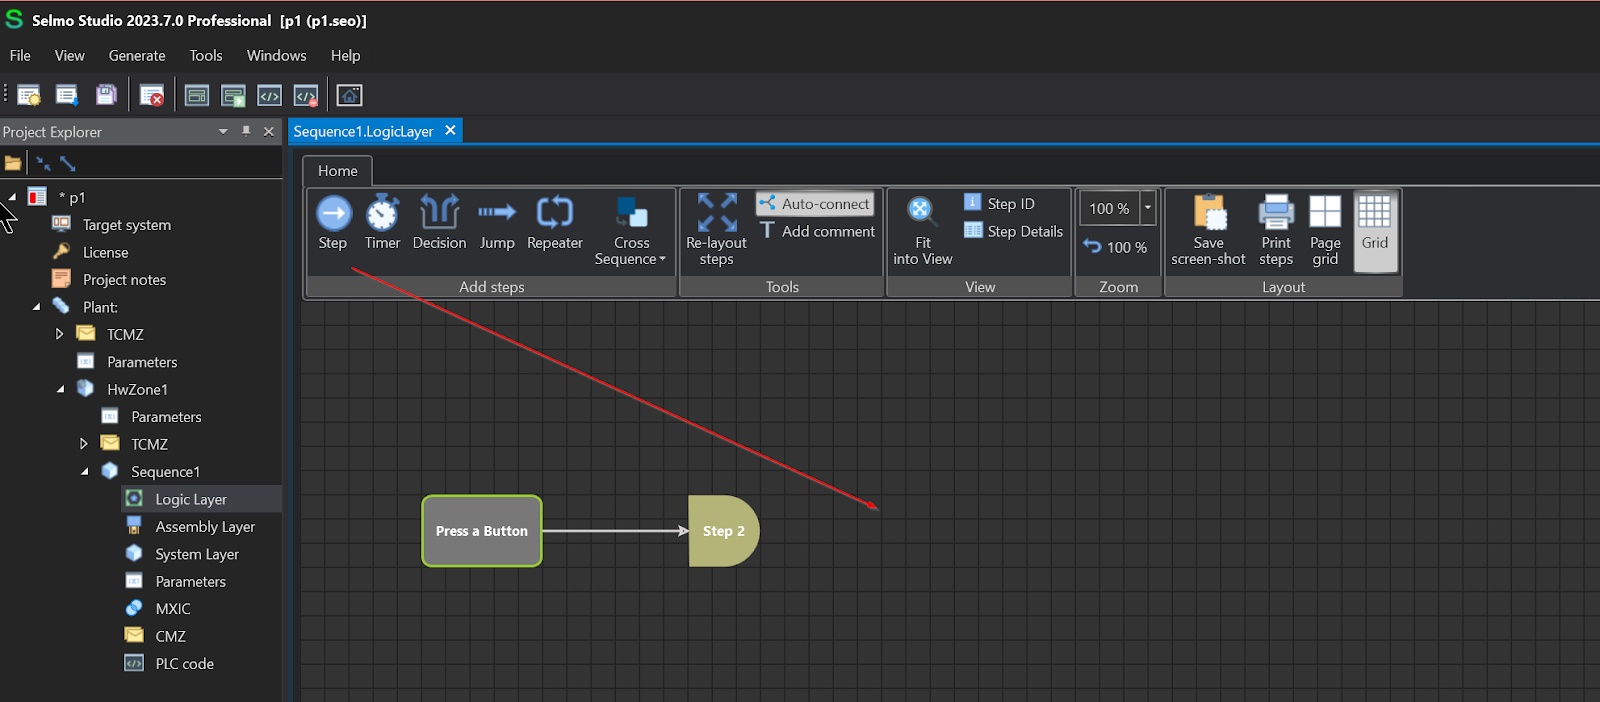
Done!Step 1 has been renamed as ”Press a Button”.

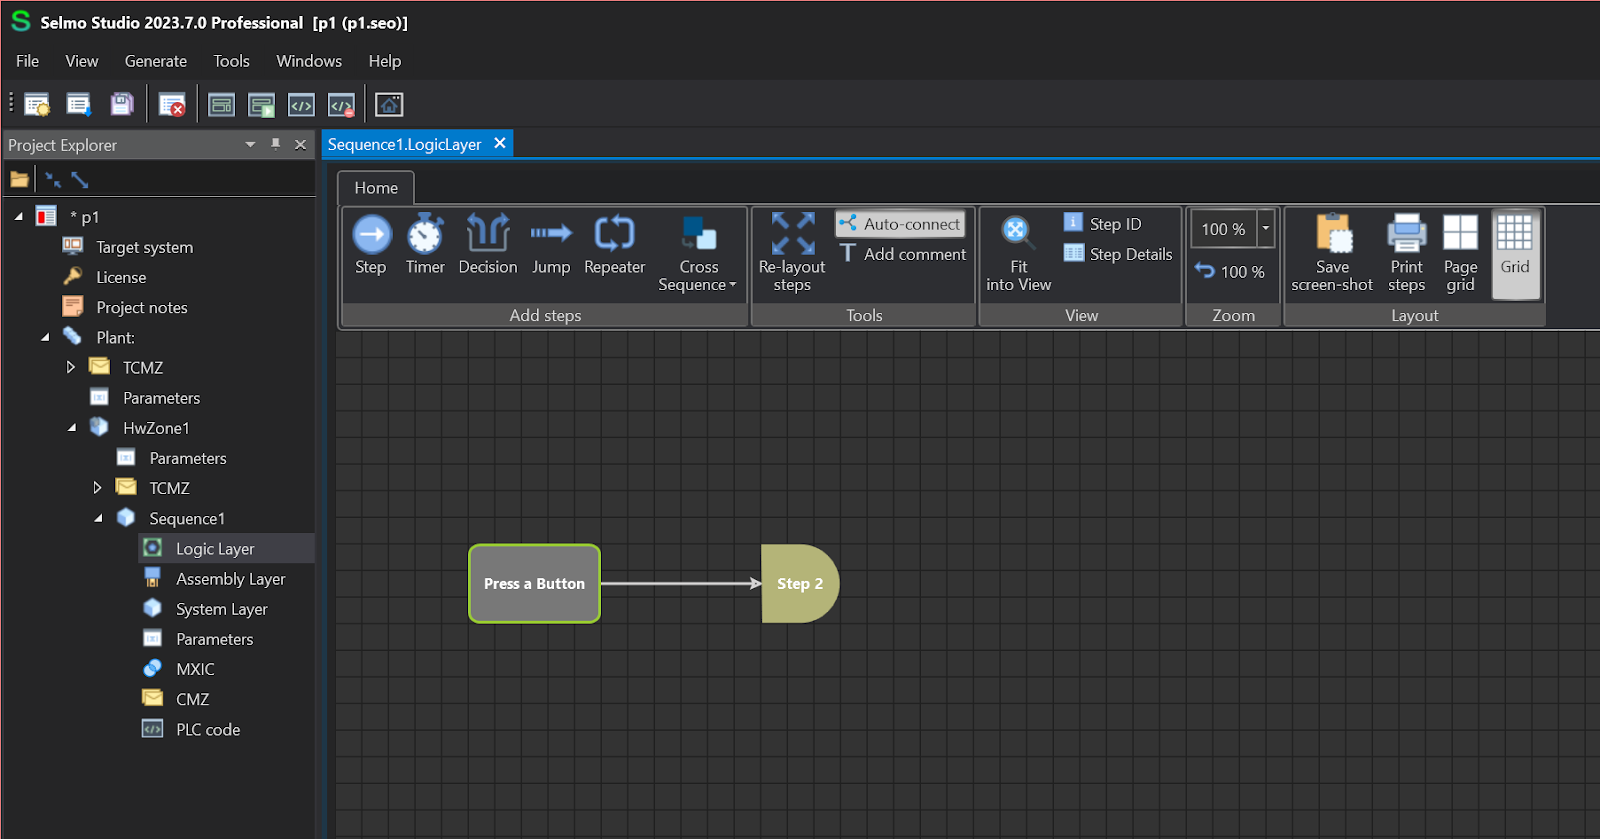
Step2:Timer
We want to wait 5 seconds after the button is pressed, so we add a Timer Step.
Done!A Timer Step has been added and is connected to the “Press a Button” Step described above.

Of course, the Logic Layer has a great deal of modification freedom, allowing parts and locations to be changed at will.
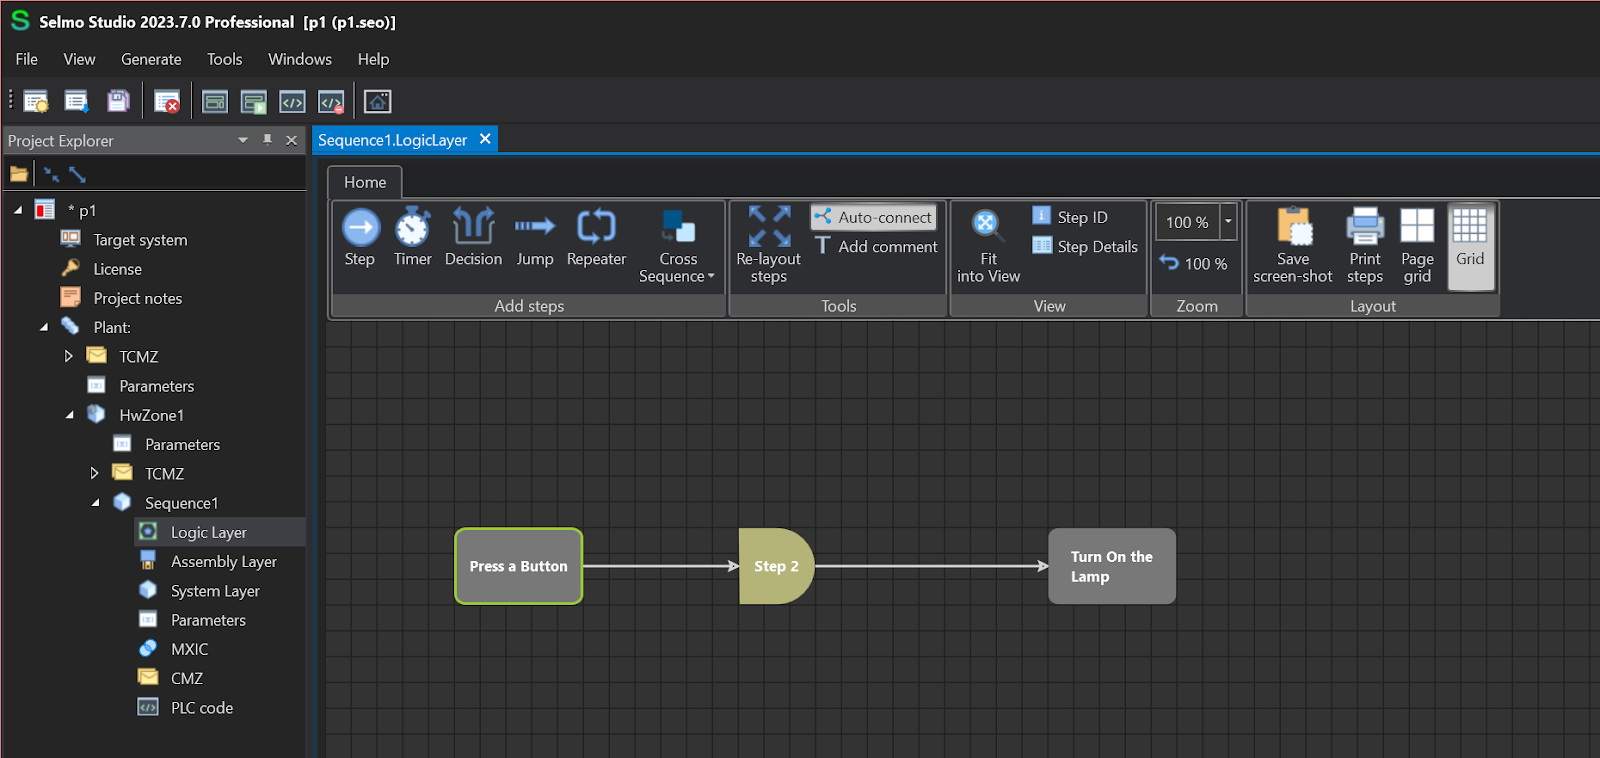
Step3:Turn on the Lamp
Now add a Step that sets the Lamp output to True after waiting 5 seconds.
Done!
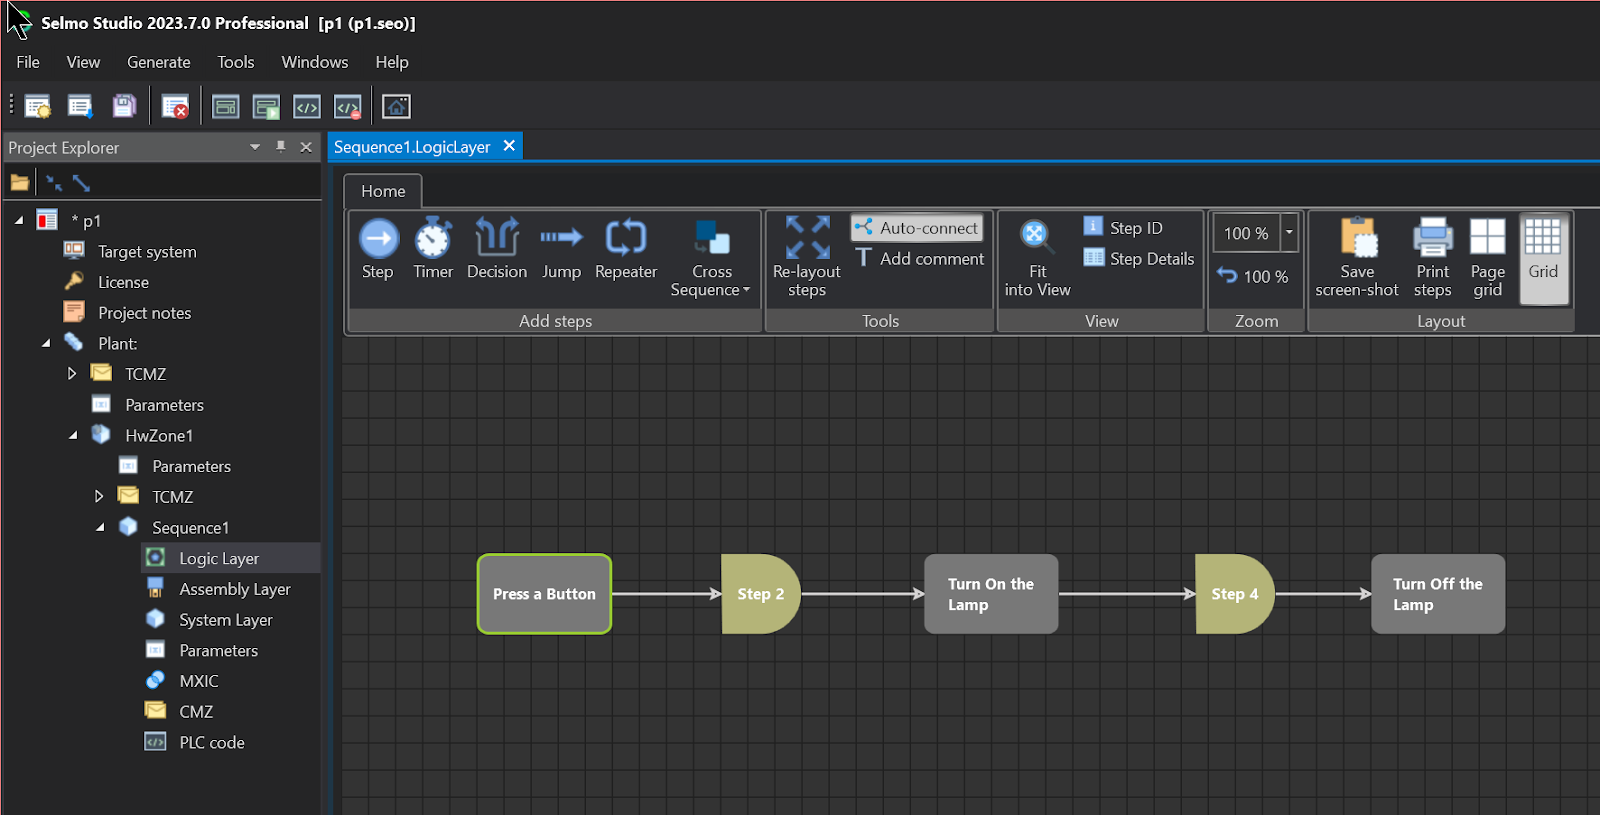
Step4,Step5
Use the same operation as before to add a Timer that waits 5 seconds and a Step that sets the output of the Lamp to False. That’s how you can add the Logic Layer in this article.
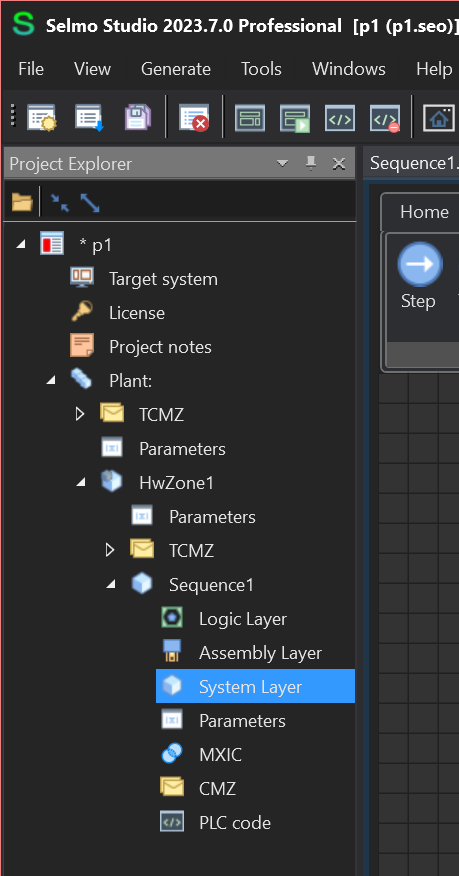
System Layer
Once the Logic Layer has been created, it is now time to edit the System Layer In the System Layer:
- Programmes are modeled
- Zones are defined.
- Machine states and monitoring are defined.
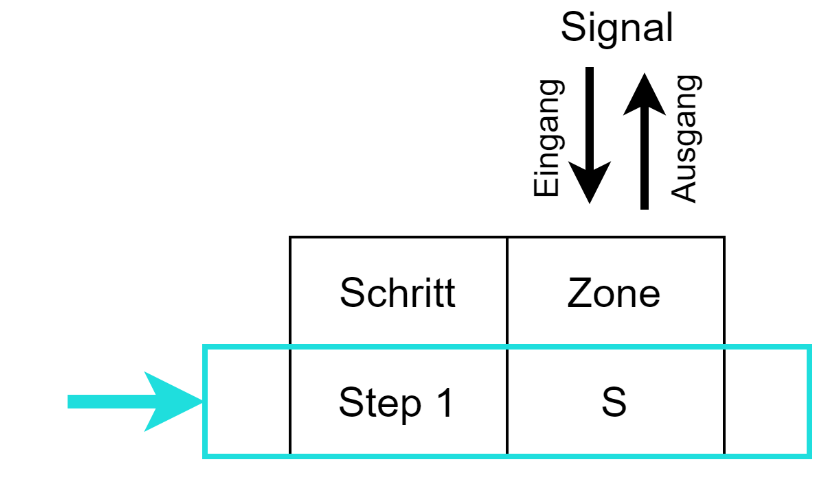
In each Zone, Operands ‘0’, ‘I’, ‘S’, ‘M’, ‘D1’, ‘D2’, ‘J’ and ‘C’ can be set.
Zone?
Before defining the steps of the System Layer, it is important to explain the concept of Zones, which allow you to define and control different areas of the system, depending on the use and requirements. It is important to understand the functions and properties of the different zones in Selmo Studio, which are divided into three zones.
- In
- InOut
- Out
- Mem
It is also in the operands that can be used in the Zone to trigger or check certain actions.

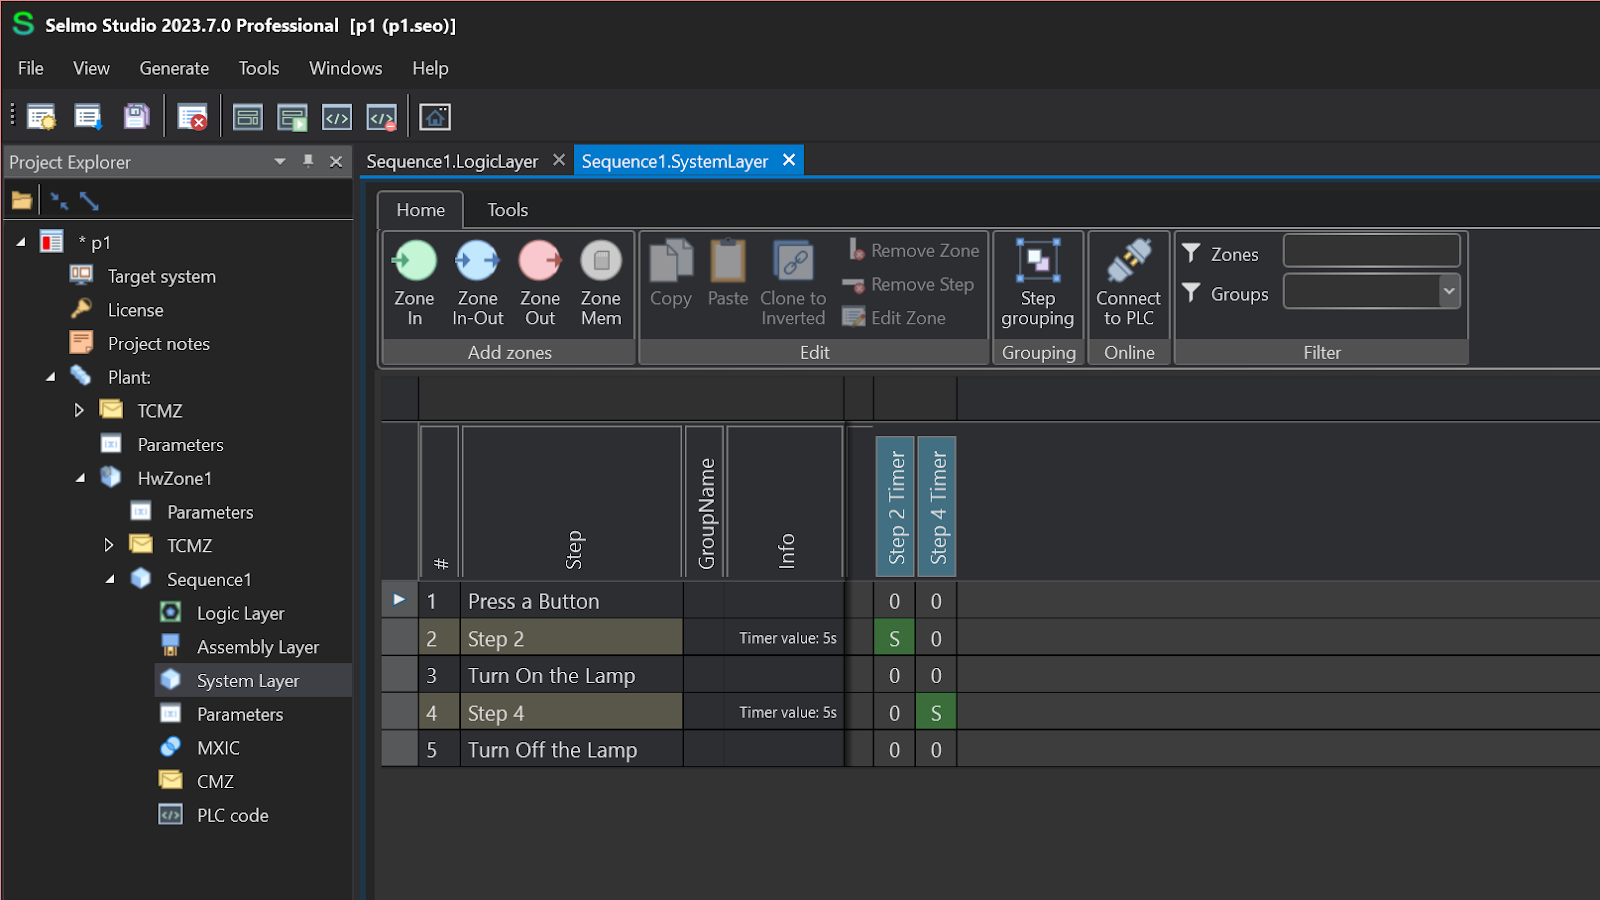
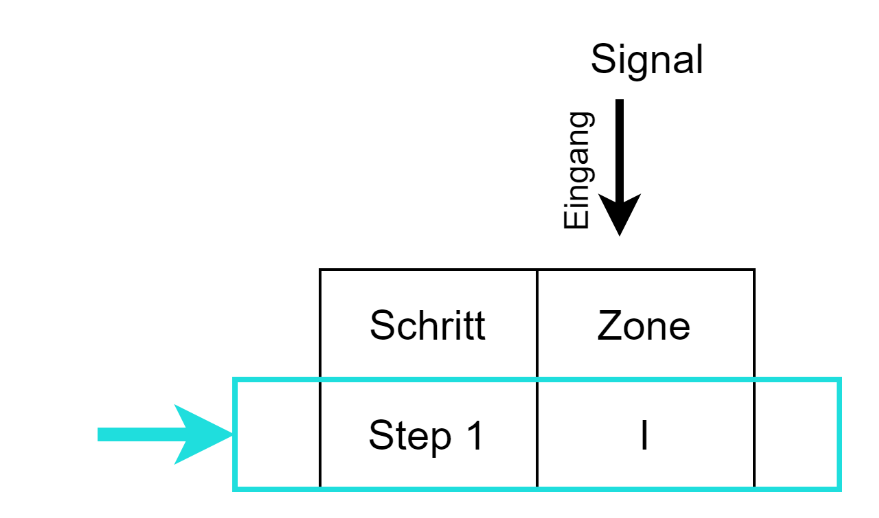
Zone In-?
Zone-In is easy to imagine as a Sensor or input. Especially in Selmo Studio, any Sensor in the application must use Zone-In. Sensors send only one input signal to the system and constantly monitor the True/False state.
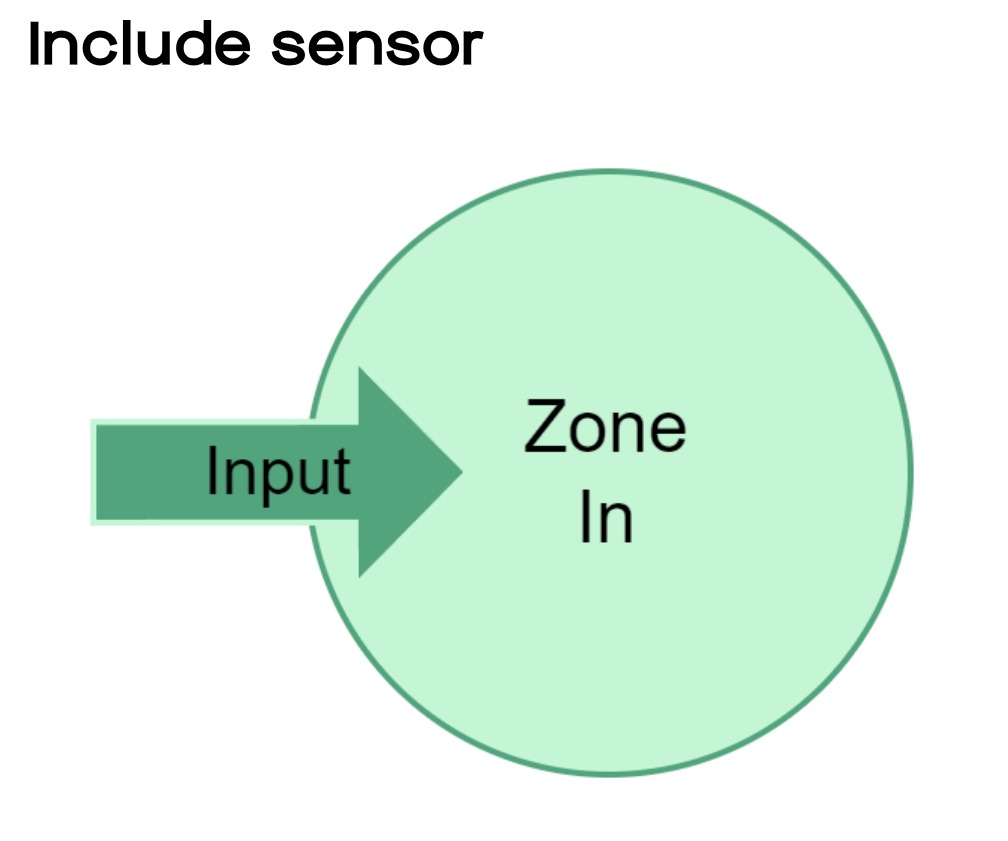
Assignment of signals
In fact, after code generation on Selmo Studio, all Zone-In signals are also in InputMapping.
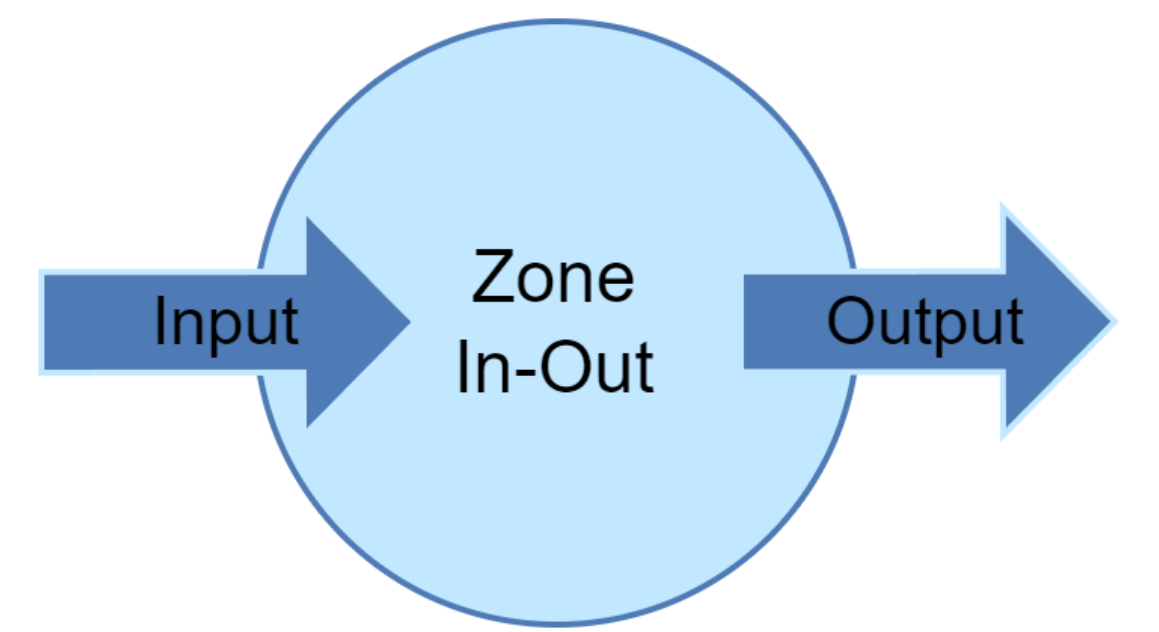
Zone-IN-out?
Zone-In-Out represents the device returning something Feedback to the system while outputting. For example:
- A Cylinder with a Position Sensor moves in a certain Direction; Zone-In-Out expects Feedback from that Position Sensor.
- A Servo Motor positions itself to a certain Position; Zone-In-Out expects the current value Feedback of that Servo Motor.
Assignment of signals
In fact, after code generation on Selmo Studio, all Zone-In-Out signals are also in InputMapping.
Zone-OUT?
It is easy to imagine that Zone-Out is an output without Feedback, e.g. ramps, Buzzer or actuators outputs. However, Zone-Out leads to uncertainty in the output state and should be avoided if possible.
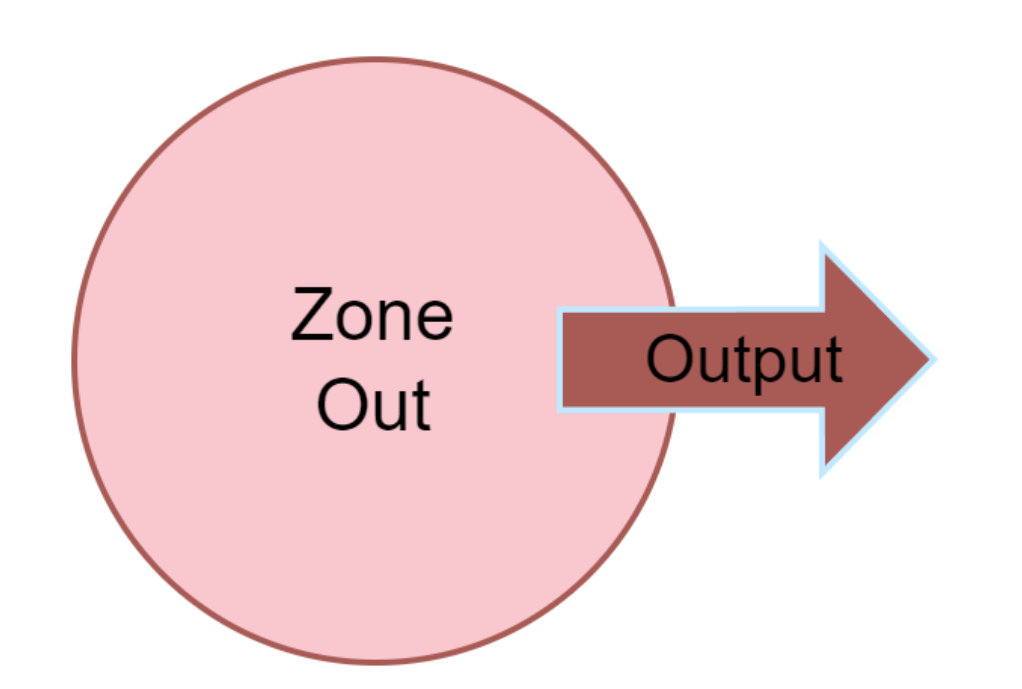
Assignment of signals
In fact, after code generation on Selmo Studio, all Zone-Out signals are also in OutputMapping.
Add Zone!
To add a Zone, simply click on Zone In or Zone Out directly from Add Zones. In this article, we will define one Zone-In, two Zone-In-Out and one Zone-Out.
Operands?
I mentioned earlier that in each Zone you can set ‘0’, ‘I’, ‘S’, ‘M’, ‘D1’, ‘D2’, ‘J’ and ‘C’ Operands, and I would like to introduce the Operands used in this article.
I:Interlock
Interlock is an Operand that monitors the state of the input signal and requires the monitored signal to be True in order to control the Step transition.
S:Sequence Check
S is also the Operands that can be set for the Step of a Zone, which checks for Boolean changes in signals (e.g. inputs) associated with the Zone. The change of state of the signal is called a transition, which is easy to visualize if you think of it as a conversion from 0 to 1. When the state transition is completed, the Step Counter is added.
By using S in Zone-In-Out, it is also possible to Monitor or Timer Delay the Feedback signal at the output.
In brief summary, S is responsible for transitioning and monitoring between Steps.
0: don’t care
Zone becomes Operands that do not monitor signals, if 0 is set to Output Zone, the output will be False.
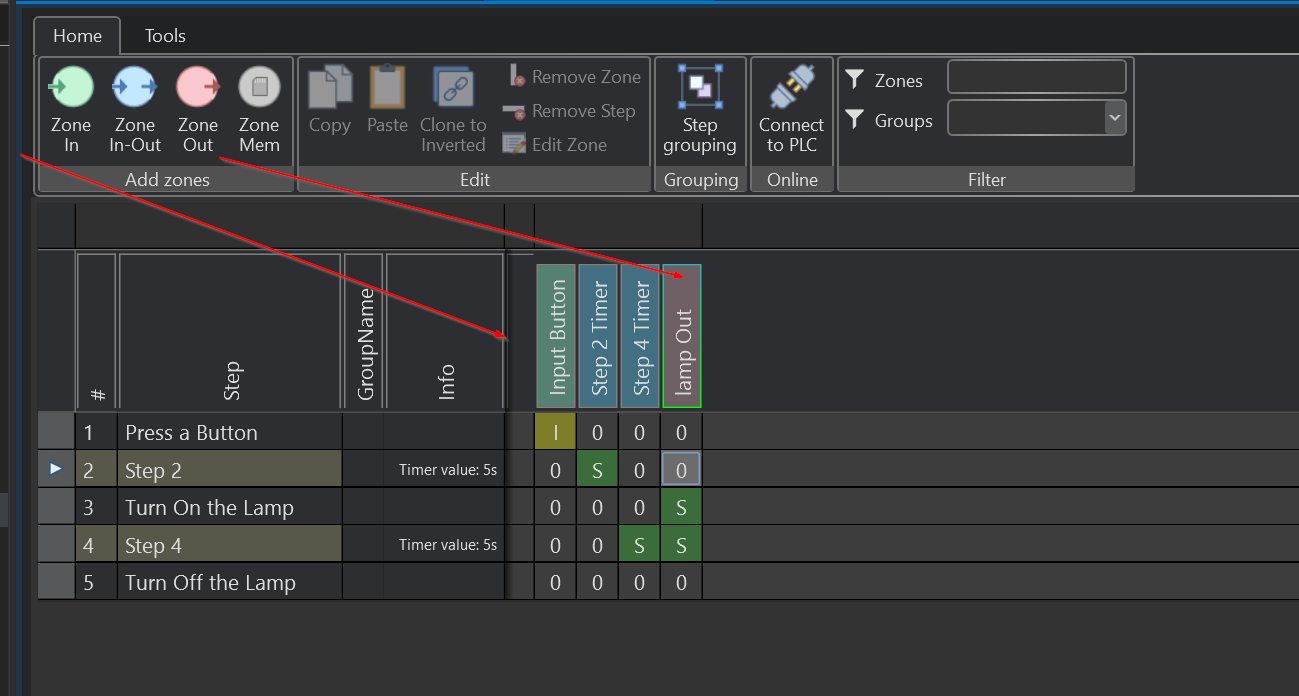
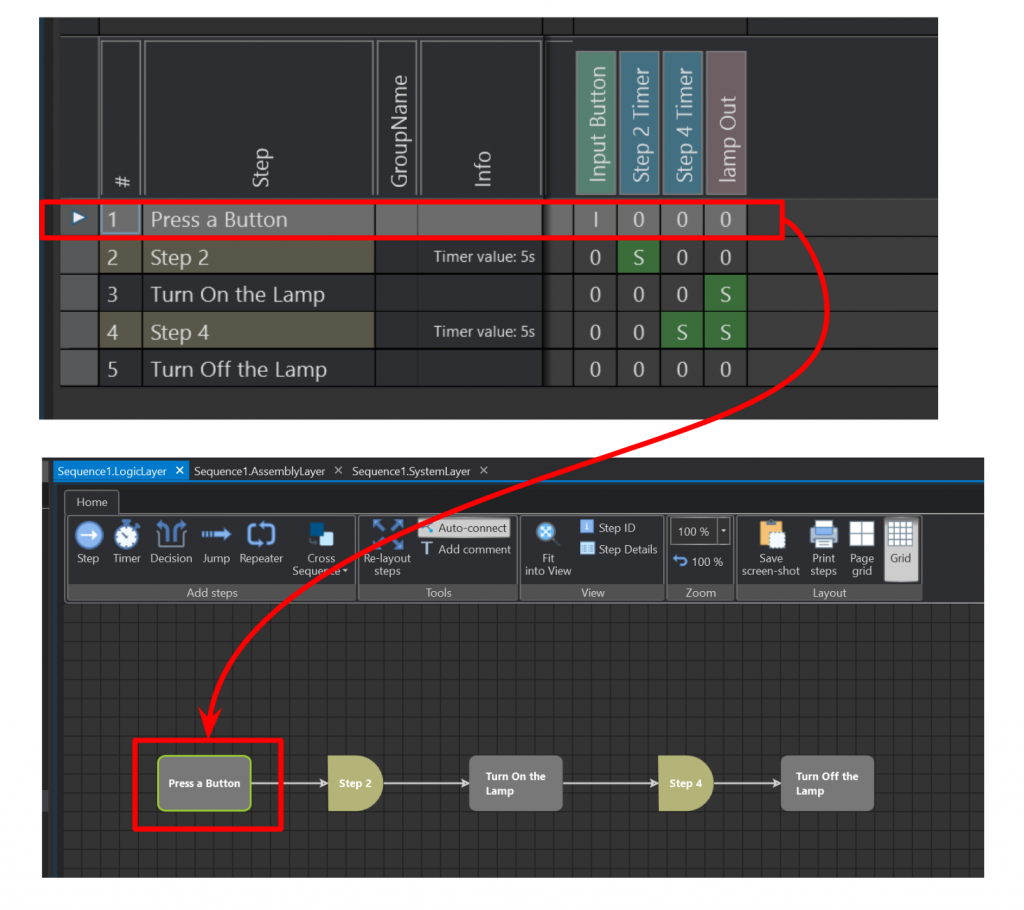
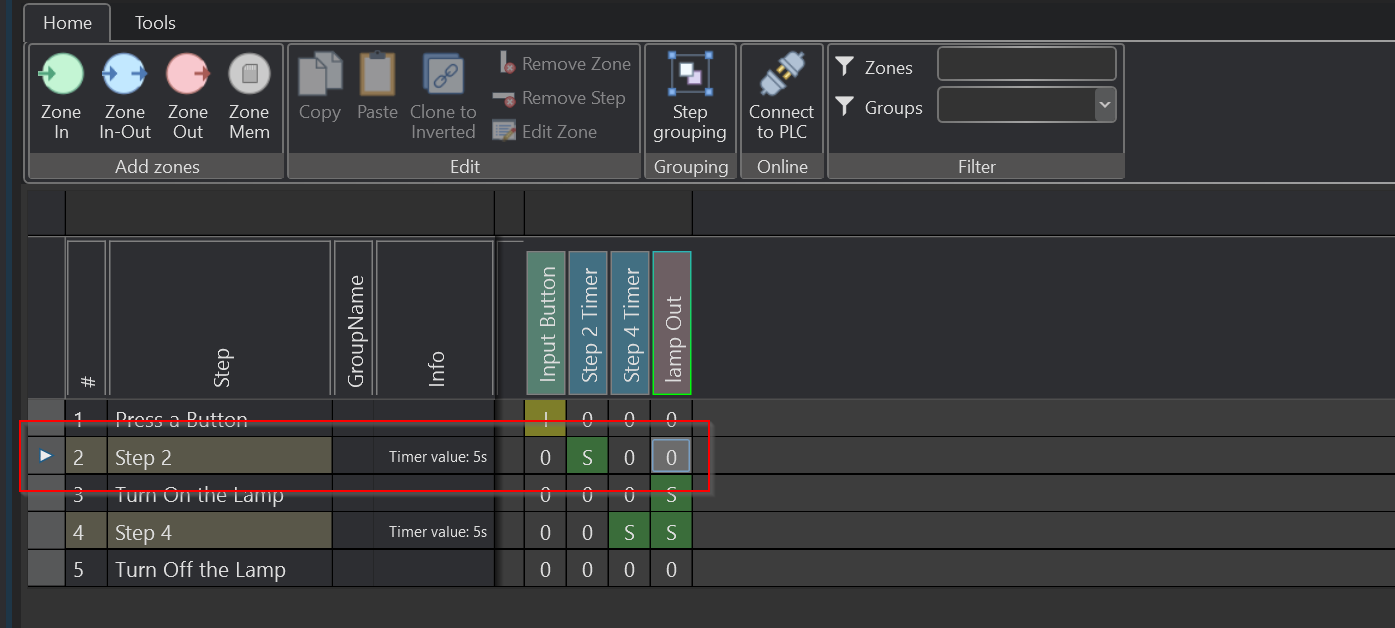
Step1 Press a Button
In Step 1, the Input Button is waiting for a signal, Operands set to I.
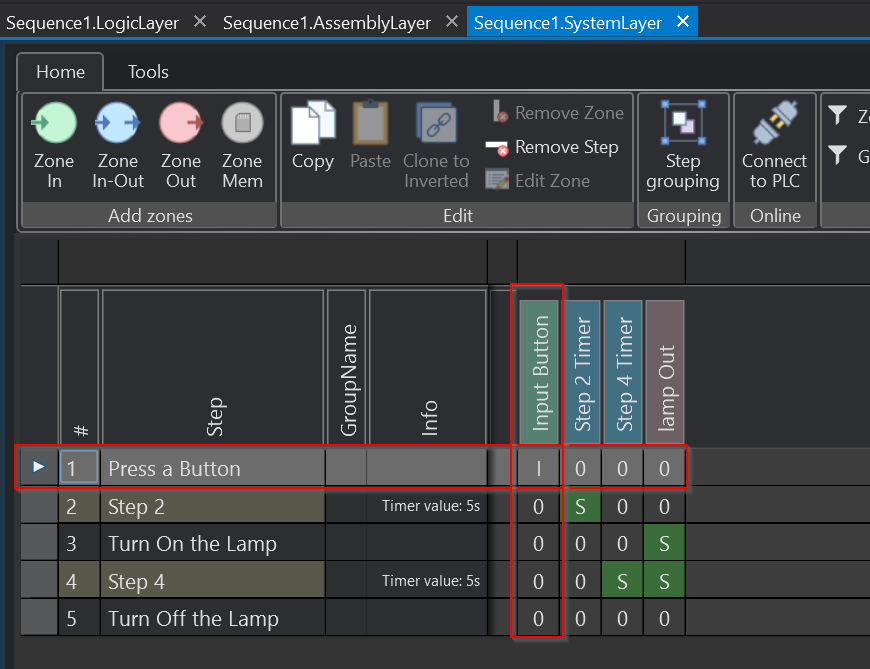
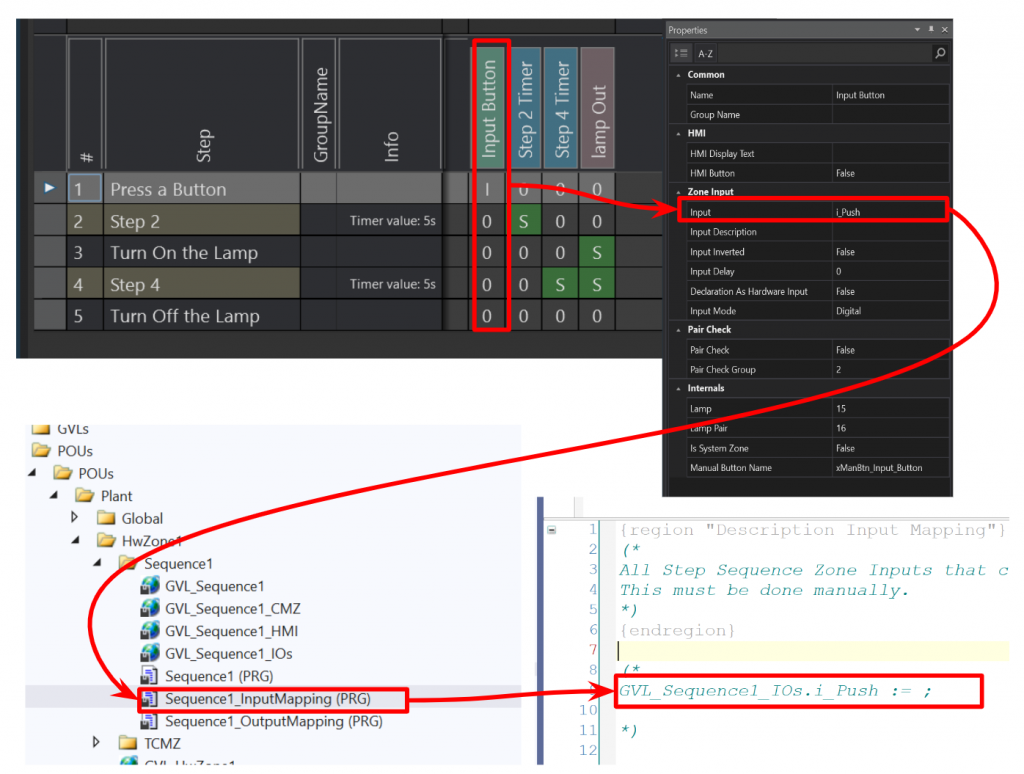
First, this #1 corresponds to “Press a Button” in the Logic Layer.
The “Press a Button” Interlock signal is actually defined as the “i_Push” signal in Selmo Studio.It is also declared in Input Mapping as a form of Comment-out.
Step2 Timer
Step 2 is a timer for 5s, so set “S”.
Step3 Turn On the Lamp
Step 3 makes the Lamp output True.
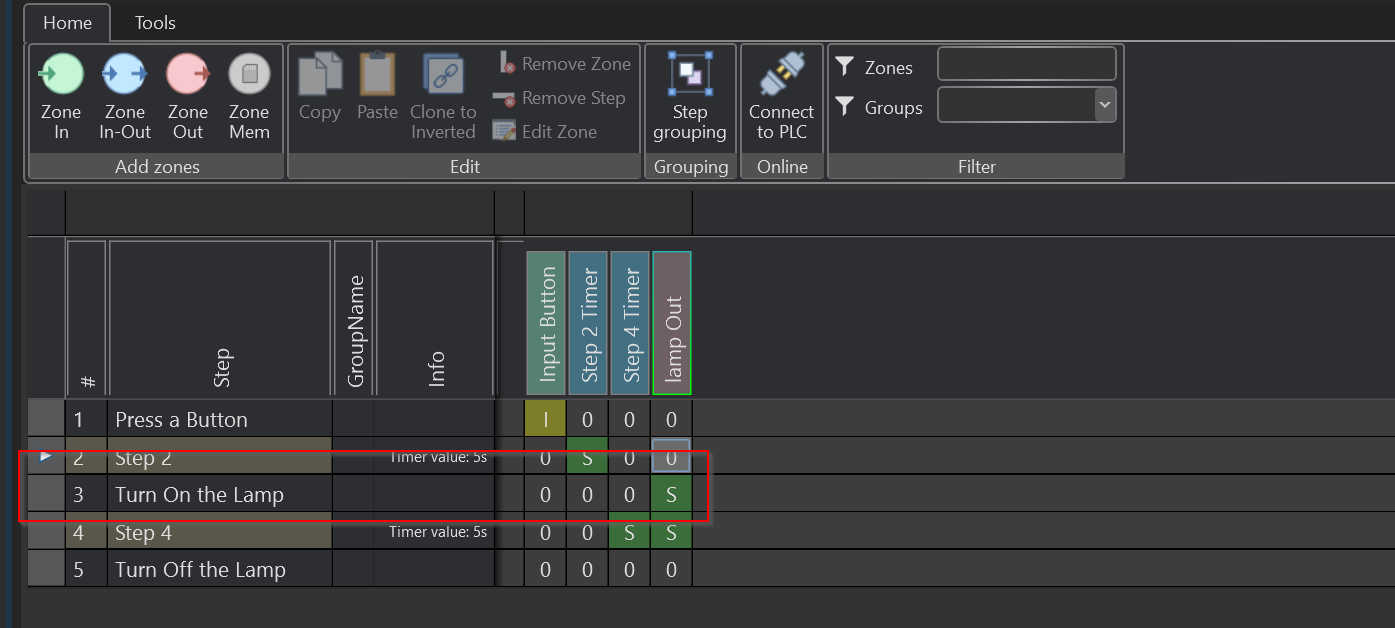
And “Turn On the Lamp” is actually defined as a “q_Lampout” signal in Selmo Studio,It is also declared in Output Mapping as a form of Comment-out.

Step4 Timer
Step 4 is a timer for 5s, so set “S”.
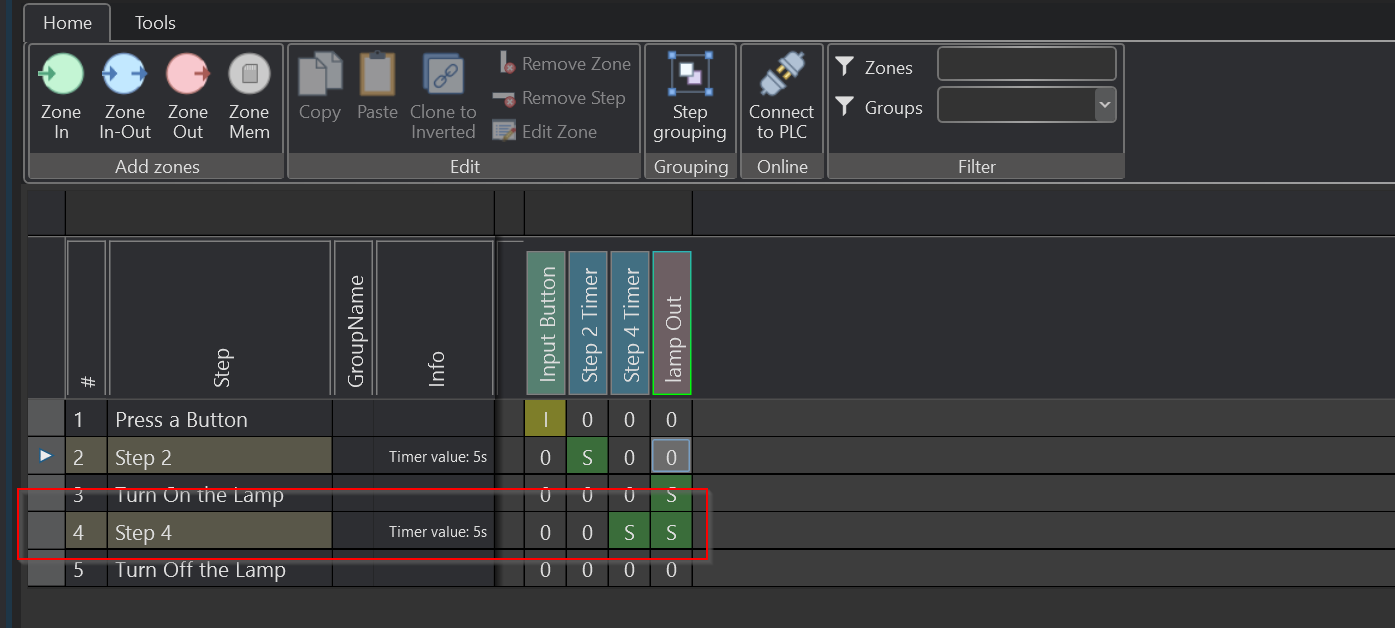
Step5 Turn Off the Lamp
Step is a 5s timer, so set “S”.

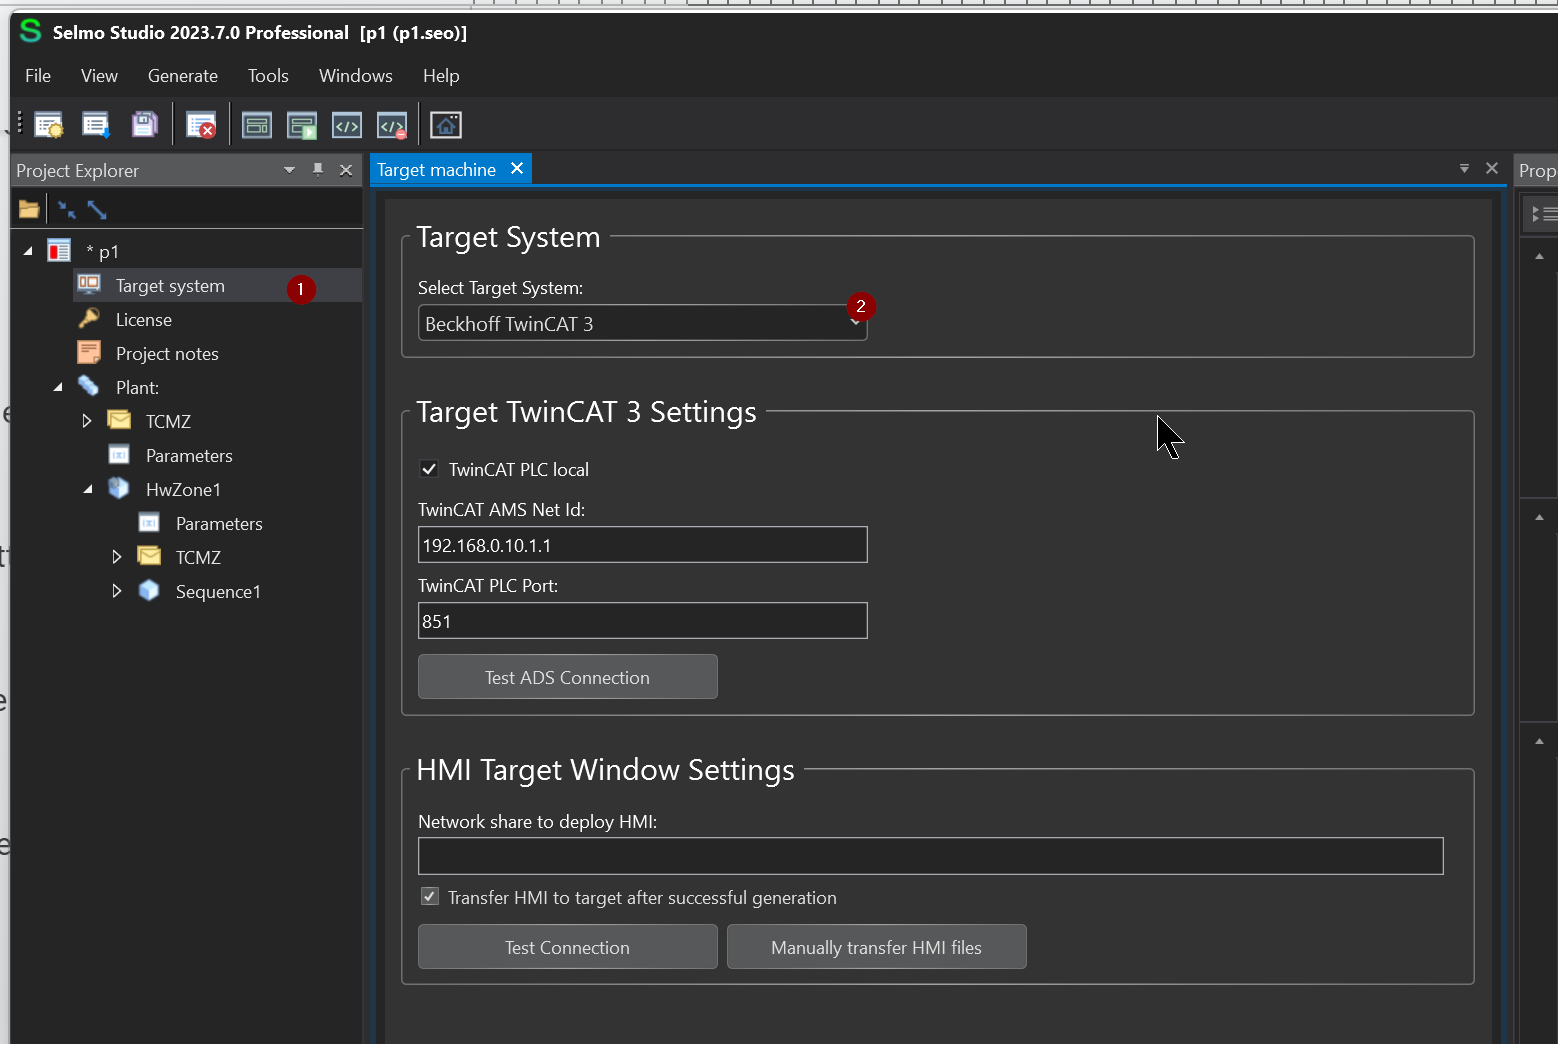
Target System
Let’s set the execution environment for the code from Target system>Select Target System.
In this example, it is Beckhoff TwinCAT3.
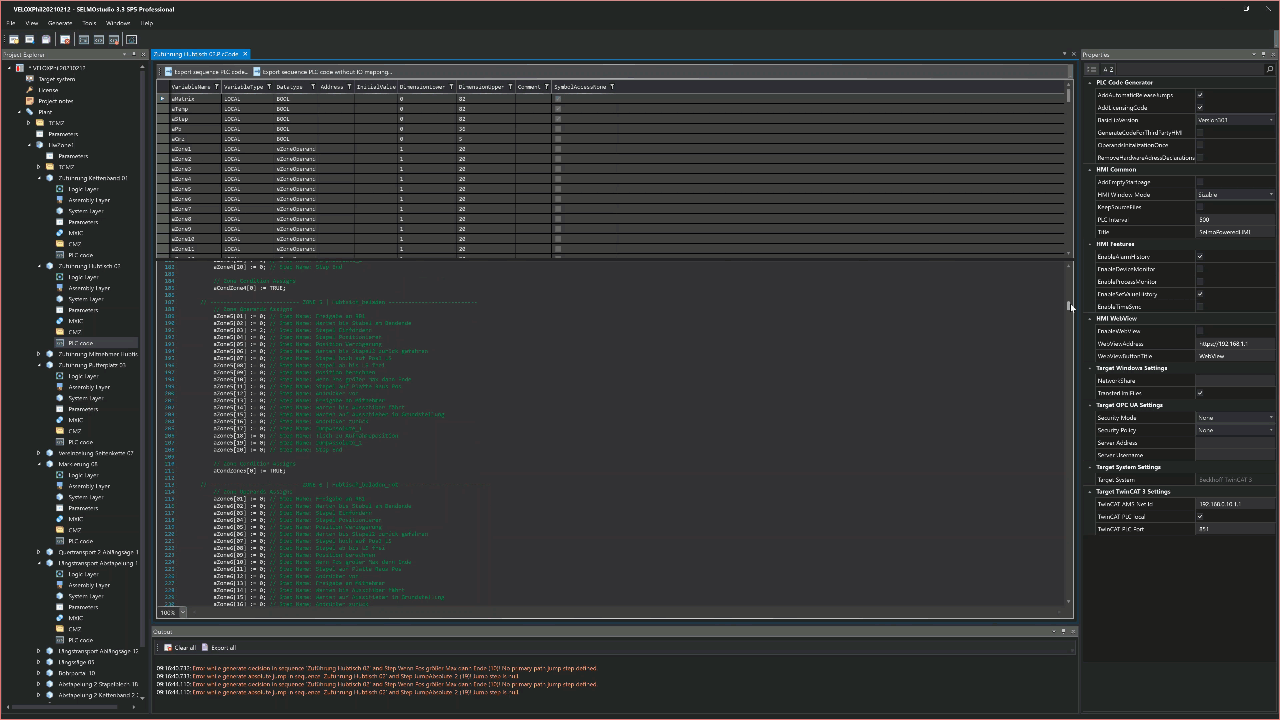
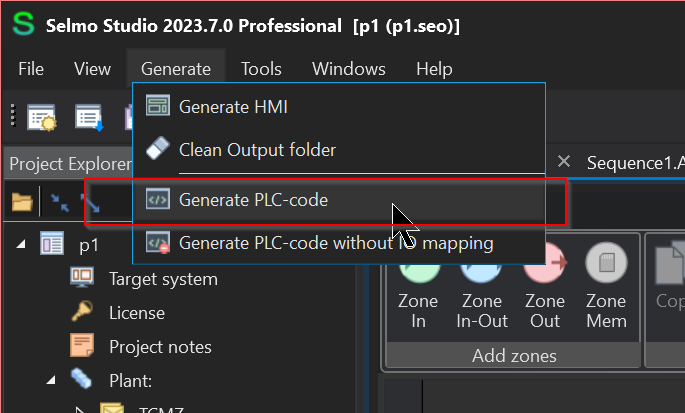
Generate Code
Use Generate>PLC-Code to generate the code.
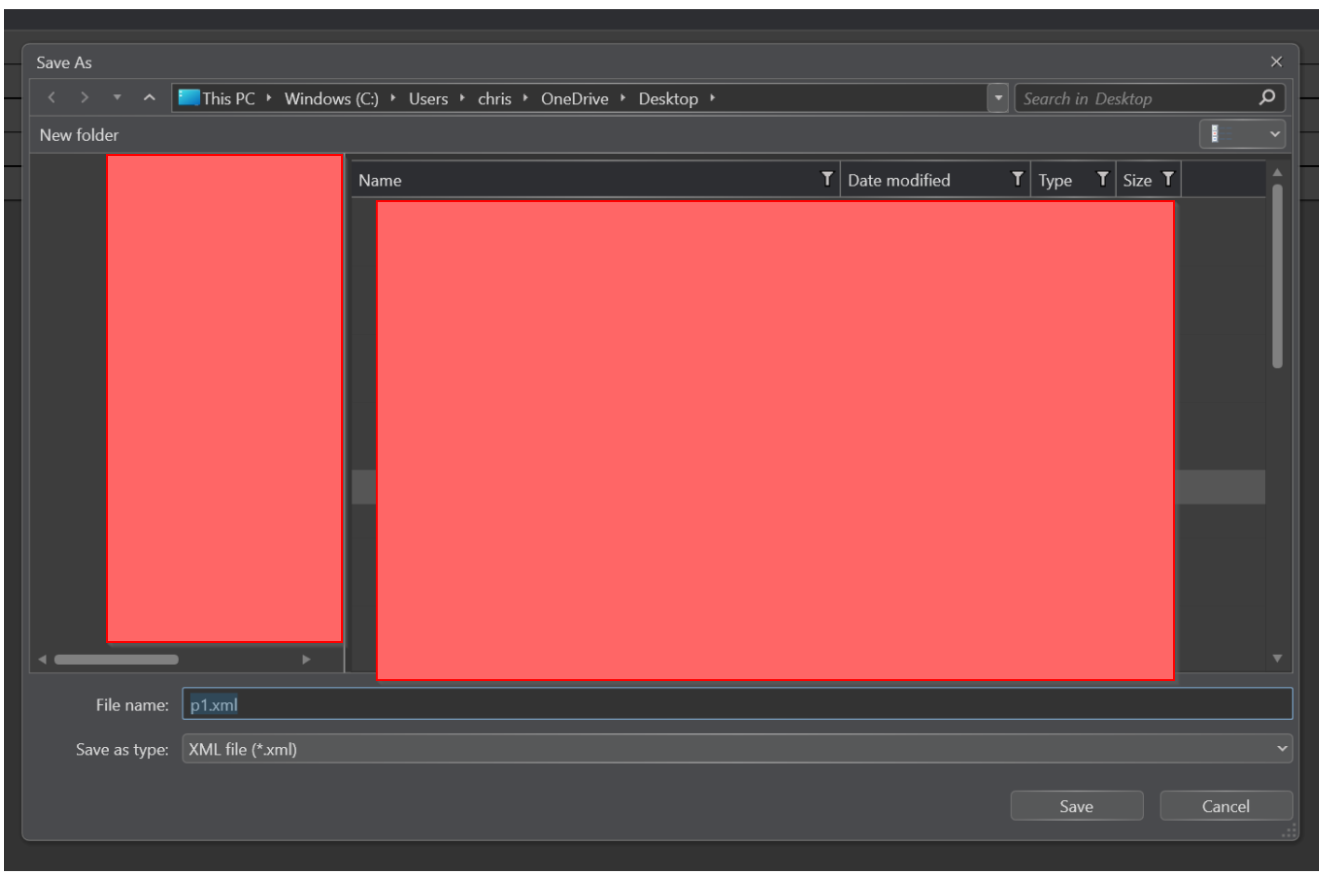
Sets where the code is generated.
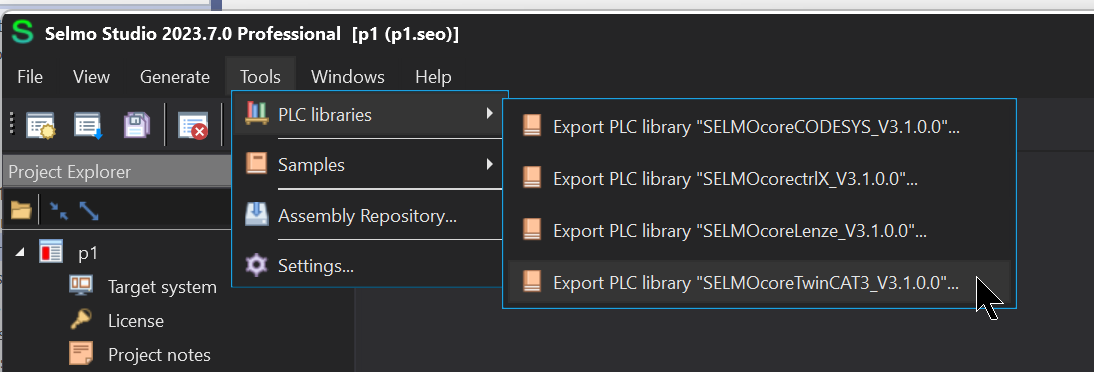
Export Library
To export the Selmo Studio dedicated library, click Tools>PLC Libraries>Export PLC Library “SELMOcoreTwinCAT3_XXX”.
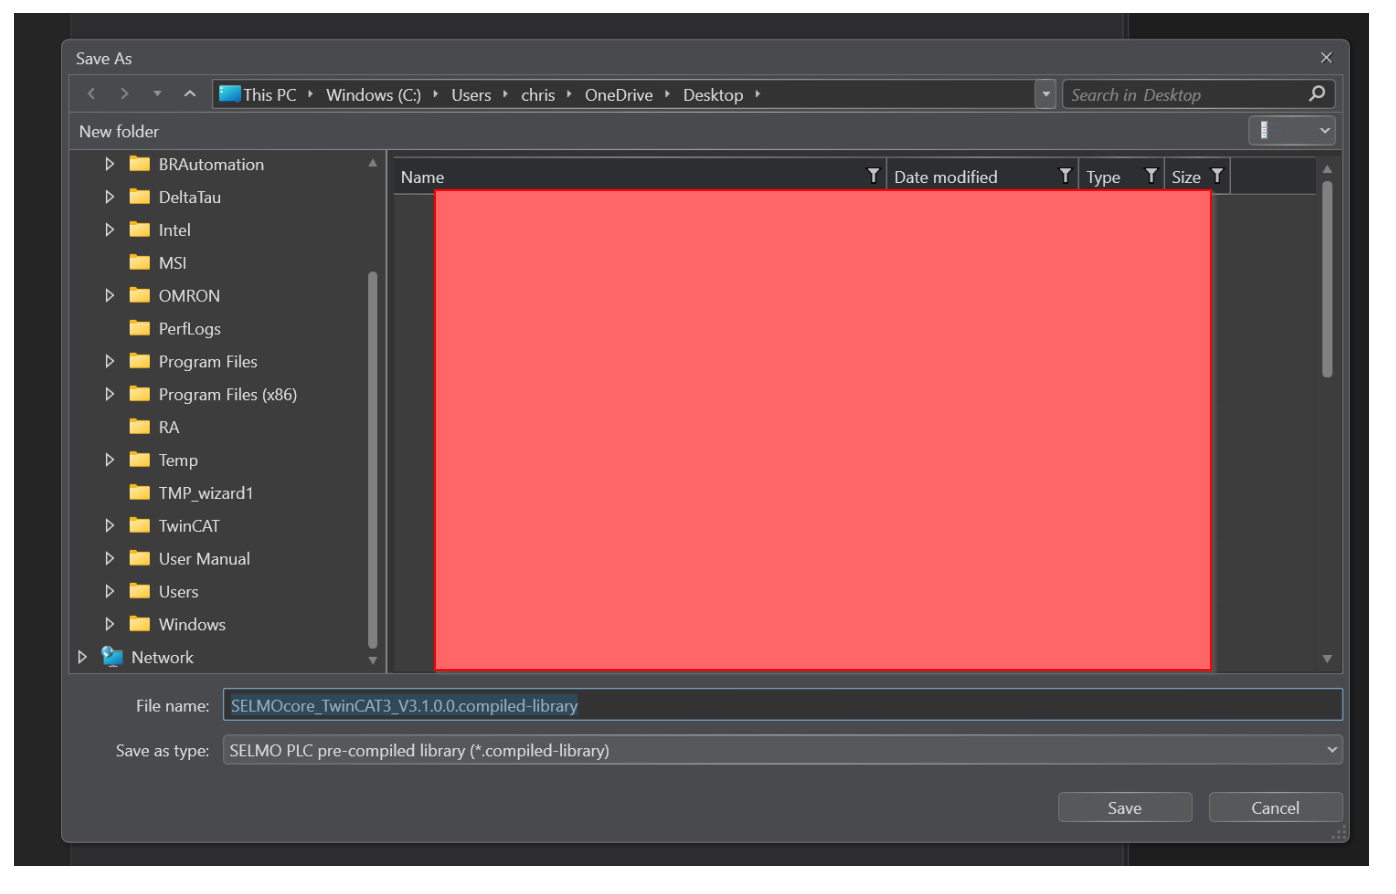
Set the Export destination and Export Library.
Beckhoff Side
The code has been generated from Selmo Studio and you can now import this code in TwinCAT3.
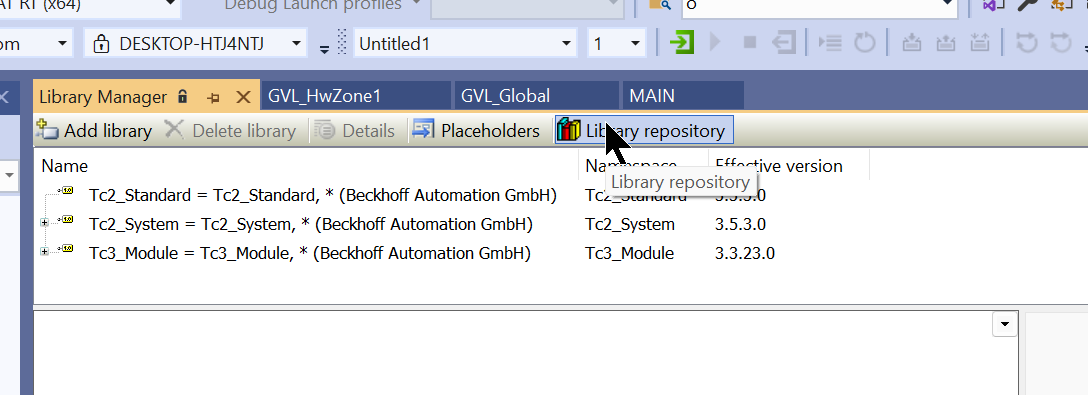
Add library
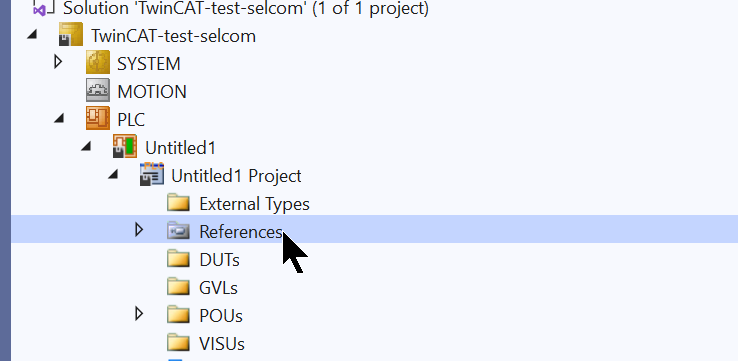
Click Reference to import Selmo Studio-specific libraries.
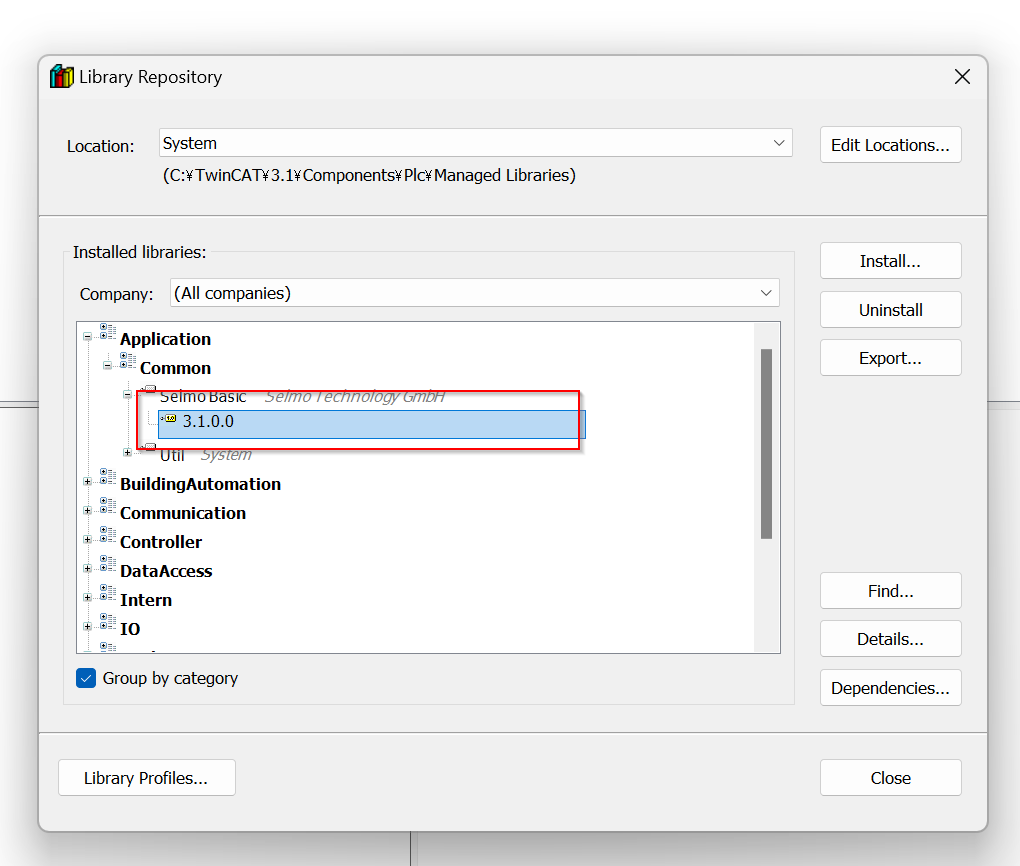
Click on Library repository.
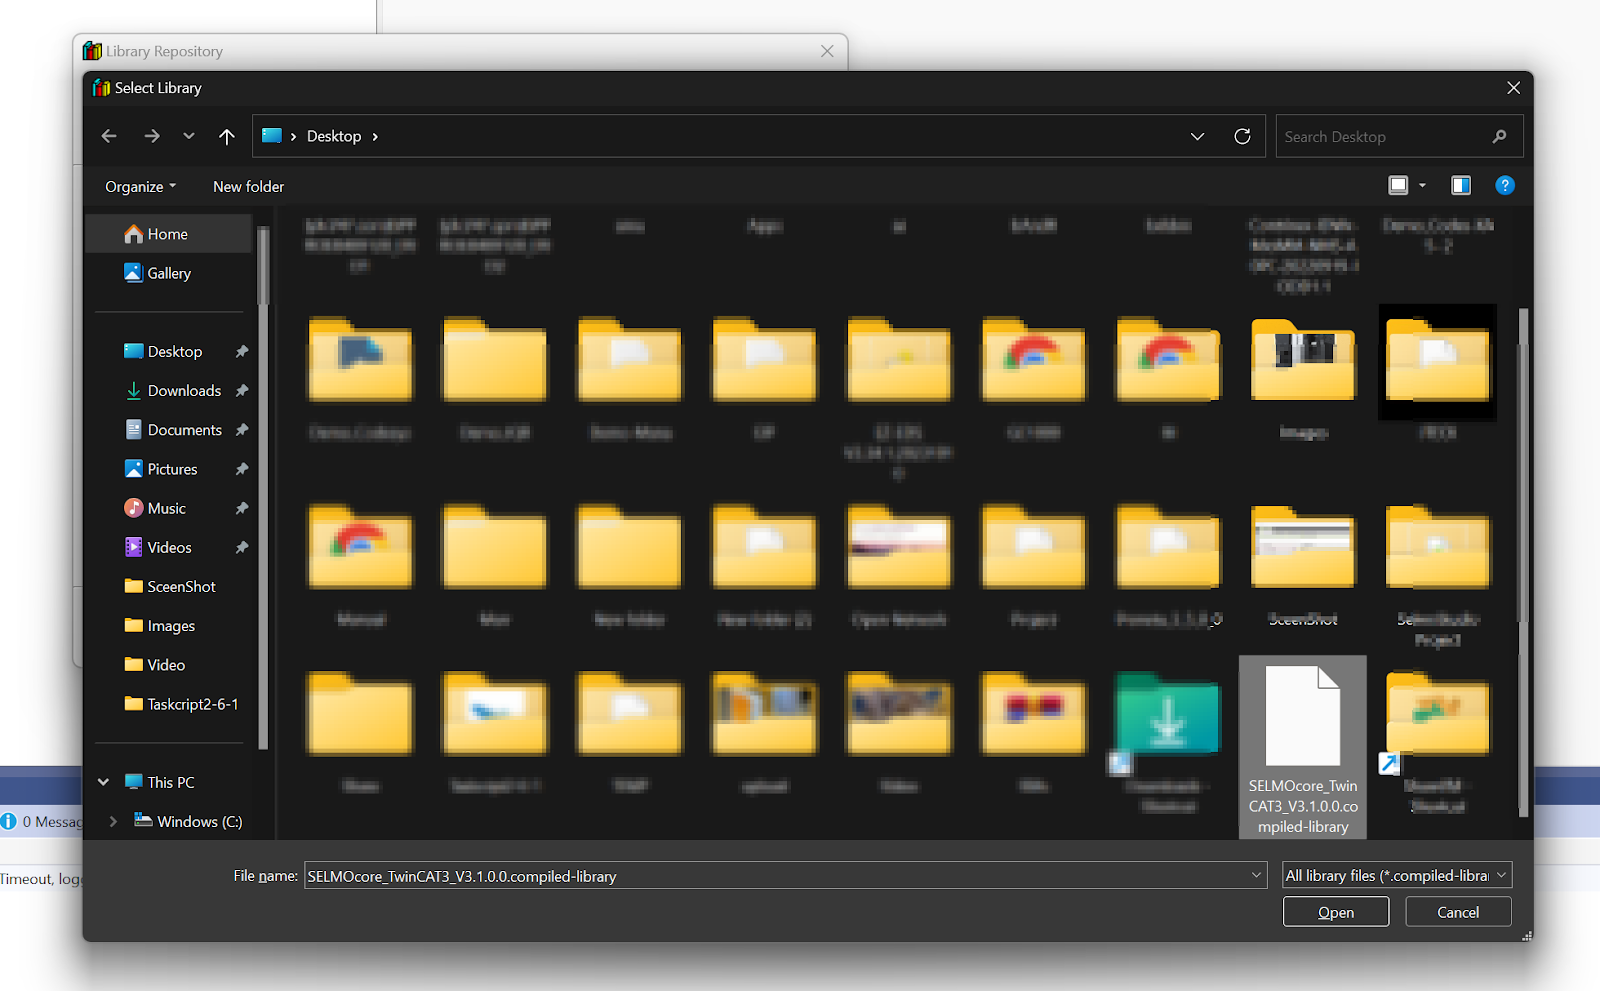
Click Install.
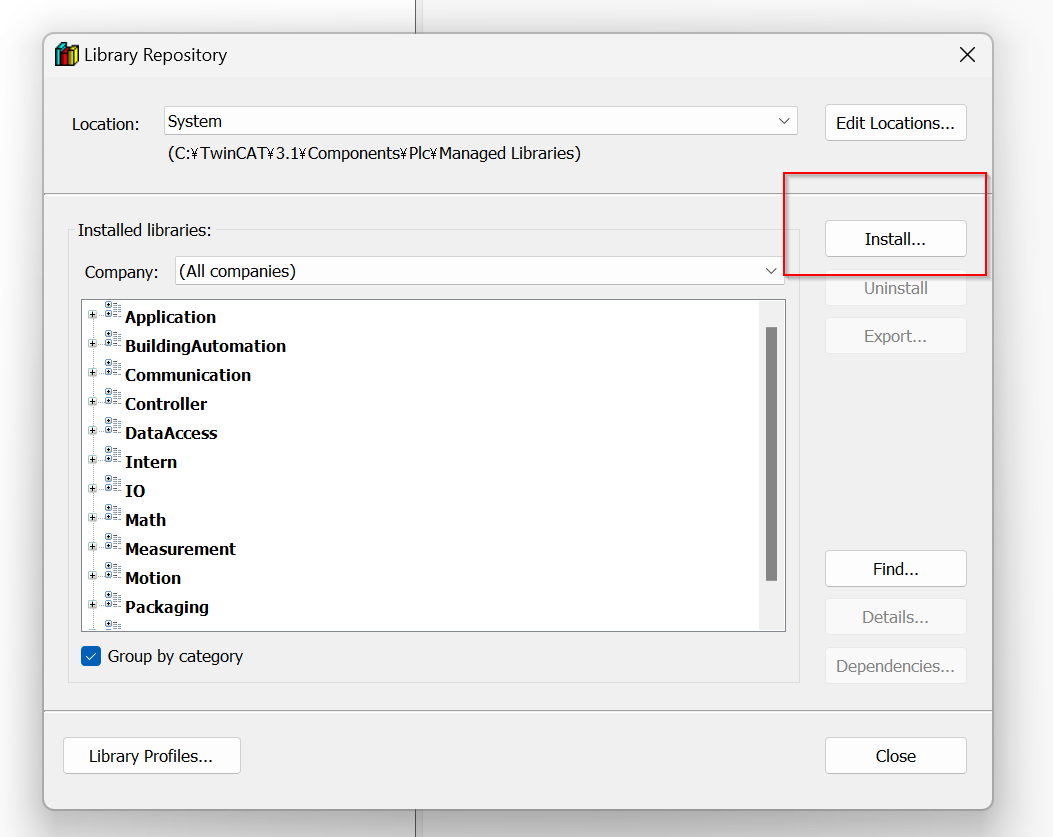
Select the Library File you have just Exported.
Done!A dedicated library for Selmo Studio has been imported.
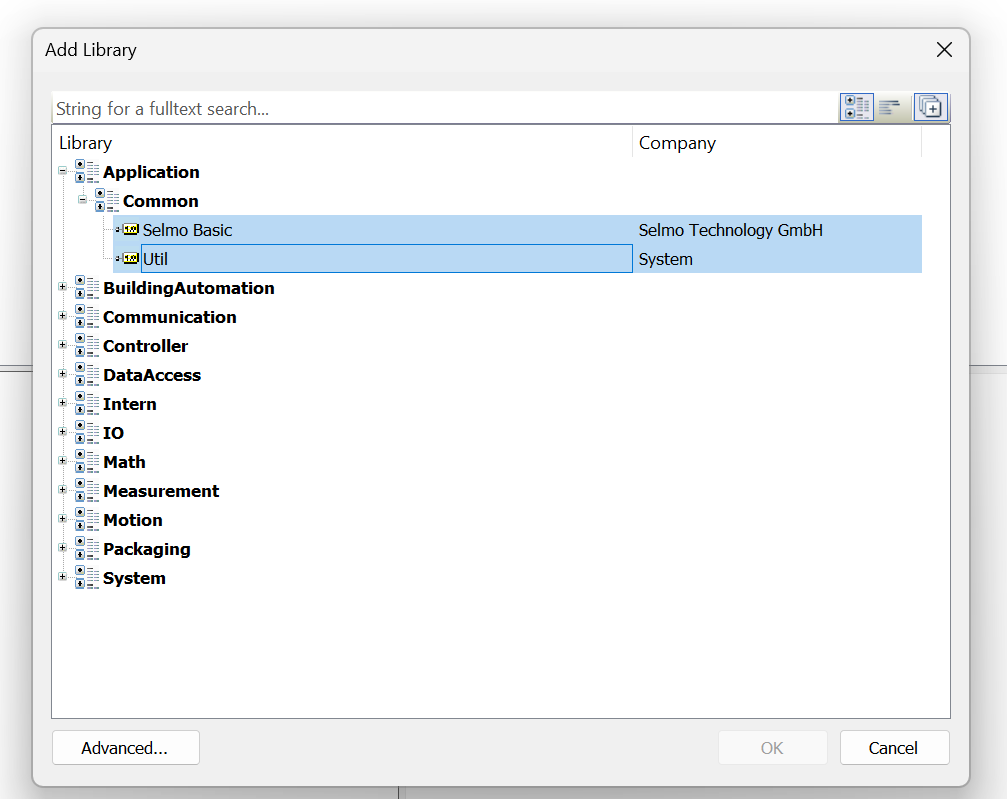
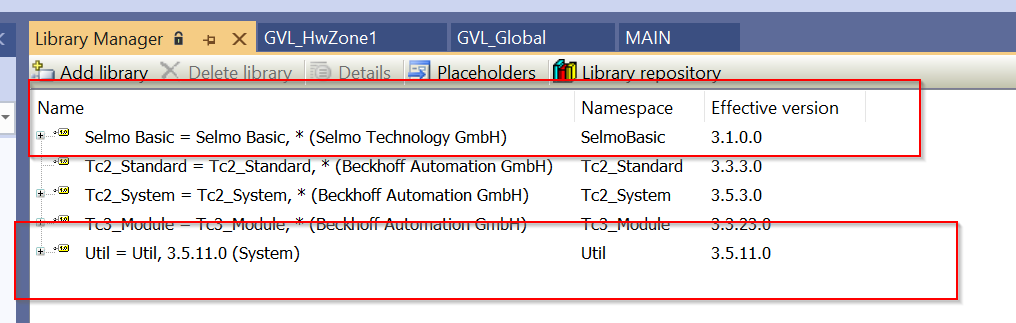
Next, add libraries with Add Library.
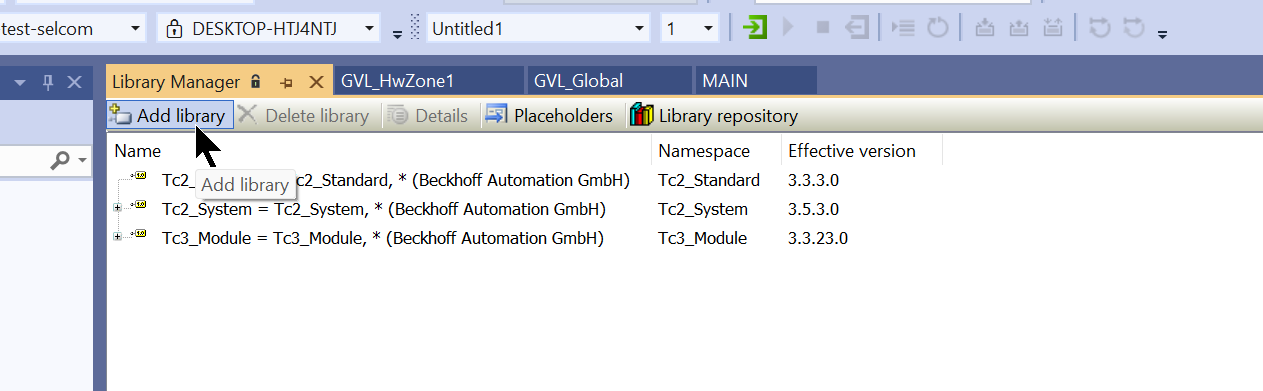
Add “Selmo basic” and “Util” in the Application.
Done!
Import
Next, to import the code, right-click on the Folder>Import PLCOepnXML.
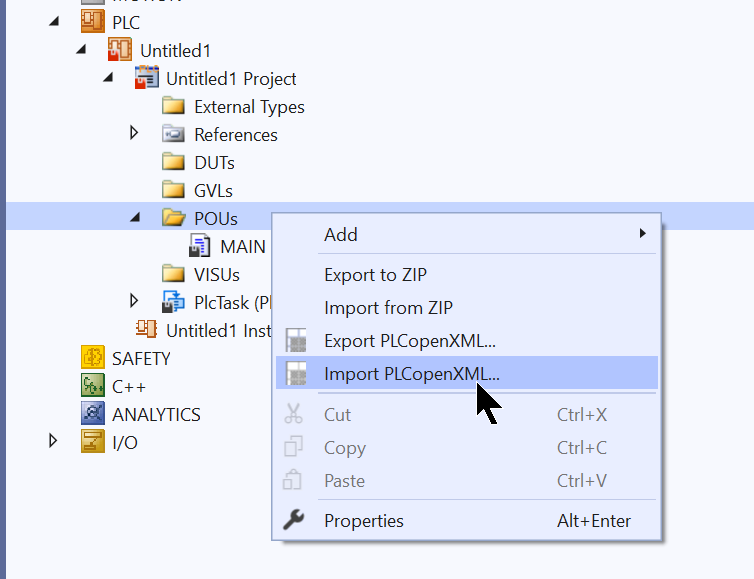
Proceed with Ok.
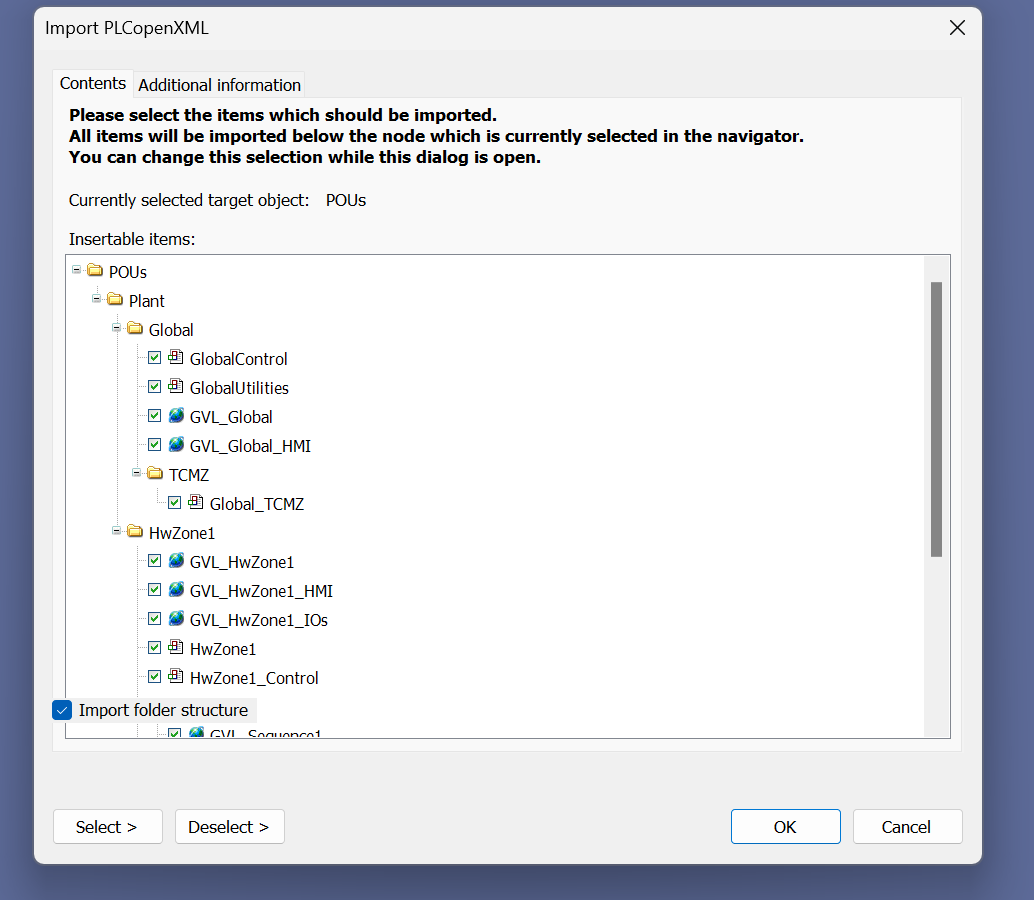
Done!
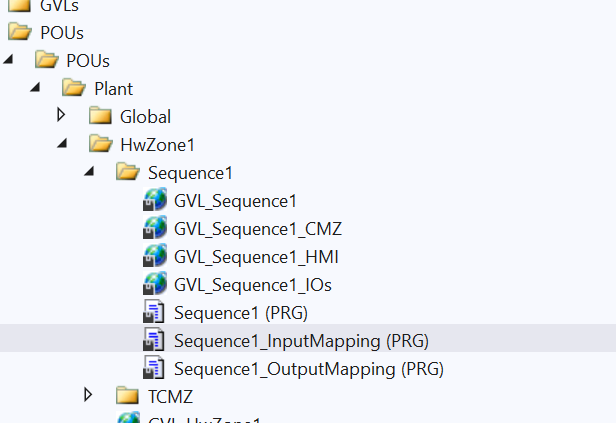
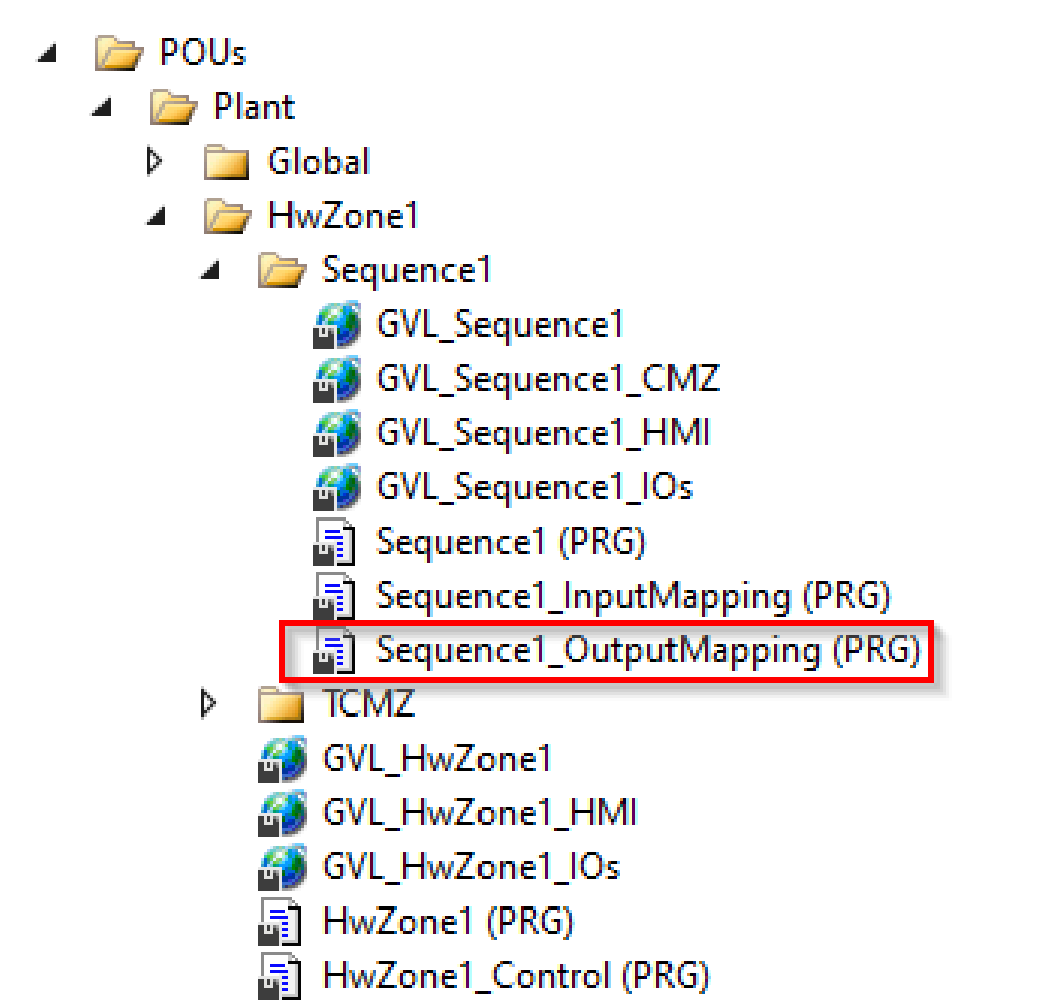
Mapping
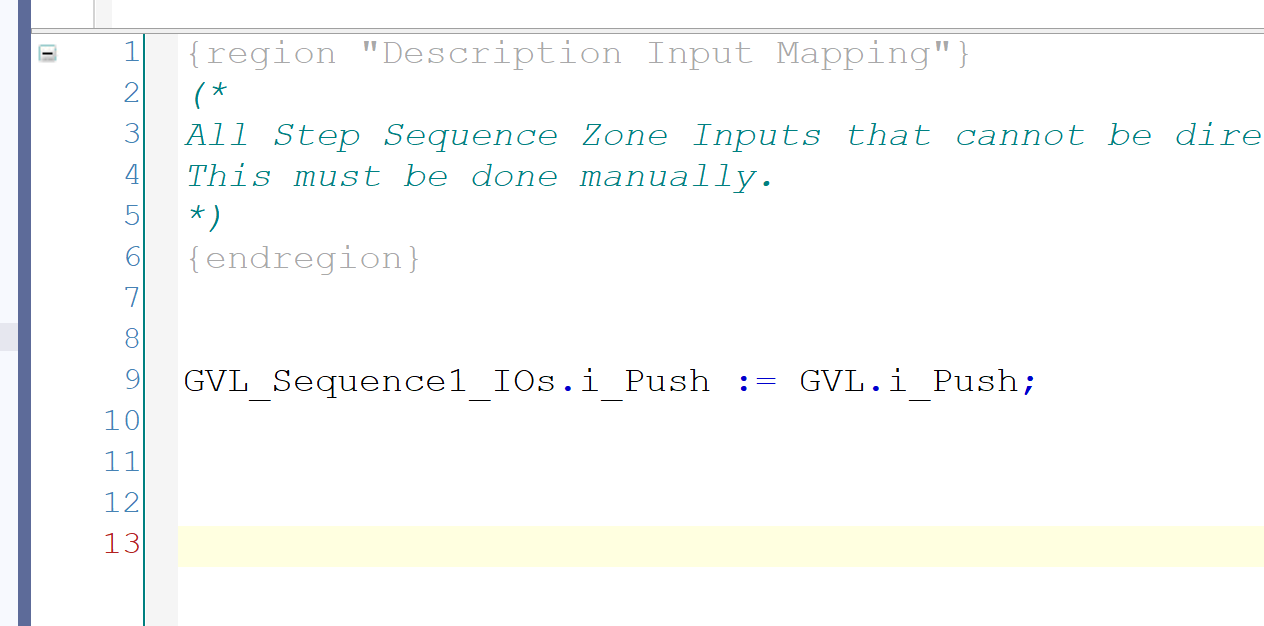
Now, the inputs and outputs in each Zone are mapped. Below is the Sequence1_InputMapping program.
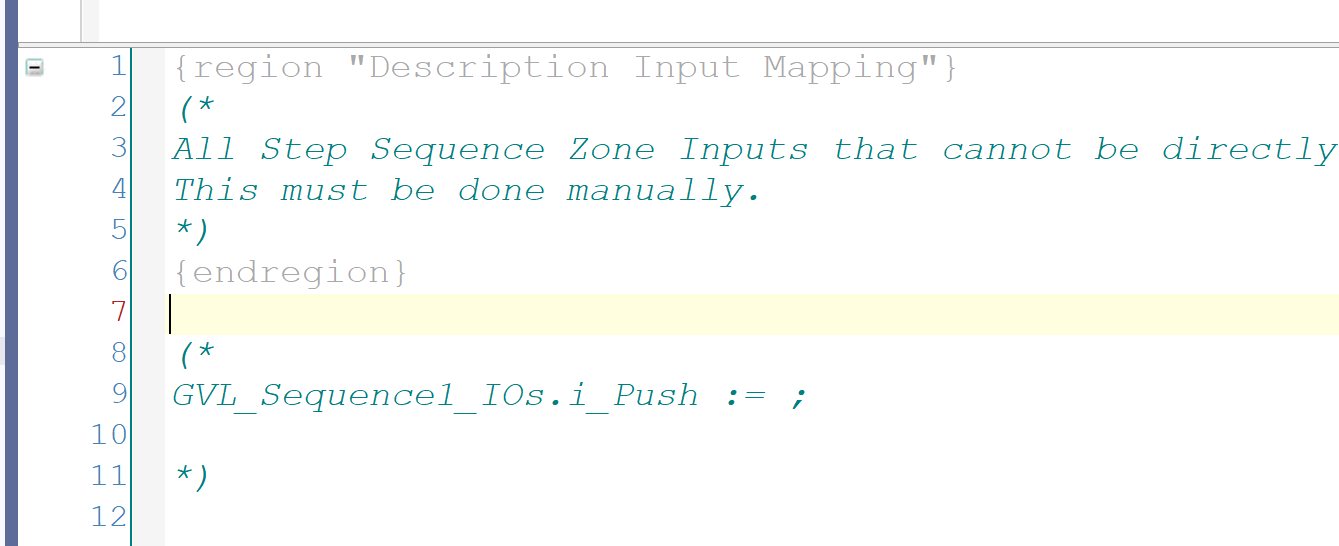
Link them to the variables you actually use in your application.
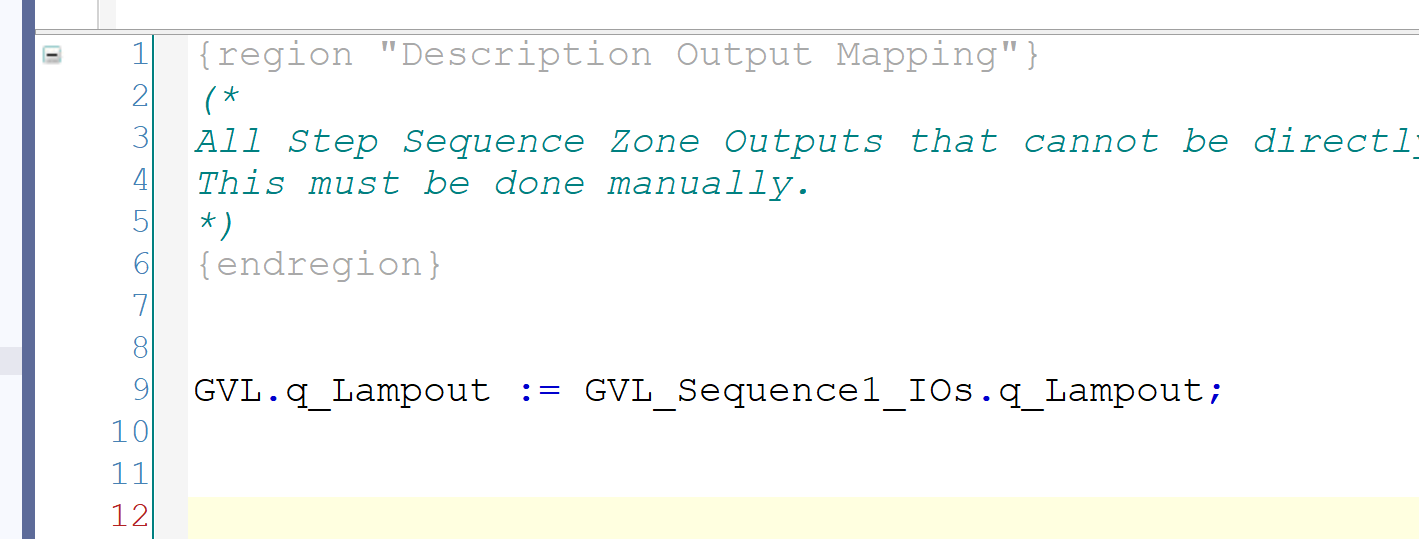
Below is the Sequence1_OutputMapping program.
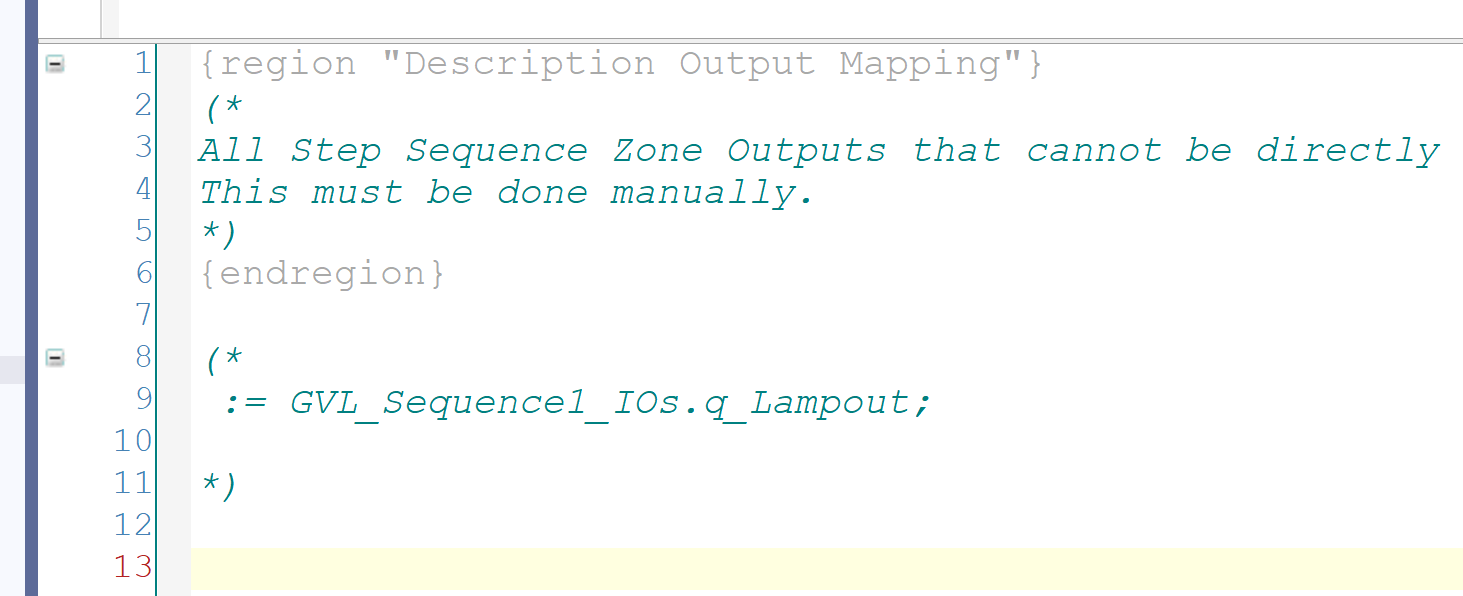
Link them to the variables you actually use in your application.
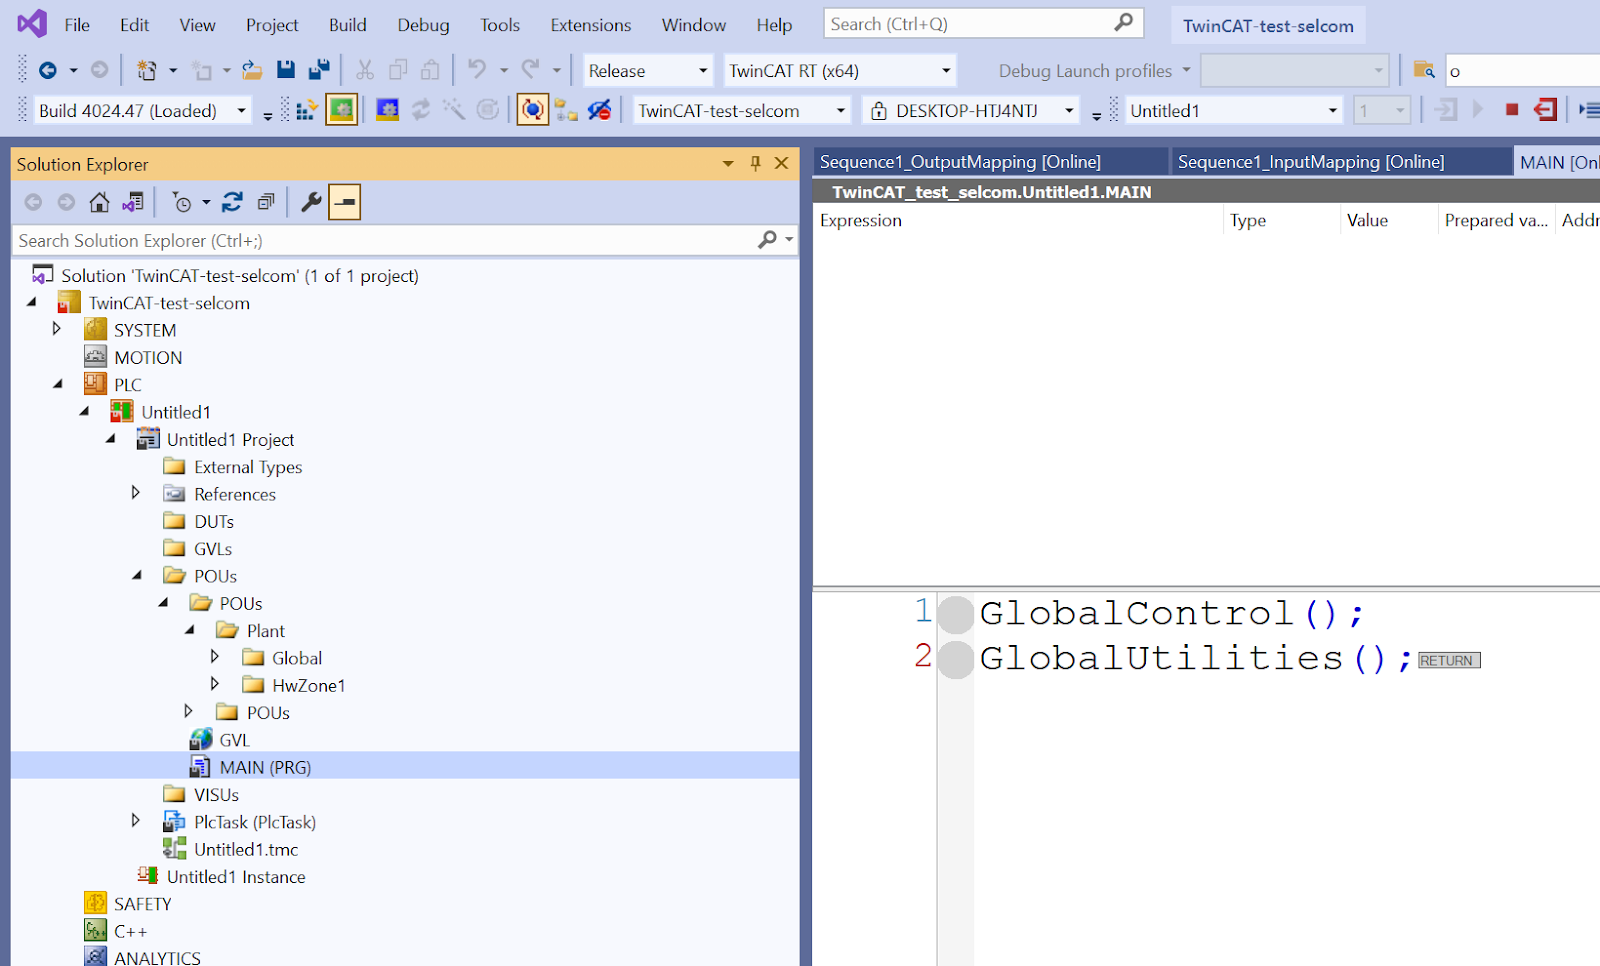
Call
Call the GlobalControl and GlobalUtilities programmes in the Main programme.
Download
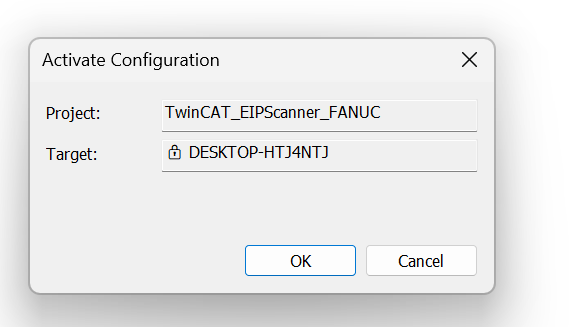
The last step is to Download the programme in Activate Configuration.
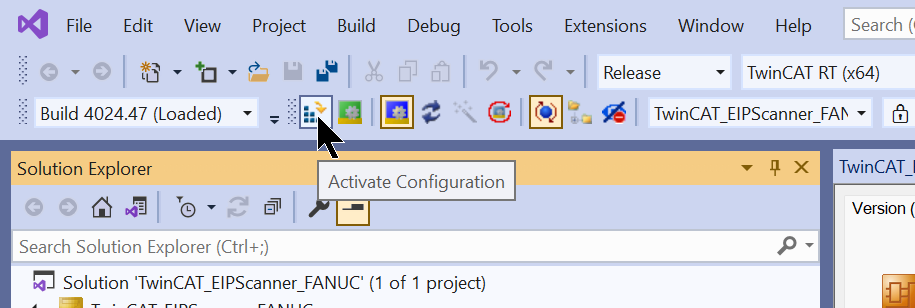
Proceed with Ok.
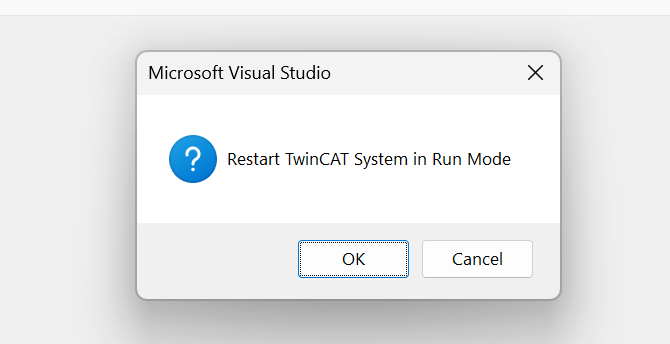
Switch TwinCAT Runtime to Run Mode.
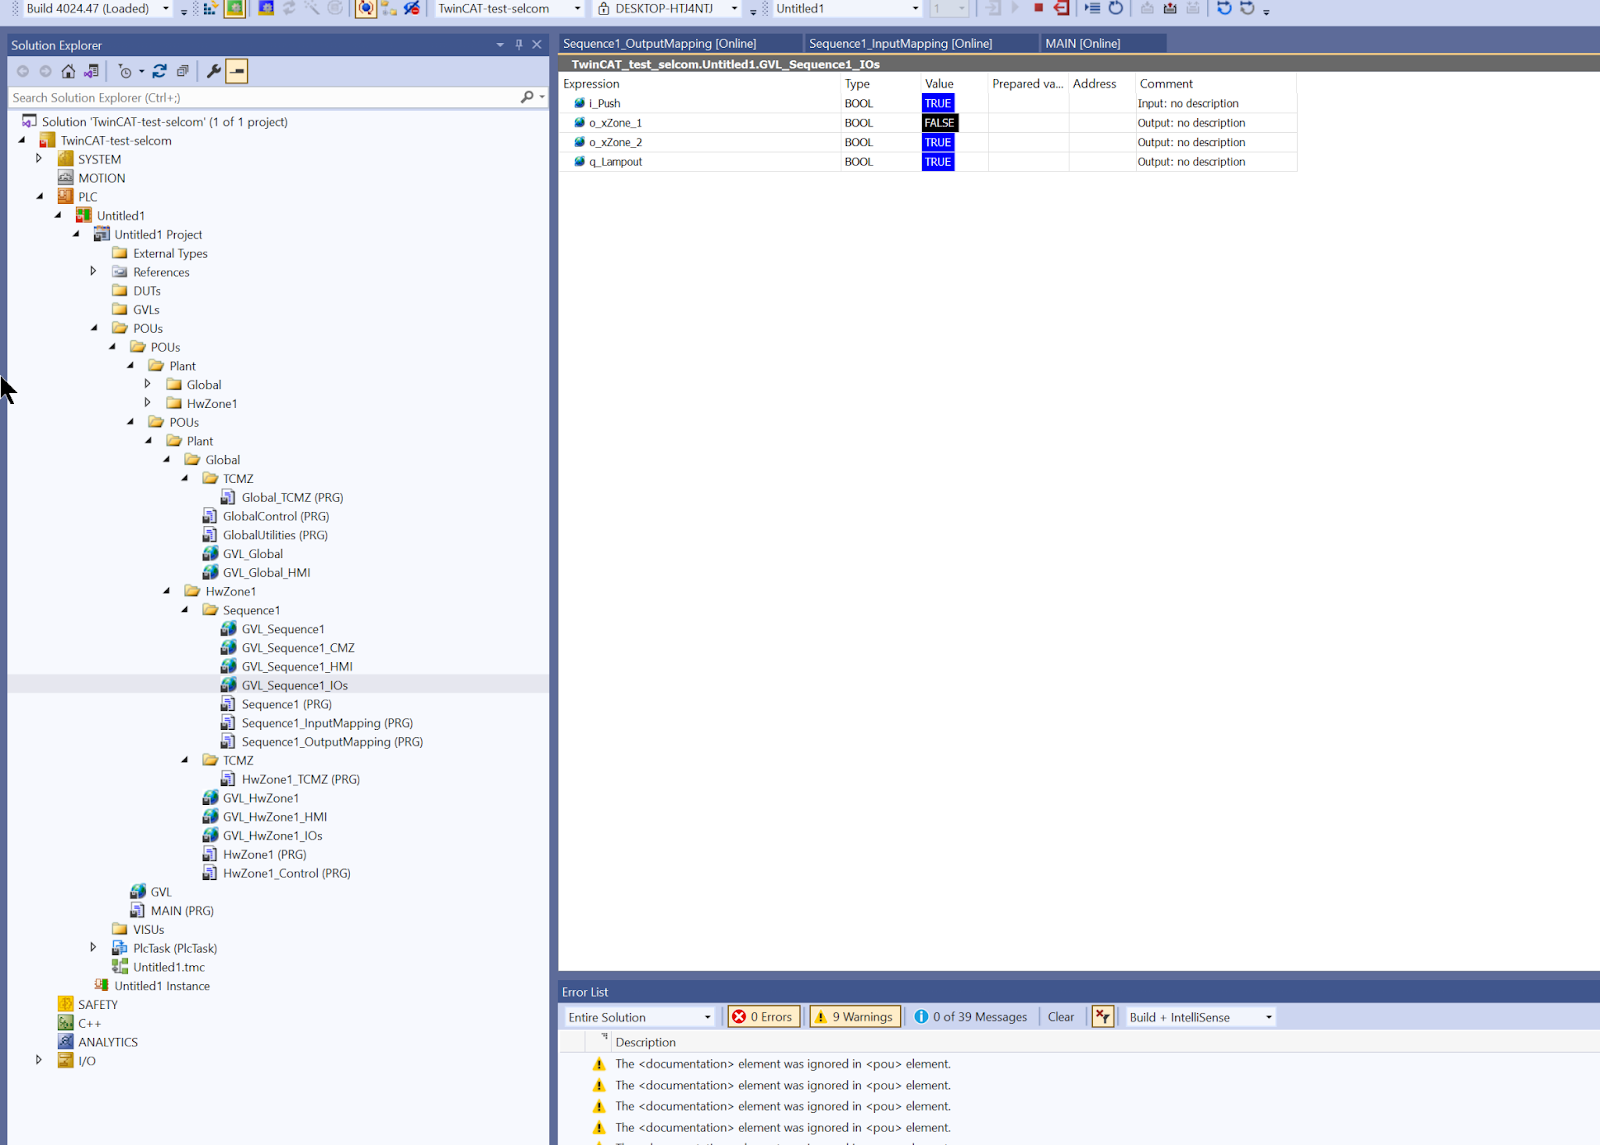
Result
Done!Now when i_Push is set to True, q_Lamp has a simple control of 5s ON and 5s OFF.
Finally..
In my light use of Selmo Studio, I found this Solution to be very good and I wrote almost nothing programmatically until I started to auto-generate code. However, to automatically generate code, it is not only the knowledge of programming that is actually needed. It is also important that the engineer has an even deeper understanding of the machine and how far he can grasp the big picture.
Also,we would like to continue to write more topics with SelmoStudio .
(If Selmo lends us the license again..!)
No matter how much technology evolves, I think we have to do the muddy part.