This is the second episode of the CDP Studio Tutorial. In the previous episode we created a simple project, and in the next episode we will show you how to create a GUI (Graphic User Interface).
Let’s get started!

Reference Link
CDP Studio UI designer?
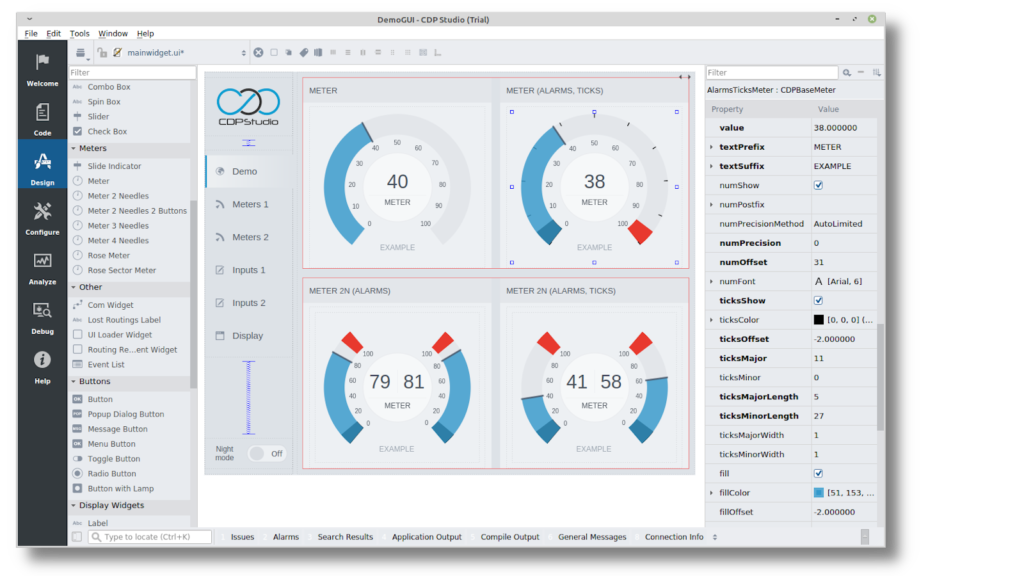
CDP Studio UI Designer is designed so that developers can design user interfaces without any knowledge of UI design, as they can easily drag and drop them. It can also be customised using the properties of the components, with no coding or scripting required; the UI is made with scalable graphics and can automatically adapt to any screen size.
No-code Web HMI
Use the code-free CDP Studio UI Designer to create web user interfaces that work on devices and browsers. You can create web HMIs without the need for html5 coding or knowledge using only a drag-and-drop editor.
Built-in web server
Supports Web UI / HTML5, has a built-in web server and can create a web UI using Javascript or any web design tool and integrate this with the logic of the control system.
Implementation
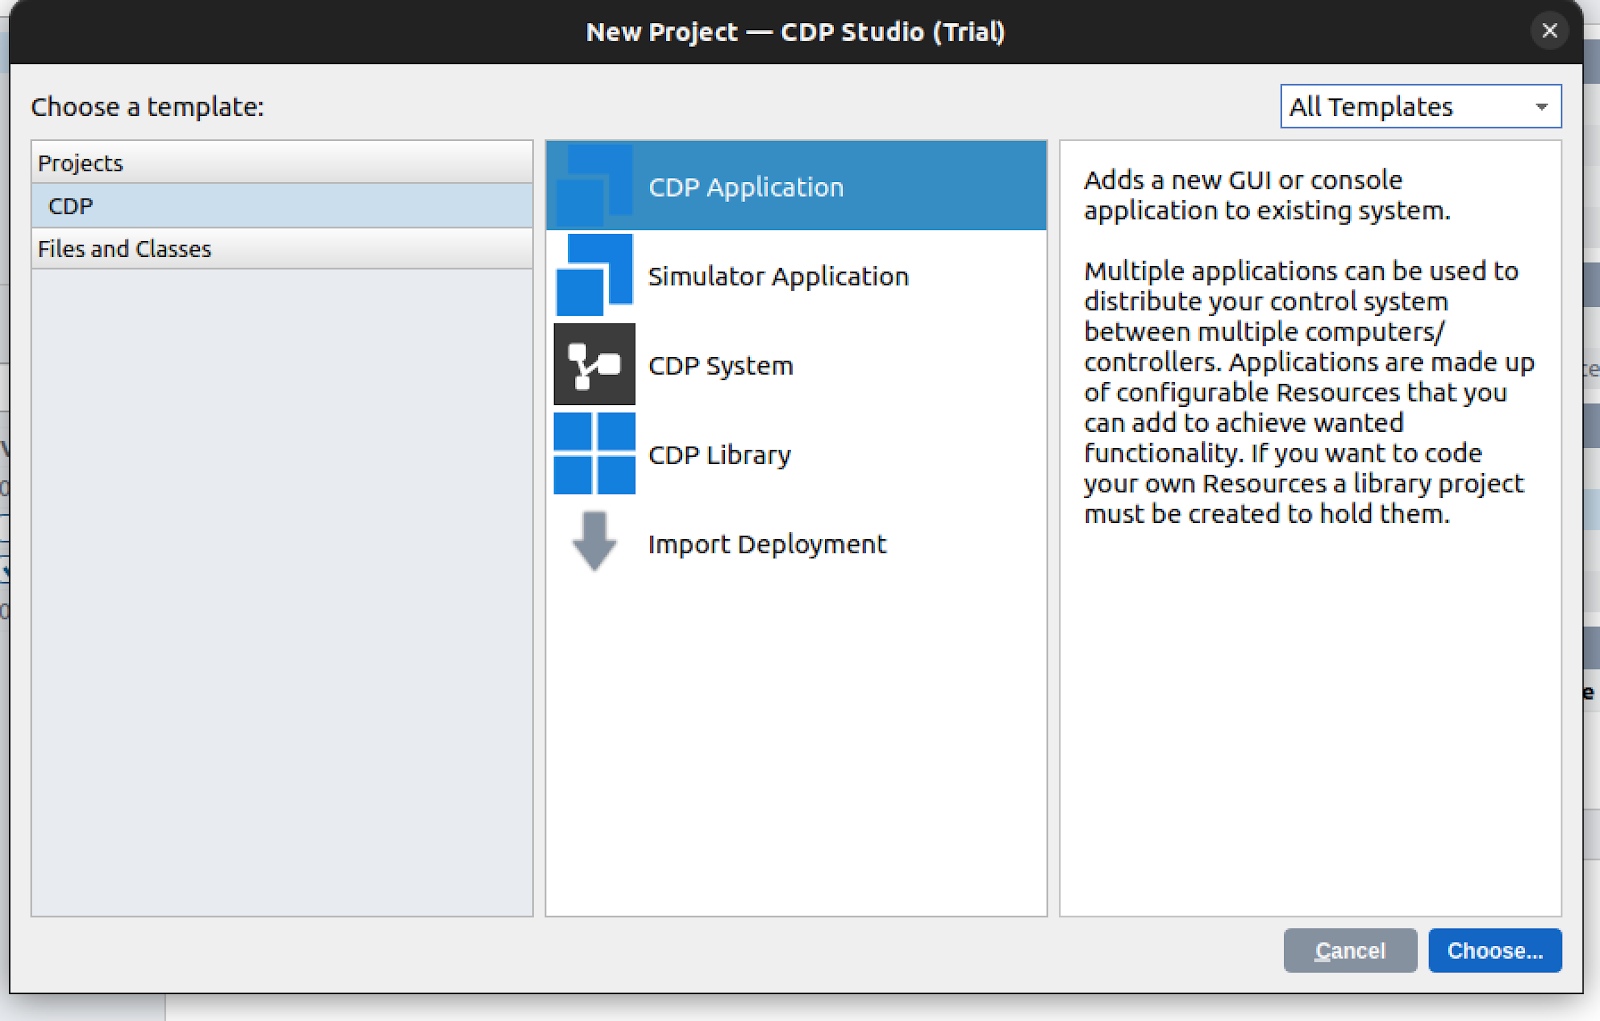
Add new
Right-click on the project created in Tutorial 1>Add New.

Select CDP Application and go to >Choose.
The Default Application Type is Console.
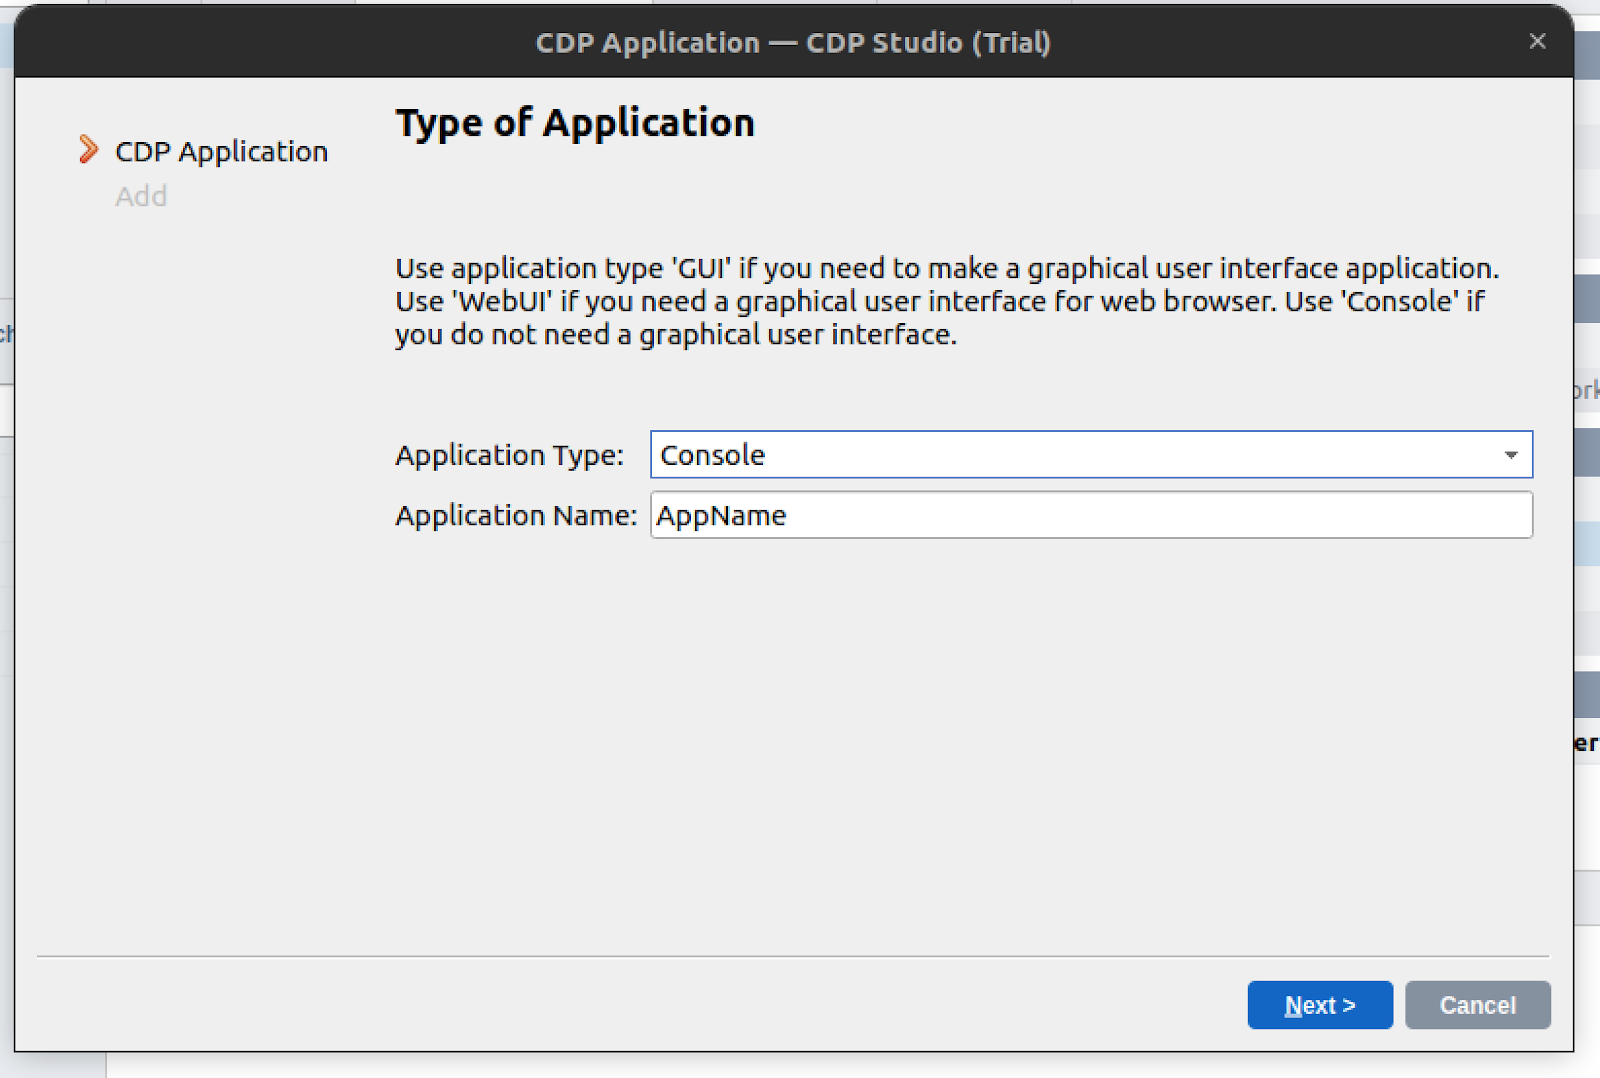
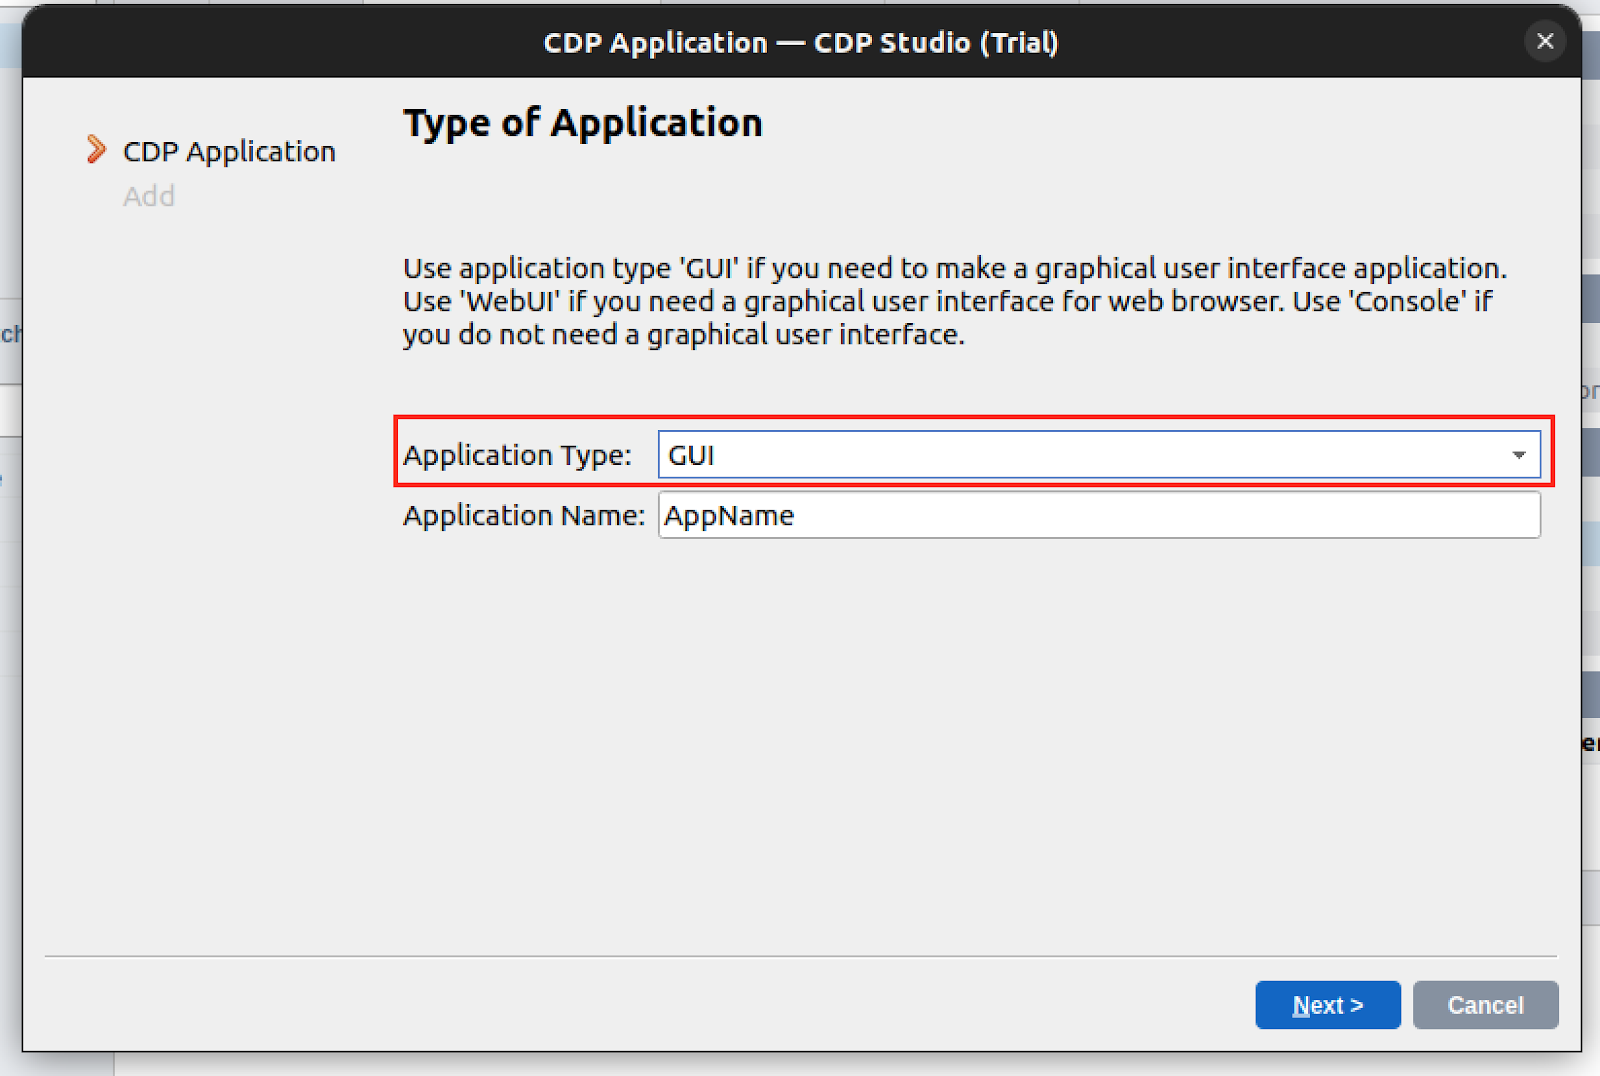
Change its Application Type to GUI and proceed with Next>.
Create your project in Finish.

A GUI application has been created.
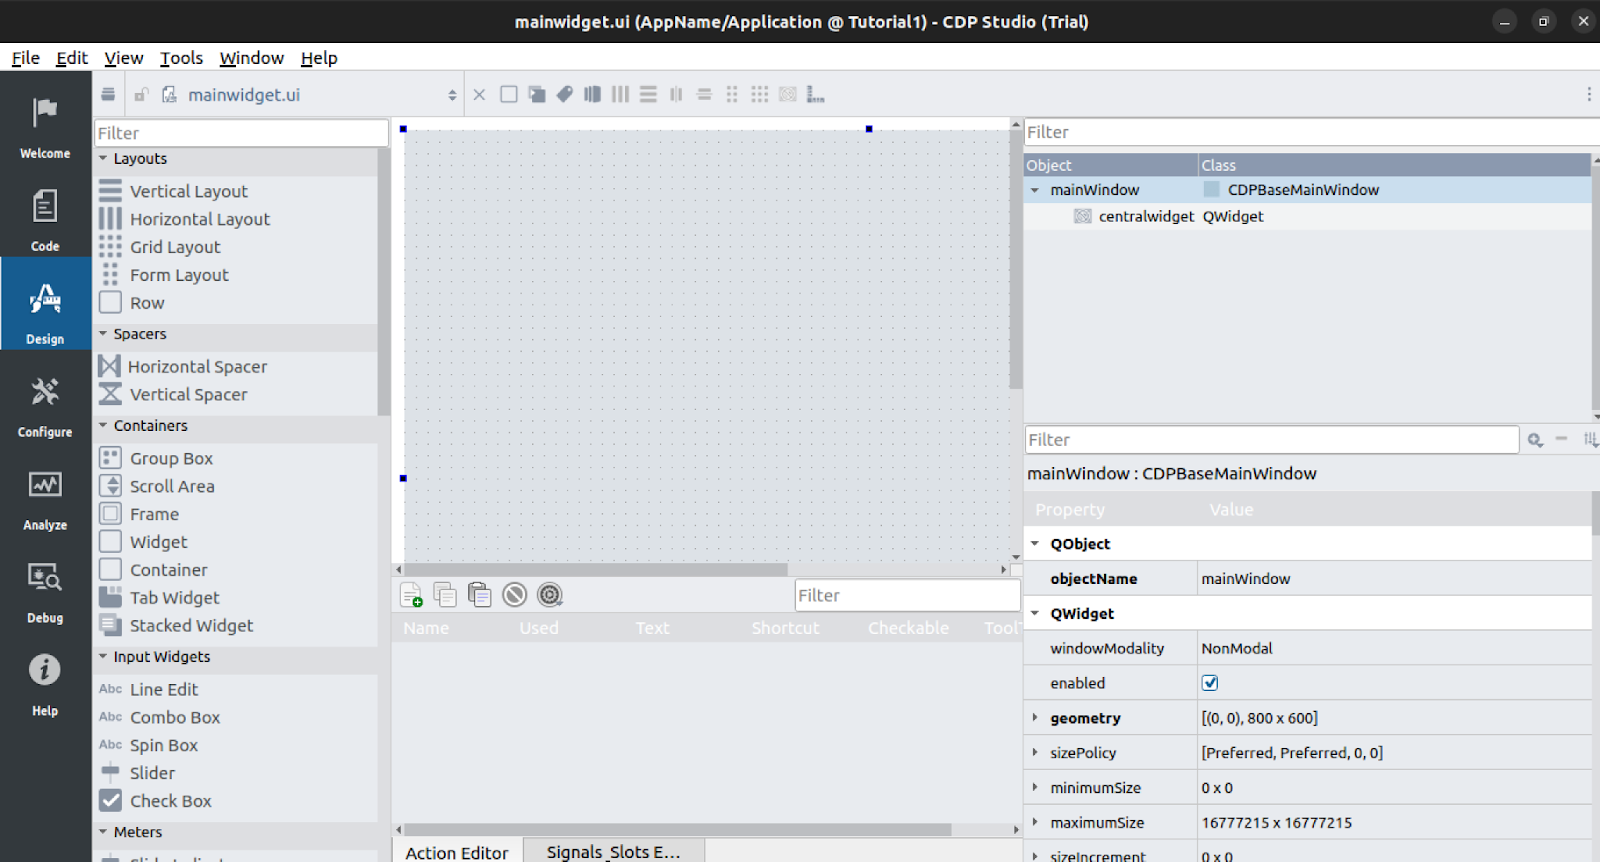
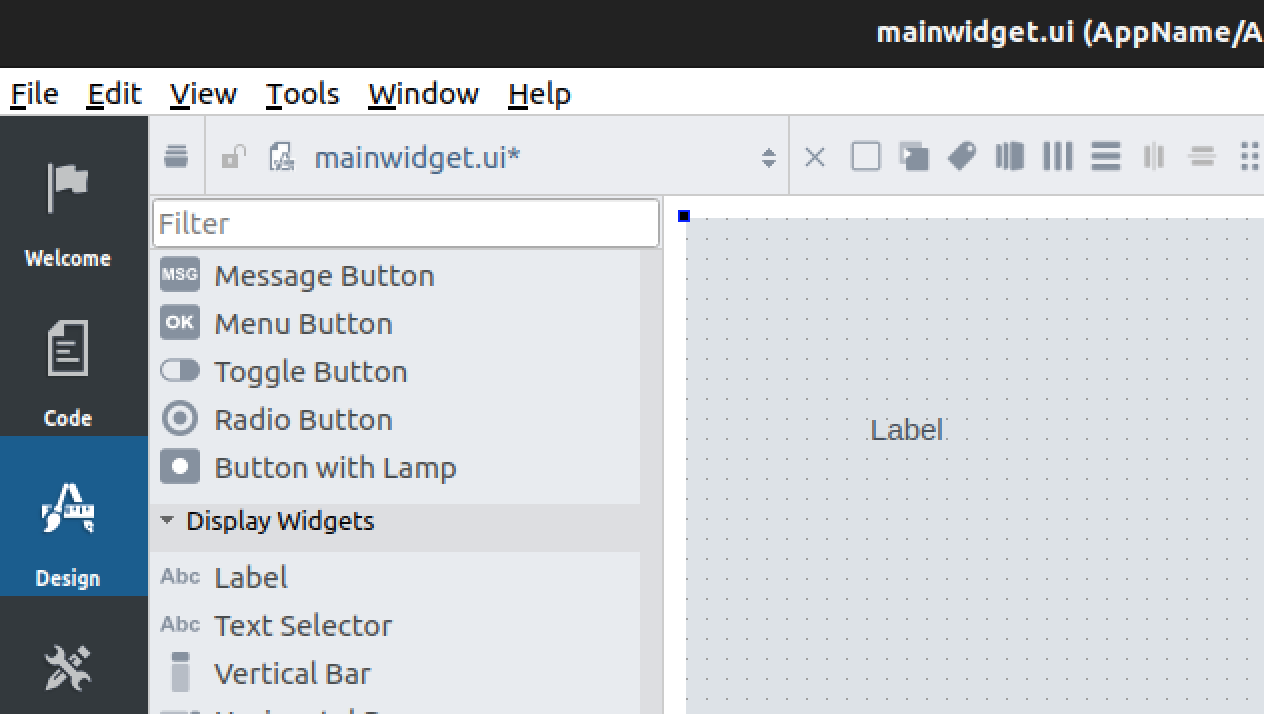
Design
Click on ‘Design’ to create a screen.
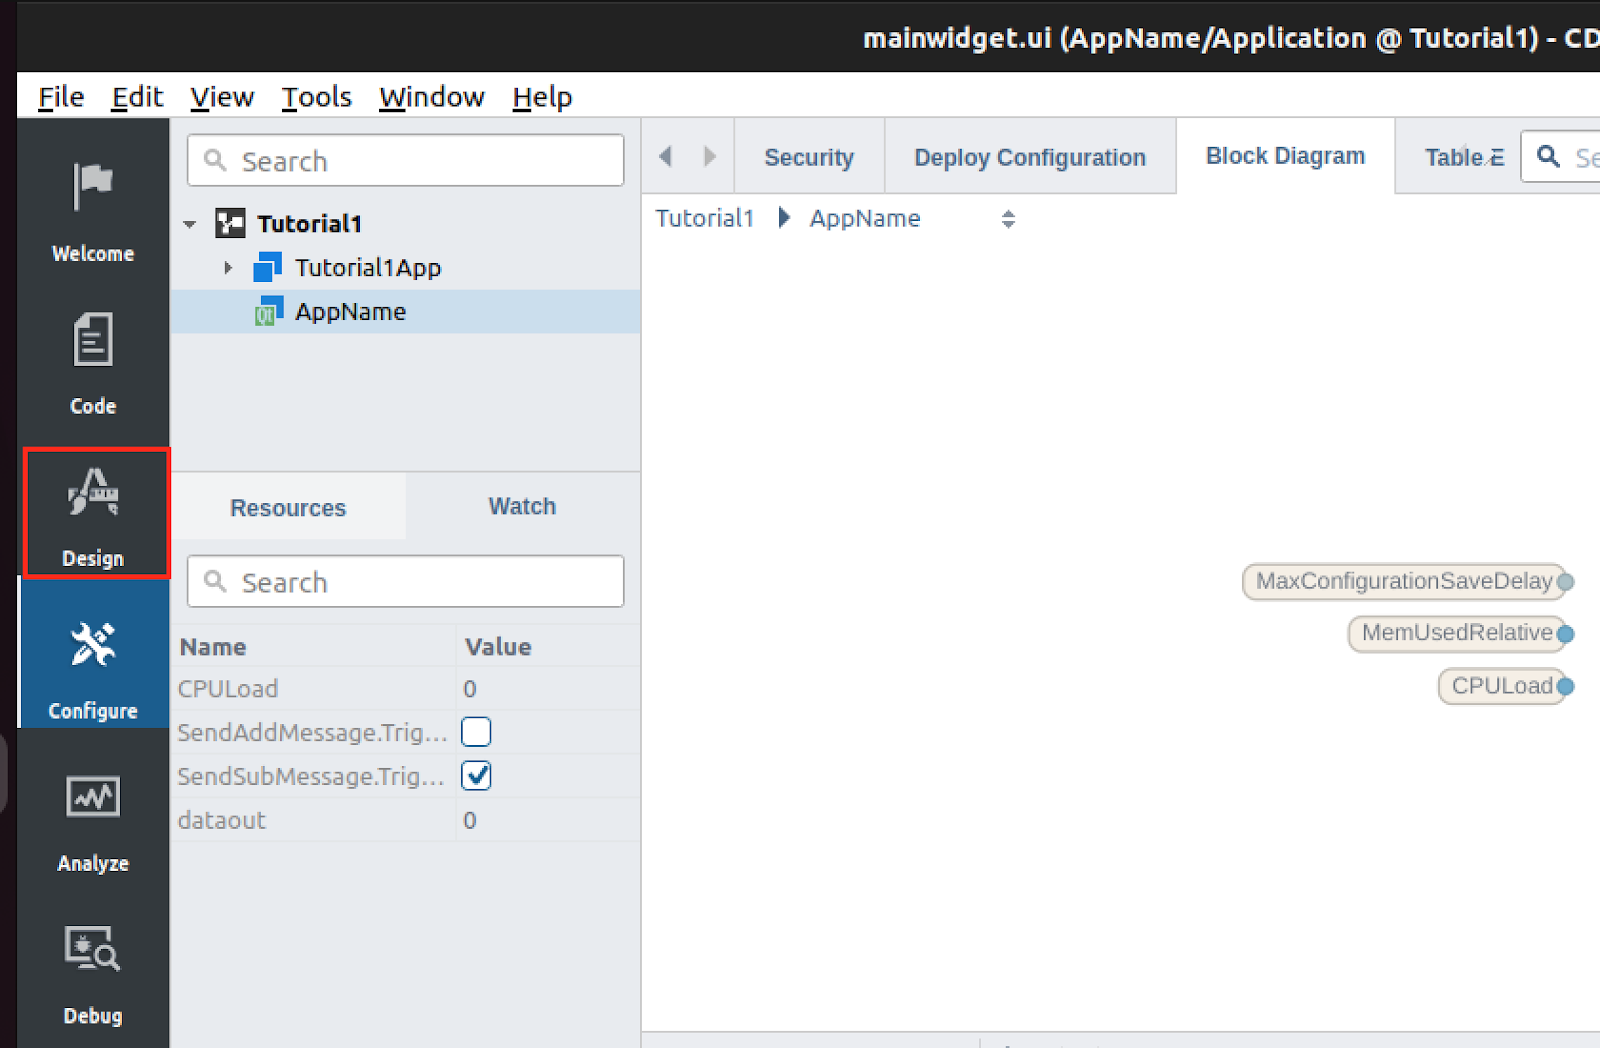
CDP Studio shows the Screen creation screen.
Add label
Add a Label from Display Widgets on the right.
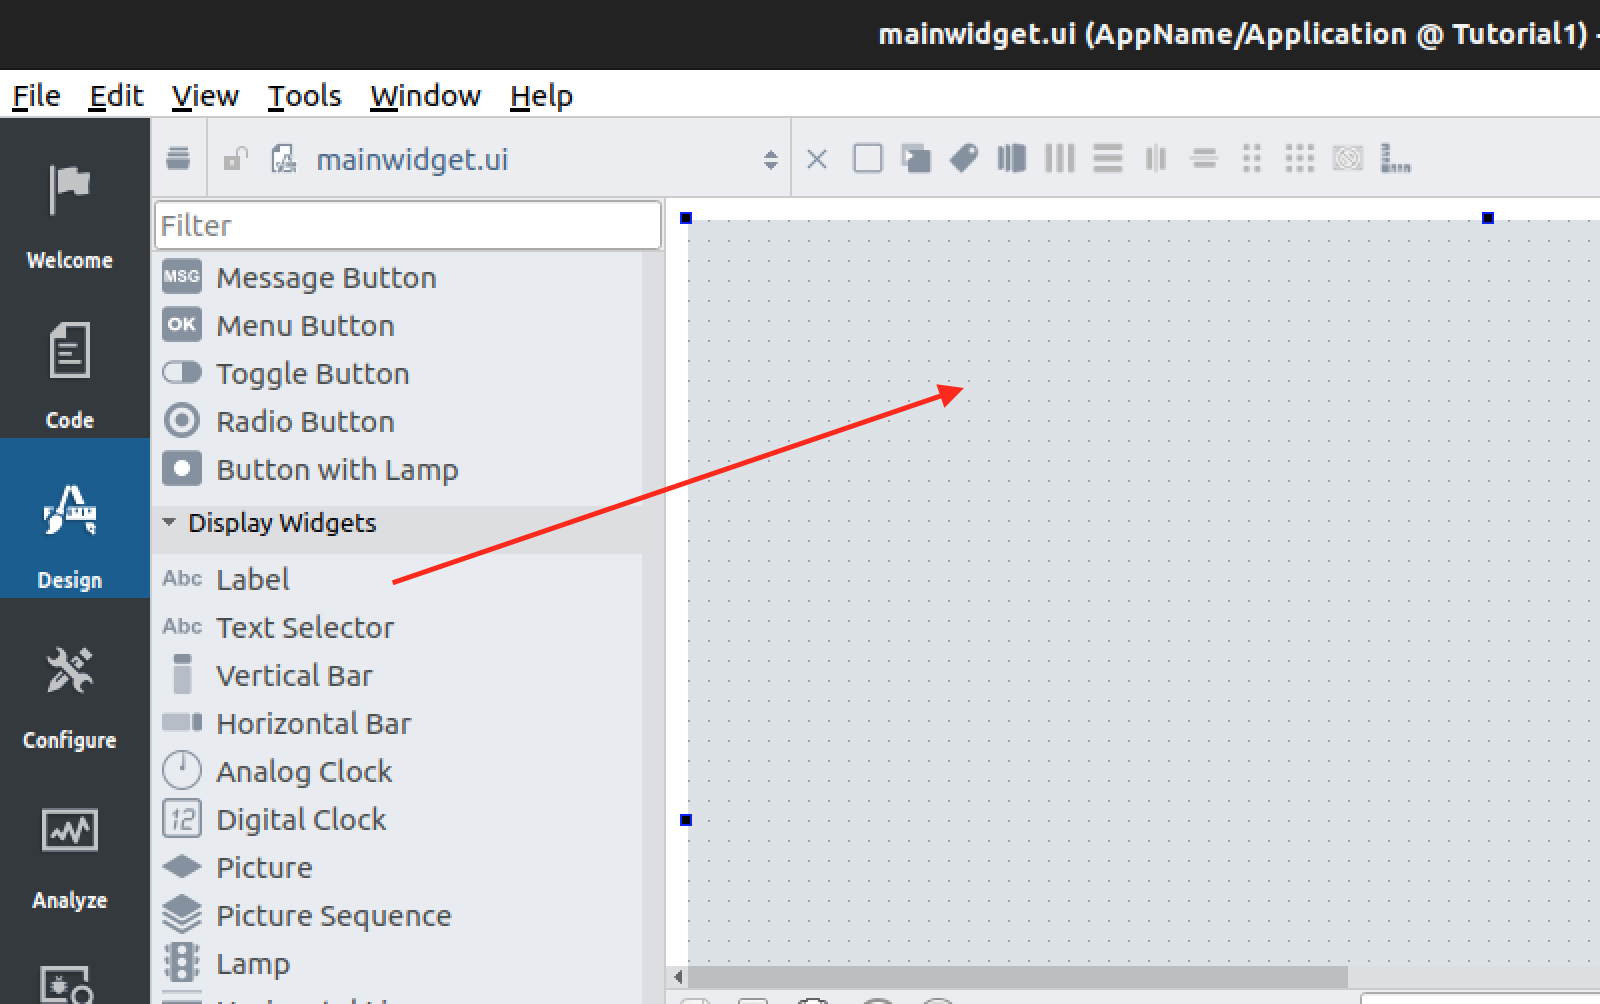
Done!
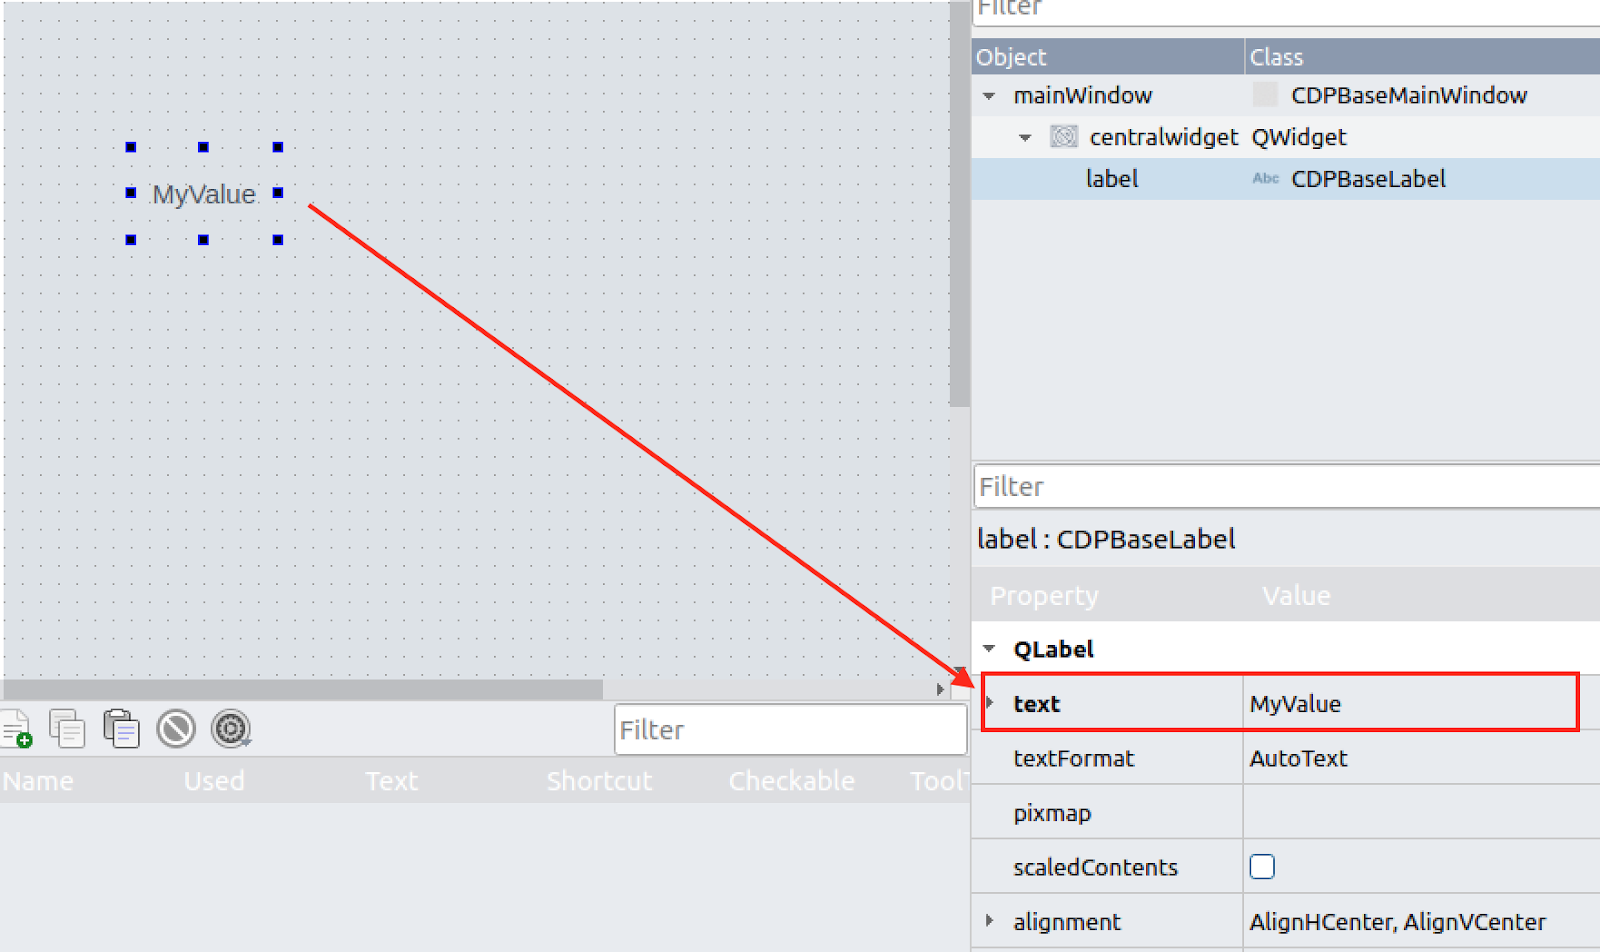
Selecting Label displays the Property screen, where you can change the text displayed on the label from the Field of Text.
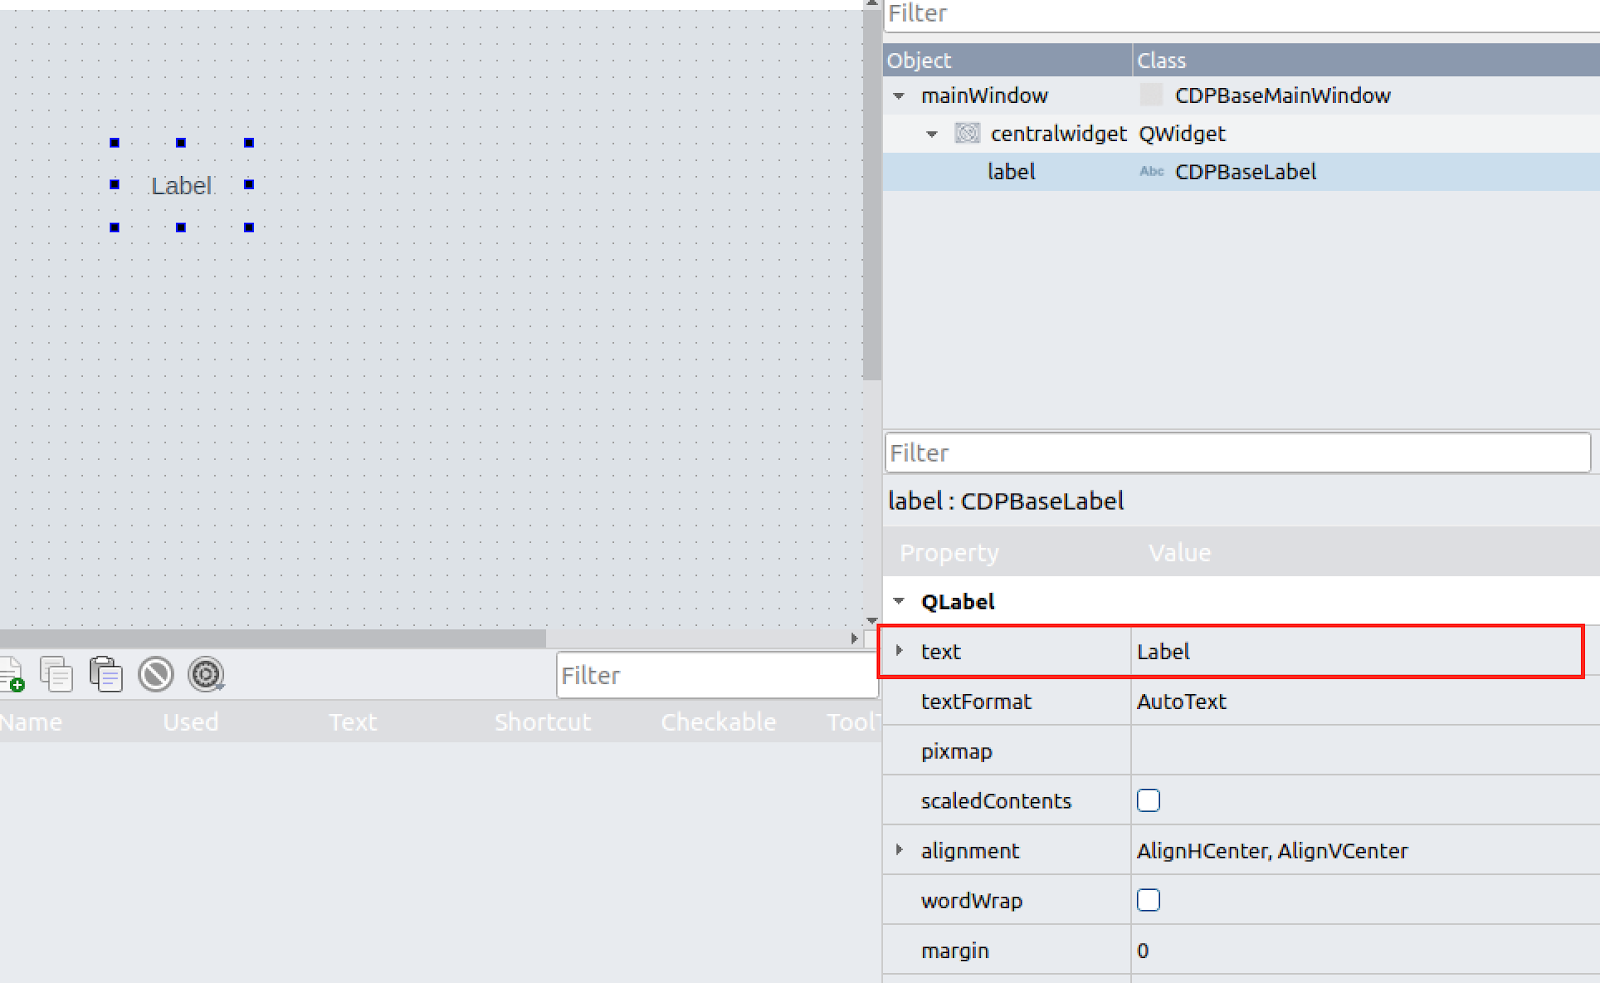
For example, if Text is entered into Myvalue, the text displayed in Label is also reflected in MyValue.
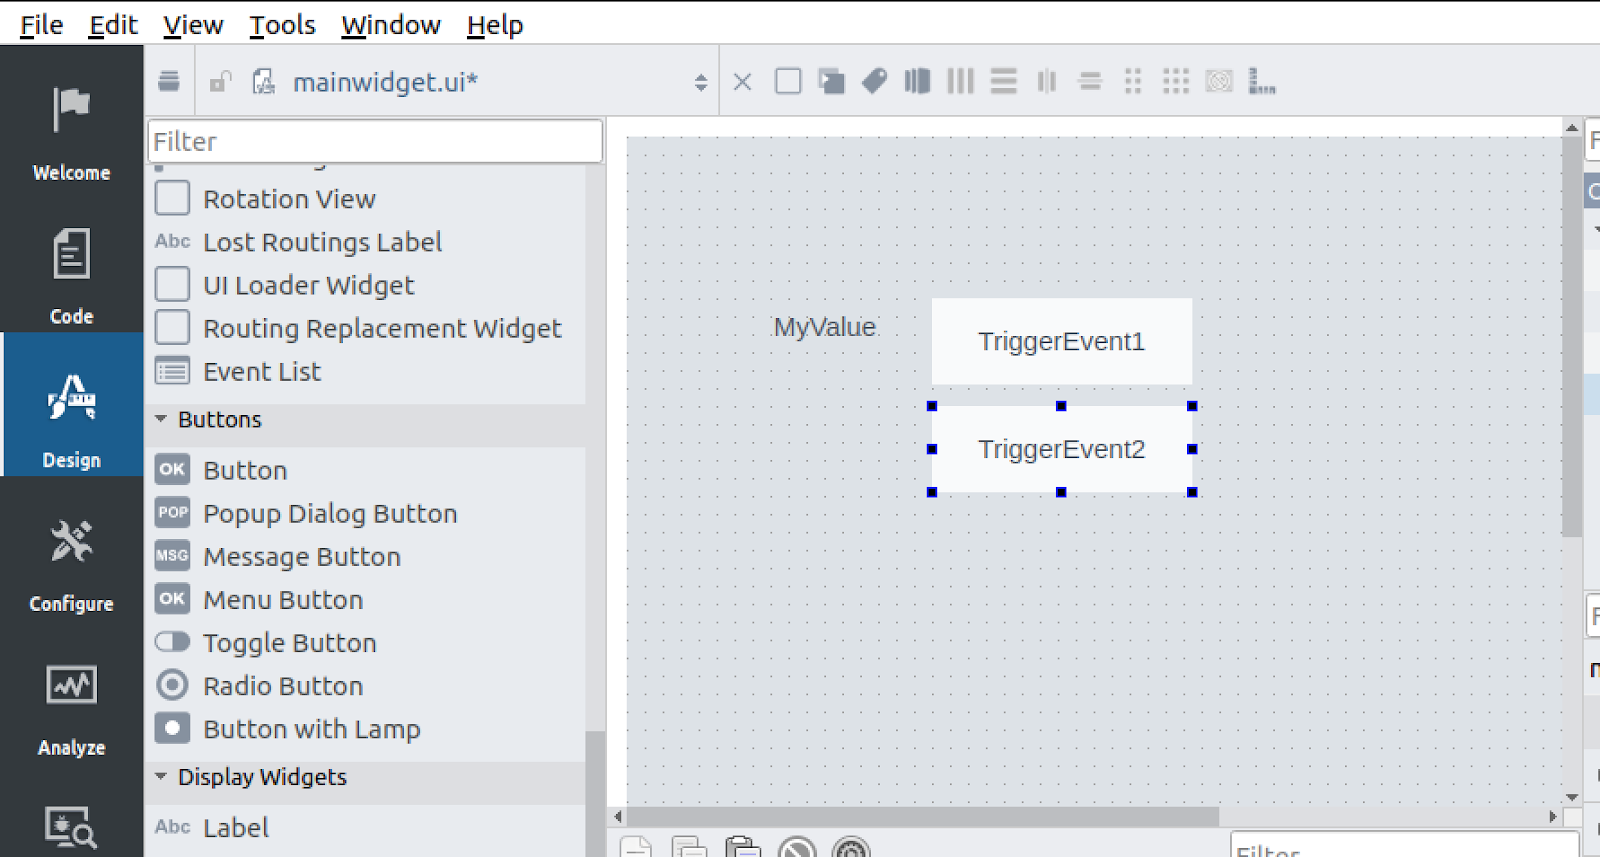
Add button
Next, let’s add a button – choose Buttons>Message Button and add it to the screen.
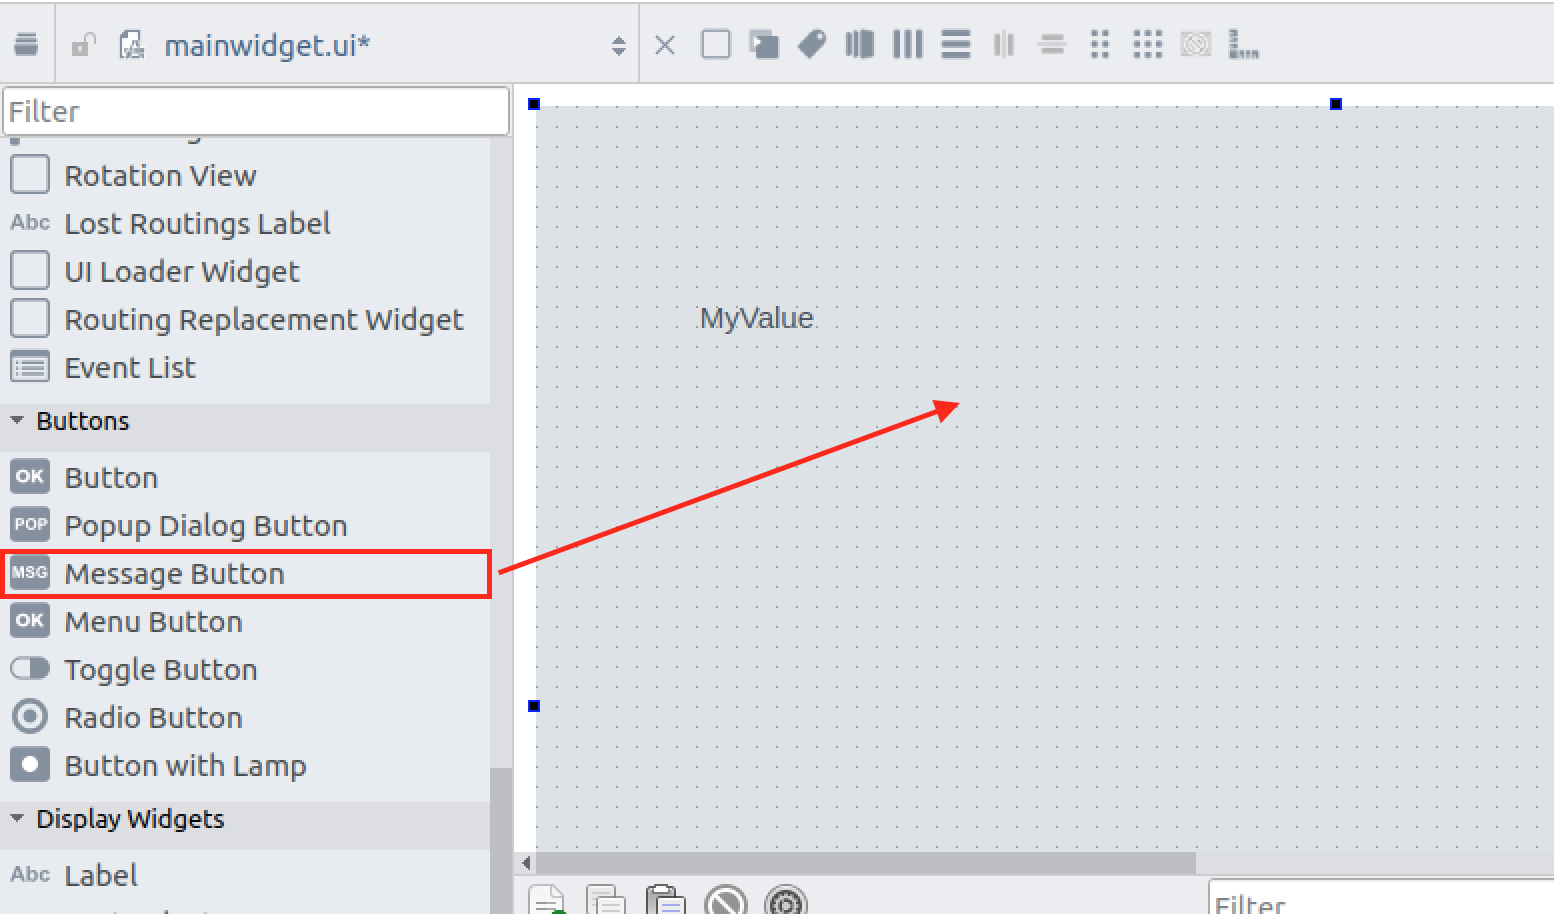
Add two buttons to the screen.
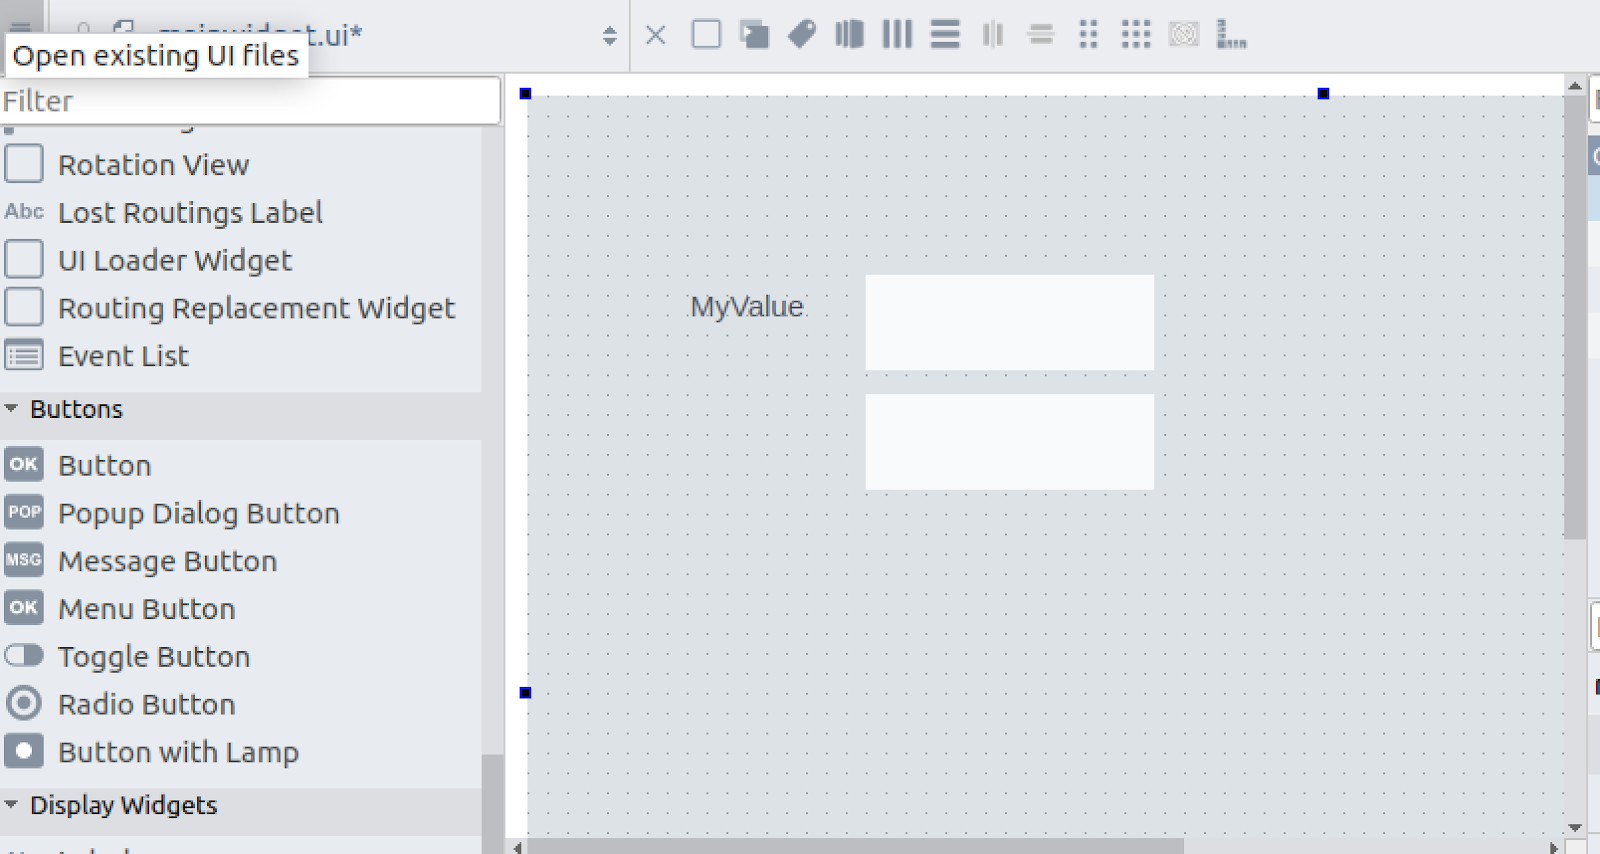
Each button triggers a different event.
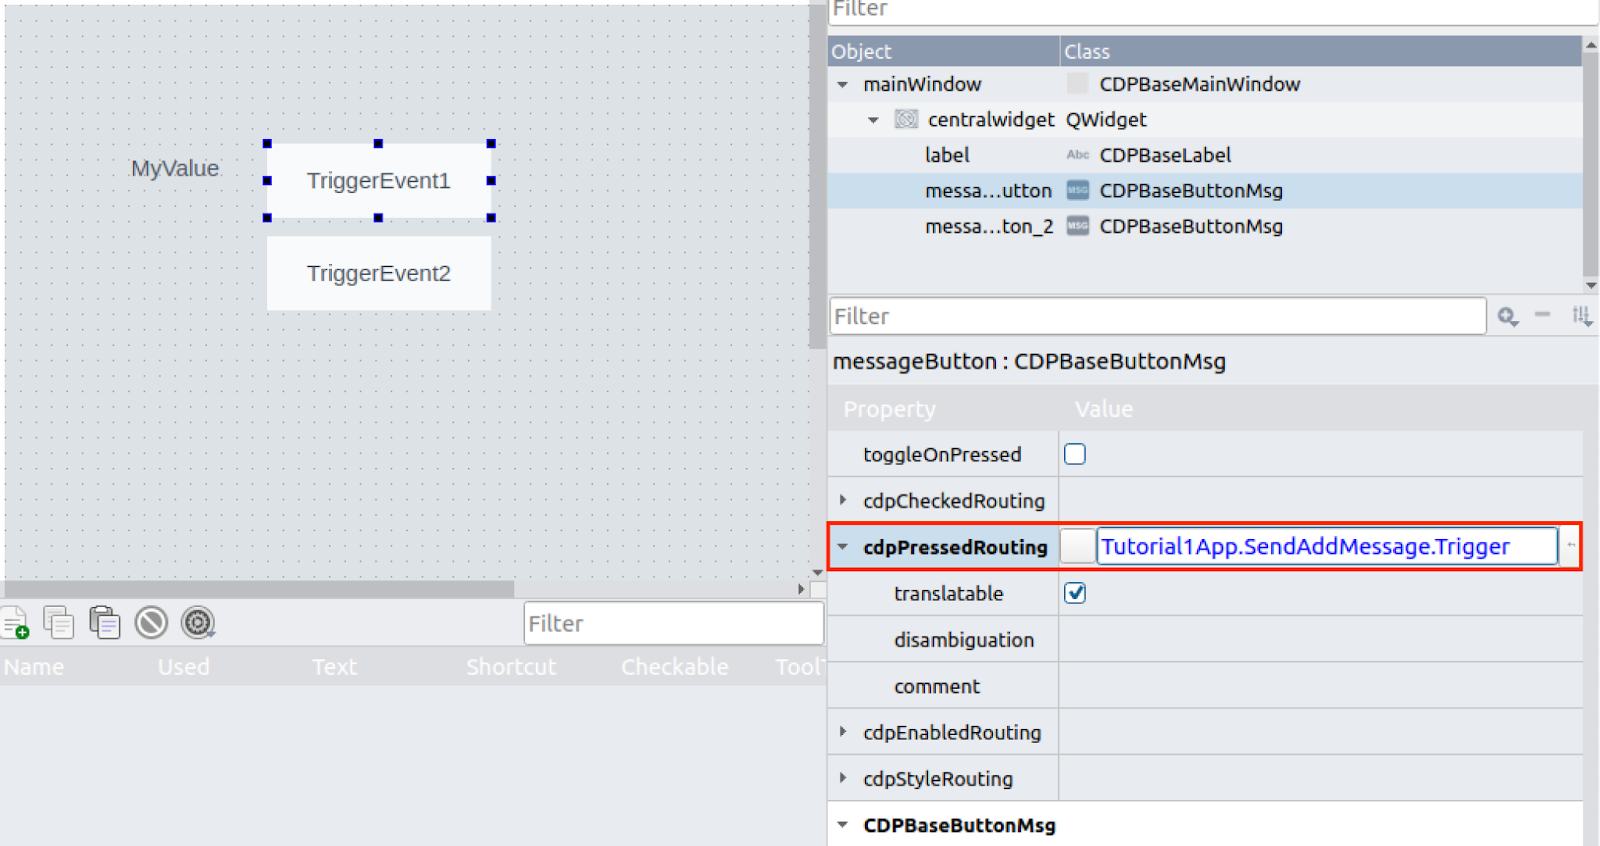
Event
To add an event, select the button and from Properties on the right, from cdpPressedRouting Filed, you can set the behaviour Tag when the button is clicked.
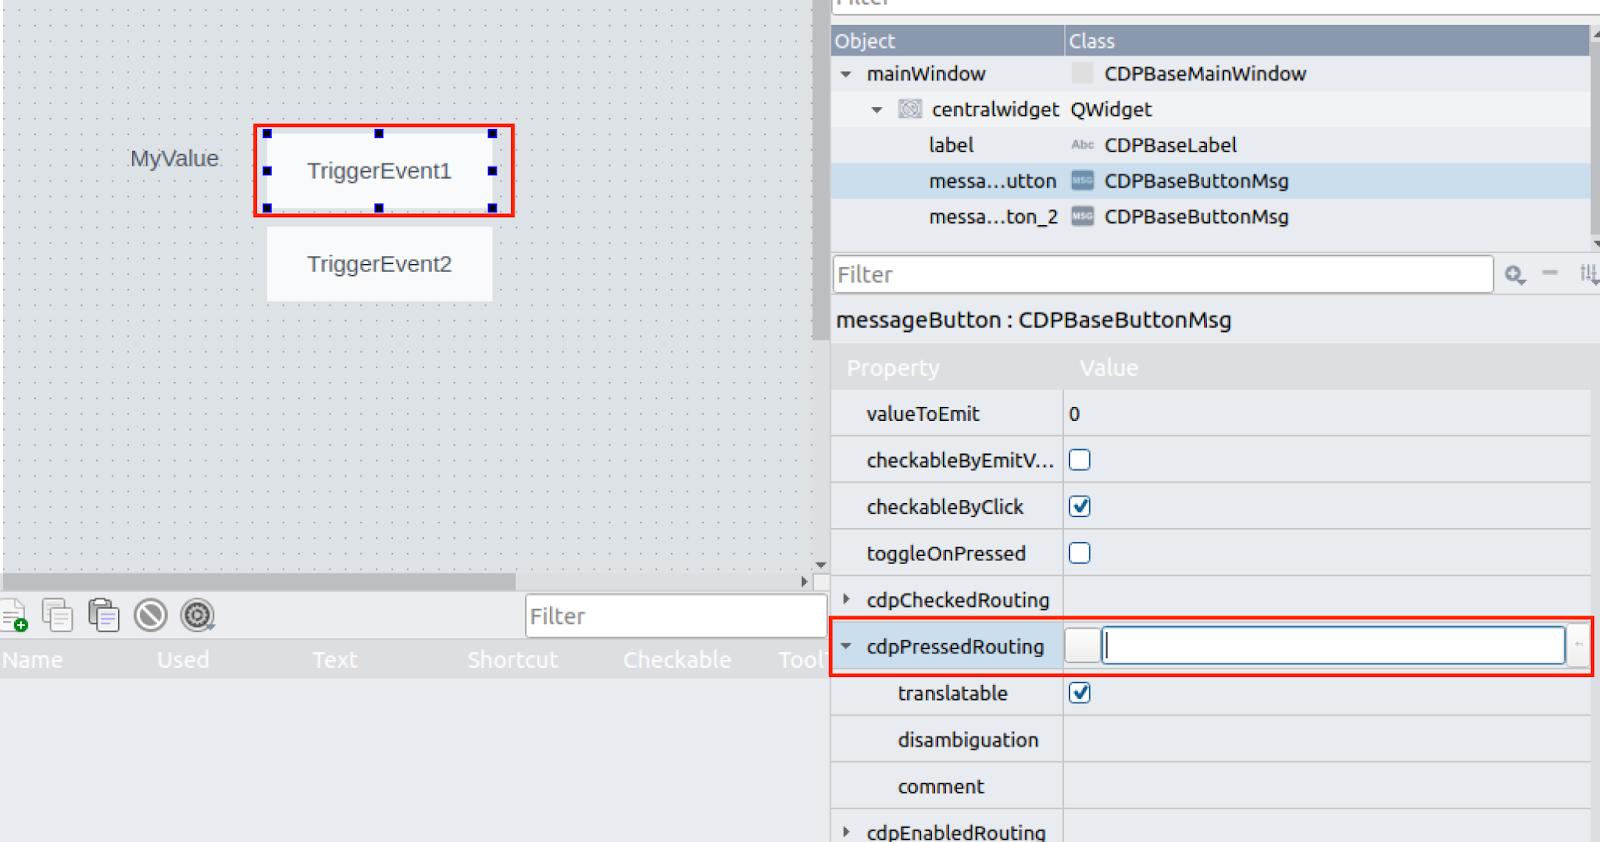
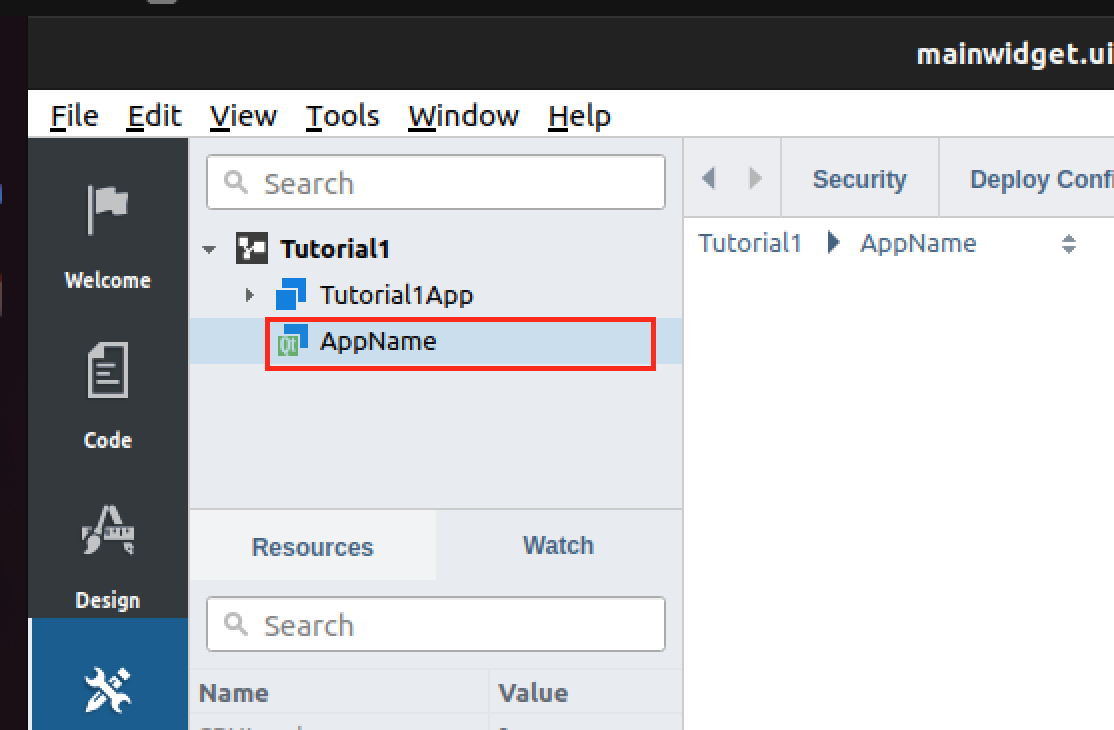
Tutorial1App is the project created in the first article.
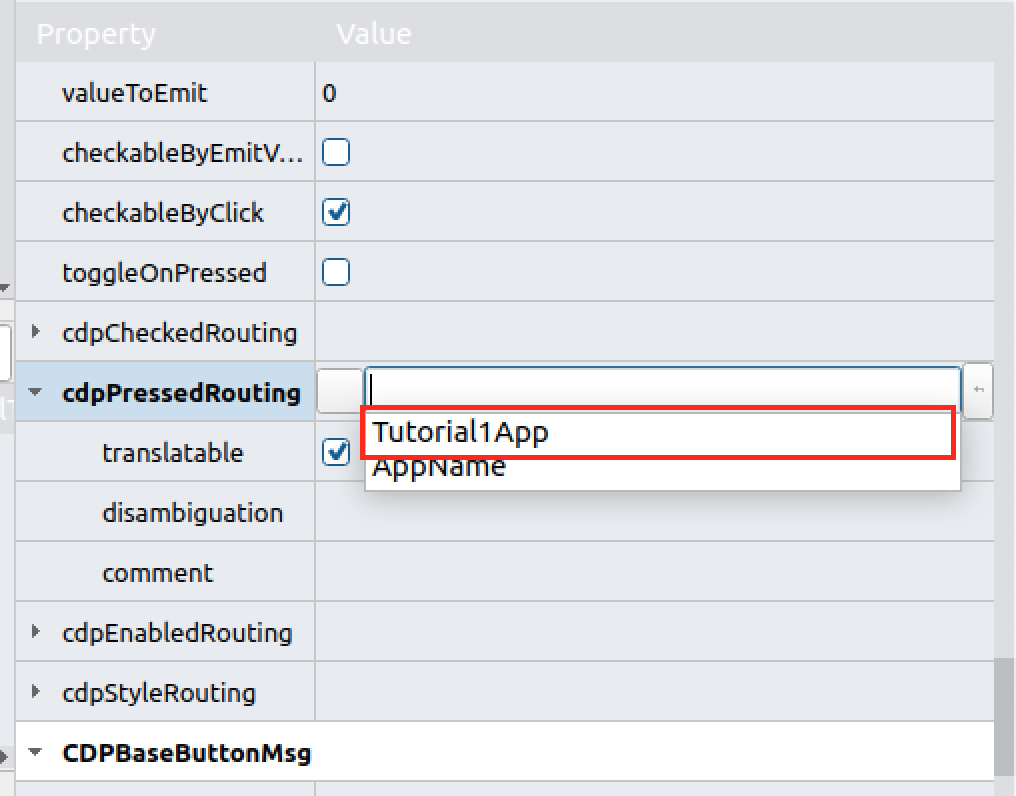
Tutorial1App.SendMessage.Trigger is configured in the cdpPressRouting Field.
Link Label
Next, connect the Tag that displays the Label: select the Label and set the Tag to be connected from >cdpRouting.

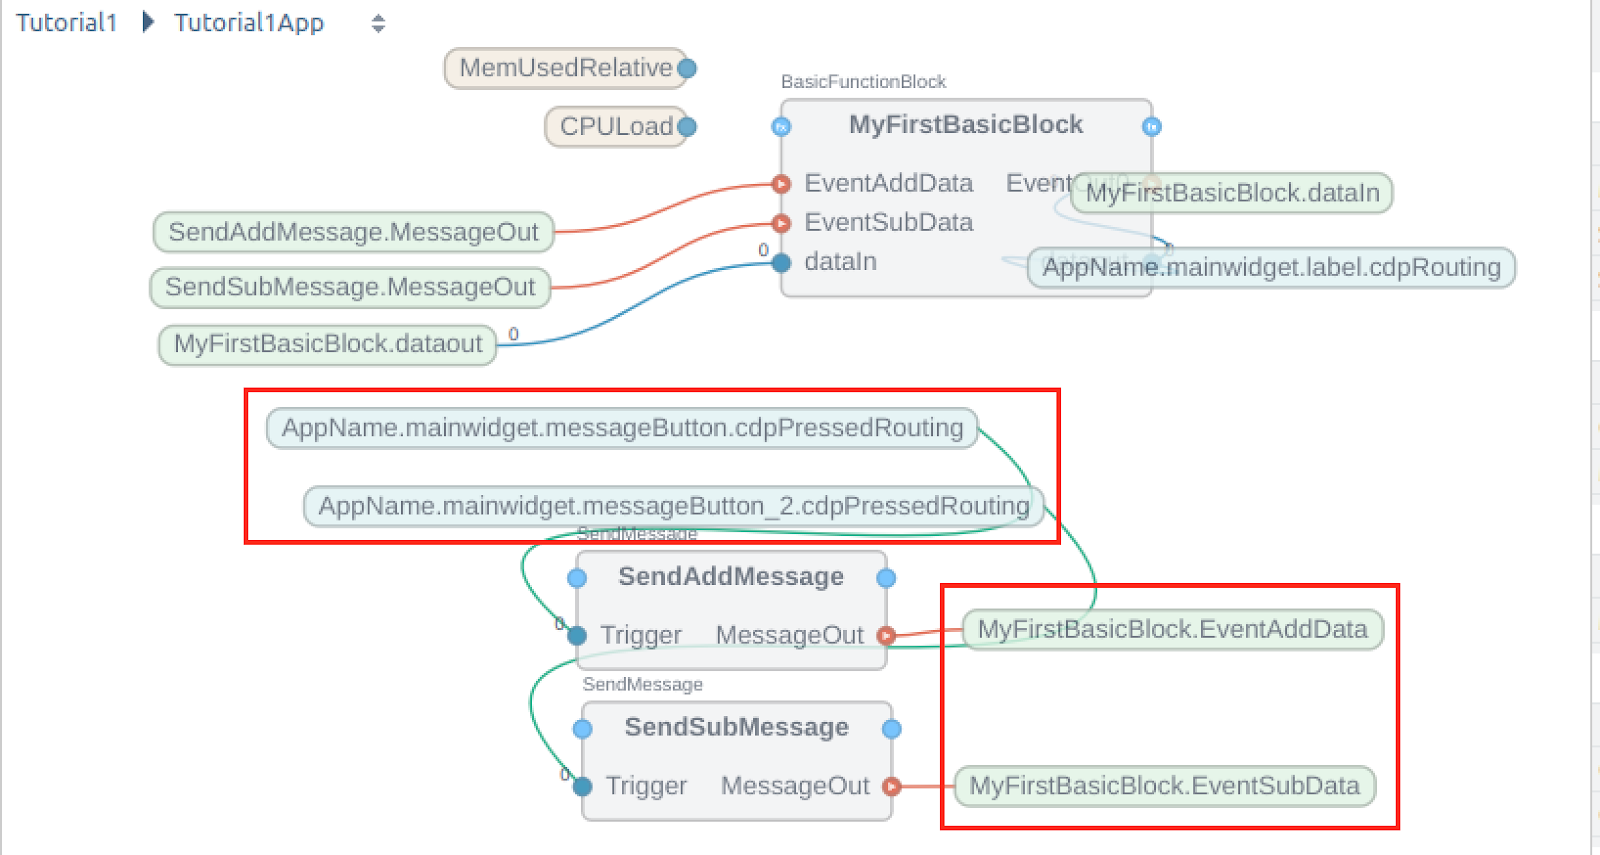
Here is the result of the configured project: AppName is the new GUI application created in this Tutorial and is connected to the SendSubMessage and SendAddMessage Trigger of the project created in Tutorial 1, Messageout is connected to the Label of the GUI application.
Deloy
Deploy the project to Runtime and download the Binary File.
Result
You can check the result via this video.