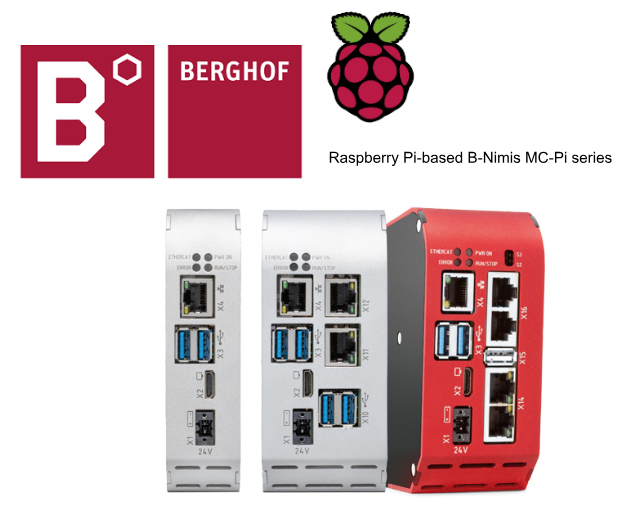
We have started another new series here! We will start out various applications with BERGHOF’s Raspberry Pi-based modular CODESYS PLC.
Thanks to BERGHOF for providing the equipment.
In the first tutorial, I will show you how to startup the device!
Come on, let’s enjoy FA.
BERGHOF Raspberry PI-Based Controller?
Raspberry Pi-based modular CODESYS PLC and EtherCAT I/O systems from Berghof The Raspberry Pi-based B-Nimis MC-Pi series allows high-performance CODESYS quad-core controllers for IoT, Motion, automation projects can be implemented.
Its Berghof CODESYS B-Nimis MC-Pi controller is equipped with a real-time quad core with a cycle time of 500 μs and offers the perfect balance between computational power and cost.
In addition, the product family is perfectly integrated into the Berghof I/O portfolio via the standard EtherCAT fieldbus, and plug & play expandability ensures a wide variety of expansion modules to choose from.
- Up to 2GB RAM / 8GB Flash / 200kB Retain
- Compatible with all standard Berghoff products
- Integrated EtherCAT communication system
- Industrial temperature range
- CODESYS standard
- Optimized real-time operation
- WLAN & Bluetooth options
- Cycle times up to 500 μs
- Visualization performance grade
- Compute Module 4
- Available on all common fieldbuses

Install Packages
To use BERGHOF’s Codesys Controller, you must obtain the Codesys Package from BERGHOF and install it on your PC.
Then, when installing Codesys Package, select the Codesys version you actually use and click Continue to proceed.
Please wait a moment…
Accept the license and proceed with Continue.
Please wait a moment…
Done!That completes the installation.
Start your New Application!
Run Codesys IDE on your PC.
Create a new project at File>New Project.
Select Standard project >Ok to proceed.
Select Target
Next, let’s set the device Target to be used for the Codesys project.
Now that you have installed BERGHOF’s Target from the previous step, select BERGHOF MC-PI SoftMotion Control for Device > Ok to proceed.
Done!A new Codesys project has been created.
Scan Network
Next, go to Device>Scan Network and search for BERGHOF’s Controller.
Done!You have found the BERGHOF Controller, but now it is time to stop working on Codesys and update the BERGHOF Controller’s Firmware to the latest.
If the Firmware of the BERGHOF Controller does not match, you will not be able to connect the Controller to the Codesys IDE.
Web Server
Access the Web Server of BERGHOF Controller.
The IP address will be 169.254.255.xxx by default, and since the B-Nimis MC-Pi Prime used in this article has a Display Port, if you connect that port to the monitor, it will also appear in the device’s IP address. (Alternatively, you can use the arp command to check the IP address.)
For example, the serial number of the B-Nimis MC-Pi Prime used in this article is 16, so the Default IP address for this device is 169.254,255.16.
On Default, the User name is admin and the Password is affixed to the side of the device.
Done!we loginned to B-Nimis MC-Pi Prime Web Server.
Update Firmware
Update the firmware of B-Nimis MC-Pi Prime at System>Update.
Click Choose File.
Please get the Firmware File for B-Nimis MC-Pi Prime from BERGHOF.
Upload the firmware with Submit.
Please wait a moment…
Done!Now that the Firmware File has been recognized, click the Start button to update the Firmware.
Please wait a moment…
Even while updating firmware, a Log Message is output, allowing the user to check how far the firmware has been updated.
Done!Firmware has been updated.
Reboot the device at System>Reboot>Reboot Module.
Please wait a moment…
Check the Firmware
Finally, go to System>Info to check the firmware of the device.
Connect to CPU
Next, let’s connect the Codesys CPU to the PC.
Login
Download your project to the CPU with Login.
Let’s proceed with Yes, to start your own codesys application!
Start
最後はStartボタンでRuntimeをRunにします。