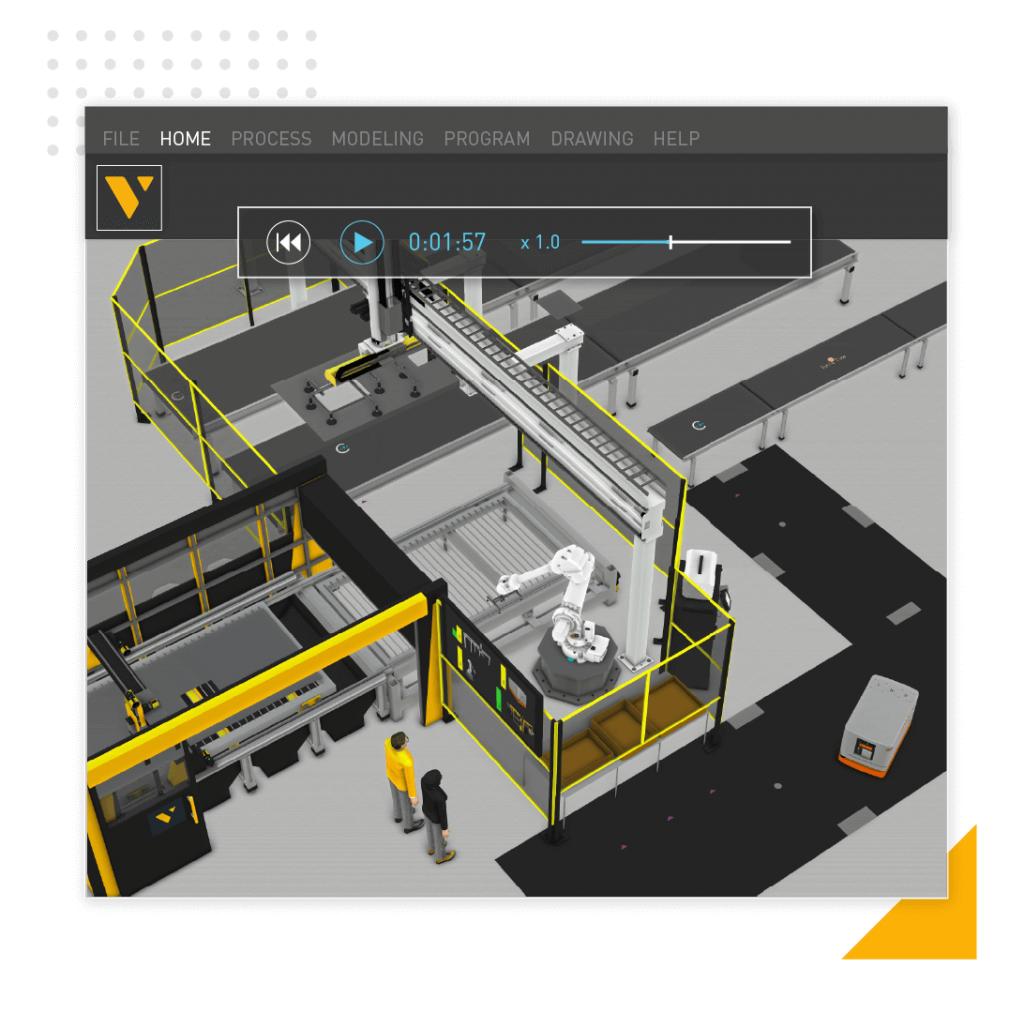
こちらは新しいTutorial シリーズVisual Componetsです。Visual Componetsとはシンプルで、ビジュアルでなおかつパワフルなSimulation Toolsです。この3D製造シミュレーション・ソフトウェアから新しい製造ソリューションを設計・検証することが可能です。
最初にVisual Componetsの簡単な操作から紹介します。
さ、始めよう!
Visual Componets?
Visual ComponentsにはいくつかのKey コンセプトがあります。
One platform ,all cases
Visual Componentsは、Layout構成からマテリアルフローシミュレーション、Offline Programming、Virtual Commissioning、VRなど、自動車製造環境におけるあらゆる3D生産シミュレーションおよびエミュレーションアプリケーションです。
Improve Communication
成功の自動製造システムは、異なるチーム同士の透明性と明確なコミュニケーションが必要で、Visual Componentsはシミュレーションプランを直接視覚的に見ることによって、チームの間のコミュニケーションとコラボレーションを向上させます。
Powerful solution
Visual Componentsは強力なシミュレーションプラットフォームで、誰でもできる簡単なステップで設計し、シミュレーションを行い、顧客と一緒にその場で検討できます。
Six Flow For your virtual Commissioning
Step1:Design
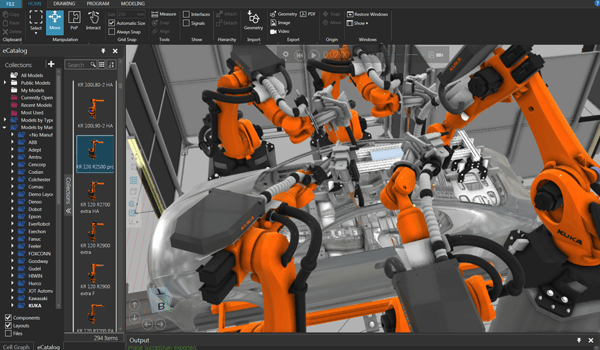
Visual Componetsの中に2600以上の既製3Dモデル、または自分でカスタムしたCADデータをImportしLayoutを構築します。
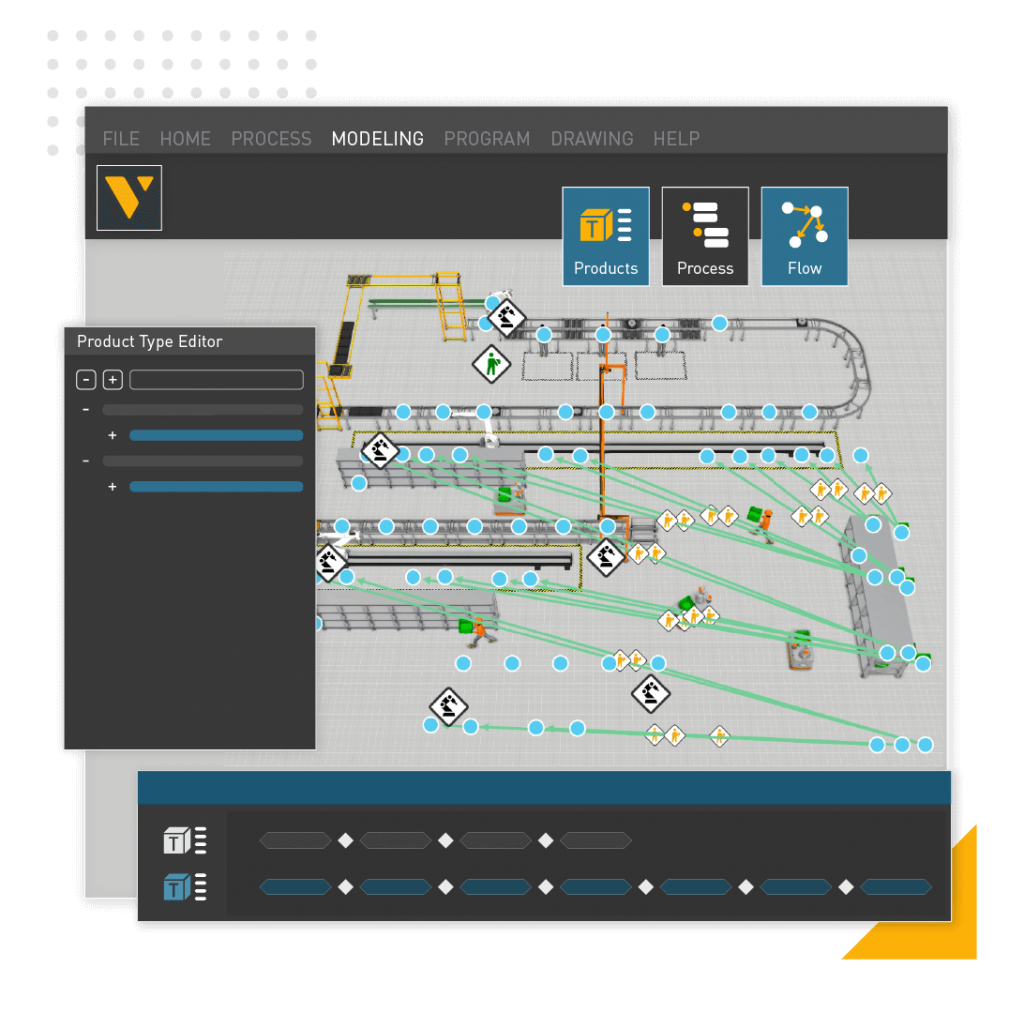
Step2:Model/Program
簡単明確なツールでプロセスフローを定義したり、Mouseだけでロボットのプログラムを作成したりします。
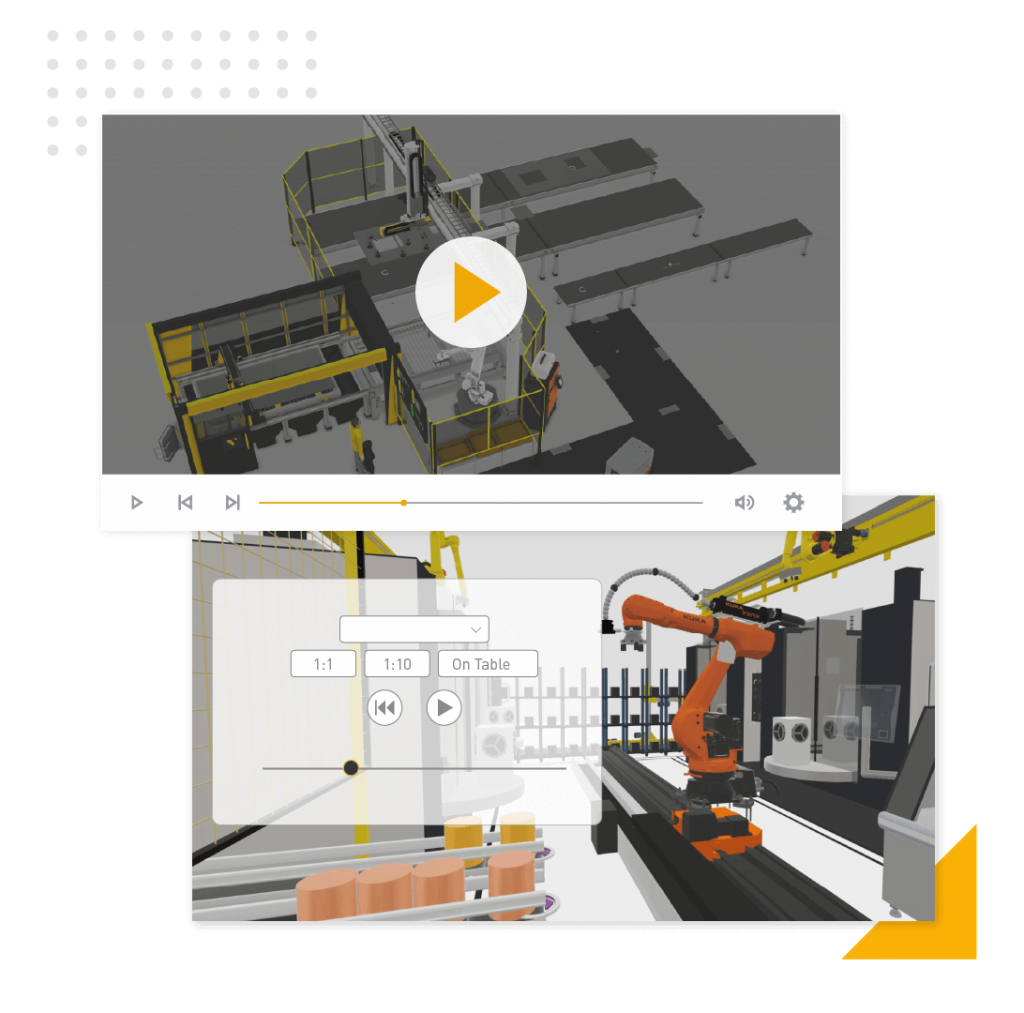
Step3:Simulate
自分が設計したLayoutを実際に.シミュレーション上で検討したりコンポーネントやプロセスのシミュレーション動作を確認します。
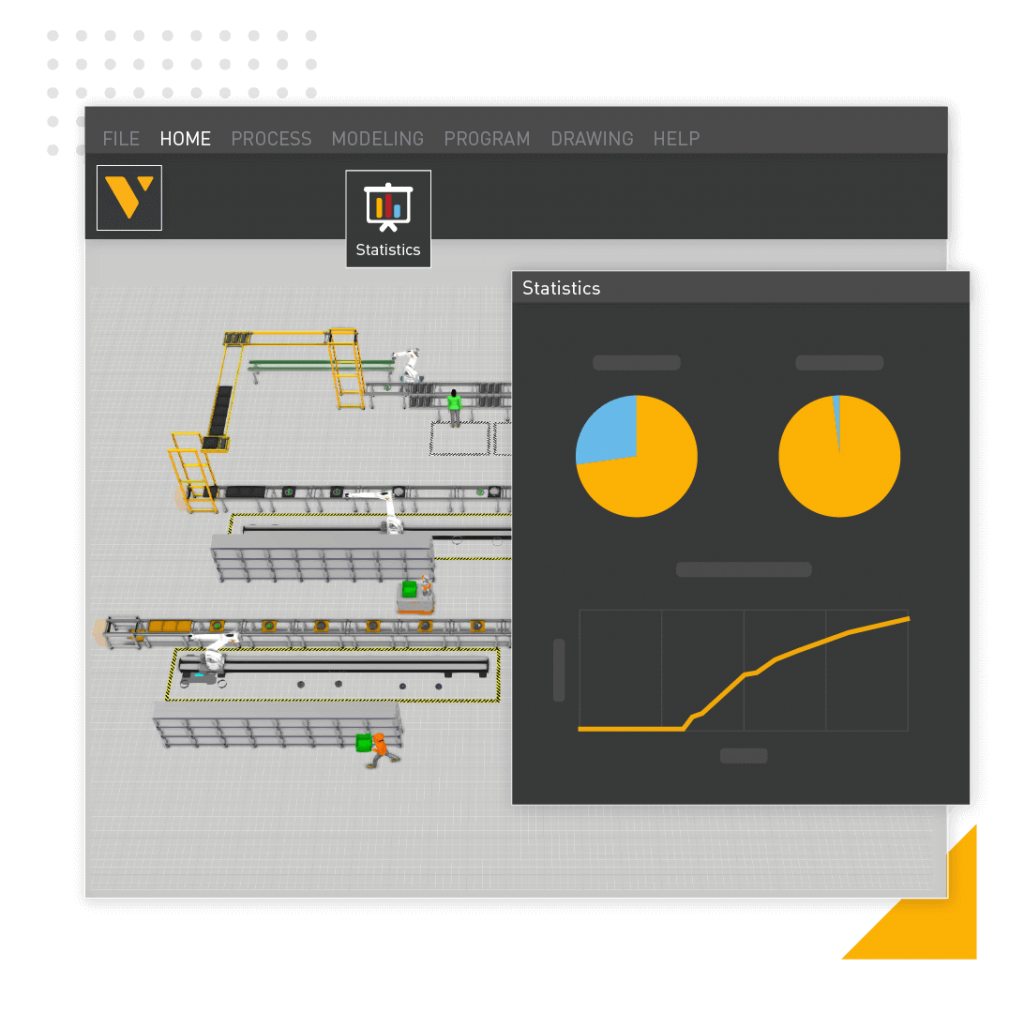
Step4:Analyze
SimulationからProcessの問題点を洗い出したり、ボトルネックを確認したりします。
Step5:Optimize
最適なProcessにたどり着くために素早く変更し、シミュレーション、テストの繰り返しをします。
Step6:Share!
チームが作成したプロジェクトを客や他の部署と共有し議論を進めましょう。
Installation
下記のLinkからVisual ComponentsのEXEをDowloadします。
https://www.visualcomponents.com/downloads/
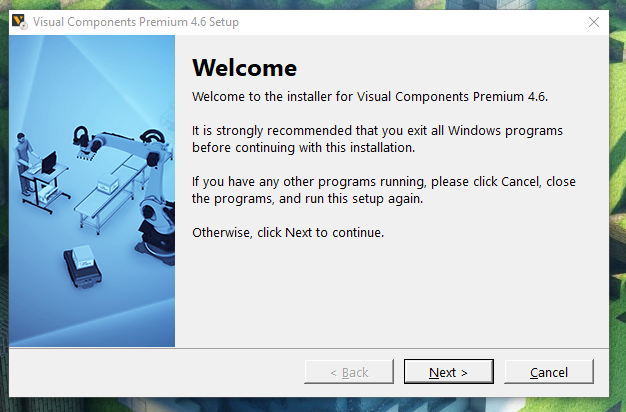
Installation Fileをダブルクリックし、Next>で進みます。
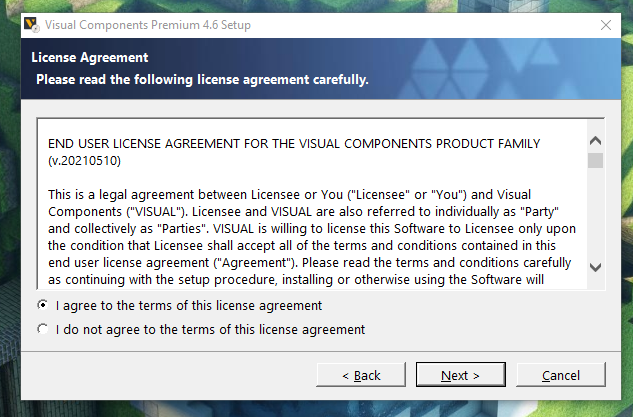
ライセンスに同意し、Next>します。
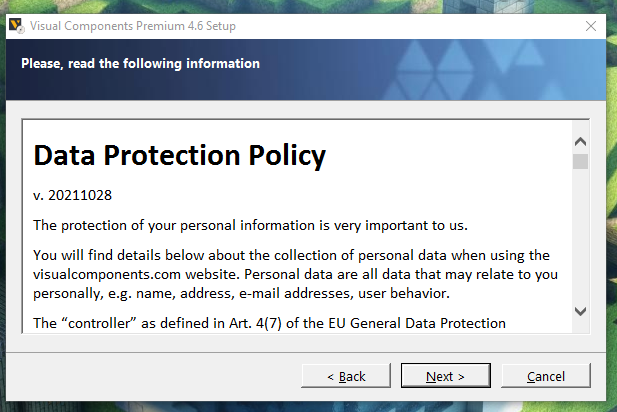
Next>で進みます。
Installation のPathを設定し、Next>で進みます。

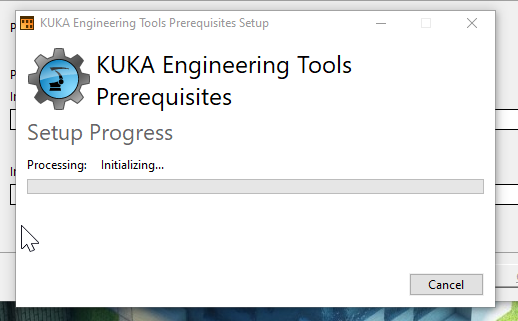
少々お待ち下さい…

途中にKUKA Enginnering Toolsのインストール画面も表示されます。
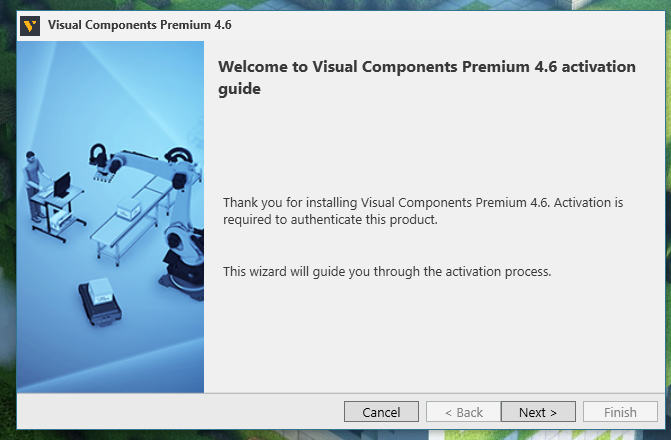
Active
次はVisual Componentsのライセンスを有効にします。

Next>で進みます。
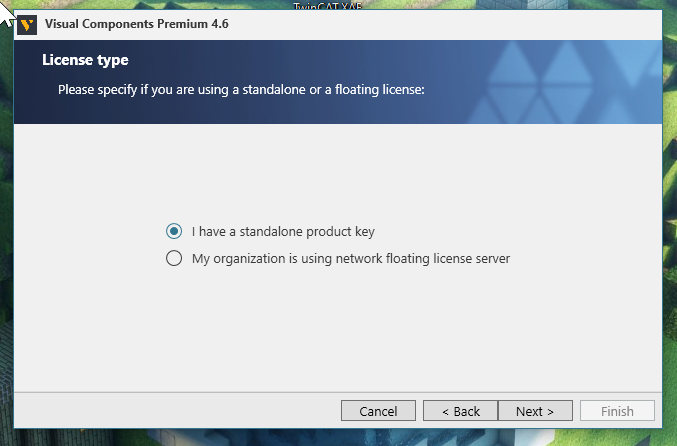
I have a standalone product keyを選び>Nextで進みます。
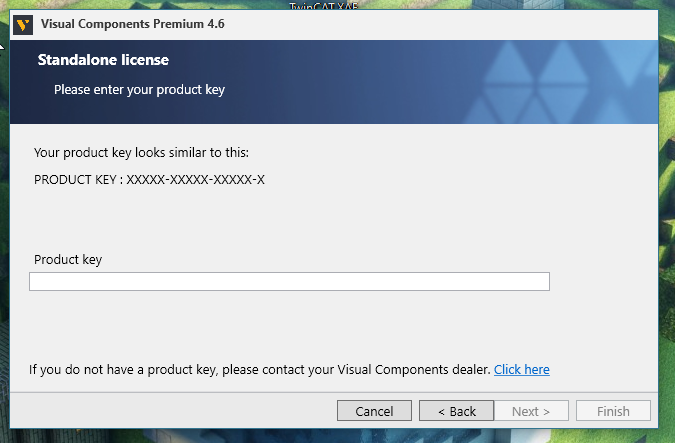
Product keyを入力しましょう。
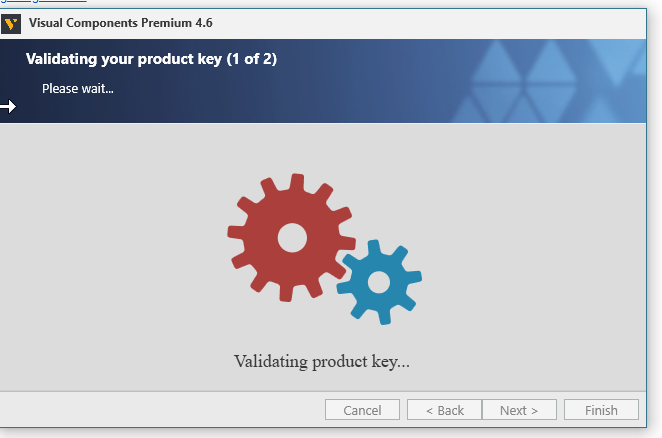
少々お待ちください。
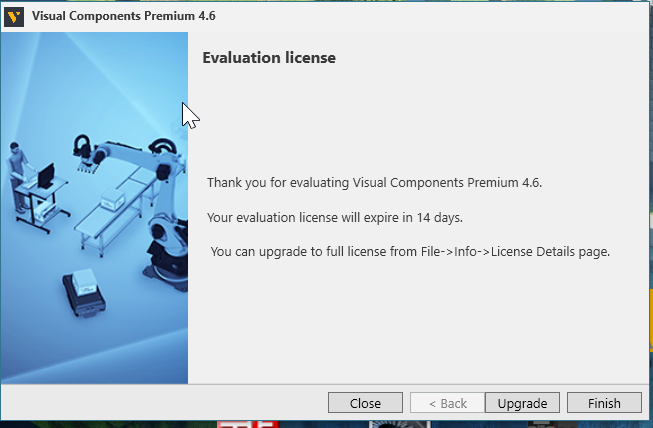
最後に個人情報を入力すればOkです。
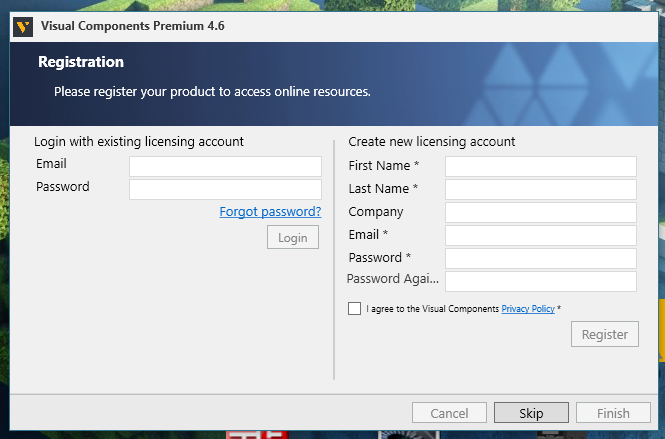
Done!
Start your Application!
ではインストールされたVisual Componets Premiumを起動しましょう。
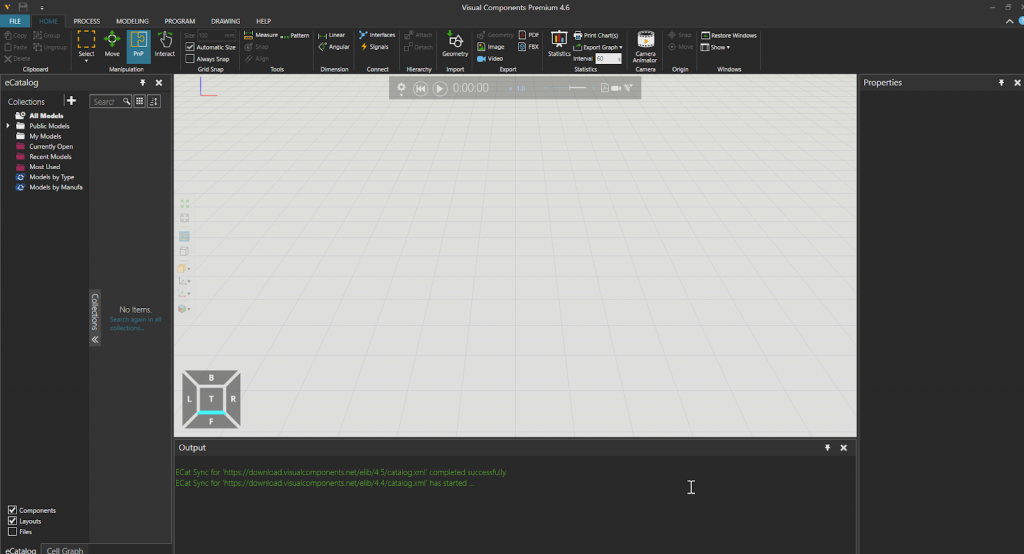
Done!最初にHome画面になにもない空間になります。
Add new Models
新しいプロジェクトからモデルを追加します。
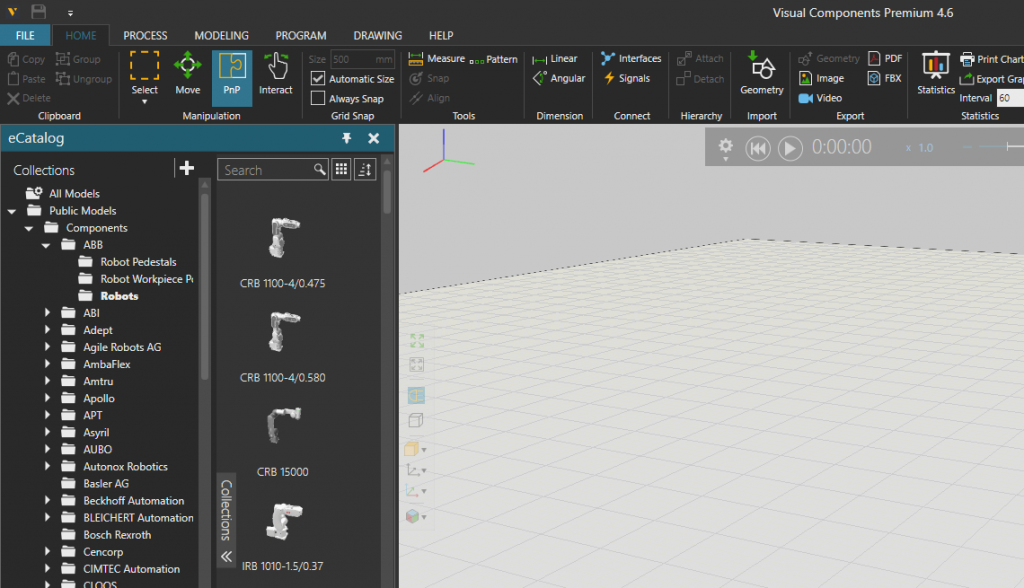
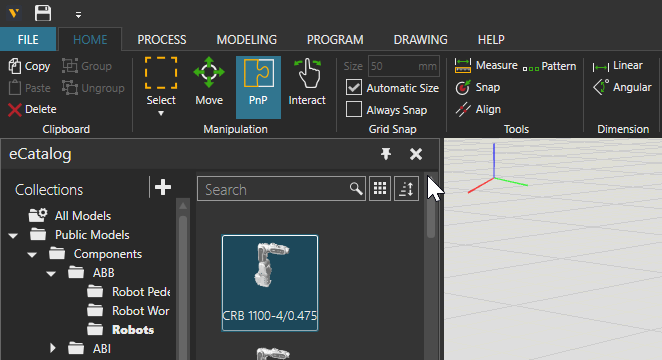
右にあるCollectionsからPublic Model>Componets>ABB>RobotsでABBロボットを追加します。
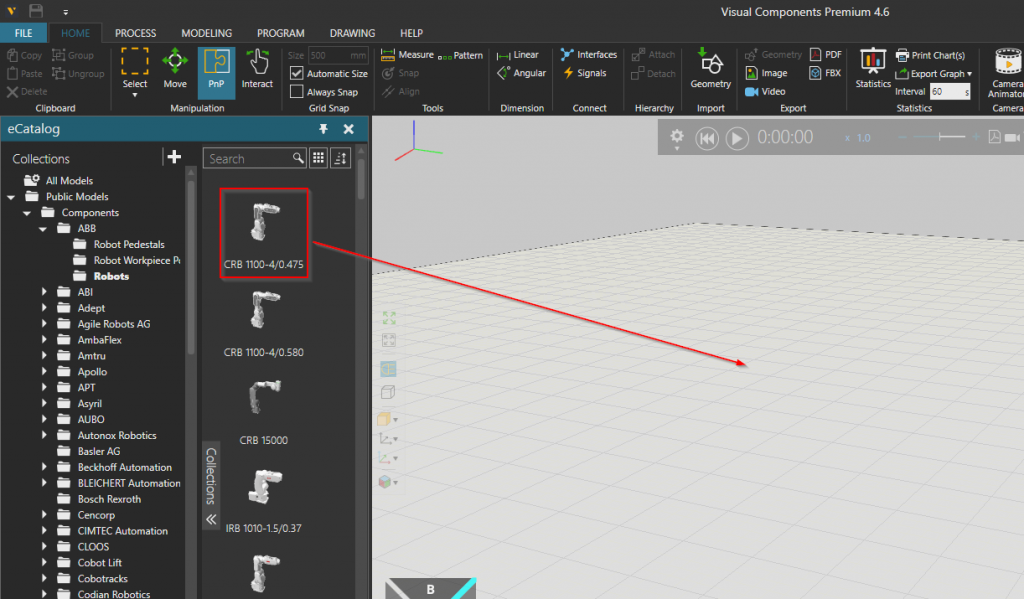
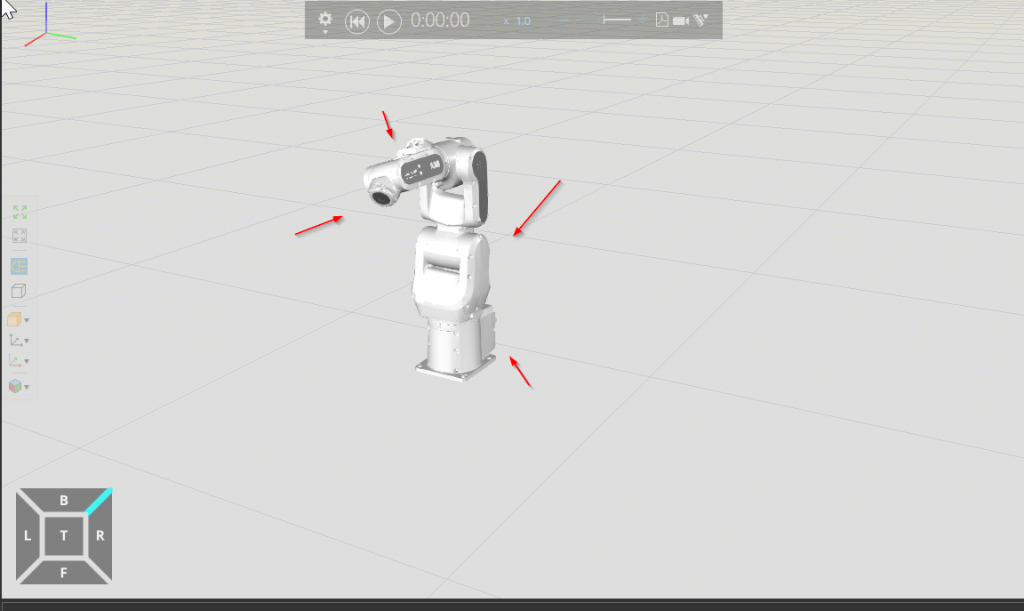
このようにロボットモデルを直接Drop-DragすればOkです。
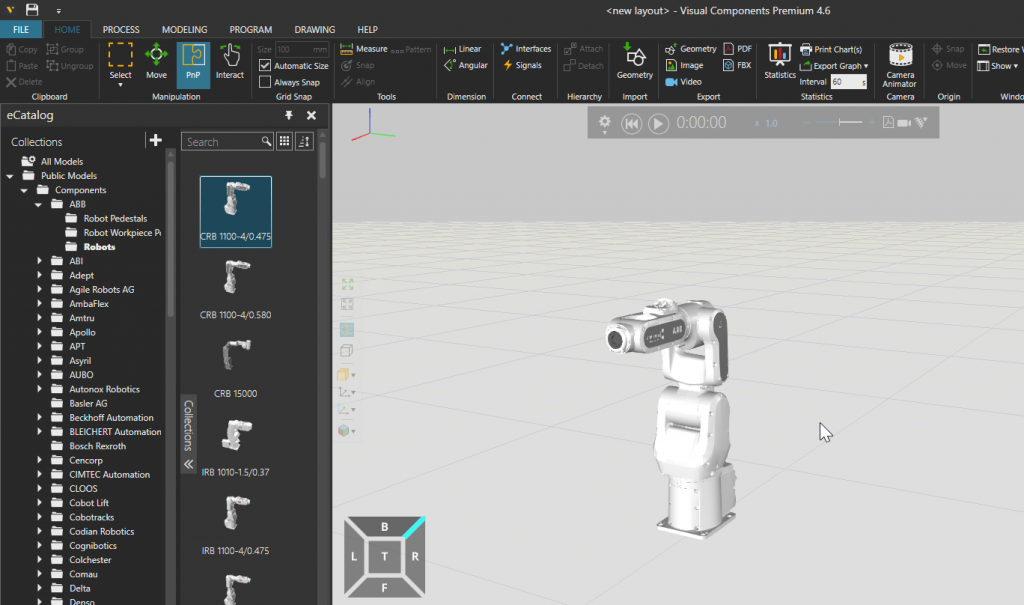
Done!ロボットが追加されました。
Adjust your View
左下にある四角ICONで画面の表示角度を変更できます。
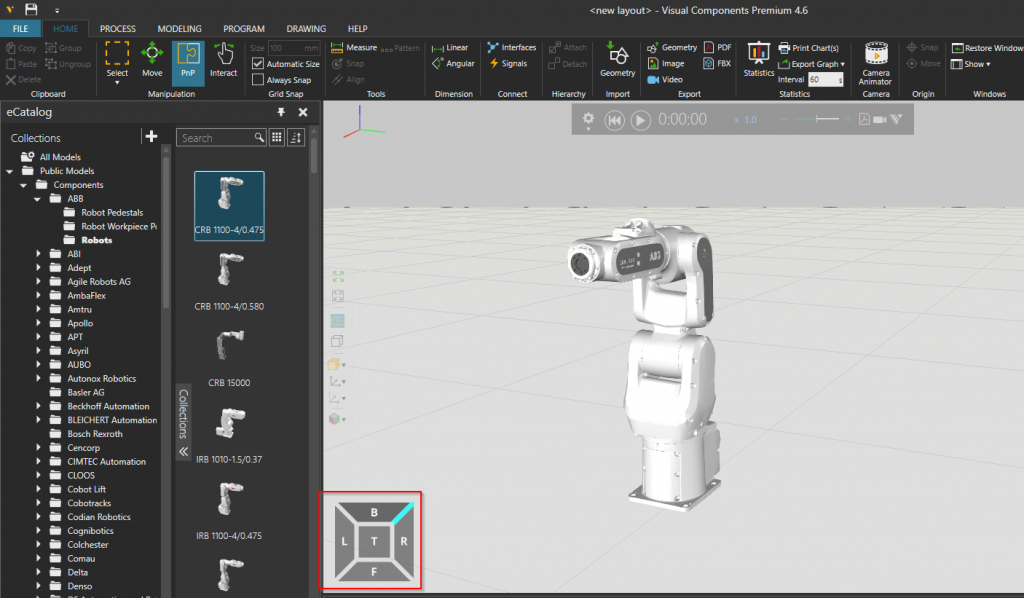
このような操作で変更できます。
Move you Model
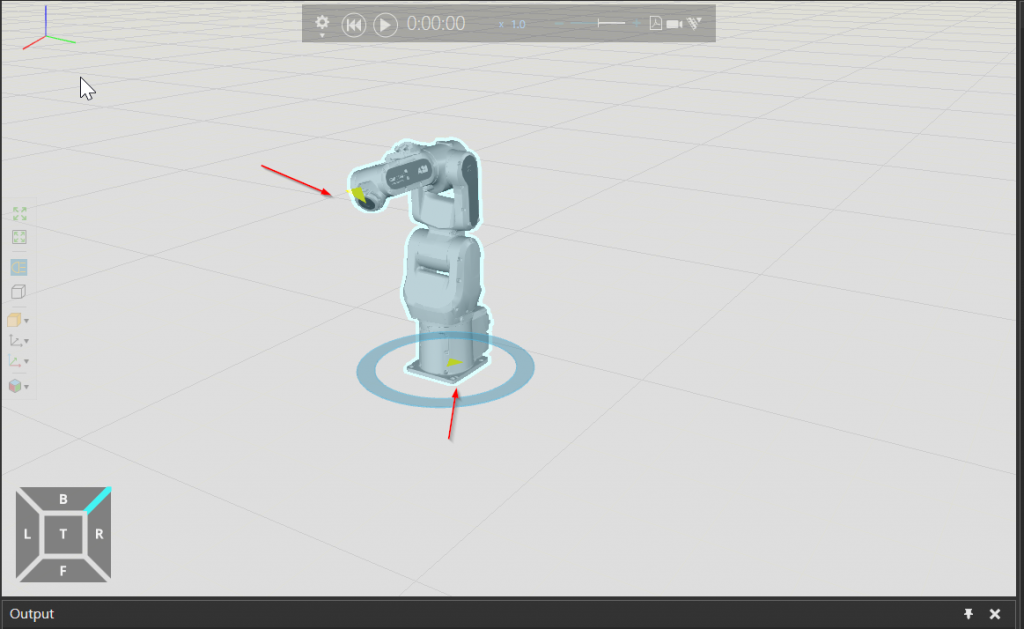
HOMEからMOVE ICONをクリックしロボットモデルを移動しましょう。
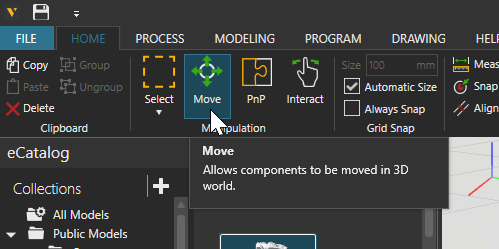
MOVE機能を有効にするとロボットに座標のICONが表示されます。

このようにロボットを自由に移動できます。
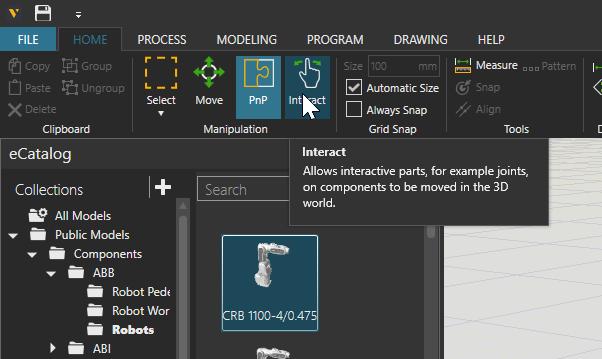
Interact
Interact モードに切り替えてロボットの関節を移動してみましょう。
Mouseを直接ロボットの軸を押しながら移動すると該当する軸が動きます。
このような操作です。
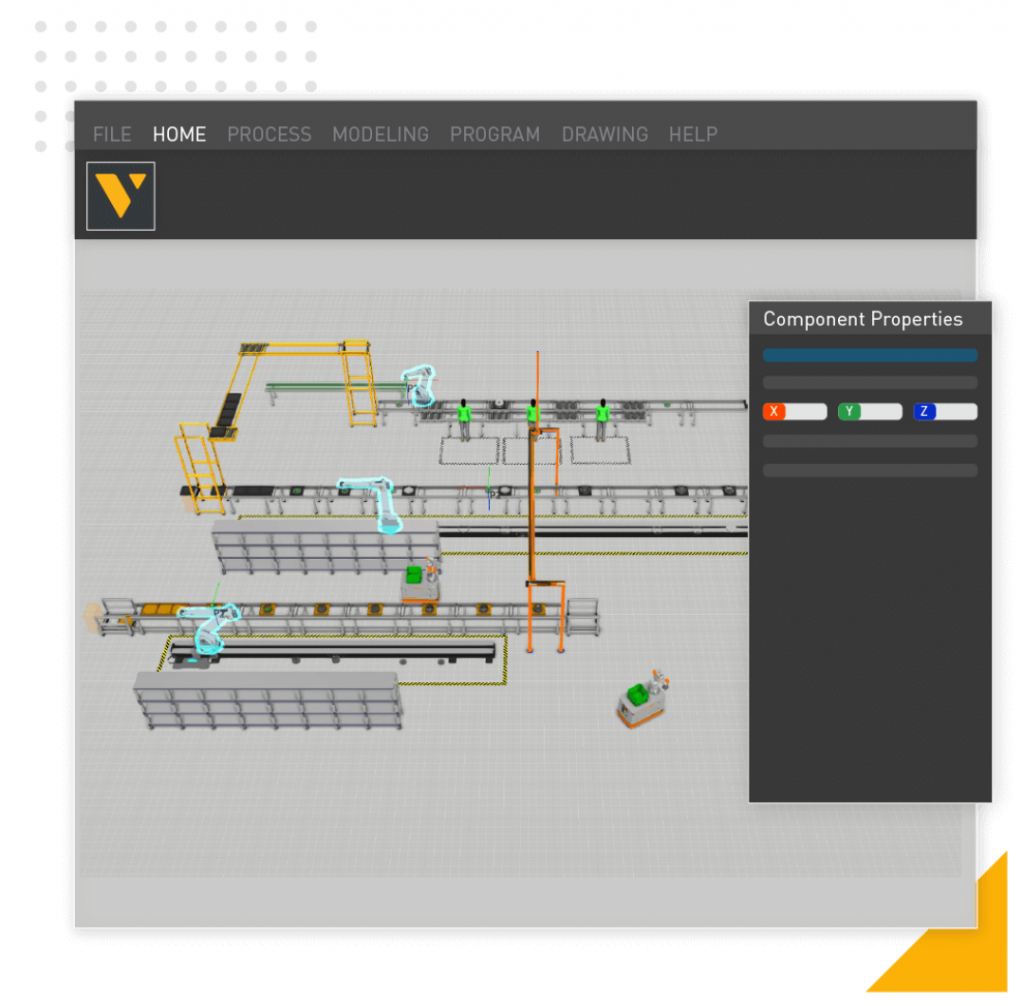
ロボットをダブルクリックするとComponent Properties画面が表示され、6軸の現在値などの数字を一覧できます。
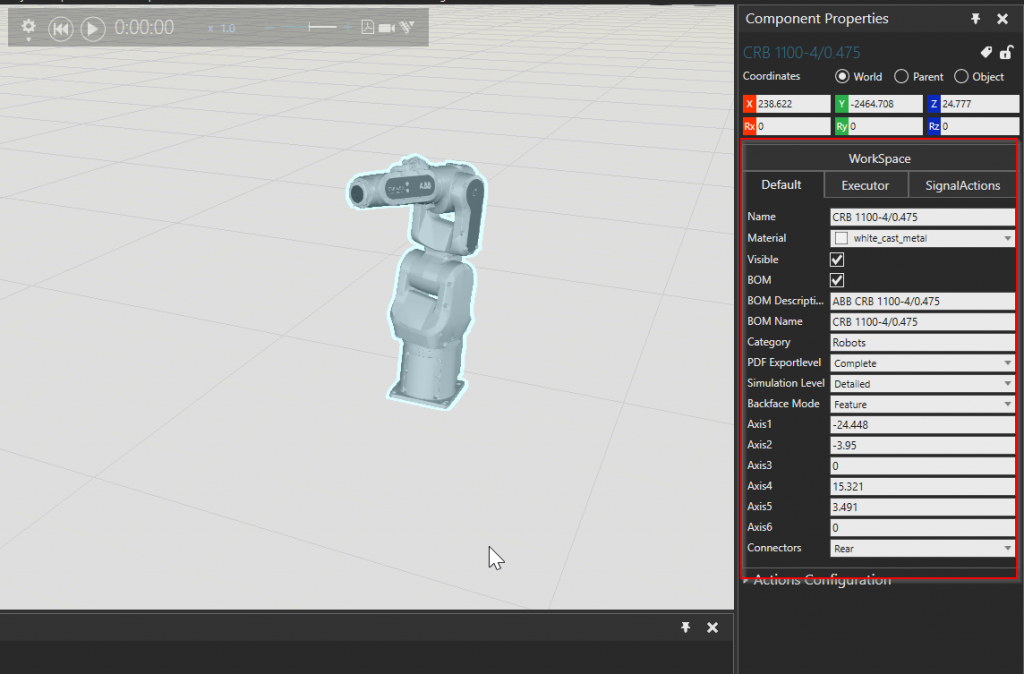
Interact Modeからロボットを動かすと、Axisの現在値にも応じて変化します。
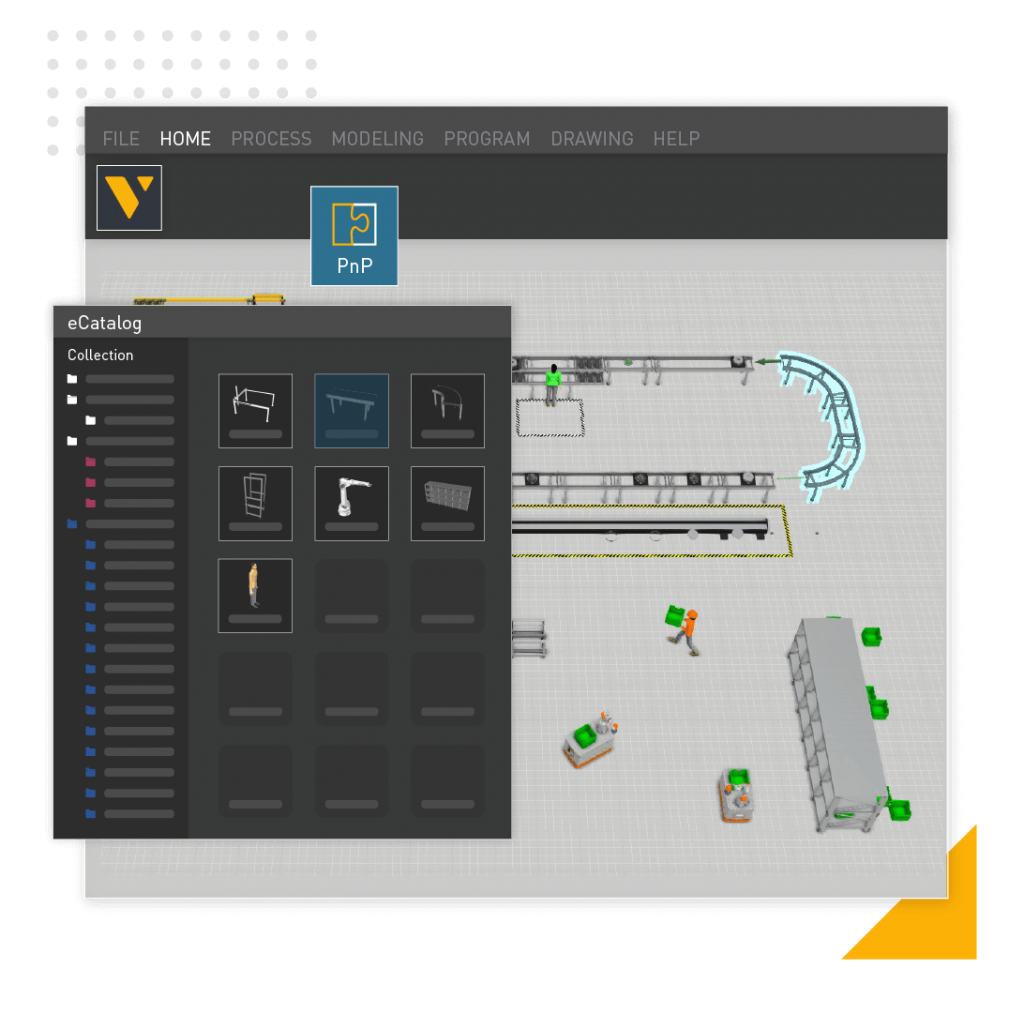
Pnp
Pnp Modeは異なるモデルをつなげるために使うModeです。
Pnp Modeに切り替えると、モデルが薄い青色に変わり、底部に青い丸がついています。
Mouseを押しながら移動すると該当するモデルも同時に動きます。いまプロジェクトがモデル1つしかないので実際の動きがわかりませんね。
Do Some Real Things with Pnp
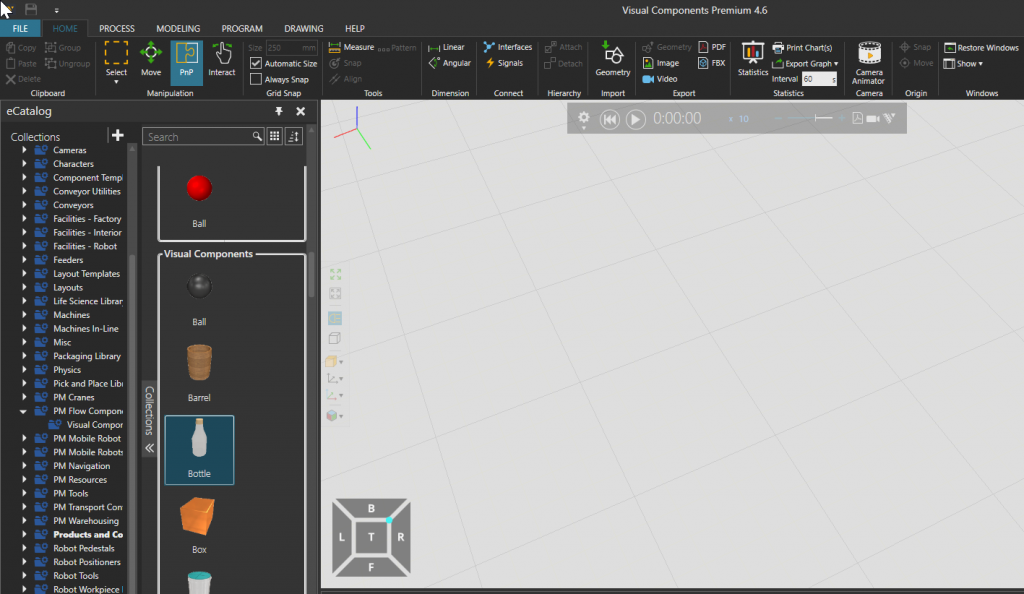
では実際にPnp Modeを使ってみましょう。Visual Componentsのモデルカタログが種類やメーカーに分類されています。Models by Type>ConveryorでConveyorを追加しましょう。
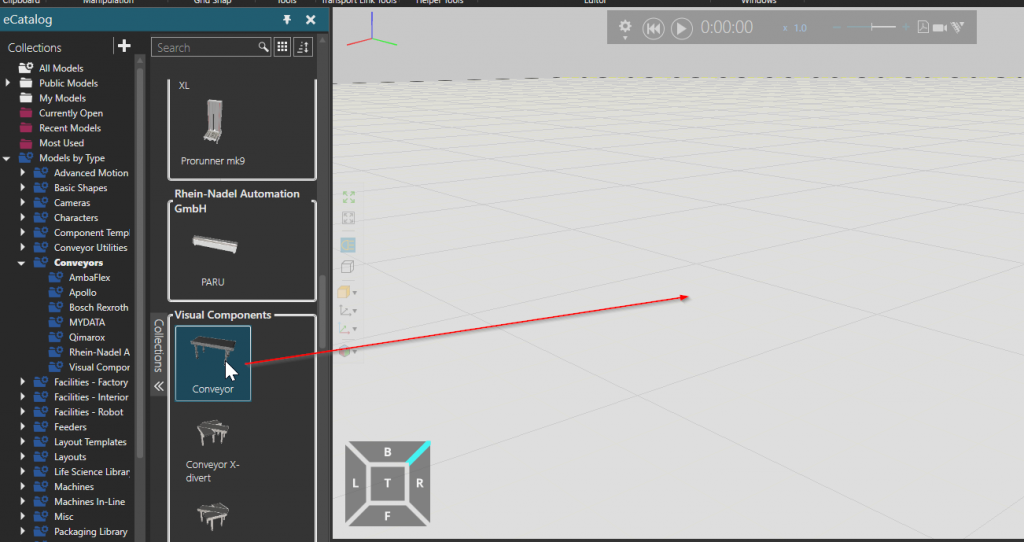
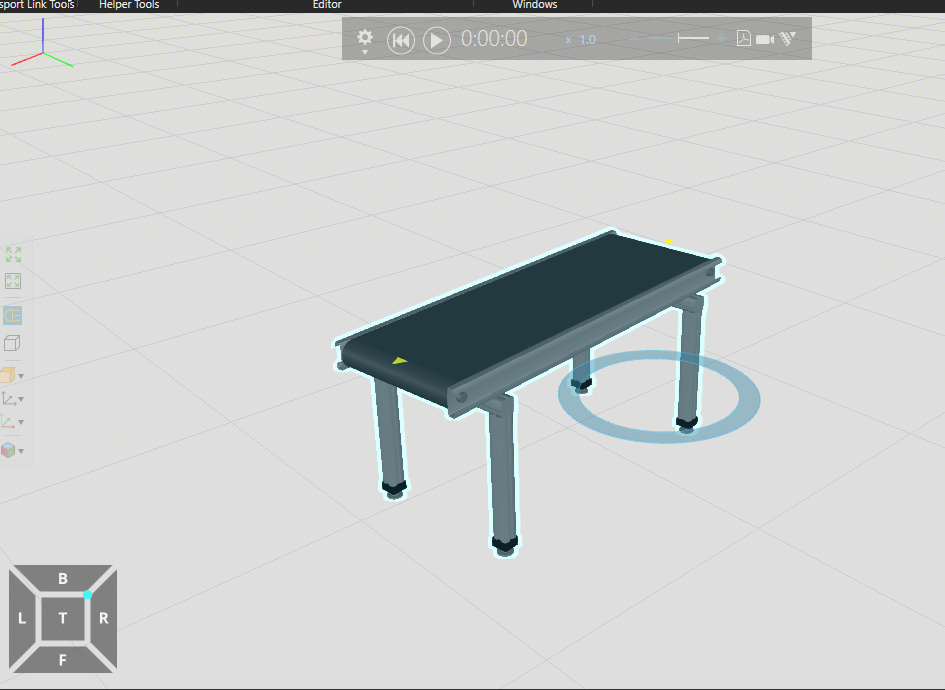
Conveyorが追加されました。
次はFeederを追加します。Feederは設定した時間にモデルを生成するObjectだと思ってください。
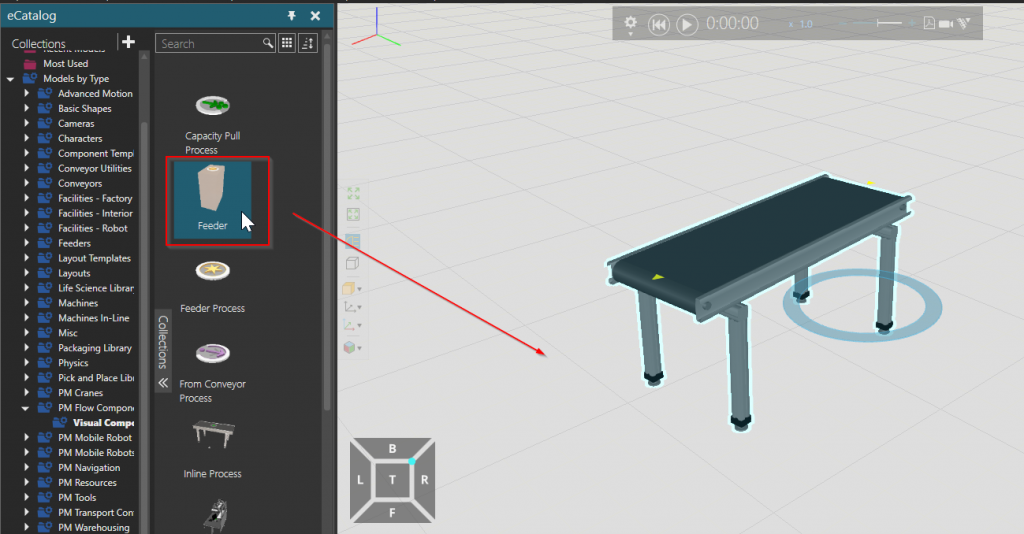
いまFeederも追加されました。
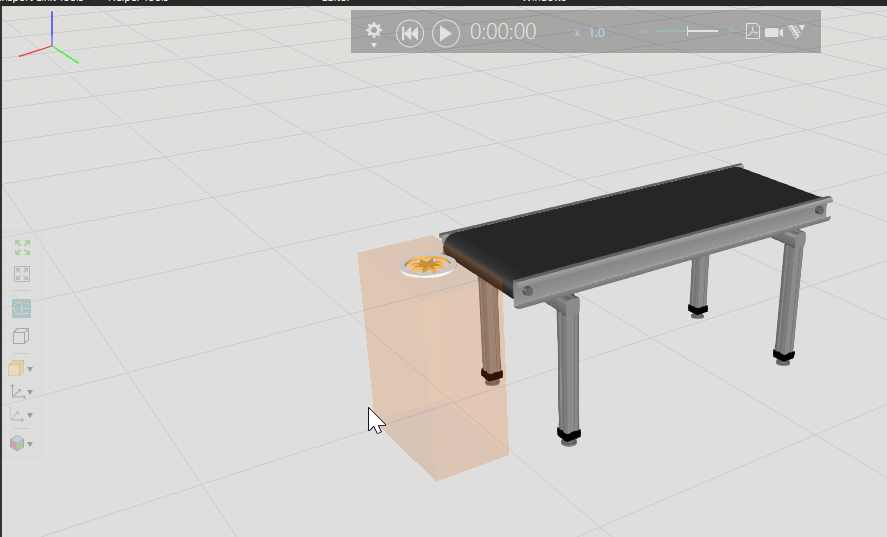
次はPnP Modeに切り替えてFeederを押しながらConveyorと繋がってみましょう。
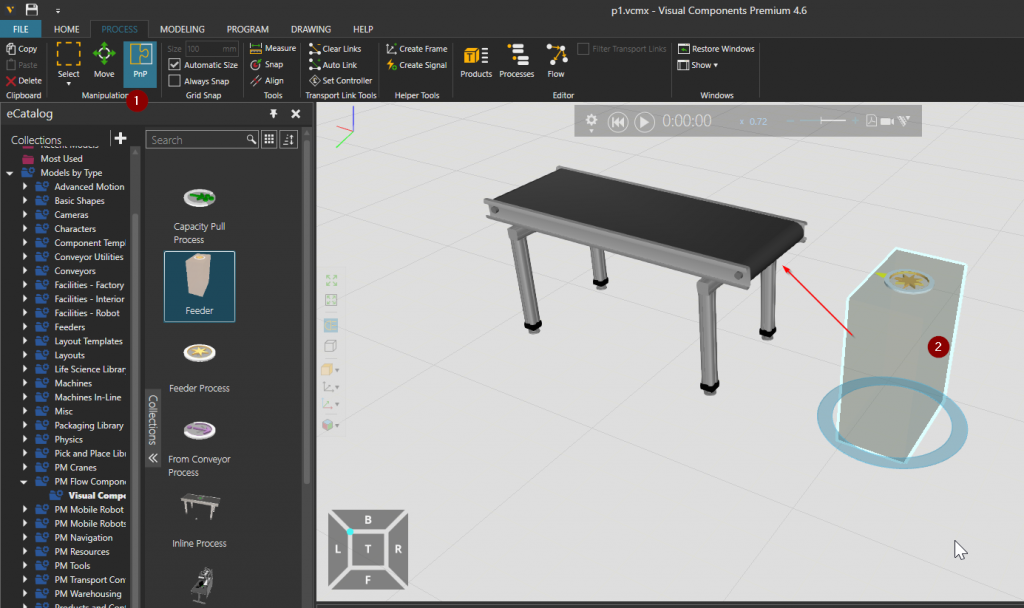
このようにFeederがConveyorに近づくと緑の矢印がみえ、そのままMouseを離せばFeederとConveyorがつながることになります。

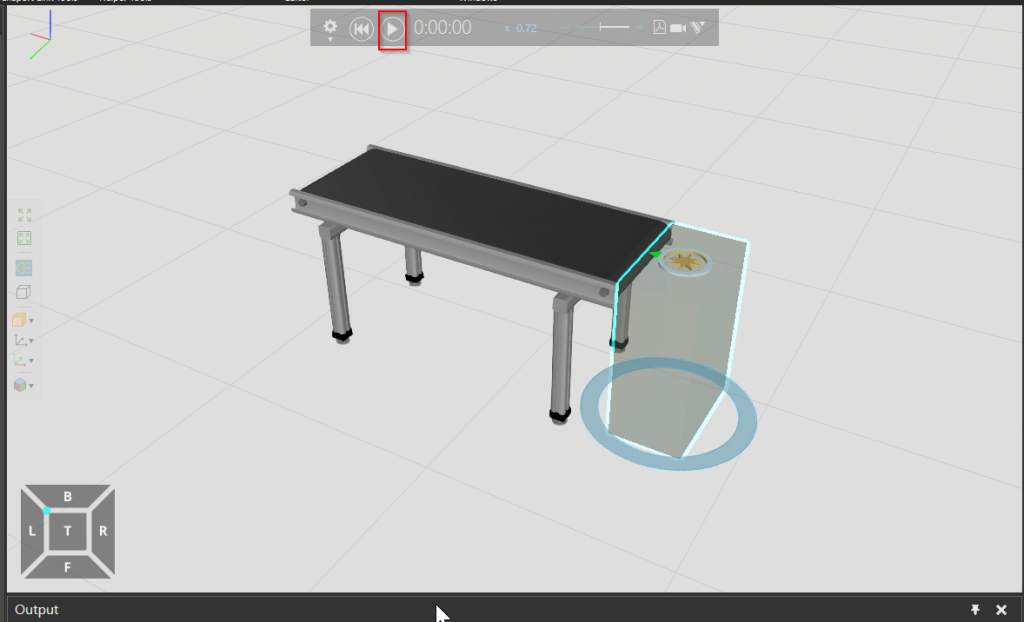
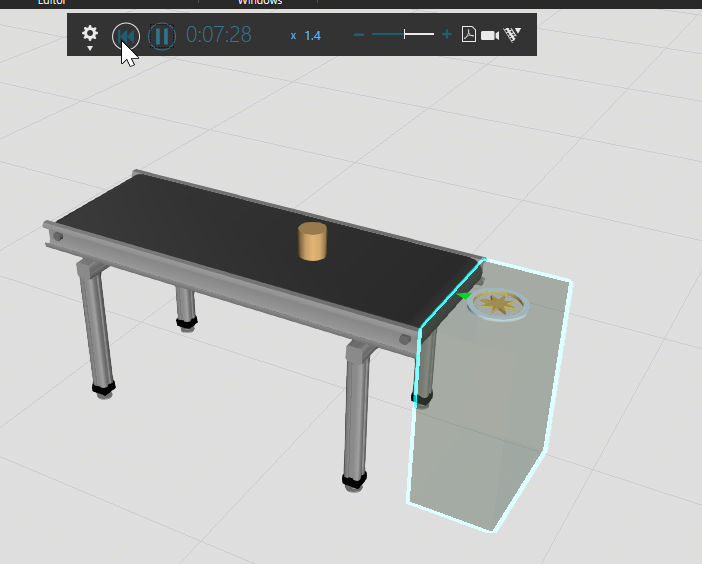
Start Simulation!
赤枠のPlay Buttonでシミュレーションを始めよう!
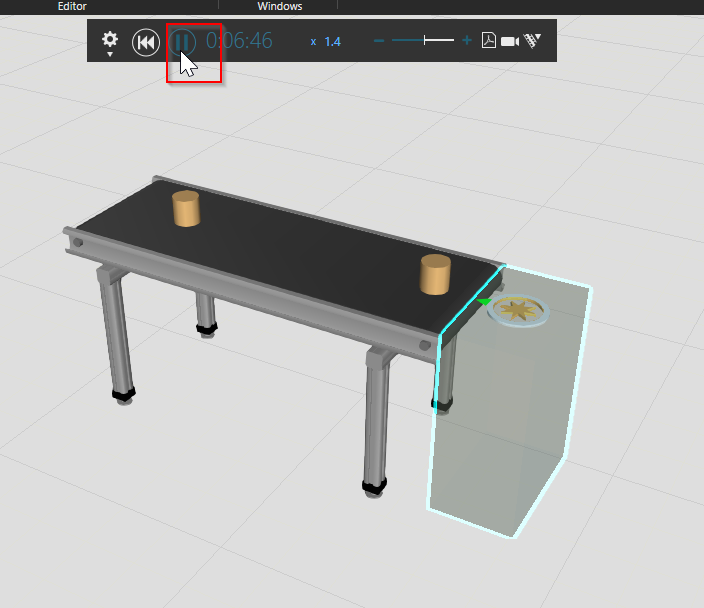
Done!Feederから生成されたモデルがConveyorにのせたまま動きますね。
Stop Simulation!
下図の赤枠でSimulationを停止しましょう。
Reset Simulation
もちろんシミュレーションのリセットを忘れずに。
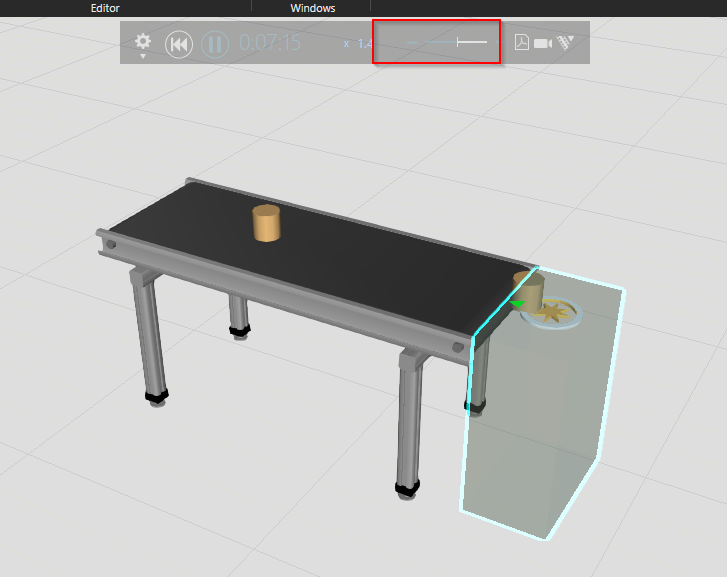
Adjust the Simulation Speed
右にあるSlide barでシミュレーションの速度を設定できます。
Clone your Model
モデルを複製することも可能です。右クリック>CloneすればOkです。
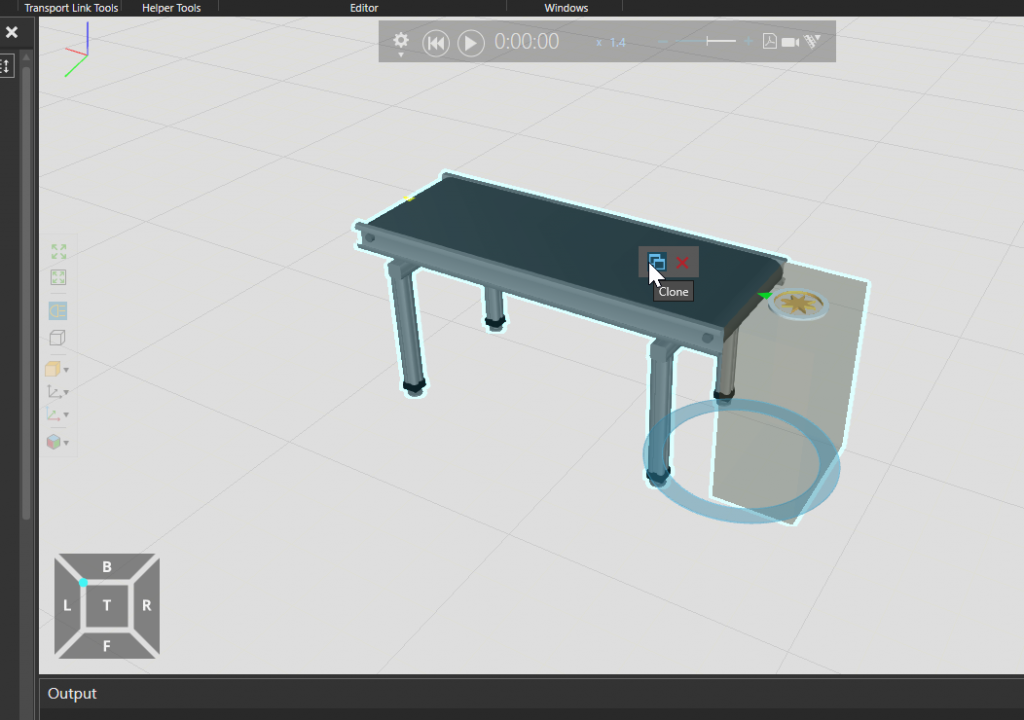
Done!
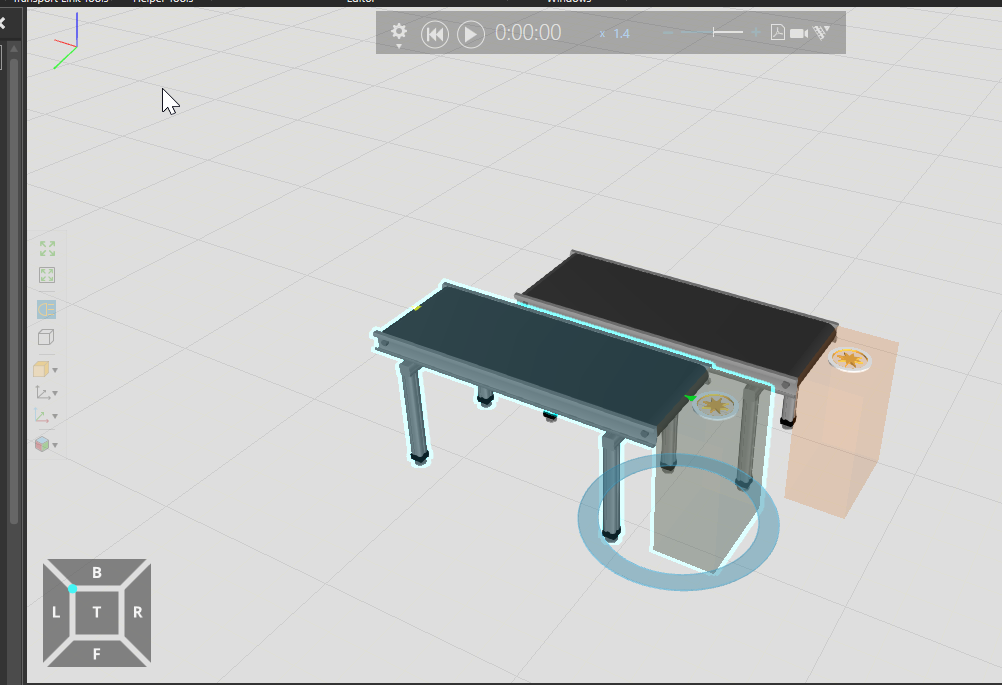
最後の説明Sessionの準備のためにきれいにConveyorを並べましょう。
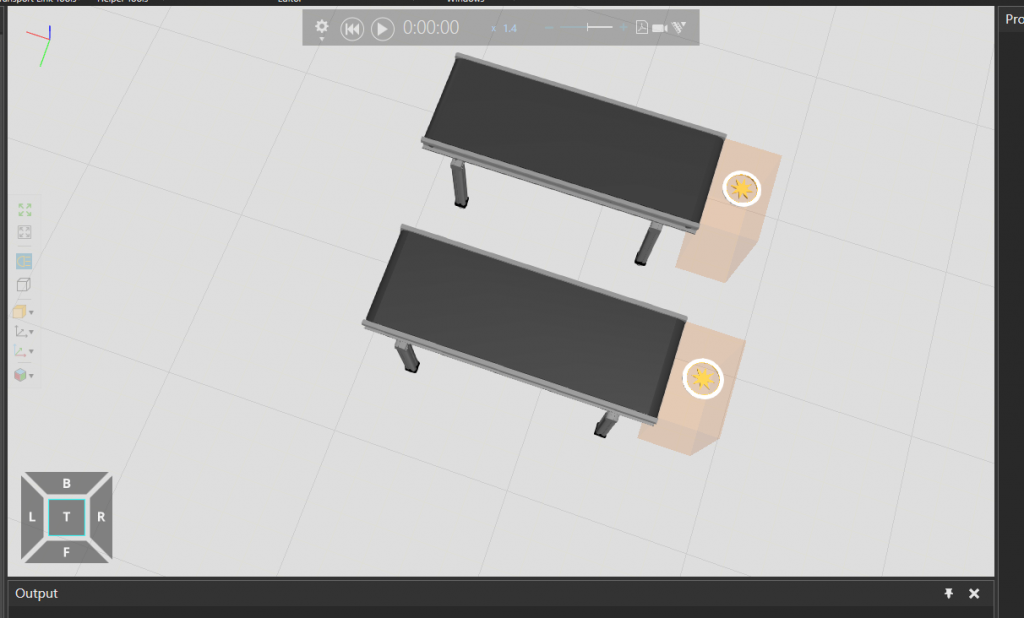
Add Bottle
先程Feederが生成されたのはCubeですが、今回はボトルを生成するように設定します。
Change Feeder Products
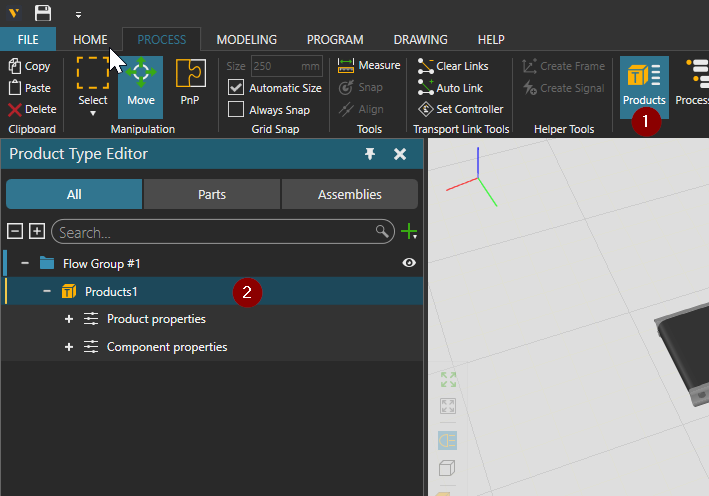
Products>Product1を選択します。
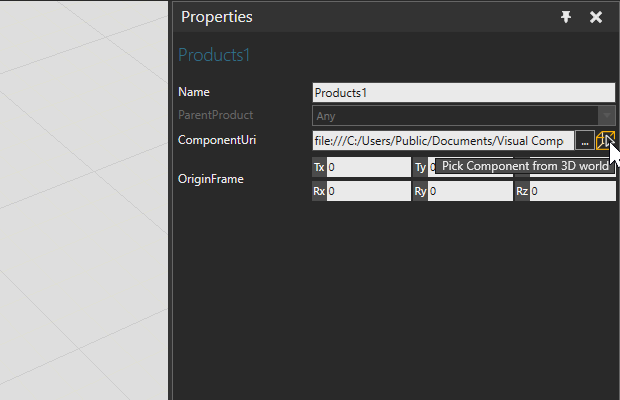
画面の右に該当するProductsのProperties画面が表示されます。
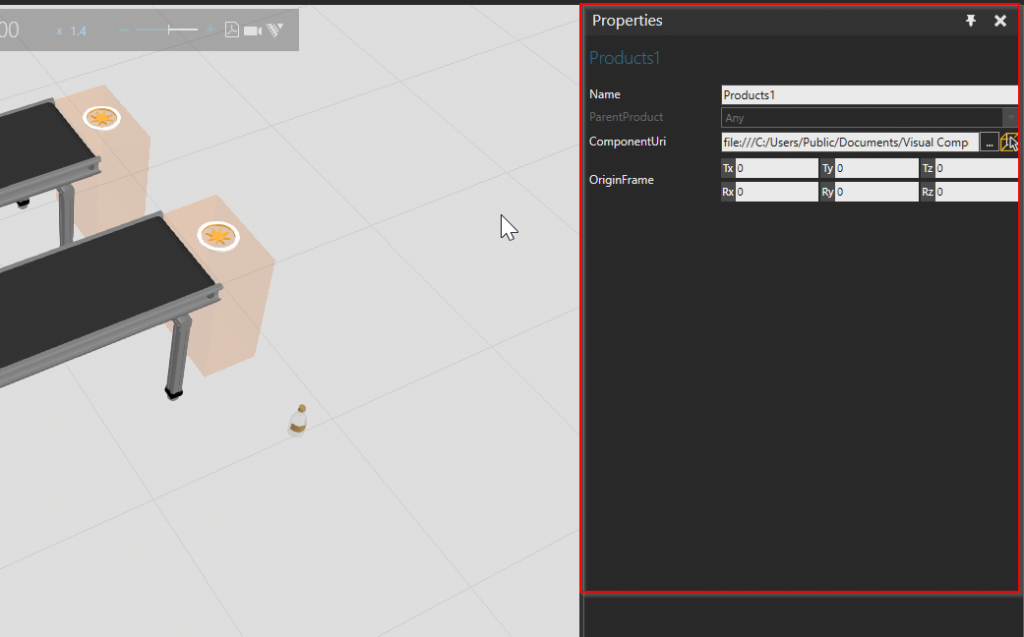
一番右にある黄色いICONをクリックすると。FeederがどんなProductsを生成するかを設定できます。
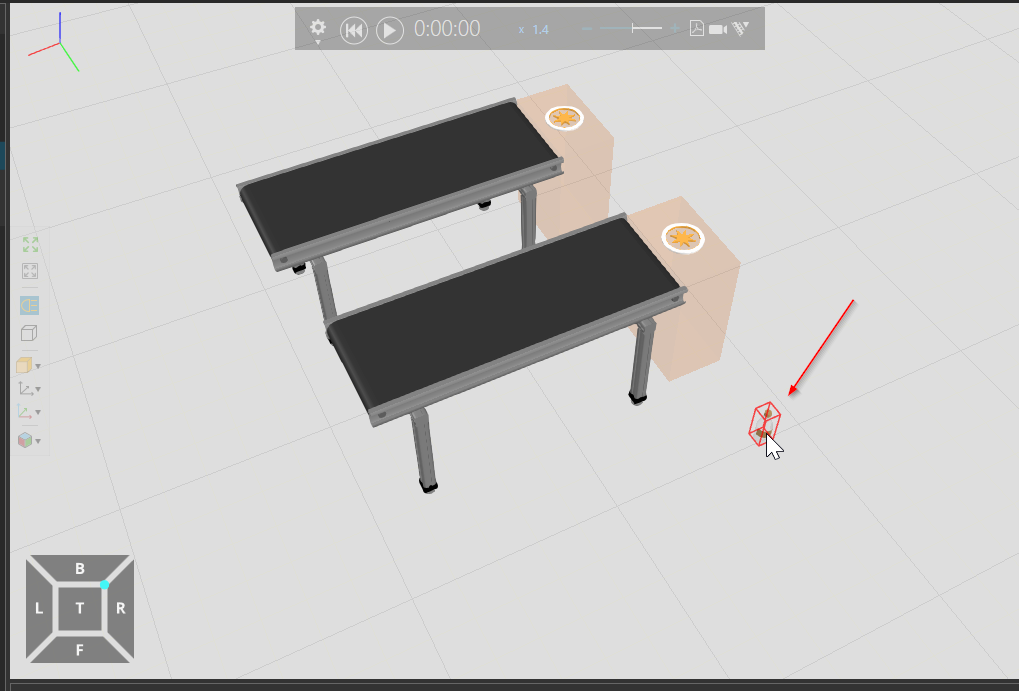
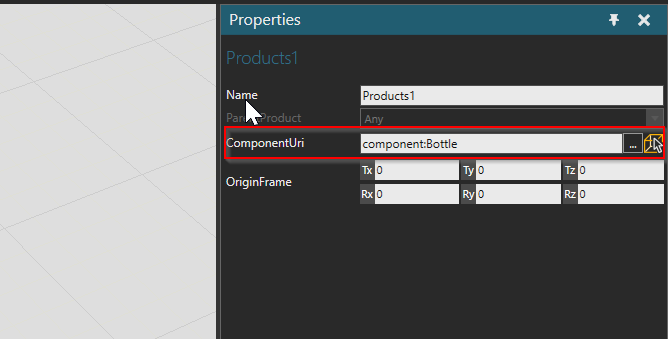
では先程追加したボトルを選択しましょう。
Done!
Test it!
今度Feederからボトルを生成できるようになりました。
Add Build-in Layouts
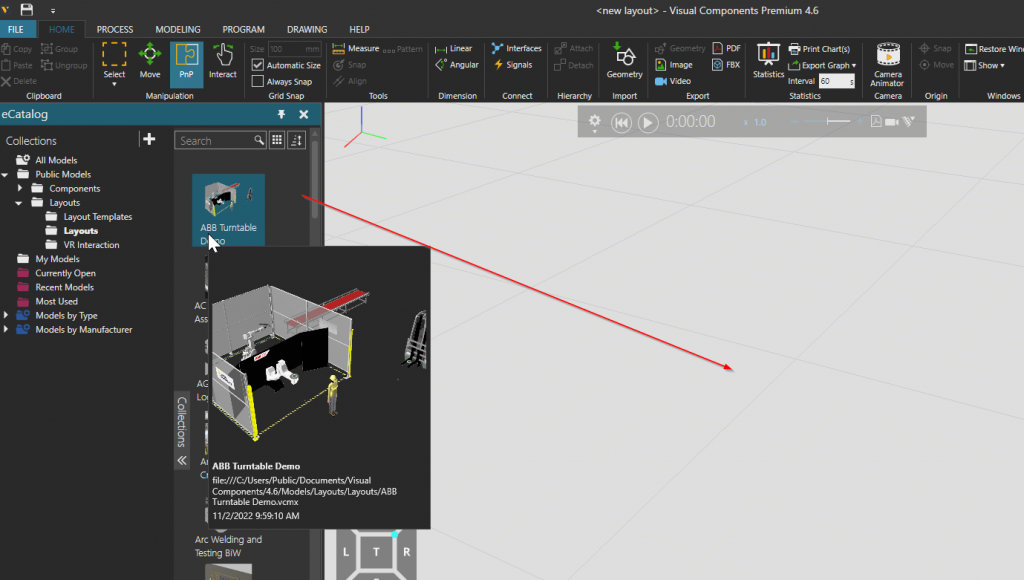
Visual Componentsが初心者でもすぐなれるように、いくつかのLayoutがBuild-itされています。例えばPublic Modles>Layouts>LayoutsでAB Turntable demoを追加してみます。
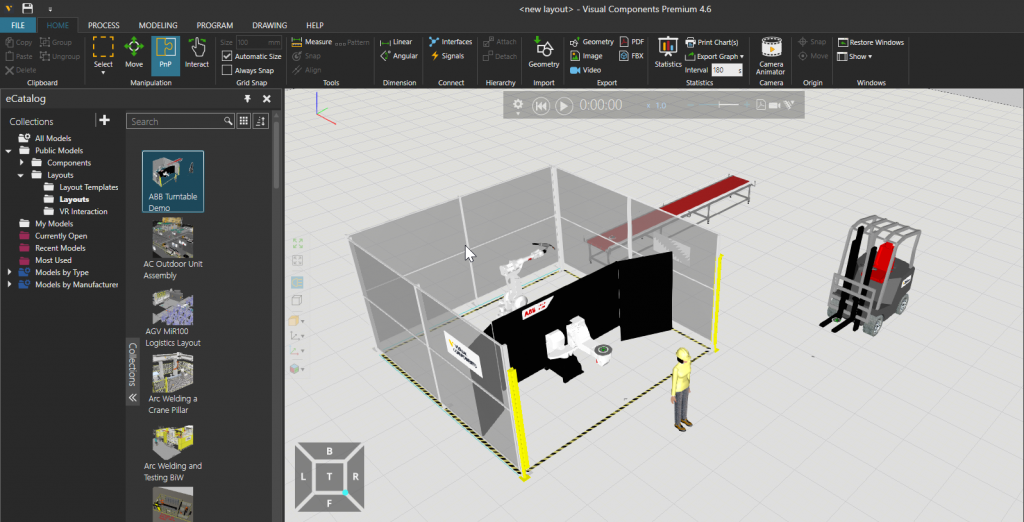
Visual Component のBuild-it Layoutが追加されました。
Play Simulation
最後はPlay Buttonをクリックするだけです。

Done!