In this article, I will introduce how to operate the ctrlX PLC Engineering API using Python. The ctrlX PLC Engineering API is a useful tool provided for generating and editing ctrlX CORE PLC projects.
Where can you find the documents?
You can find the documentation for the ctrlX PLC Engineering API under ctrlX PLC Engineering > Help > API reference.

The browser will automatically open and you will see the API request string and examples.

Install packages
To use the requests package for sending GET/POST/PUT/DELETE requests and manipulating projects, we need to install it via pip. The results will be returned in JSON format.
Here’s the command to install requests:
| pip install requests |
Example1 Test by yourself
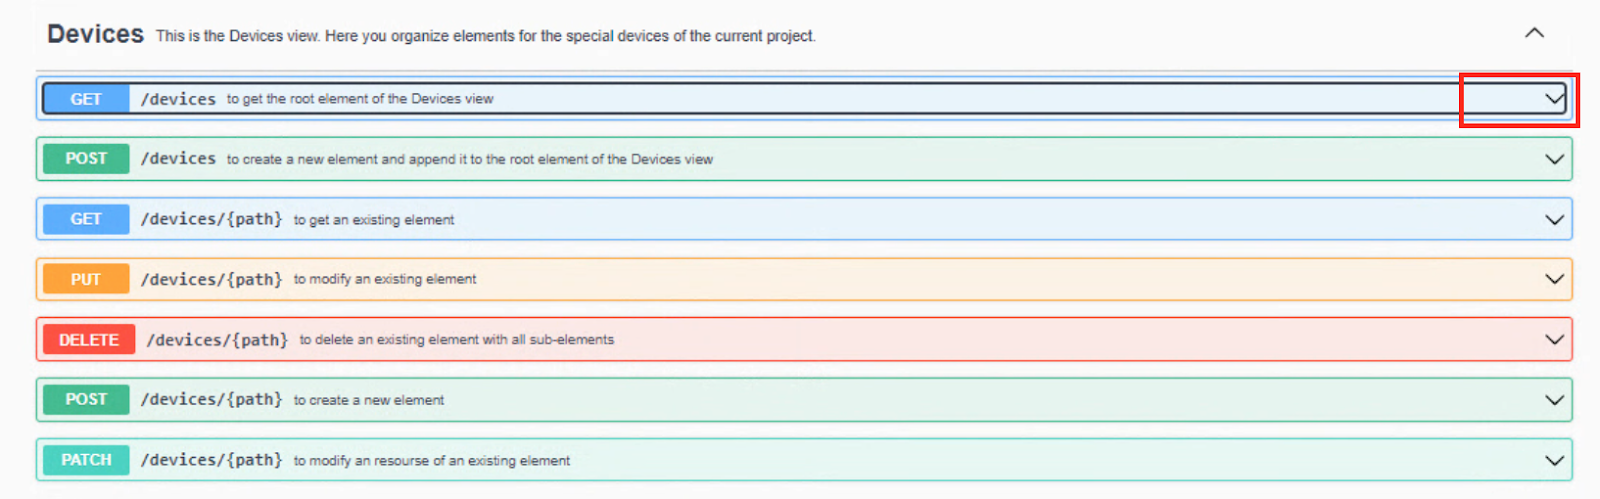
Let’s first test a request from the API documentation.That is a very user-friendly feature, as you can test each request directly from the API documentation.Click the down arrow below.
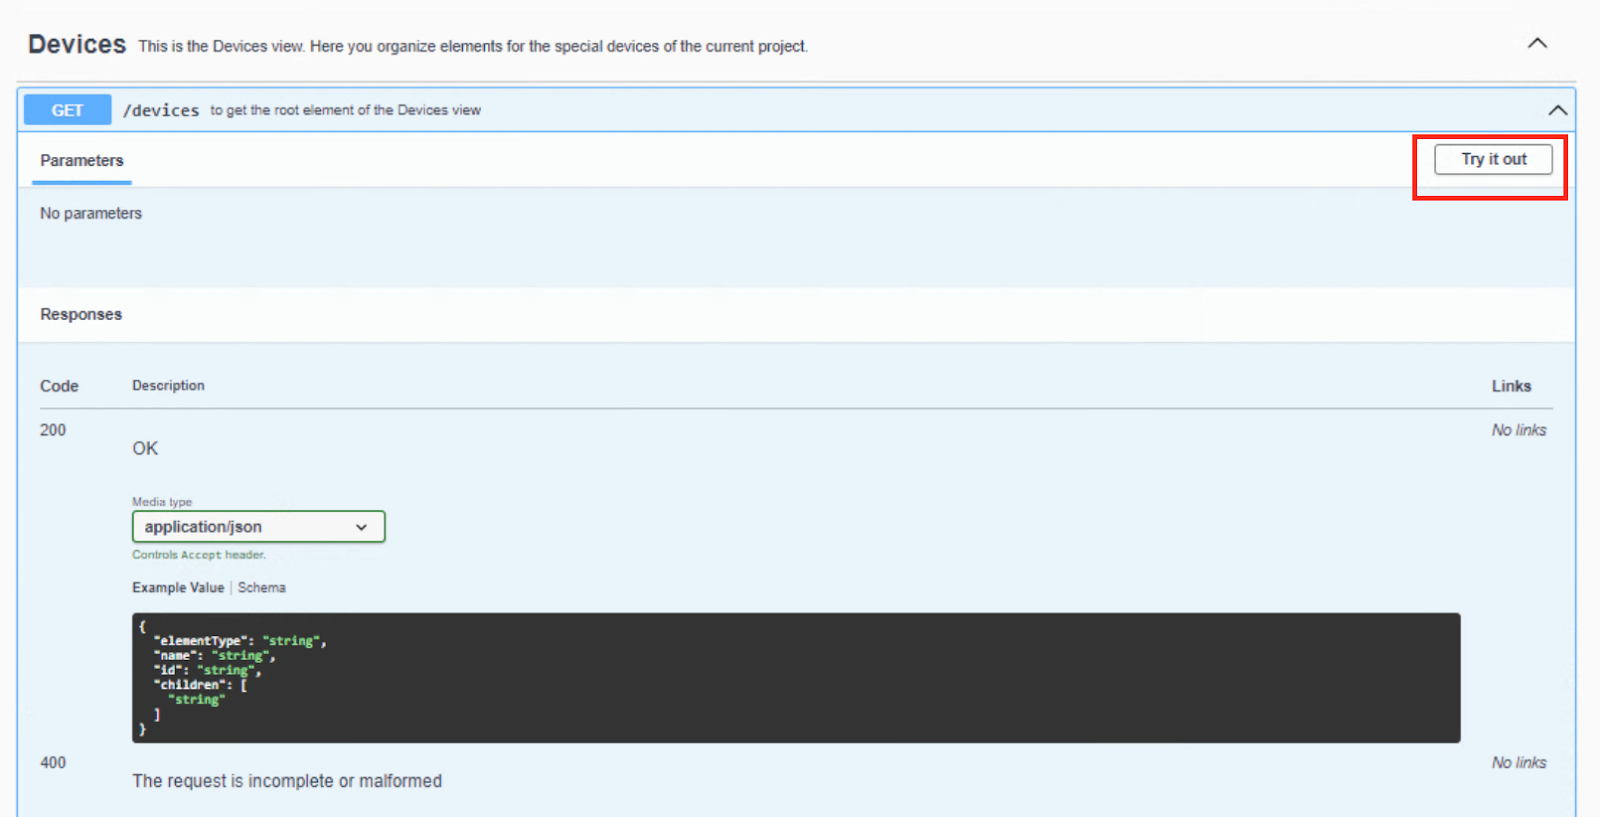
JSON response example is also listed.

Click on the “Try it out” button.
Once you click on the “Try it out” button, an “Execute” button will appear, and by clicking on it, the request will be executed.
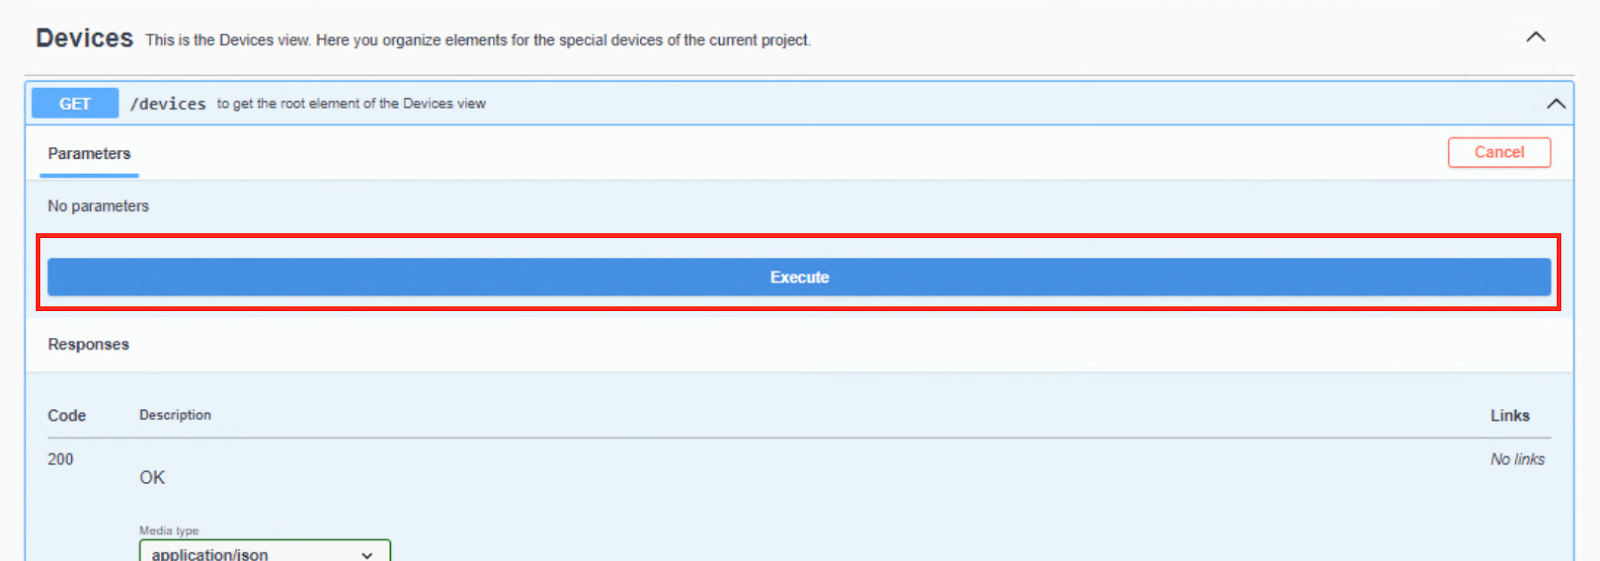
Done! A 200 response was returned, indicating that the request was successfully received and processed.

Example2 Get Device from Python
Next, we will use the Python requests library to retrieve device information. The request is sent to http://localhost:9002/plc/engineering/api/v2/devices.
| import requests #The base URL that you can find in the API Reference CTRLX_URL_Basic=’http://localhost:9002/plc/engineering/api/v2′ #Send devices r=requests.get(CTRLX_URL_Basic+’%s’%(‘/devices’)) #Get Status Code print(‘Status Code=%s’%(r.status_code)) #Get json Data data=r.json() #Output print(‘—-Data—-‘) for k,v in data.items(): print(‘key:%s , value:%s’%(k,v)) |
Result
The status code is 200, and we received the device information in JSON format.
| Status Code=200 —-Data—- key:name , value:Devices root node key:elementType , value:DevicesTopLevel key:id , value:None key:children , value:[‘VirtualControl_1’] |
Example 3 Create Folder
Next, let’s create a folder in the project. The request is http://localhost:9002/plc/engineering/api/v2/devices.
| import requests #The base URL that you can find in the API Reference CTRLX_URL_Basic=’http://localhost:9002/plc/engineering/api/v2′ #Post Content postData=”’ { “name”: “%s”, “elementType”: “Folder”, “elementProperties”: { “build”: { “excludeFromBuild”: false, “external”: false, “enableSystemCall”: false, “linkAlways”: false, “compilerDefines”: “” }, “documentation”: “Folder Documentation @123” } } ”’%(‘FolderFromAPI’) #Send devices r=requests.post(CTRLX_URL_Basic+’%s’%(‘/devices’),data=postData) #Get Status Code print(‘Status Code=%s’%(r.status_code)) #Get json Data data=r.json() #Output print(‘—-Data—-‘) for k,v in data.items(): print(‘key:%s , value:%s’%(k,v)) |
Result
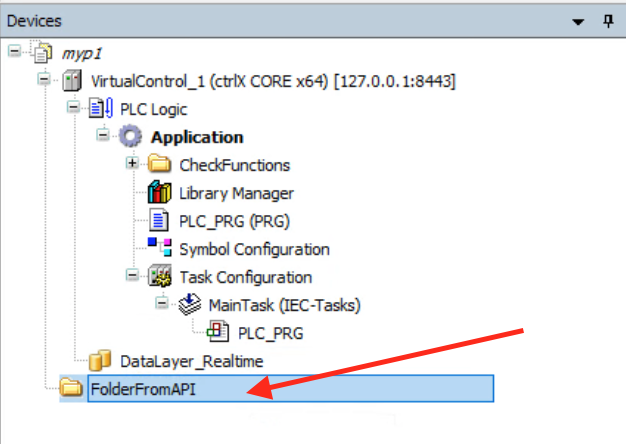
Done! A folder named FolderFromAPI was created under the myp1 project.
Example 4 Create GVL
In Example 3, we will create a GVL inside an Application, as creating a folder directly under the project doesn’t have much practical use. Variable declarations inside the GVL can be done using the usual syntax.
\nVAR_GLOBAL\nr32Real:array[0..31]of real;\nEND_VA
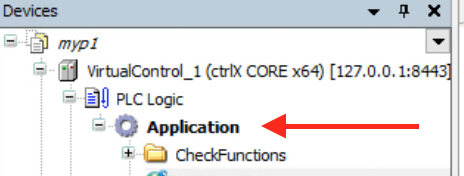
The request is http://localhost:9002/plc/engineering/api/v2/devices//VirtualControl_1/PLC Logic/Application.
| import requests #The base URL that you can find in the API Reference CTRLX_URL_Basic=’http://localhost:9002/plc/engineering/api/v2′ #Post Content postData=”’ { “name”: “%s”, “elementType”: “GVL”, “elementProperties”: { “build”: { “excludeFromBuild”: false, “external”: false, “enableSystemCall”: false, “linkAlways”: false, “compilerDefines”: “” } }, “declaration”: “{attribute ‘qualified_only’}\nVAR_GLOBAL\nr32Real:array[0..31]of real;\nEND_VAR” } ”’%(‘GVLFromAPI’) #Send devices r=requests.post(CTRLX_URL_Basic+’%s’%(‘/devices/VirtualControl_1/PLC Logic/Application’),data=postData) #Get Status Code print(‘Status Code=%s’%(r.status_code)) #Get json Data data=r.json() #Output print(‘—-Data—-‘) for k,v in data.items(): print(‘key:%s , value:%s’%(k,v)) |
This is the Path to /VirtualControl_1/PLC Logic/Application. Therefore, this Example will create a GVL under Application.
Result
Great! The GVL has been created successfully.

Example5 Get Current Project Info
In the final example, we will output the current project information.
| import requests #The base URL that you can find in the API Reference CTRLX_URL_Basic=’http://localhost:9002/plc/engineering/api/v2′ def printData(r): #Get Status Code print(‘Status Code=%s’%(r.status_code)) #Get json Data data=r.json() #Output print(‘—-Data—-‘) for k,v in data.items(): print(‘key:%s , value:%s’%(k,v)) #Send devices r=requests.get(CTRLX_URL_Basic+’%s’%(‘/product/info’)) printData(r) r=requests.get(CTRLX_URL_Basic+’%s’%(‘/projects/current’)) printData(r) |
Result
Great! You have successfully retrieved the information about the current PLC Runtime version, creation date, and the location of the saved project.
| Status Code=200 —-Data—- key:versionText , value:WRK-V-0118.1 Status Code=200 —-Data—- key:name , value:myp1 key:path , value:C:\Users\root\Documents\My ctrlX\myp1.project key:creationTime , value:2023-04-03T15:16:24.3155778-07:00 key:lastModifiedTime , value:2023-04-03T15:16:12.8231485-07:00 key:lastAccessTime , value:2023-04-03T15:16:25.3760566-07:00 key:profileName , value:ctrlX PLC 1.18.0 key:compilerVersion , value:3.5.18.30 key:visualisationProfile , value:CODESYS Visualization 4.2.0.0 |
Download
Please download the project from this link:
https://github.com/soup01Threes/Ctrlx/blob/main/Ctrlx%20PLC%20Enginnering%20APi%20Example.7z