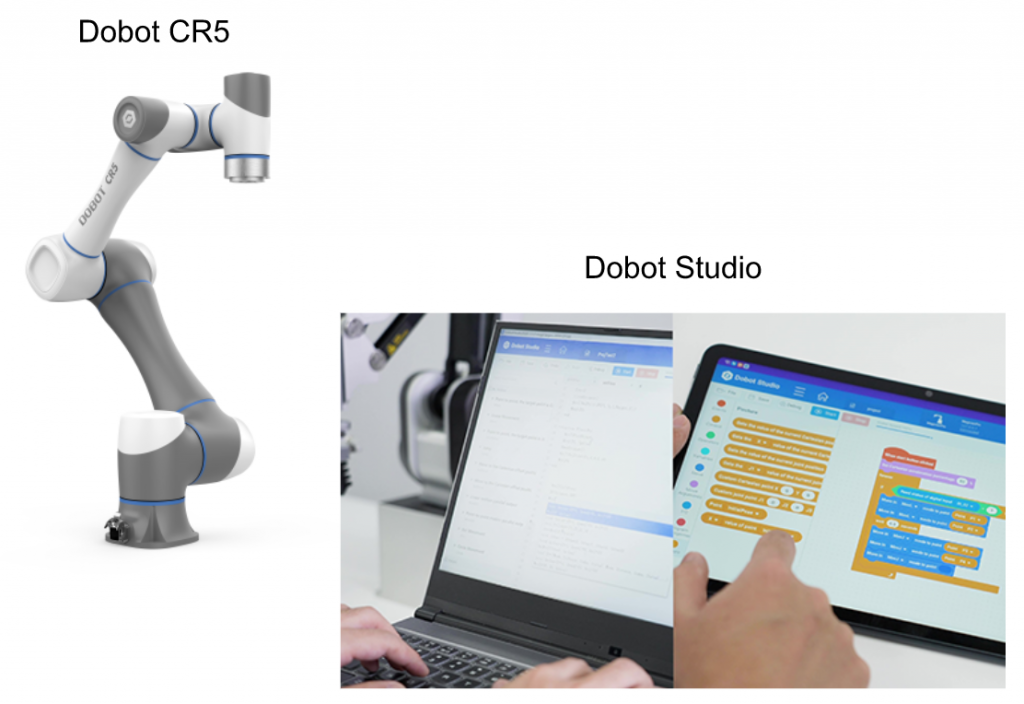
In this series, there are articles related to the Dobot CR5, and this is my first time to work with collaborative robots, I will show you the procedure for unboxing, installation, operating software, and how to enable your Dobot,etc.
Thanks!
Flare Original Co., Ltd
This article was made possible thanks to Flare Original Co., Ltd., who lent me the DOBOT. Thank you very much. Flare Original is an engineering company based in Nagano Prefecture and is an authorized distributor of cooperative robots DOBOT and DH-ROBOTICS.
Flare Original Co., Ltd. is involved in various fields, including design, manufacturing, conception, design, production, installation, and maintenance of industrial and collaborative robot systems. They also specialize in robot education, ROBOTICS LAB (XR development), and VR proposals. Using their high technological expertise, Flare Original connects virtual and real spaces, surpassing the limits of human beings, and will continue their robotics activities.

Address
〒389-0601
長野県埴科郡坂城町坂城9439-5
株式会社フレアオリジナル
HP
https://www.flareoriginal.com/
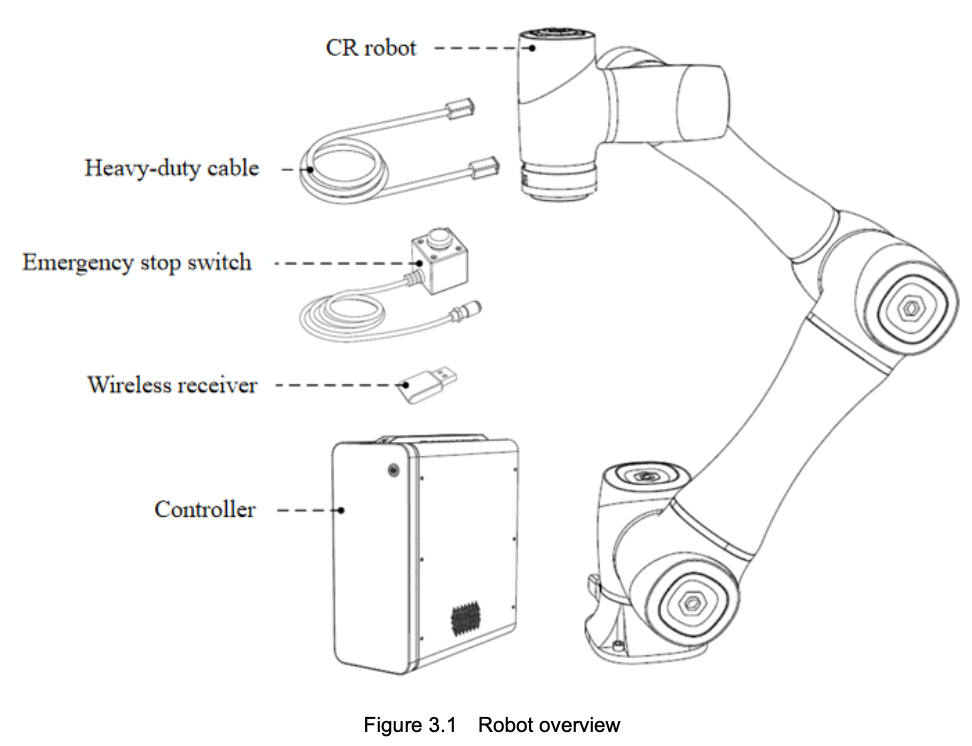
Basic Hardware Setup
The Dobot CR robot system consists of the following main components:
- CR robot: a 6-axis robot arm.
- Controller: the core component that controls the robot and other electrical components around it.
- Emergency Stop Button: connected to the controller, it provides an emergency stop button for the robot.
- Wireless Receiver: connected to the controller, it allows the robot controller to communicate not only via LAN but also wirelessly.
- Heavy-Duty Cable: connects the controller to the CR robot.
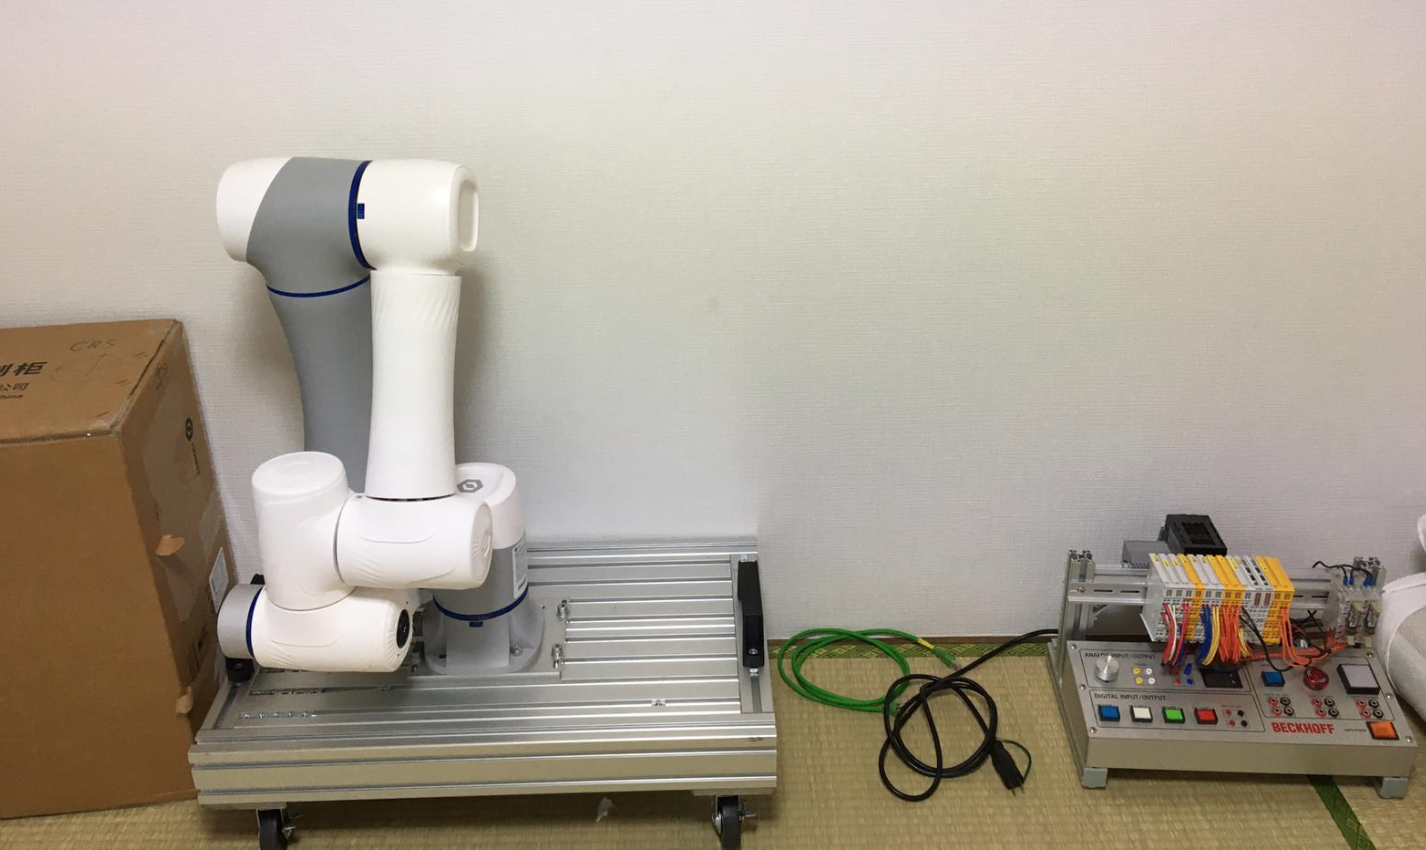
Fix your Cobot
First, Please make sure to fix the Cobot to a table or other surface.
ESTOP
Connect the emergency stop button to the part labeled “ESTOP” on the back of the controller.
Wifi USB
In the box, you will find a TP-LINK AC600 WIFI Adapter. Connect the USB of the adapter to the USB port on the controller labeled “WIFI”.
Heavy Duty Cable
Connect the Heavy Duty Cable that connects the controller and the CR robot in the following manner.
AC Power
Don’t forget the AC power supply, of course. It’s okay to use a 100V outlet!

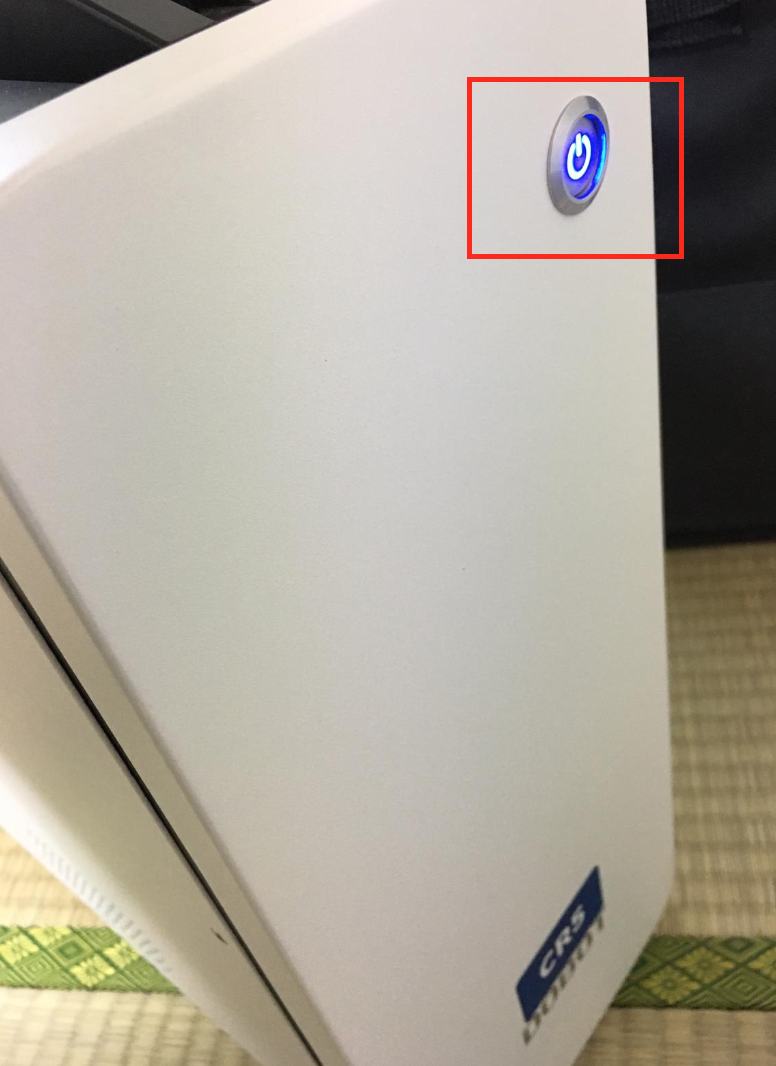
Power ON!
Press the power button to turn on the power to the controller! At first, the light will blink blue, but once the controller has started up normally, the light will turn blue.
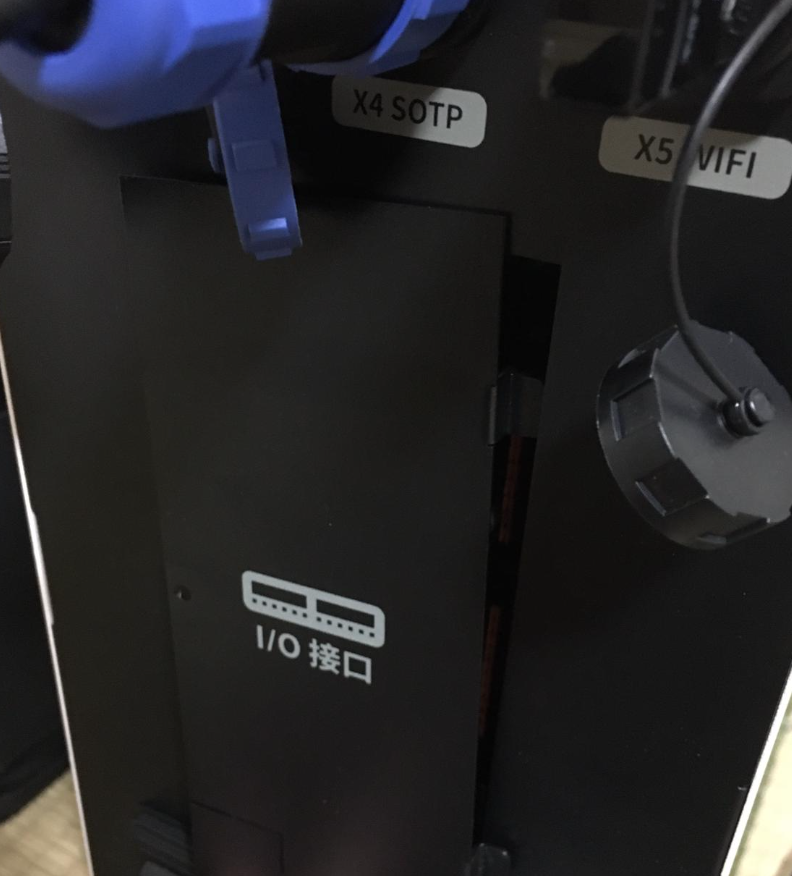
IO Interface LED
On the back of the controller, there is an area labeled “IO interface” with screws, you can find the IO Terminal in here.
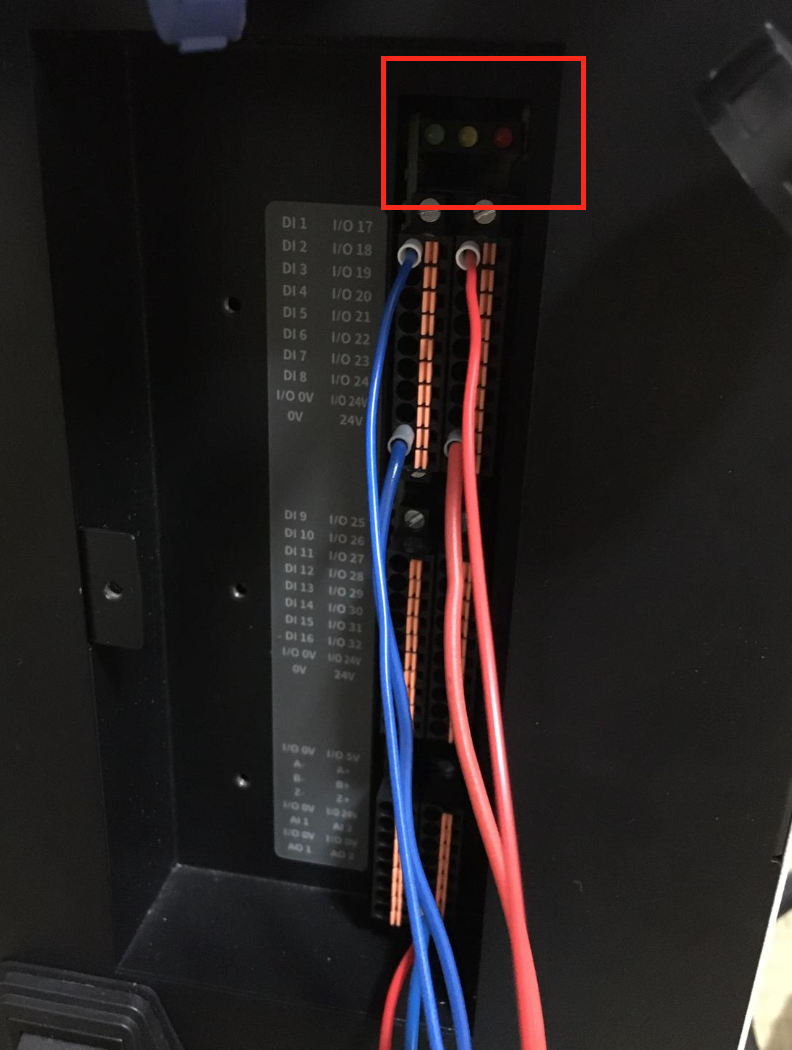
The photo is a little dark, but there are actually three colored LEDs.
- Green: the power status indicator, which shows that the power is on and stable when it is ON.
- Yellow: the communication status indicator, which blinks when the internal bus is communicating.
- Red: the operating status indicator, which blinks when the controller is operating. When everything is normal, the red LED will blink constantly.
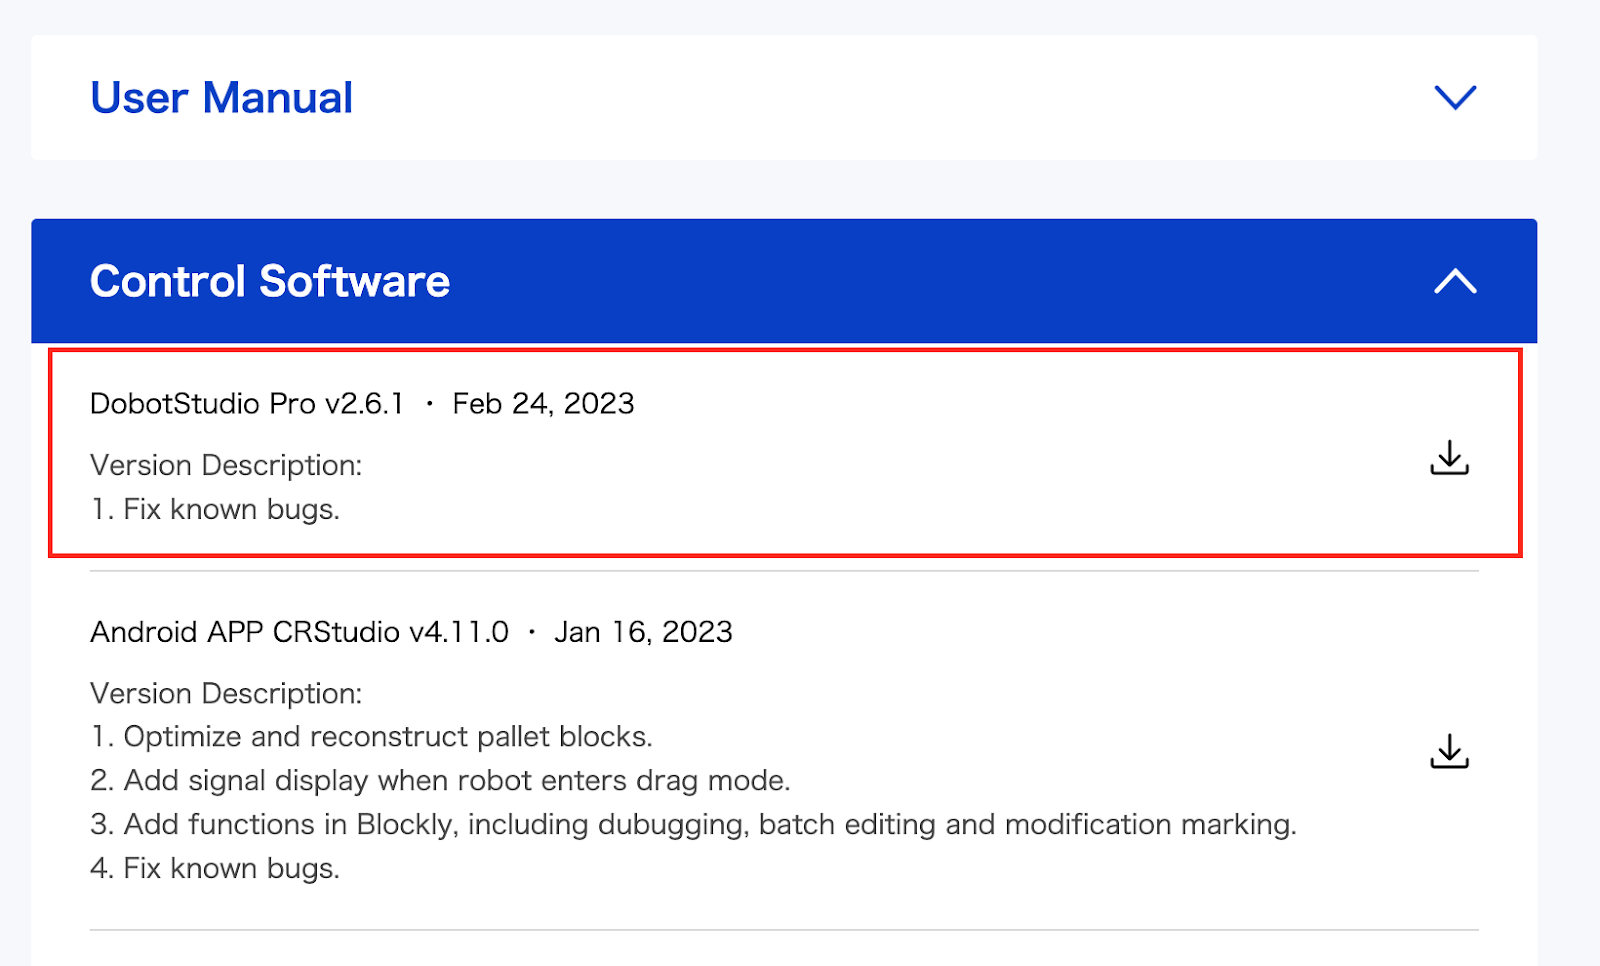
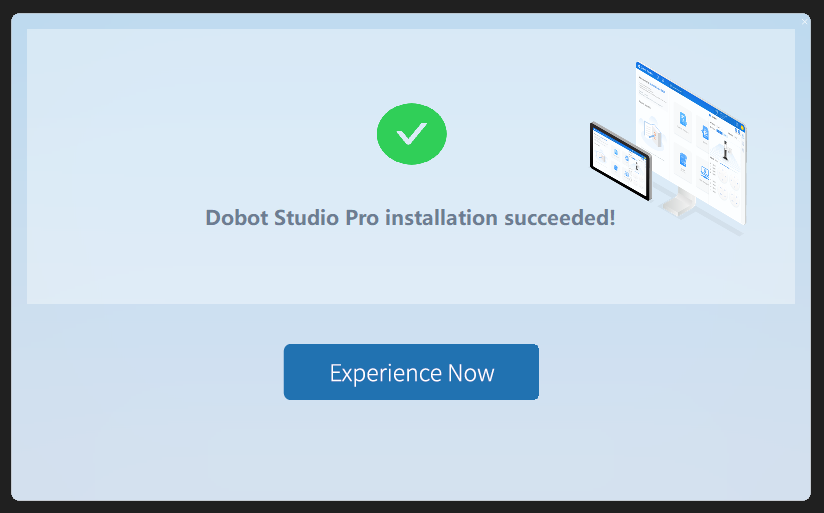
DobotStudio Pro
You can operate Dobot from the software even without a teaching pendant. First, access the link below and download the software.
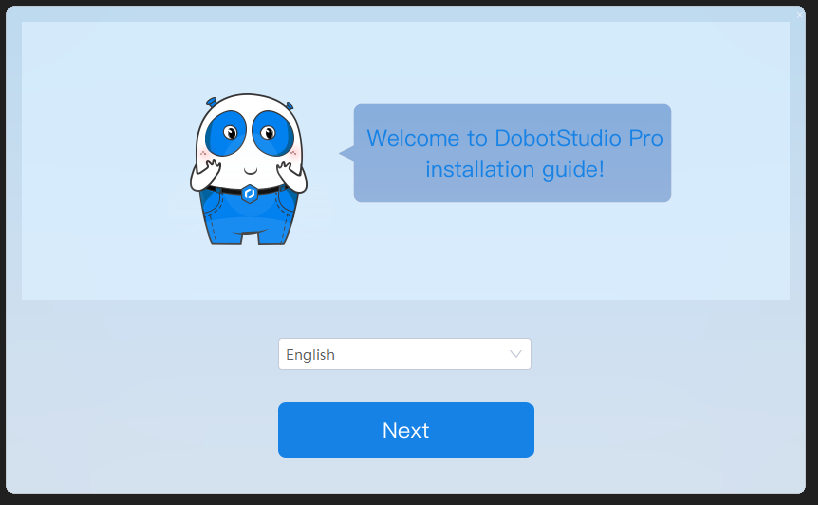
Launch the Setup File and press Next.
Click the One Click Install button to start the installation.

Just a second..
Done!
Connect to the Dobot
Your PC should detect the Dobot_WIFICRX-xxxx-xxxx Access Point. The X in CRX indicates your robot type, and I am using CR5. XXXX-XXXX is the production number, which you can find on the robot’s body.
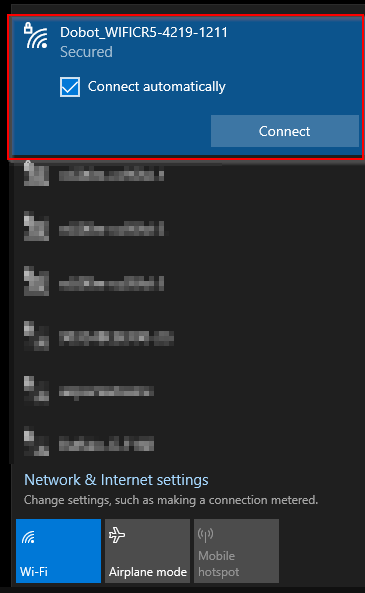
Next, launch DobotStudio Pro and select the robot you want to connect to from the drop-down list, then click “Connect.”

Done! Your PC is now connected to Dobot, and the status should change to “Online” and “Connected,” with no error messages.
Enable Your Dobot
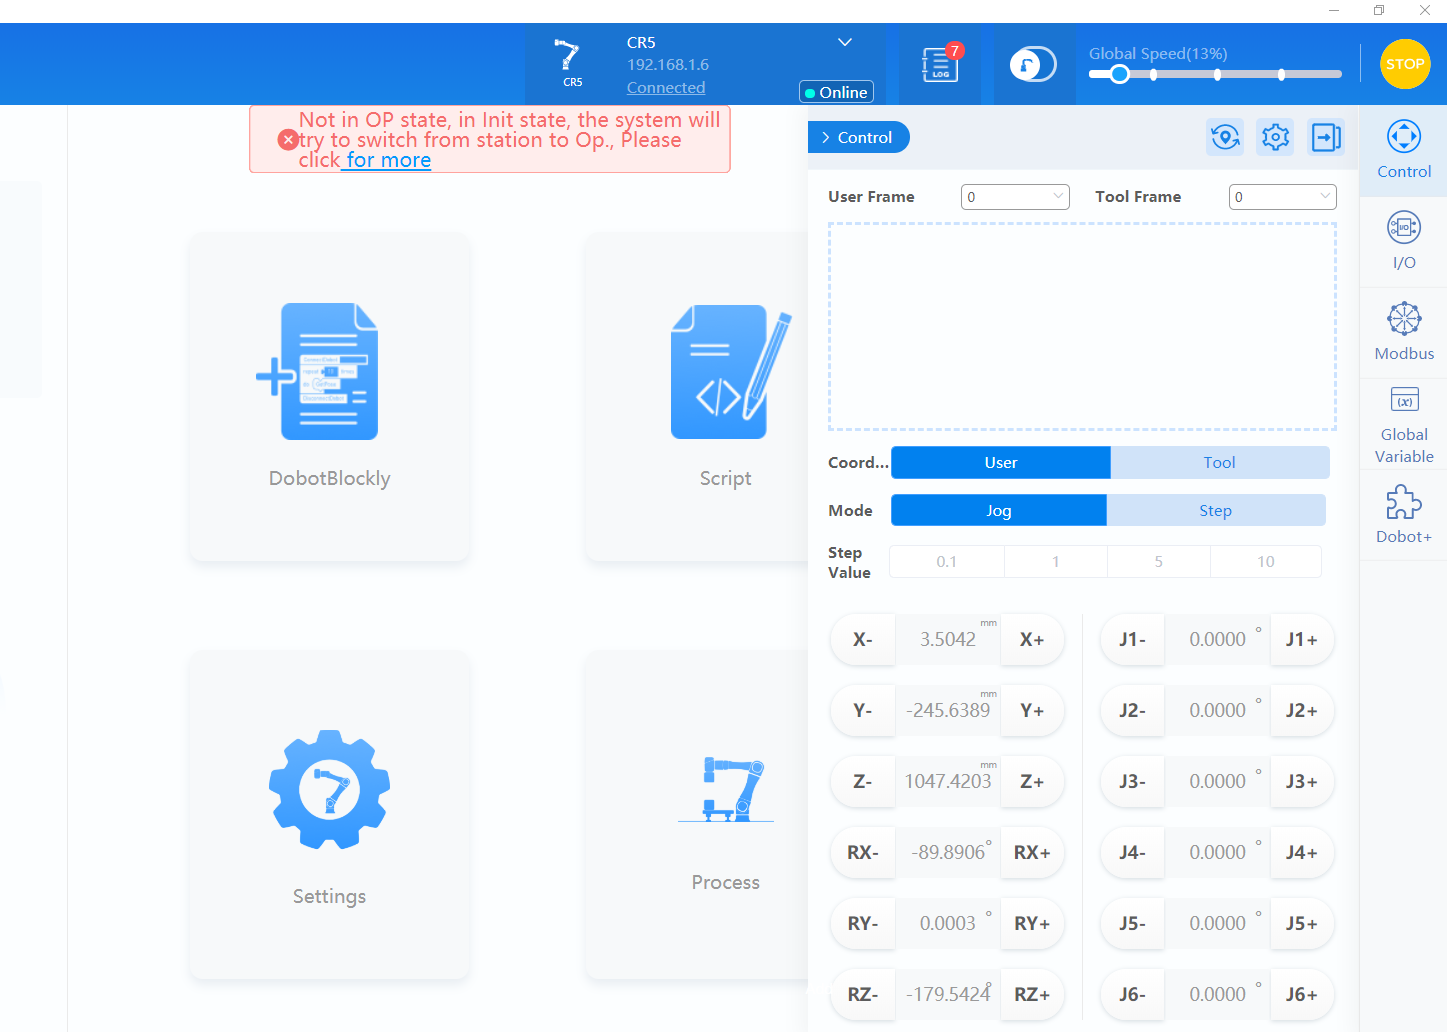
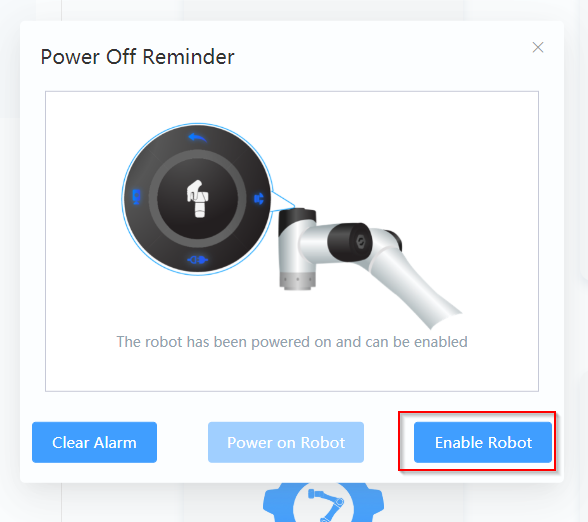
Before enabling the Dobot, make sure to check that the “STOP” button on the upper right is yellow, in addition to the emergency stop for hardware. This round icon is also a button that performs the same function as the emergency stop.
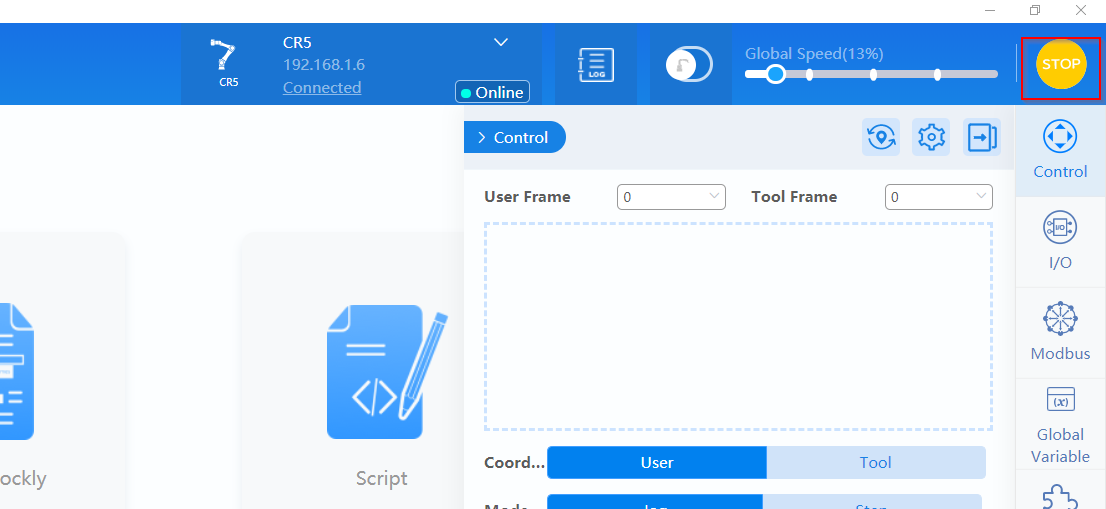
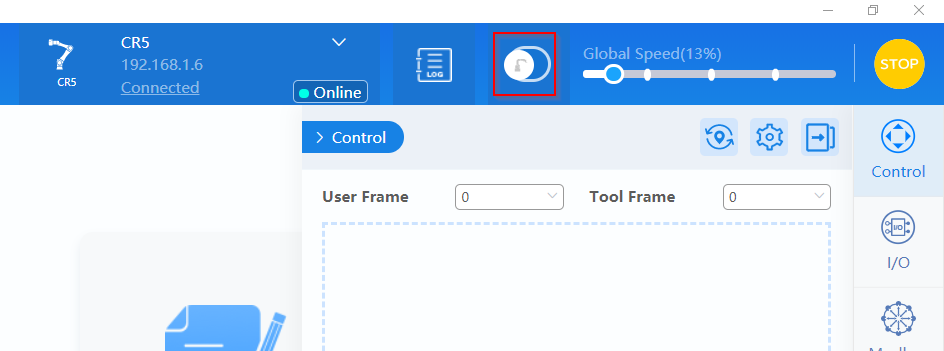
Use the slide button to enable the Dobot.
A pop-up window will appear.
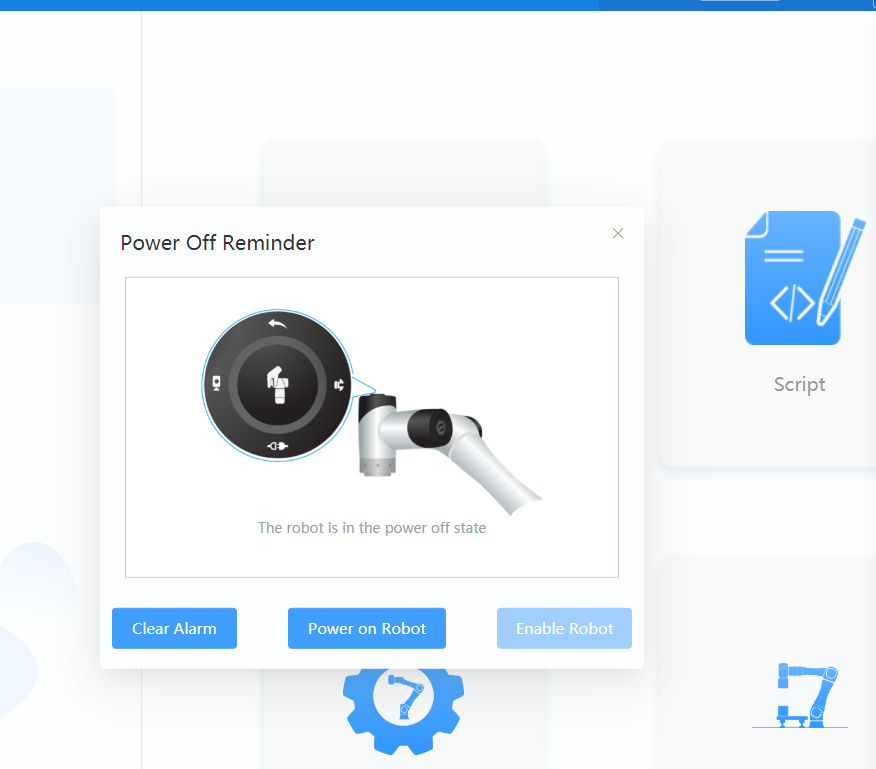
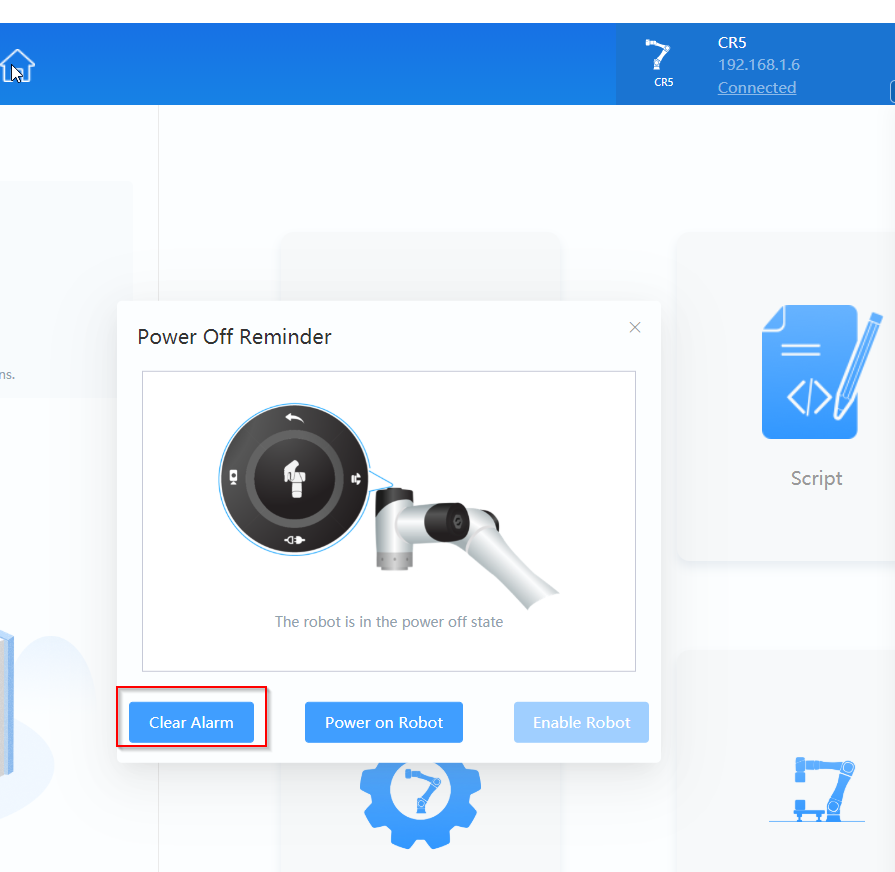
Clear Alarm
First, click the “Clear Alarm” button to reset the Dobot.
Power on Robot
Next, click the “Power On Robot” button to turn on the Dobot. When the power on operation is complete, the fan in the controller will start spinning.

Enable Robot
Finally, click “Enable Robot” to enable the Dobot.
Input the payload parameters and confirm the modification.
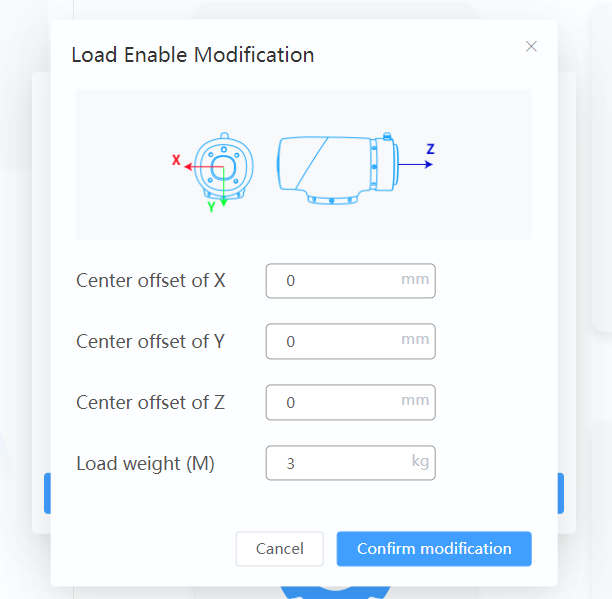
Done!! The slide button will move to the right and turn green. The Dobot is now enabled.

Check Your Dobot
To check the Dobot’s status, click on the LOG node icon.

In the Alarm tab, you can view a list of currently active alarms.
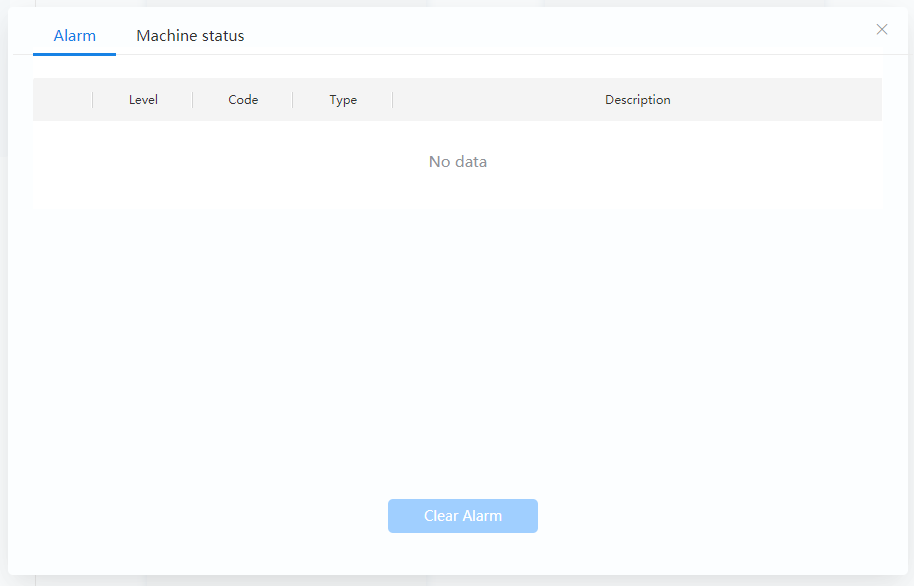
In the Machine Status tab, you can check various information, such as the temperature, current, and operating time of each axis.

コメント
Hola.
Yo tengo un DOBOT CR3 pero no se como realizar la conexión al software dobot studio pro por red LAN. podrías ayudarme con algun tutorial por favor para realizar la conexión del CR3 con el dodot studio pro?