This is the third episode of the EXOR JSmart710M Tutorial. This time I will show you how to enable the VNC Viewer function of JSmart710M.
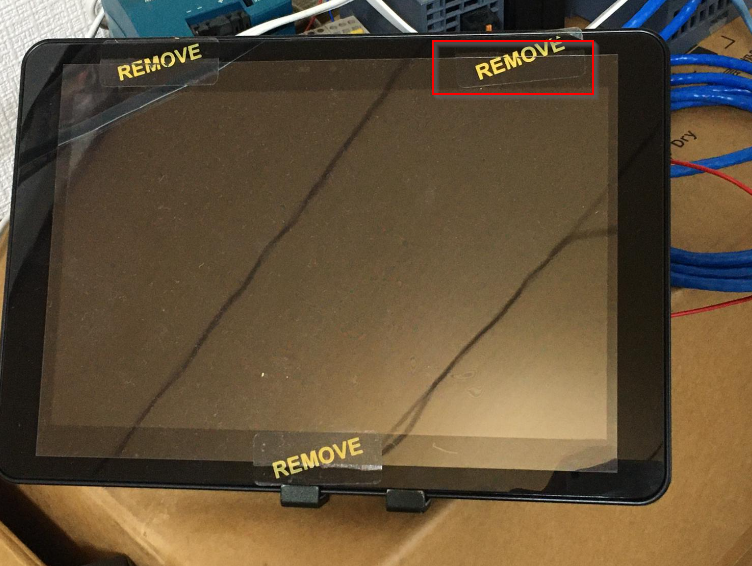
After turning on the power, touch the red frame at the moment.
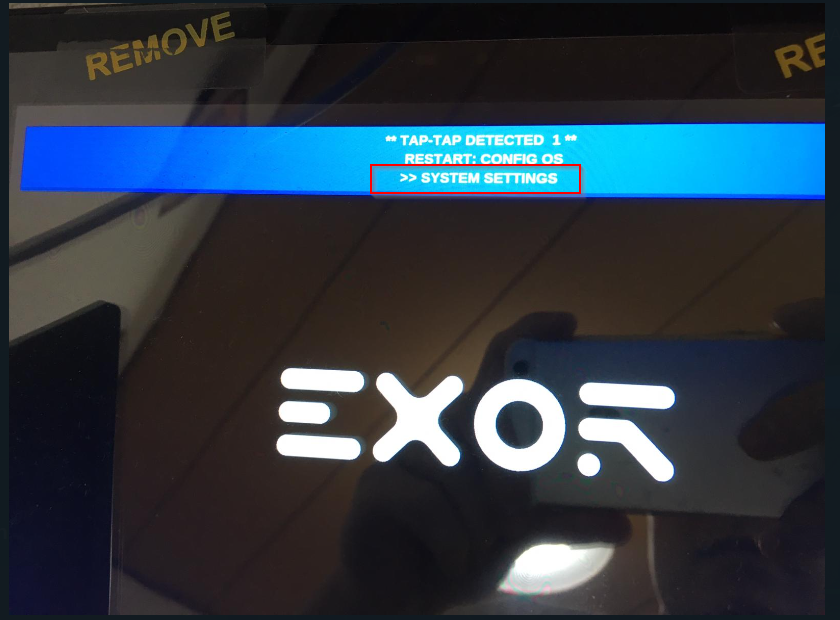
Select SYSTEM SETTINGS in the EXOR panel and wait a moment.
Open the System Setting.
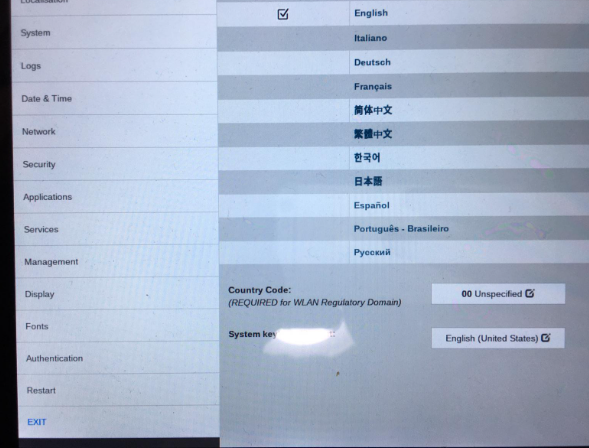
The System setup screen appears.
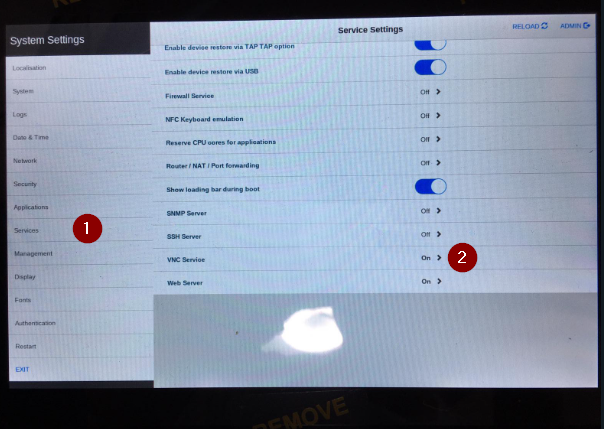
Open Services>VNC Services.
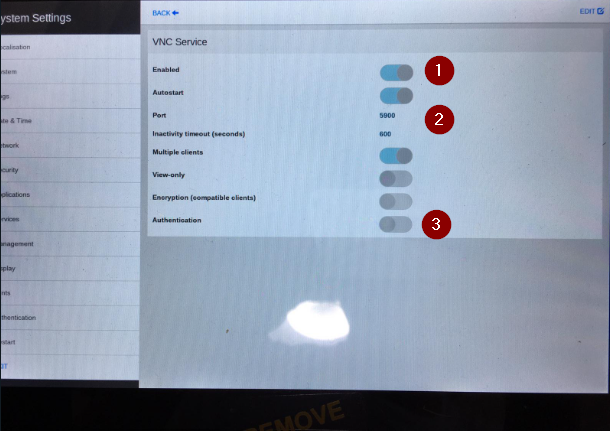
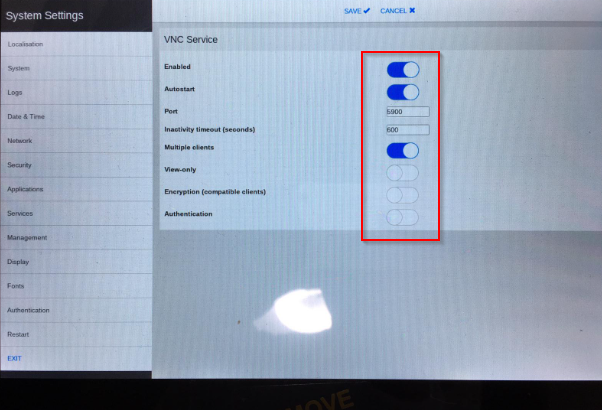
Enable VNC Service and set the Port number. If you need the authentication function, Please enable the Authentication.
Finally, Save saves the settings.
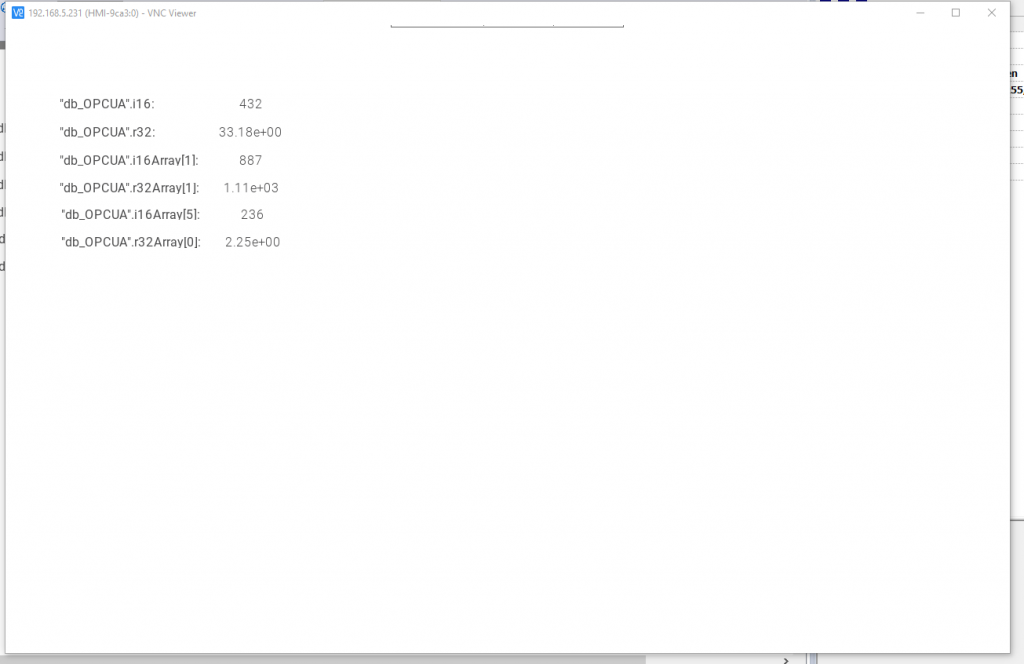
Finally, start VNC Viewer and try to connect to JSMART710M.
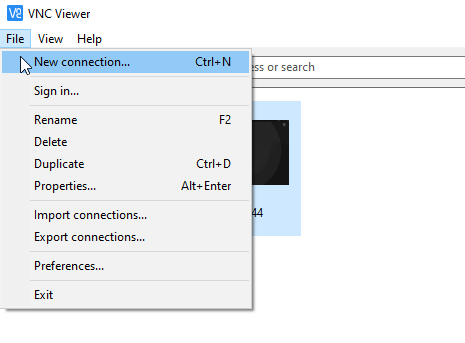
Enter the IP address of the JSMART710M on the VNC Server and OK.

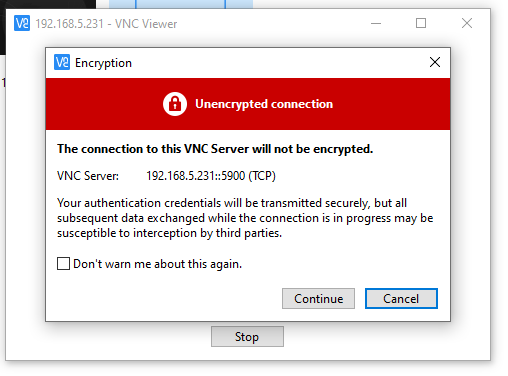
Continue.
Done!