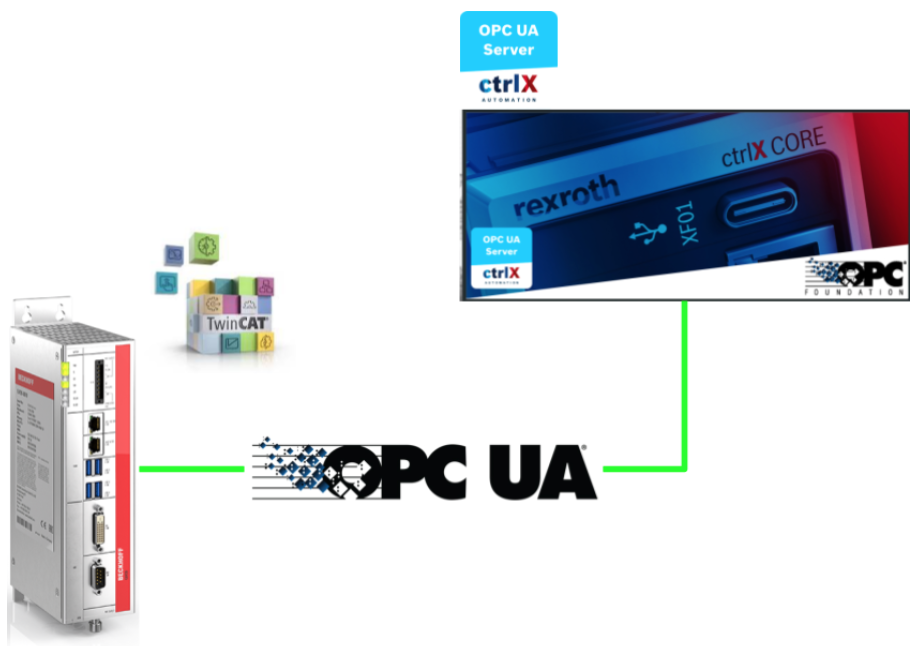
Ctrlx’s OPC UA Apps provide standardized and secure communication according to the OPC Unified Architecture (OPC UA) standard, and as an OPC UA server, ctrlX CORE provides all device data to all connected OPC UA clients. Common clients include HMIs, ME systems, or data acquisition systems.
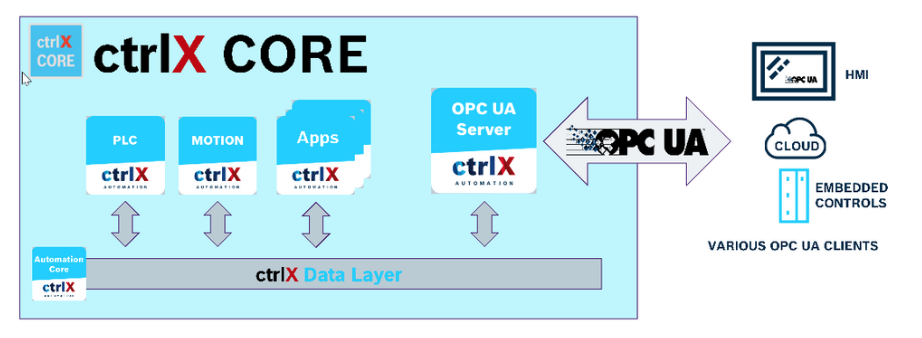
Ctrlx’s OPC UA Apps support the following features
- OPC UA data access
- OPC UA discovery services including browsing of data
- Encrypted communication
- Handling of certificates
- User identification and authorization
- Access to all data layer information including plc, motion, system and user app data
This article will explain how to use Ctrlx’s OPC UA Apps and how to implement them smoothly.
Configuration
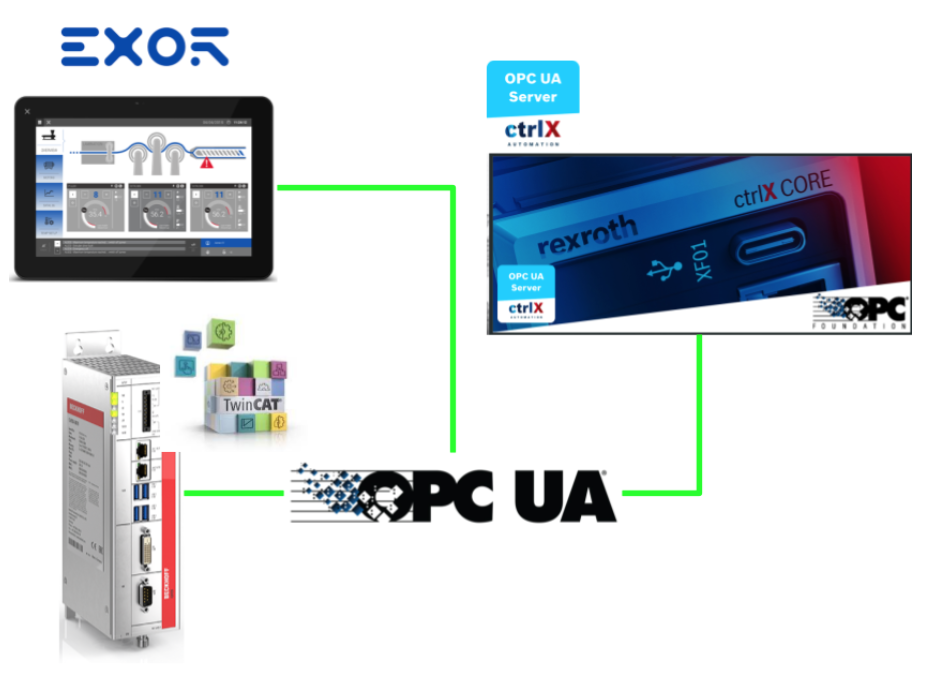
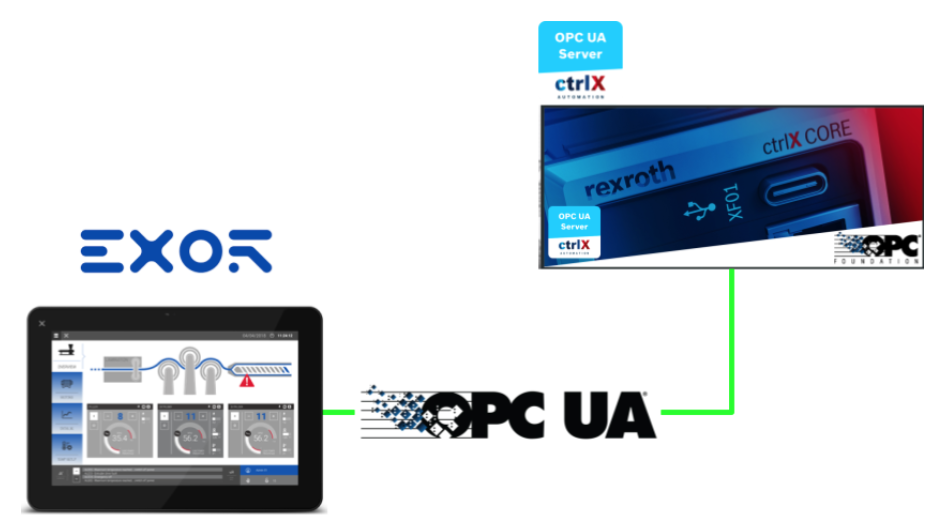
Here is the connection configuration for this time. ctrlX’s OPC UA Server Apps will be tested with EXOR’s JSmart710M and TwinCAT TF6100.
OPC UA Server Apps
Security
For security considerations, use Aes256-Sha256-RsaPss if possible.
- SecurityPolicy [B] – Basic256Sha256
- SecurityPolicy [A] – Aes128-Sha256-RsaOaep
- SecurityPolicy – Aes256-Sha256-RsaPss
Endpoints
The following combinations of Endpoint, Login, and Encryption Methods can be supported on Default.
- Sign –Basic256Sha256
- Sign – Aes128-Sha256-RsaOaep
- Sign – Aes256-Sha256-RsaPss
- SignAndEncrypt –Basic256Sha256
- SignAndEncrypt – Aes128-Sha256-RsaOaep
- SignAndEncrypt – Aes256-Sha256-RsaPss
Certificate management
Secure connections between OPC UA servers and clients are implemented based on trusted certificates. Currently, only the management of Self-signed certificates is supported.
This means that certificates are exchanged manually between the OPC UA server and client when the client and server establish a connection. The server and client must perform a manual trust operation on the certificate.
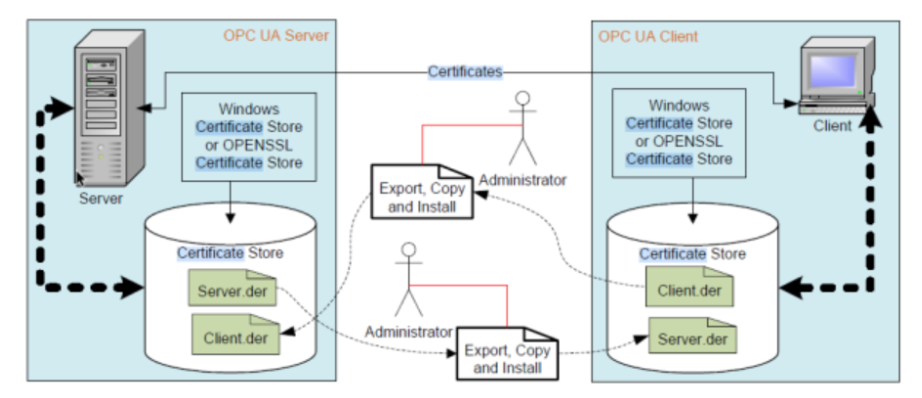
The following steps are required to use the Certificate Manager.
First, a security connection (SecureChannel) is set up for using OpenSecureChannel. Certificates are then transferred from the client to the server.
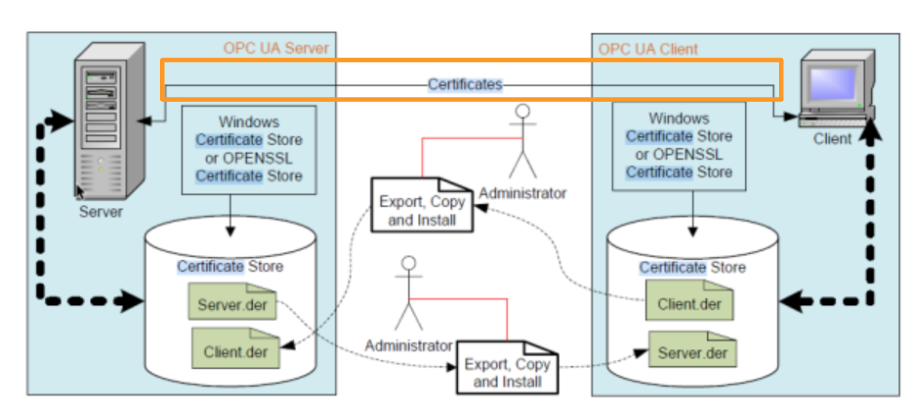
The server receives the error BadSecurityChecksFailed and places the client certificate on the “rejected” list.
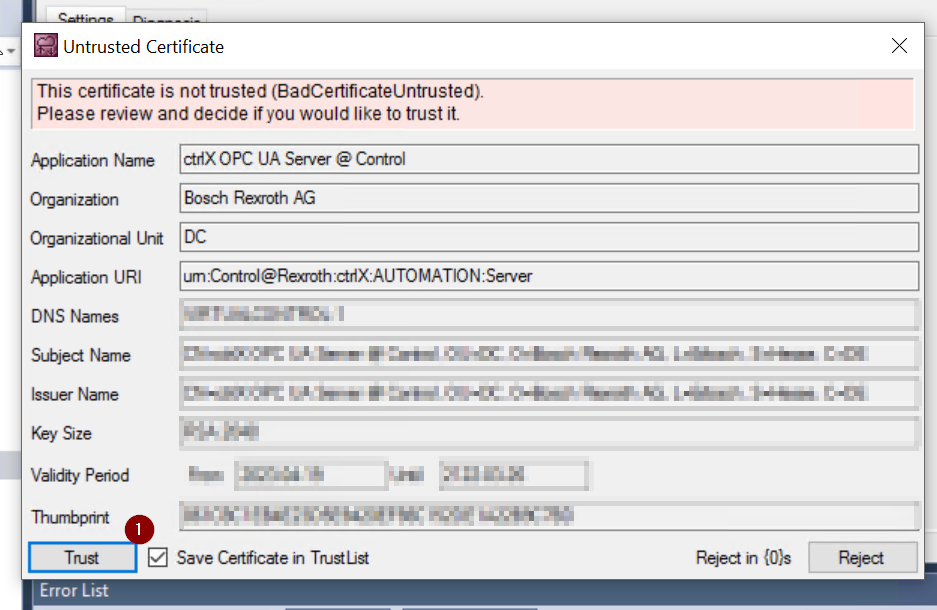
The client’s certificate is displayed when the Server side rejects it. This certificate can be trusted manually. The client must also trust the Server certificate.
Finally, the Server and Client have established communication. Then the Client can set up a secure OPC UA connection with the Server.
Client’s certificate can be uploaded directly to the Certificate Manager but the certificate must be renamed. The file name must correspond to the SHA1 value.
- It can be named using the certificate’s Fingerprint.
- When renaming, all SHA1 letters must be capitalized
- The file schema is “[SHA1 value capitalization].der”.
Reference Link
http://soup01.com/en/category/bosch_en/ctrlx-en/
http://soup01.com/en/category/protocol-en/opcua-en/
Implementation with TwinCAT TF6100
The first step is to test the connection with the TwinCAT TF6100.
Network Configuration
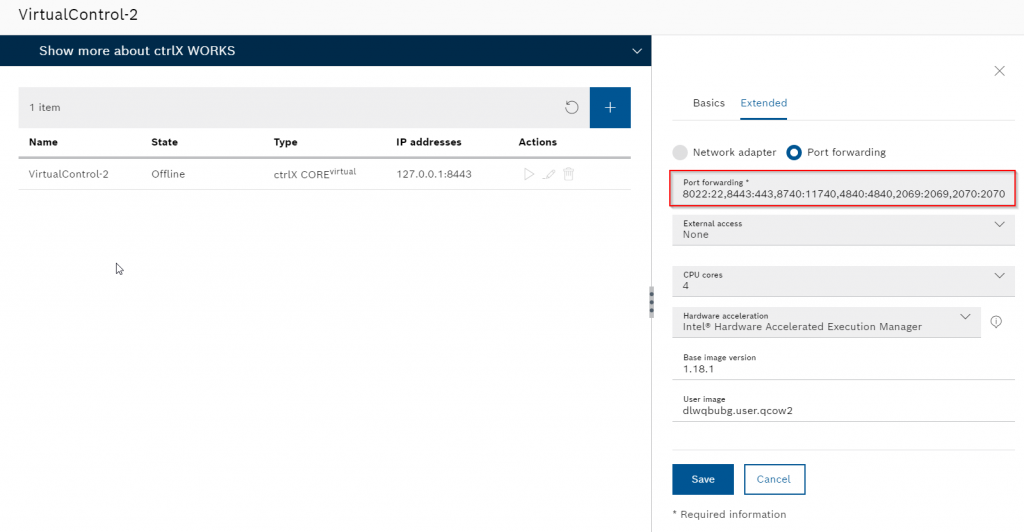
Because Virtual Core is used in my tutorial, you need to configure the Port Forwarding setting. Go to Extended tab>Port forwarding.
Here is the setting in my tutorial.
8022:22,8443:443,8740:11740,48410:48410,2069:2069,2070:2070
If Error..
If your ctrlX VirtualCore runtime can not be started, please check these following items:
- The forwarding port that you configured is already used in other applications or not.
- close the applications that you do not need
- clear your IP adpater settings
Ctrlx Side
Download Apps
please follow this link to download the ctrlX OPC UA Server App.
Installation
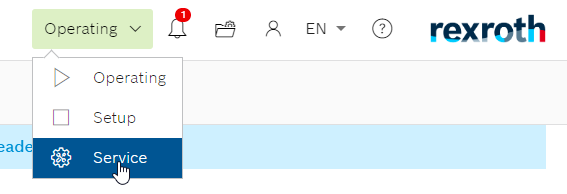
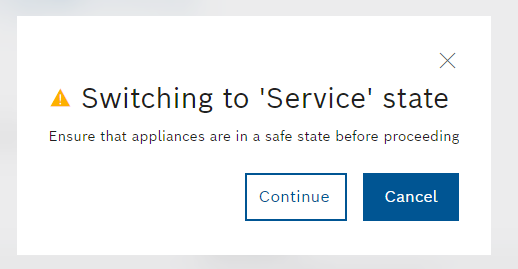
Access your ctrlX runtime Web Server and switch to Service Mode.
Continue.
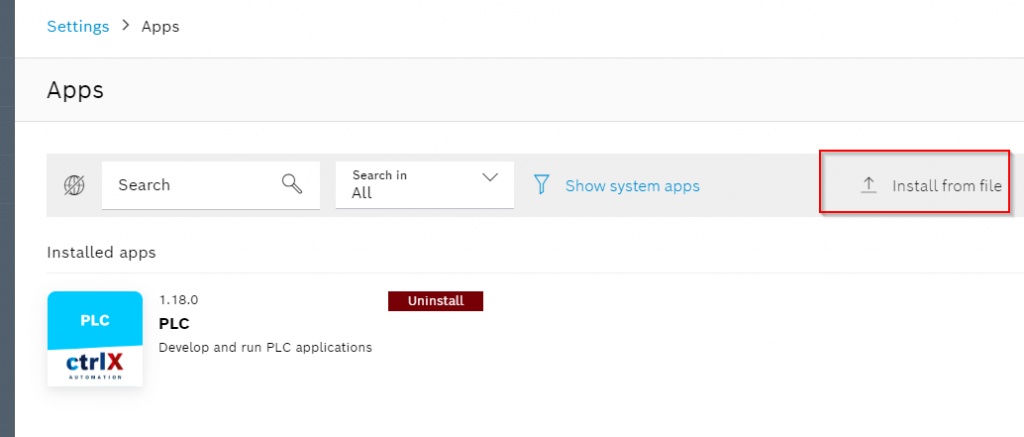
Go to Settings>Apps.
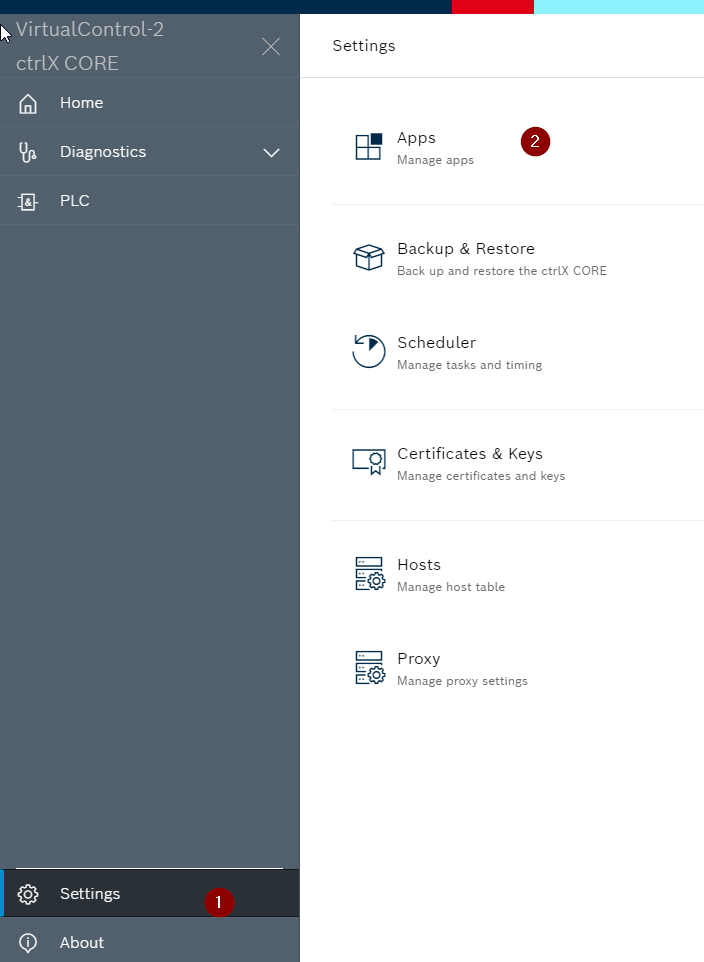
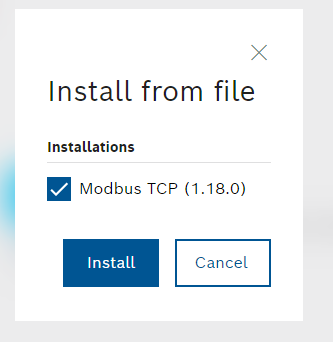
Press the “Install from file” to install the app.
Install.
Oview
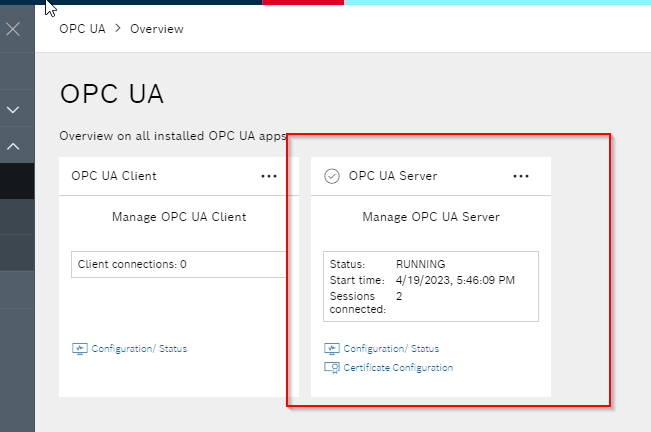
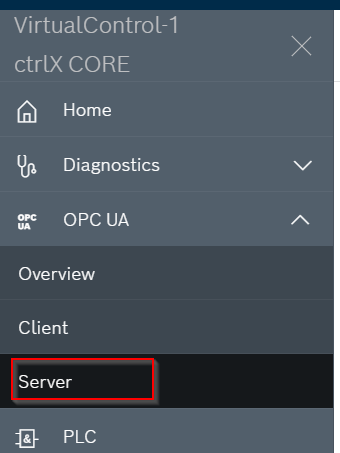
After you finish the installation, An “OPC UA” Item is added into your slide bar on the left, and you can see the Overview/Server items inside.
Let’s click the Overview item to check the status for your OPC UA Server in ctrlX runtime.
- Status:The current status of your OPC UA Server
- Start Time:The started uptime of Server
- Session:The total Session among that connected to the Server
User
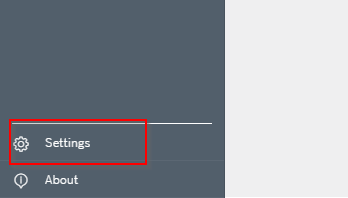
non-security policy can not be used in the ctrlX OPC UA server – you need the certification trusted and user/password login.Let’s go to check the user rights first by click the Settings button.
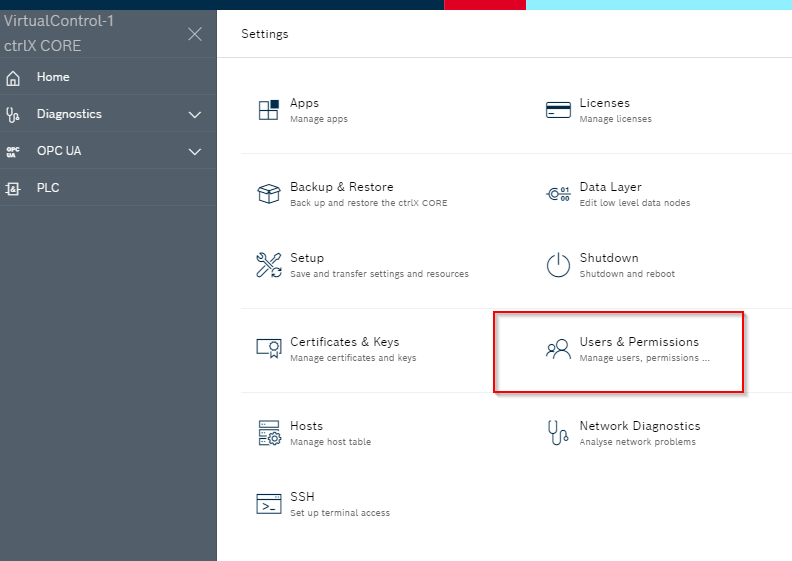
Open the User & Permissions.
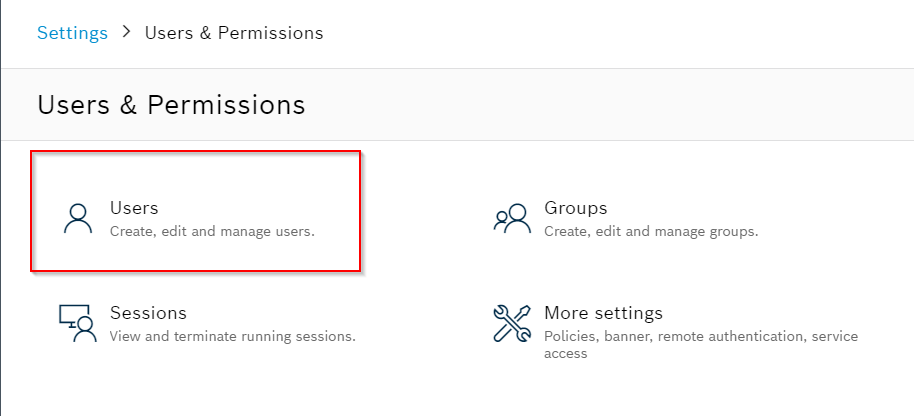
Click the Users.
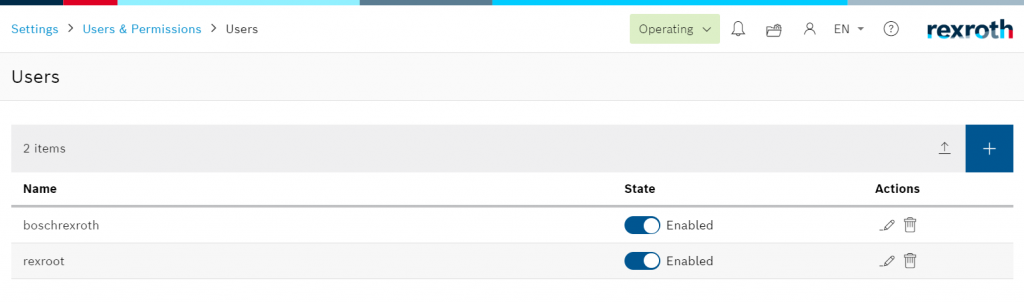
The current user configuration is shown,
Actions
Please click the pencil icon to check/change the User rights.
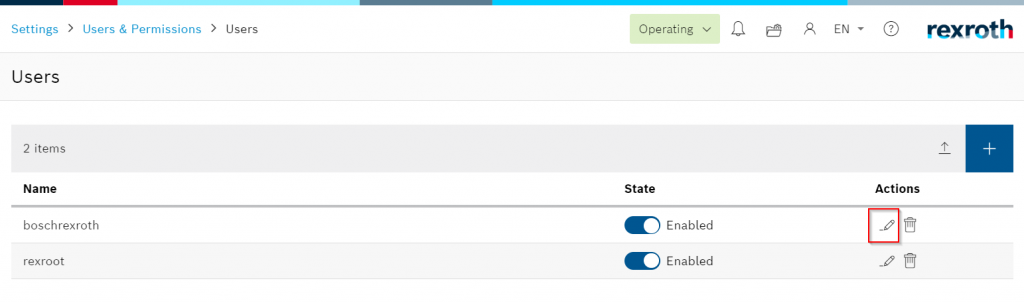
boschrexroth is the User with the highest privileges in Default, and now State=Enabled means that the User is available.
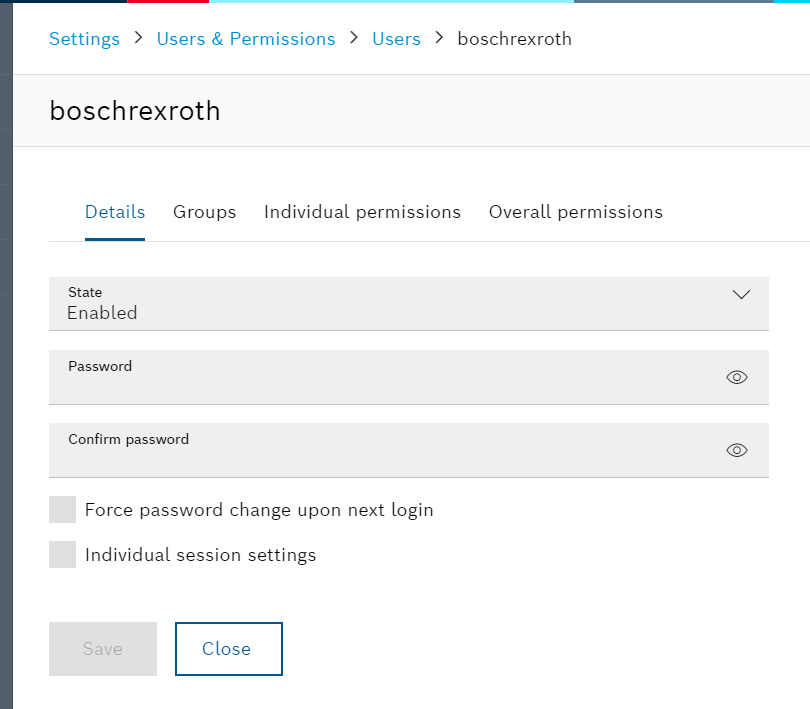
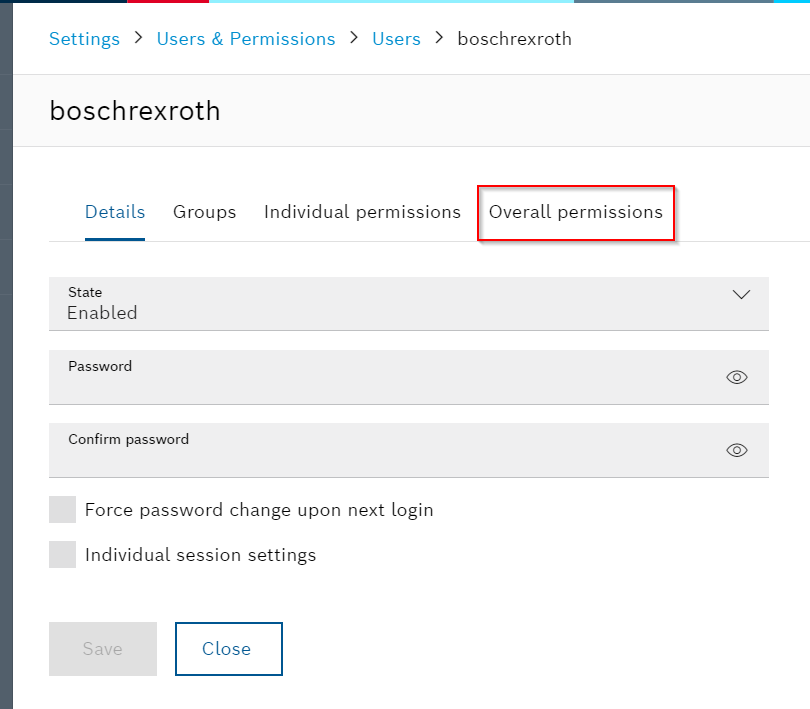
Oveall permissions
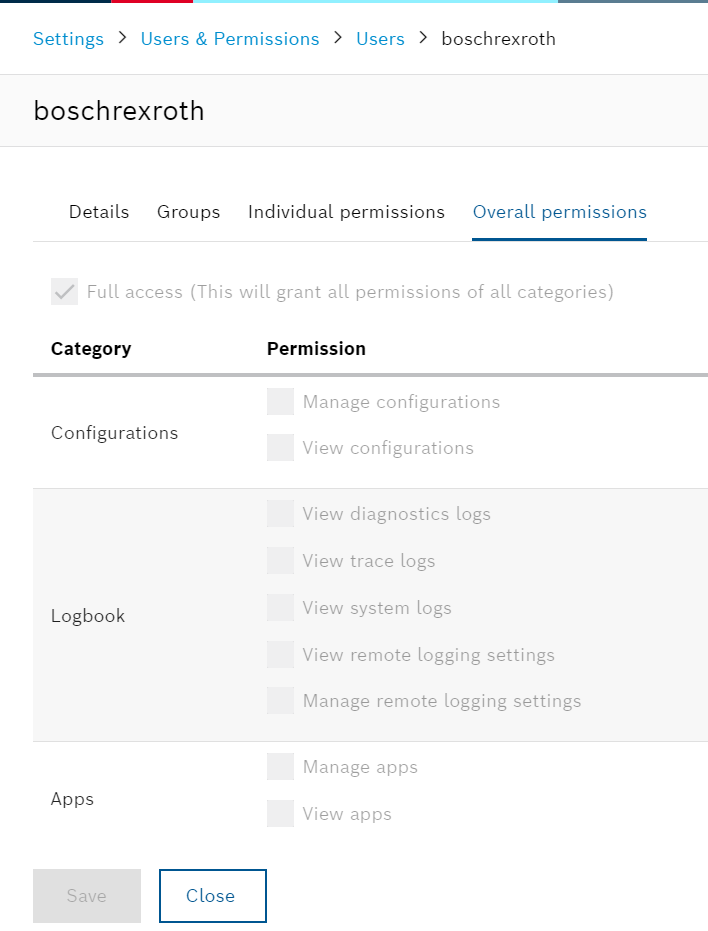
To list the permissions of the corresponding User, open the tab for Overall permissions.
The image is that boschrexroth is allowed all operations because it has a Checkbox with Full access.
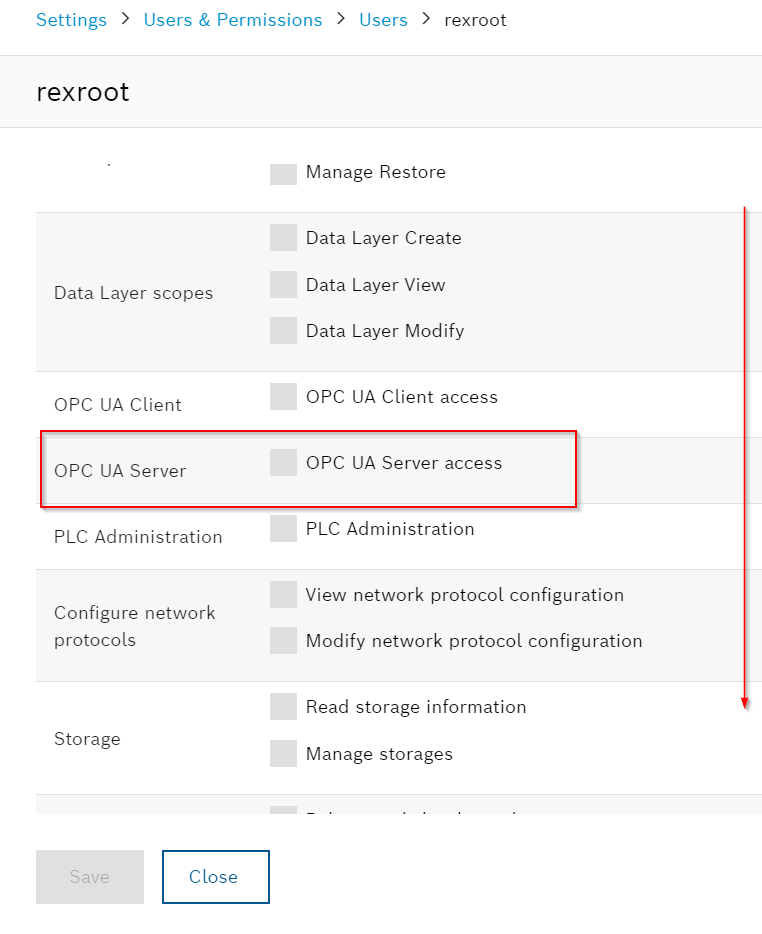
Indivdual permisions
It is also possible to set individual permissions for User with Indivdual permisions.
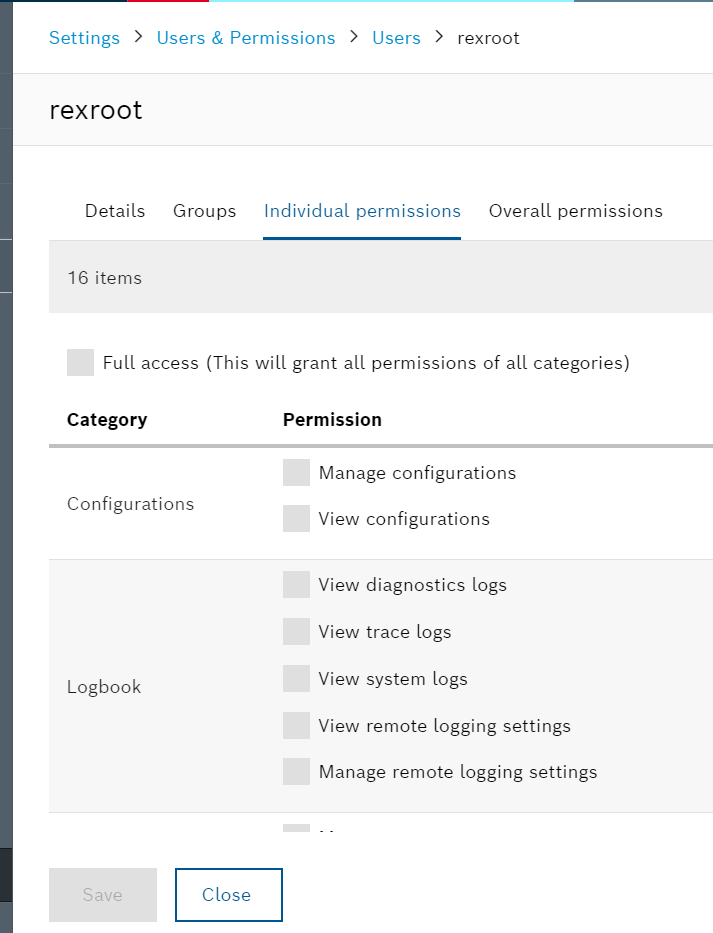
For example, the User permission of rexroot does not allow OPC UA Server access, so put Check for OPC UA Server access.
Certificaion
The certificate is required for security communication between the Server Client and the Server Side. To manipulate the certificate, click on Settings again.

Open the Certificates & Keys.
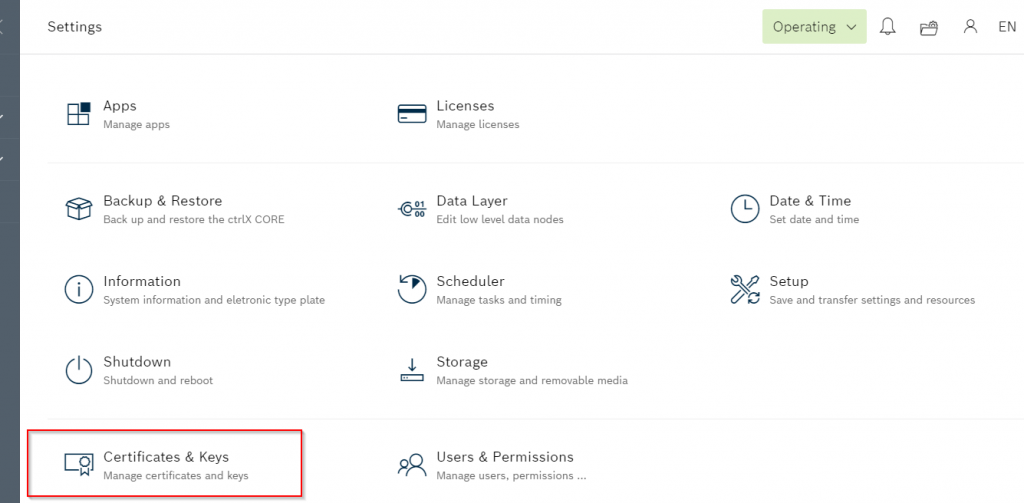
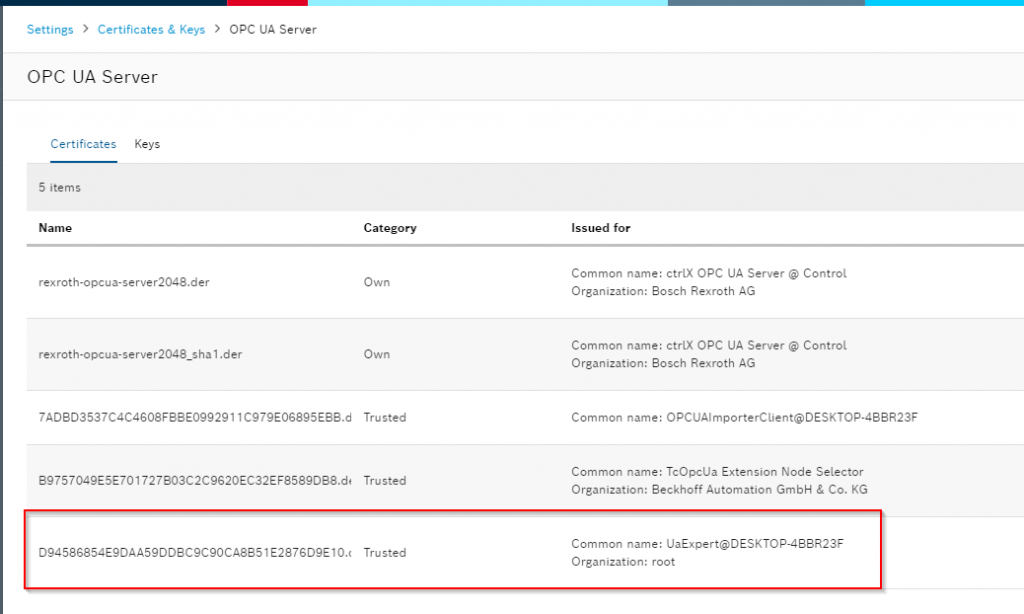
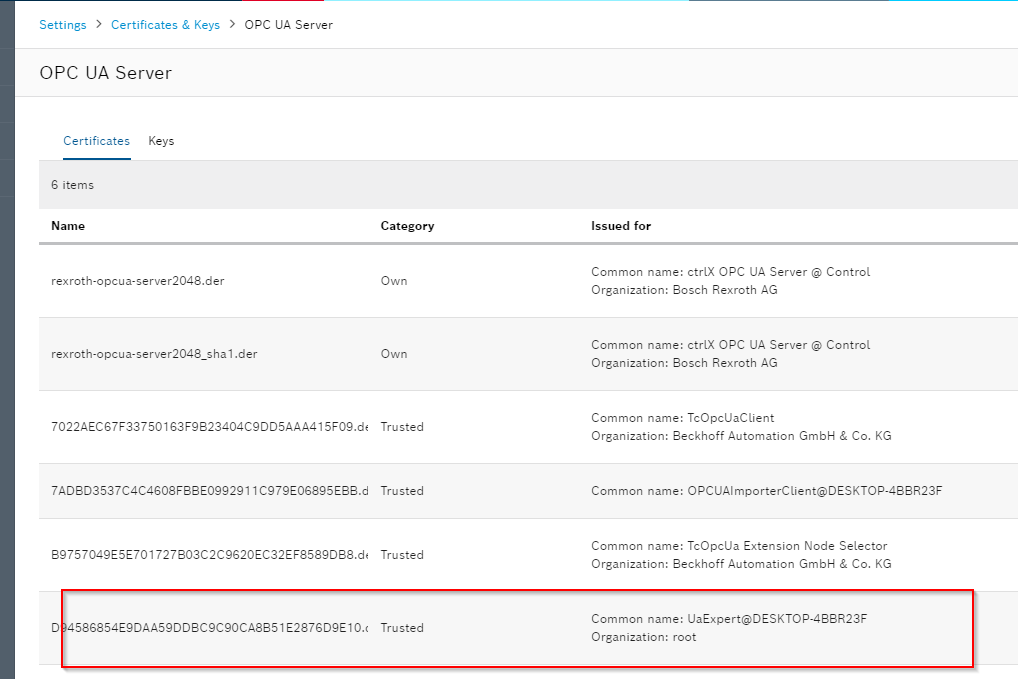
When OPC UA Server Apps is installed, the OPC UA Server item will appear in the Certificates section.
Inside, you can list the Server and trusted/rejected certificates for Ctrlx itself.

Ctrlx Project
Here is the project that I used in this tutorial:
Server Configuration
By configure OPC UA Server settings for Ctrlx, click Overview>Server.
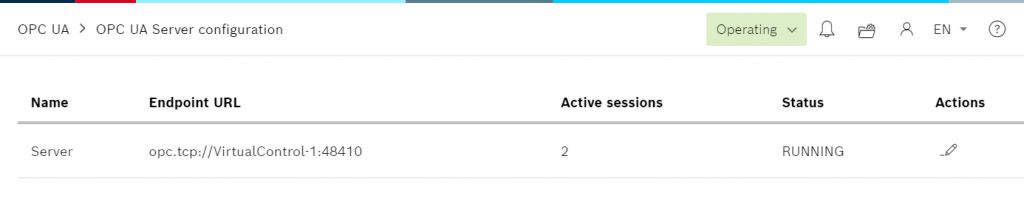
Status
The Status screen will appear, allowing you to check the current status of the Ctrlx OPC UA Server.
Endpoint URL: This is the URL of the Ctrlx OPC UA Server.
Active Sessions:Number of active sessions
Status:Current OPC UA Server status
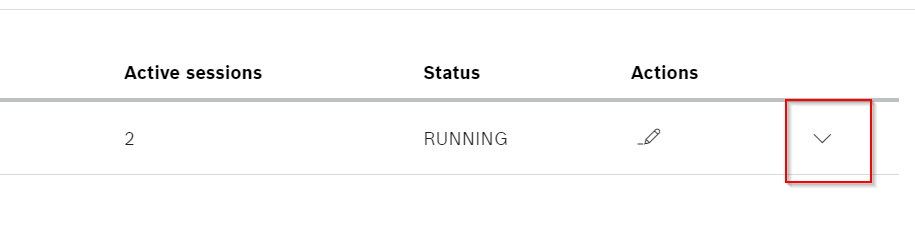
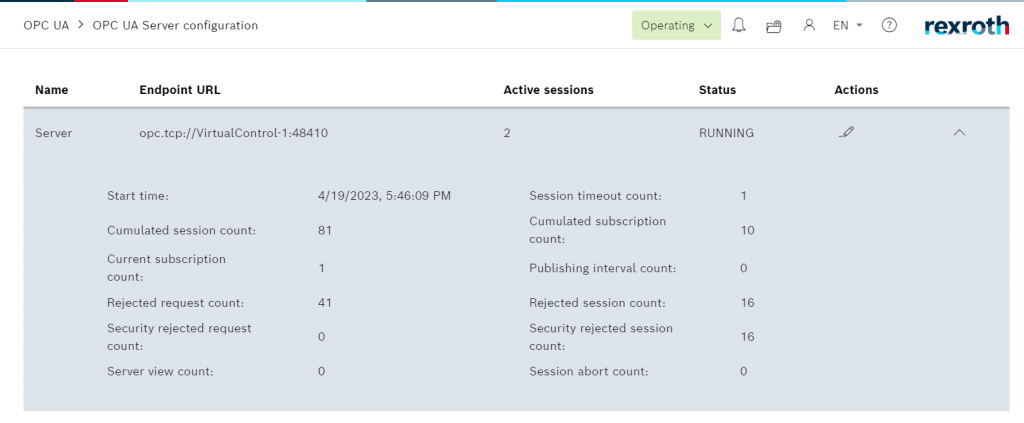
Details
Click on the arrows below for more detailed server information.
Actions
You can change the OPC UA Server configuration by tapping the pencil ICON under Actions.
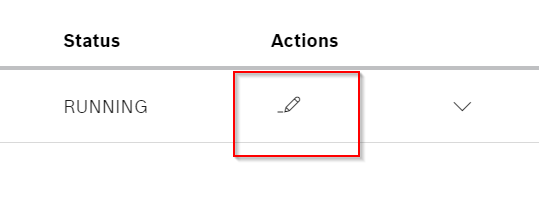
The Setup Server screen appears.
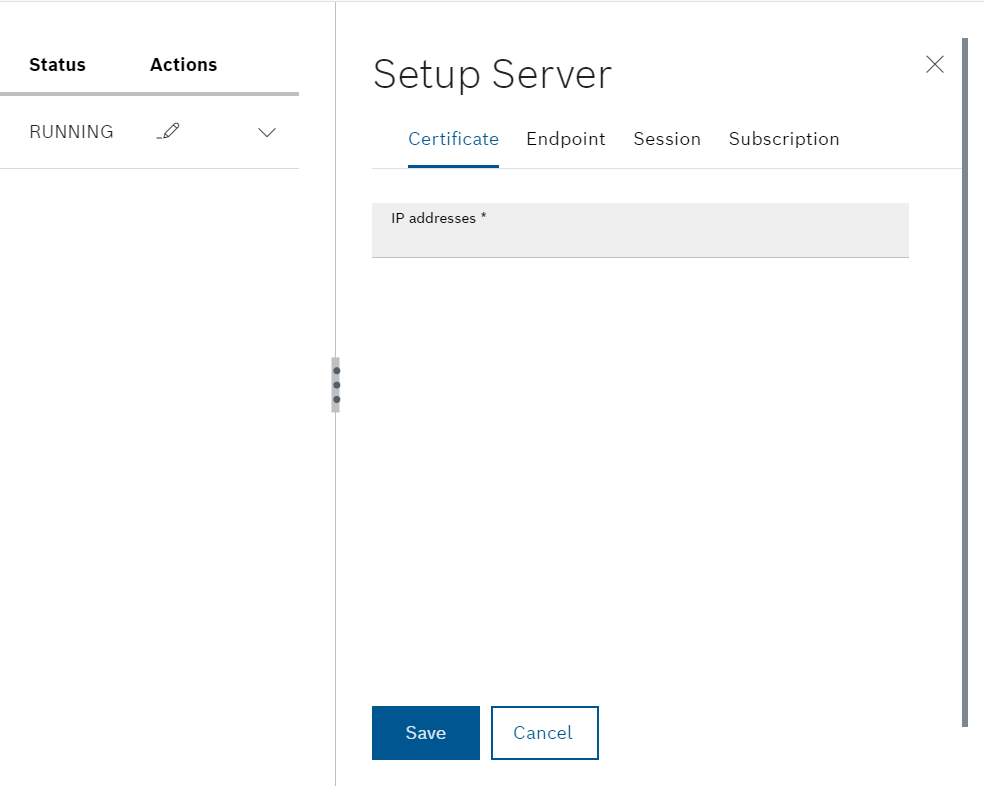
Endpoint
The Endpoint Tab is used to configure server connections and security settings.
Port
This is the Port number of CtrlX OPC UA Server.
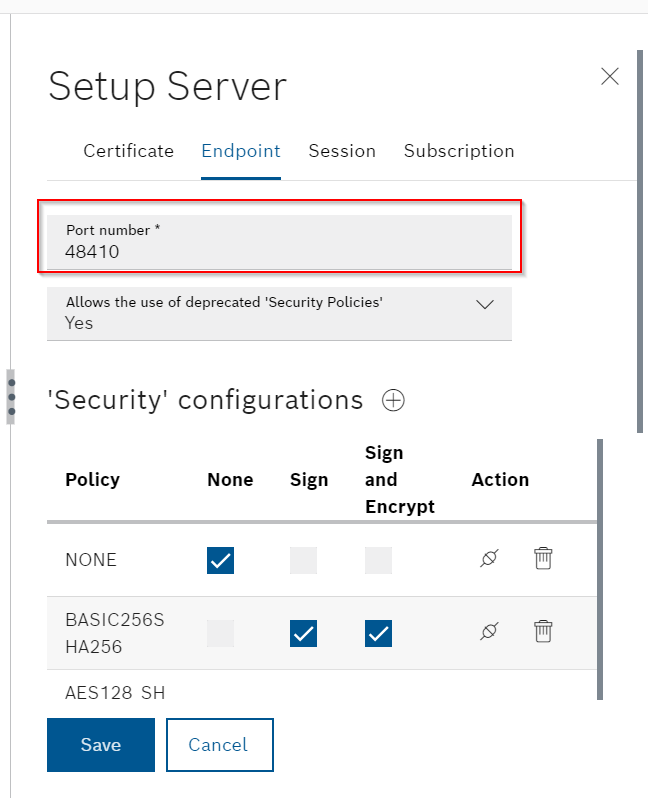
Security Policies Allow
No is the Default, but this time we will set it to Yes. In other words, set whether or not the use of deprecated security settings is allowed.
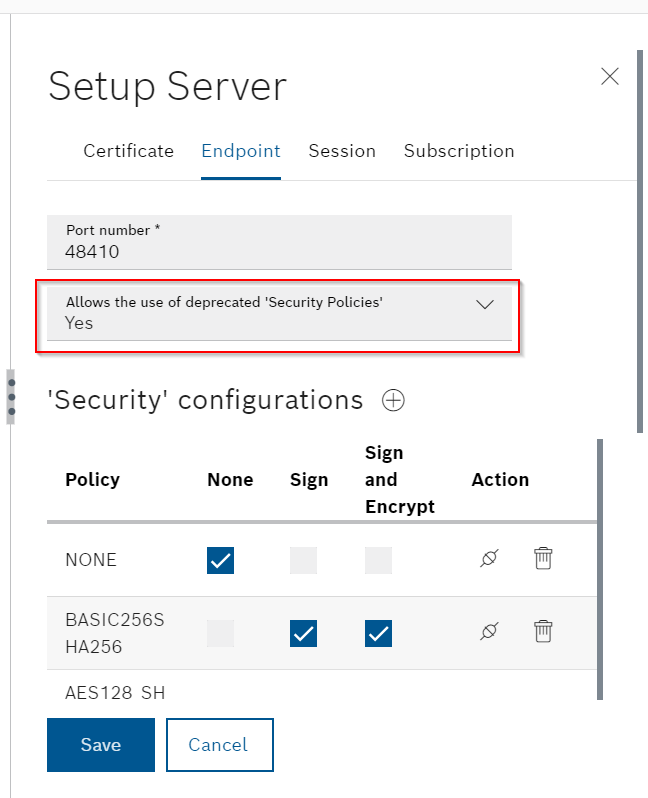
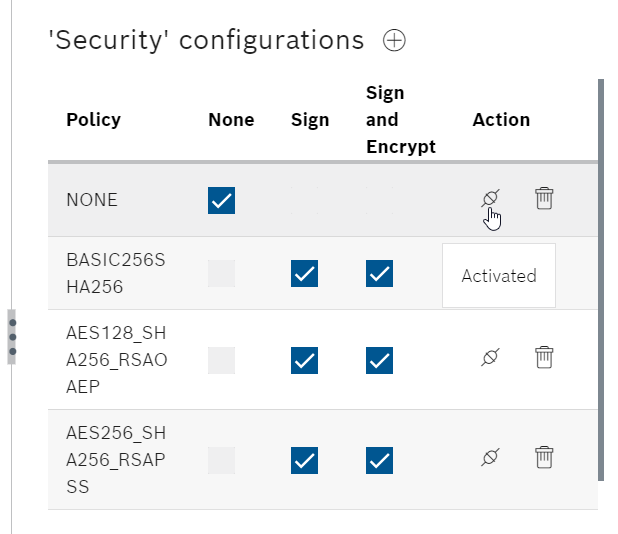
Security Configuration
This is the setting of the security methods that can be connected to each Policy.
When the message Activated appears in Action, it means enabled, and clicking again will change it to disabled.
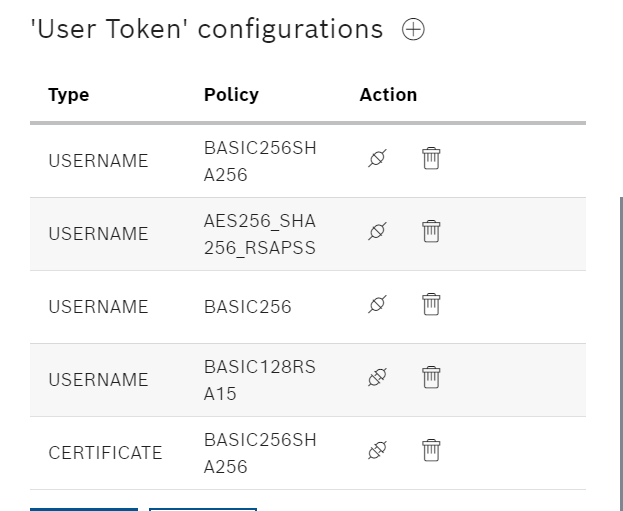
User Token configurations
This is for setting the User Token Policy. When the same Activated message appears, it means enabled, and clicking again will change it to disabled.
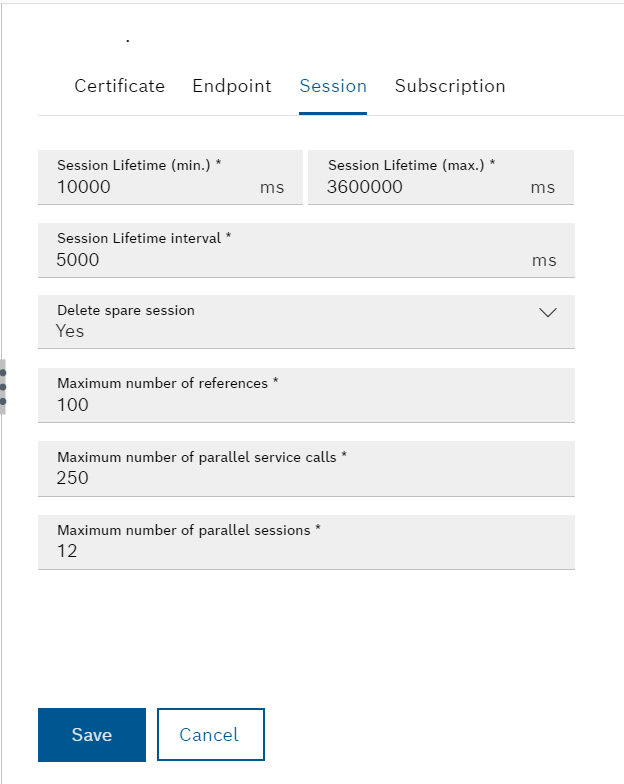
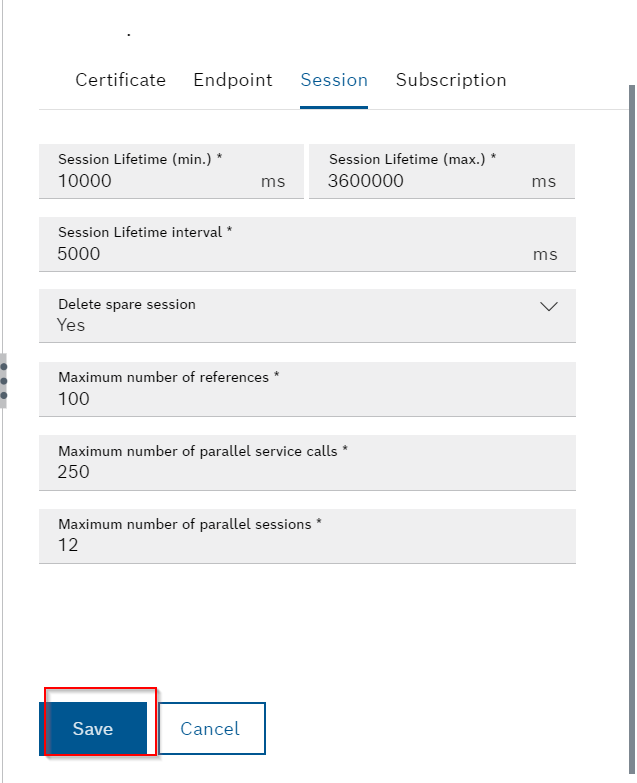
Session
The maximum duration of a session and related settings for the session are listed.
When all settings are complete, click the Save button to save the settings.
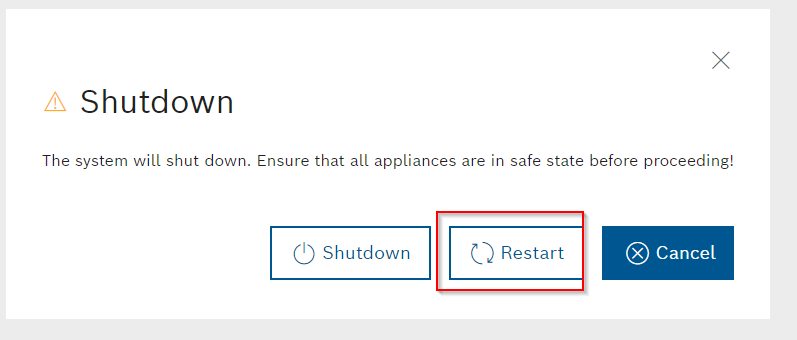
Restart your runtime
Runtime must be restarted for the settings to take effect, click on Settings.

Open the Shutdown.
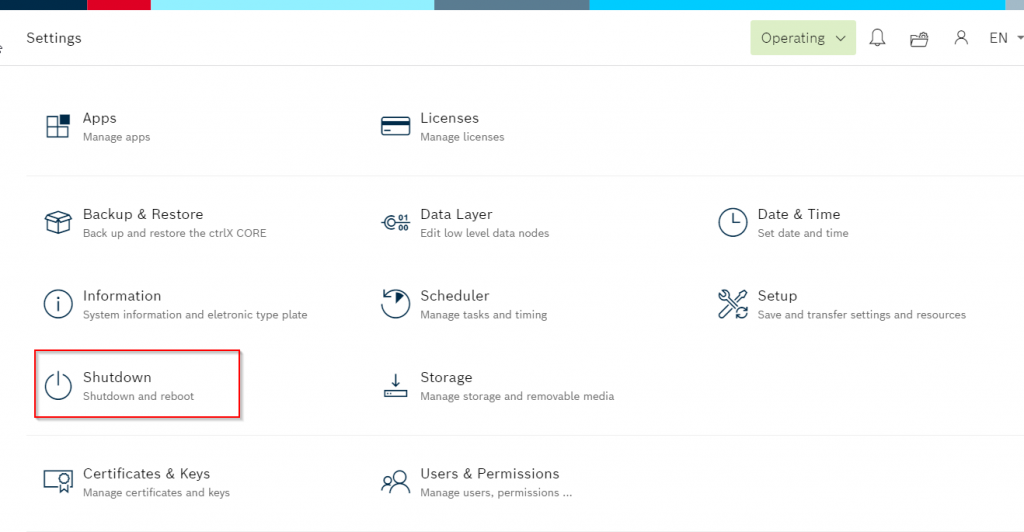
Restart your runtime.
TwinCAT Side
Next, the OPC UA Client is prepared on the TwinCAT side.
Add OPC UA Client
Add the OPC UA Client by Devices>Right click>Add New Item.
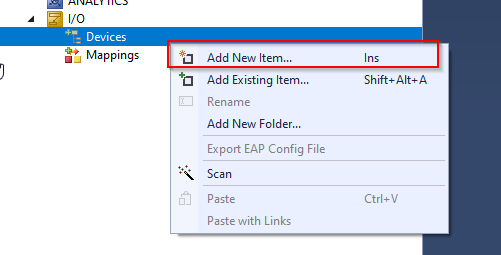
Select the device > right click > Add New Item.
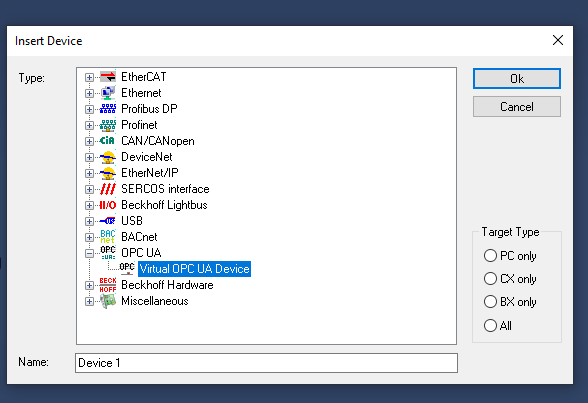
Select OPC UA>Virtual OPC UA Device>OK.
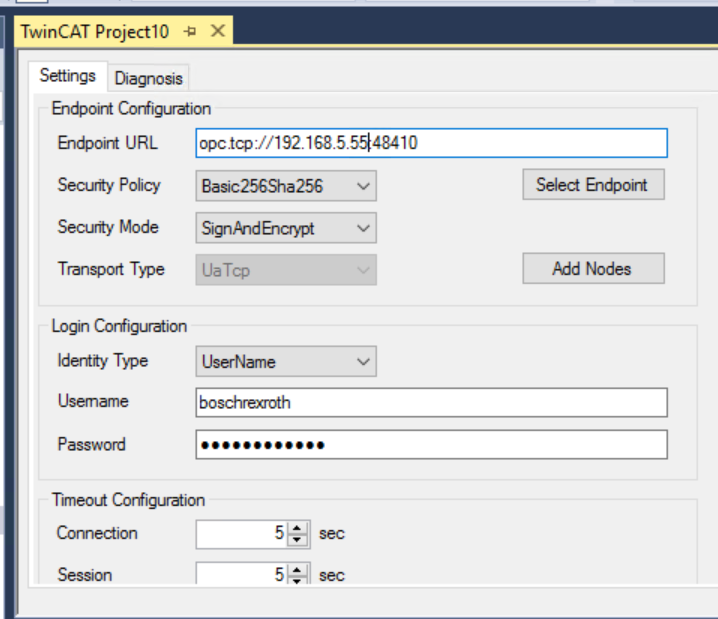
Configure OPC UA Client
Put the URL of your CtrlX OPC UA Server in the Endpoint URL.
It should be opc.tcp://your Ctrlx IP:your port.
Then click Select Endpoint.
If the connection is successful, the Endpoint that can be connected with Ctlrx OPC UA Server will be displayed.
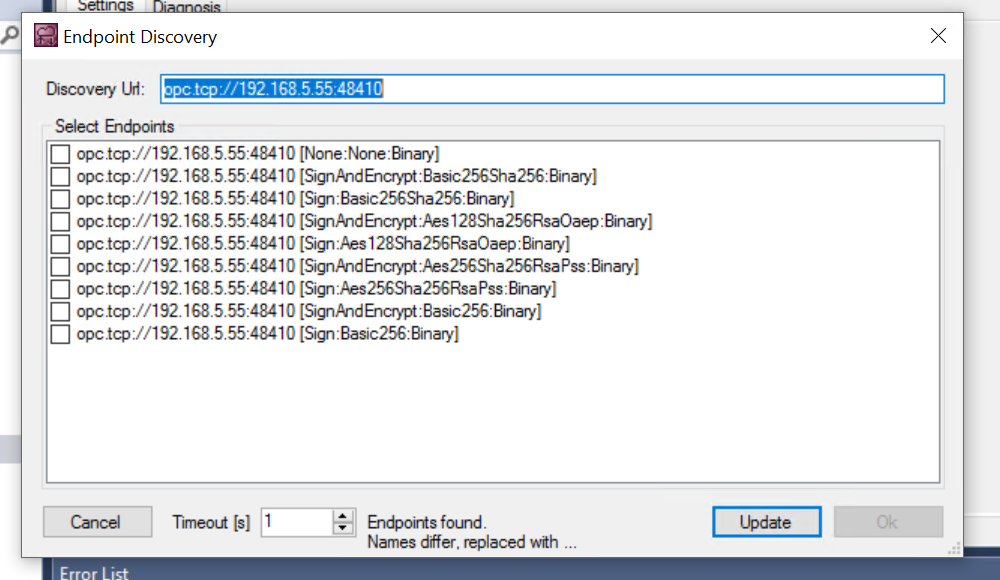
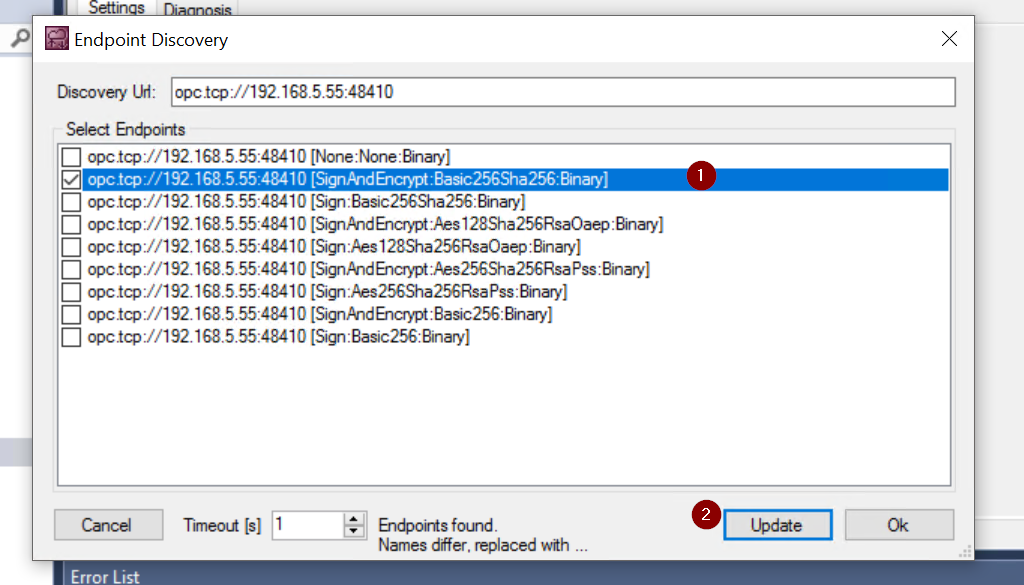
This time, select SignAndEncrypt:Basic256Sha256:Binary.

Select the Endpoint and update it.
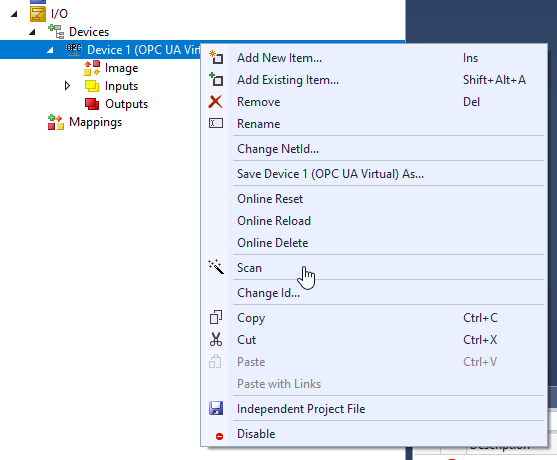
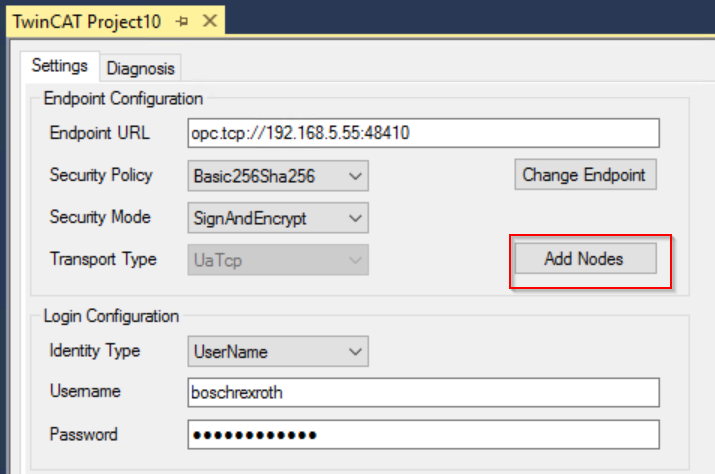
Add Node
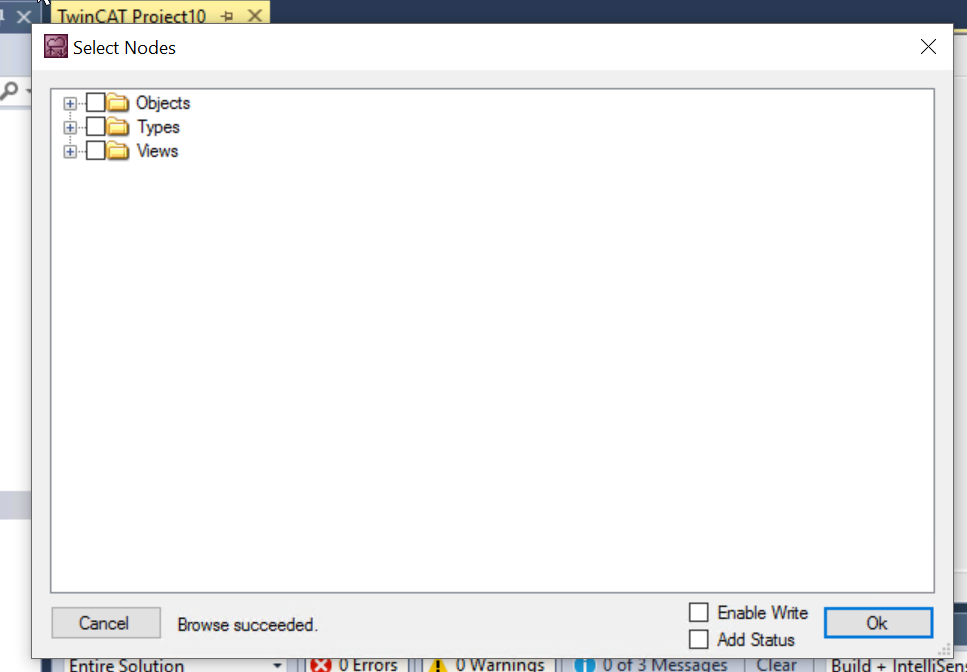
Press Add Nodes to add a Node for CtrlX OPC UA Server.
A popup will appear asking “Do you trust the CtrlX Server certificate? Proceed with “Trust”.
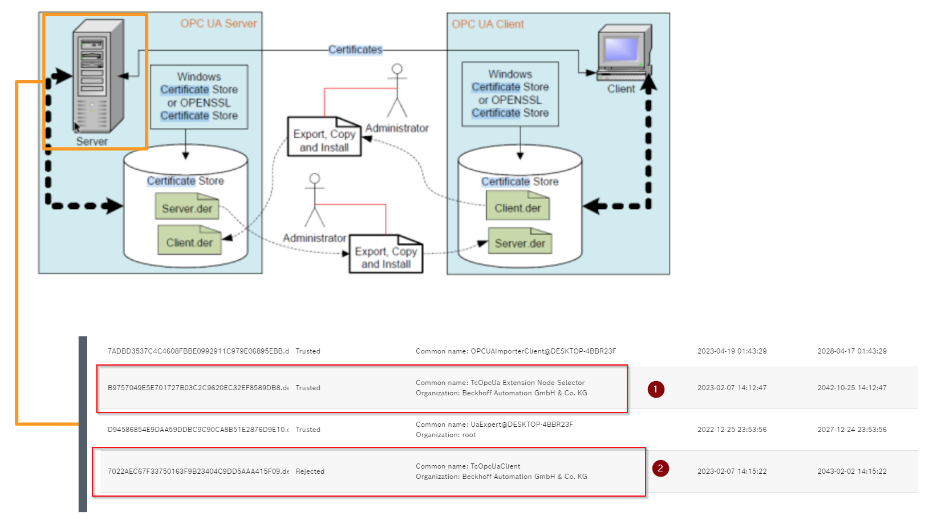
An error occurred when TwinCAT connected to the CtrlX OPC UA Server. This is because the TwinCAT side trusted the certificate of the CtrlX OPC UA Server, but the CtrlX side does not trust it yet. To clear the error, the Ctrlx side needs to “trust” the TwinCAT certificate.
We checked the Ctrlx web server and found a certificate that was rejected, and in the “Issued for” column it says Beckhoff Automation, so this is the certificate that TwinCAT had given to Ctrlx.
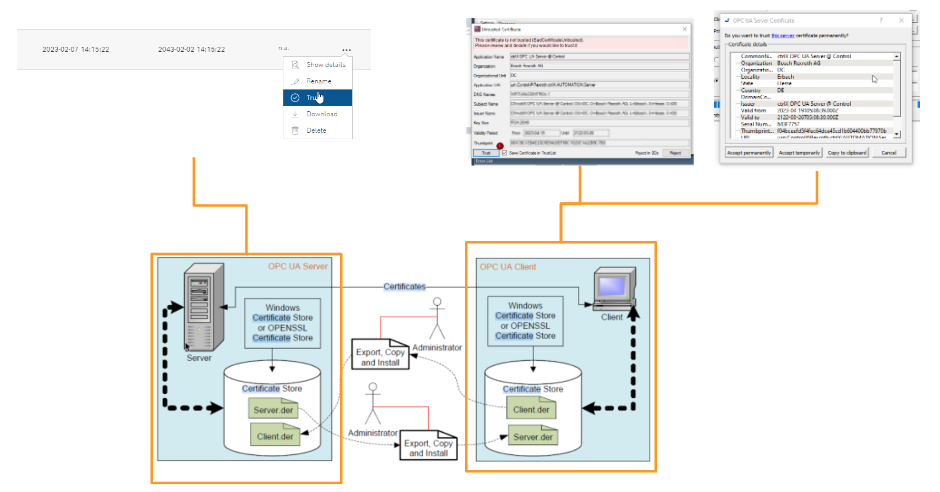
Trust the Beckhoff certificate by clicking on the … button >Trust.
Beckhoff’s certificate has changed to Trusted, and that’s OK.
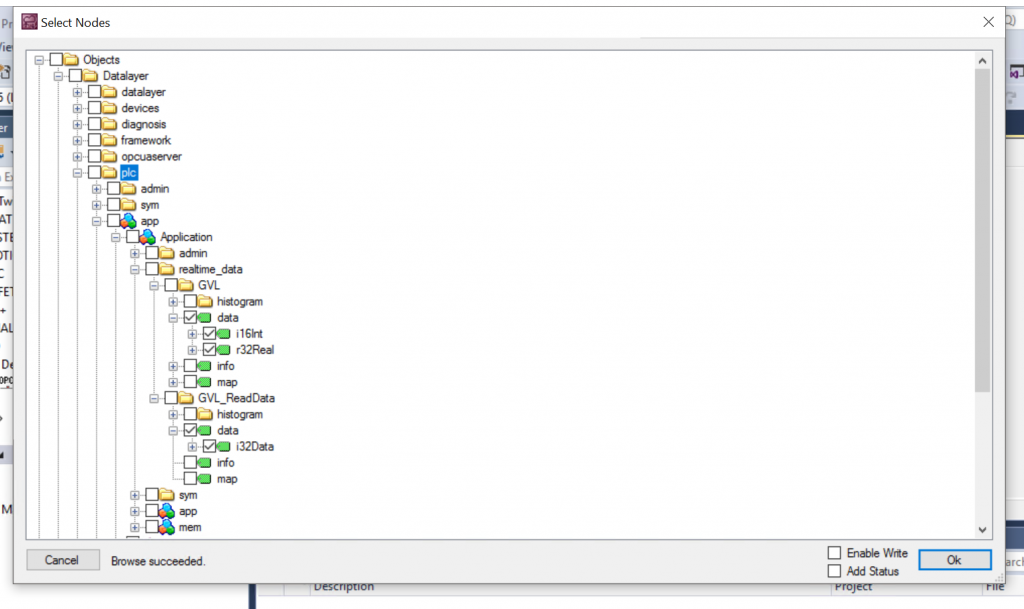
We will do the same operation as before again.With the message Browse succeeded, we will be able to access the CtrlX OPC UA Server.
Select the Node of Ctrlx, check the Enable write checkbox, and press “Ok” to complete.
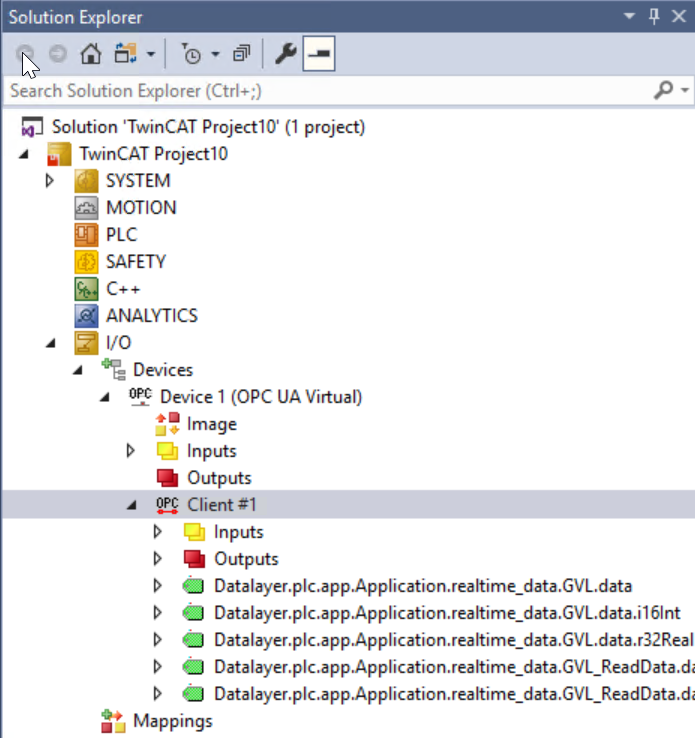
you can see the Node that was just added under Client#1!
Add PLC
Add a PLC by PLC>Right click>Add New Item.
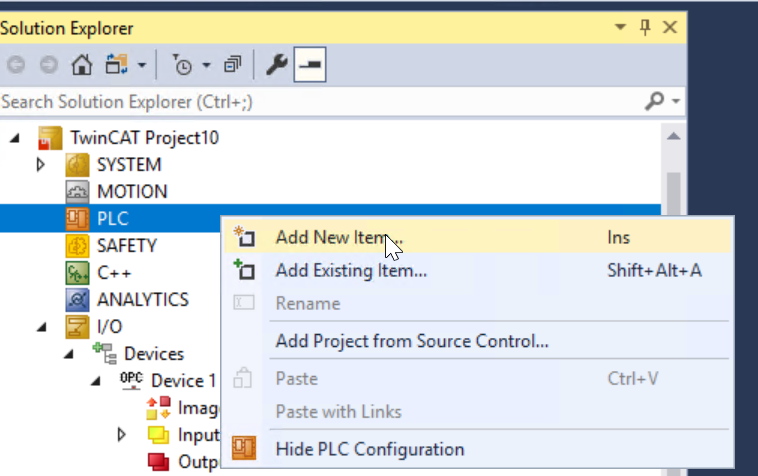
Select Standard PLC Project > Add it.
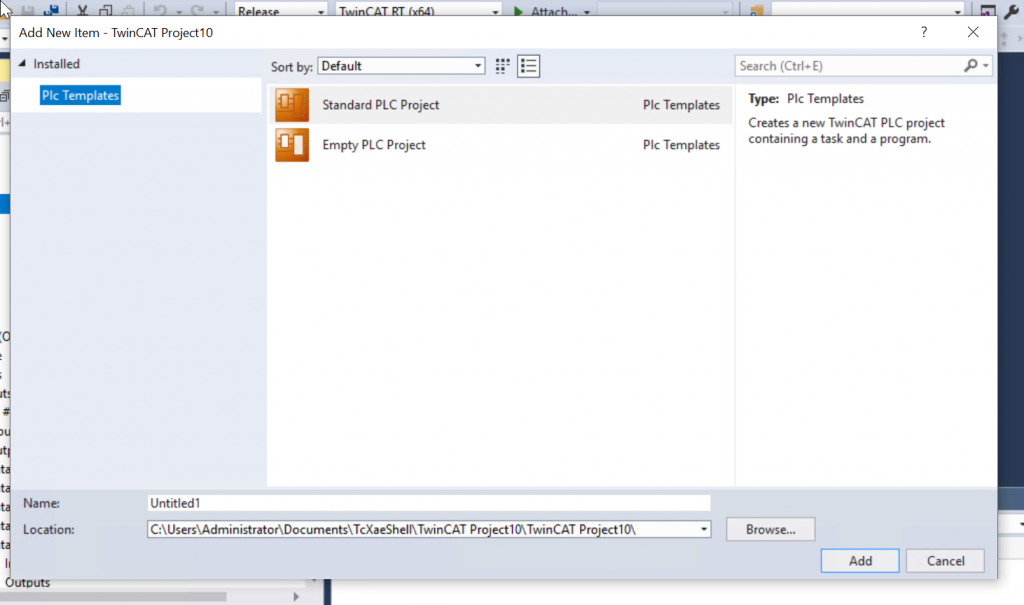
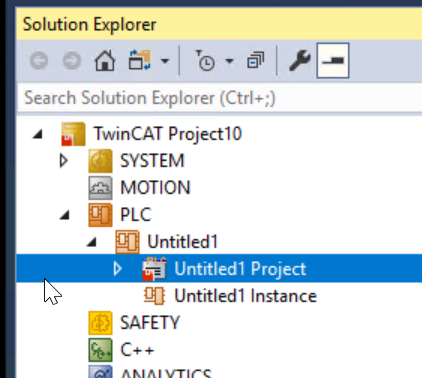
A new PLC project is inserted.
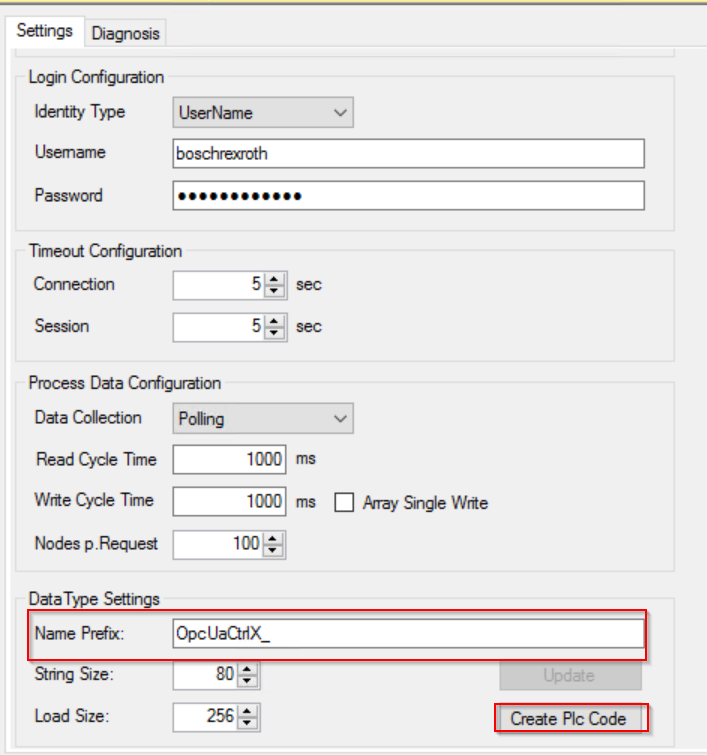
Create Node
Set the Default name in the Name Prefix field and automatically create variables and Methods by clicking the Create Plc Code button.
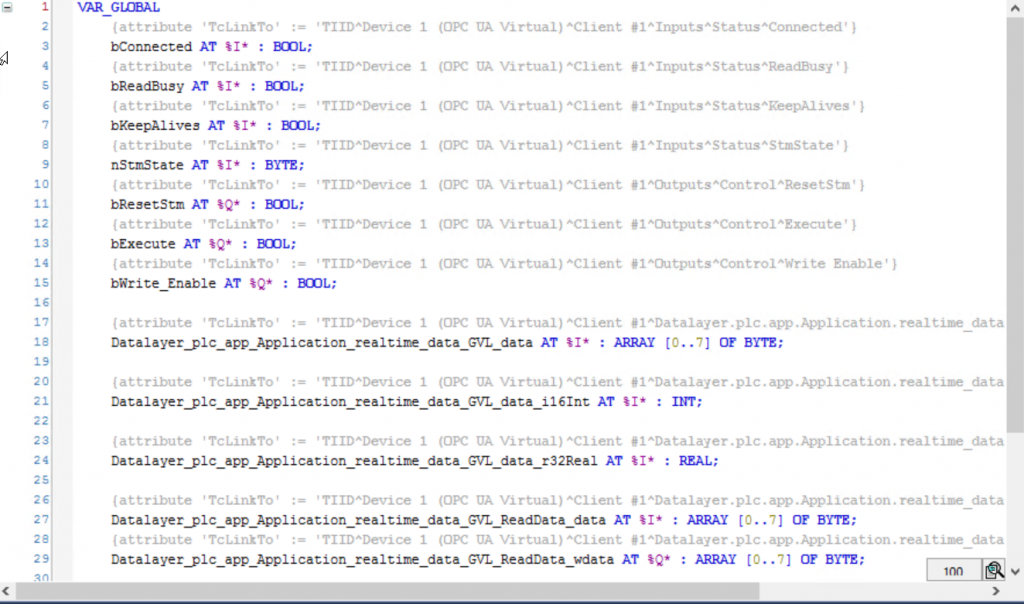
GVLs are automatically created in the GVLs Folder.
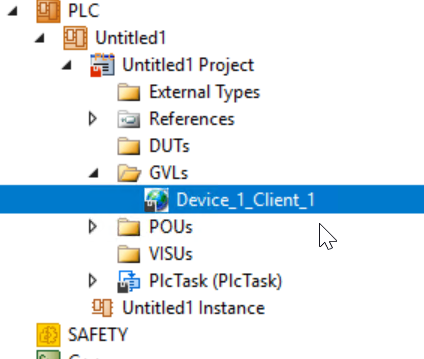
Done!All Nodes for ctrlX are defined inside.
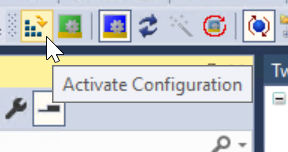
Activate
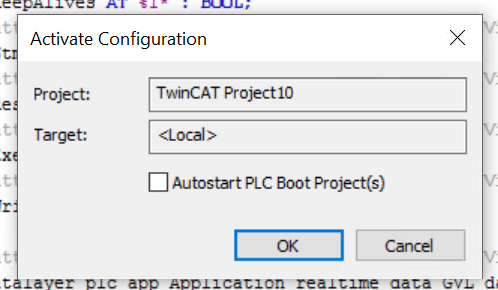
Press Activate Configuration to download the Hardware Configuration.
OK.
If there are not enough licenses, press Yes to proceed to the license entry screen.
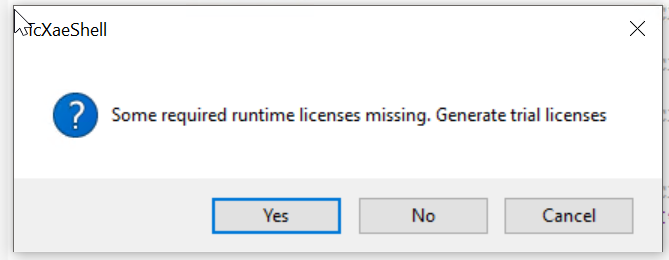
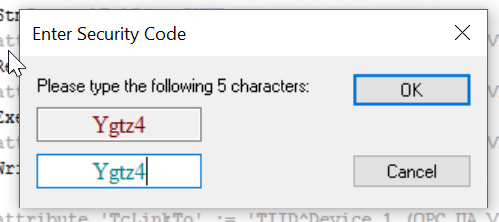
Enter the Security Code.
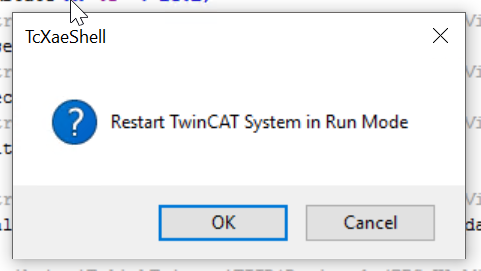
Resart the TwinCAT Runtme.
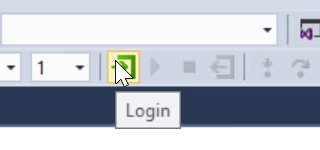
Login
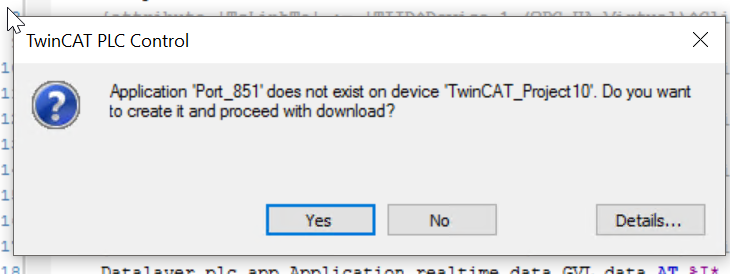
Press Login to download the program.
Yes.
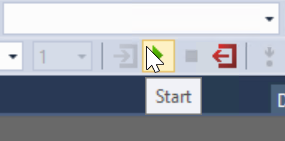
Start
Finally, you can start the program by pressing the Start button.
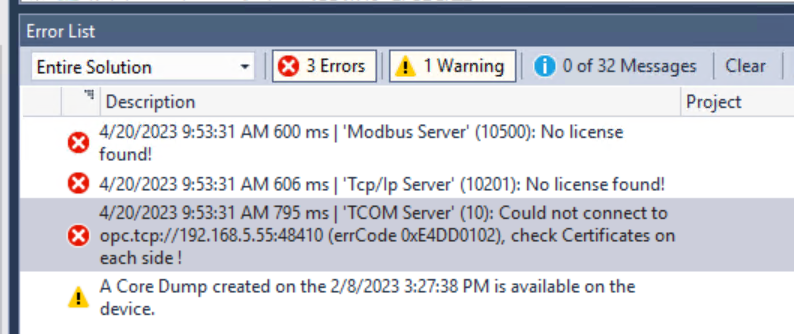
Error?
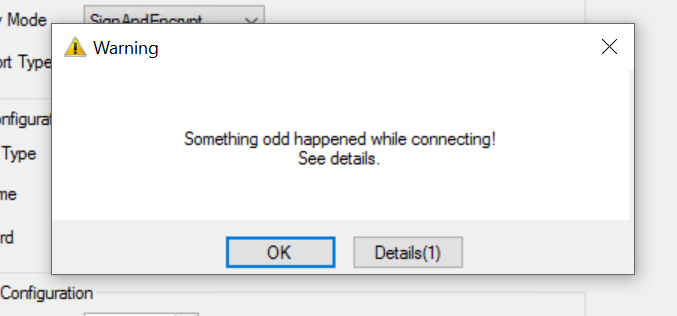
but then I got a message from Error List saying that I can’t connect to CtrlX OPC UA Server and that I need to check my credentials, hmmm? I thought I set it to Trusted first…
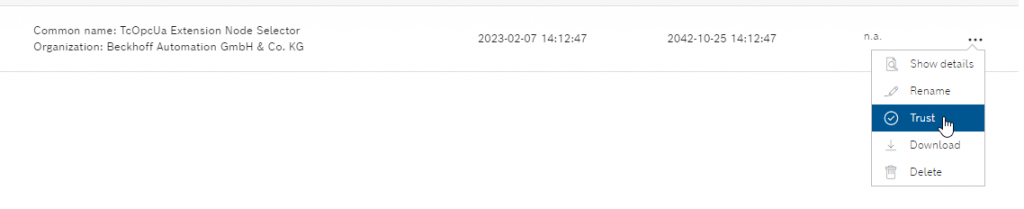
When I checked the certificates again from the CtrlX WEB Server, I found another certificate that was rejected: in Common Name, it was TcOpcUa Extension Node Selector and TcOpcUaClient. Node Selector is the Client and its certificate that we use to select and build the Node in Hardware Configuration, and TcOpcUaClient is the Client and its certificate that we use to access the Node in the actual application.
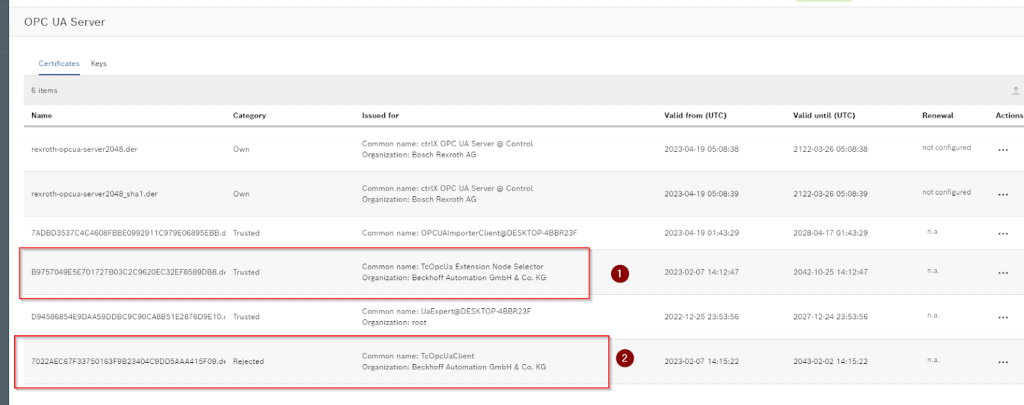
Trust the certificate.
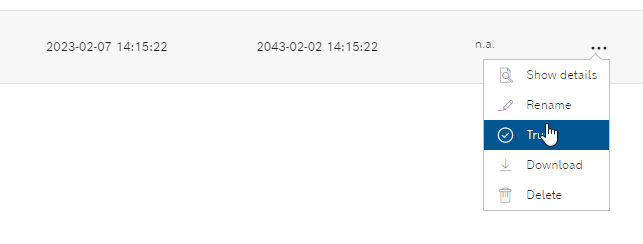
Done!
Result
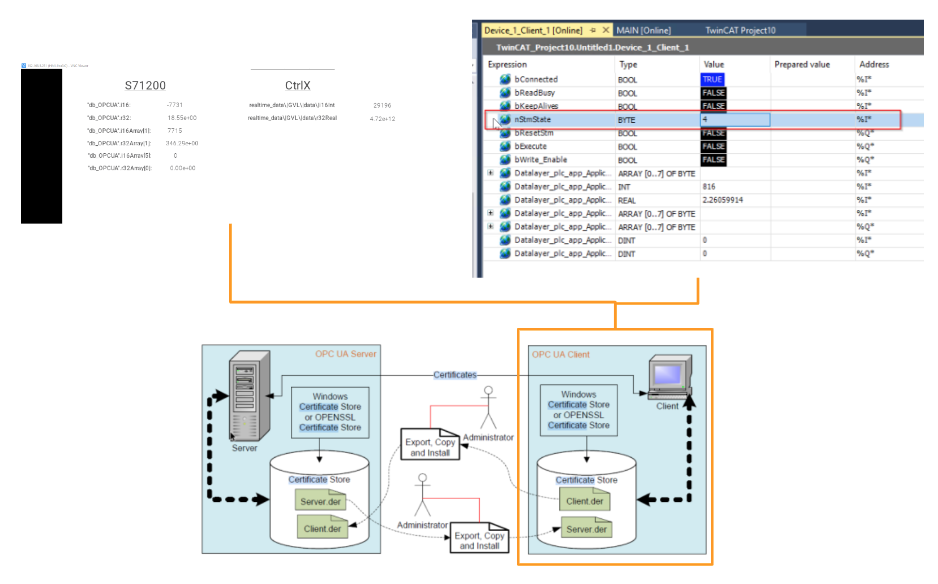
bConnect = True, It means that TwinCAT is connected to the ctrlX OPCUA Server.
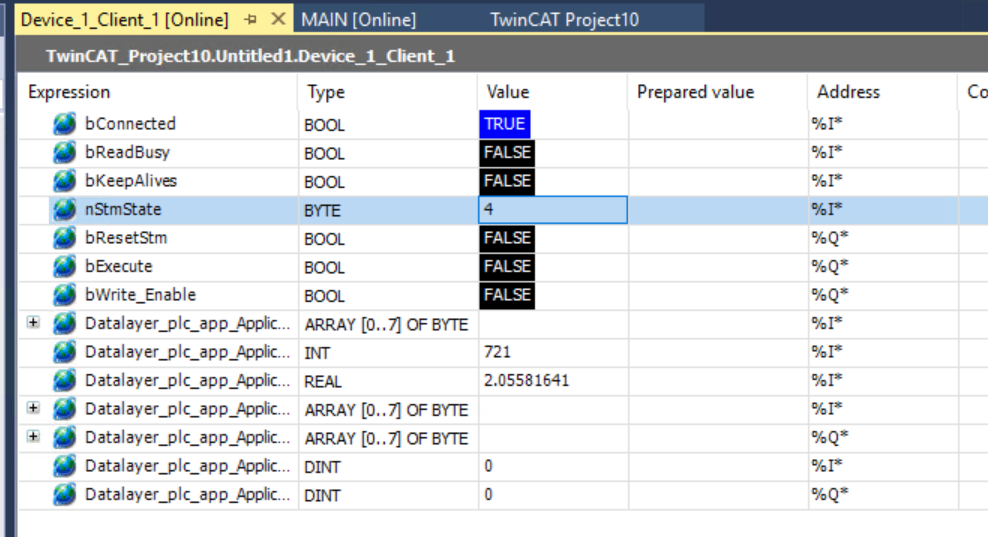
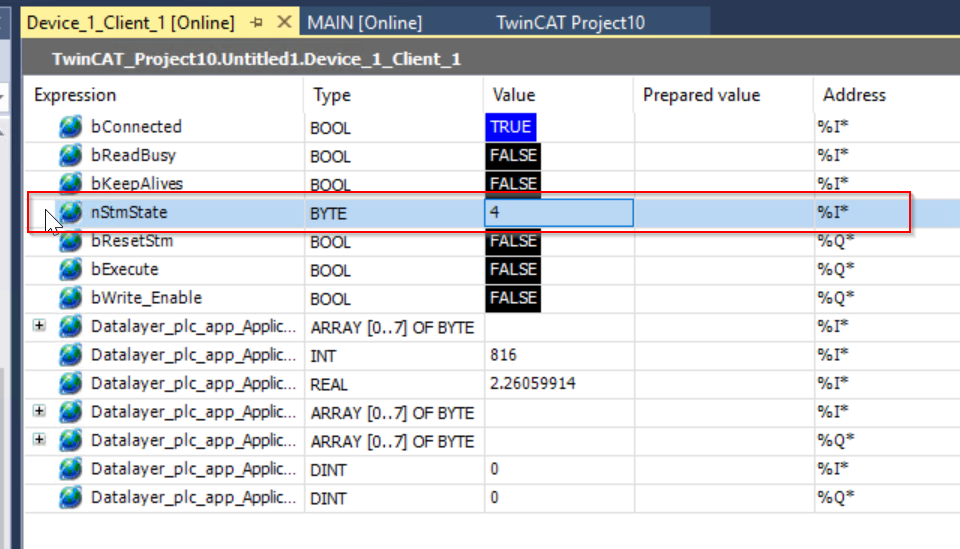
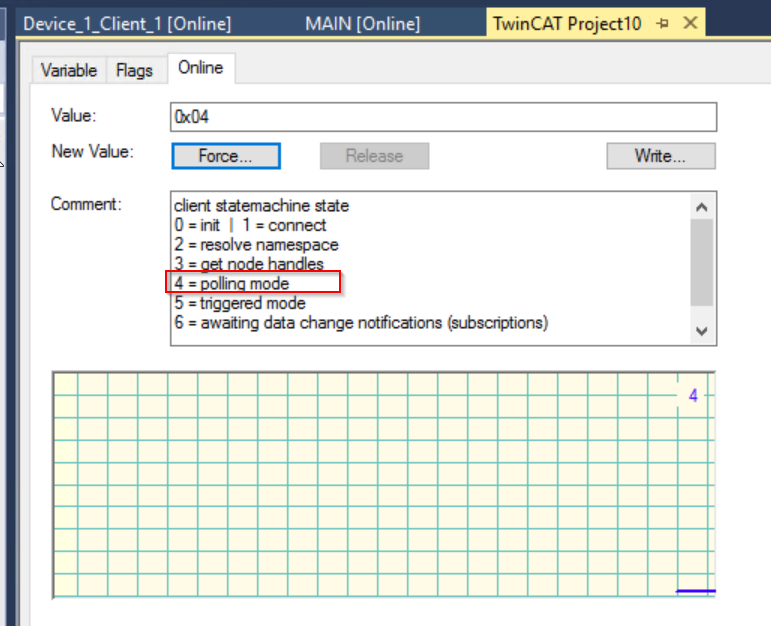
nStmState
The nStmState variable can also be used to check the current connection status. The current value is 4.
Open Client>Inputs>Status>StmState to see what the variables mean.
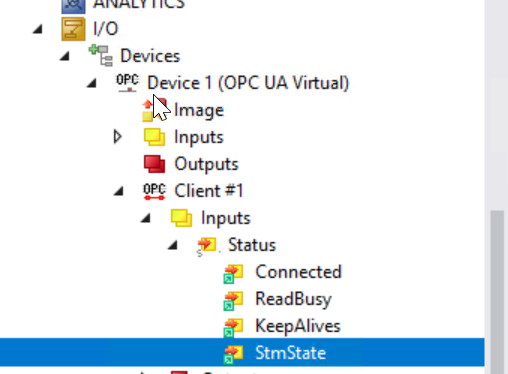
4=Polling Mode, which means that the OPC UA Client on the TwinCAT side is now operating normally in Polling Mode.
Implementation with EXOR
Next, let’s test the connection of CtrlX OPC UA Server with EXOR’s JSmart710M.
Exor Side
Add OPC UA Connection
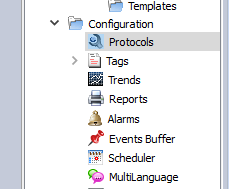
Configuration>Protocols to add a new Protocol.
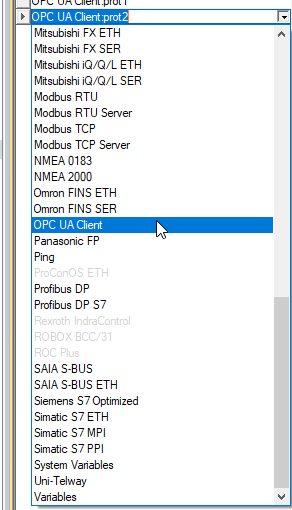
Select OPC UA Client from the Drop List.
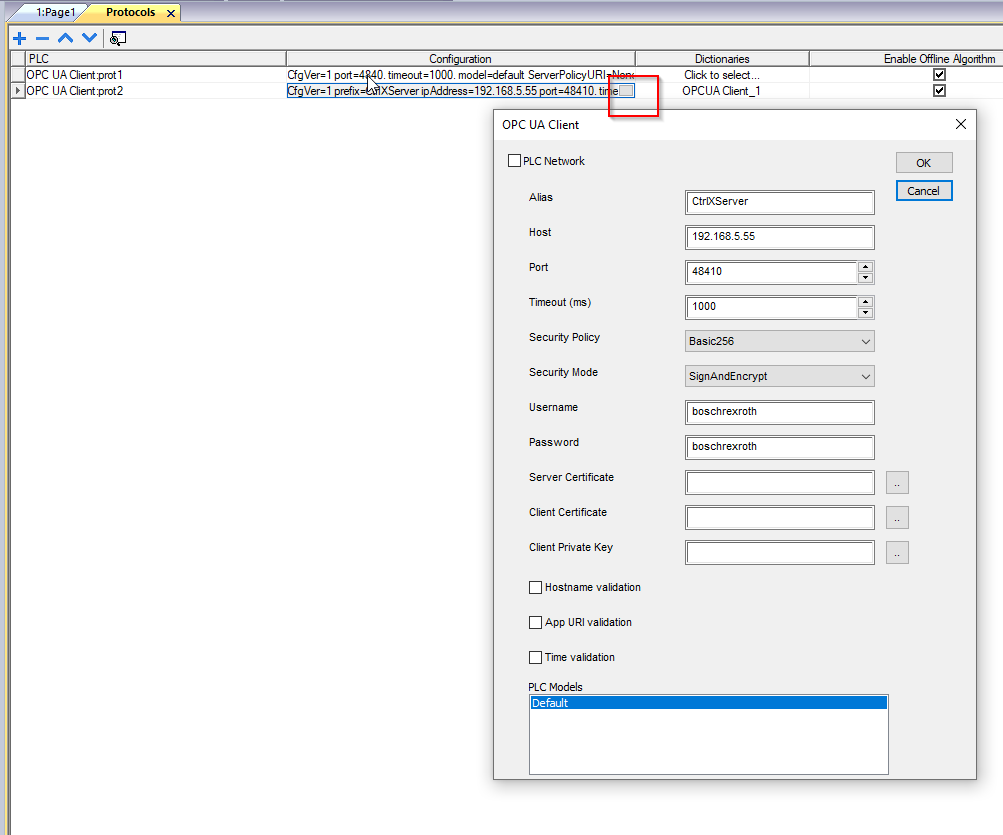
Click on the Configuration… button and configure the connection settings for the Ctrlx OPC UA Server.If you have trouble connecting, remove the following three options from the configuration.
- Hostname validation
- App URI validation
- Time validation
Importer
Now we can import Ctrlx OPC UA Server’s Tags into the EXOR project.
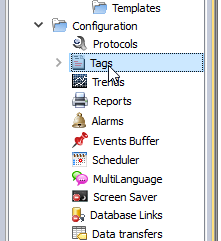
Open Configuration>Tags.
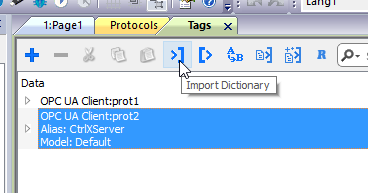
Import Dictionary.
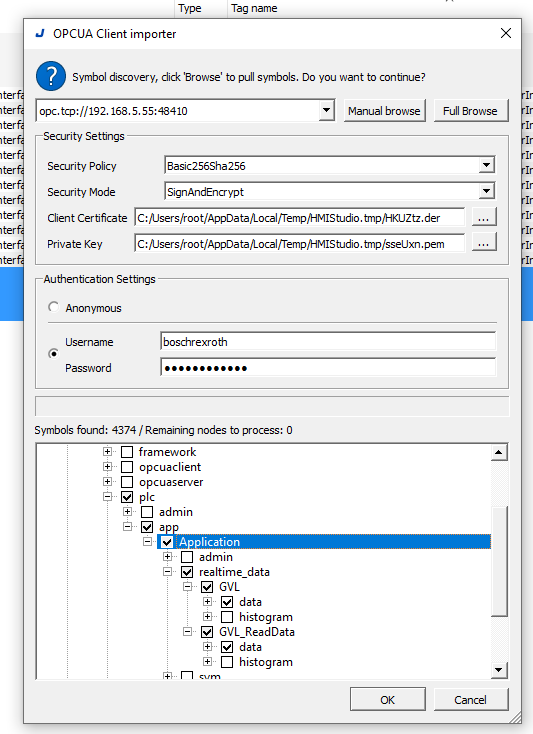
Access Ctrlx OPC UA Server with Full Browse.
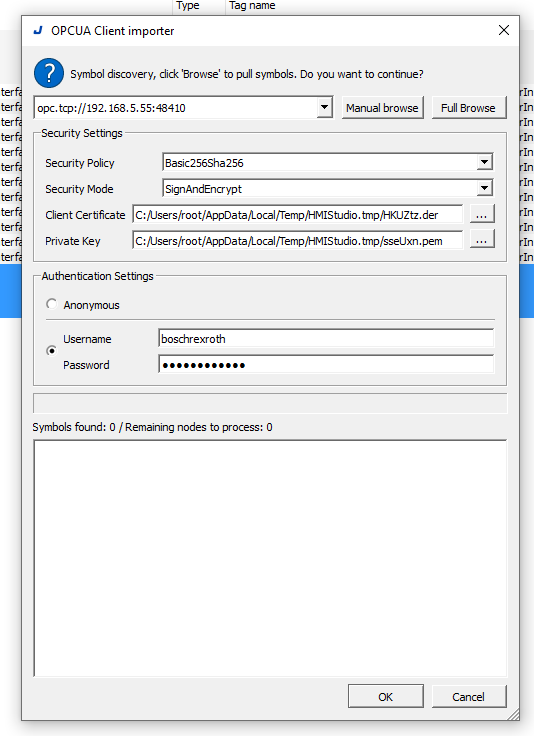
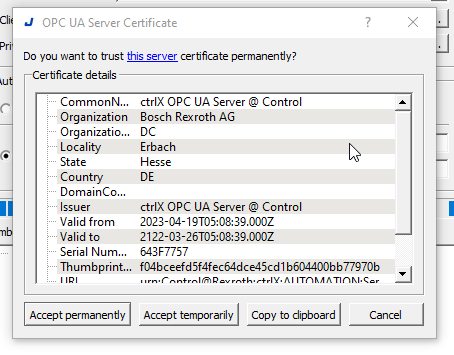
Press Accept permanently to trust the certificate.
Select Ctrlx’s OPC UA Server Node >Ok.
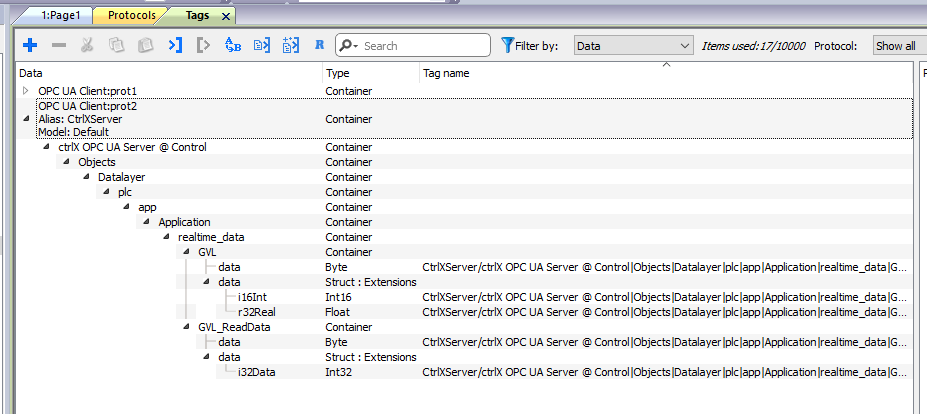
Add Tag
Add Tag to your project.
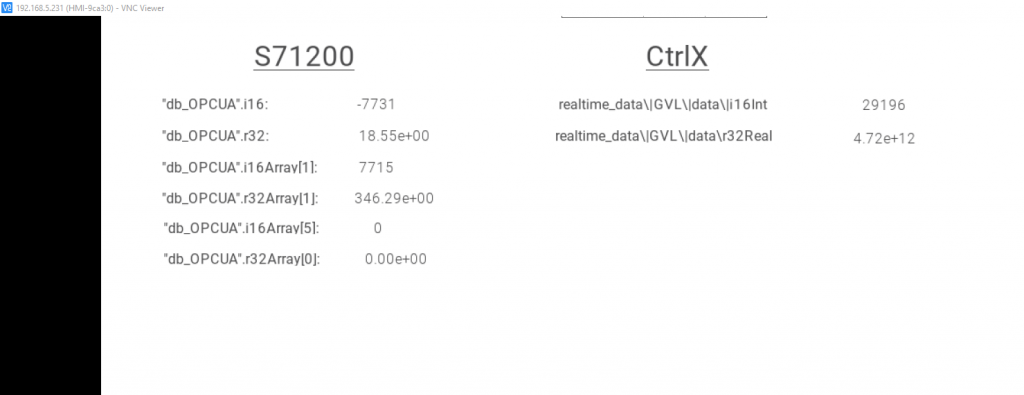
Screen
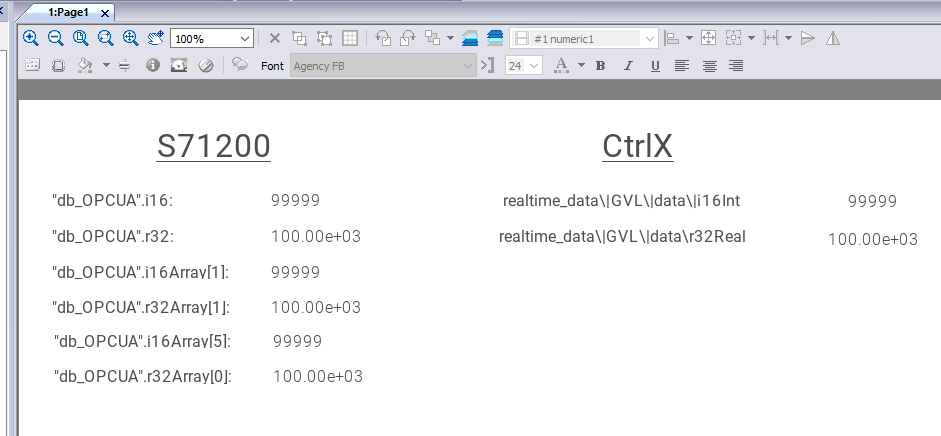
Add a display connected to some tags of CtrlX on the screen to check the connection.
Ctrlx Side
Don’t forget to trust the certificate from Ctrlx side as well.

Result
Done!
コメント
Thanks for the material, it allowed me to delve into the topic.
Thanks 😉
Your message can let me to go forward!
Please feel free to ping me in twitter/linkdein/email!