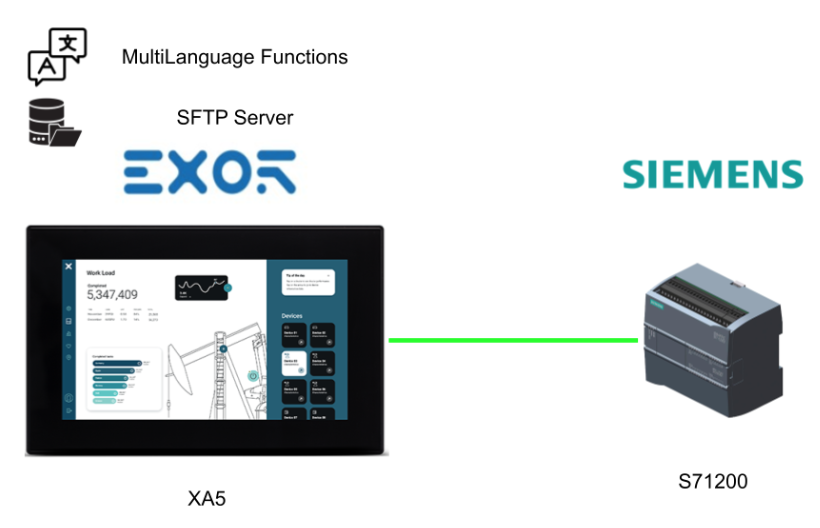
In this article, we will communicate with the Siemens S71200 and EXOR XA5 panel by setting up the S7 ETH method, and also introduce JMobile Studio’s multi-language configuration feature and SFTP Server.
Let’s get started!
Implementation
Siemens Side
Configure the settings from the S71200 side; open TIA.
Add New DB
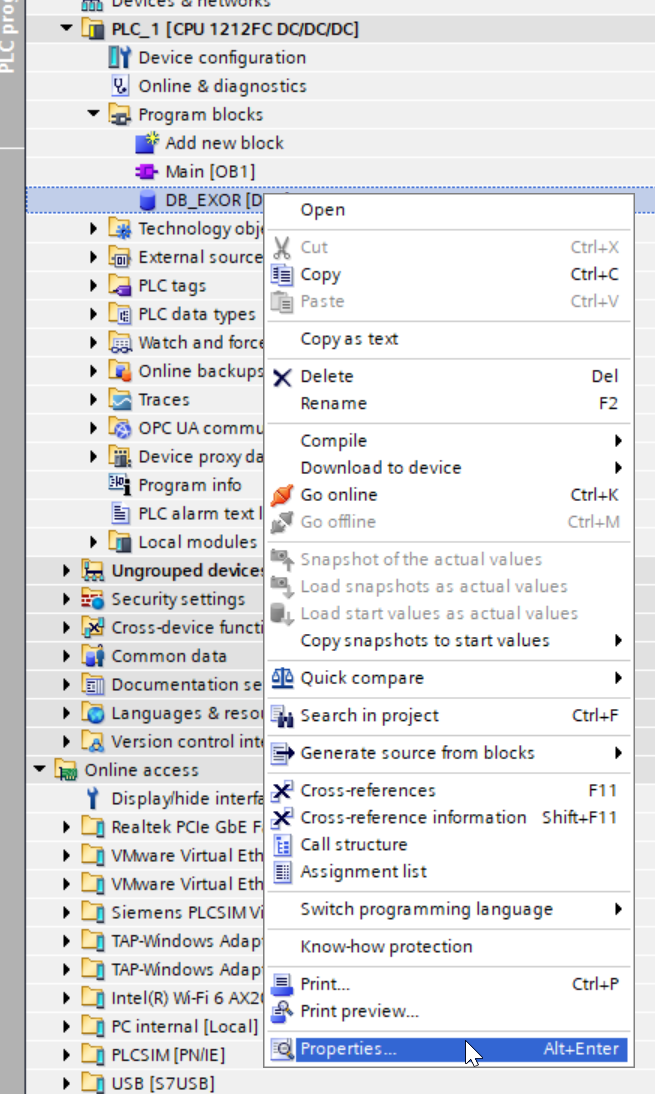
Add a new Block at Your Project>Program blocks>Add new block.
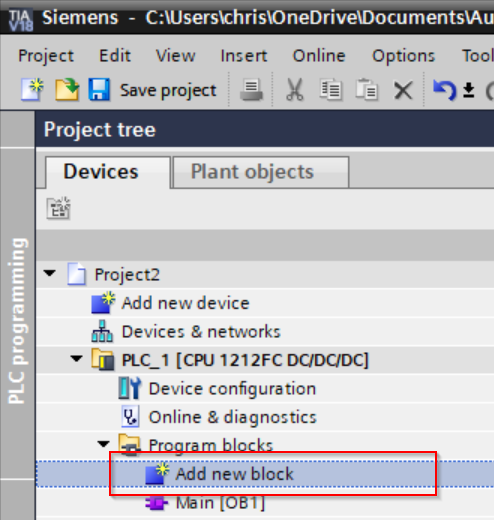
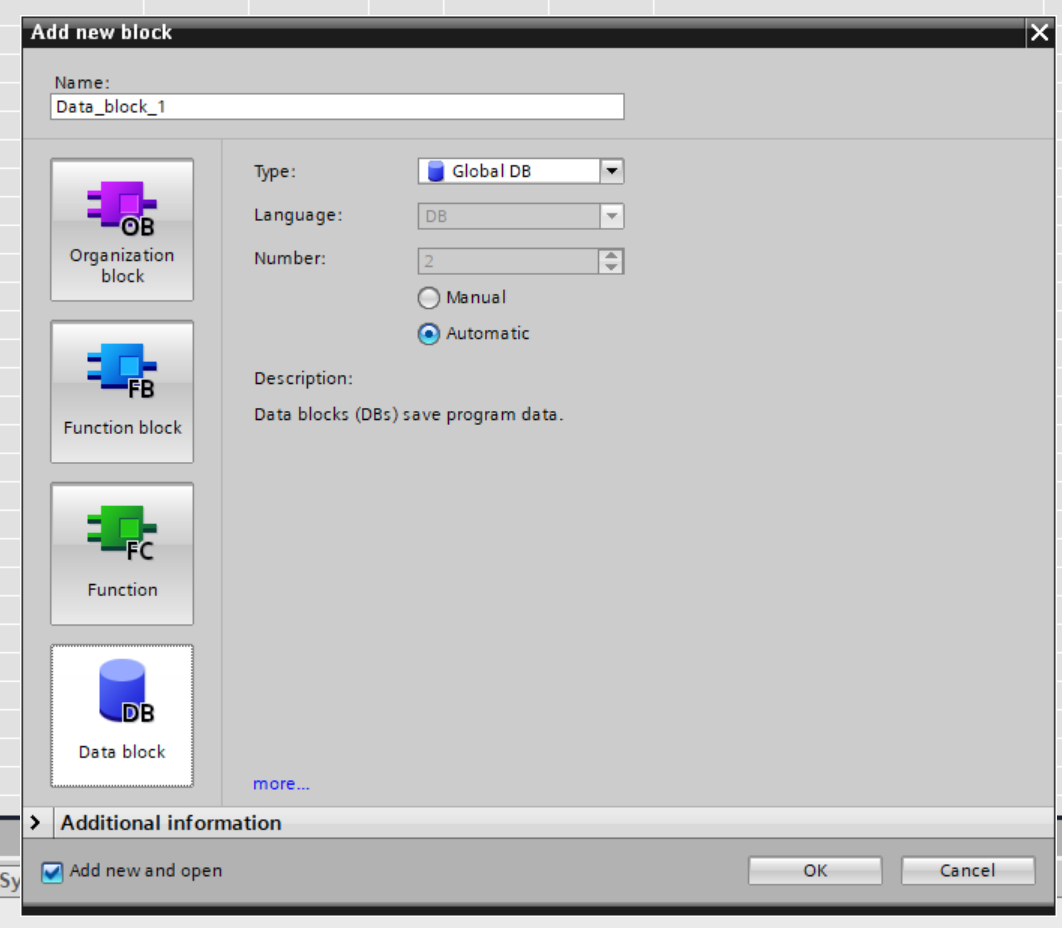
Select Data block >Type as Global DB.
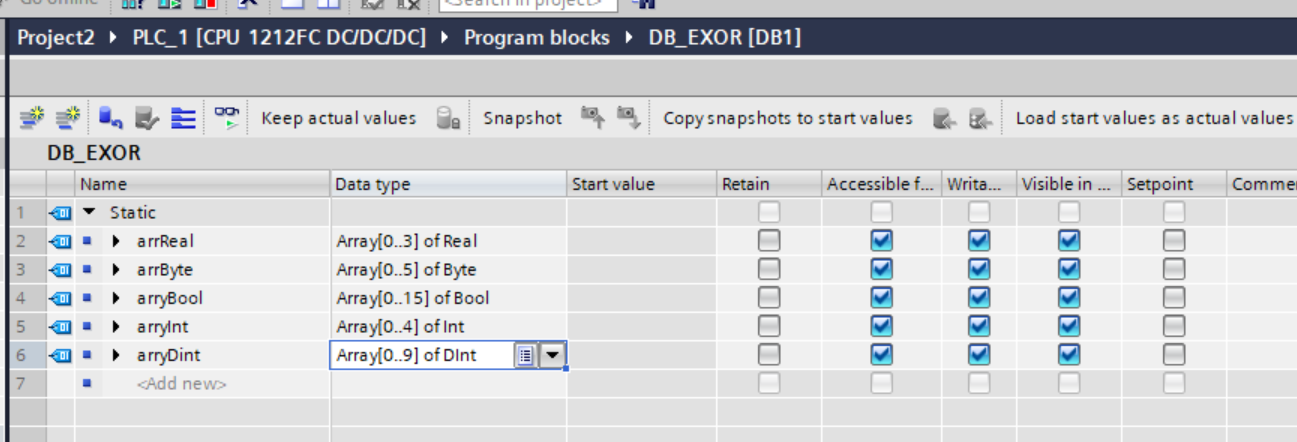
Enter a DB name in Name and create a new data block.
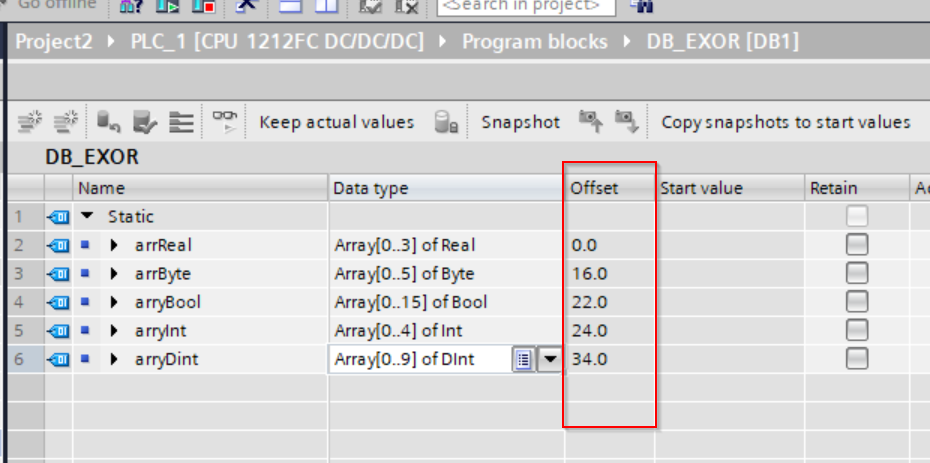
In this article, we will define array data such as real numbers and integers.
Properties
The next step is to set the DB Properties.
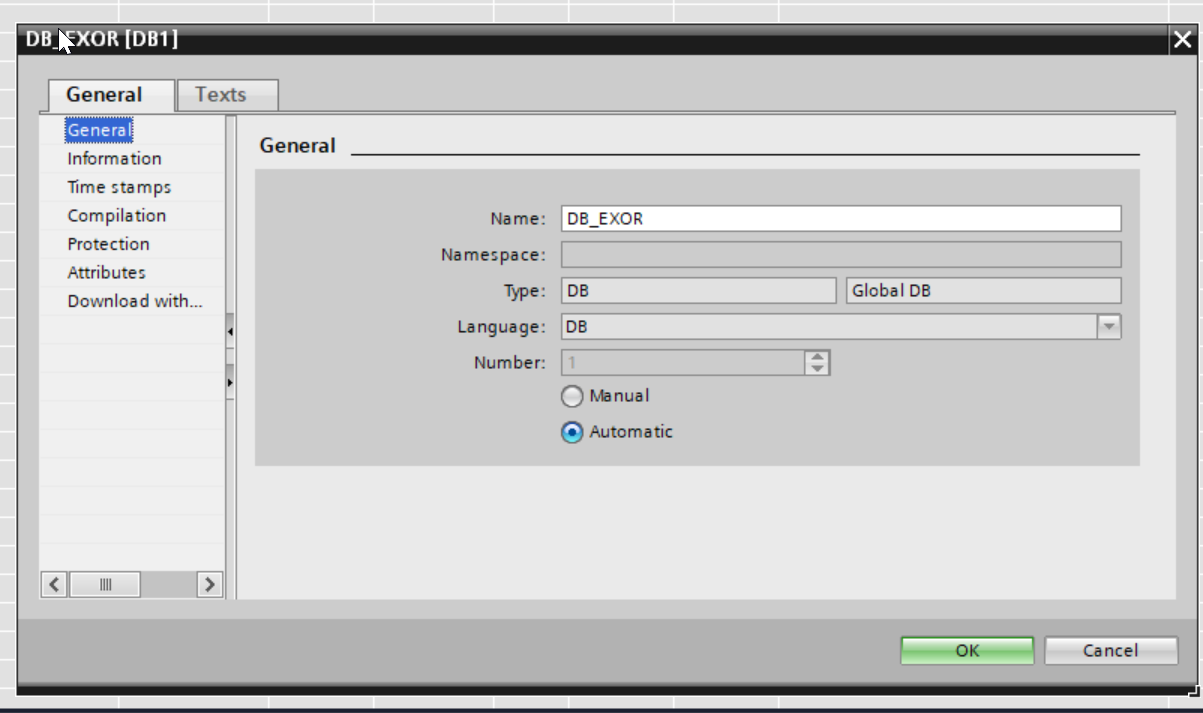
The DB setup screen is now displayed.
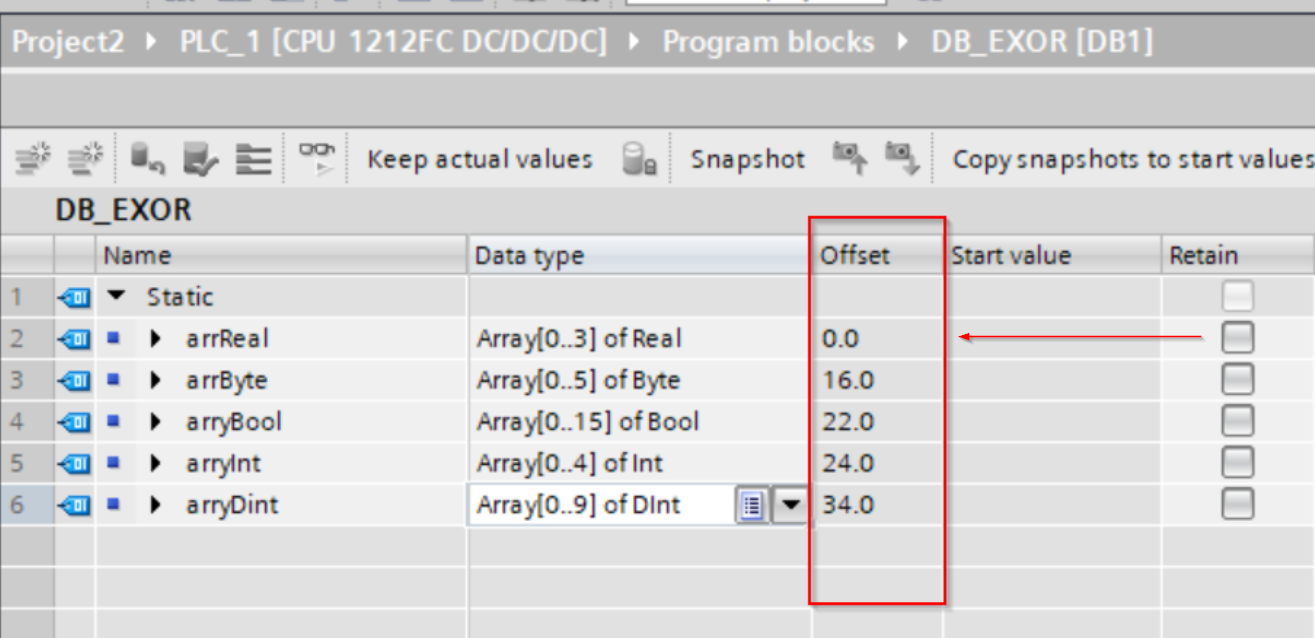
Select Attributes and uncheck the “Optimized block access” checkbox.
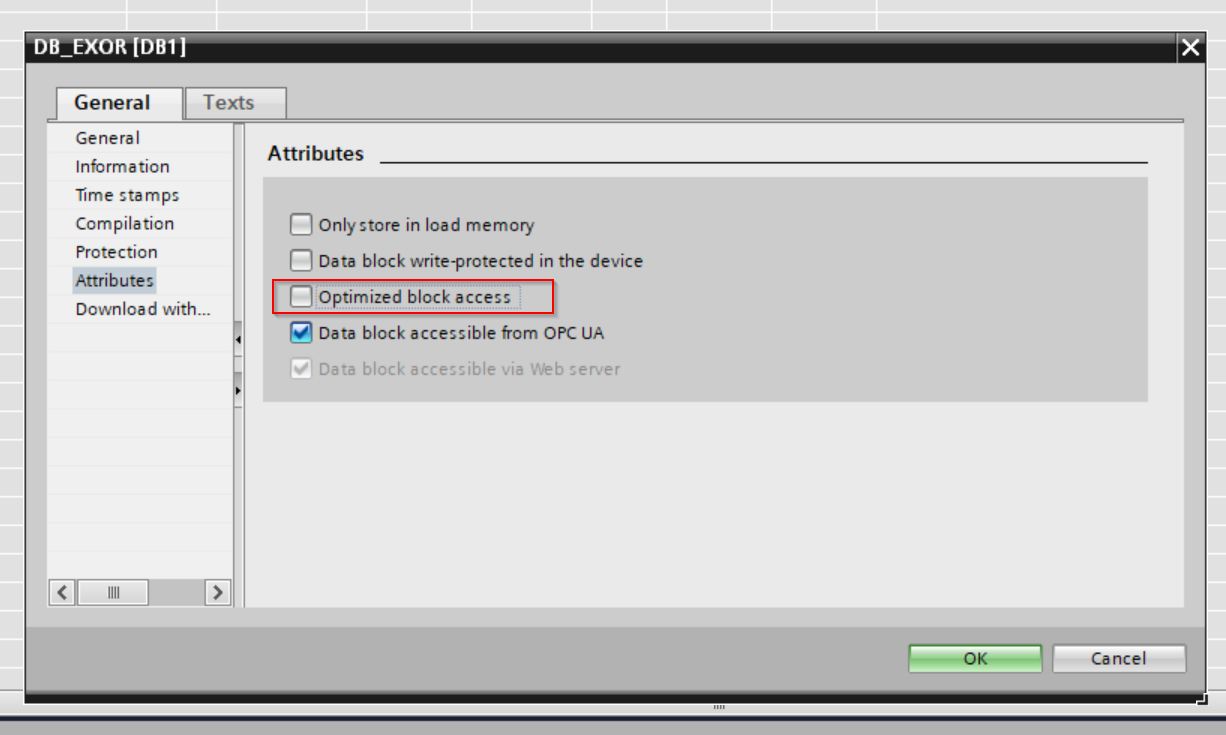
The DB now shows “Offset”. This Offset will be used by JMobile Studio later.
Security Settings
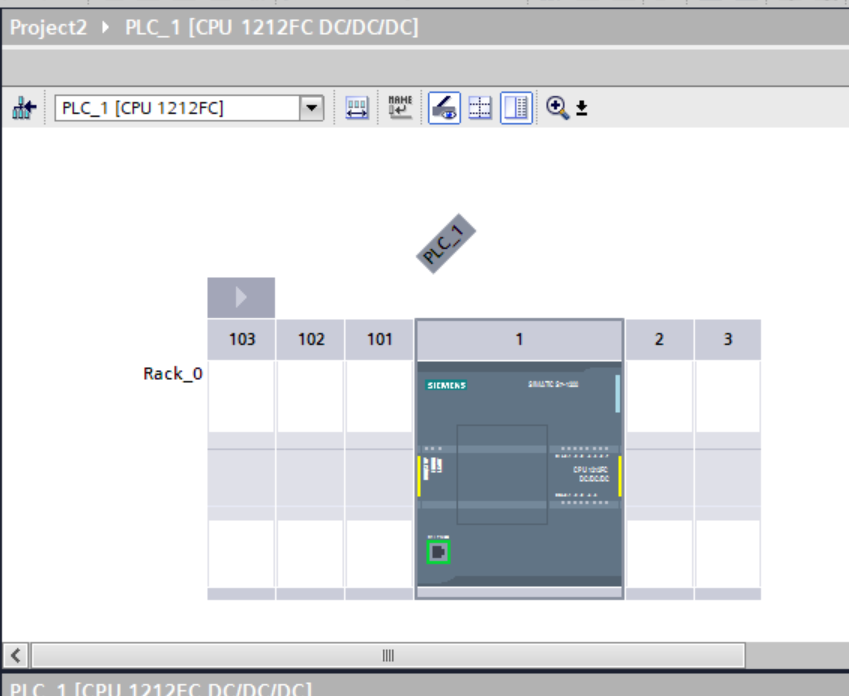
Next we will change the security settings for the S71200: double-click on S71200 from Configuration.
Connection mechanisms
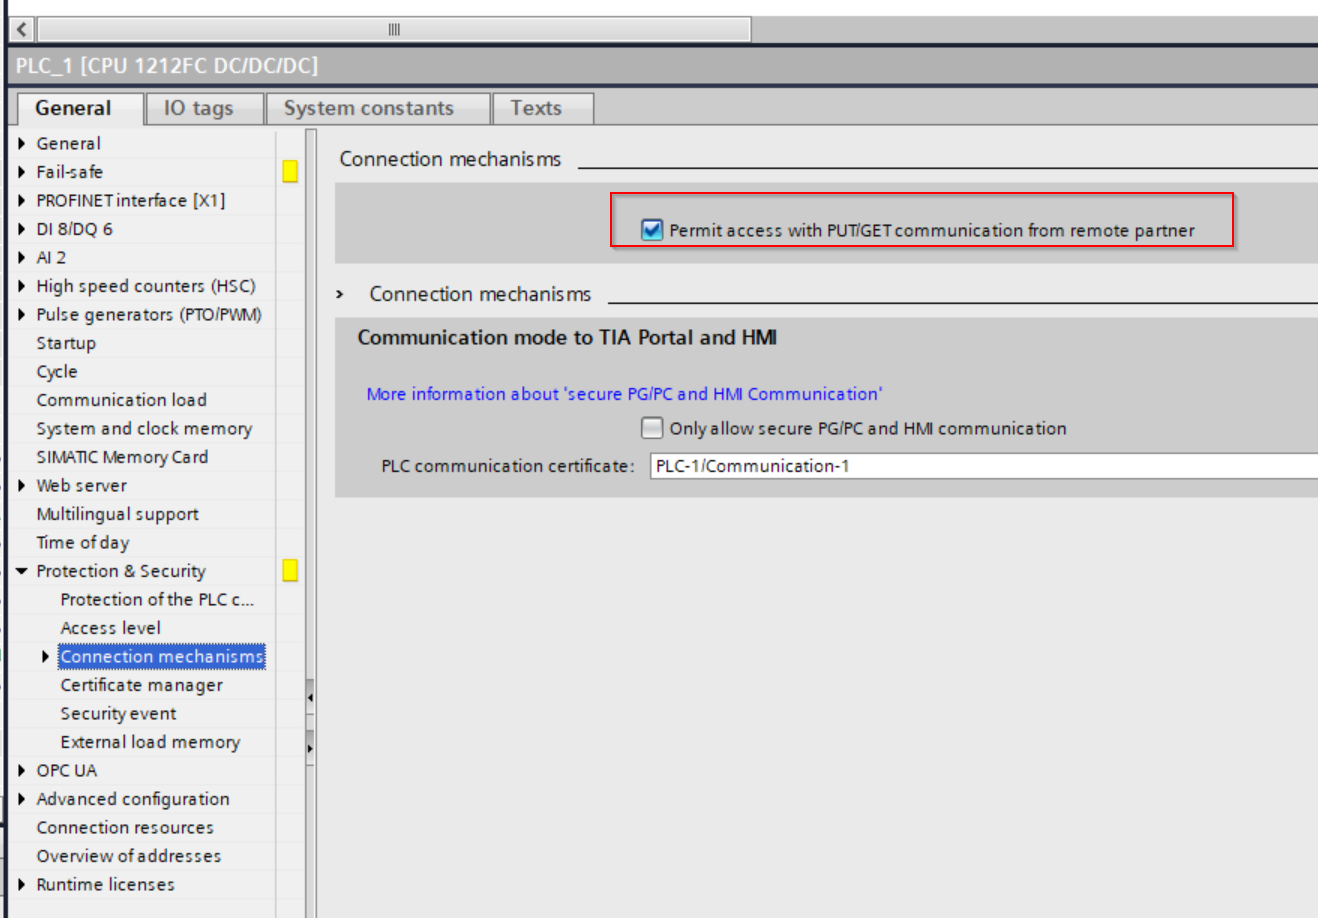
From the General tab, go to Protection & Security>Connection mechanisms and check the box “Permitt access PUT/GET communication from remote partner”.
Only allow secure PG/PC and HMI Communication
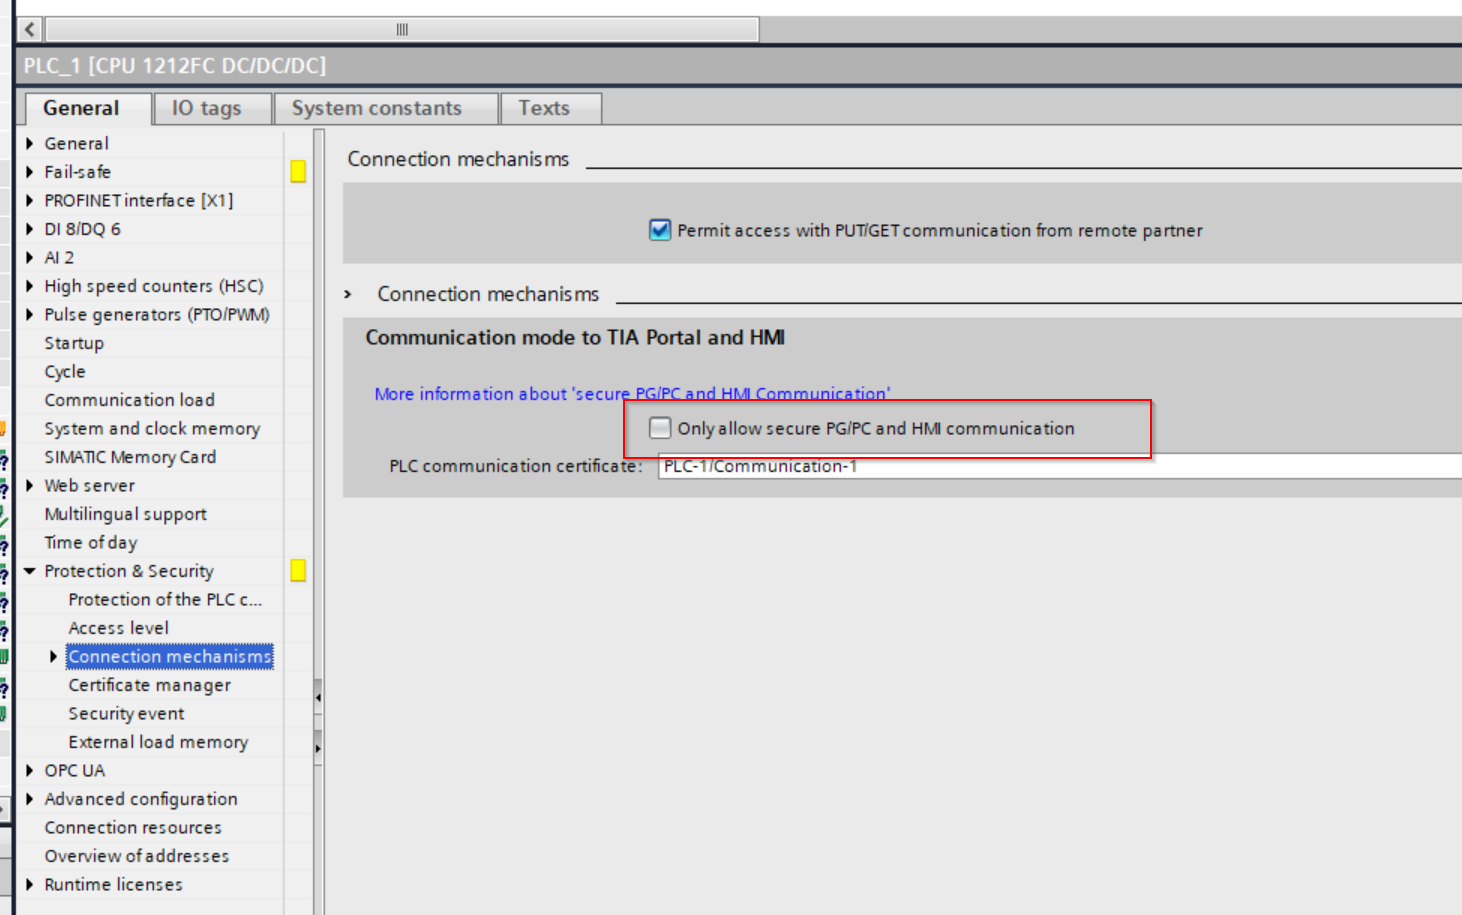
Next, uncheck the “Only allow secure PG/PC and HMI Communication” checkbox.
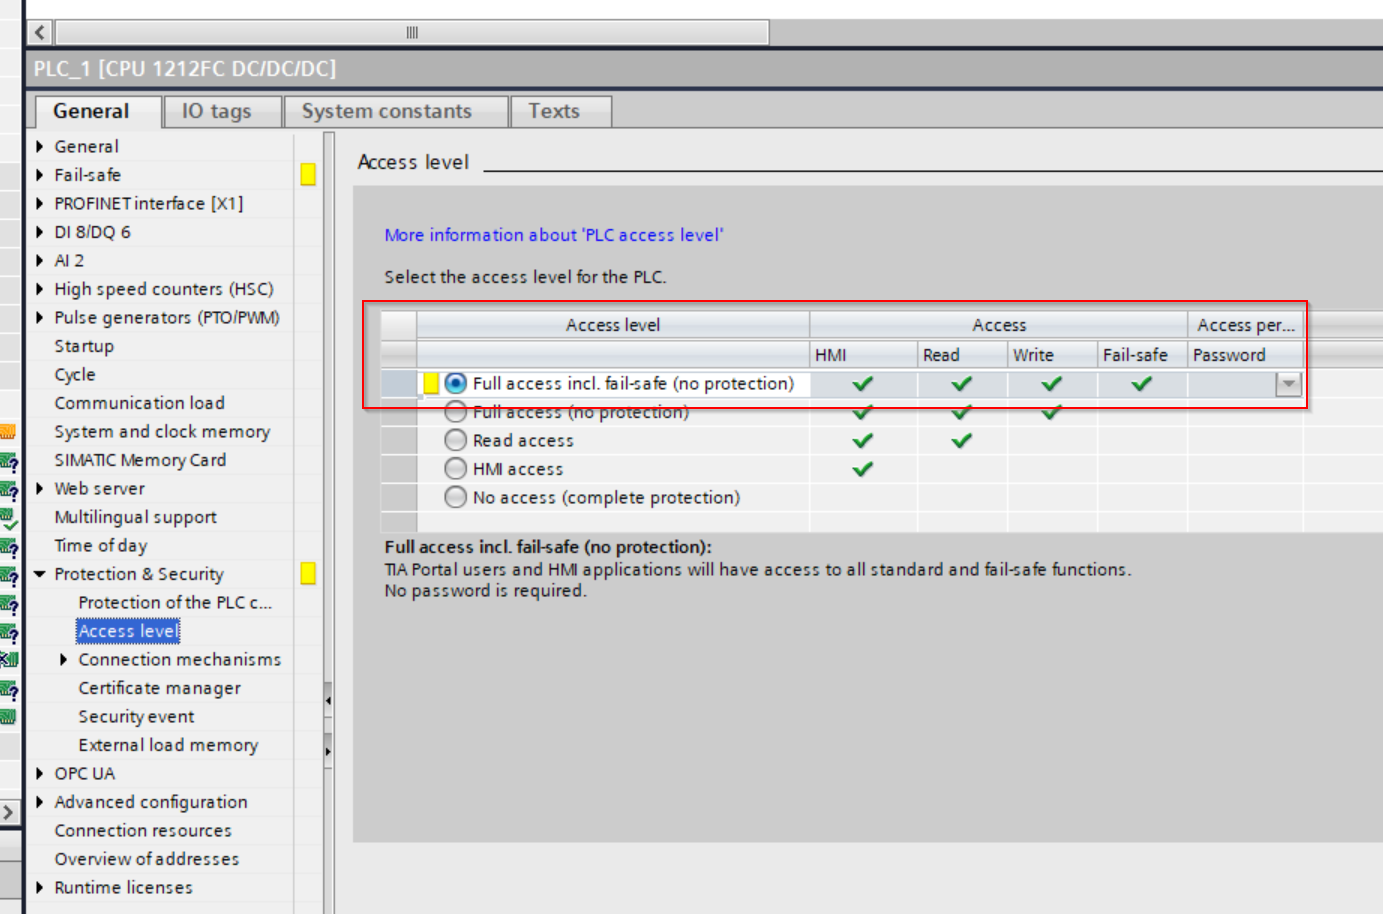
Access Level
Finally, select “Full access” on the Access Level tab.
JMobile Side
Now We can set up the JMobile Studio side.
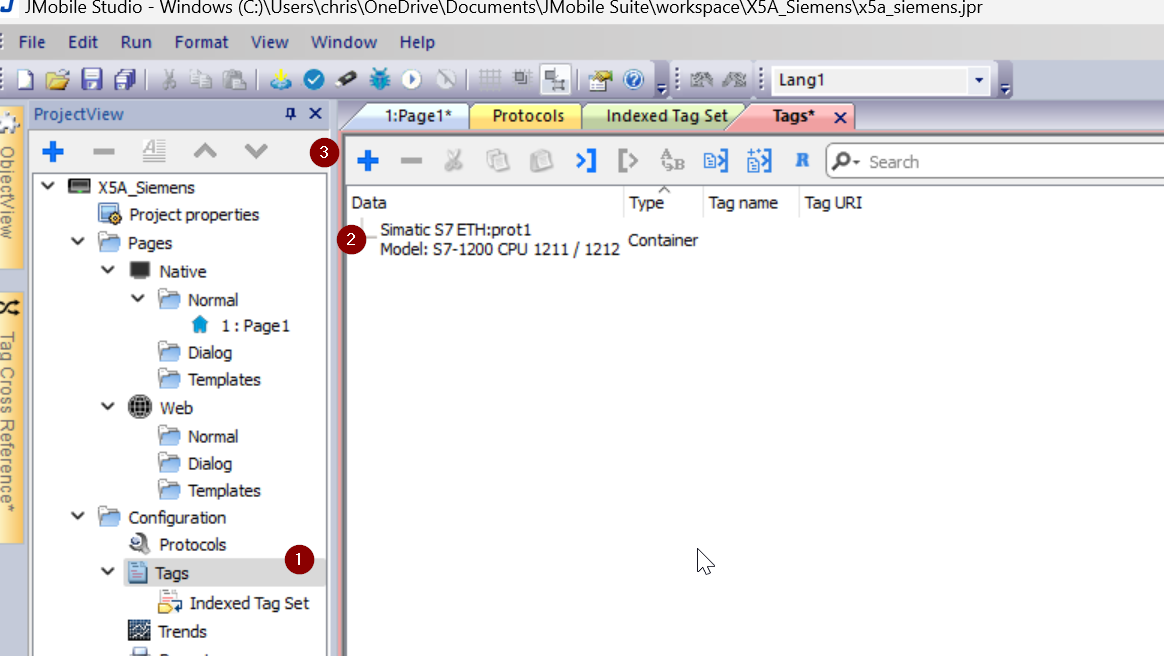
Add Protocols
Click Configuration>Protocols>Plus button.
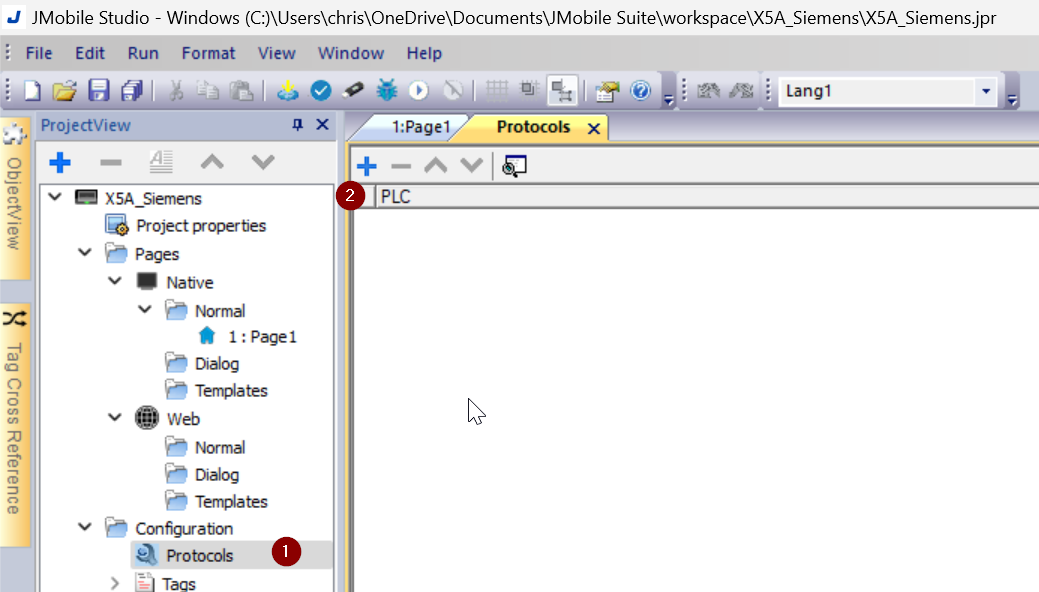
Set The protocol as Simatic S7 ETH.
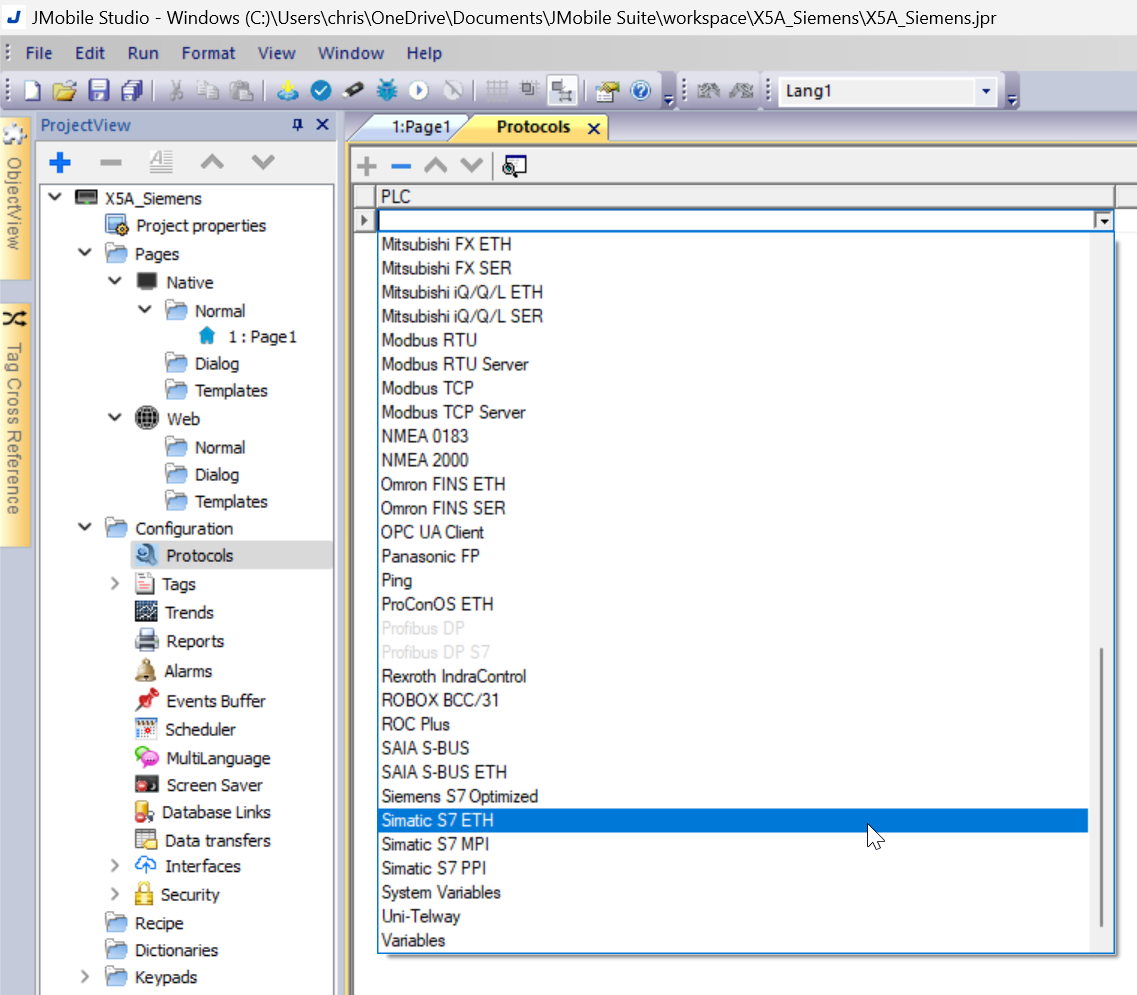
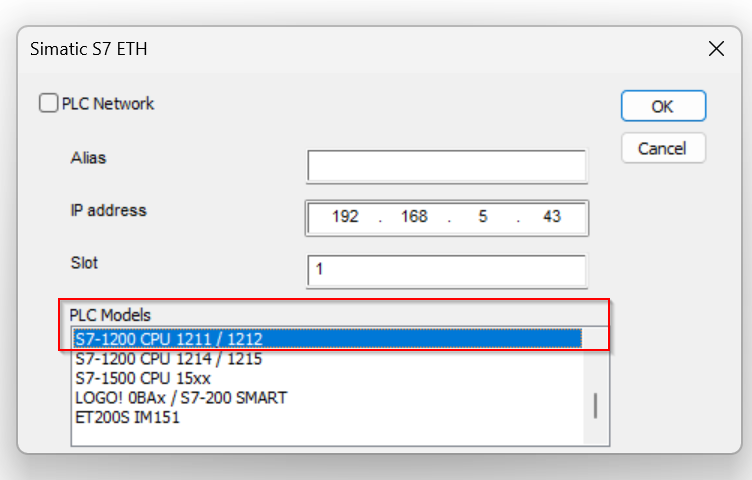
The Simatic S7 ETH connection settings screen appears.

IP Address
Enter the IP of the S71200 in the IP Address Field.
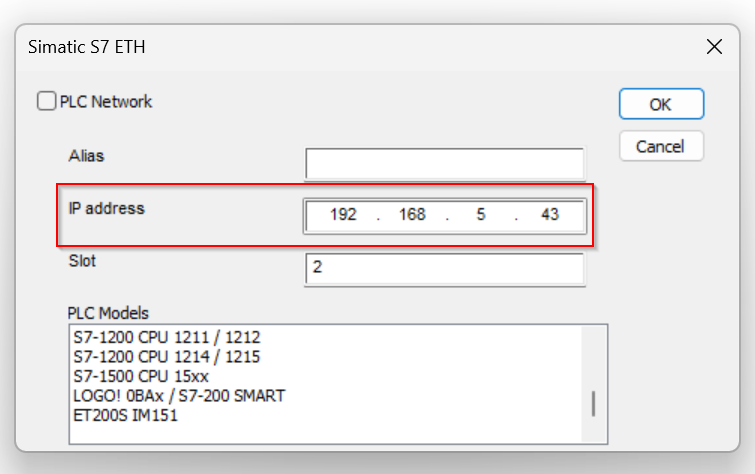
PLC Models
Let’s set the PLC module to a Siemens CPU connected to the EXOR panel.
In this case, set it to S7-1200 CU 1211/1212.
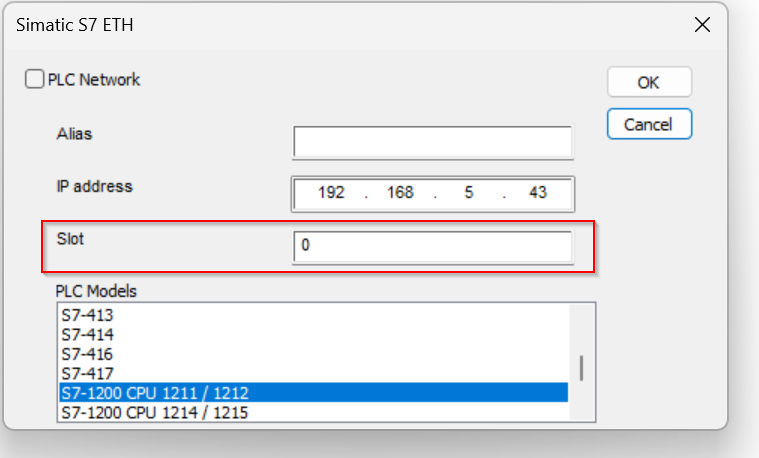
Slot
Slot is set to base 0 for S71200.
Add Tags by Manual
JMobile Studio offers two ways to add a Tag: add a Tag in Manual or add a Tag from File.First, we will explain how to add a Tag in Manual: select Tags>Protocol and press the Plus button to add a new Tag.
Tagの設定画面が表示されます。
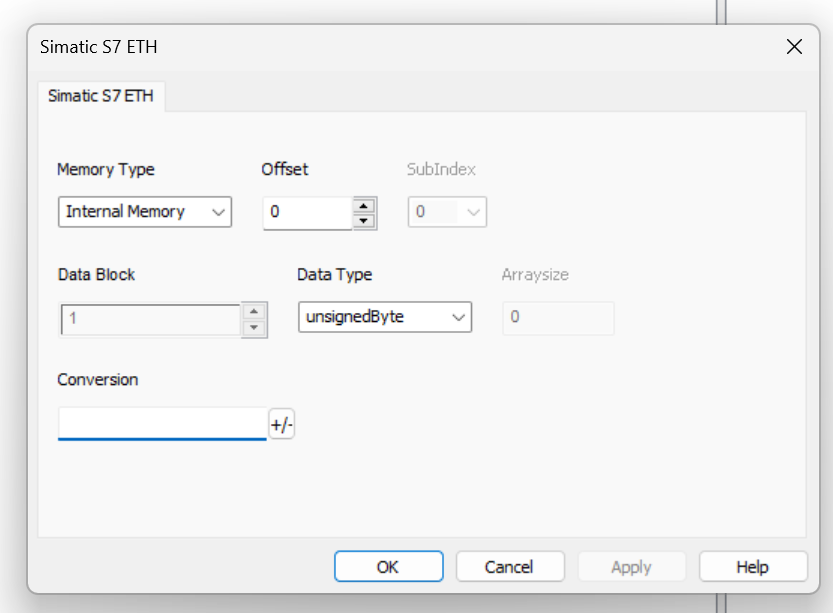
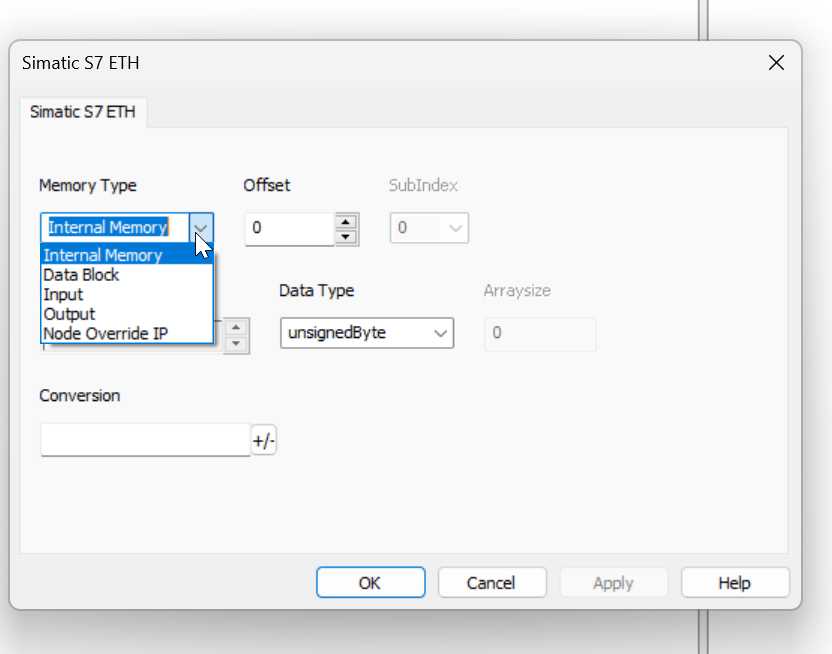
Memory Type
Memory Type is the device type of the Siemens Tag that JMobile Runtime accesses.
- Internal Memory=M
- Data Block=DB
- Input=I
- Output=Q
In this case, we will set up a Data Block.
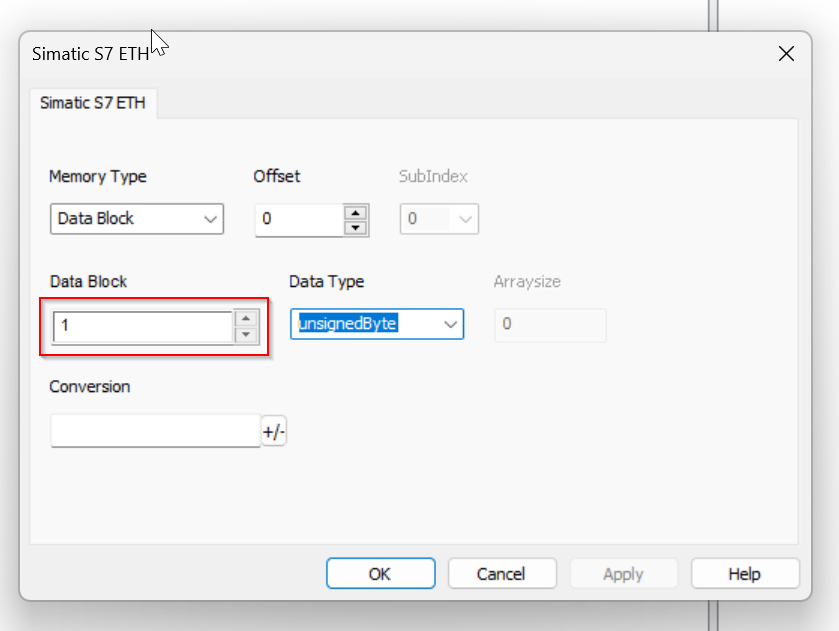
Data Block
Data Block sets the Siemens Data Block number that JMobile Runtime will access.
This article is 1, which means it will access DB1.
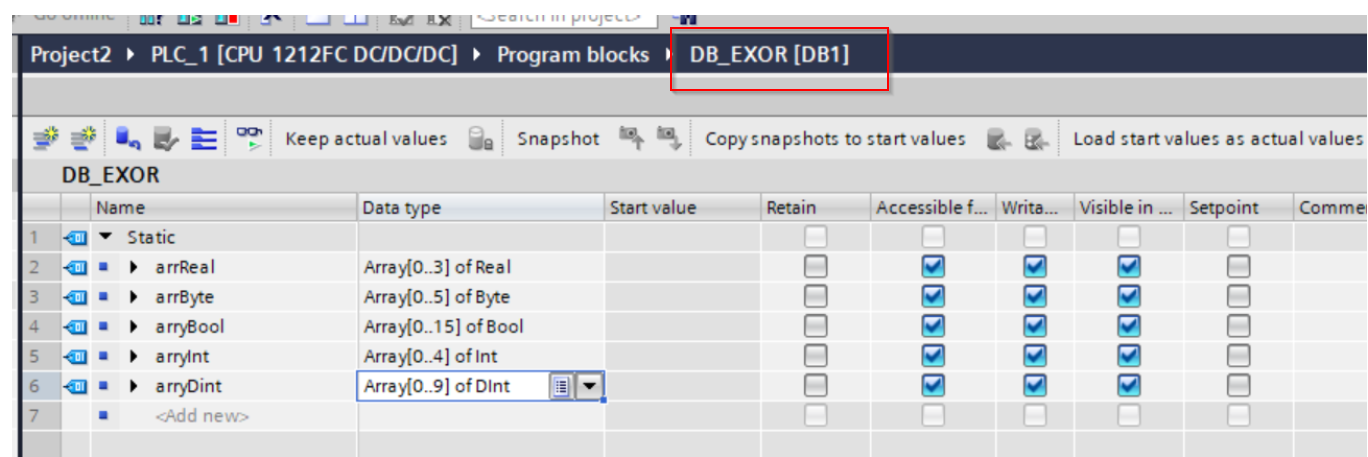
When the Data Block is opened from TIA, [DB1] is displayed, i.e., the number of this Data Block is 1.
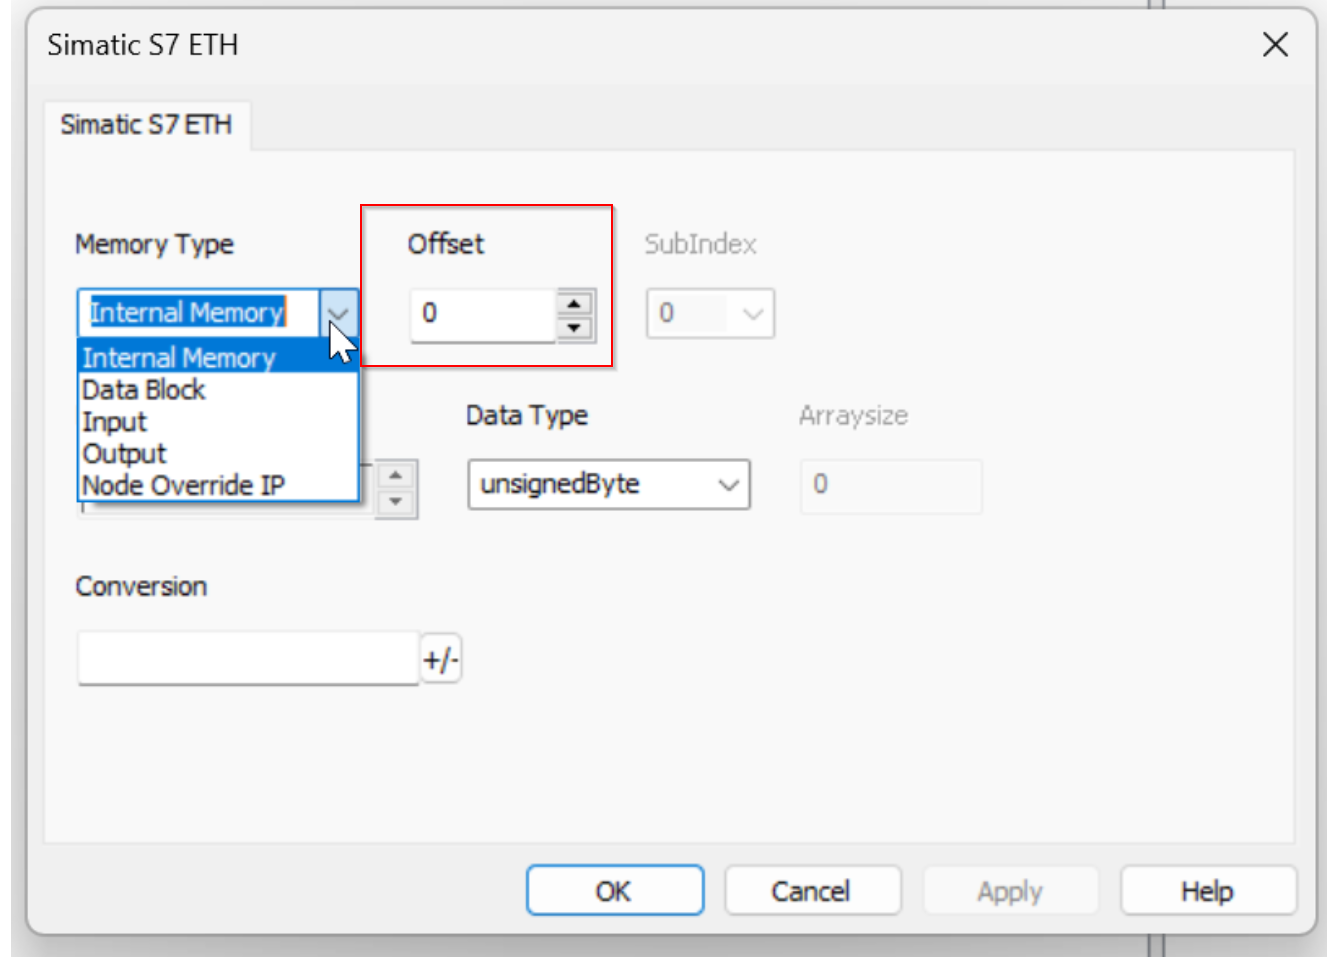
Offset
Offset sets Offset to the address of Siemens’ DB1 that JMobile Runtime will access.
This article is 0, which means it will be accessed from DB1.DBX0.
Data Type
Data Type will be the data type of the variable in the Siemens Data Block that JMobile Runtime will access.
This article will be set to float[], which means it will be an array of real numbers.
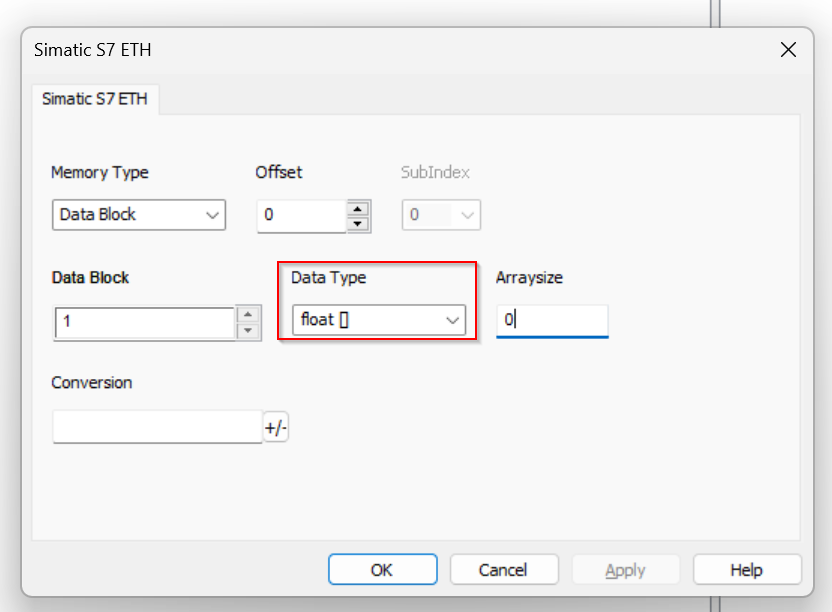
Arraysize
Data Type is set to float[], which allows the input of an Arraysize Field.
Arraysize is the length of the array, and now Arraysize=4, which means float[4].
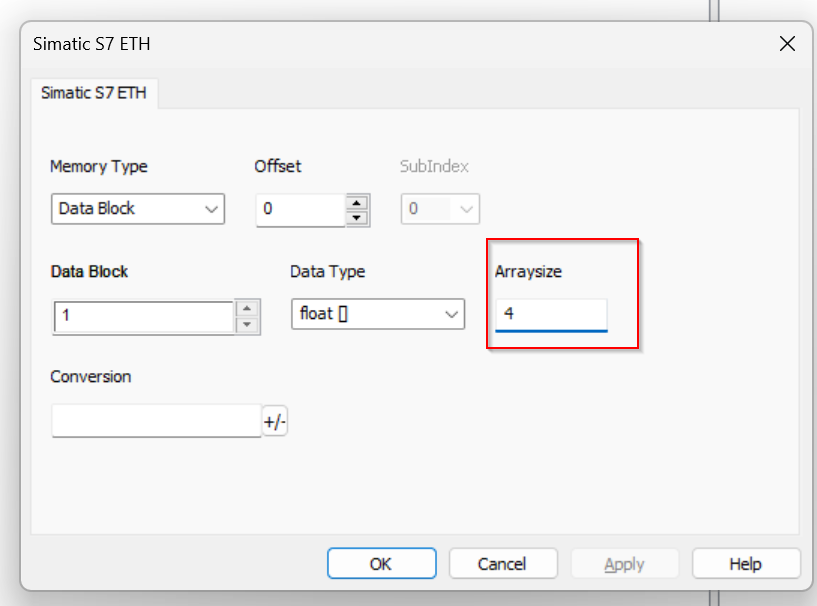
Done!DBD0 to DB1.DBDDBD12, the real number array Format is now accessed from Jmobile.
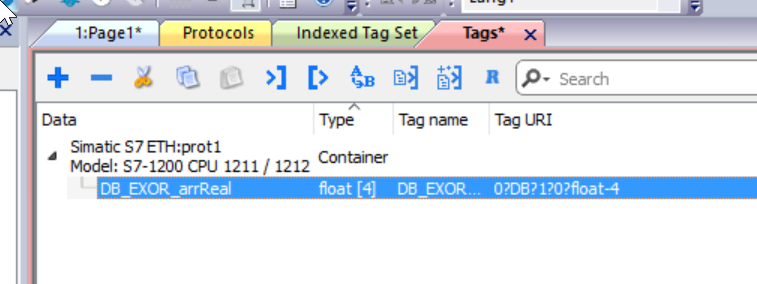
In the previous setup, JMobile accesses the arrReal variable.
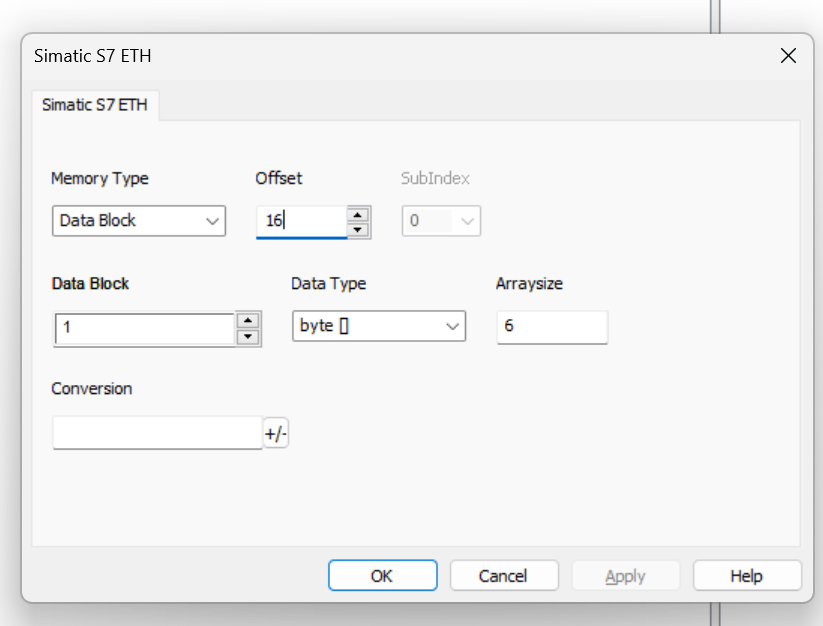
One More Example!
Let’s set another variable.
- Memory Type=Data Block
- Offset=16
- Data Block=1
- Data Type=byte[]
- Arraysize=6
In other words, this Tag accesses the Byte array DB1.DBB16 through DB1.DBD21 for Siemens devices.
Screen
Add a numeric display component to the project.
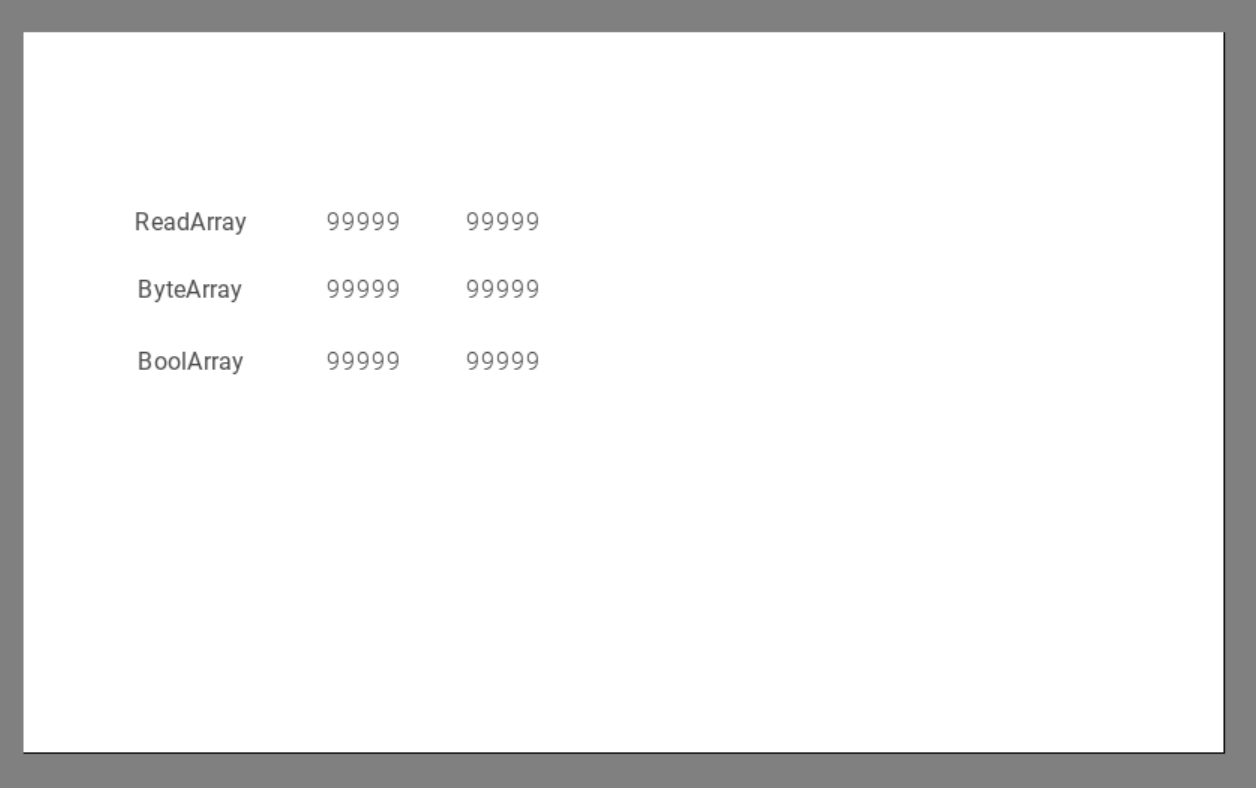
Result
Done!Siemens and JSmart panel were able to communicate.
Add Tags From File
Since adding Tags one at a time is tedious, JMobile Studio can also add Tags in bulk from File.
Export From File
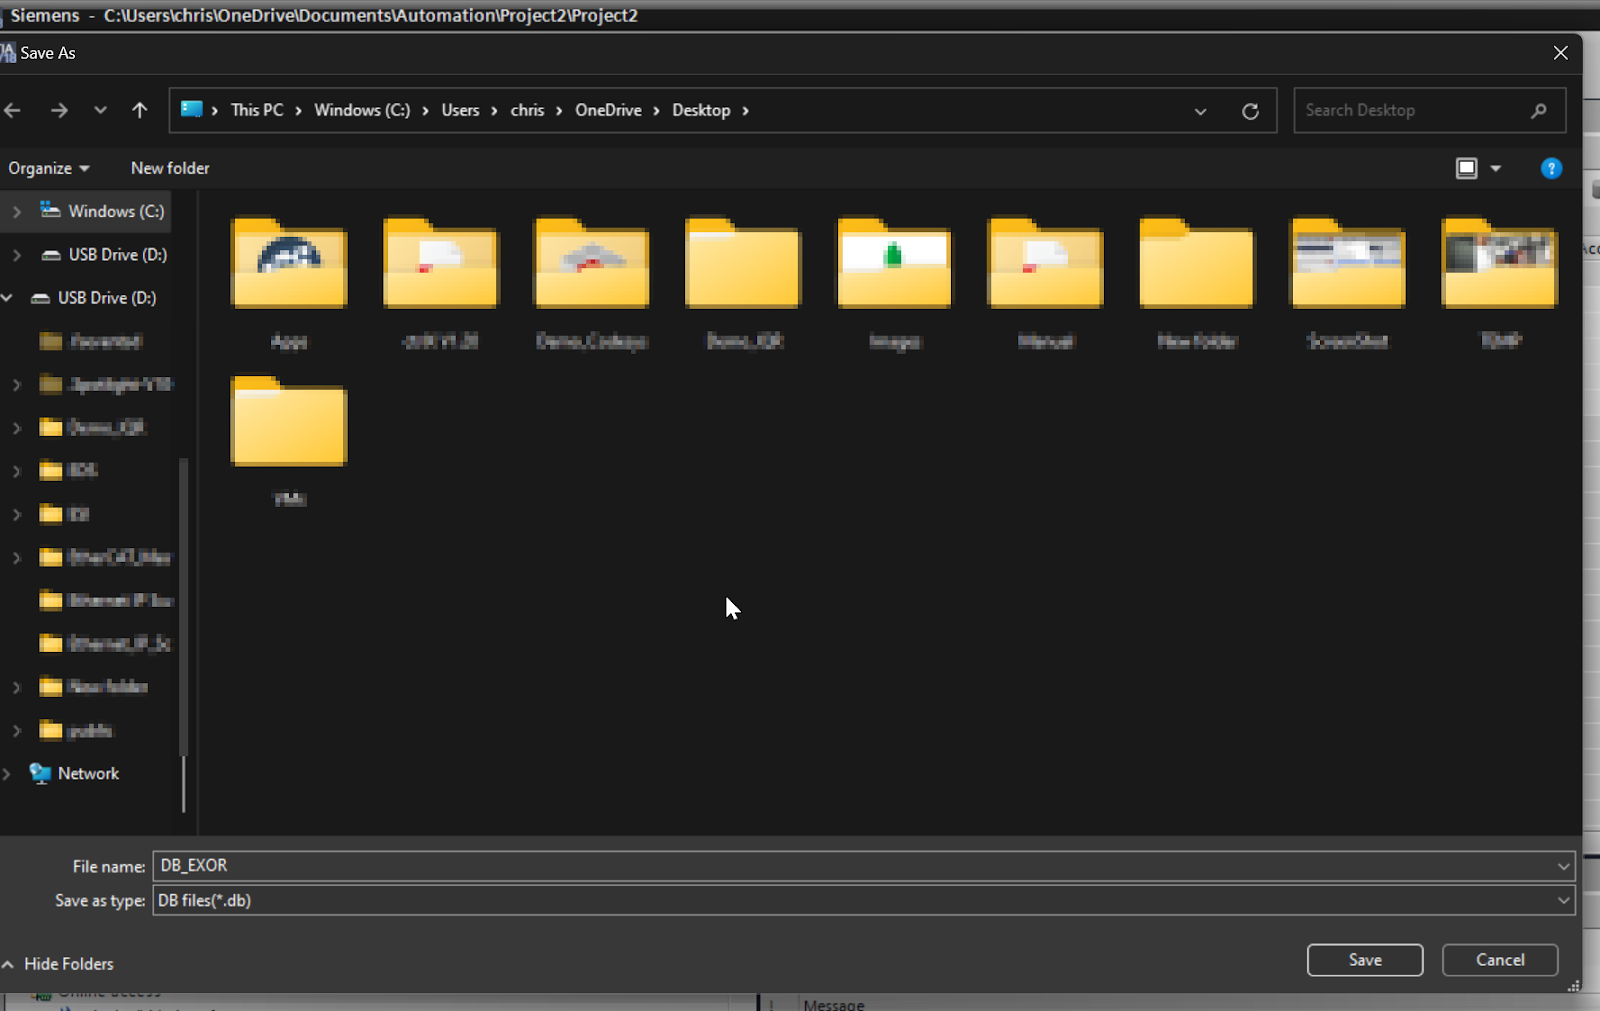
You can export the corresponding Data Block by selecting the Data Block from the TIA tool>Tools>Generate source from blocks>Selected blocks only.
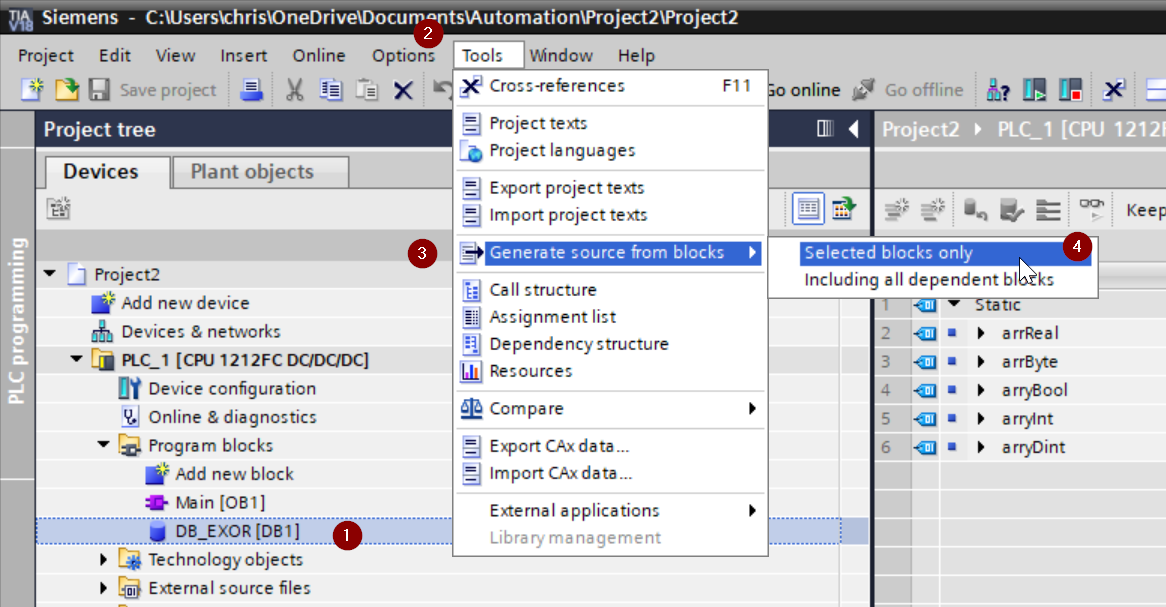
Set the export destination.
Import to Jmobile Studio
Now that you have exported the Data Block from TIA, you can now batch import the Tags using this File from JMobile Studio.
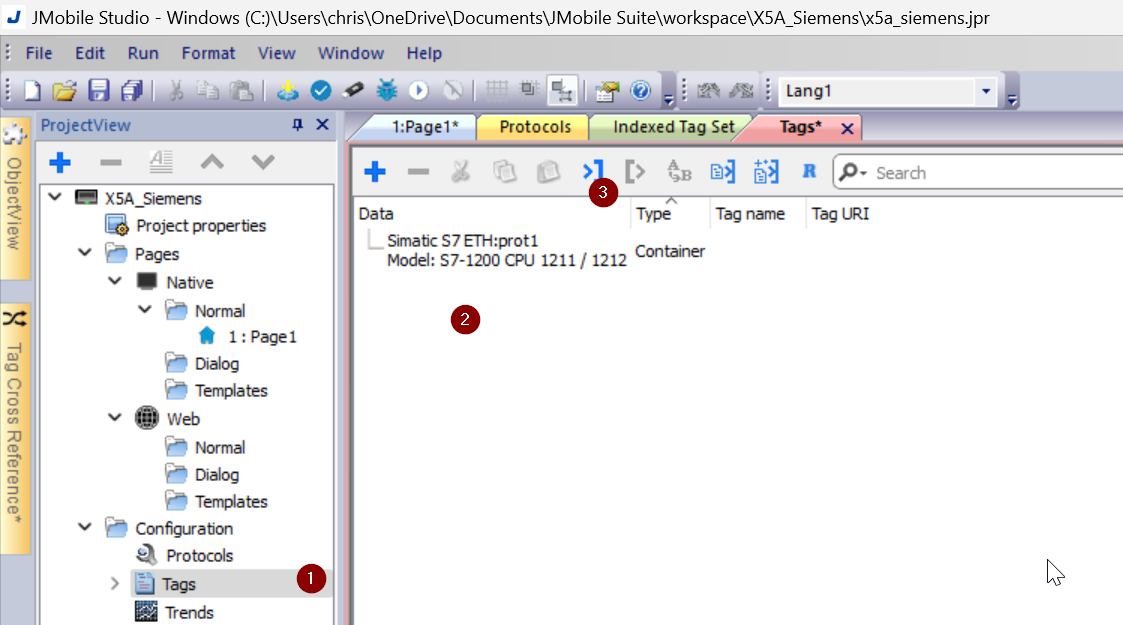
Click on Tags>Select Siemens Protocol>Import ICON.
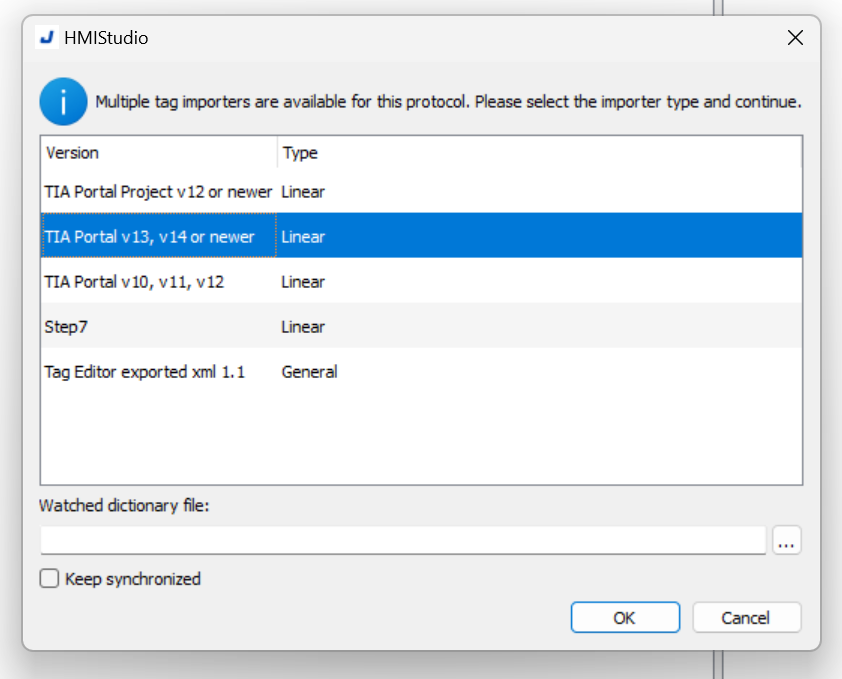
Select TIA Portal V13, V14 or newer.
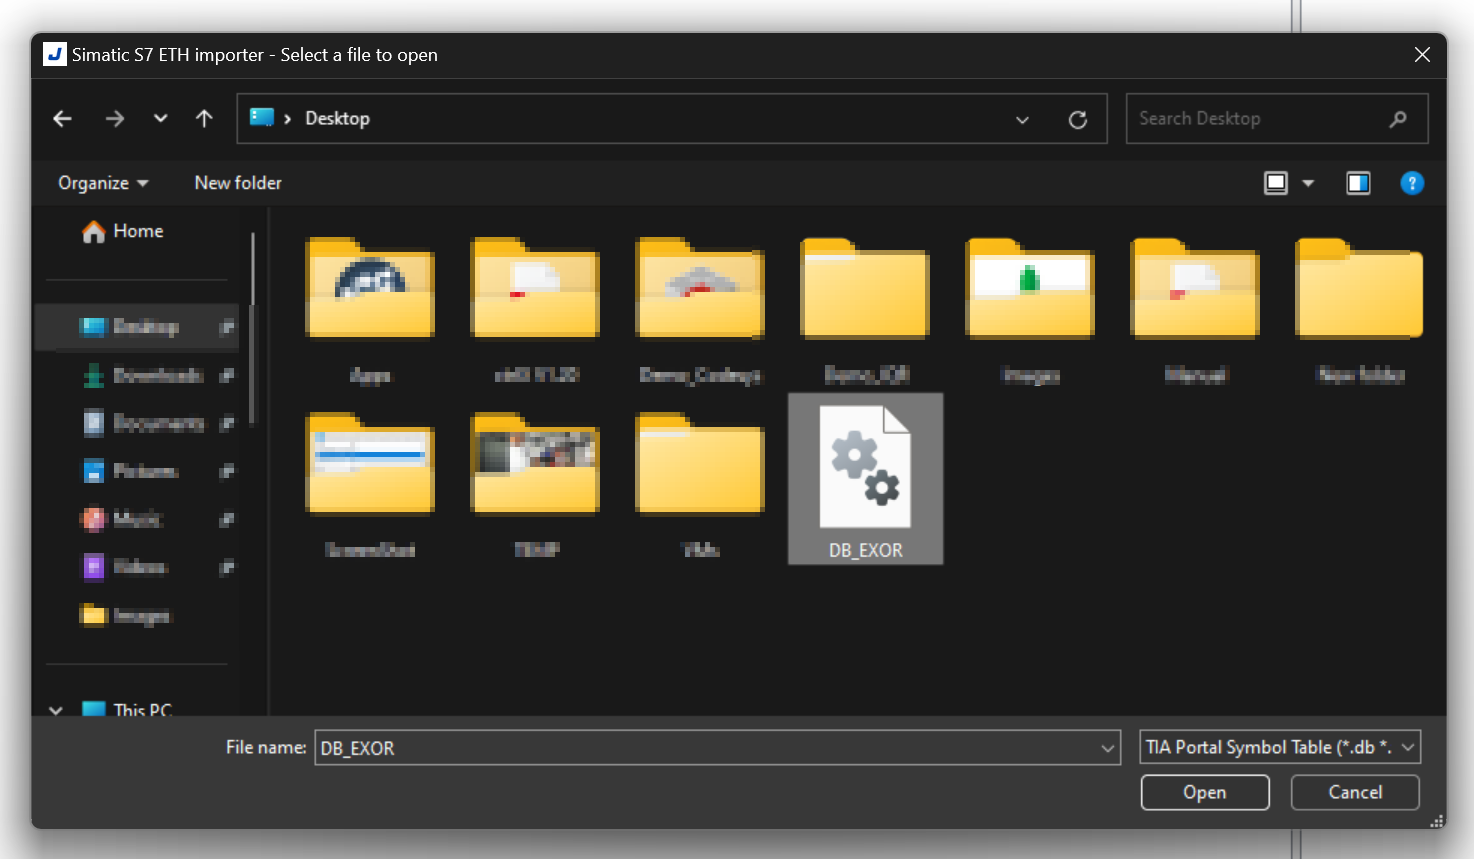
Click on the … button in the Watched dictionary file.
Open the File you just Exported.
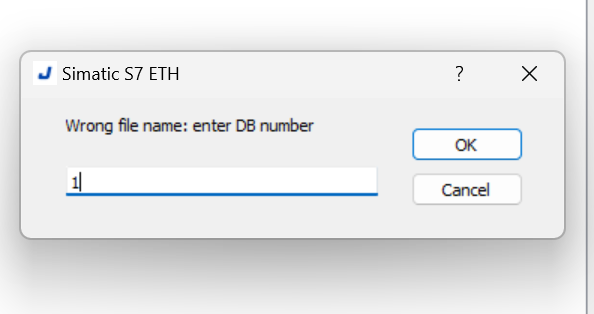
The Wrong File name screen is displayed.
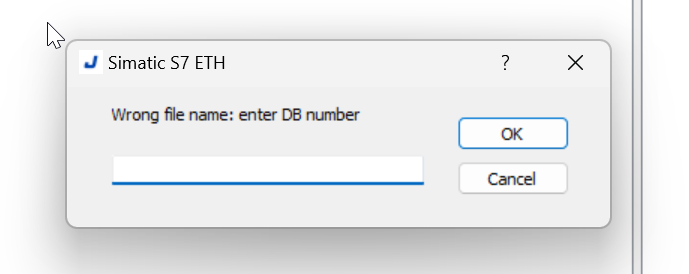
Enter the DB number. In this case, enter 1 since it is DB1.
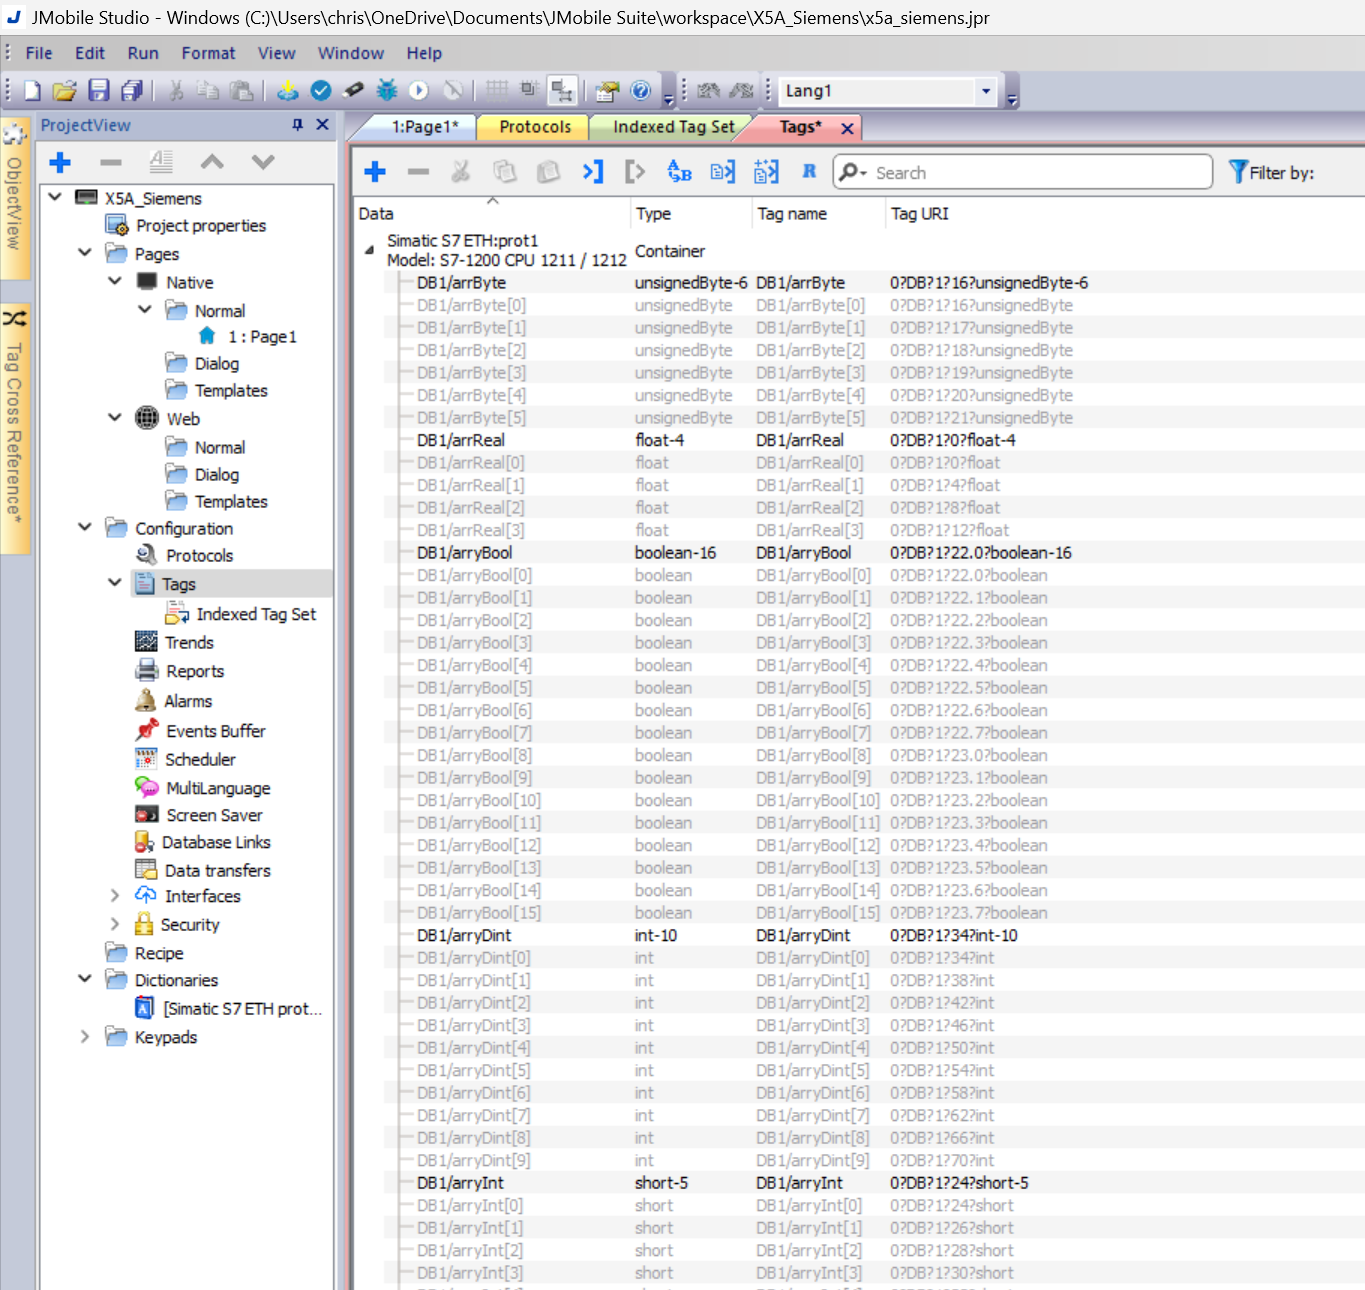
Done!Tag has been Imported.
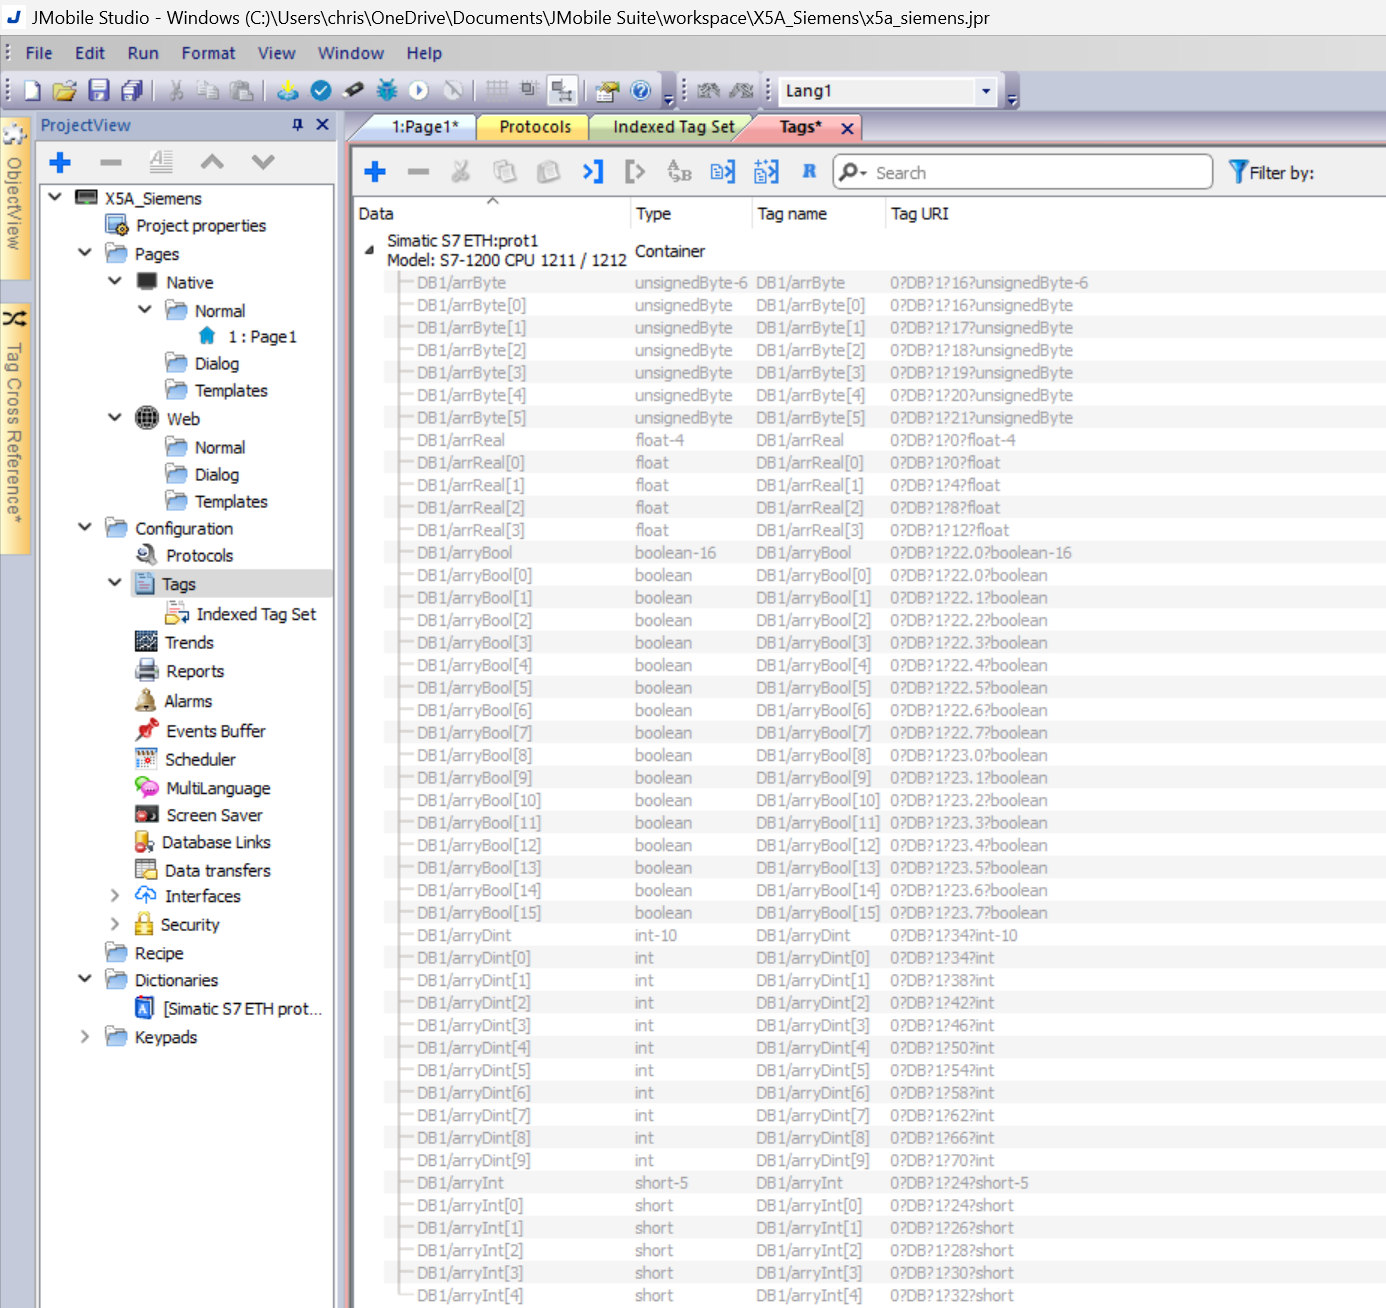
Select Tags to Import
Import the Tag you need.
MultiLanguage Settings
Next, we will discuss multi-language settings.
All HMIs have multi-language capability, so of course EXOR’s panel can support it.
Click on Configuration>MultiLanguage.
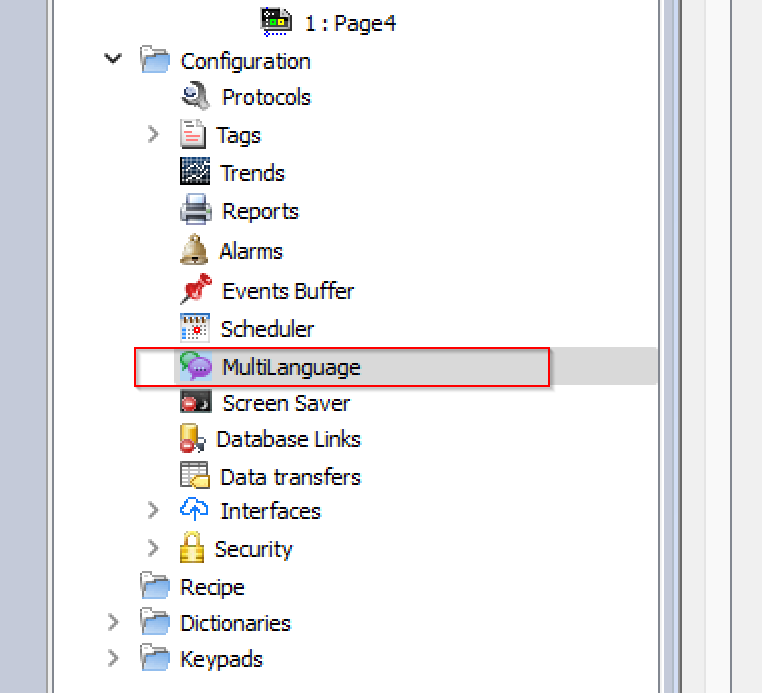
The MultiLanguage settings screen is now displayed.English only in Default.
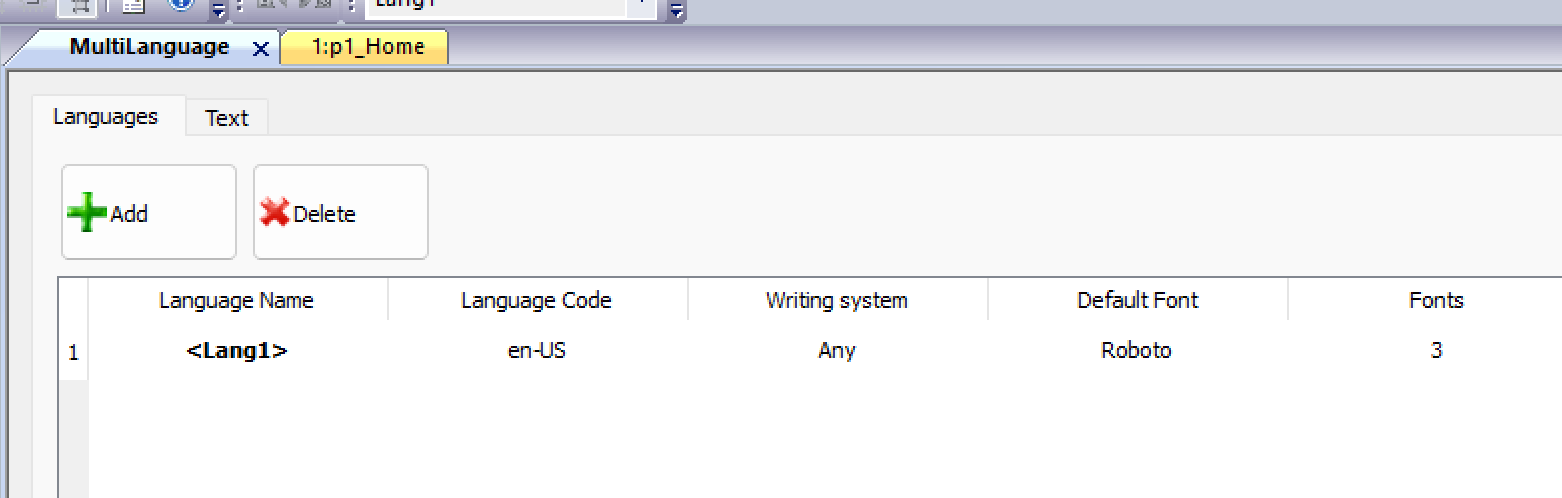
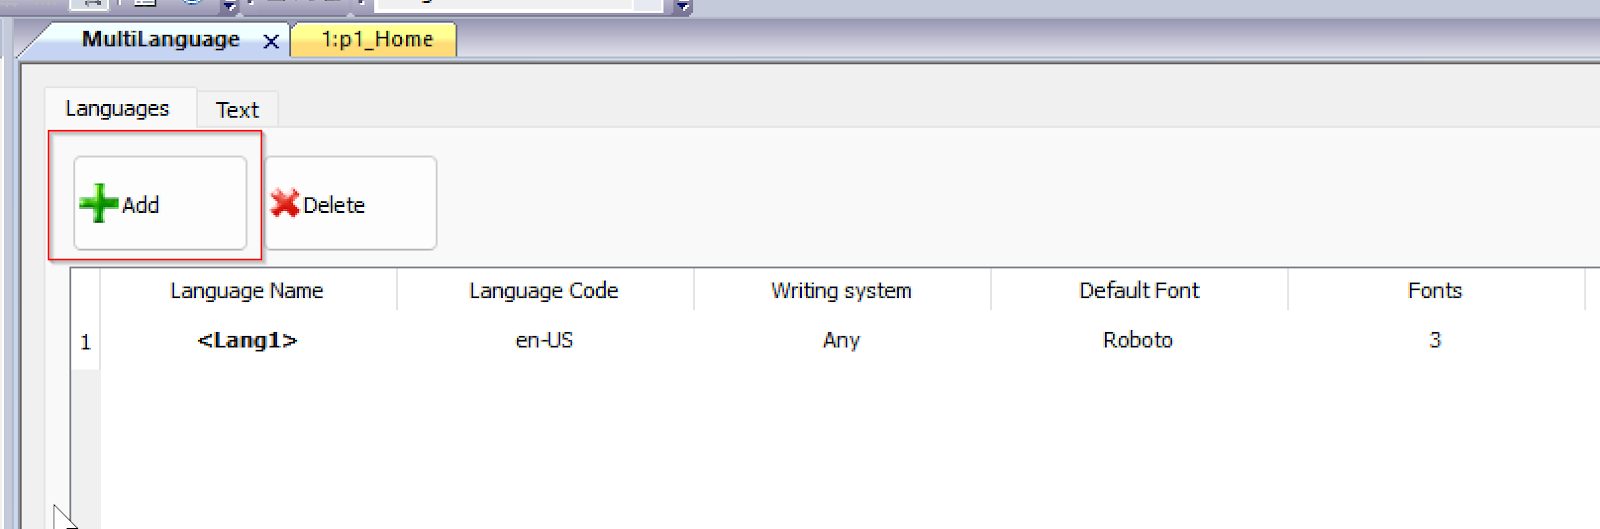
Add New Language
+Add button to add a new language.
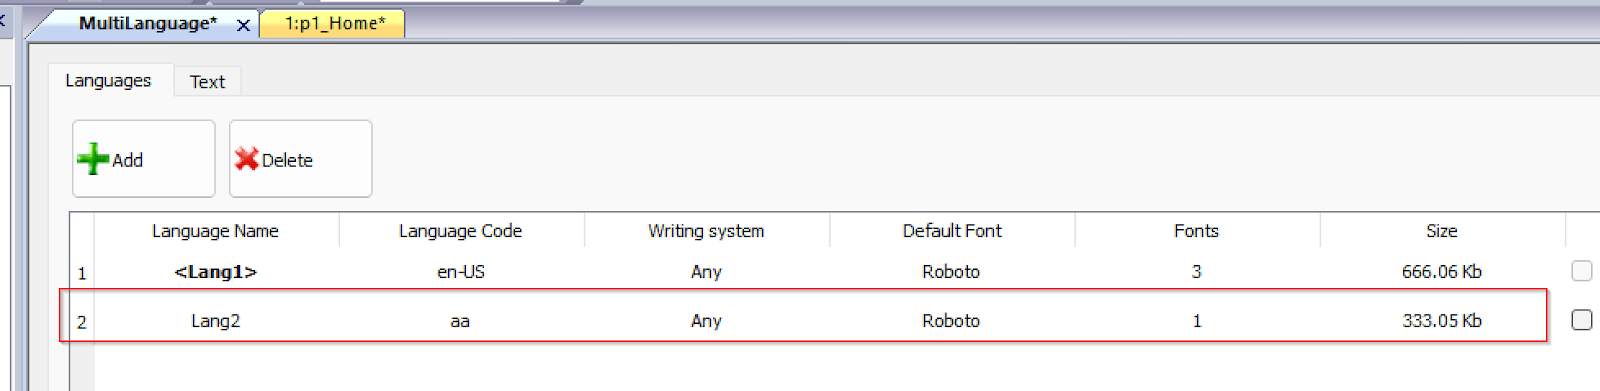
New languages have been added.
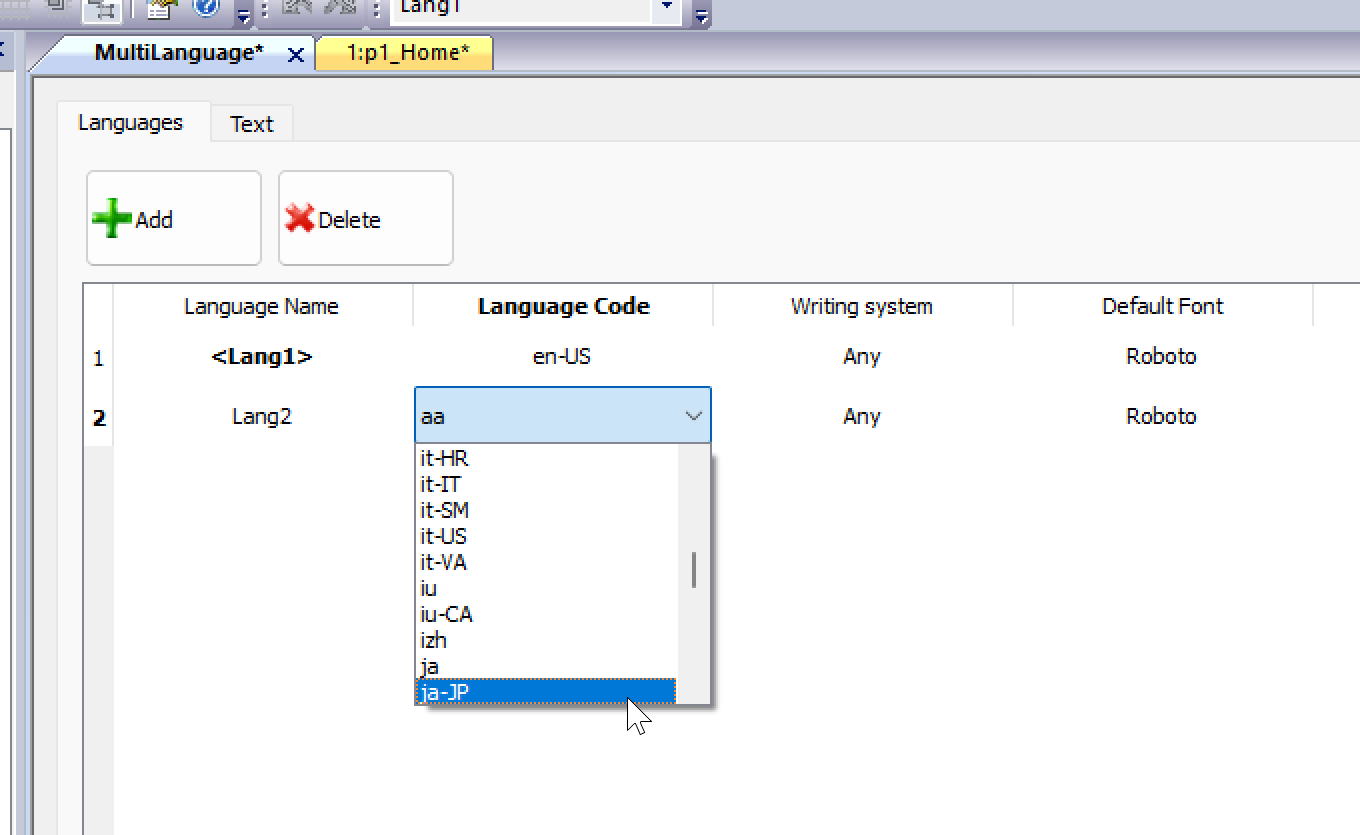
Language Code
In this Example, Japanese is used, so set Language Code to Jp-JP.
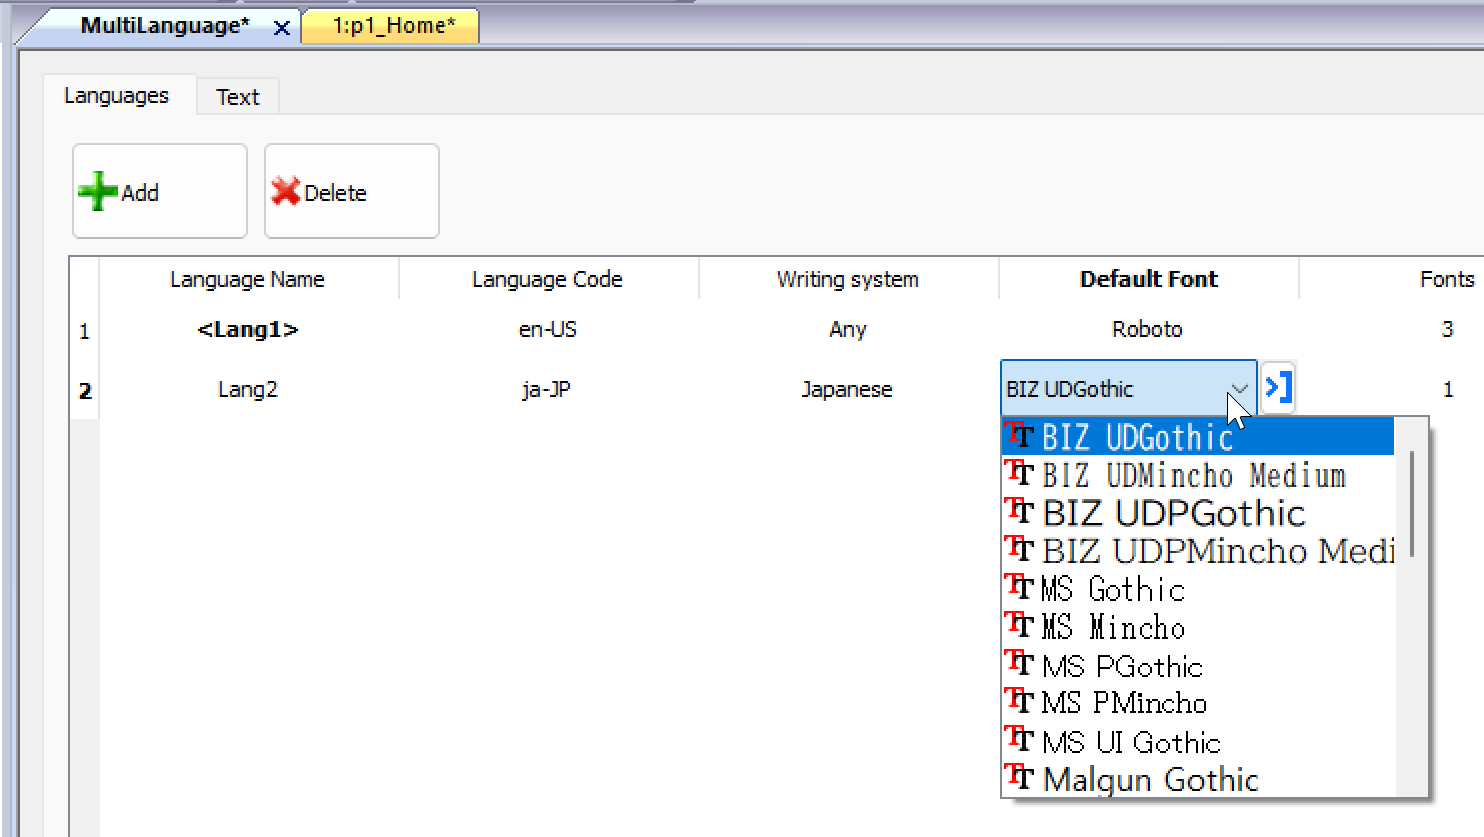
Writing System
Set Writing System to Japanese.

Default Font
Set the Font.
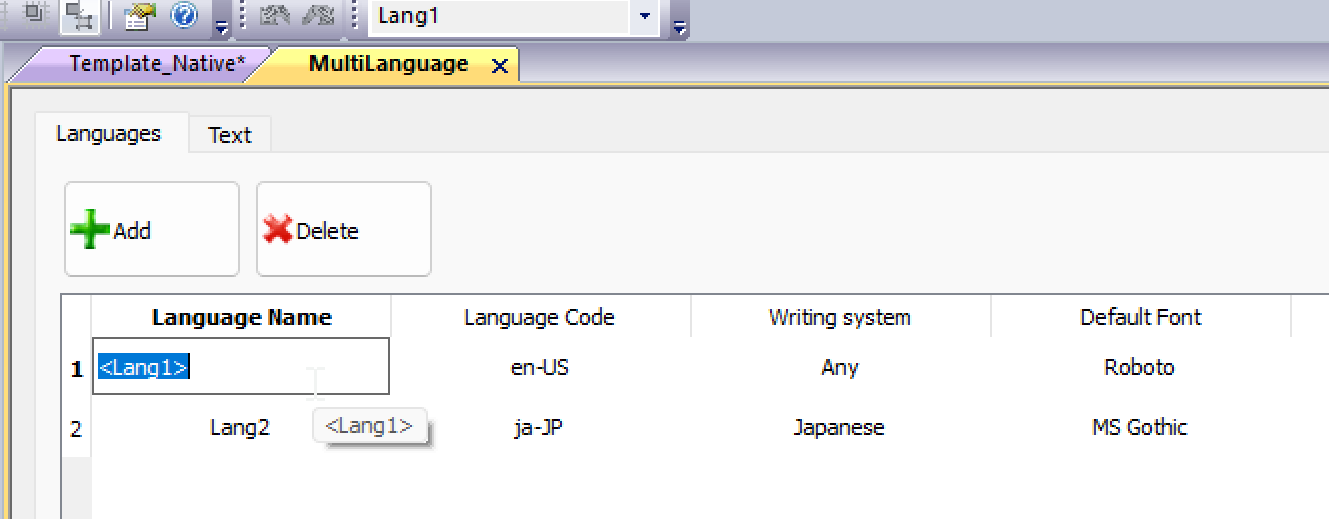
Language Name
Change Language to a name that is easy to understand. For example, ENG or JAP.
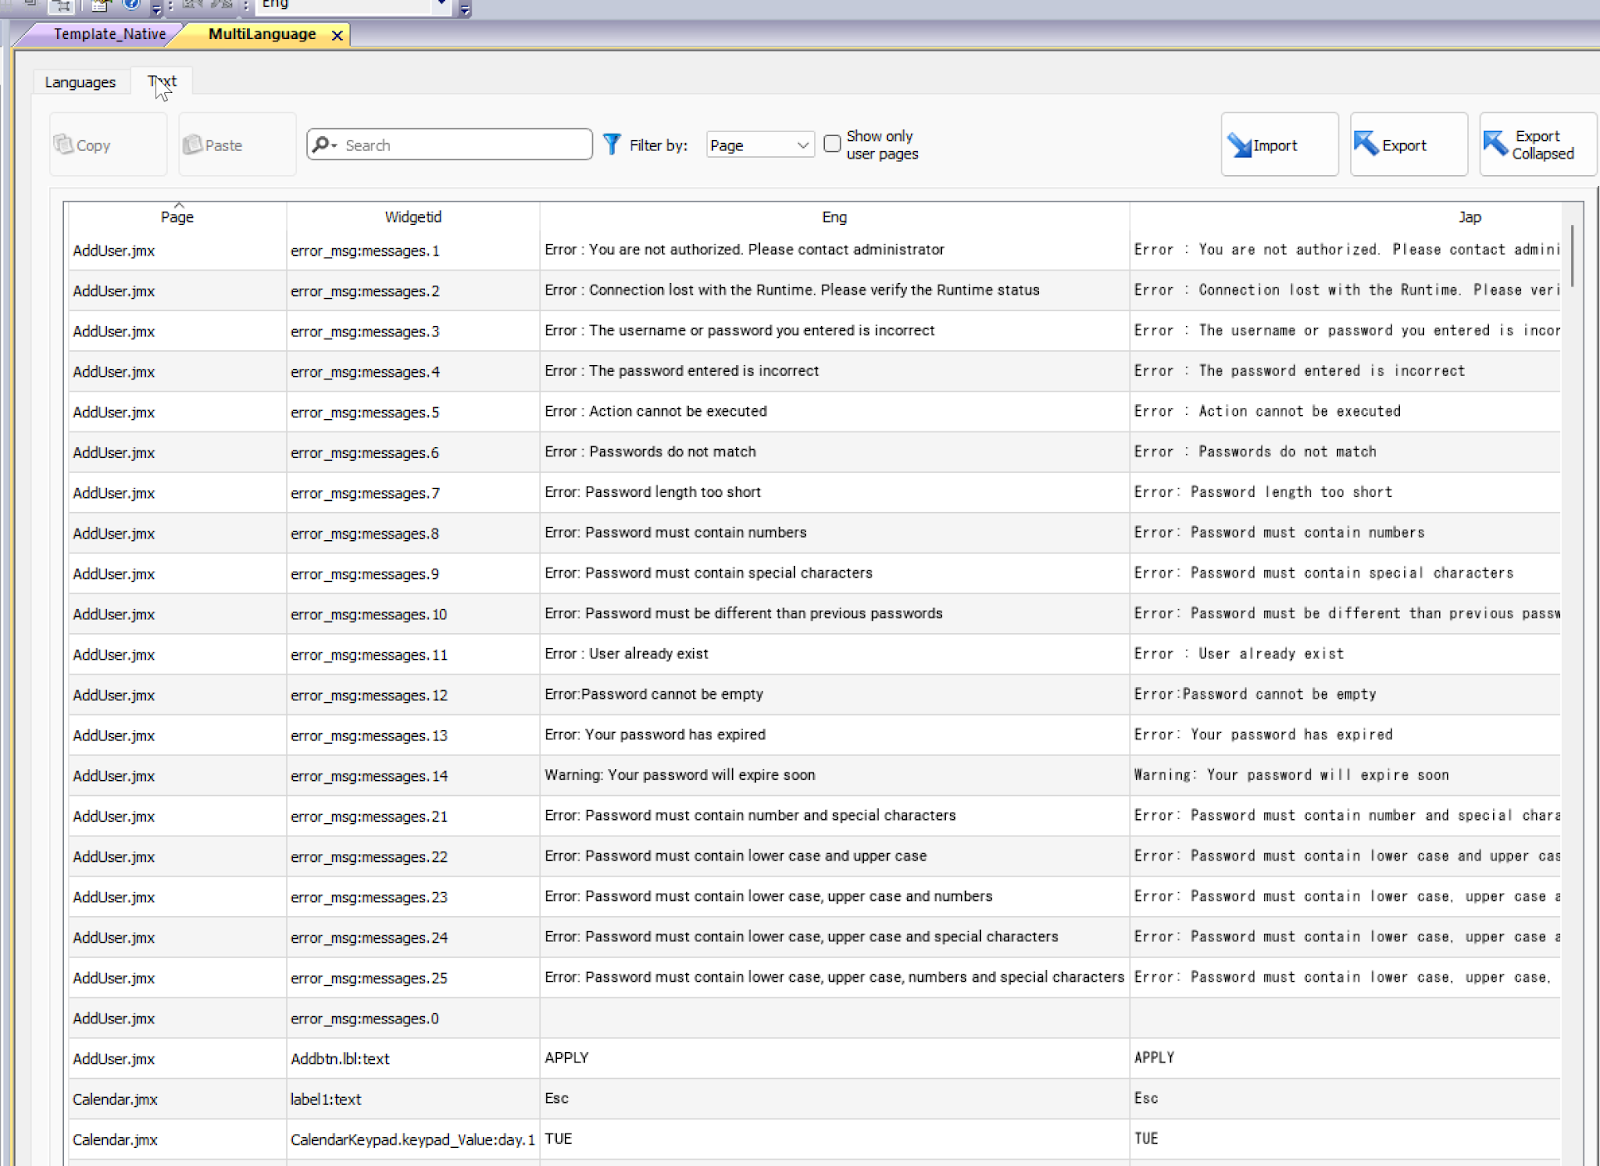
Edit Your Text
Next, in the Eng and Jap columns, simply enter the English and Japanese displays.
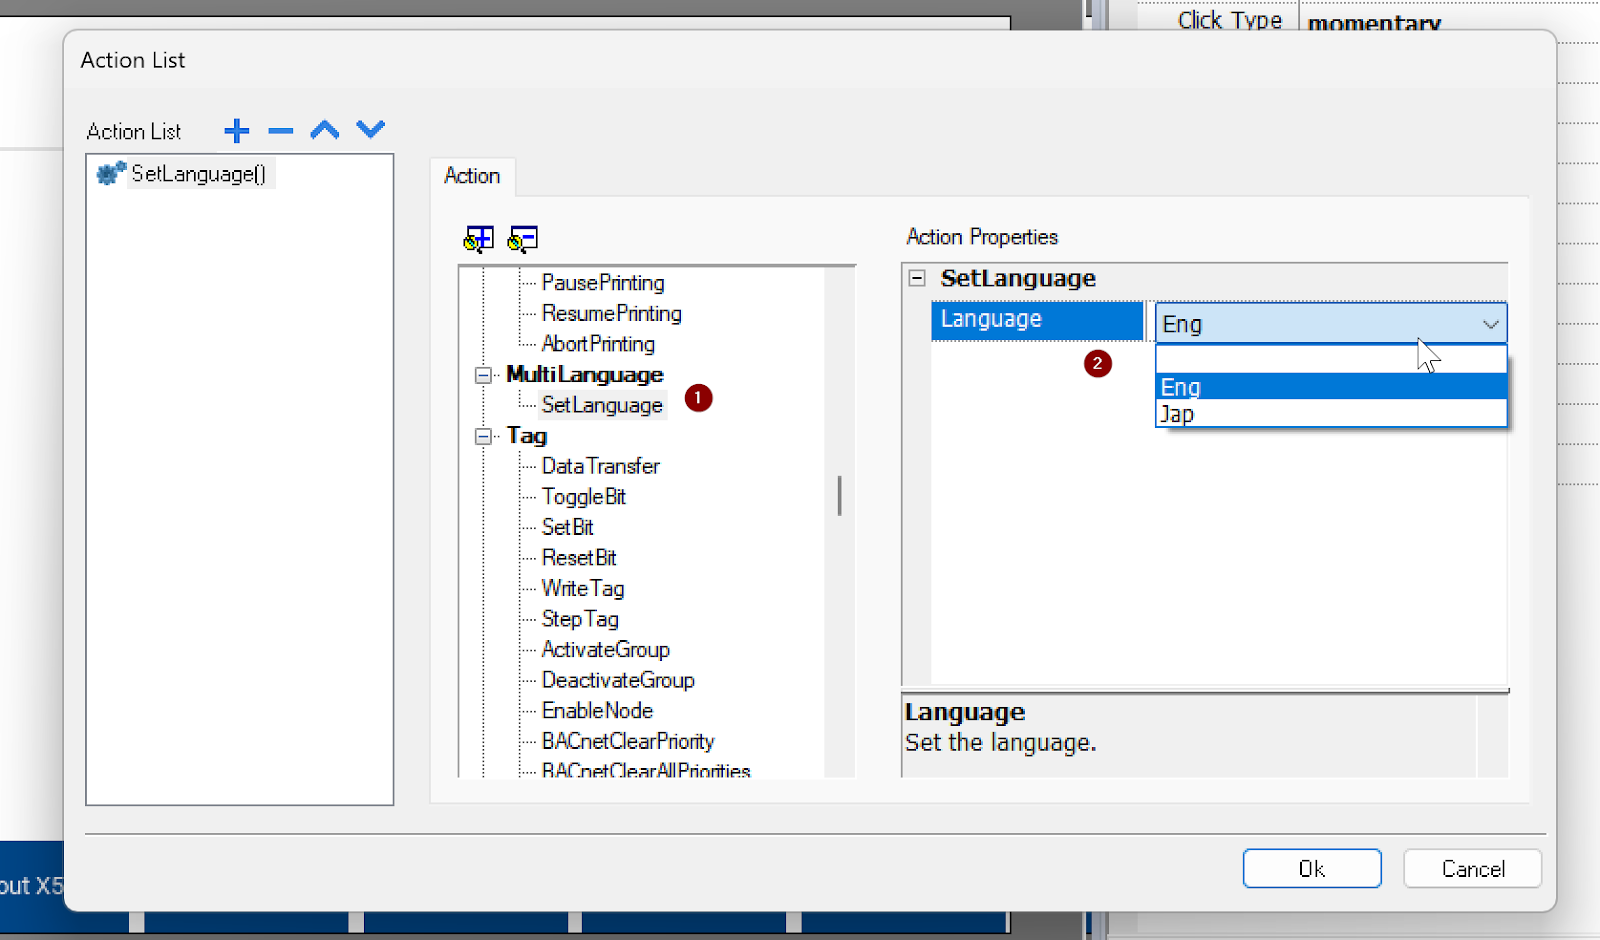
Language Change Event
To switch languages, select MultiLanguage>SetLanguage and set the language you want to display from the Drop-List of Language.
Result
Done!I was able to switch between Japanese and English.
FTP Function
The last section introduces the FTP functionality: the EXOR panel has a built-in SFTP Server that allows access to the File System inside the EXOR panel from other PCs.
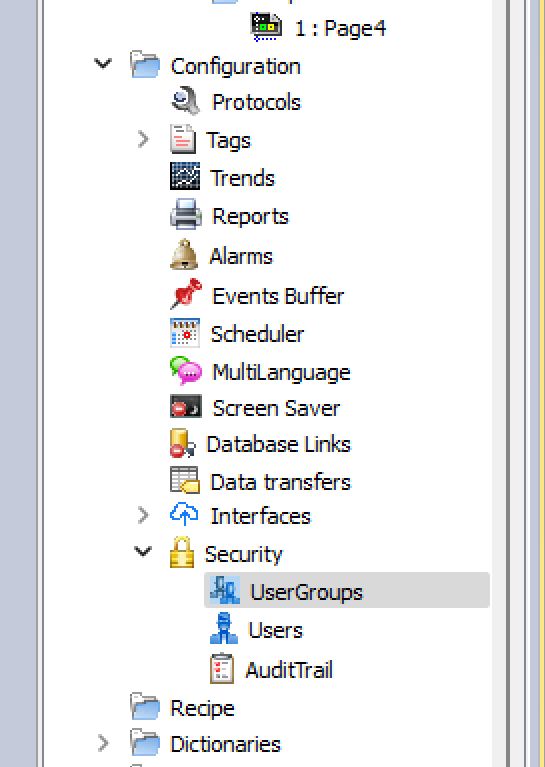
To login to the SFTP Server, a User with this privilege is required.
To edit the User privilege, go to Security>UserGroups.
Activate FTP authorization
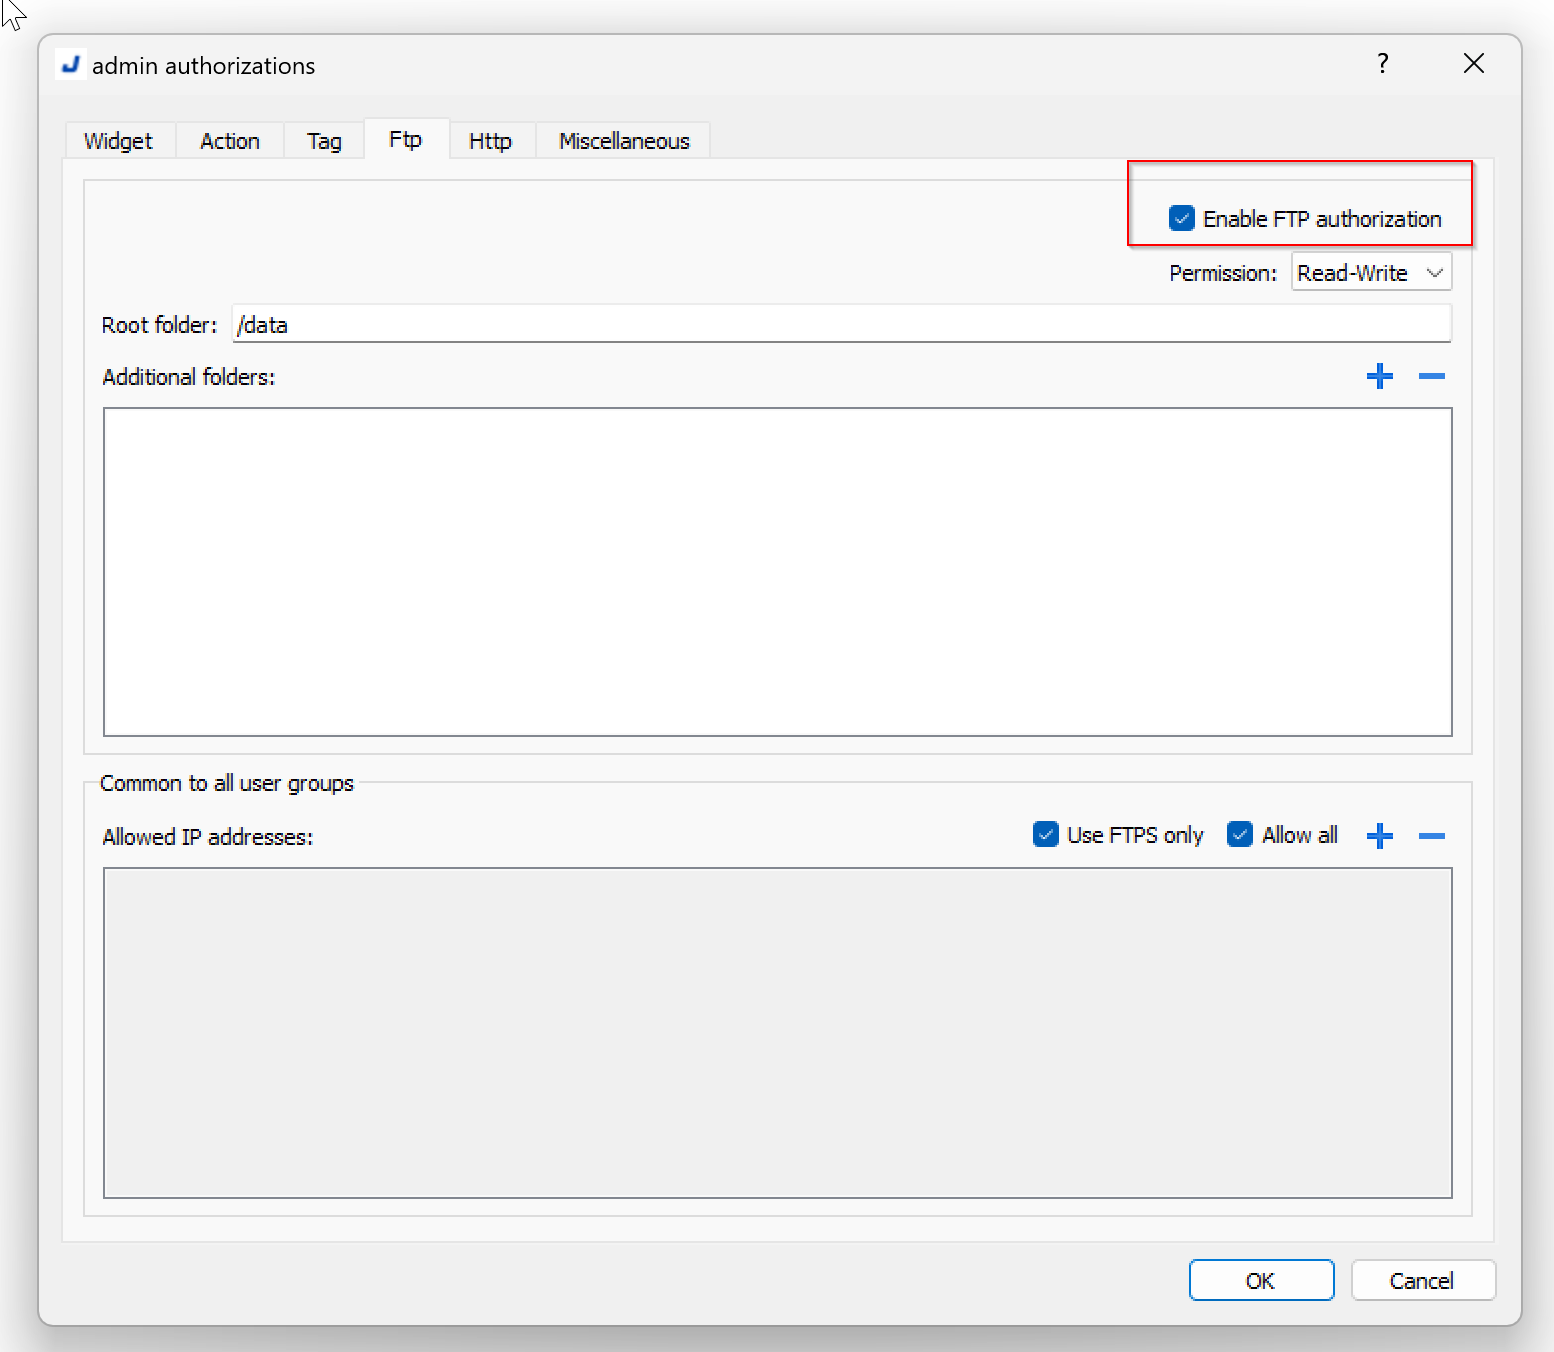
Click Authorization Settings.

When the Admin Authorizations screen appears, check the “Enable FTP Authorization” checkbox.
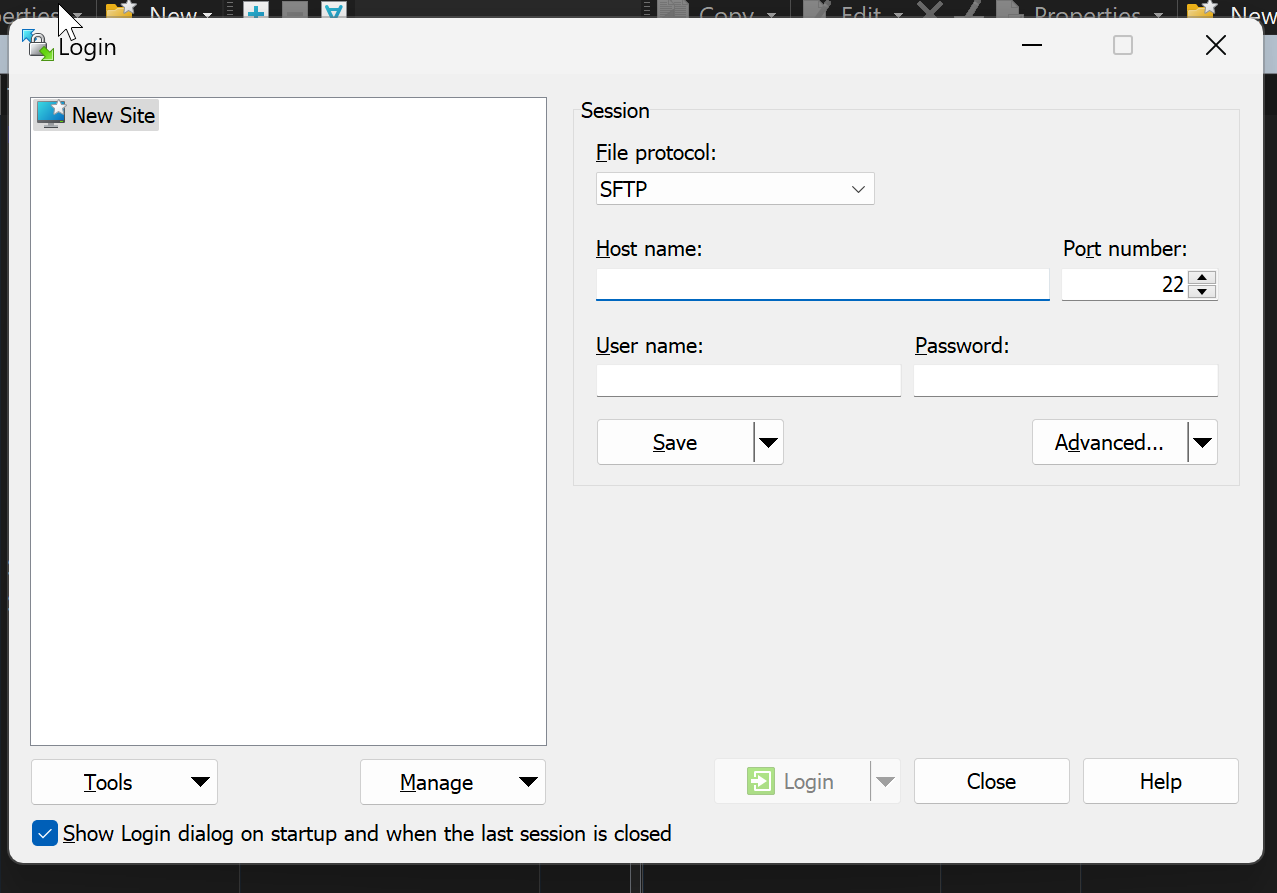
Test with WinSCP
Finally, install the free SFTP Client WinSCP software on your PC, connect from your PC, and you are good to go.
File Protocol=SFTP
Hostname=IP of the EXOR panel
Username and Password=User and its Password that you just set up.