Here is part2 of my EXOR JSmart710M tutorial, and I will start-up an OPC UA Client on the JSmart710M side and configure an OPC UA server in S71200 to build non-security connections.
Let’s Start!
Reference Link
http://soup01.com/en/category/protocol-en/opcua-en/
http://soup01.com/en/category/siemens-en/
Implementation
Siemens Side
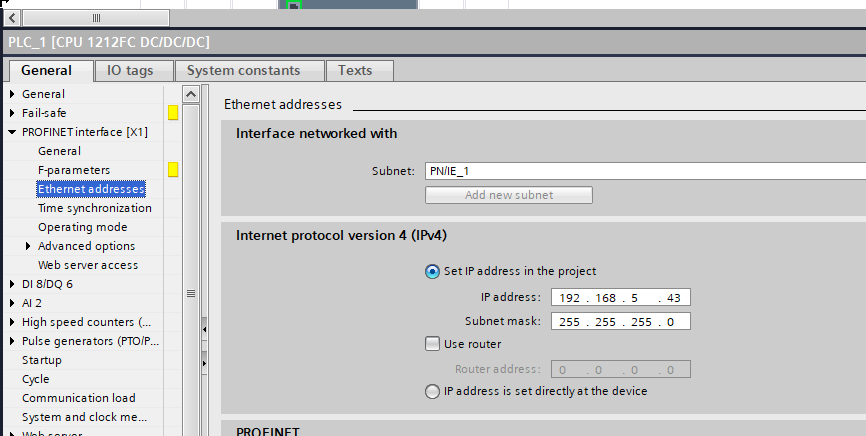
IP
Launch your TIA application and Create a new project.

Enter the IP Address in the PROFINET interface>Ethernet address Field.
OPC UA Server
Then we need to enable the OPC UA Server function by OPC UA>General>Server, and Check on the “Activate OPC UA Server” checkbox, but also configure the Server Port.

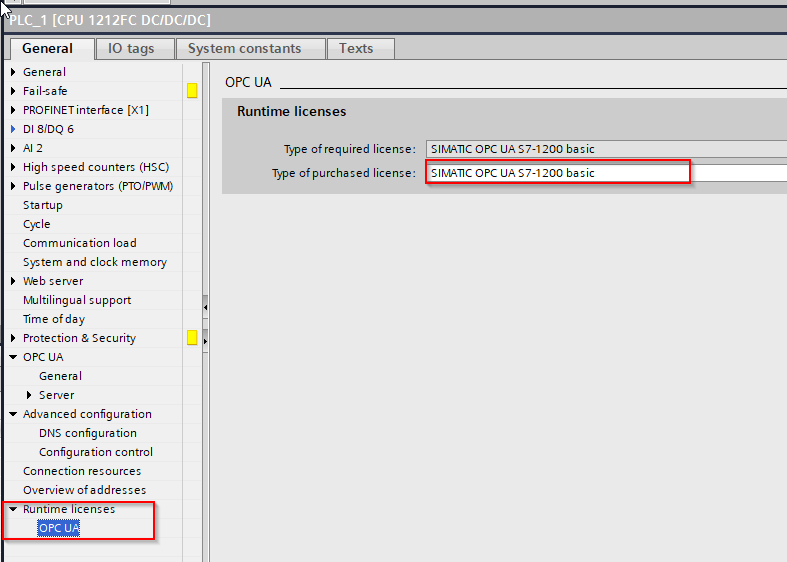
License
Finally we can go to the Runtime License>OPC UA to select the License type to “SIMATIC OPC UA S71200 Basic.
Add DB
Create the Data Block and Check the “Accessible From HMI/OPC/WebServer” box.

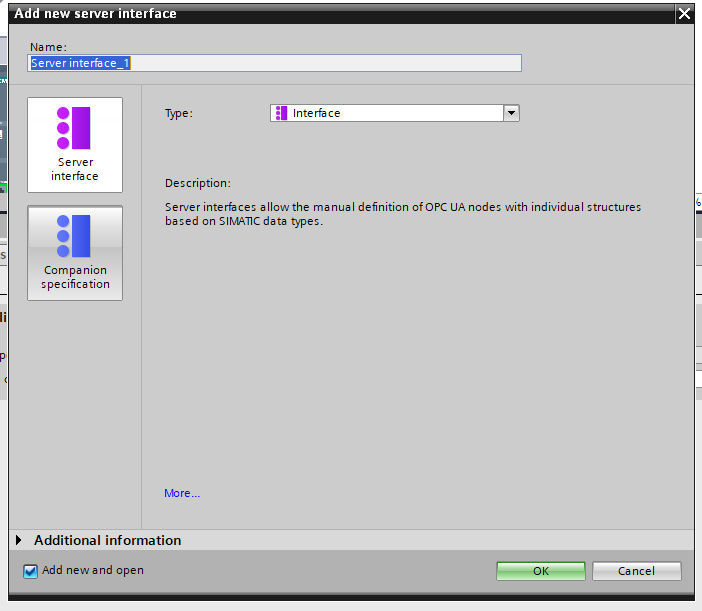
Add Server Interface
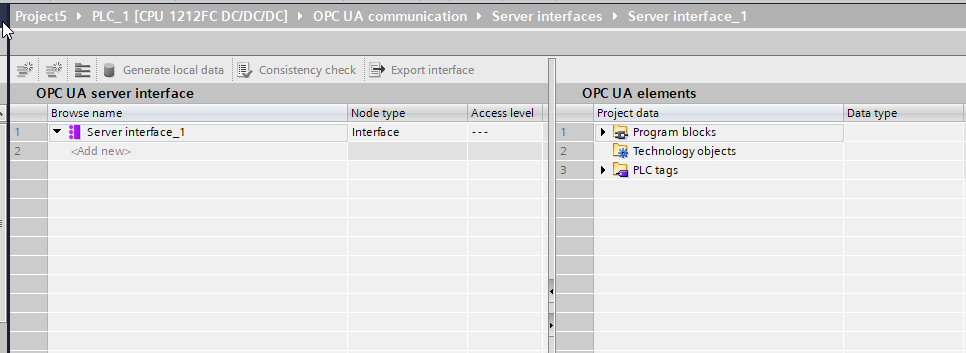
Now we can insert our OPC UA Server Interface. Go to OPC UA Communication>Server interface and Click the Add New server interface.

Enter your Server interface name and OK.
Done!Server interface is inserted.
Drop the variable that you would like to publish as an OPC UA Server node to the “Server interface” side.
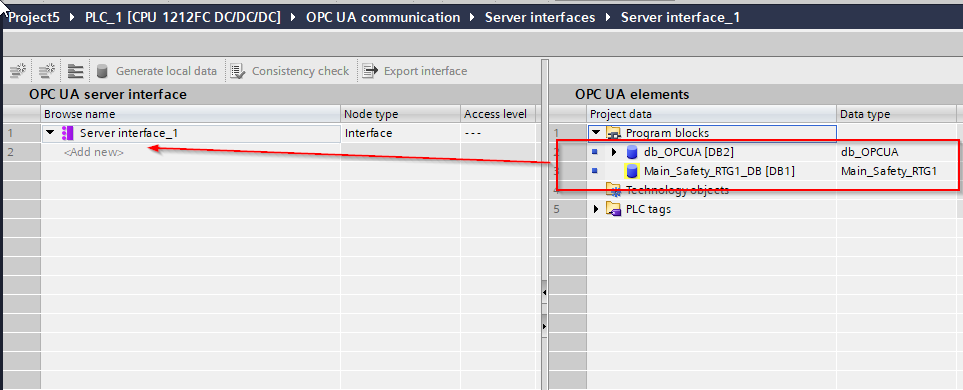
Just like this:

Program
we can create some sample program to change the values of these nodes cyclically.

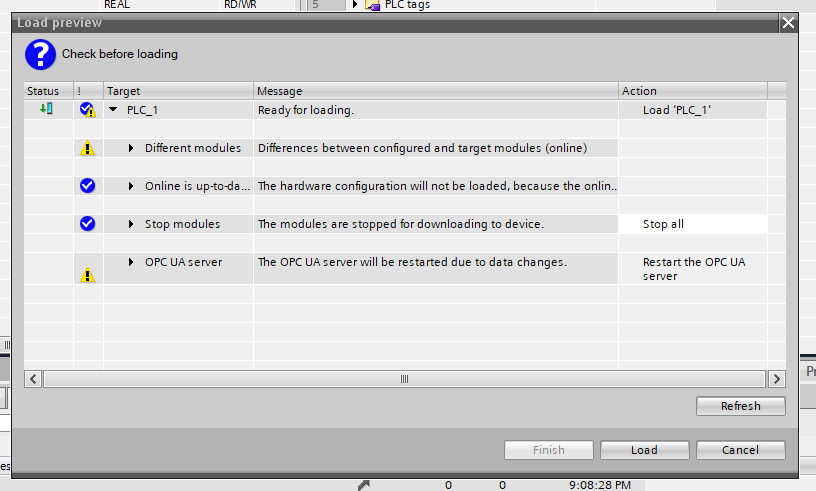
Download
Press the Download to device button to download your project to CPU.

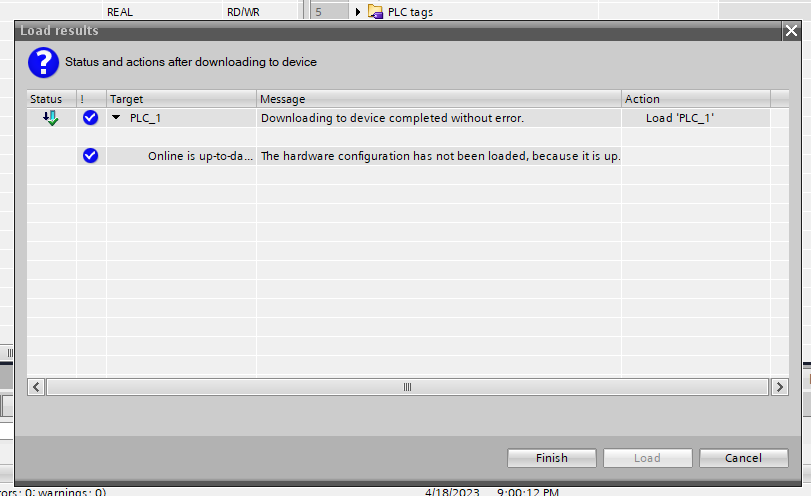
Load it.
Done!
Exor Side
Add Protoccols
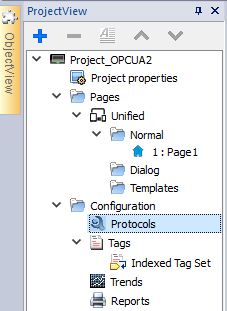
Launch the JMobile software and go to Configuration>Protocols to add the protocols.
Protocol configuration screen is shown and use the drop-down list to select your protocol.

In this tutorial OPC UA Client is used.

Configuration
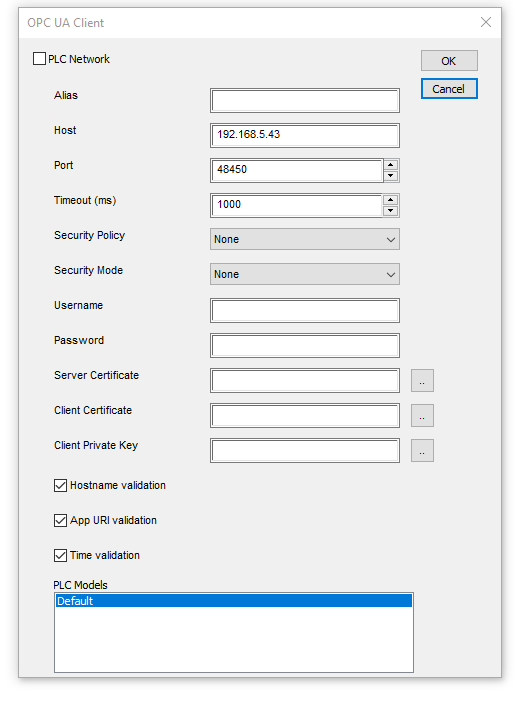
OPC UA Client configuration screen is shown.

Enter the S71200 Ip address (192.168.5.43) and the port of the OPC UA Server that you configured in TIA(48450 in this case).
Add Tag
Then we need to add the Tags, and these tags are used in link with your HMI Object.
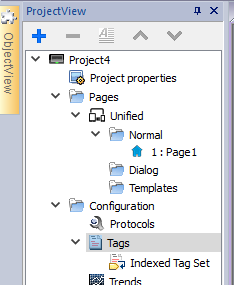
go to Configuration>Tags.
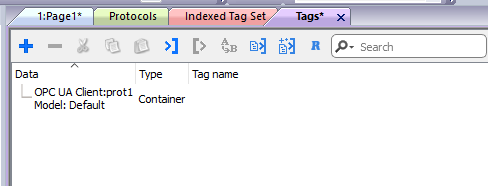
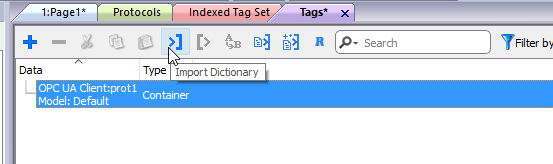
The OPC UA Client that we inserted in previous step is shown.
Select that OPC UA Client and press “Import Dictionary”.
You can choose using OPC UA Discovery or Tag Editor exported xml to import your OPC UA nodes.
For the OPC UA Discovery, you can directly browse the OPC UA Server target and select all nodes that you need to use in your project.
For the Tag Editor exported xml, you can import the Nodes from XML file format.
I would recommend using the OPC UA Discovery at least one time to confirm the connectivity with the OPC UA Server.
In this tutorial, OPC UA Discovery is used.

OPC UA Client importer is launched.
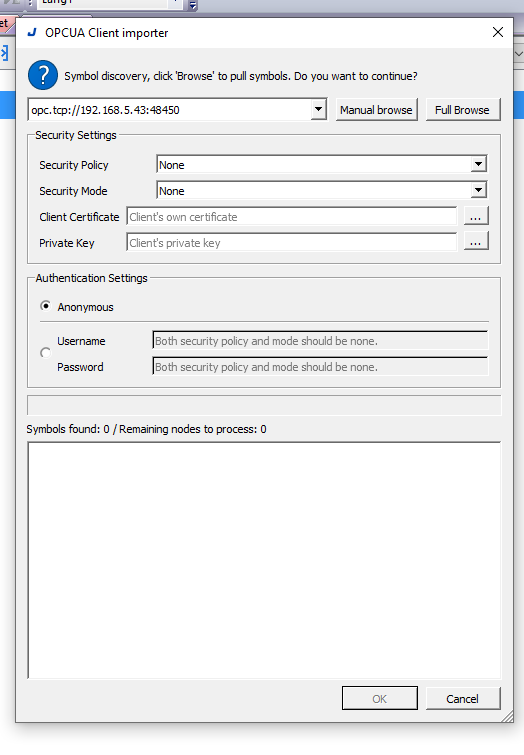
Please double check the settings of the S71200 OPC UA Server setting and click “Full Browse”.

OPC UA Server Certificate confirmation screen is shown and please press “Accept permanently” to Accept the certificate.

Done!OPC UA Client Importer is starting to Browse the nodes..

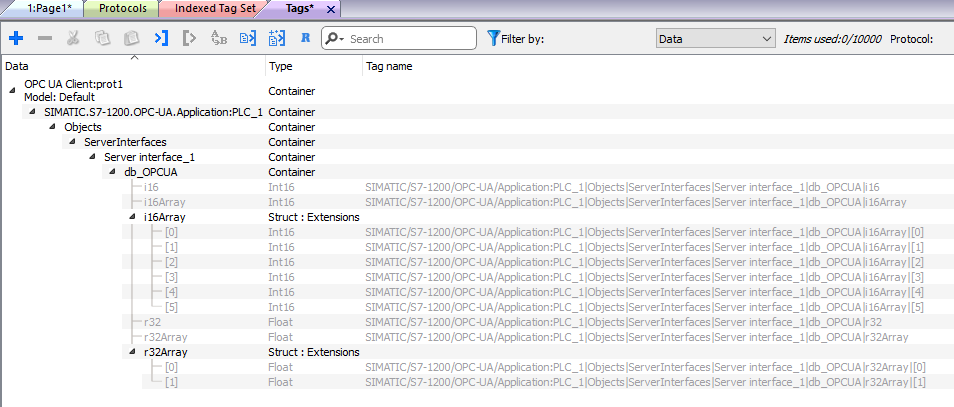
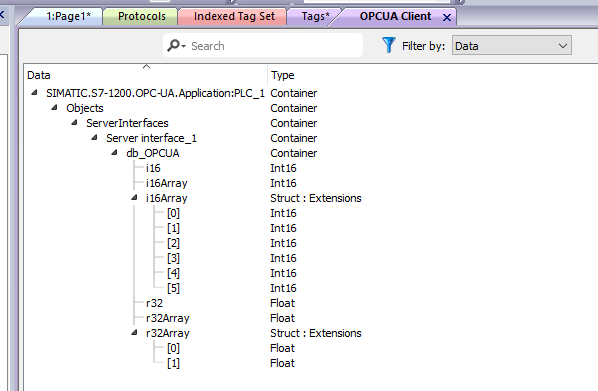
Done!All the Nodes that are inside your Siemens S71200 are shown.
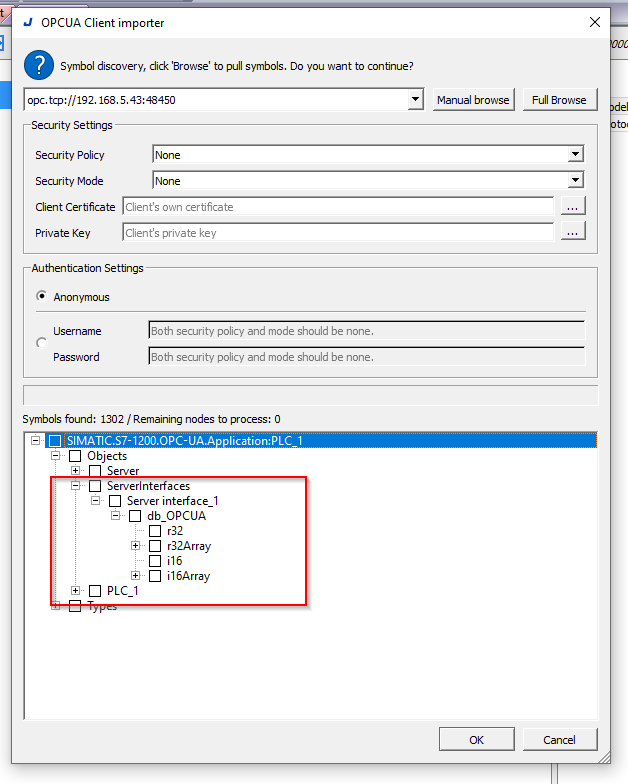
Select the Node that you would like to import into your project and press OK.

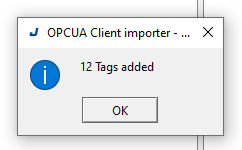
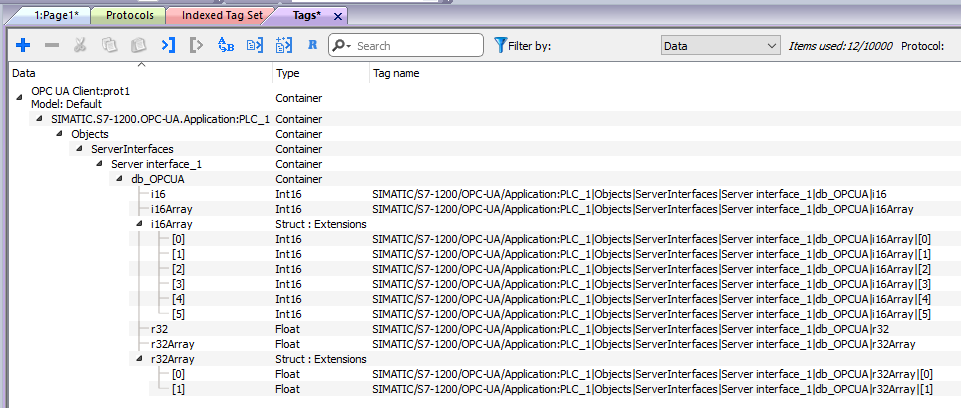
Tag are added in your project.
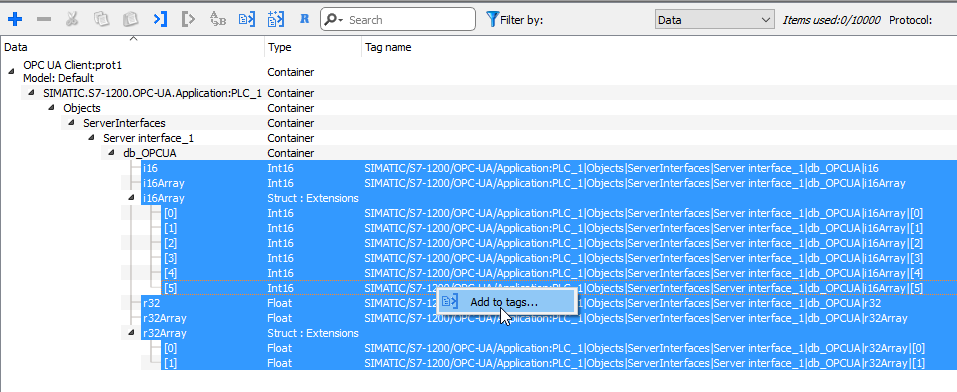
Tags with Gray color are added in your project.
Select All tags>Right Click>Add to tags to add all tags into your project.
Done!
Dictionaries
As you see, a Dictionary named OPC UA Client is also inserted in your project.
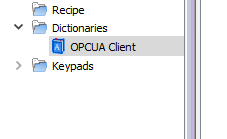
You can view all tags that were created in the previous step.
Screen
Finally I will use the Numeric display object to show the value of these OPC UA Nodes.
Go to the Widget Gallery and Drop the Numeric Object to your Blank Screen.

Object is added in your screen.

Configure Tag
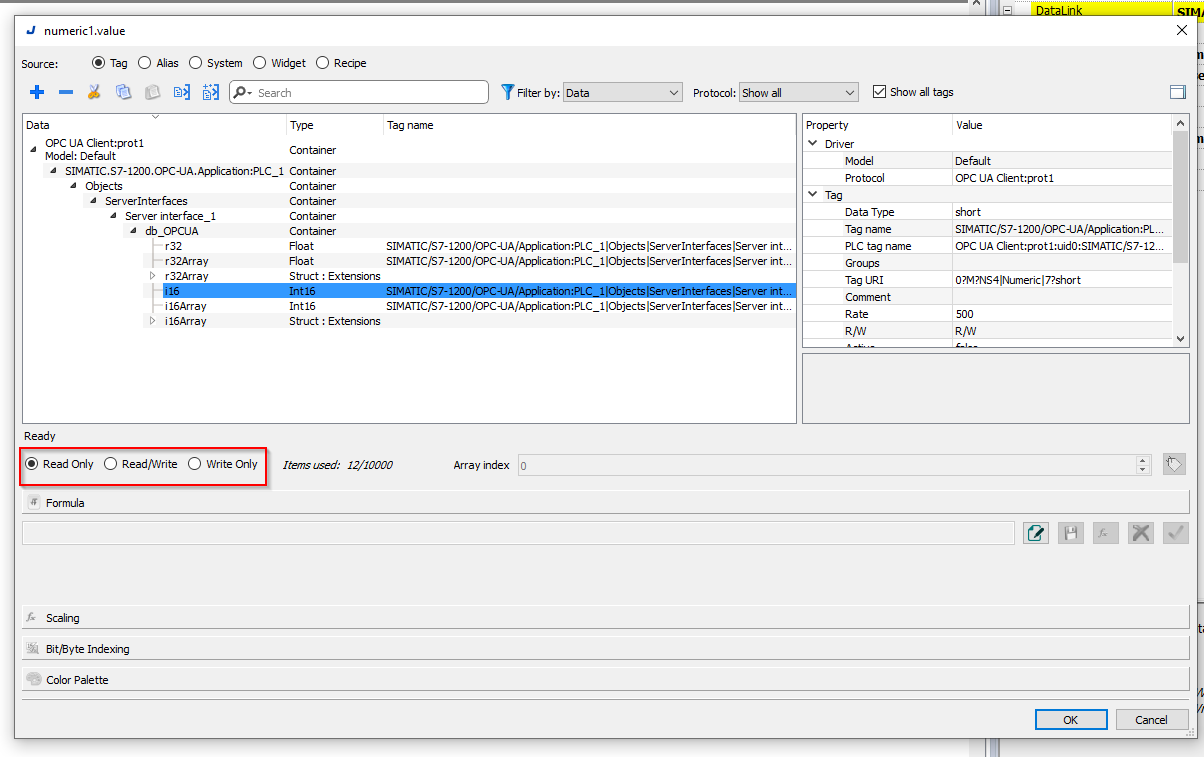
Double click the Numeric object to link the display tag with it.

Node i16 is used in my case, please choose it and select Read only>ok.

Data Link
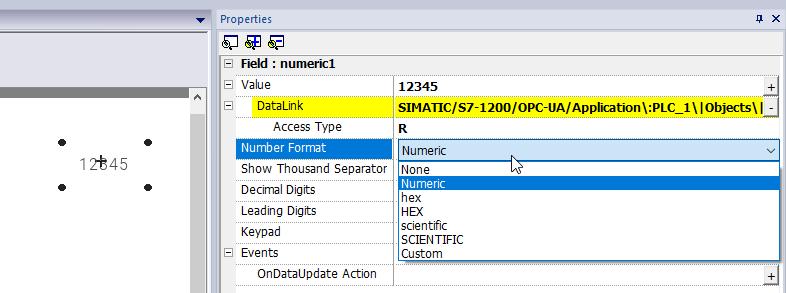
DataLink Field is the field that showing which tag is connected with that object.
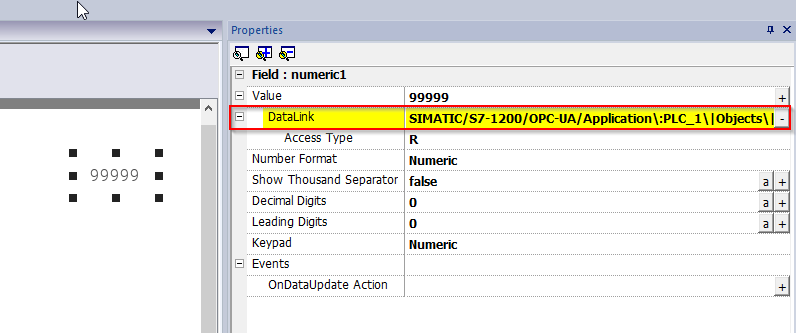
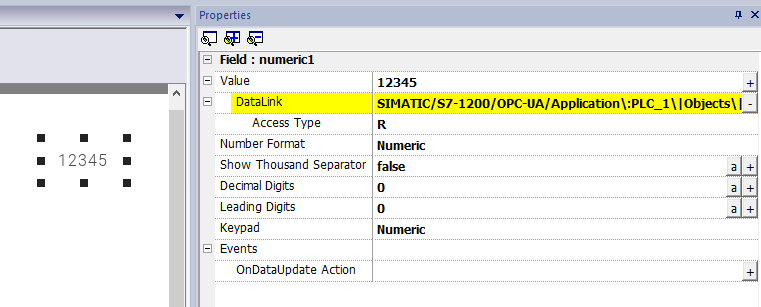
Value
Value is a field that can let you configure the default display of that object.

Now I will change it to 12345 – if the Communcation between S71200 can not be established, the object will show 12345.
Access Type
Access Type is a Field that can select your Access method.

R(Read),W(Write),R/W(Read/Write) can be configured in here.
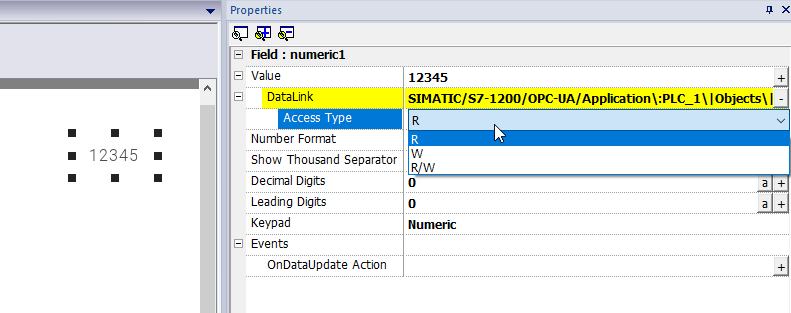
It is the same as the Tag configurator.
Number Format
The Display format of that Numeric Object.

Numeric/HEX/Scientific(Real Number) can be configured here.
Finall Screen
Here is the screen that I configured in this tutorial.

Some tags are configured as Read/Write Access Mode inside.

Result
As you can see,the EXOR panel can access the S71200 OPC UA Server without any error.

コメント
Hii.. I am trying OPC UA communication between my AXC 3152 PLCnext controller and Jmobile studio. I am getting the error: node is offline. I am able to read the PLC data in UAexpert as well as on Visu + SCADA. Need to understand where is the issue.