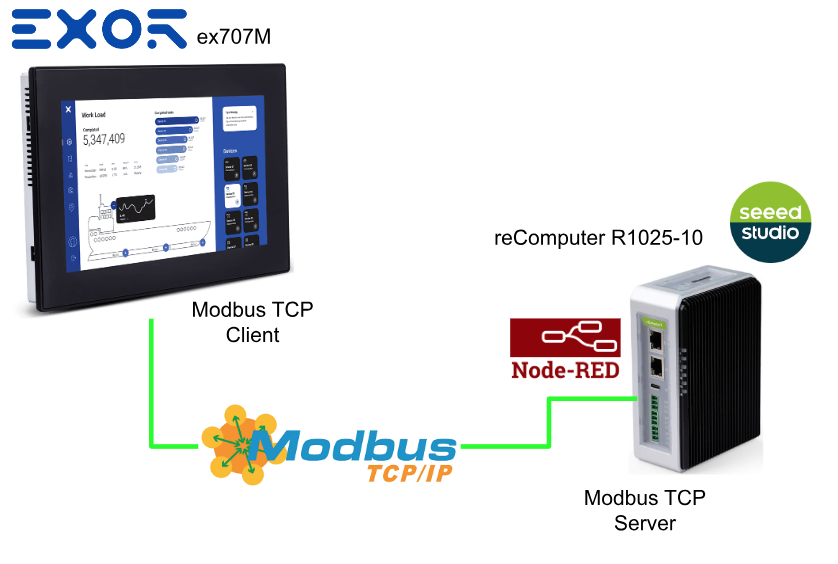
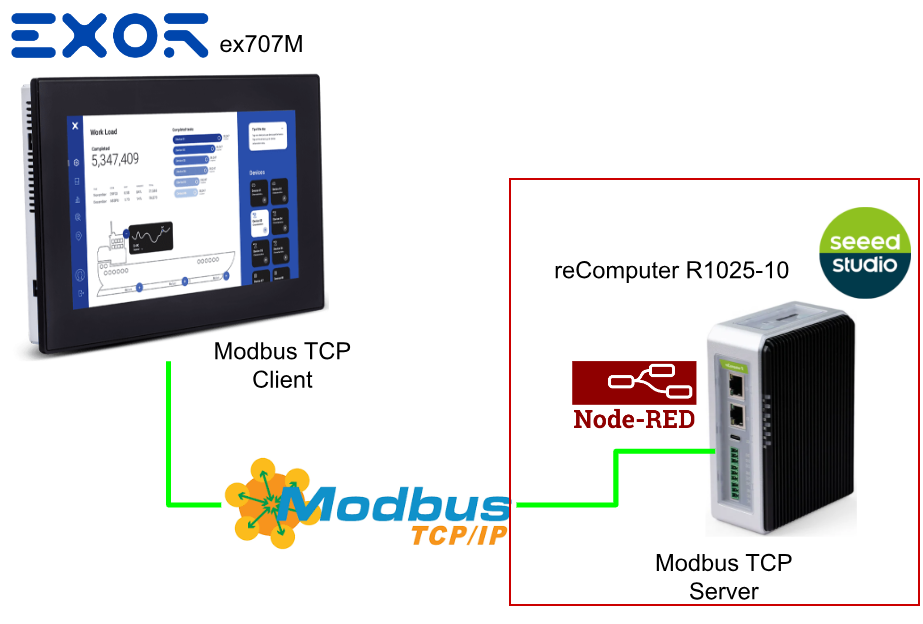
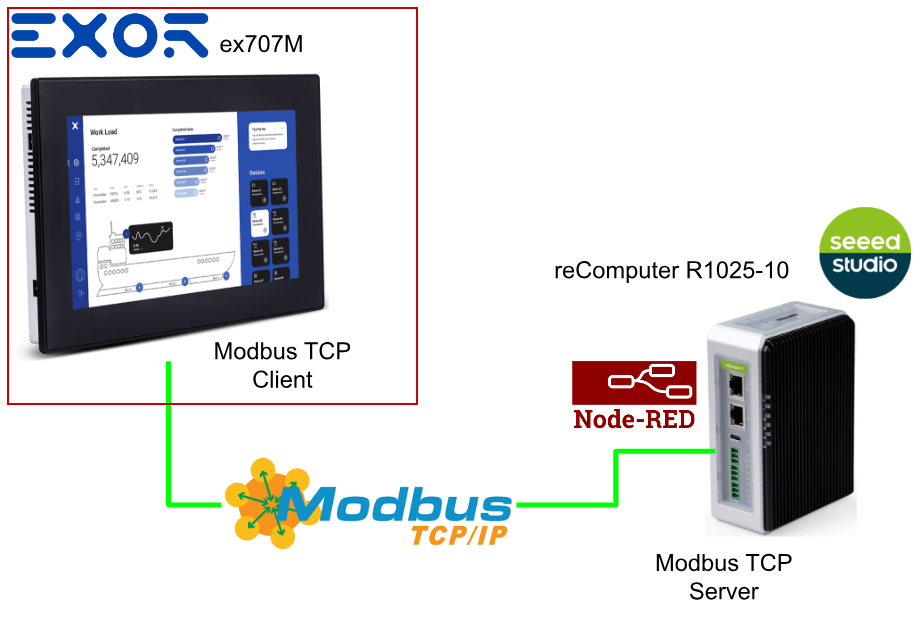
This article describes the steps from scratch to setting up a Modbus TCP Server using Node-Red on a SeeedStudio reComputer R1025-10 and using EXOR’s JMobile to access data with the Modbus TCP Client.
Let’s enjoy FA.
Reference Link
http://soup01.com/en/category/exor/
Implementation
SeeedStudio Side
Let’s start from SeeedStudio’s reComputer R1025-10 edge device side first.
Install Node-red
Install Node-Red, referring to Node-Red from this Link or the official Node-Red website.
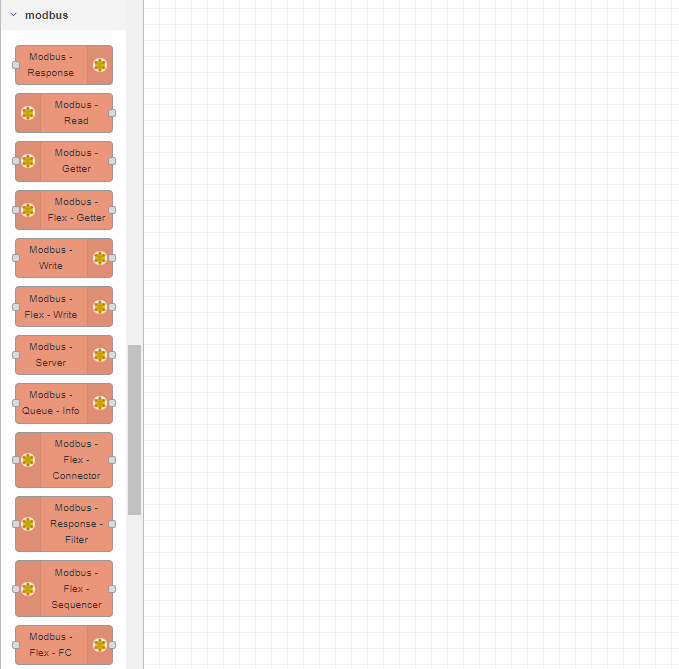
Install Modbus Node
We will implement a Modbus TCP Server using this Node in Node-Red.
| node-red-contrib-modbus |
Click on the Menu icon to the right of Node-Red>Manage Palette.
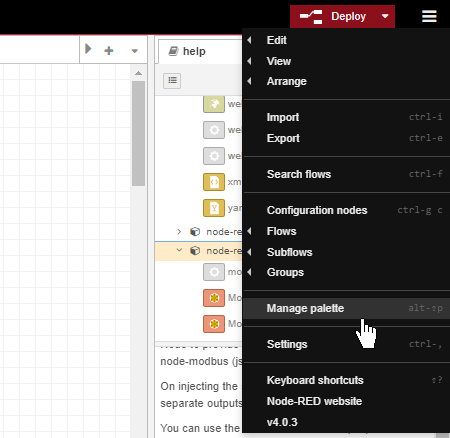
Search for node-red-contrib-modbus in the Install tab and install the appropriate Node.
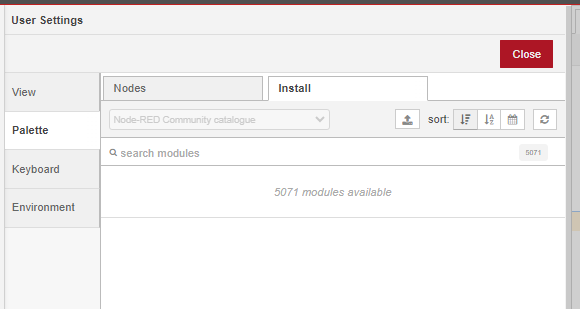
Done!Modbus Node is now installed.
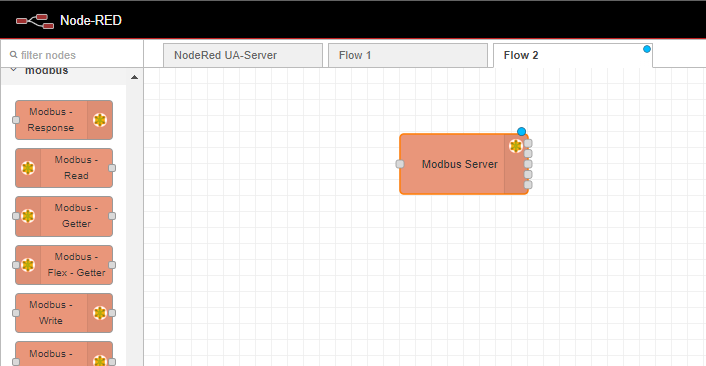
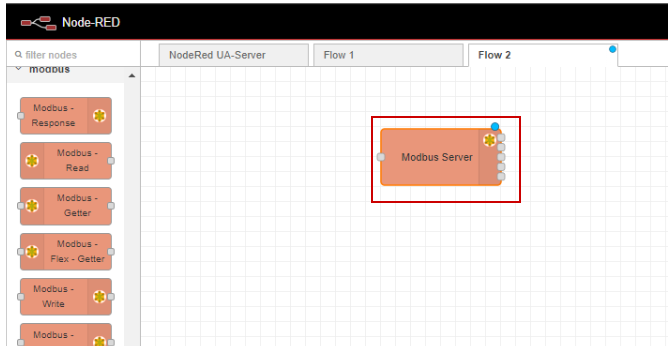
Add Modbus TCP Server
Drop Modbus>Modbus-Server into Flow.

Done!That’s all it took to get the Modbus Server up and running.
Configure Modbus TCP Server
Double-click on the Modbus Server Node you have just added.
This is the Modbus Server Node configuration screen.
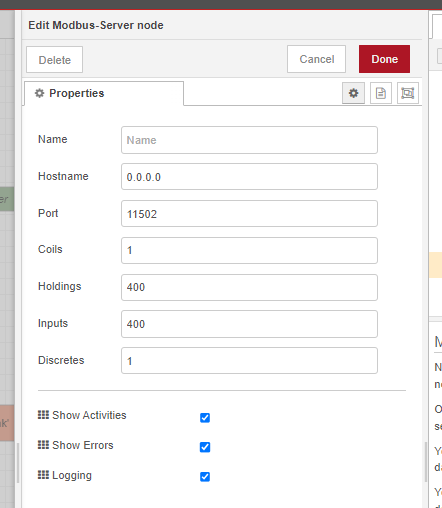
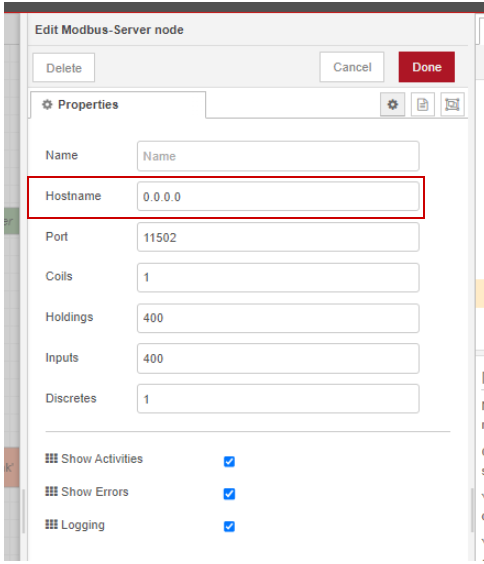
Host Name
The Host name can be set to 0.0.0.0.
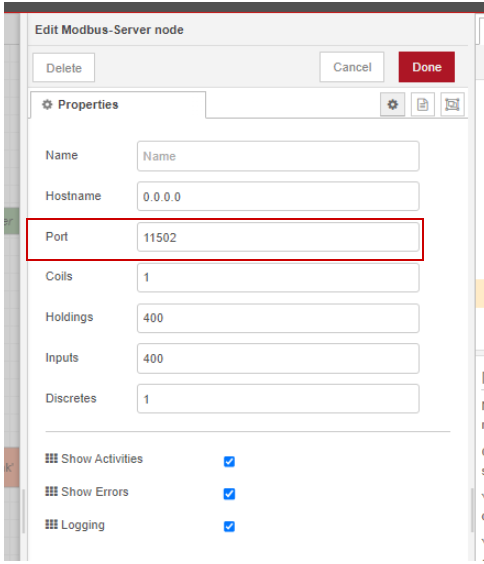
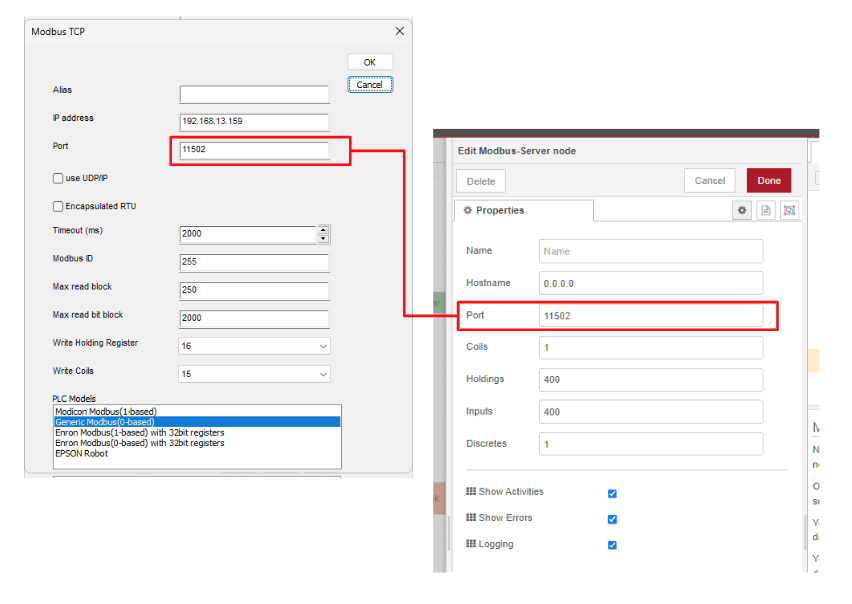
Port
Port allows you to set the Port used by the Modbus Server.
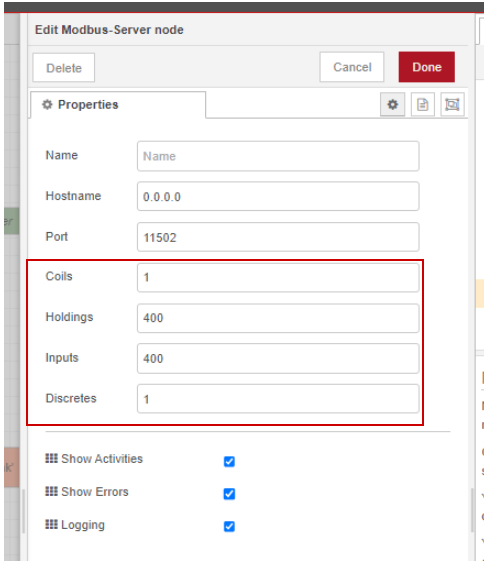
Register
The number of Modbus Server registers can be set in the red box. In the example below,
- Coils: 1
- Holdings: 400
- Inputs: 400
- Discrete: 1
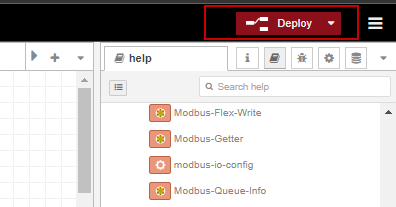
Deloy
Finally, click Deploy to download the Flow.
EXOR Side
Next, set the EXOR side. This time, ex707M is used.
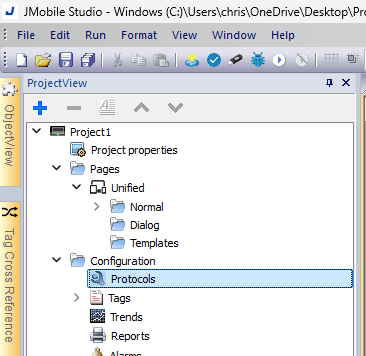
Add Protocols
Start JMobile and create a new project.
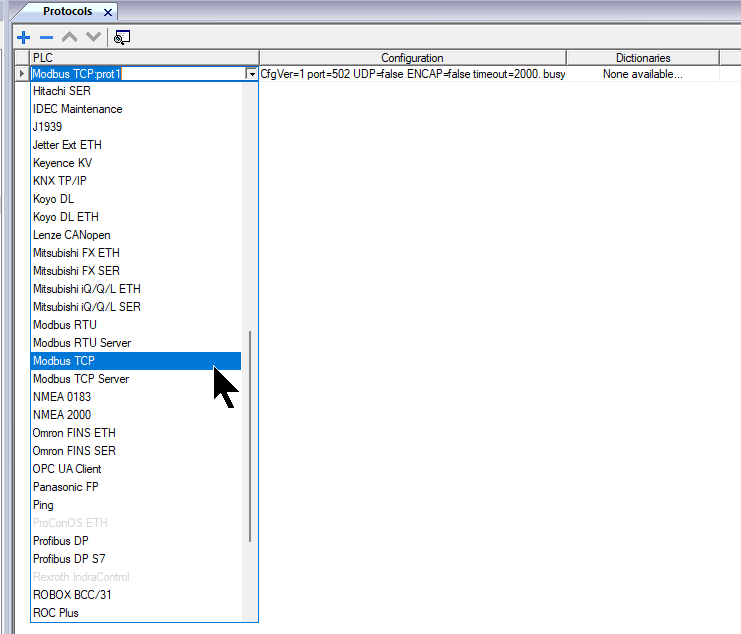
Select Modbus TCP from the drop-list.
Configure Modbus TCP Client
The Modbus TCP Client configuration screen appears.
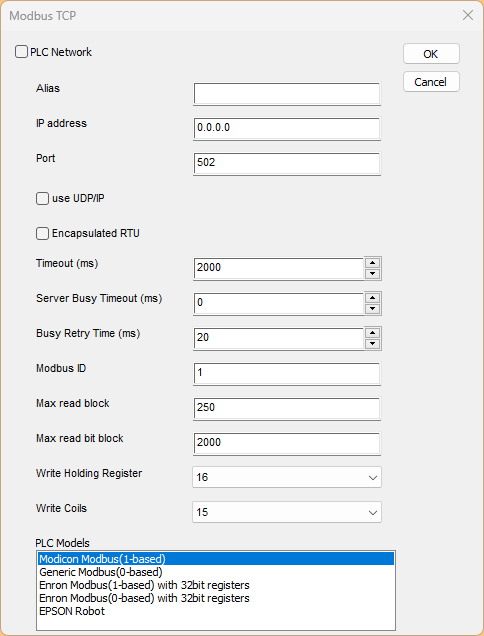
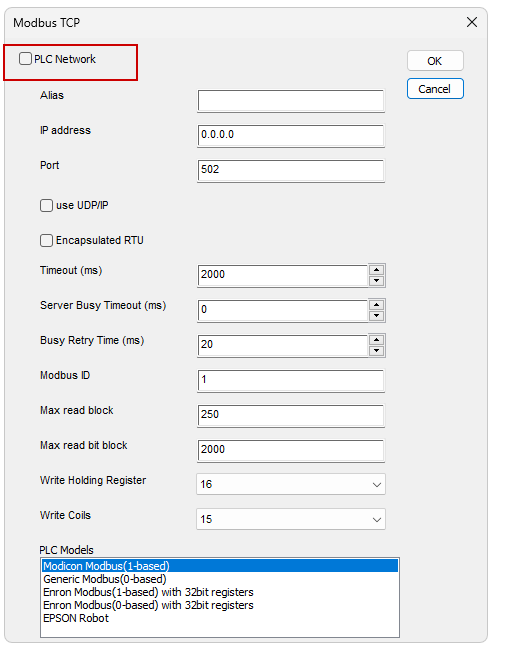
PLC Network
Enable the PLC Network function. Using it, you can set up several Modbus TCP Servers with one Communication Driver.
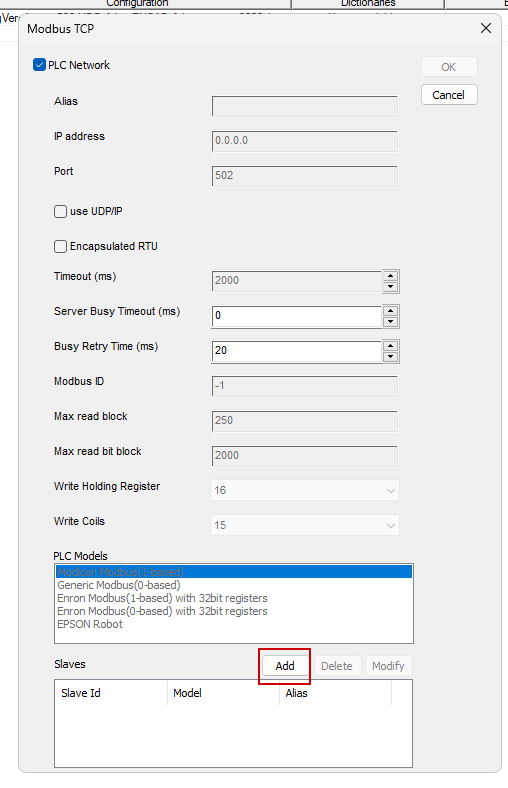
Click Add to create a new Modbus Client.
This is the Modbus TCP Client configuration screen.
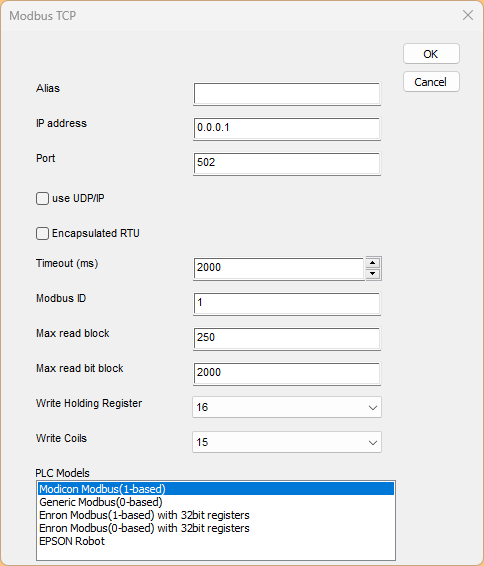
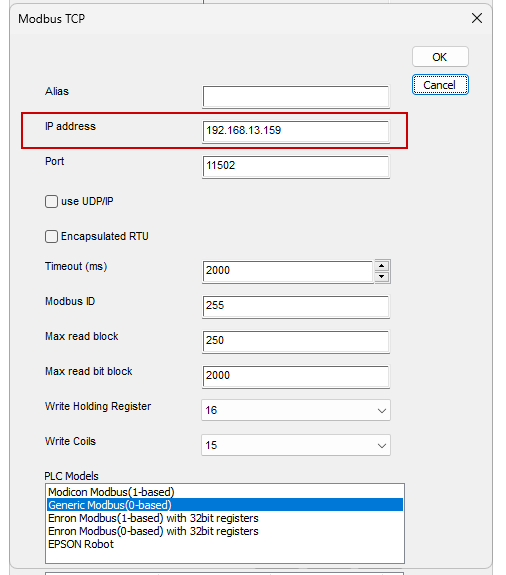
IP address
The IP address should be matched to the SeeedStudio reComputer R1025-10 side.
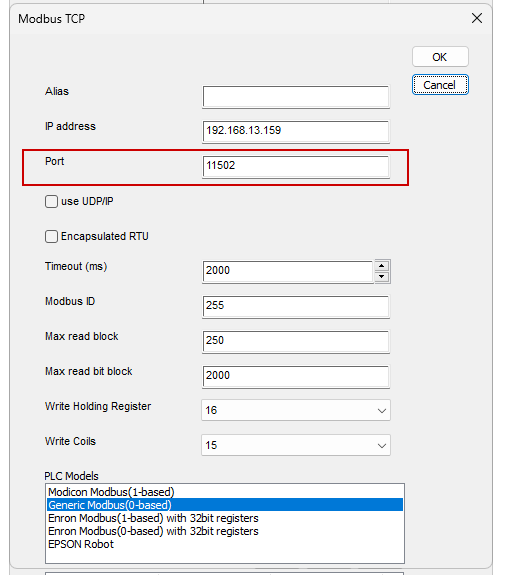
Port
The Port should match the Node-Red setting of SeeedStudio’s reComputer R1025-10.
Write Register Function
You can set the Function Code to be used when Holding Register and Write Coils (i.e. writing to registers).

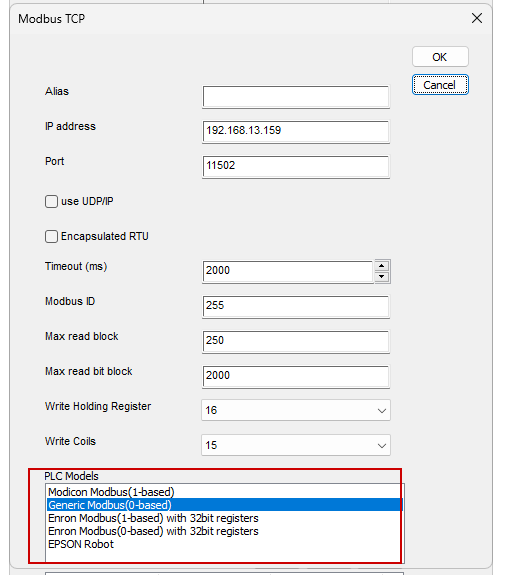
PLC Model
PLC ModelはModbus Server側に合わせてください。今回はNode-Redのnode-red-contrib-modbusを使用するので、Generic Modbus(0‐Based)に設定してください。
Add Tags
Next, we will add some Tags.
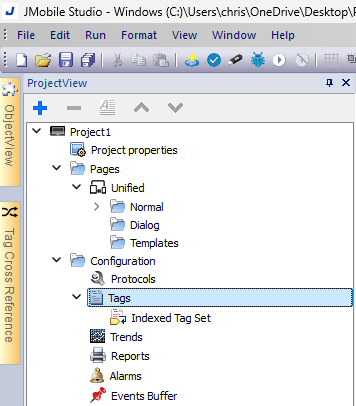
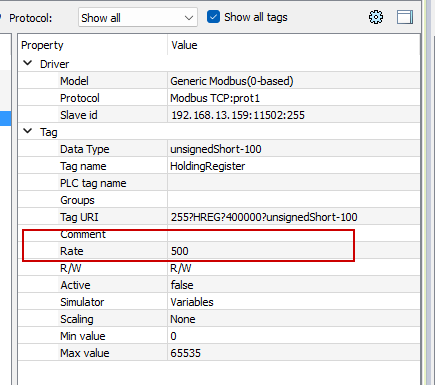
This is the Tag setting screen.
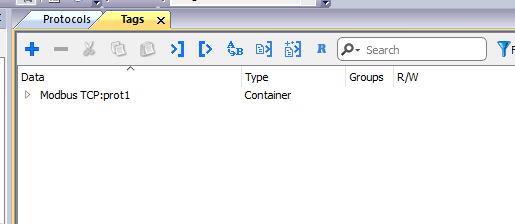
Select the Protocol you just added and click >+.
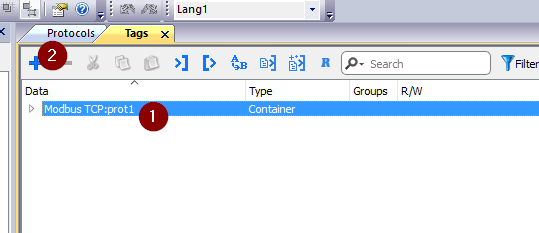
When building the Protocol, we set the PLC Network mode, so select the appropriate Modbus Server on the Slave Id screen.

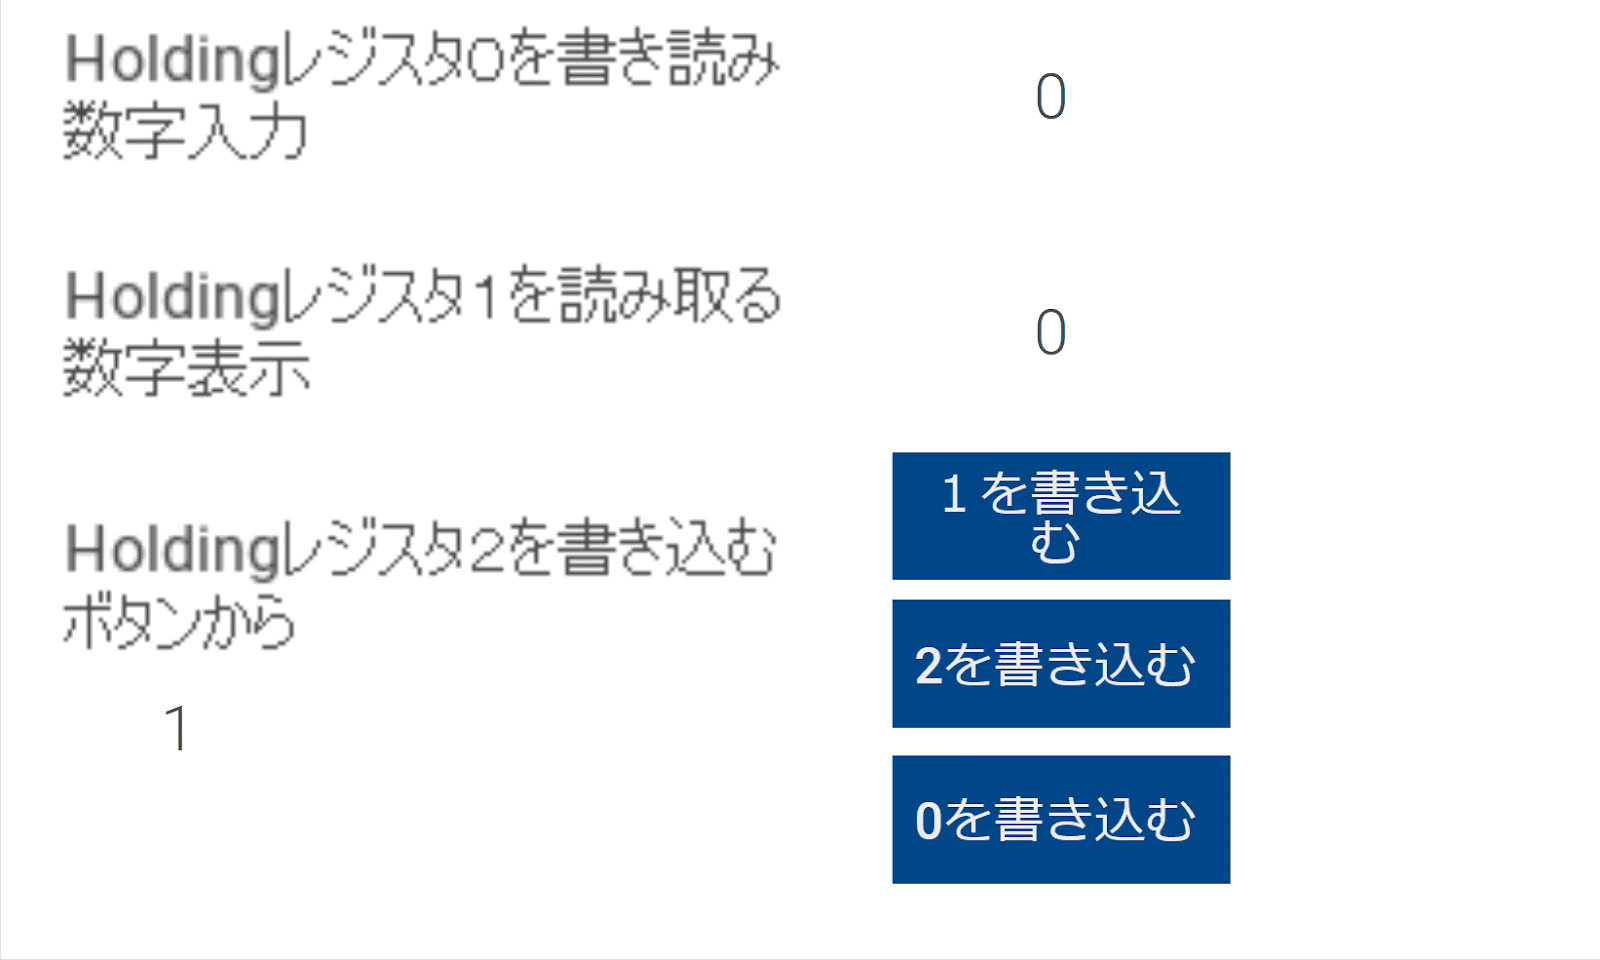
This Tag allows the Modbus TCP Server to read and write Holding Registers from 40000 to 100.
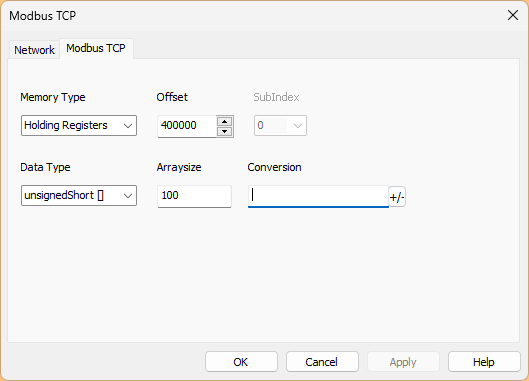
In addition, each Tag can be set to an update cycle according to the application.
Screen
Finally, create a simple screen and check the results.

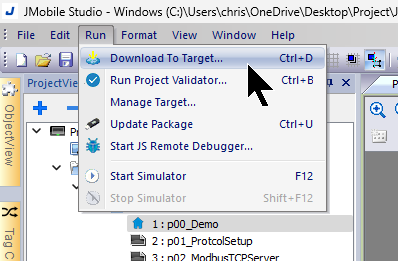
Download
Download the project to ex707M using Run>Downlaod to Target.
Result
Done!Modbus TCP Server was successfully accessed.