今回の記事ではctrlX SDKを導入する方法を紹介します。ITでずっと仕事をなさった方なら楽だと思うかもしれませんが、自分がOT側の人間でこのあたりの知識は大変不足しています。これからも色々勉強してctrlXを楽しもうと思っています。
よろしくお願いします。
ctrlX SDK?
ctrlX SDKは、ctrlX AUTOMATIONデバイス、特にLinuxベースのctrlX COREデバイス用のソフトウェアアプリケーション(APPS)を開発するためのソフトウェア開発キットです。SDKを使用するより、様々な高級言語でAPPSを開発することが可能です。
ctrlXにGithubにはDevelop-Environmentのセットアップガイド、ライブラリ、ドキュメント、REST-APIの説明などさまざまなサンプルが含まれています。つまり、私達もAPPを簡単に作成することができます!
さ、自分がもってるソフトウェアやノウハウをctrlX AUTOMATIONのエコシステムと連携しアプリケーションの可能性を開きましょう。
Before..
ctrlX AUTOMATION SDKを使用してctrlX COREアプリケーションを開発するには、Ubuntu 20.04 Linuxオペレーティングシステムに特別なソフトウェアパッケージをインストールし、そしてApp Build Environmentが必要です。
こちらはSDK やApp Build Environmentに関するドキュメントです。
Prerequisites
- ctrlX WORKS >= 1.20 なおかつ function ‘App Build Environment’ が同時インストールされたPC
- インタネット接続
Reference Link
Build
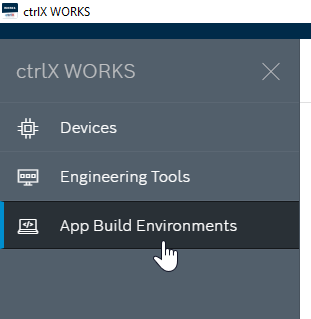
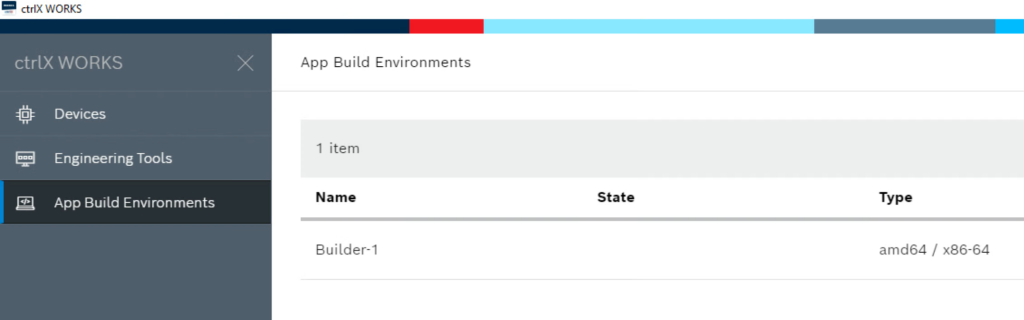
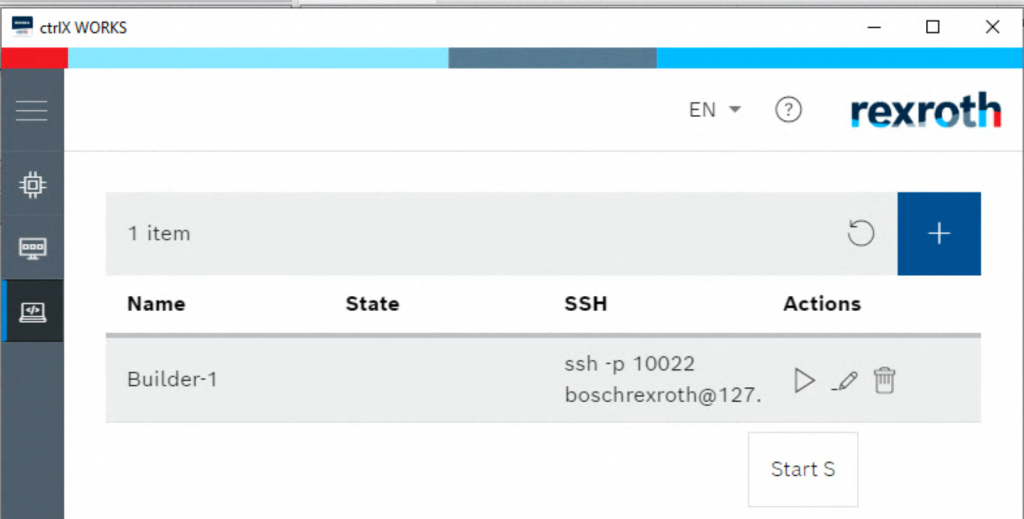
ctrlX WORKSを起動し、App Build Environmentsをクリックします。
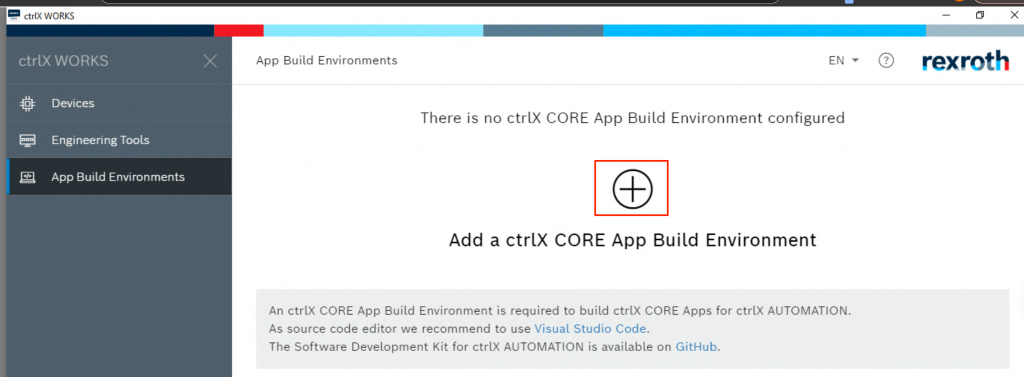
+ボタンでctrlX CORE App Build Environment を追加します。
App Build Environmentの名前を入れて、OKで進みます。

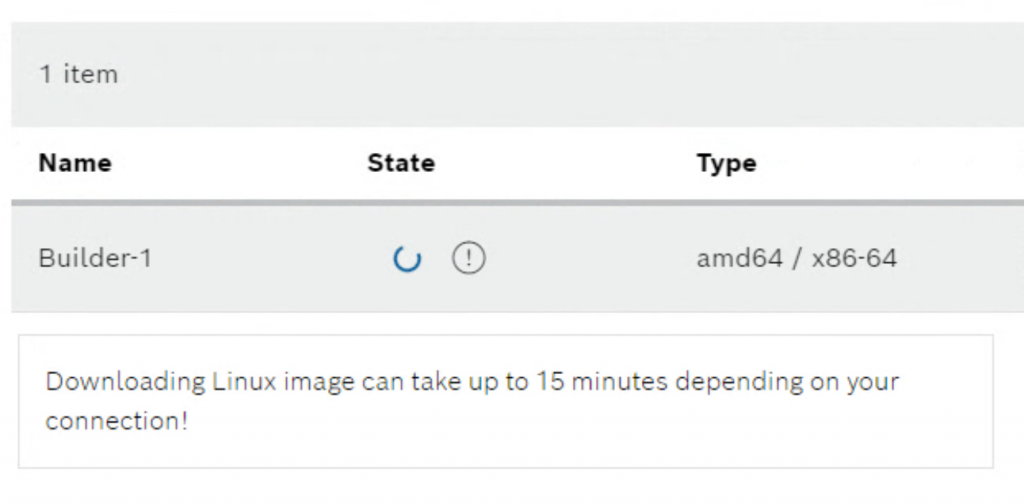
App Build Environmentが自動的にServerからImagesをDownloadし環境を構築し始めます。
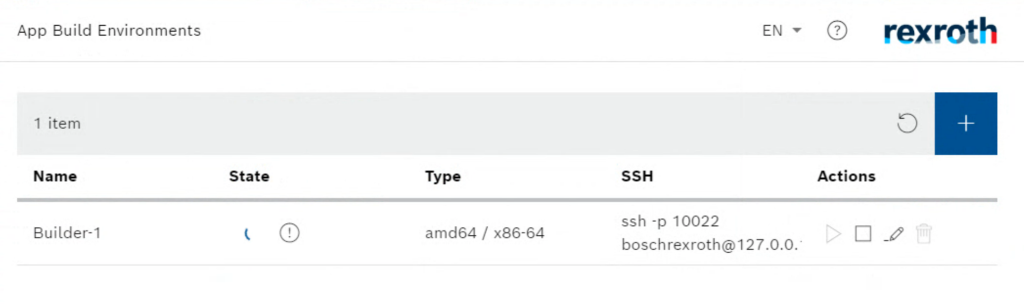
!のマークをクリックすると大体15分で終わります(自分は10分くらいで完了した)。
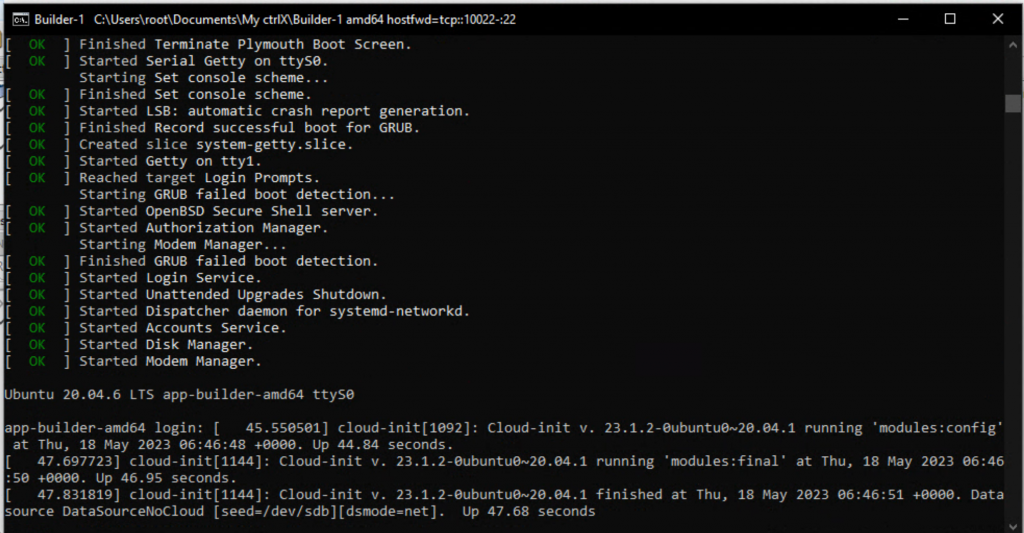
PCにも実際Terminalが起動され、いまのインストール進捗状況を確認できます。
Done!
Start The build app
Stateは空でなにもマークが表示されてない状態になるはずです。
StartボタンでApp Build Environmentを起動します。
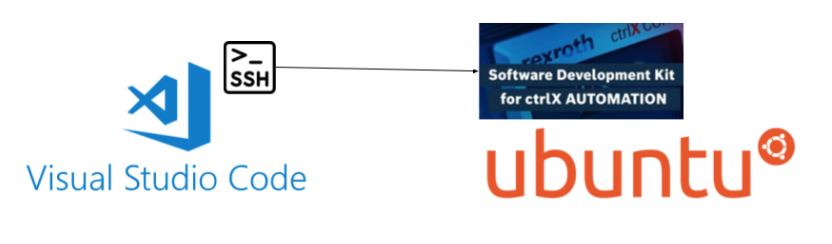
Setup VSCODE
ctrlX AUTOMATION SDK公式ドキュメントでは統合開発環境(IDE)としてVisual Studio Codeを使用することをお勧めしてるようです。Visual Studio Codeの拡張機能を使ってctrlXアプリケーションの開発に必要なすべての機能を利用したり、SSHでLoginしたりの感じです。
こちらの記事はWindows上でWSLとVSCodeの開発環境構築がメインですが、VSCode部分は共通なので参考にしてください。簡単に言いますと、SSH 拡張機能をインストールさえインストールさえすれば今回の記事では問題ありません。
(もちろんVSCODEはMustではないので)
Reference Link
Connnet
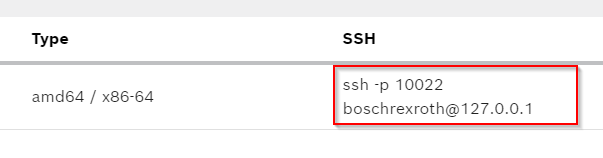
SSH欄からApp Build EnvironmentのSSH Login アドレスを確認できます。注意するのはctrlX App Build EnvironmentのSSH Login Portは10022です。
VSCodeからRemoteを選び>SSH のところから新しいRemote Serverを追加します。
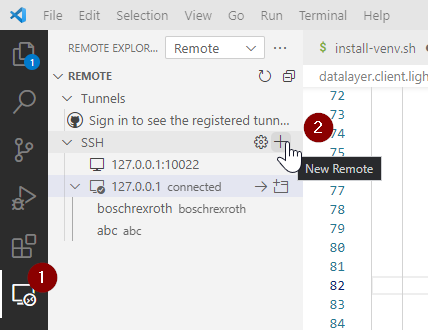
SSH Server名を設定します。

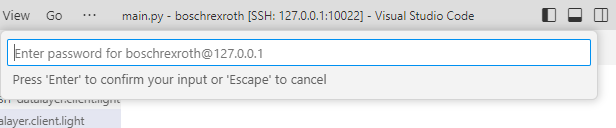
boschrexroth@127.0.0.1:10022を入力します。

Passwordはboschrexrothです。
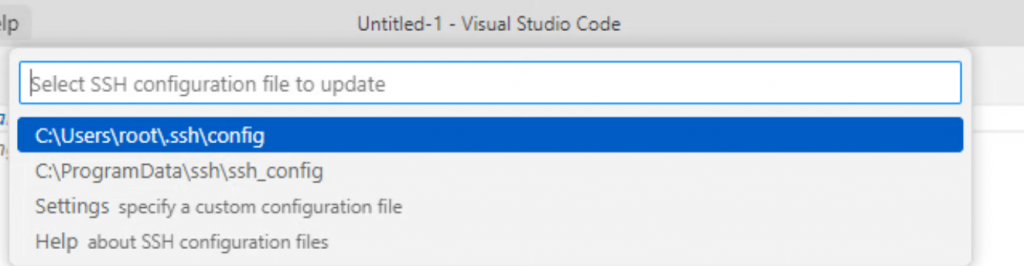
Configを選びます。とりあえず1つ目で行きましょう。
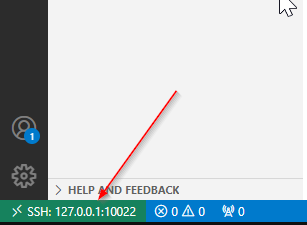
接続すると、VSCodeの右下にSSH:127.0.0.1:10022が表示されます。
Host key verification failed
SSH Loginするときにverification failedのエラーが発生したときの対処法を紹介します。
| —————– [08:13:22.971] > @@@@@@@@@@@@@@@@@@@@@@@@@@@@@@@@@@@@@@@@@@@@@@@@@@@@@@@@@@@ [08:13:22.986] > @ WARNING: REMOTE HOST IDENTIFICATION HAS CHANGED! @ > @@@@@@@@@@@@@@@@@@@@@@@@@@@@@@@@@@@@@@@@@@@@@@@@@@@@@@@@@@@ > IT IS POSSIBLE THAT SOMEONE IS DOING SOMETHING NASTY! > Someone could be eavesdropping on you right now (man-in-the-middle attack)! > It is also possible that a host key has just been changed. > The fingerprint for the ECDSA key sent by the remote host is > SHA256:FXXOSTwCswLlQ25/xTW2BqAhrhA0CoA/7/B5Ap+7YOo. > Please contact your system administrator. > Add correct host key in C:\\Users\\root/.ssh/known_hosts to get rid of this mess > age. > Offending ECDSA key in C:\\Users\\root/.ssh/known_hosts:1 > ECDSA host key for [127.0.0.1]:10022 has changed and you have requested strict c > hecking. > Host key verification failed. > The process tried to write to a nonexistent pipe. > [08:13:24.277] “install” terminal command done [08:13:24.278] Install terminal quit with output: Host key verification failed. [08:13:24.279] Received install output: Host key verification failed. [08:13:24.280] Failed to parse remote port from server output [08:13:24.282] Resolver error: Error: at m.Create (c:\Users\root\.vscode\extensions\ms-vscode-remote.remote-ssh-0.102.0\out\extension.js:1:584145) at t.handleInstallOutput (c:\Users\root\.vscode\extensions\ms-vscode-remote.remote-ssh-0.102.0\out\extension.js:1:582705) at t.tryInstall (c:\Users\root\.vscode\extensions\ms-vscode-remote.remote-ssh-0.102.0\out\extension.js:1:681881) at async c:\Users\root\.vscode\extensions\ms-vscode-remote.remote-ssh-0.102.0\out\extension.js:1:644110 at async t.withShowDetailsEvent (c:\Users\root\.vscode\extensions\ms-vscode-remote.remote-ssh-0.102.0\out\extension.js:1:647428) at async t.resolve (c:\Users\root\.vscode\extensions\ms-vscode-remote.remote-ssh-0.102.0\out\extension.js:1:645160) at async c:\Users\root\.vscode\extensions\ms-vscode-remote.remote-ssh-0.102.0\out\extension.js:1:720916 [08:13:24.297] —— ——————— |
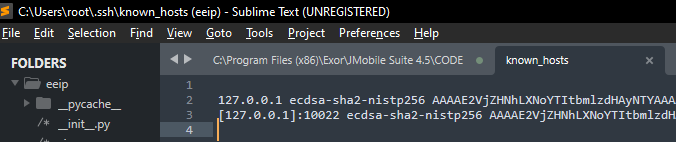
Host PCの下記Pathに行ってください。
| C:\Users\root\.ssh |
known_hostsをNodpadなどのEditorを開いてください。
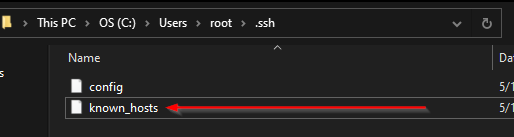
中にLoginできないKeyを削除してください。
Reference Link
https://note.affi-sapo-sv.com/ssh-verification-failed.php
https://www.codelab.jp/blog/?p=3240
Download the Example
次はSDKのSamplesをDownloadしApp Build Environmentを構築します。
https://github.com/boschrexroth/ctrlx-automation-sdk
ctrlXはPythonだけではなくGO/Node/cppなど様々高級言語のSampleも用意してくれます。
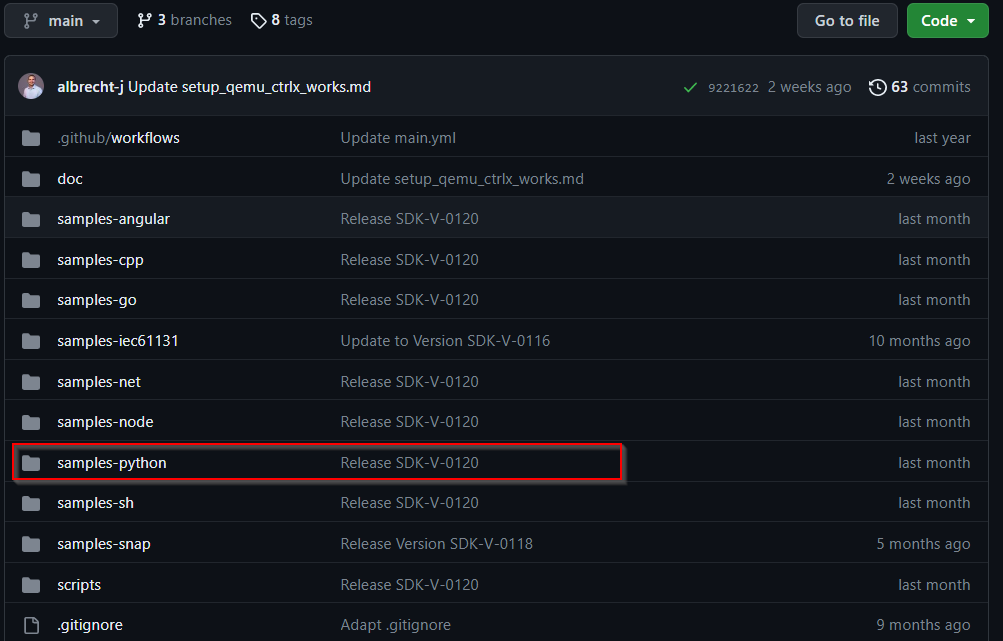
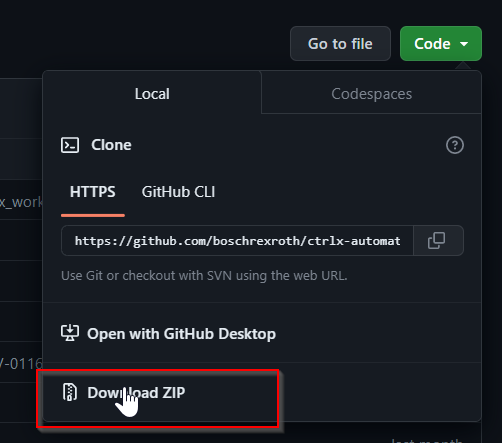
Code>Downlaod ZipでExampleをDownloadしましょう。
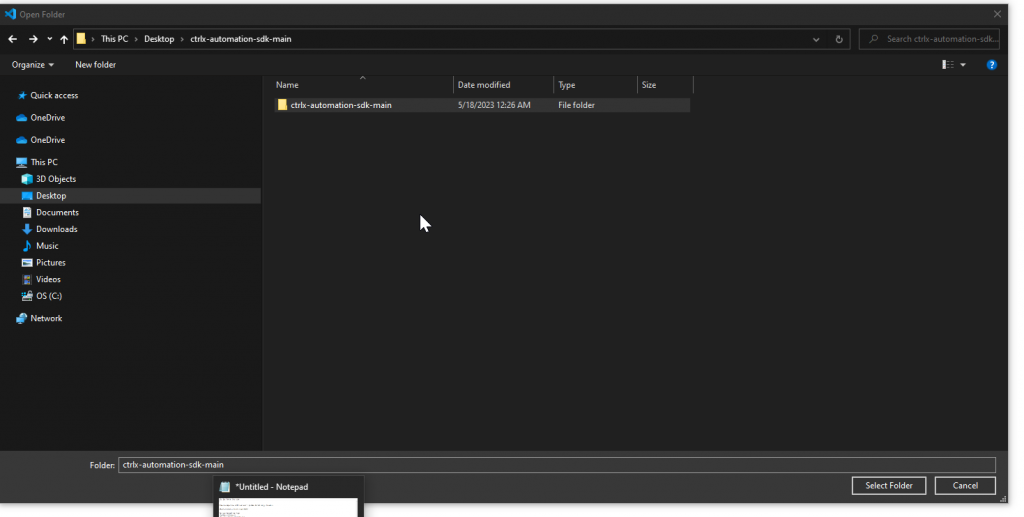
もう1つのVSCODEを起動し、File>Open Folderします。
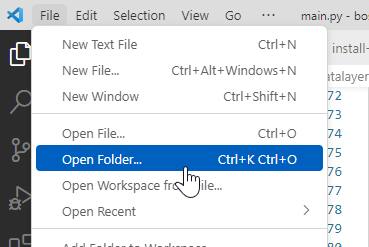
先程GithubでDownlaodしたZipを解凍し、Open FolderでVSCodeから開きましょう。
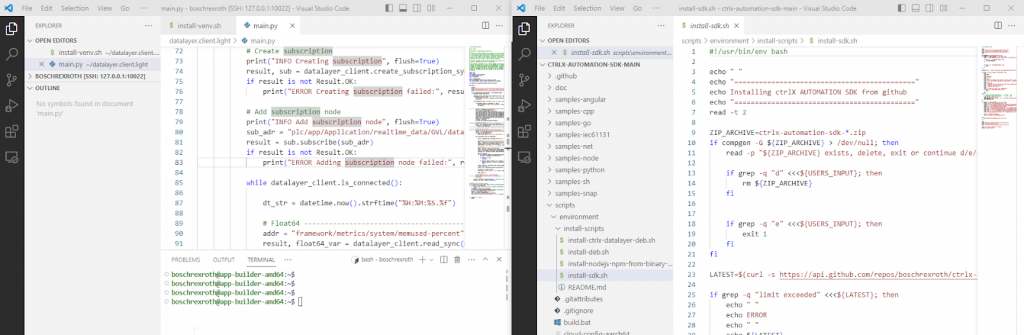
このように左と右でApp Build EnvironmentとLocalを同時に開いてる状態のほうが作業しやすいです。
Move to your APP Build
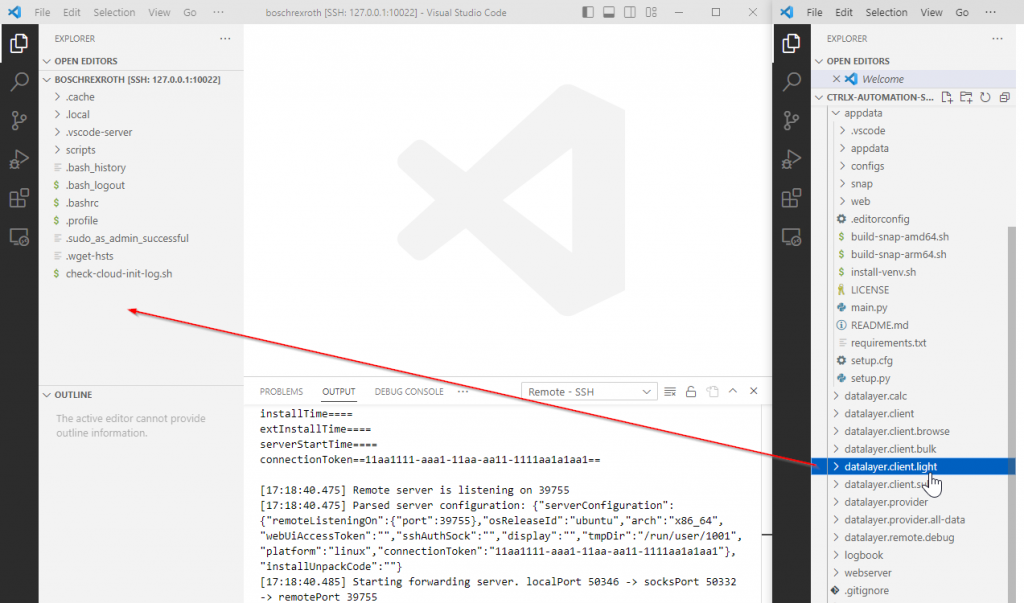
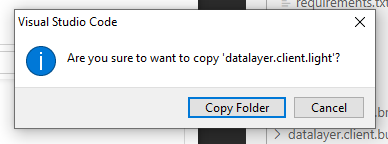
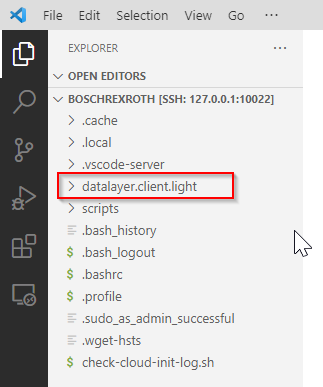
今回記事では使用するExampleはdatalayer.client.lightで、FolderをそのままApp Build EnvironmentにLoginされたVSCODE側にひっばりって行きましょう。
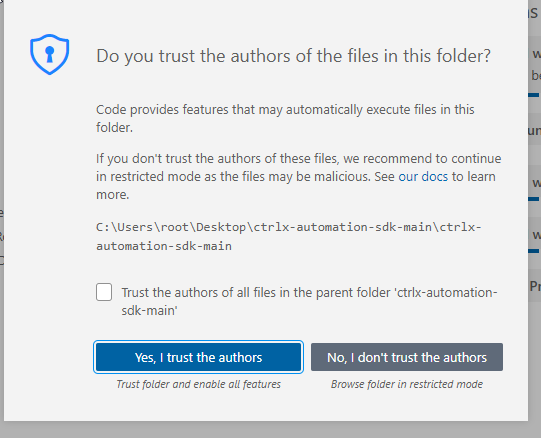
Yes, I trust the authorsをクリックし進みます。
Copy FolderですべてのFileを移動します。
Done!
Necessary Script
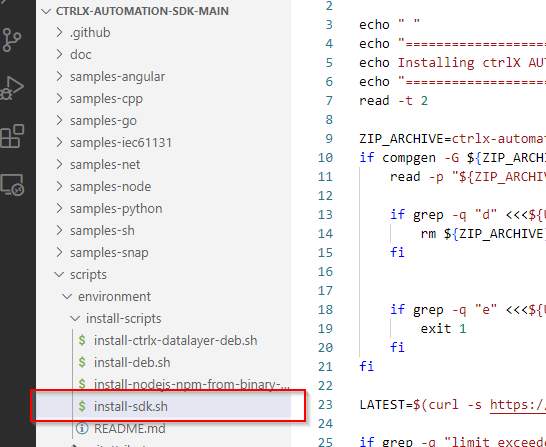
注意するのはApp Build Environmentの/home/boschrexroth/scripts/ディレクトリには、APPを作成するには大事なスクリプトのセットが含まれています。
そして/home/boschrexroth/scripts/README.mdに、すべてのファイルがリストアップされ説明されています。
ctrlX AUTOMATION SDKの他に、ctrlx-datalayer debianパッケージ、snapcraft、クロスビルド用ライブラリがインストールされています。
ではinstall-sdk.shからctrlx-datalayer debianパッケージ、snapcraft、クロスビルド用ライブラリなどをインストールしましょう。
こちらのコマンドでSource Listを更新> install-sdk.shを実行できるように権限変更>最後はShell Script install-sdk.shを実行します。大体5分くらいかかります。
| boschrexroth@app-builder-amd64:~$ sudo apt-get update boschrexroth@app-builder-amd64:~$ chmod +x install-sdk.sh boschrexroth@app-builder-amd64:~$ /.install-sdk.sh |
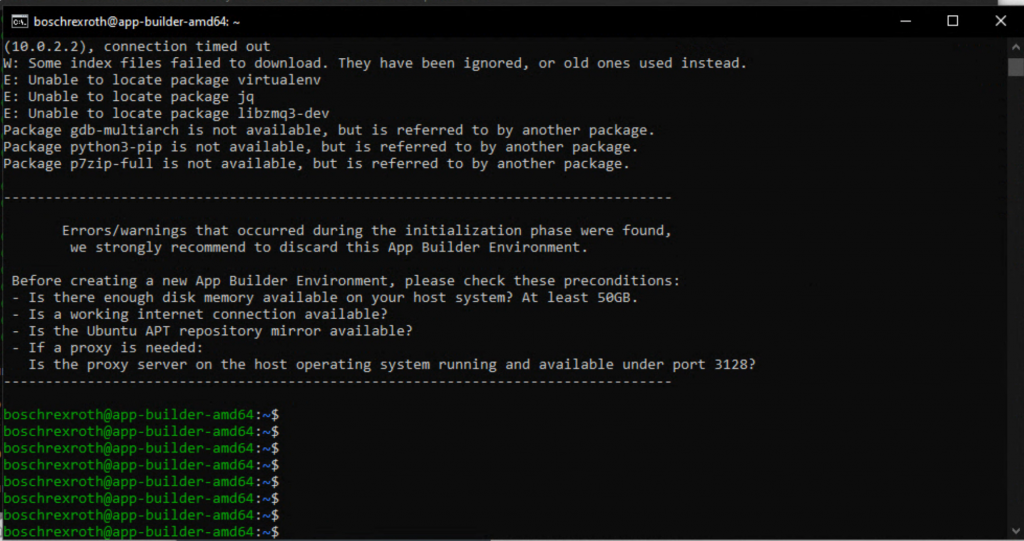
Shell Scriptが実行されたあとApp Build Environmentに様々なPackagesがインストールされました。例えばvirtualenv:
| boschrexroth@app-builder-amd64:~$ pip3 install virtualenv Requirement already satisfied: virtualenv in /usr/lib/python3/dist–packages (20.0.17) |
pipとか。
| boschrexroth@app-builder-amd64:~$ pip3 –version pip 20.0.2 from /usr/lib/python3/dist–packages/pip (python 3.8) |
Test with Example!
では実際ctrlX GithubからDownloadしたExampleを導入しましょう。
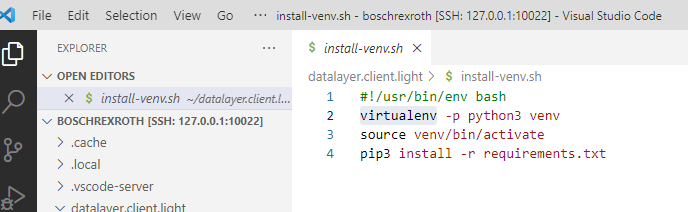
各Exampleにもinstall-venv.shというShell Scriptが入っています。
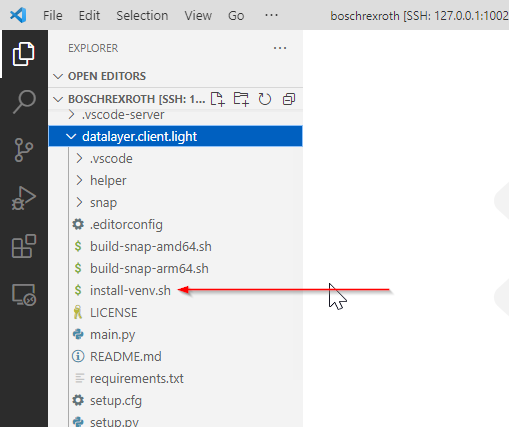
中にPythonの仮想環境作成>そして仮想環境を有効>最後はrequirements.txtに記述されたLibraryをPip コマンドでInstallします。
Shell Scriptを実行してください。
| boschrexroth@app-builder-amd64:~$ chmod +x install-venv.sh boschrexroth@app-builder-amd64:~$ ./install-venv.sh |
次はmain.pyを実行してみましょう。
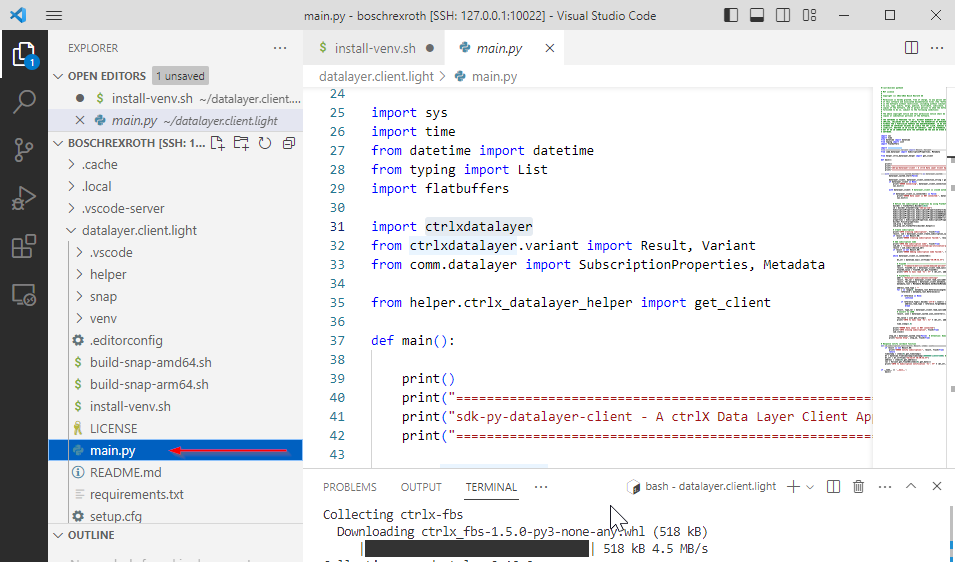
もしエラーが発生した場合はCtrlx Virtual CoreなどのRuntimeが起動したかをCheckしてくださいね。
| boschrexroth@app-builder-amd64:~$ source datalayer.client.light/venv/bin/activate (venv) boschrexroth@app-builder-amd64:~$ python datalayer.client.light/main.py System architecture: x86_64 ================================================================= sdk-py-datalayer-client – A ctrlX Data Layer Client App in Python ================================================================= ERROR Connecting tcp://boschrexroth:boschrexroth@10.0.2.2?sslport=8443 failed. |
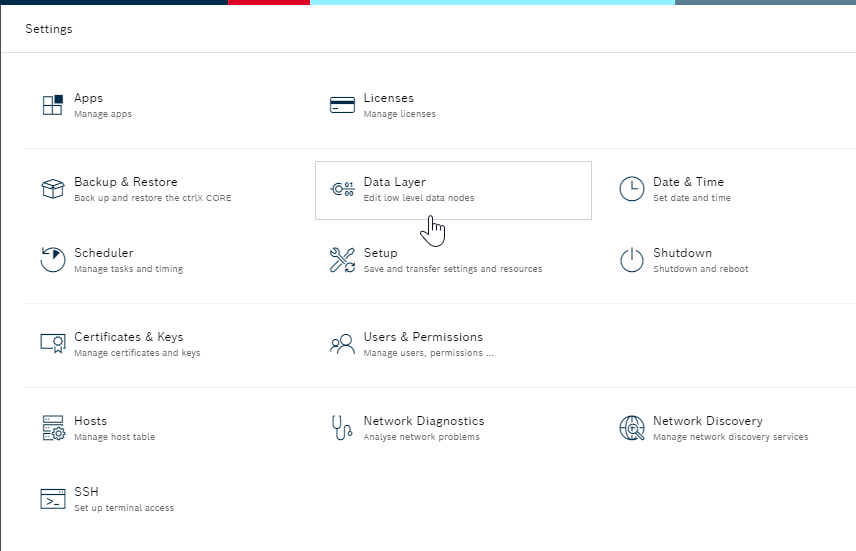
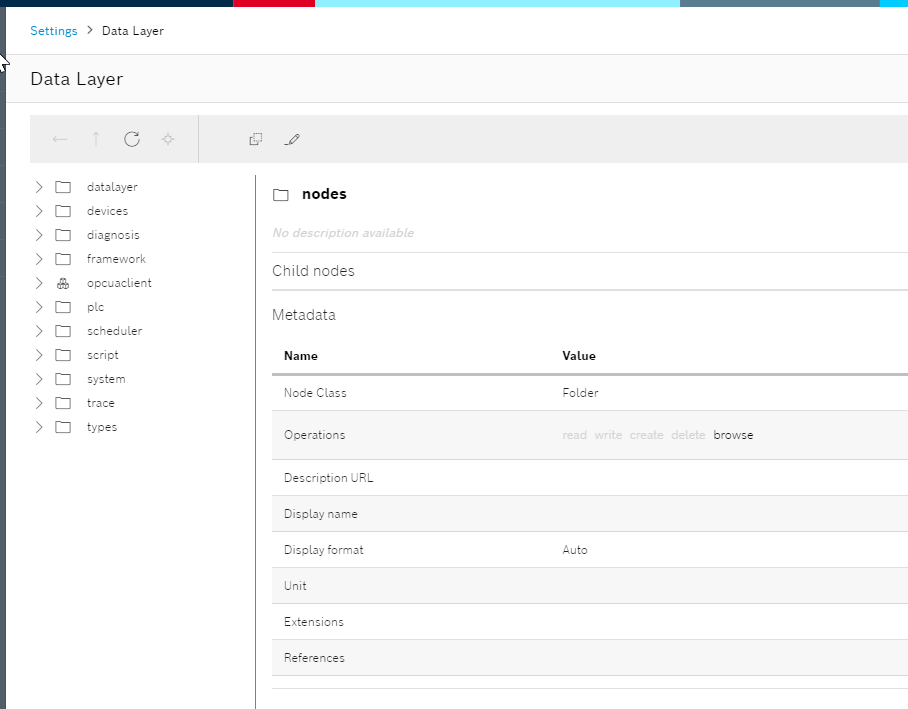
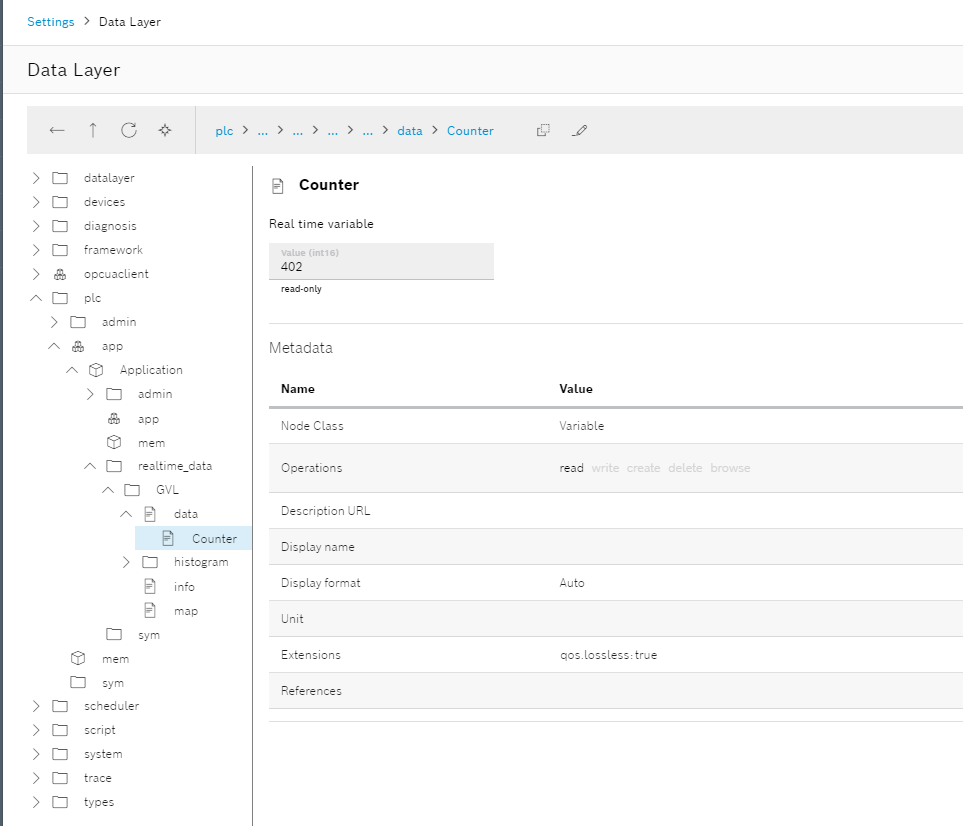
ctrlX RuntimeのWeb ServerにアクセスしSettingsを開きます。
Data Layer を開きます。
Data Layerのツリーが表示されました。
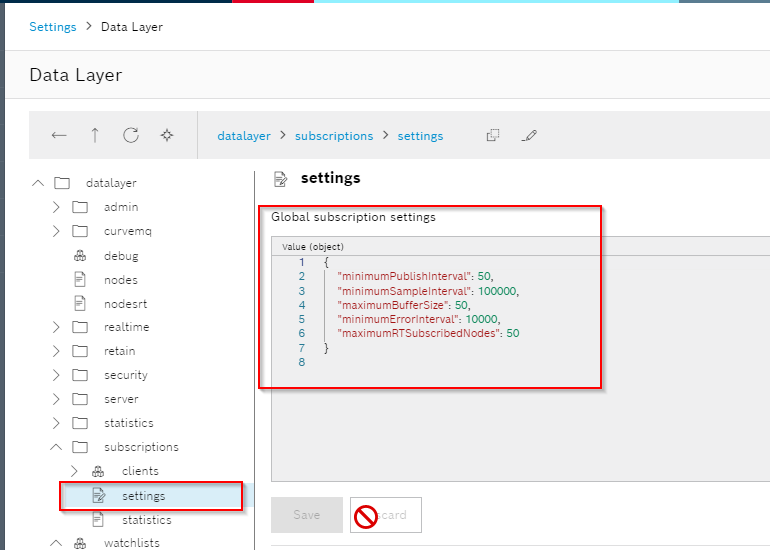
このExampleが読み込まれるSubscriptionの設定とCPUの使用状態ですが、Subscription設定はこのように確認できます。
Reference Link
PIPをインストールする手順:
https://linuxize.com/post/how-to-install-pip-on-ubuntu-20.04/
Virtualenvの使用方法:
Modify your apps
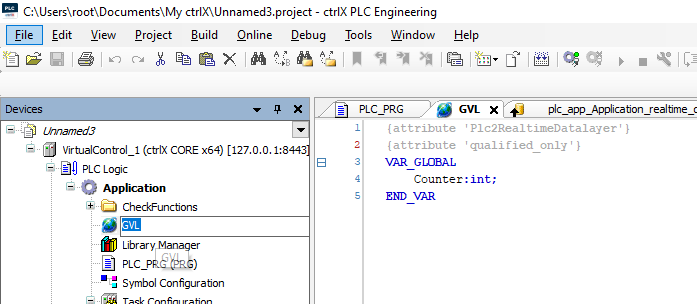
次はPython Scriptを少し修正します。ctrlX PLC Engineeringを起動し、GVLの中に整数を定義し周期で加算します。
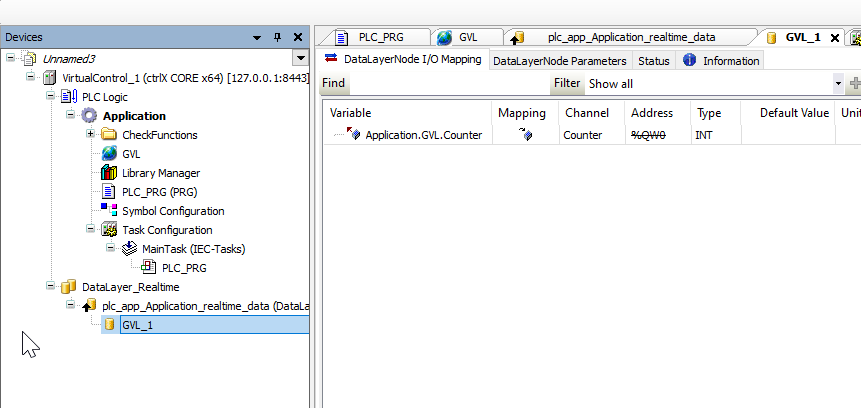
その変数をDataLayer_RealtimeのOutputとして追加しましょう。
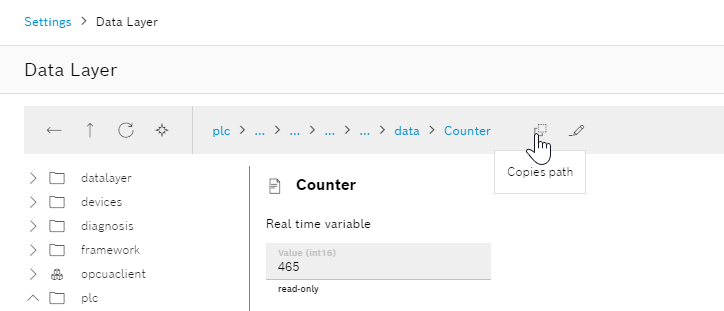
Web Serverからひとまず確認しましょう。
PLC RuntimeのCounter変数のアクセスPathを複製します。
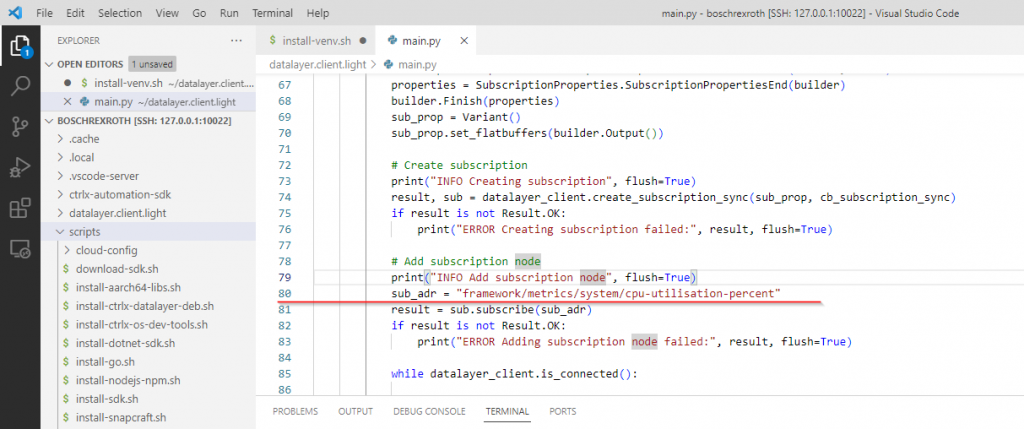
ExampleのPythonScriptにLine80ではSubscribeするTopicを設定しています。
先程CopyしたアクセスPathに変更しましょう。
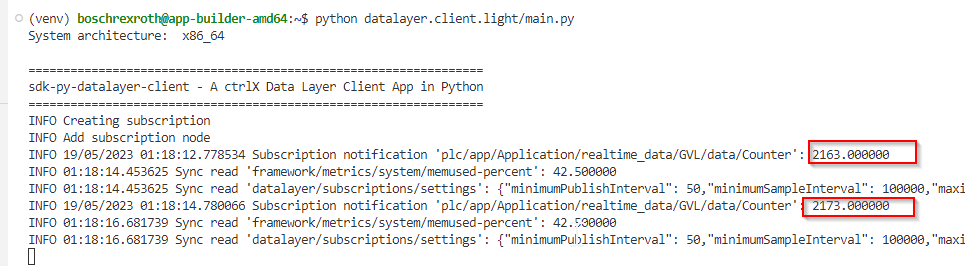
Done!Counter値がDataLayer_Realtime経由で取得できました。
Build to Snap
最後はPython scriptをSnapにビルドししctrlX RuntimeにInstallしてみます。
アプリケーションを作成したFolderまでcdコマンドで移動してください。
その中に.build-snap-amd64.shのShell Scriptが入っています。
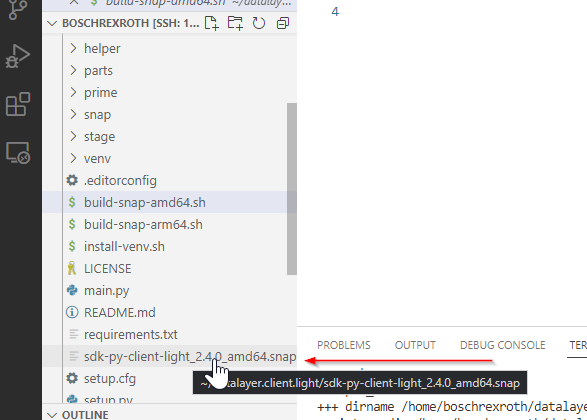
build-snap-amd64.shを実行できるように変更し、そのShell Scriptを実行しましょう。
| boschrexroth@app-builder-amd64:~$ chmod +x build-snap-amd64.sh boschrexroth@app-builder-amd64:~$ /.build-snap-amd64.sh |
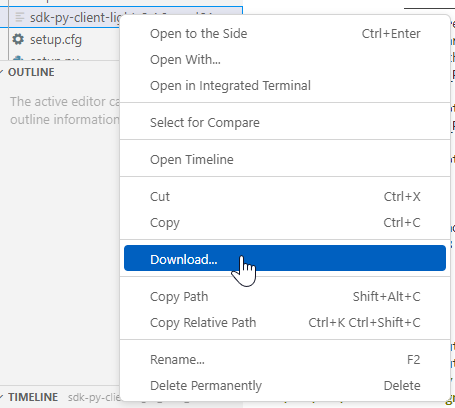
ヒルドされたsnapを右クリックし>DownloadでLocal PCにDownloadします。
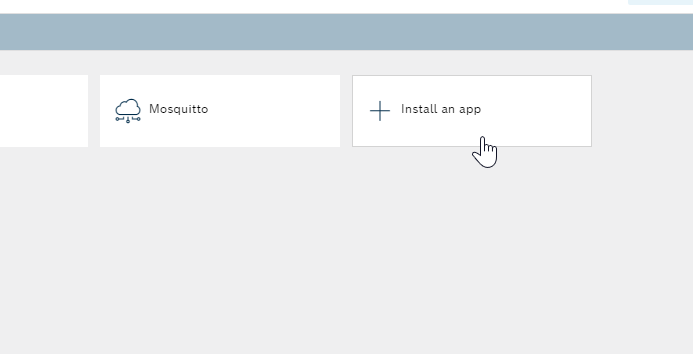
ctrlX VirtualcoreのWebServerにアクセスし、Install an appでAppをインストールします。
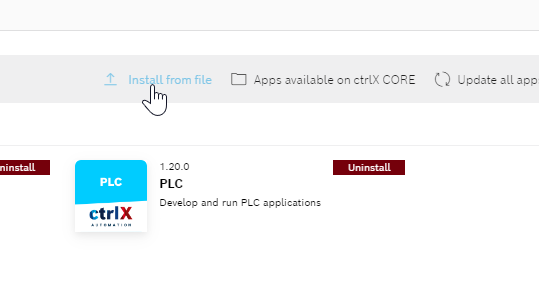
Intall from fileをクリックします。
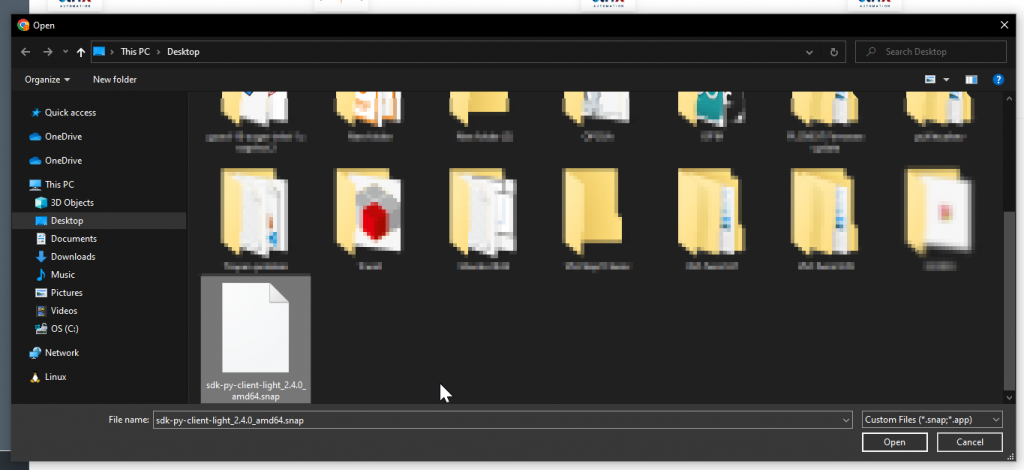
先程Downloadしたsnapを選び>Openします
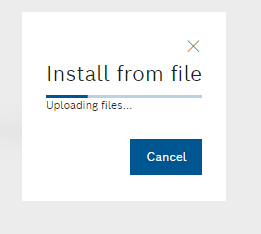
少々お待ち下さい…
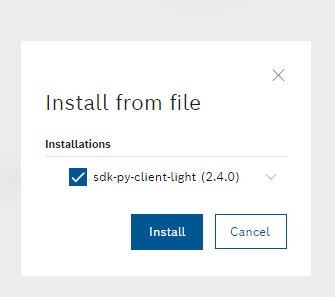
Installで進みます。
また少々お待ち下さい…
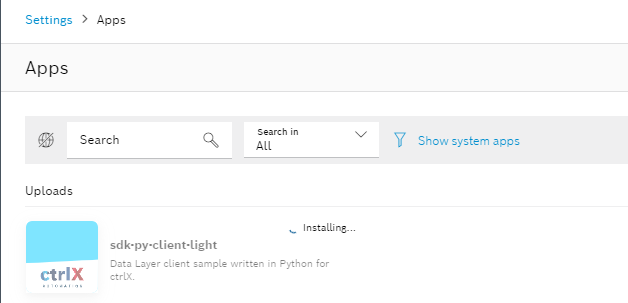
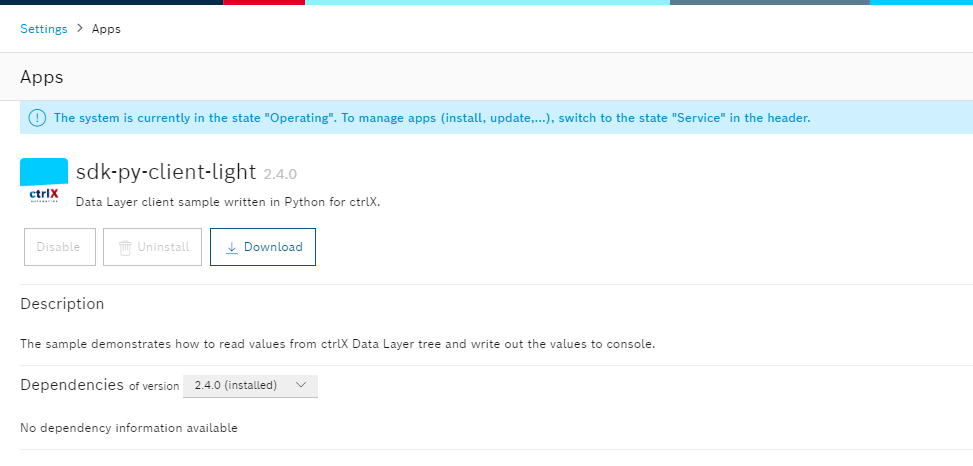
Done!
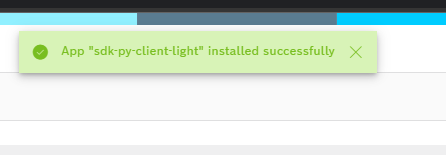
Appsがインストールされました!このExampleは本来ConsoleでずっとDataLayer_Realtime経由で読み込まれた変数を表示するだけなので、実用性はありませんが、これからSDKを使用し自分のAPP を作っていきたいと思います!
Stop the App Build Environment
最後はApp Build EnvironmentをStopしましょう。
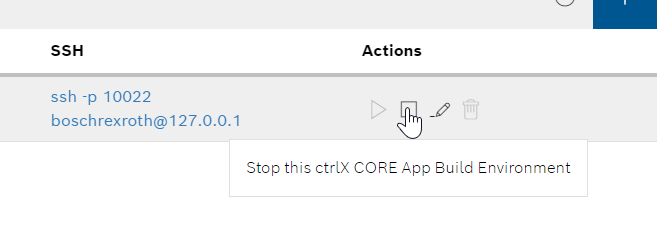
実際その環境をStopするにもPasswordが必要です。
Default Passwordはboschrexrothです。

コメント
nice