In this article, I will show you how to install and play with the ctrlX SDK, which you may think is easy if you have worked in IT for a long time, but I am from the OT side and my knowledge in this area is very limited. I plan to learn more and enjoy ctrlX.
Let’s start!
ctrlX SDK?
The ctrlX SDK is a software development kit for developing software applications (APPS) for ctrlX AUTOMATION devices, especially Linux-based ctrlX CORE devices. It is possible to develop APPS in a variety of high-level languages rather than using an SDK.
Github on ctrlX contains various samples of the Develop-Environment setup guide, libraries, documentation, and REST-API descriptions. This means that we can easily create our own APP!
So, let’s open up application possibilities by linking your software and know-how with the ctrlX AUTOMATION ecosystem.
Before..
To develop ctrlX CORE applications using the ctrlX AUTOMATION SDK, you will need to install a special software package for the Ubuntu 20.04 Linux operating system and the App Build Environment.
Here is the documentation for the SDK and App Build Environment.
https://boschrexroth.github.io/ctrlx-automation-sdk/overview.html
Prerequisites
- PC with ctrlX WORKS >= 1.20 and function ‘App Build Environment’ installed
- Internet connection
Reference Link
Build
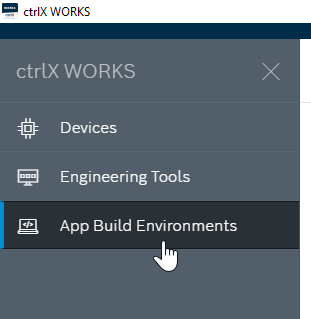
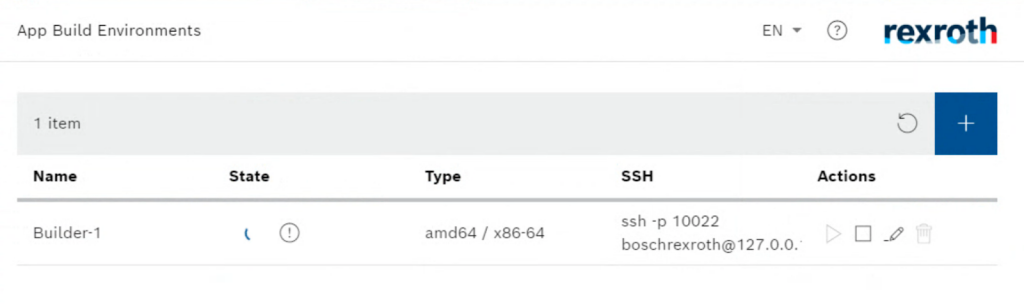
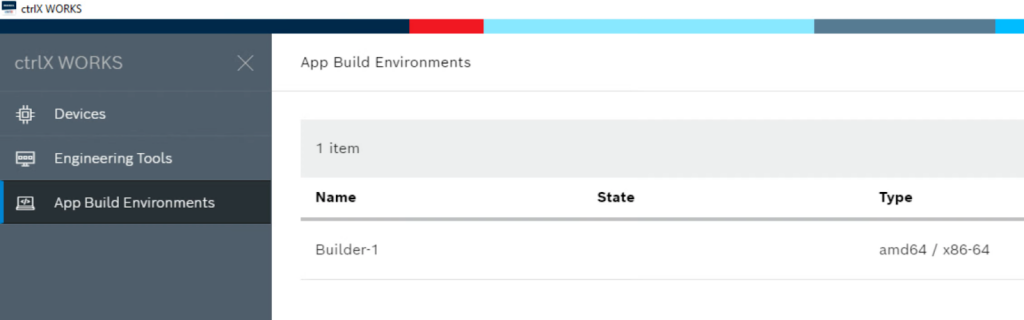
Start ctrlX WORKS and click on App Build Environments.
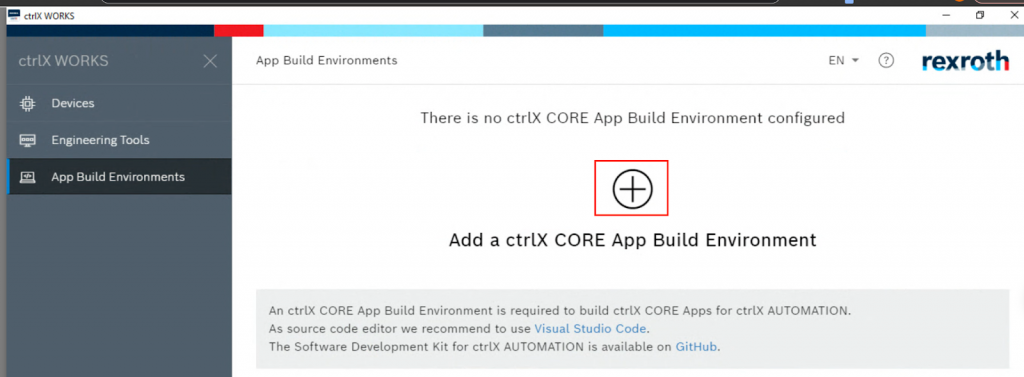
Click the + button to create a ctrlX CORE App Build Environment.
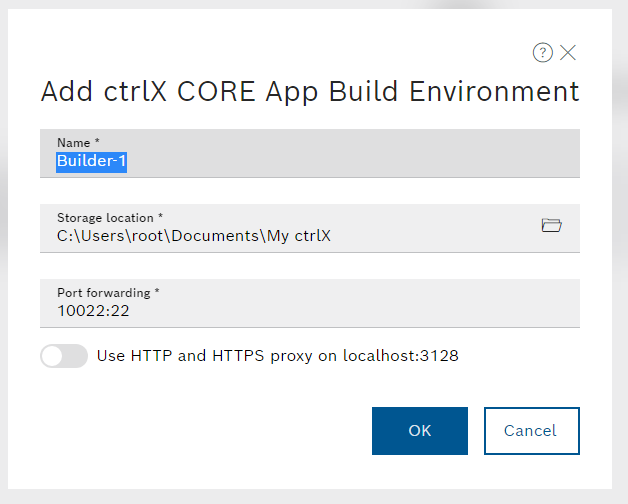
Enter your App Build Environment’s and OK.
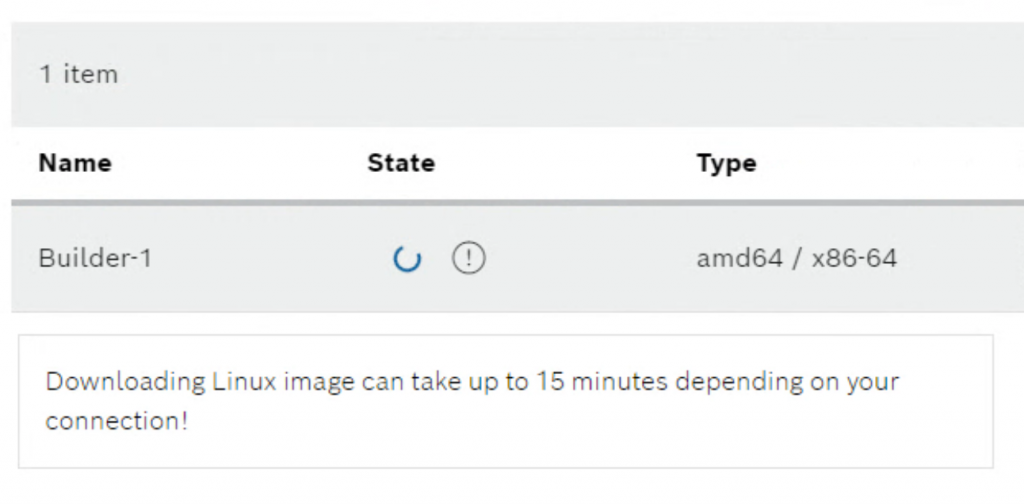
The App Build Environment automatically downloads Images from the Server and begins building the environment.
It will take you around 15 minutes (it took about 10 minutes for me).
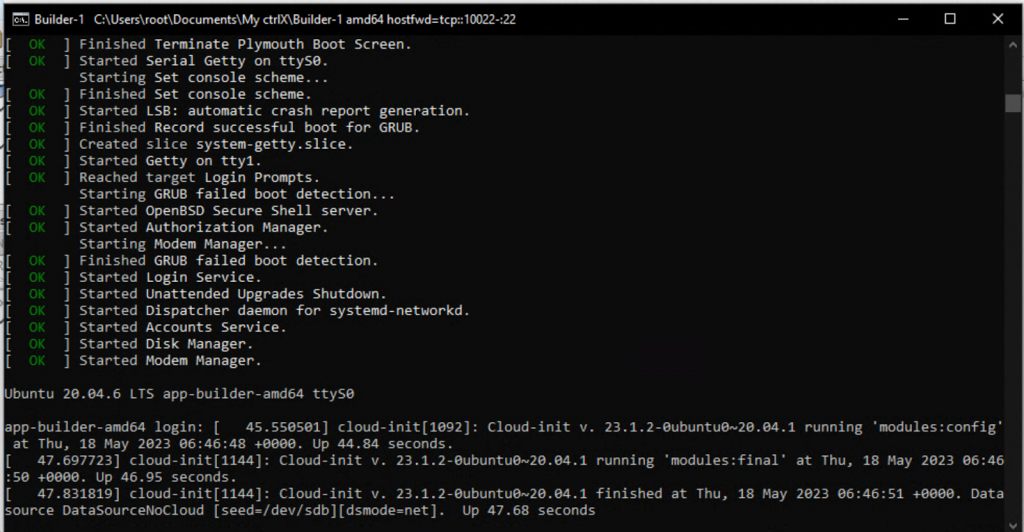
The PC will actually launch the Terminal to check the current installation progress.
Done!
Start The build app
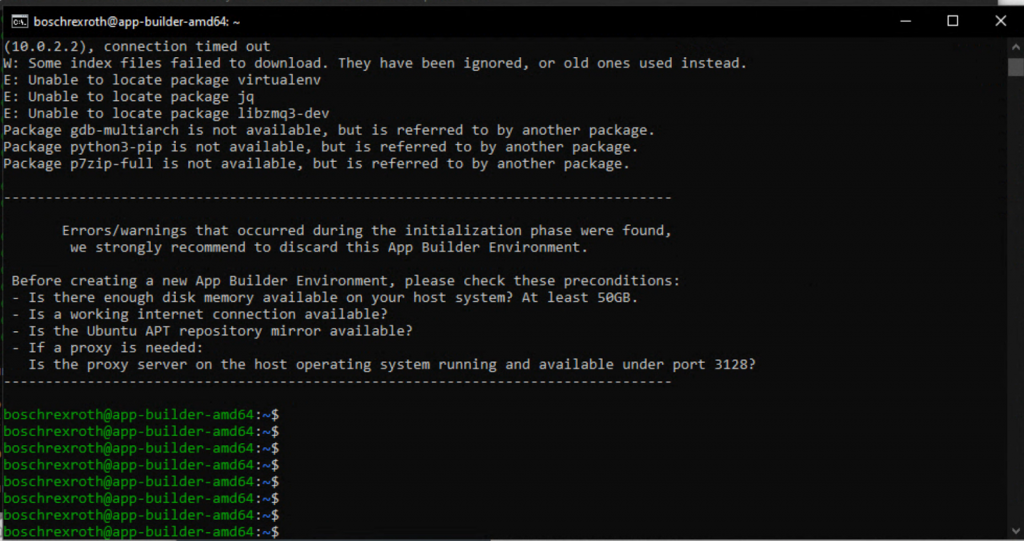
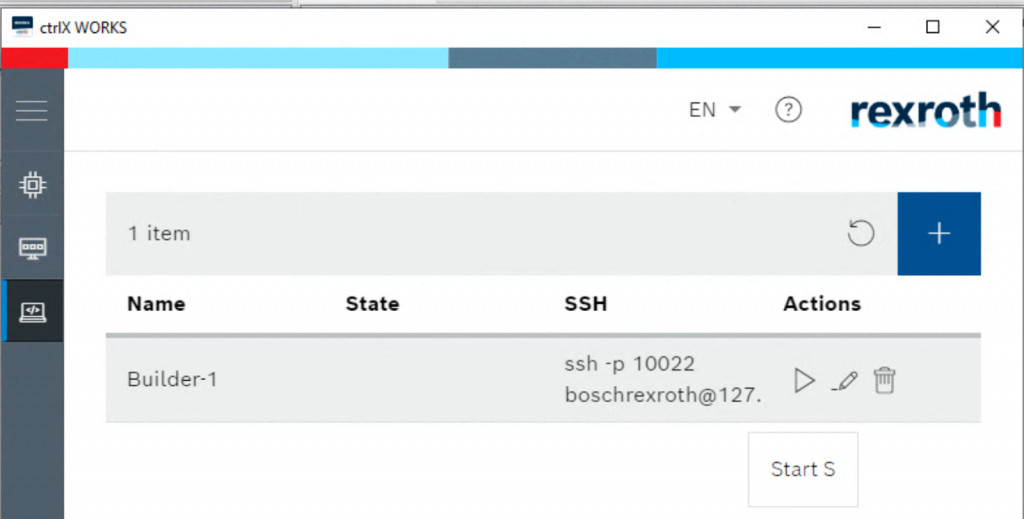
State should be empty with no markings.
Start the App Build Environment with the Start button.
Setup VSCODE
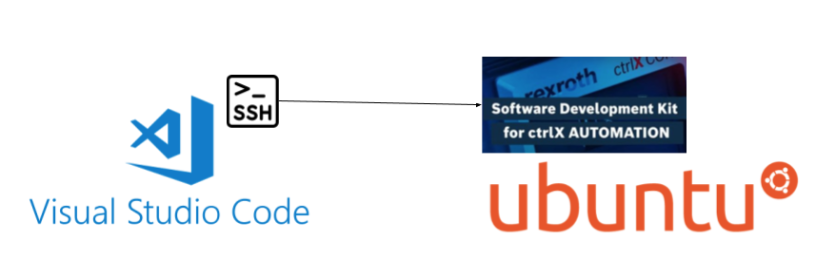
The ctrlX AUTOMATION SDK official documentation seems to recommend using Visual Studio Code as the Integrated Development Environment (IDE). You can install the Visual Studio Code extensions to use all the functions you need to develop ctrlX applications, such as SSH, and so on.
This article is talking mainly about building a WSL and VSCode development environment on Windows, but the VSCode part is common so please refer to it. Simply put, as long as you install the SSH extension as long as you install the SSH extension, there is no problem in this article.(Of course, VSCode is not a Must.)
Reference Link
Connnet
You can check the SSH Login address of the App Build Environment from the SSH field. Note that the SSH Login Port for the ctrlX App Build Environment is 10022.

From VSCode, select Remote > SSH and add a new Remote Server.
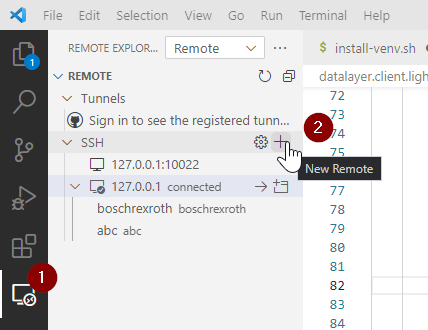
Set the SSH Server name.

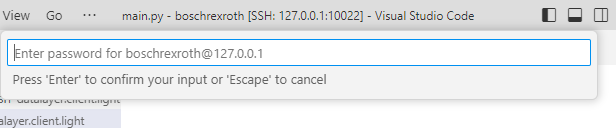
Enter boschrexroth@127.0.0.1:10022.

Password is boschrexroth.
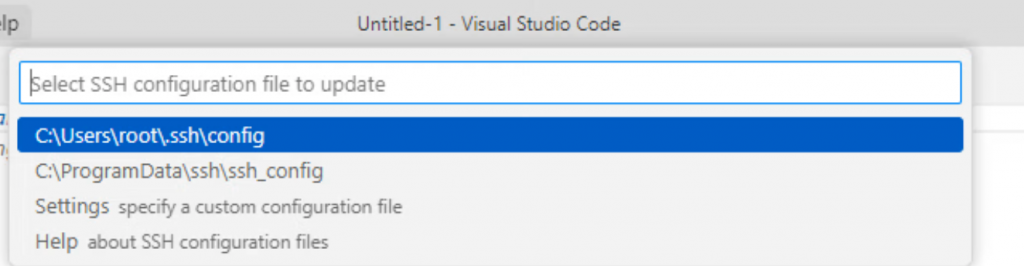
Choose Config. Go with the first one for now.
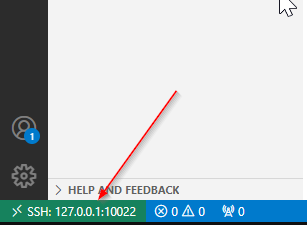
Once connected, SSH:127.0.0.1:10022 will appear in the lower right corner of the VSCode.
Host key verification failed
This section describes how to solve with a “verification failed” error when SSH Login is performed.
| —————– [08:13:22.971] > @@@@@@@@@@@@@@@@@@@@@@@@@@@@@@@@@@@@@@@@@@@@@@@@@@@@@@@@@@@ [08:13:22.986] > @ WARNING: REMOTE HOST IDENTIFICATION HAS CHANGED! @ > @@@@@@@@@@@@@@@@@@@@@@@@@@@@@@@@@@@@@@@@@@@@@@@@@@@@@@@@@@@ > IT IS POSSIBLE THAT SOMEONE IS DOING SOMETHING NASTY! > Someone could be eavesdropping on you right now (man-in-the-middle attack)! > It is also possible that a host key has just been changed. > The fingerprint for the ECDSA key sent by the remote host is > SHA256:FXXOSTwCswLlQ25/xTW2BqAhrhA0CoA/7/B5Ap+7YOo. > Please contact your system administrator. > Add correct host key in C:\\Users\\root/.ssh/known_hosts to get rid of this mess > age. > Offending ECDSA key in C:\\Users\\root/.ssh/known_hosts:1 > ECDSA host key for [127.0.0.1]:10022 has changed and you have requested strict c > hecking. > Host key verification failed. > The process tried to write to a nonexistent pipe. > [08:13:24.277] “install” terminal command done [08:13:24.278] Install terminal quit with output: Host key verification failed. [08:13:24.279] Received install output: Host key verification failed. [08:13:24.280] Failed to parse remote port from server output [08:13:24.282] Resolver error: Error: at m.Create (c:\Users\root\.vscode\extensions\ms-vscode-remote.remote-ssh-0.102.0\out\extension.js:1:584145) at t.handleInstallOutput (c:\Users\root\.vscode\extensions\ms-vscode-remote.remote-ssh-0.102.0\out\extension.js:1:582705) at t.tryInstall (c:\Users\root\.vscode\extensions\ms-vscode-remote.remote-ssh-0.102.0\out\extension.js:1:681881) at async c:\Users\root\.vscode\extensions\ms-vscode-remote.remote-ssh-0.102.0\out\extension.js:1:644110 at async t.withShowDetailsEvent (c:\Users\root\.vscode\extensions\ms-vscode-remote.remote-ssh-0.102.0\out\extension.js:1:647428) at async t.resolve (c:\Users\root\.vscode\extensions\ms-vscode-remote.remote-ssh-0.102.0\out\extension.js:1:645160) at async c:\Users\root\.vscode\extensions\ms-vscode-remote.remote-ssh-0.102.0\out\extension.js:1:720916 [08:13:24.297] —— ——————— |
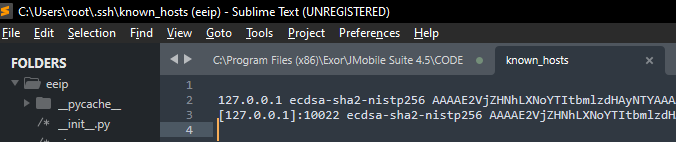
Please go to the following Path on the Host PC.
| C:\Users\root\.ssh |
Please open known_hosts in Nodpad or other Editor.
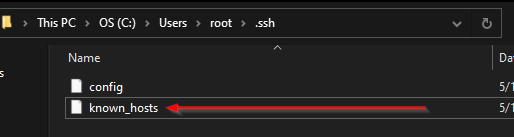
Delete the Key that cannot Login inside.
Download the Example
Next, download the SDK Samples and build the App Build Environment.
https://github.com/boschrexroth/ctrlx-automation-sdk
ctrlX provides not only Python, but also Samples of various high-level languages such as GO/Node/cpp.
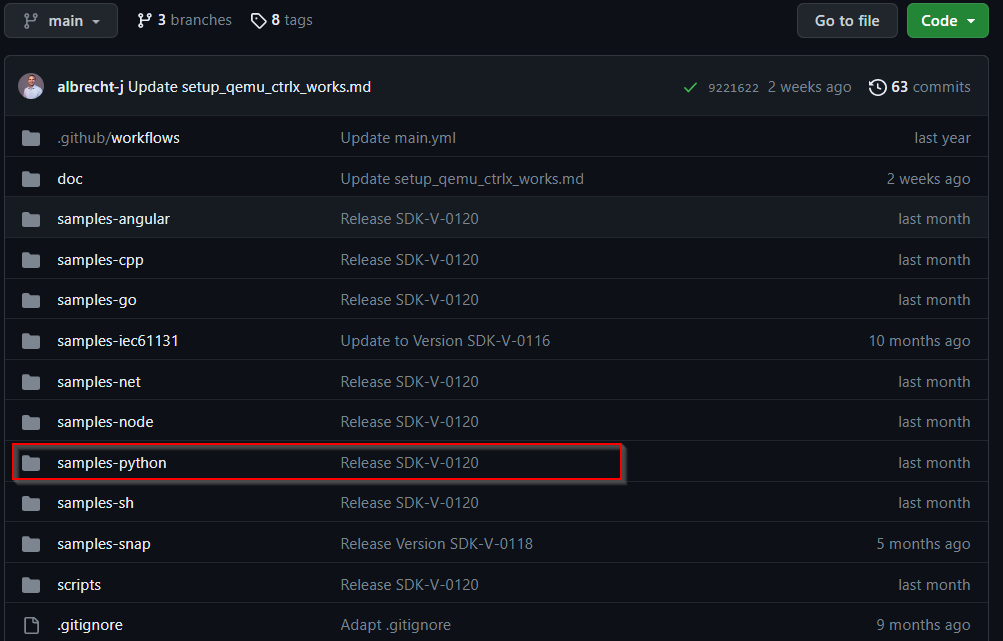
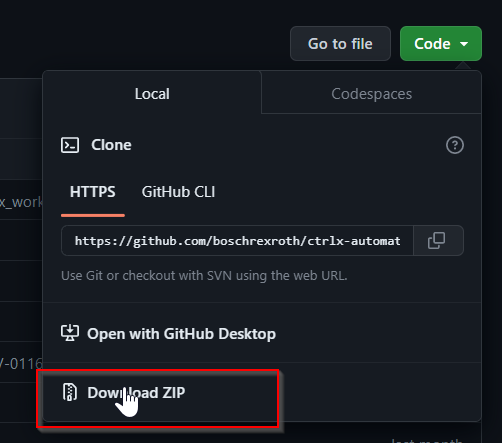
Download the Example with Code>Download Zip.
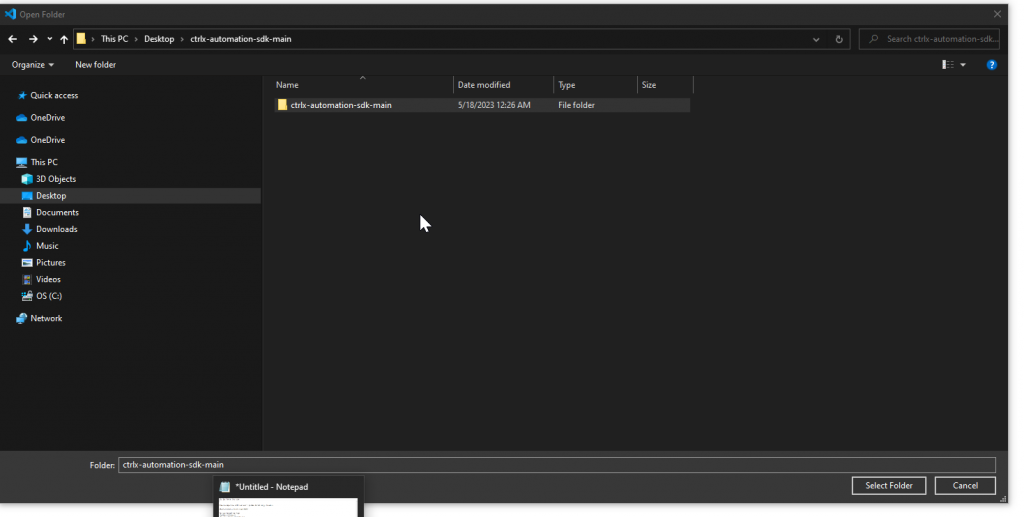
Start another VSCODE and Go to File>Open Folder.
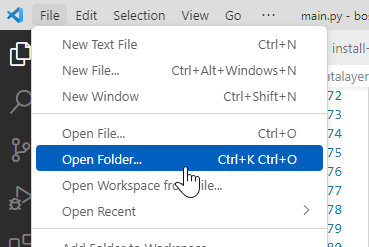
Unzip the Zip that you have just downloaded at Github and open it from VSCode with Open Folder.
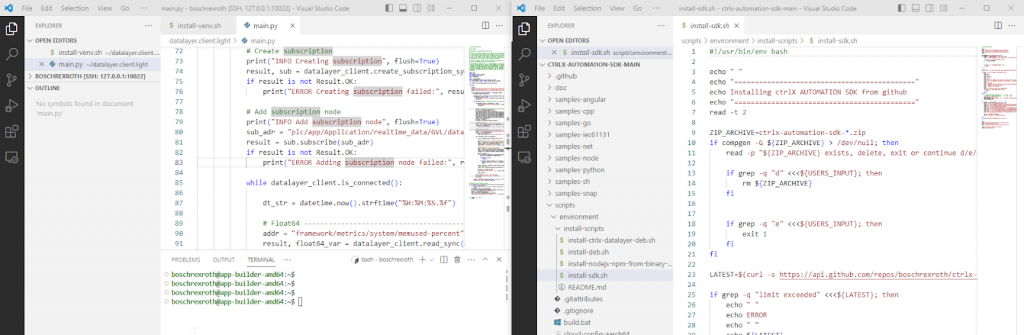
It is easier to work with App Build Environment and Local open at the same time on the left and right like this.
Move to your APP Build
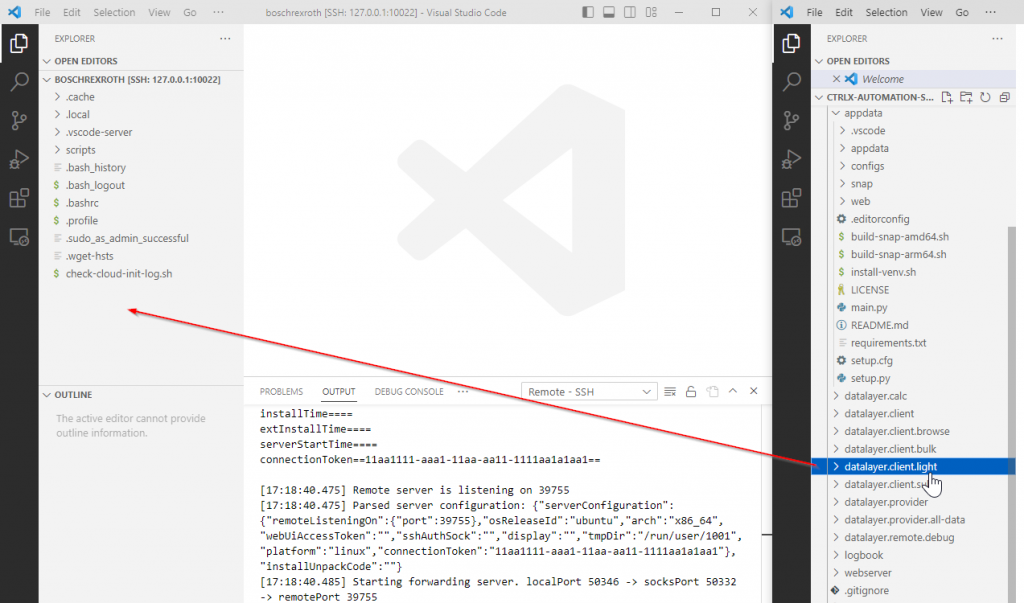
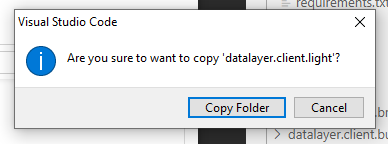
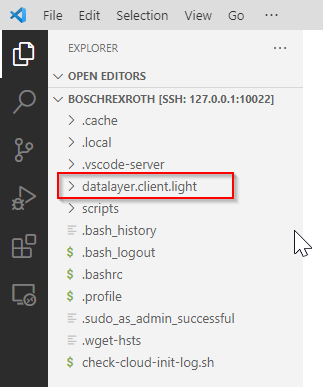
The Example used in this article is datalayer.client.light.Please drop the folder from Local host to App build Environment.
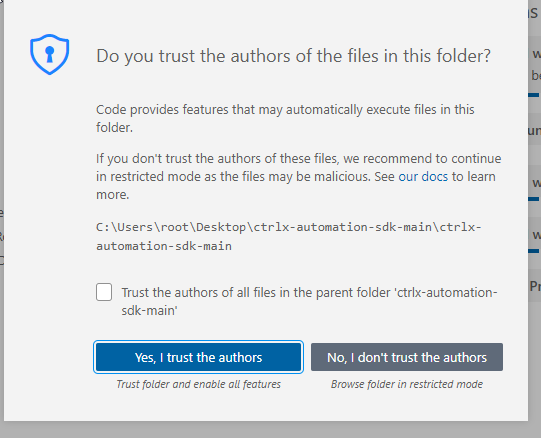
Click on “Yes, I trust the authors” to proceed.
Copy Folder moves all Files.
Done!
Necessary Script
Note that the /home/boschrexroth/scripts/ directory of the App Build Environment contains a set of scripts that are important for creating an APP.
And /home/boschrexroth/scripts/README.md lists and describes all the files.
In addition to the ctrlX AUTOMATION SDK, the ctrlx-datalayer debian package, snapcraft, and libraries for cross-building are installed.
Now let’s install the ctrlx-datalayer debian package, snapcraft, cross-build libraries, etc. from install-sdk.sh.
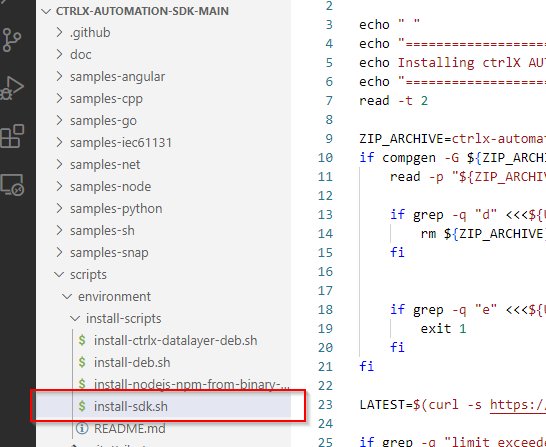
Update the Source List with this command> Change permissions so that you can run install-sdk.sh> Finally, run the Shell Script install-sdk.sh. It takes about 5 minutes.
| boschrexroth@app-builder-amd64:~$ sudo apt-get update boschrexroth@app-builder-amd64:~$ chmod +x install-sdk.sh boschrexroth@app-builder-amd64:~$ /.install-sdk.sh |
After the Shell Script was executed, various Packages were installed in the App Build Environment. For example, virtualenv:
| boschrexroth@app-builder-amd64:~$ pip3 install virtualenv Requirement already satisfied: virtualenv in /usr/lib/python3/dist–packages (20.0.17) |
or pip.
| boschrexroth@app-builder-amd64:~$ pip3 –version pip 20.0.2 from /usr/lib/python3/dist–packages/pip (python 3.8) |
Test with Example!
Now let’s actually install the Examples downloaded from ctrlX Github.
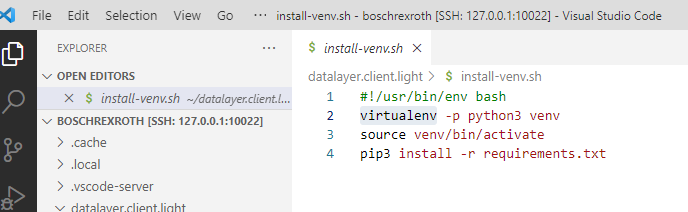
Each Example also includes a Shell Script called install-venv.sh.
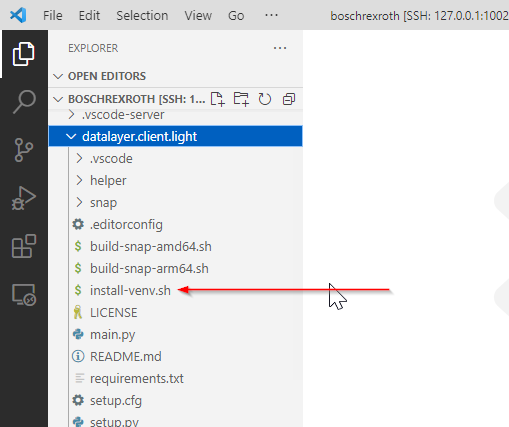
Inside the install-venv.sh, it will create a Python virtual environment i> Activate the virtual environment > Finally, install the Library described in the requirements.txt file using the Pip command.
Run the Shell Script.
| boschrexroth@app-builder-amd64:~$ chmod +x install-venv.sh boschrexroth@app-builder-amd64:~$ ./install-venv.sh |
Let’s run main.py.
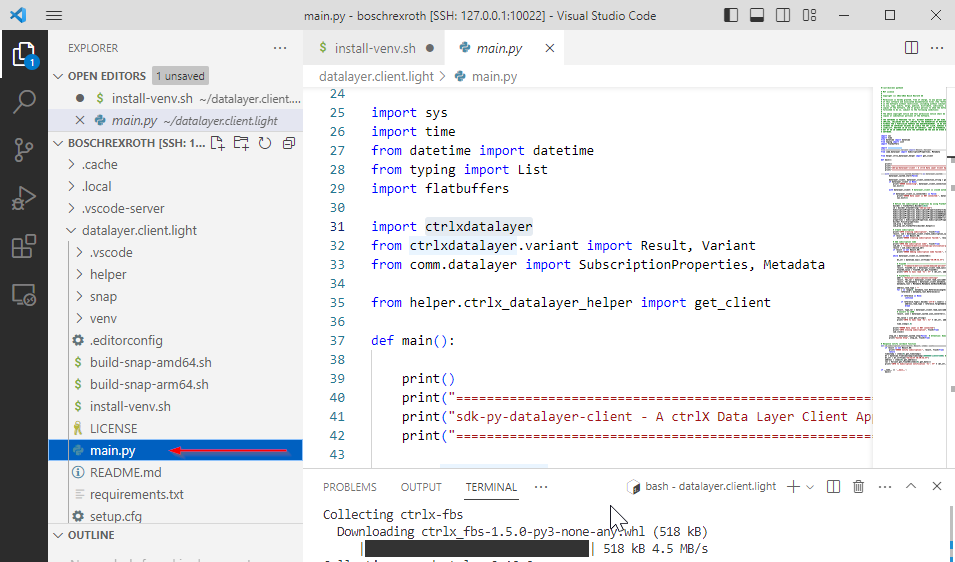
If you get an error, please check if Runtime such as Ctrlx Virtual Core has been started.
| boschrexroth@app-builder-amd64:~$ source datalayer.client.light/venv/bin/activate (venv) boschrexroth@app-builder-amd64:~$ python datalayer.client.light/main.py System architecture: x86_64 ================================================================= sdk-py-datalayer-client – A ctrlX Data Layer Client App in Python ================================================================= ERROR Connecting tcp://boschrexroth:boschrexroth@10.0.2.2?sslport=8443 failed. |
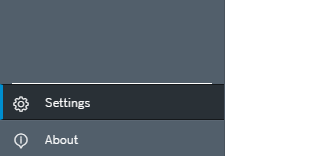
Go to the ctrlX Runtime Web Server and open Settings.
Open Data Layer.
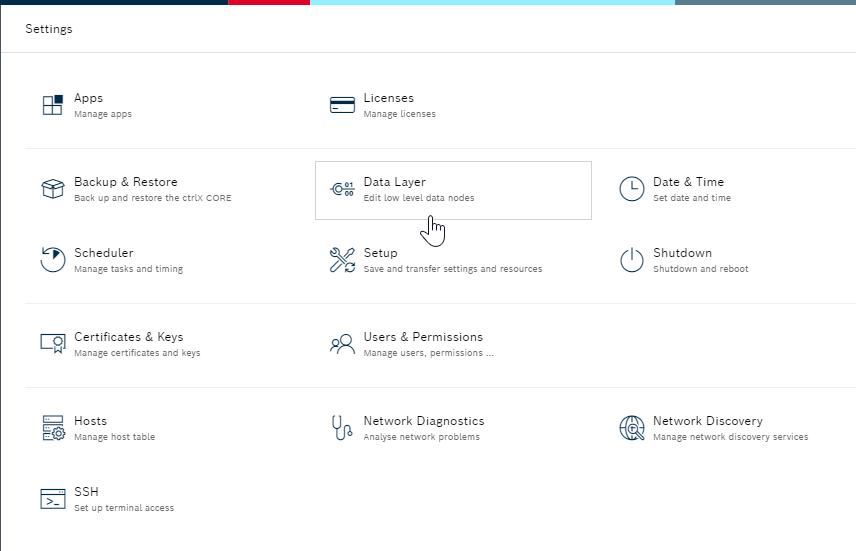
The Data Layer tree is now displayed.
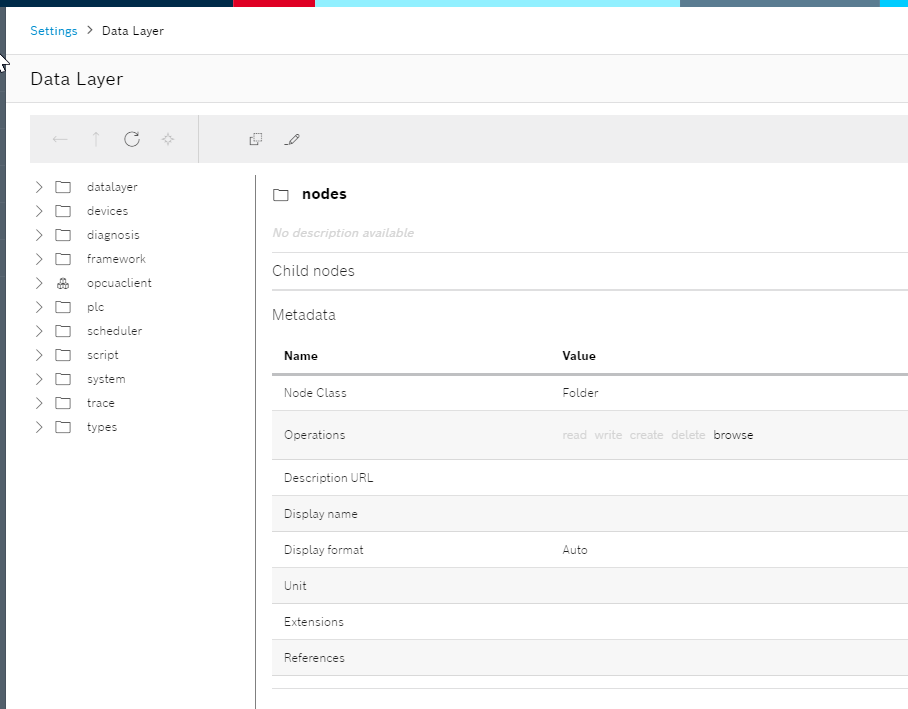
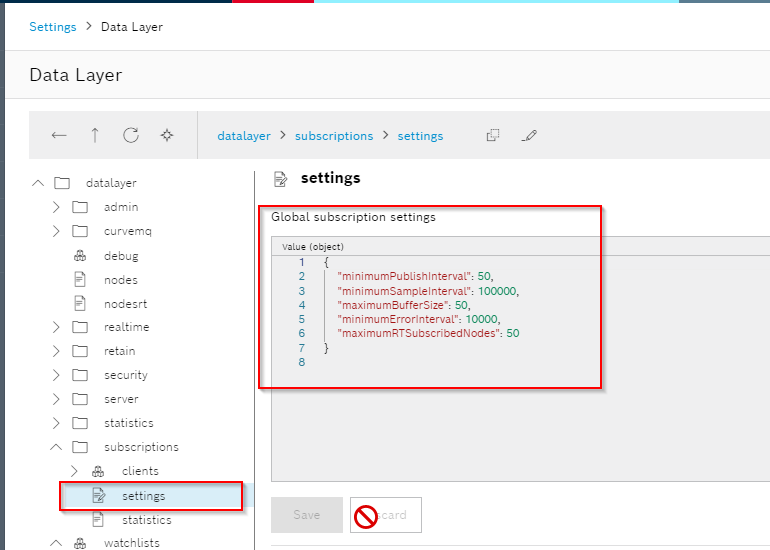
In this Example the script will read the Subscription settings and CPU usage, and you can confirm these items from the Data Layer tree.
Reference Link
Steps to install PIP:
https://linuxize.com/post/how-to-install-pip-on-ubuntu-20.04/
How to use Virtualenv:
Modify your apps
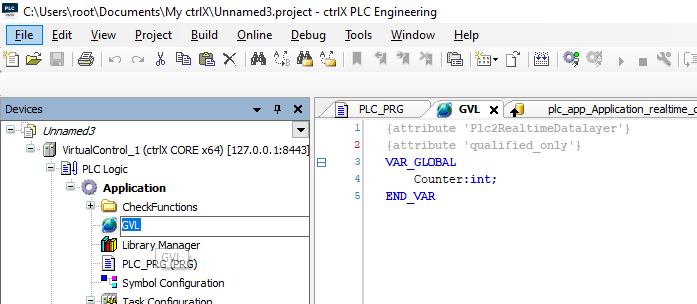
Now I will modify the Python Script a bit: start ctrlX PLC Engineering, define the integers in the GVL and add it by one cyclically.
Let’s add that variable as an Output in DataLayer_Realtime.
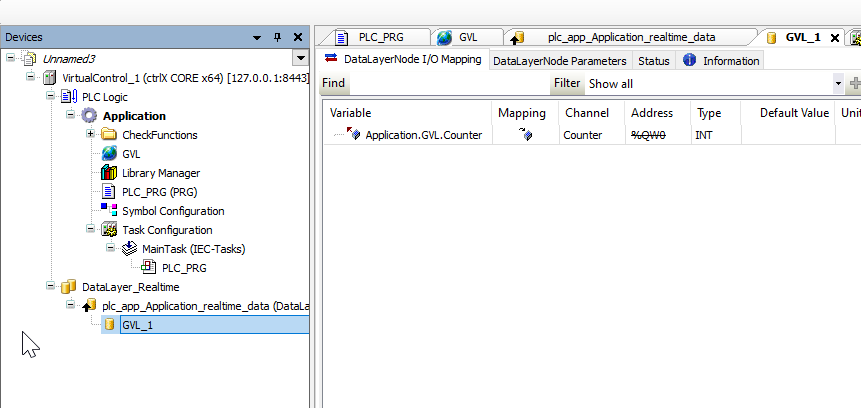
Let’s check it first from the Web Server.
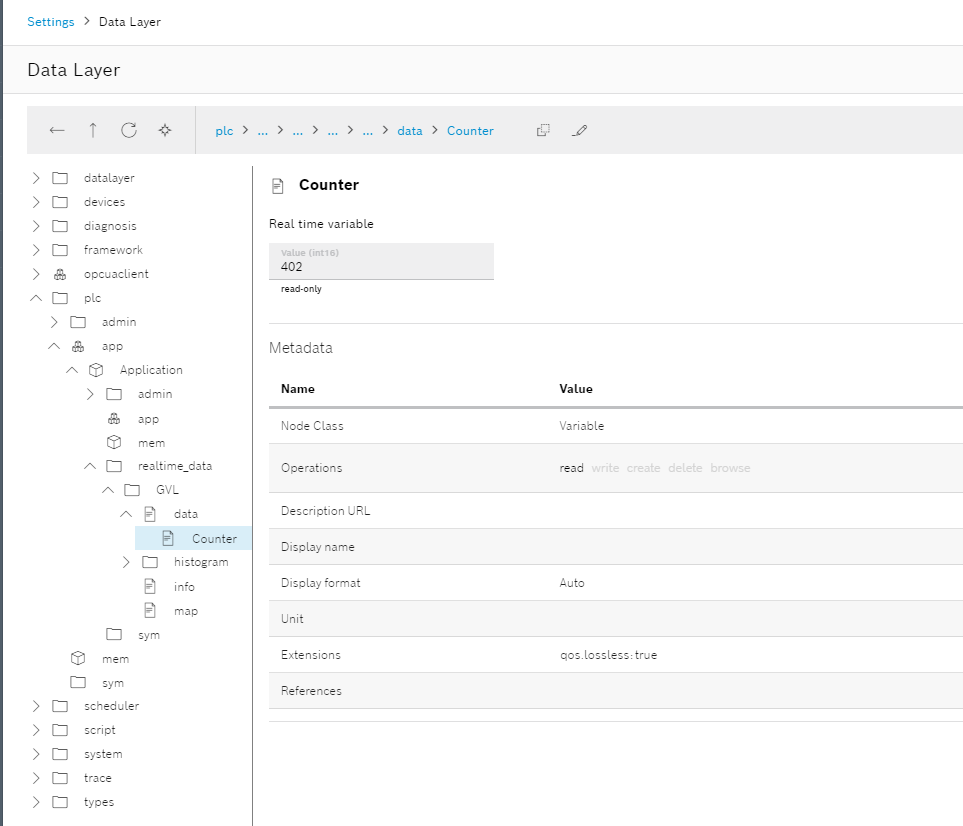
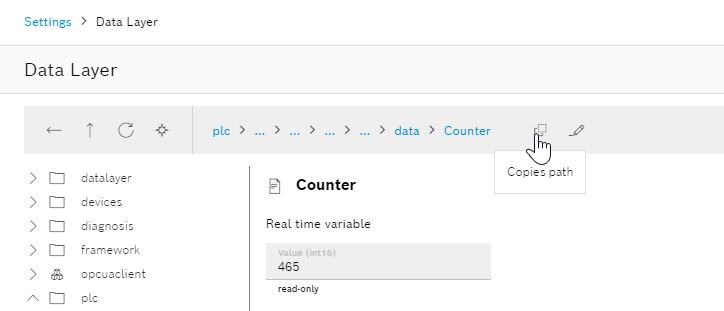
Copy the access Path of the Counter variable in PLC Runtime.
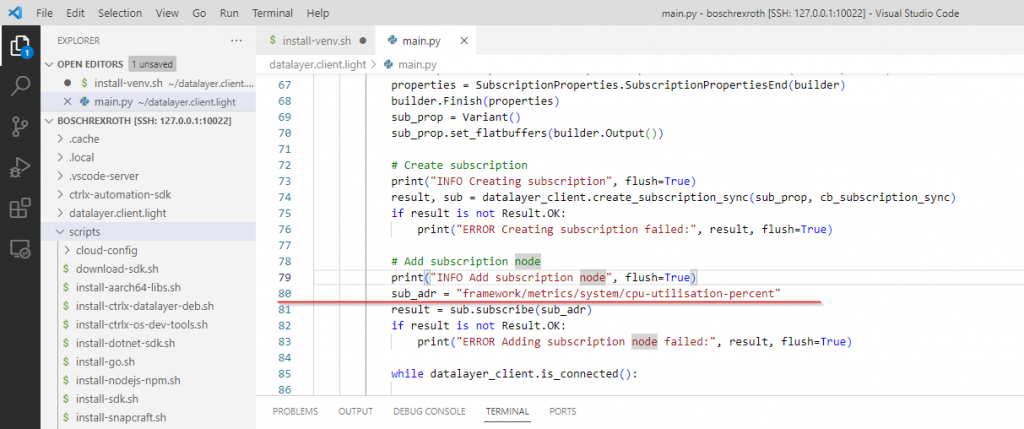
In the PythonScript of Example, Line80 sets the Topic to Subscribe to.
Let’s change it to the Access Path that you just copied.
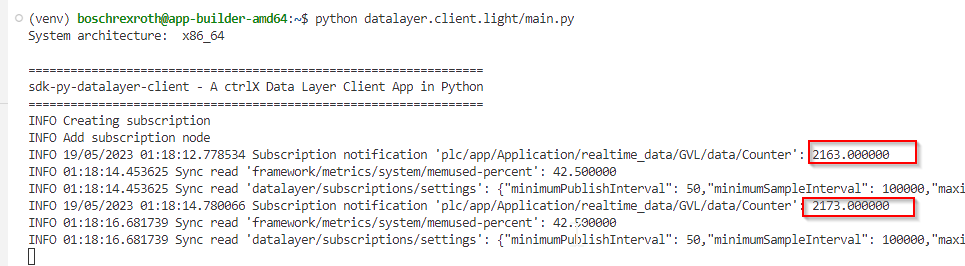
Counter value was read via DataLayer_Realtime.
Build to Snap
Finally, let’s build the Python script into Snap and install it into the ctrlX Runtime.
Please use cd command to move the working directory where you created the application.
In the folder, you will find the Shell Script .build-snap-amd64.sh.

Change build-snap-amd64.sh to be executable and run its Shell Script.
| boschrexroth@app-builder-amd64:~$ chmod +x build-snap-amd64.sh boschrexroth@app-builder-amd64:~$ /.build-snap-amd64.sh |
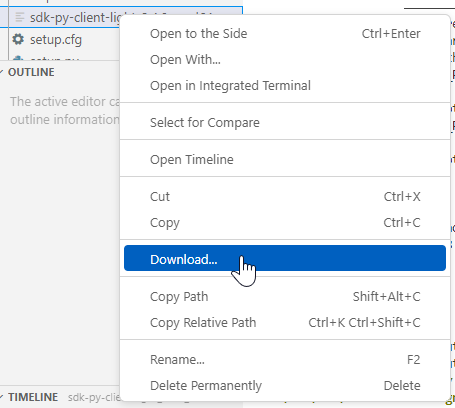
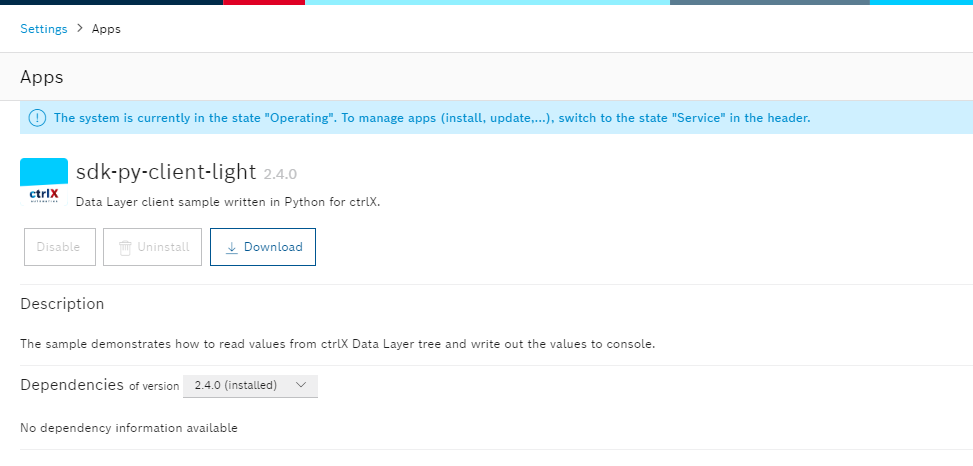
Right-click on the snap that was built in the previous step and select Download to download it to the local PC.
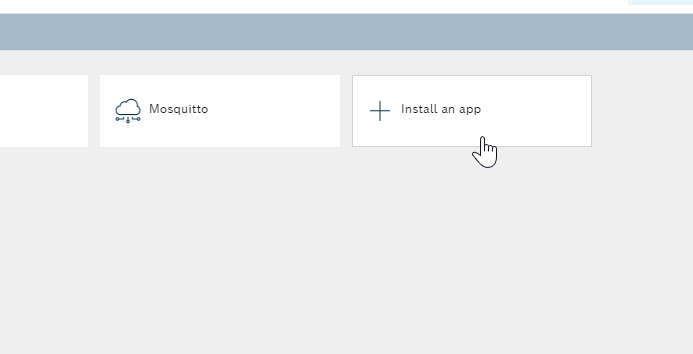
Access ctrlX Virtualcore’s WebServer and install the App with Install an app.
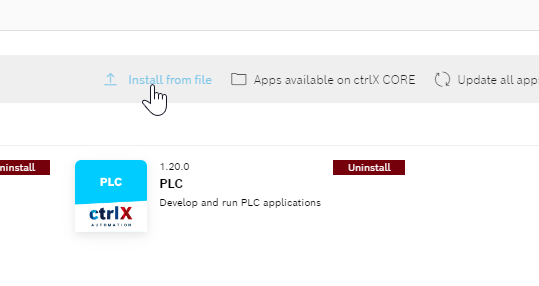
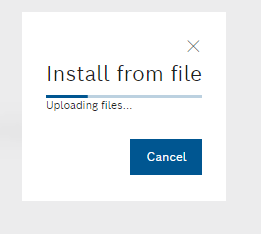
Click Install from file.
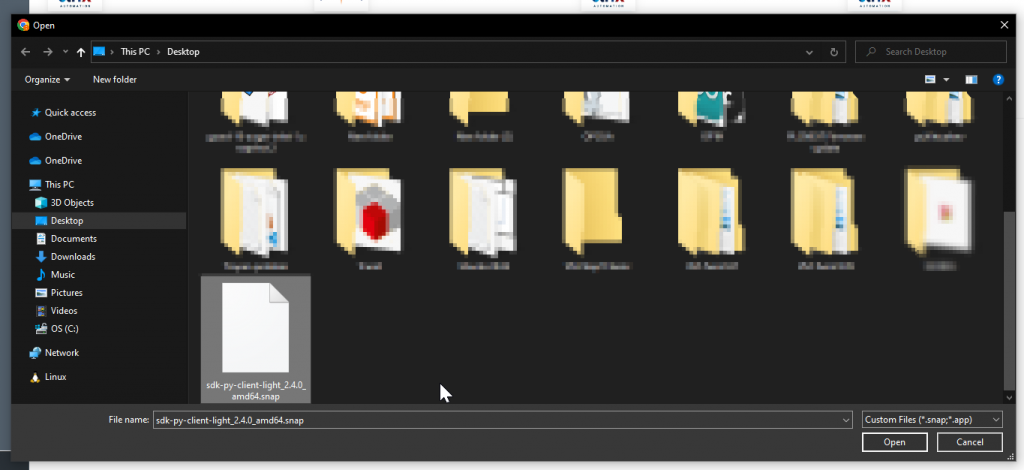
Select the snap you just downloaded >Open.
Please wait a moment…
Install.
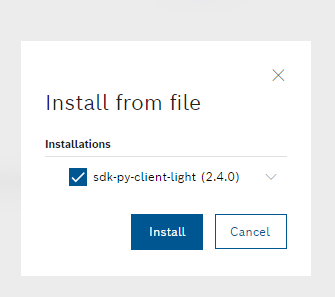
Please wait a moment…
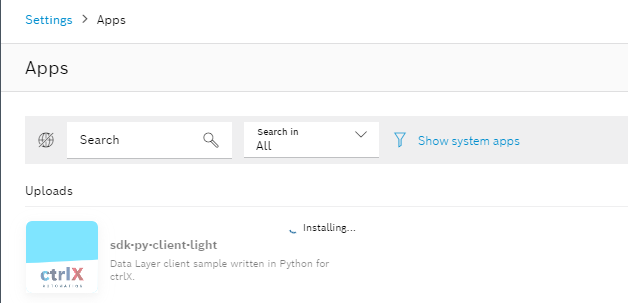
Done!
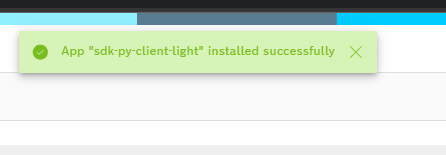
Apps are now installed! This Example is not practical since it only displays variables loaded via DataLayer_Realtime all the time in the Console, but I would like to use the SDK to create my own APP from now on!
Stop the App Build Environment
Finally, Let’s stop the App Build Environment.
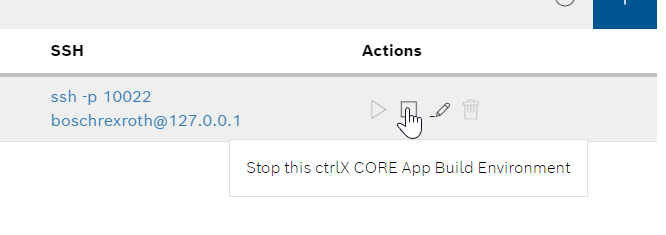
In fact, a Password is also required to stop the environment.
The Default Password is boschrexroth.
