Last time, I explained the backup procedure for Image in RevPI Connect. Let’s update Images this time. Please note that the RevolutionPi image cannot be used for general Raspberry PI.
Thanks!
The RevPI Connect used in this article was lent by PILZ JAPAN.
PILZ
PILZ supports FA sites as a total solution supplier with safety and automation technology solutions, guaranteeing not only human safety, but also machine and environmental safety, to ensure the safe operation of machines and equipment. Pilz has 42 local companies and branches worldwide and is active in various fields such as packaging, the automotive industry, robotics applications, as well as wind power and railway technology.

Office:
〒222-0033 Kanagawa, Yokohama, Kohoku Ward, Shinyokohama, 3 Chome−17-5 いちご新横浜ビル 4階
HP
Reference Link
Tools
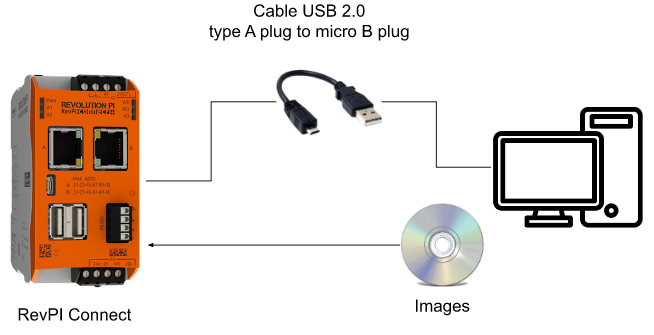
Please prepare these tools for updating your RevPI Image.
Hardware
- PC
- RevPi Connect
- Power Supply(For RevPI)
- Cable USB 2.0 type A plug to micro B plug
- USB
Software
- RPi Boot (Windows Installer)
- Win32 Disk Imager
- WinMD5
Download Tools-rpiboot
Access this Link to download rpiboot .
https://www.raspberrypi.com/documentation/computers/compute-module.html
https://github.com/raspberrypi/usbboot/raw/master/win32/rpiboot_setup.exe

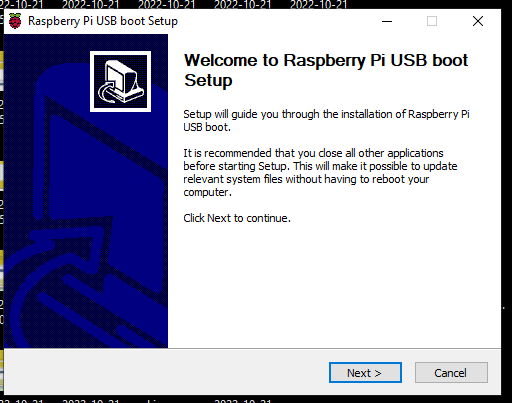
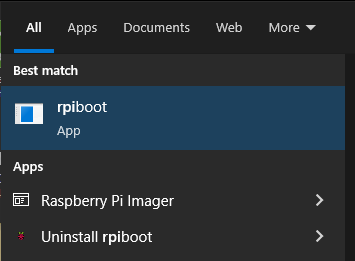
Double Click the installation file to start your installation.
Next>.
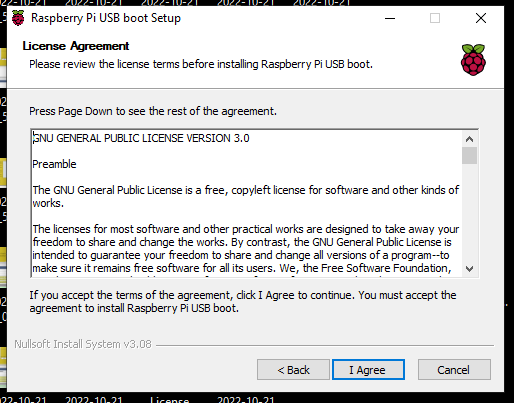
Agree the License.
Select the Raspberry Pi USB Boot options and Next.

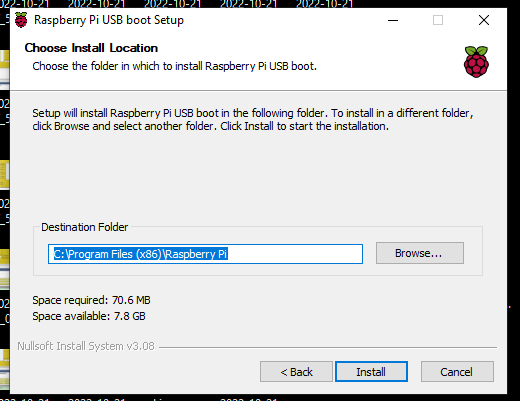
Select the installation Path and start your installation.
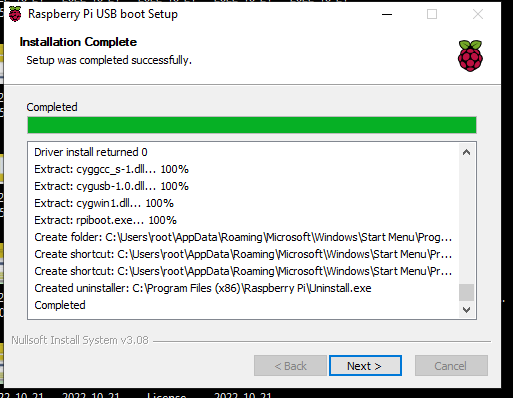
Please wait a minute..

Next>.
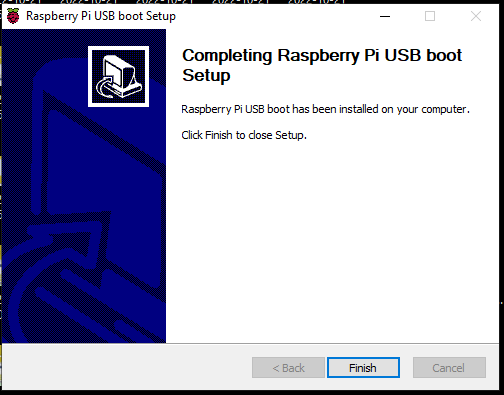
Done!
Download Tools – Win32 Disk Imager
Please download and install the Win32 Disk Imager from this link.
Download Tools – WinMD5
Then we need to use WinMD5 to operate a CheckSum – Verify the image is exactly what we need.Please access this link to download the tools.

Unzip the File and Launch the WindMD5.exe.You do not need to install this software.

Download the Image
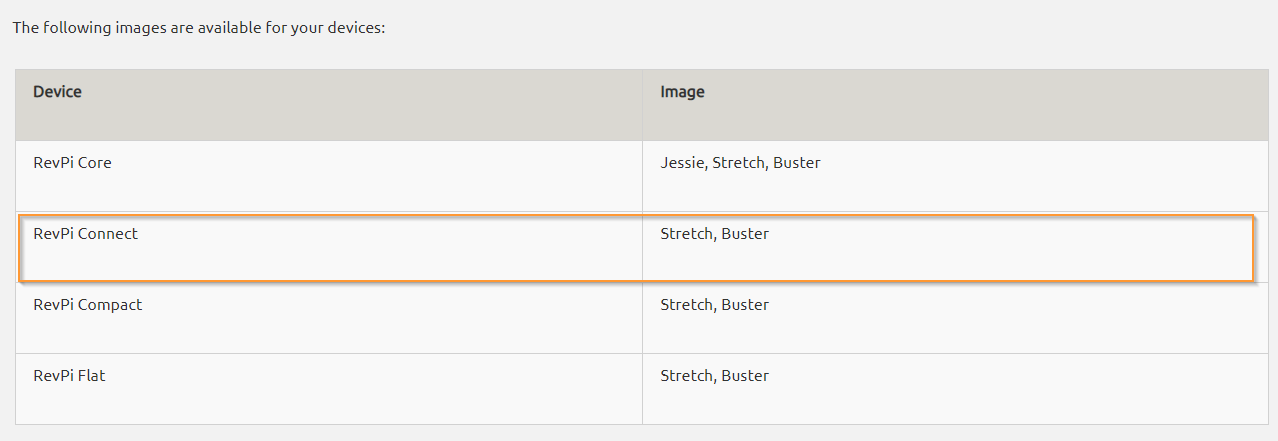
Before burning the image to RevPI Connect , please make sure which images are supported.In my case, Stretch and Buster can be used.
Download the image from this link – and Buster is used in this tutorial.
https://revolutionpi.com/tutorials/downloads/#schaltplaene
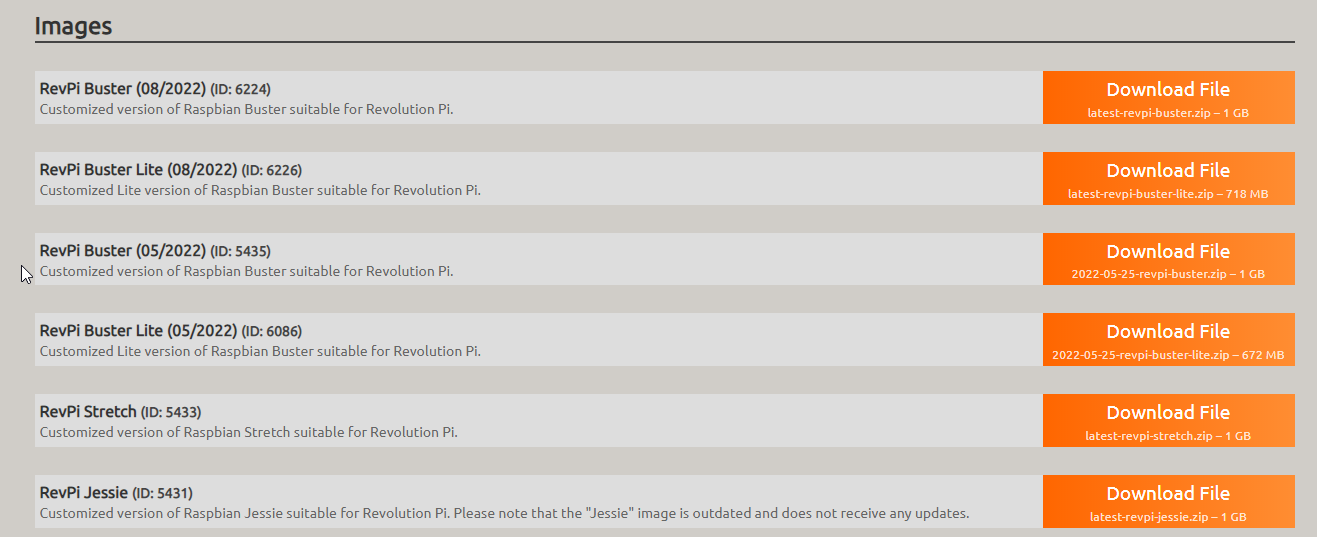
.Img , .md5 and Release Notes can be found.

Update Start!
Now is the time for us to update the Revpi Connect!
Checksum
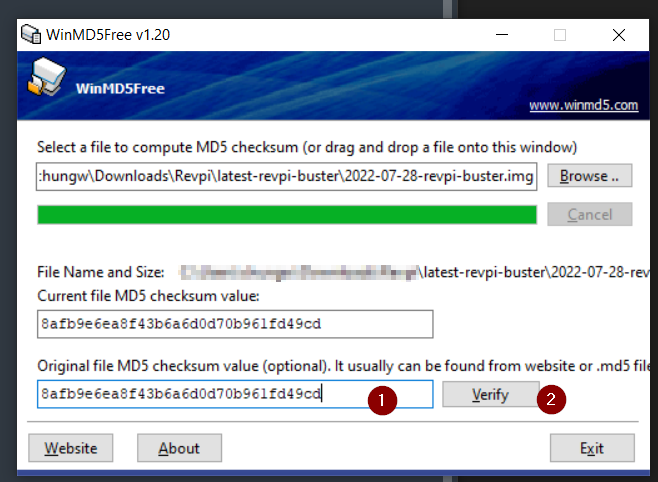
Launch WinMD5 to operate a checksum of the image that we downloaded.

Click the Browse button.

Choose the image and Open.

The software will start the checksum process..

After the Checksum process is finished, open the .md5 file by Notepad.
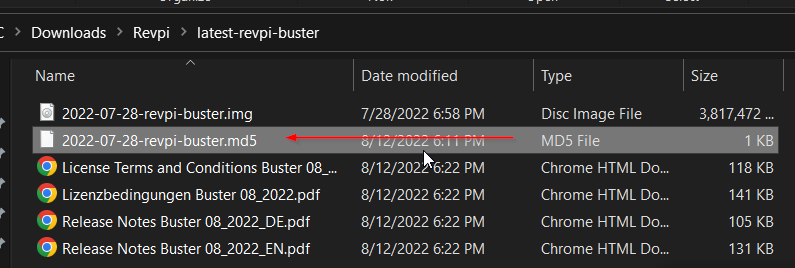
The text that you see is the Checksum value of this image.

Copy and paste the checksum value into field1 and click the Verify button.
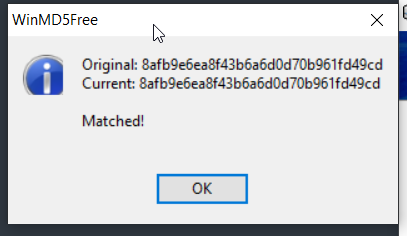
Done! The Image is exactly matched. Please download again if the checksum value is failed.
Start rpiboot
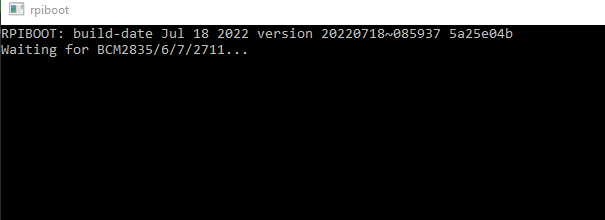
Launch rpiboot.
Waiting for BCM283/6/7/2711.. message is shown in the rpiboot Terminal.
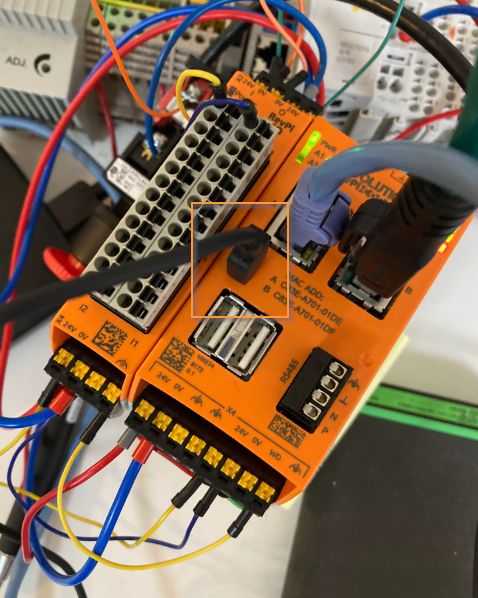
Connect!
Connect the USB to RevPI Connect and power on your RevPI Connect!
Write Image
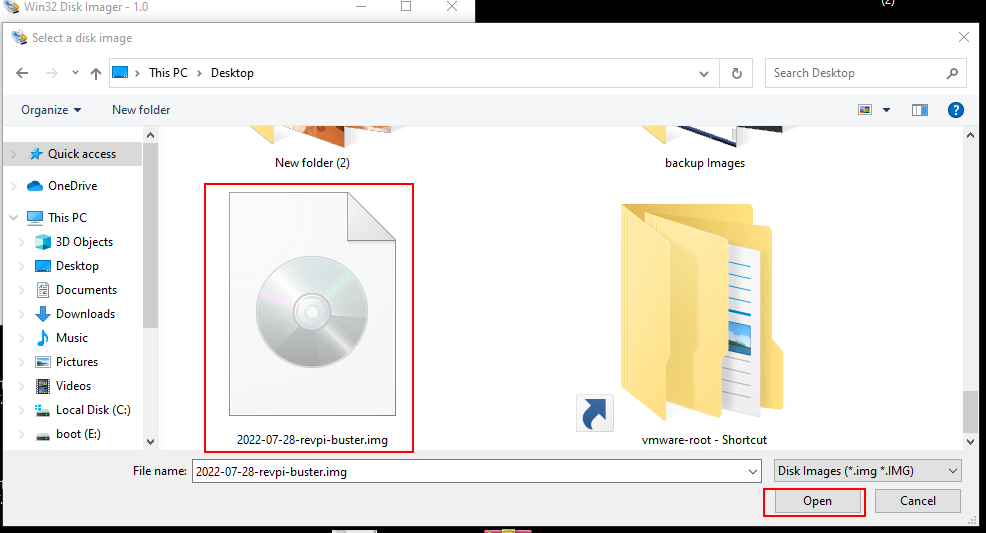
Launch the Win32 Disk Imager and press the Browse button.
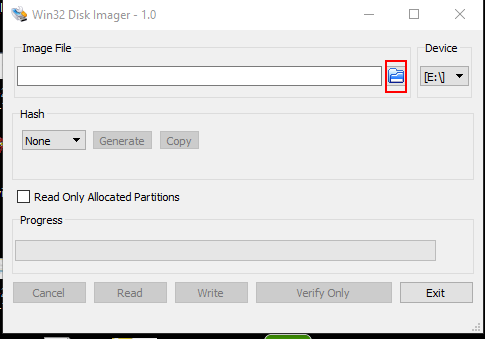
Choose the image>open.
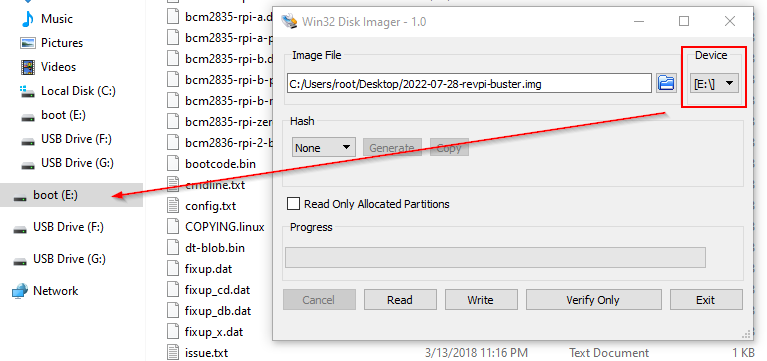
Choose the RevPi Connect Drive that is named as “boot”.
In this tutorial Drive E is used.
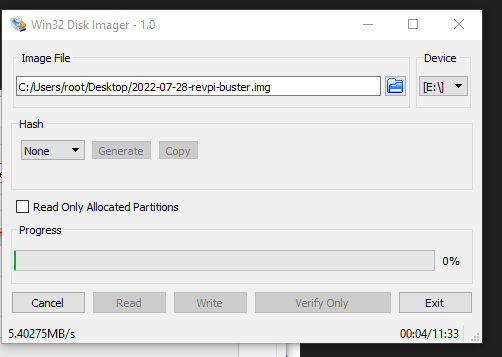
Write!

Yes.

Please try again if Error 5 is happening or use Balena.

Please wait a minute..
Done!

Setup
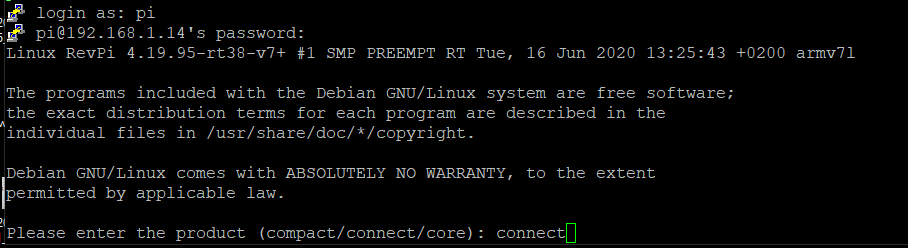
Finally we need to use Putty to login to RevPI Connect with SSH.
The user name is pi and password is raspberry.
Enter your Product Type and RevPI Connect is used in my tutorial, “connect” is entered here and press enter for the next step.
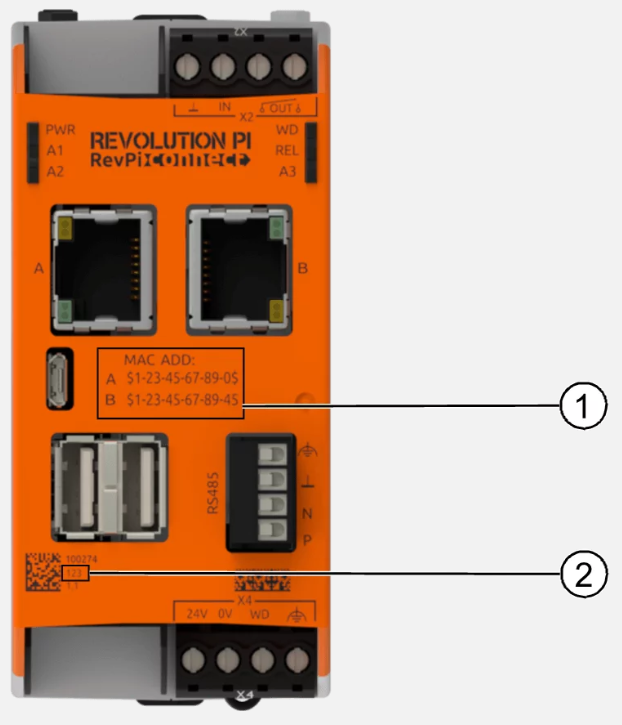
Now we can enter the Serial number and Mac address.
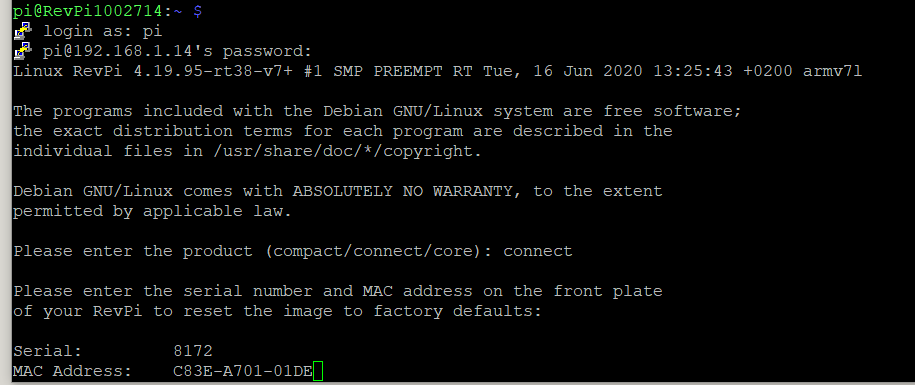
please find the Mac address and Serial number from here.
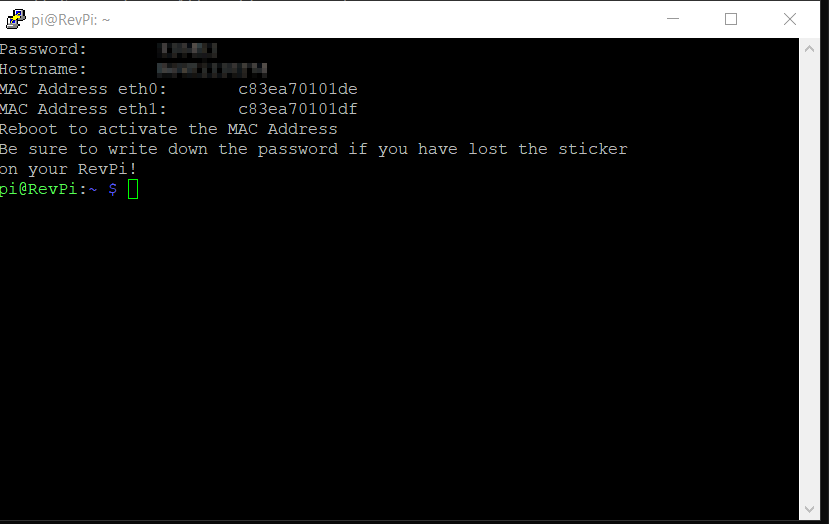
Done! The HostName and password is updated!
Reboot
Please use this command to reboot your Revpi Connect.
| sudo reboot |
WireShark
If you see the source – KUNBUS is shown in here, you finished the task!

Check it
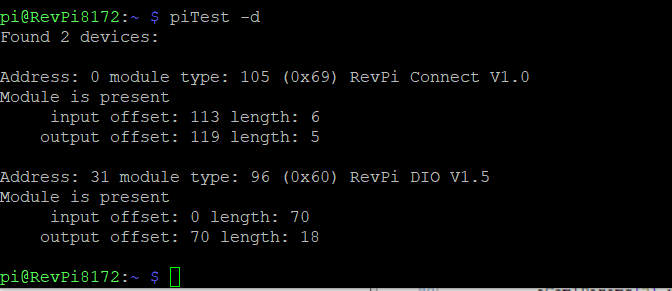
Please use this command to confirm RevPI Connect is detected correctly from the OS or not.
| piTest -d |
Done!RevPI Connect is shown.
cannot retrieve device list: no such device
Please perform a Factory Reset if RevPI can not be detected with a piTest -d command.
Use this command to perform a Factory Reset and Login again.
| rm /home/pi/.revpi-factory-reset |
or use this command , Login again is not needed.
| sudo /usr/sbin/revpi-factory-reset connect SERIAL MAC |
This Factory Reset will only reset the Hostname and some information about the Model – your user files are kept.
Reference Link:
https://revolutionpi.de/forum/viewtopic.php?t=3517
Check your images
Finally, Use this command to check the image that you have installed.
| cat /etc/revpi/image-release |
