RevPI does not have Hard Disk Media for storage, instead a memory card called “eMMC (embedded multimedia card)” is installed in RevPI to store the operating system and all User Files. Please note that if the contents of the eMMC are overwritten or deleted due to some error, RevPI Connect may become completely unusable, so Backup is a very important task. In this article, I will introduce how to backup the RevPI Images to USB.
Let’s Start!
Thanks!
The RevPI Connect used in this article was lent by PILZ JAPAN.
PILZ
PILZ supports FA sites as a total solution supplier with safety and automation technology solutions, guaranteeing not only human safety, but also machine and environmental safety, to ensure the safe operation of machines and equipment. Pilz has 42 local companies and branches worldwide and is active in various fields such as packaging, the automotive industry, robotics applications, as well as wind power and railway technology.

Office:
〒222-0033 Kanagawa, Yokohama, Kohoku Ward, Shinyokohama, 3 Chome−17-5 いちご新横浜ビル 4階
HP
Reference Link
Tools
Here is a tool list for Backup your Revpi Image.
Hardware
- PC
- RevPi Connect
- Power Supply(For RevPI)
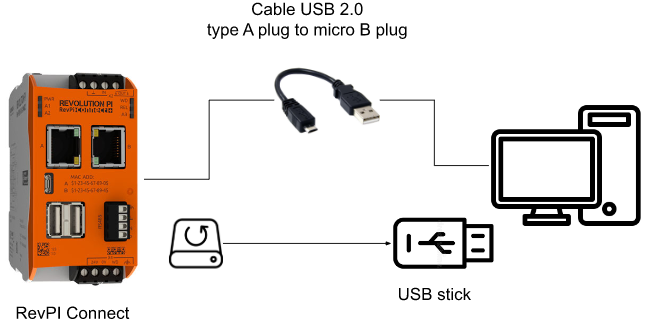
- Cable USB 2.0 type A plug to micro B plug
- USB
Software
- RPi Boot (Windows Installer)
- Win32 Disk Imager
Download Tools-rpiboot
Access this Link to download rpiboot .
https://www.raspberrypi.com/documentation/computers/compute-module.html
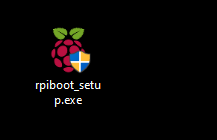
https://github.com/raspberrypi/usbboot/raw/master/win32/rpiboot_setup.exe
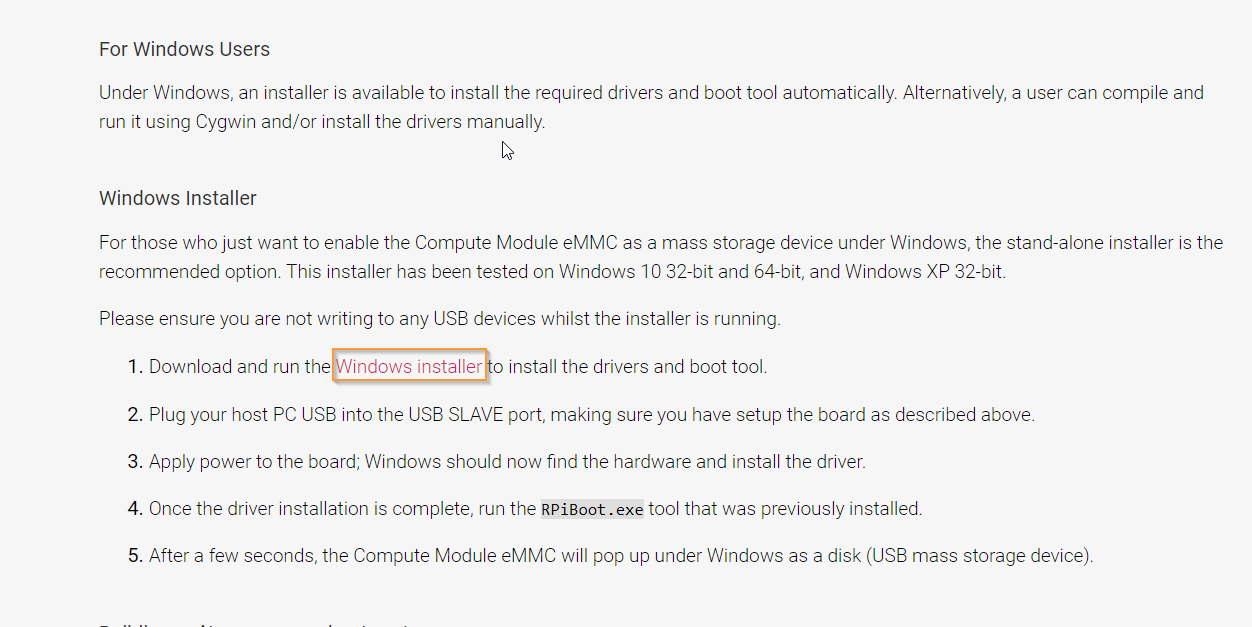
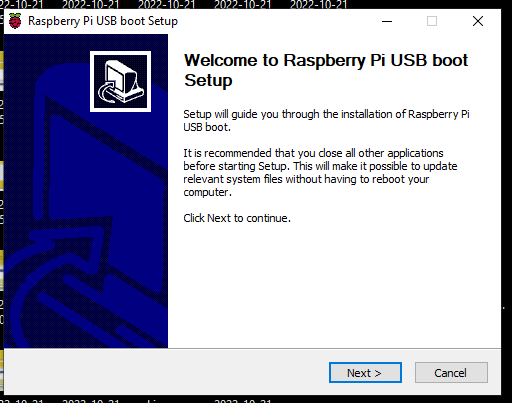
Double Click the installation file to start your installation.
Next>.
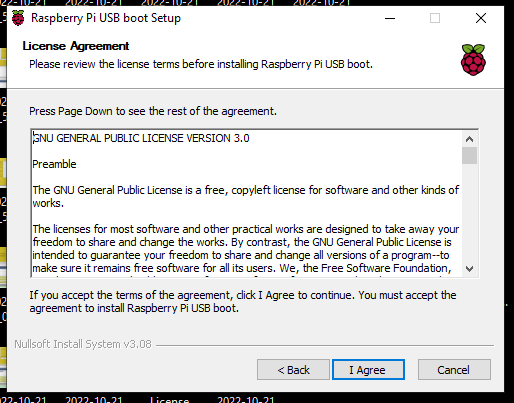
Agree the License.
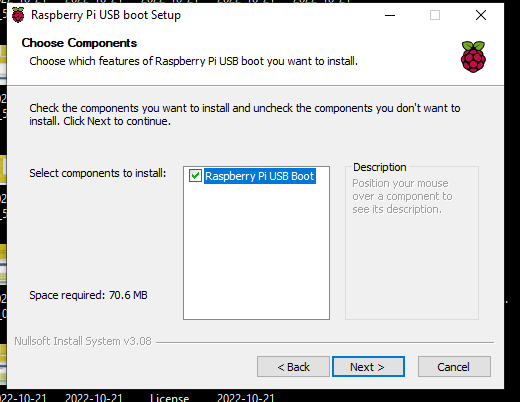
Select the Raspberry Pi USB Boot options and Next.
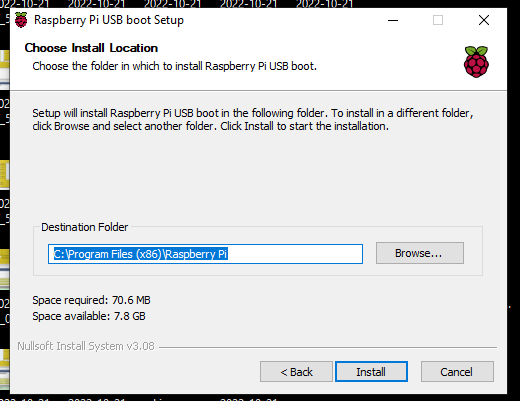
Select the installation Path and start your installation.
Please wait a minute..

Next>.

Done!

Download Tools – Win32 Disk Imager
Please download and install the Win32 Disk Imager from this link.
https://sourceforge.net/projects/win32diskimager/
Backup Start!
Now we can Start to backup our RevPI Connect!
Start rpiboot
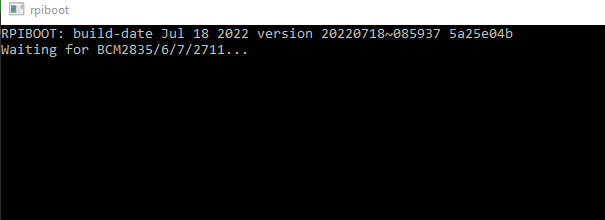
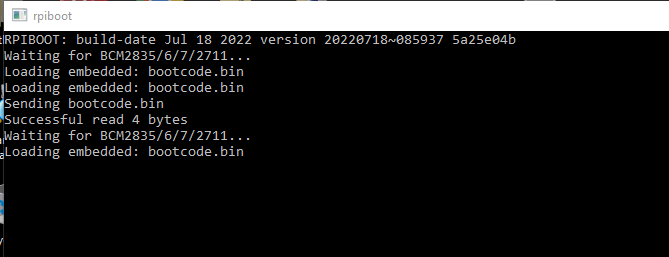
Launch rpiboot.

Waiting for BCM283/6/7/2711.. message is shown in the rpiboot Terminal.
Connect!
Connect the USB to RevPI Connect and power on your RevPI Connect!
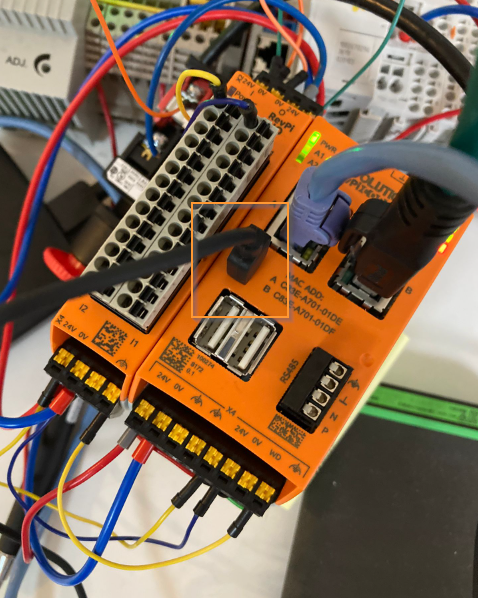
Press “Enter” in the rpiboot software to let RevPI change to boot mode.
boot Drive is shown.

Read Image
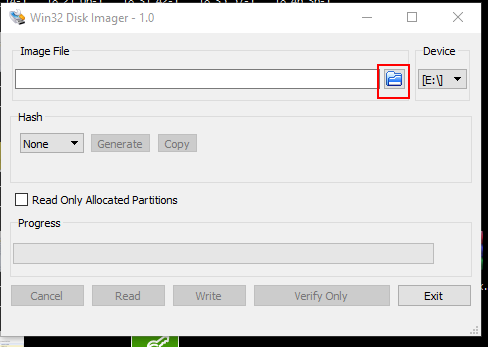
Now we can backup the image – Launch the Win32 Disk Imager and Click the Browse Icon.
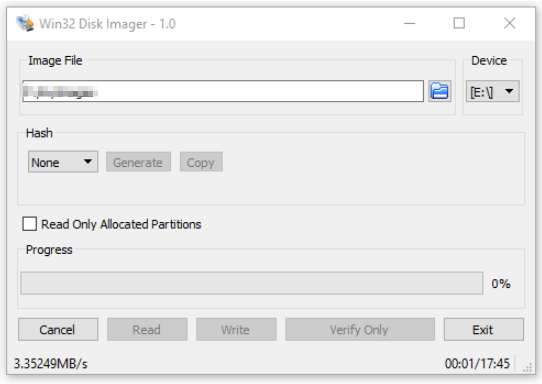
The Image File destination is USB Drive and please name the image with .img. Select the boot Drive as the Device.

We can start the backup process now!

Please wait a minute..
Done!
