Hallo! Here is a tutorial to explain how to use Raspberry and codesys to implement the camera operation.
Please reference the link for more information:
Setup
Open your Device tab and the Camera interface is shown.
Please open it.

Right Click the <Empty> and select Plug Device.
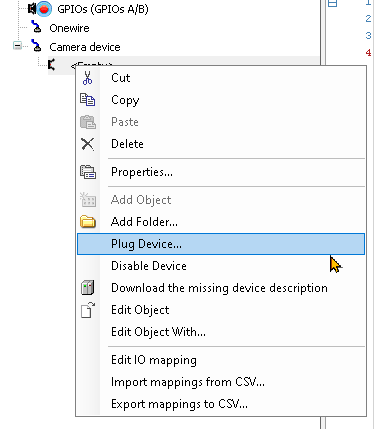
The Below Popup is shown.
Choose Raspberry Pi Camera and click the Plug Device.

Camera is inserted in your Project.
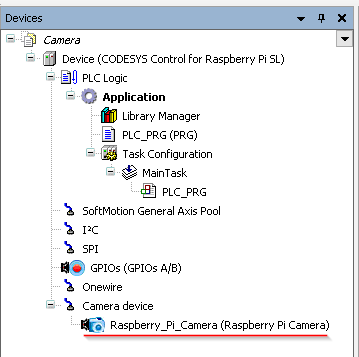
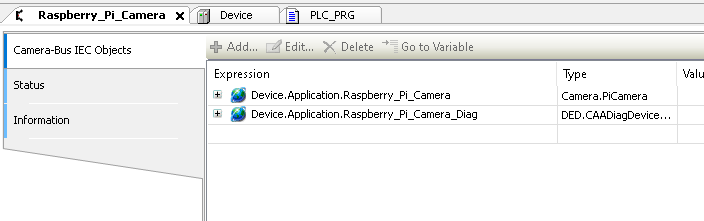
Double Click it and you can see more information about the status of Camera.
Program
Let’s make some sample code.
While xTake is On, use the Camera to take the photo and then turn the device off.

You can see a picture that is named with pic2.jpg is created.

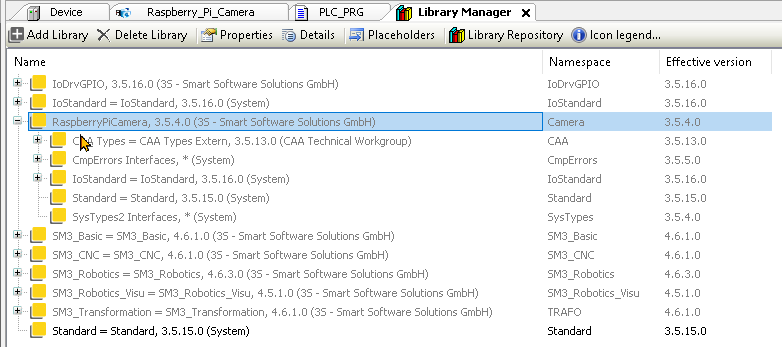
Here is the Library that is used inside the project – please read the document to get more information ;)!