After successfully launching M5Stack, I will try to use UIFlow.
Reference Link
http://soup01.com/en/category/m5stack_en/
Install UIFlow
Please download M5Burner from the link below and install it.
https://shop.m5stack.com/pages/download

Launch M5Burner.exe inside.

Since I am using Core2 this time, search Core2 Uiflow and download it.

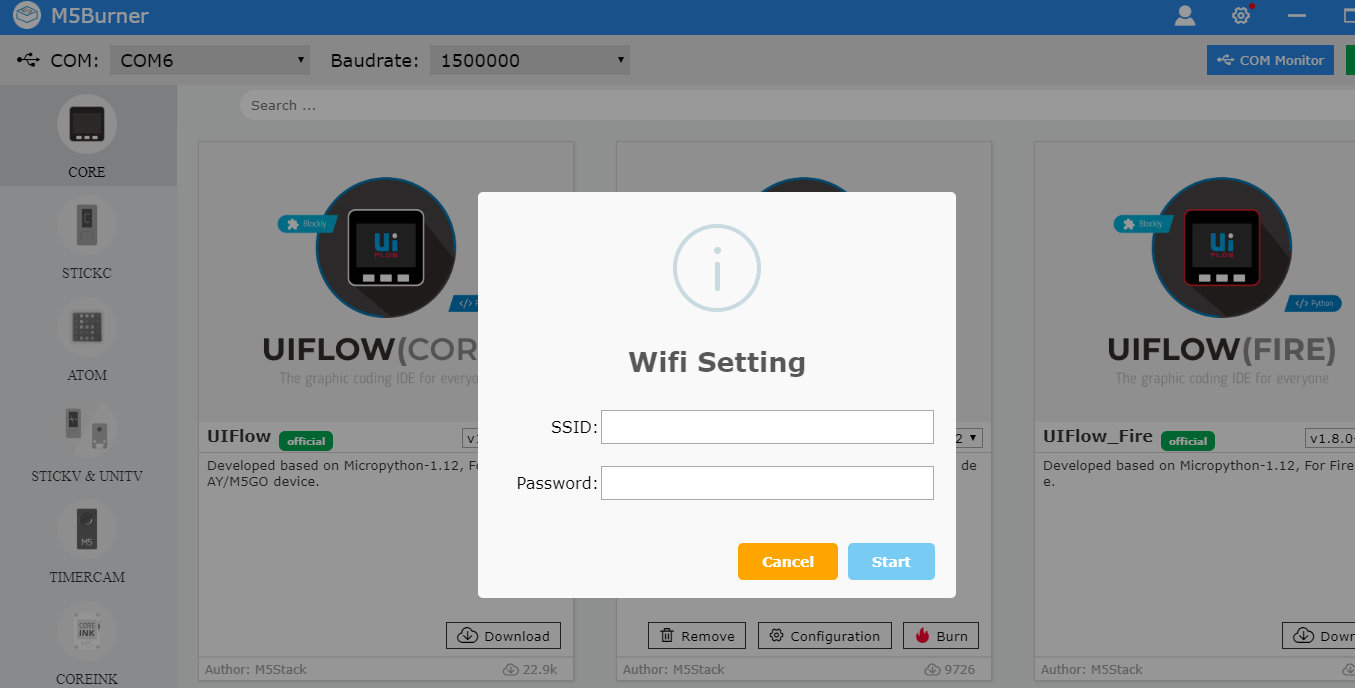
Connect USB to M5Stack and burn.

A popup for Wifi setting will appear. Enter your router’s SSID and password.
The screen of M5Stack looks like this.

After pressing Setup, SSID and IP will appear.

Put 192.168.4.1 into Blower.

Enter SSID and Password and configure.

Done!

Your First Flow
Access the link below.
Enter the Api key that appears on the screen and click OK.

Oh, please match your device.

Now let’s create a simple Flow.

Drop the Label from the left side.

UIのTabにLabelが出てきます。

Let’s try to change another character when starting up the Label.

Drop and Connect the Label to “Setup”.

Done!
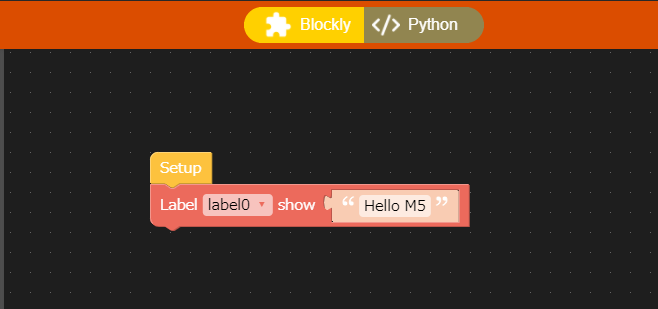
This Label0 is the same as the Name of the previously added Label0.

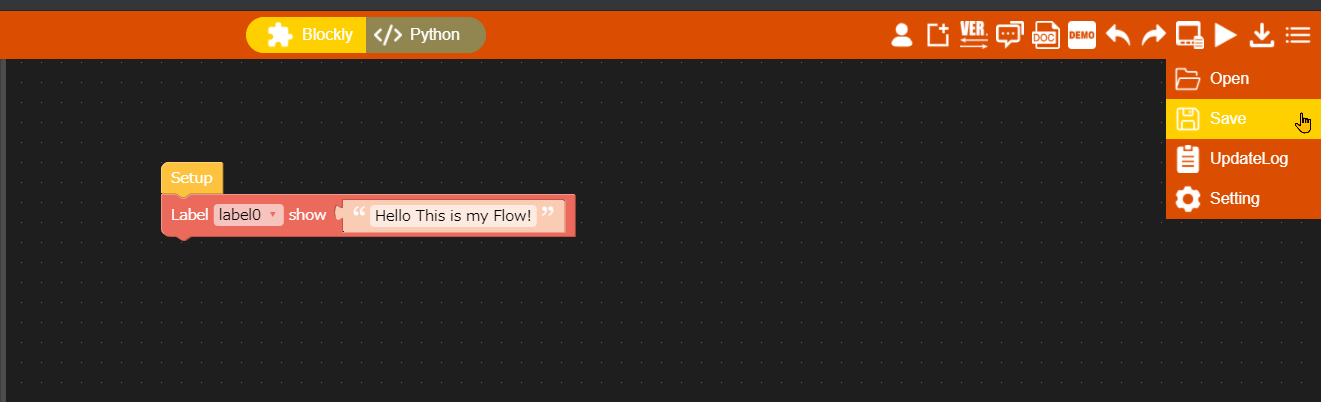
You can download to M5Stack by pressing the Download button on the far right.
You can also press the button next to it to save your project.