This is a new series of articles in which we will conduct various tests using UNITRONICS’ UniStream® series and UniLogic. In Part 1, we’ll start by installing the tools and creating a simple program.In Part 1, we will use the following devices:
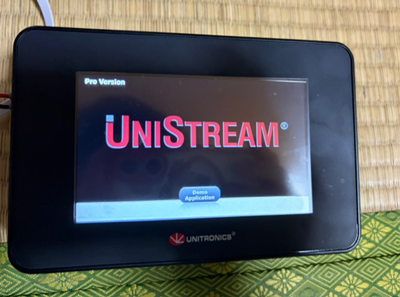
- UNITRONICS US5-C10-TA30

Unitronics?
Founded in 1989, Unitronics designs, manufactures, and sells cutting-edge hardware, software, and IIoT solutions that automate hundreds of thousands of facilities worldwide. For over 30 years, our robust, award-winning products for machine and process control have delivered proven results across a wide range of industries, including manufacturing, logistics, agriculture, and energy management.

Product Lineup
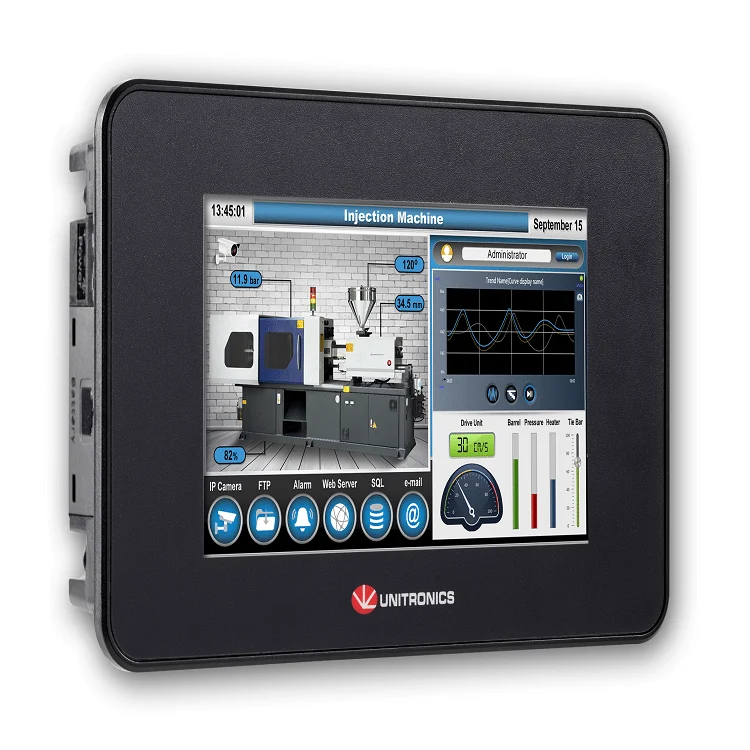
Unitronics offers a wide range of products to meet the specific requirements of various applications. The model featured in this article is the US5-C10-TA30, which integrates a PLC and HMI.
- PLC + HMI: Our award-winning all-in-one PLC controller integrates an HMI to streamline operations, reduce wiring, and simplify programming.
- Inverter (VFD): Enables efficient motor control and energy savings.
- Servo drives: Provide high-precision motion control for complex automation tasks.
- Software: You can centrally program all aspects—control, motion, HMI, communication, and configuration—using our free, user-friendly all-in-one software.
- IIoT: With “UniCloud,” an end-to-end, no-code IIoT platform designed for machine builders, you can build smart dashboards with built-in BI capabilities without relying on external IT consultants.
UniStream® Series Programmable Controllers
The US5-C10-TA30 is an award-winning, high-performance UniStream PLC product line available in three series.
- UniStream Modular All-in-One Controller: Select an HMI panel of the desired size, connect the CPU, and snap on I/O and COM modules to meet your requirements.
- UniStream Built-in All-in-One Controller: Integrates PLC, HMI, and I/O into a single unit.
- UniStream PLC with Virtual HMI: The PLC and I/O controller support HMI applications and can be accessed from mobile devices.
- UniStream Cloud Series: The world’s first PLC with built-in cloud services. It comes with a built-in cloud subscription, so there are no monthly fees or need to purchase additional hardware or software—simply connect it and start using it right away.
UniStream programming uses “UniLogic,” an award-winning integrated development environment (IDE).
Key Features
- I/O Options: Supports digital, analog, high-speed, and temperature/weight measurement
- I/O can be expanded up to 2,048 points
- Ports: Ethernet, CANbus, USB host & device, audio, and additional COM modules supporting RS232/RS485
- Communications: EtherNet/IP, Web server, Email & SMS, GPRS, TCP/IP, MODBUS, CANopen, UniCAN, BACnet, M-Bus via gateway
- Advanced COM functions: Web server, SMS & email, GPRS modem, SNMP, FTP, SQL, MQTT
- Remote access via VNC
- Media support: PDF, video, RTSP, audio jack
UniStream® 5″ Built-in Programmable Controller
This is a high-performance programmable logic controller equipped with a high-quality HMI touchscreen. It integrates PLC, HMI, and I/O into a single unit, packing a wide range of functions into an extremely compact hardware design.
Key features of the UniStream 5-inch model: EtherNet/IP, VNC, FTP, web server, video + RTSP, SQL client, and more. It is supported by the most efficient programming software we have ever used.
The UniStream 5-inch Cloud Series is also available. This PLC comes with built-in cloud services at no additional cost. Simply connect the PLC to Unitronics’ cloud service, “UniCloud,” and design a dashboard using a no-code interface to get up and running in under 30 minutes.
UniLogic
UniLogic Studio is an all-in-one software solution that supports PLCs, HMIs, I/O, inverters, and servos. It is the ideal solution for non-programmers who need to work with PLCs, simplifying PLC programming and configuration with its user-friendly interface and intuitive tools. It supports motion, ladder logic, and HMI applications.
It features a context-sensitive editor that allows you to write ladder logic or C language functions, configure and implement servo motion, create attractive HMI screens and interactive web pages, perform instant translations from Italian to Chinese, display and track data in real time using trends and gauges, export data to Excel, trigger multi-level alarms and send notifications via SMS and email, and execute recipe functions. With UniLogic, you can easily configure and implement a wide range of industrial fieldbuses and IT protocols, seamlessly integrating IIoT and cloud technologies into your solutions.
- We provide all Unitronics software utilities and updates free of charge.
- We provide free access to individual technical support and support forums.

Key Features
UniLogic Studio provides a unified development environment that integrates hardware and communication settings, motion control, ladder logic, and HMI applications, enabling users to enter the world of IIoT through the UniCloud IIoT platform.
UniCloud: No-Code IIoT Cloud Platform
This IIoT solution is optimized for OEMs and machine builders. You can connect to the cloud without the need for programmers or cloud experts and build custom dashboards using the secure and scalable UniCloud.
Motion: Servo Motors, PLCs, HMIs, Inverters
In addition to instant and seamless hardware integration, fully transparent communication, and automatic setup, we also provide free, ready-made motion codes. No programming is required—you can get started right away.
High-Speed Ladder + The Power of C
Simply drag, drop, and snap elements into place to build ladder logic without errors. You can write C code in the built-in editor and create UDFBs for repetitive tasks.
MQTT、OPC-UA、SQLコネクター、FTP、SNMP、REST
By leveraging IT technology, we position the controller as a bridge between OT and IT, enabling seamless integration from the manufacturing floor to the MES.
Router and Modem
We use Unitronics routers and modems to ensure security for the controller.
Structure: Smart Tag
You can build ladder logic without errors simply by dragging, dropping, and snapping elements into place. You can write C code in the built-in editor and create UDFBs for repetitive tasks.
Industrial Fieldbus Communication
With configuration-based communication, data transmission operates independently of the ladder diagram, enabling extremely fast and easy implementation. Protocols such as EtherNet/IP, EtherCAT, MODBUS TCP/RTU, CANopen, BACnet Server, and HART can be used on a plug-and-play basis.
Once you create it, you can reuse it as many times as you like
Add UDFBs (User-Defined Function Blocks), HMI screens, and web pages to the HMI library, where they can be used anywhere via drag-and-drop. UniLogic automatically handles tag configuration. The library can be used across projects.
Remote Access + Mobile Notifications
You can access UniStream from any VNC app on a PC, smartphone, or tablet. The built-in web server enables secure remote monitoring and data editing. Event notifications can be sent via email and SMS.
Communication with all devices
The Message Composer enables data communication using third-party protocols via Ethernet, CAN bus, or serial interfaces. It also supports CAN Layer 2, FTP client/server, SMS, email, and GSM/GPRS.
HMI & Web Pages
Design elegant screens using drag-and-drop graphics, user controls, and widgets. It also supports real-time display of trend graphs and gauges, PDF viewing, audio playback, and video streaming.
Powerful Data Tool: SQL Client
Connect to and send queries to Microsoft SQL Server or MySQL. Data Sampler: Records time-series dynamic data, such as output values, and displays it in trend graphs. Data Table: Records and manipulates data using ladder logic, and executes recipes.
Built-in alarm system
Complies with the ISA 18.2 alarm system guidelines. Operators can detect, analyze, and respond to alarms. Alarm logs can be exported via FTP, sent via email, or saved to DOK.
Configuration-based communication
Since data communication operates independently of the ladder diagram, it can be implemented very quickly and easily. MODBUS, CANopen, SNMP, and EtherNet/IP are available via plug-and-play.。
Languages supported: From Italian to Chinese
It supports all input languages, including Asian languages such as Korean. The HMI display language can be switched instantly via user input or program events.
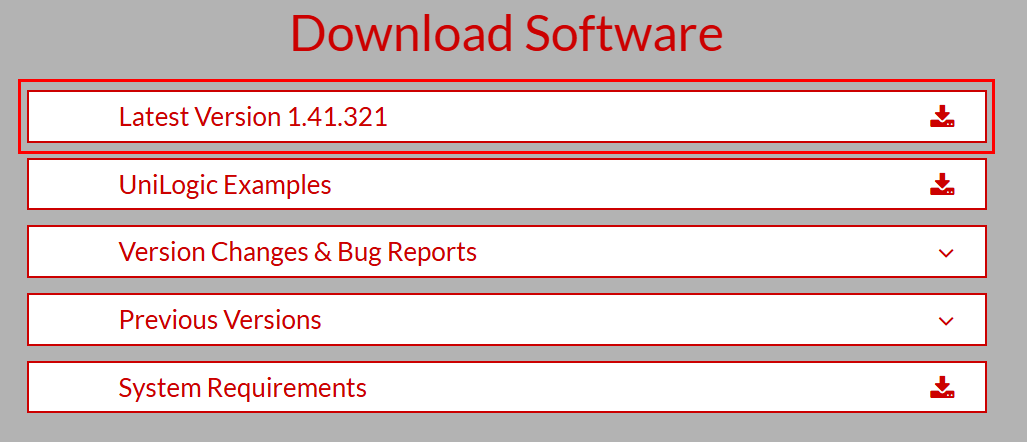
Download the tool
First, let’s download Unitronics’ “UniLogic” tool to configure the US5-C10-TA30.
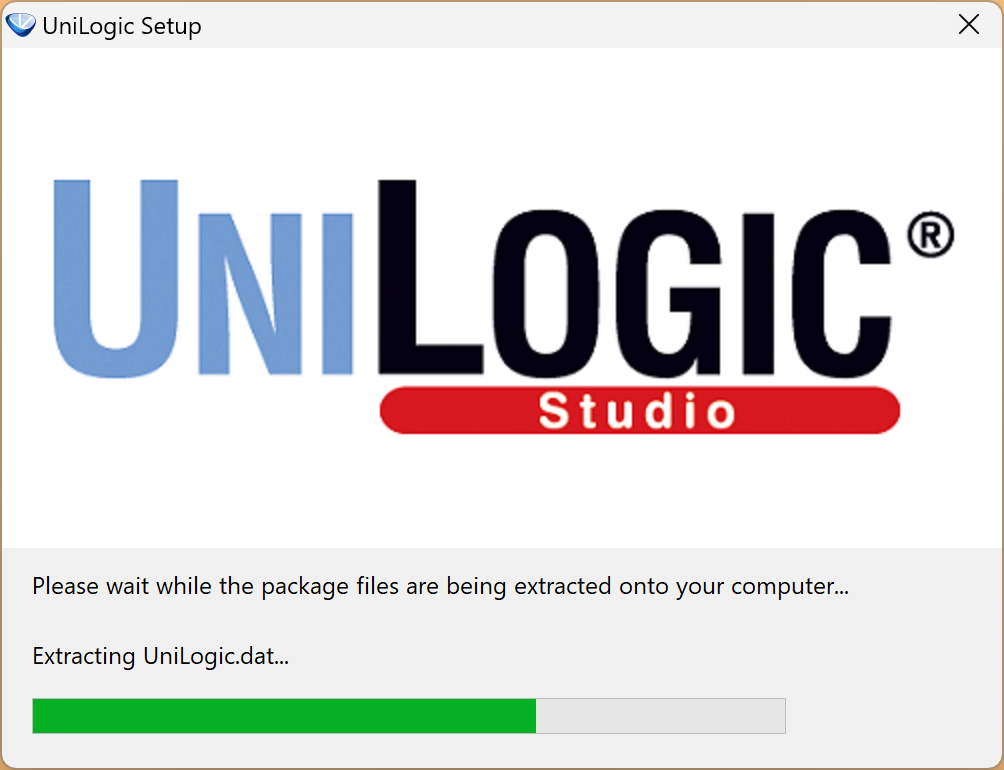
Launch the setup file you just downloaded.
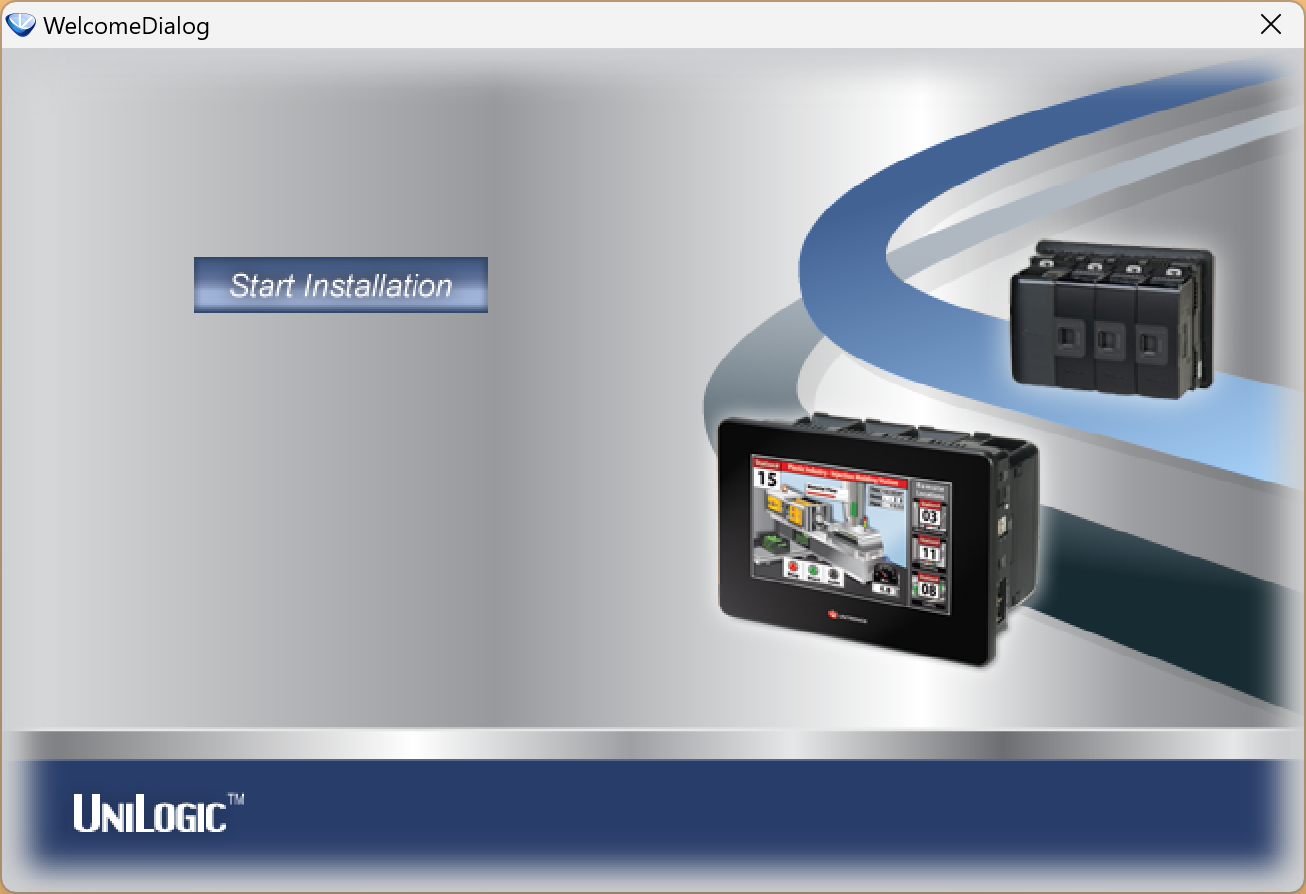
Click “Start Installation” to begin installing the tool.
Click OK to continue.

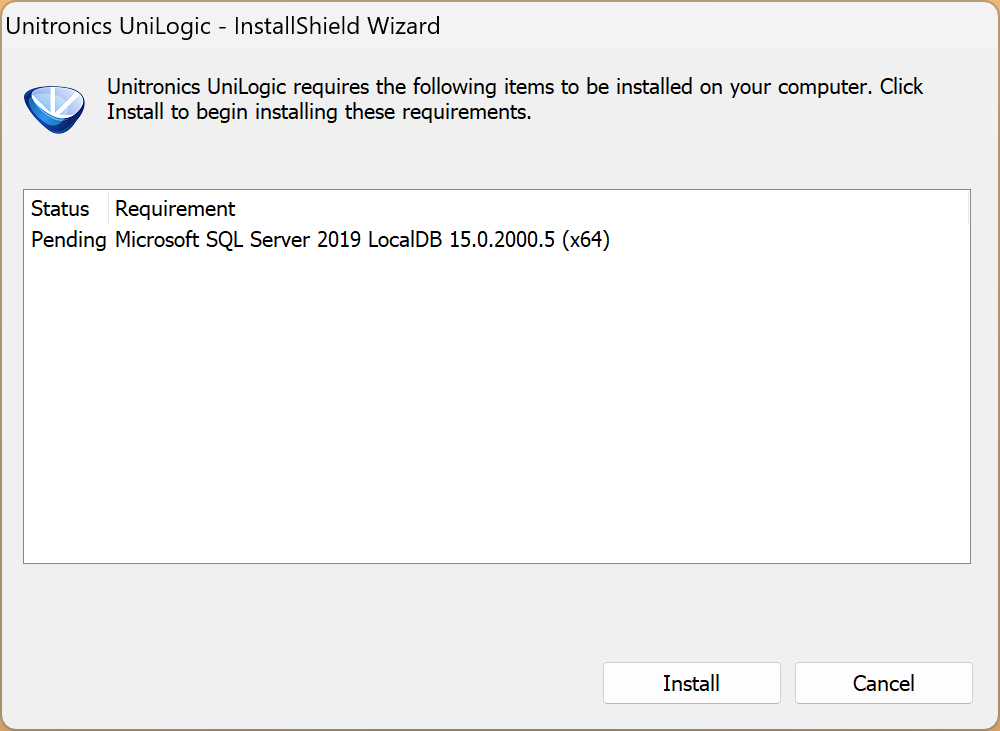
First, install the software packages required to run UniLogic.
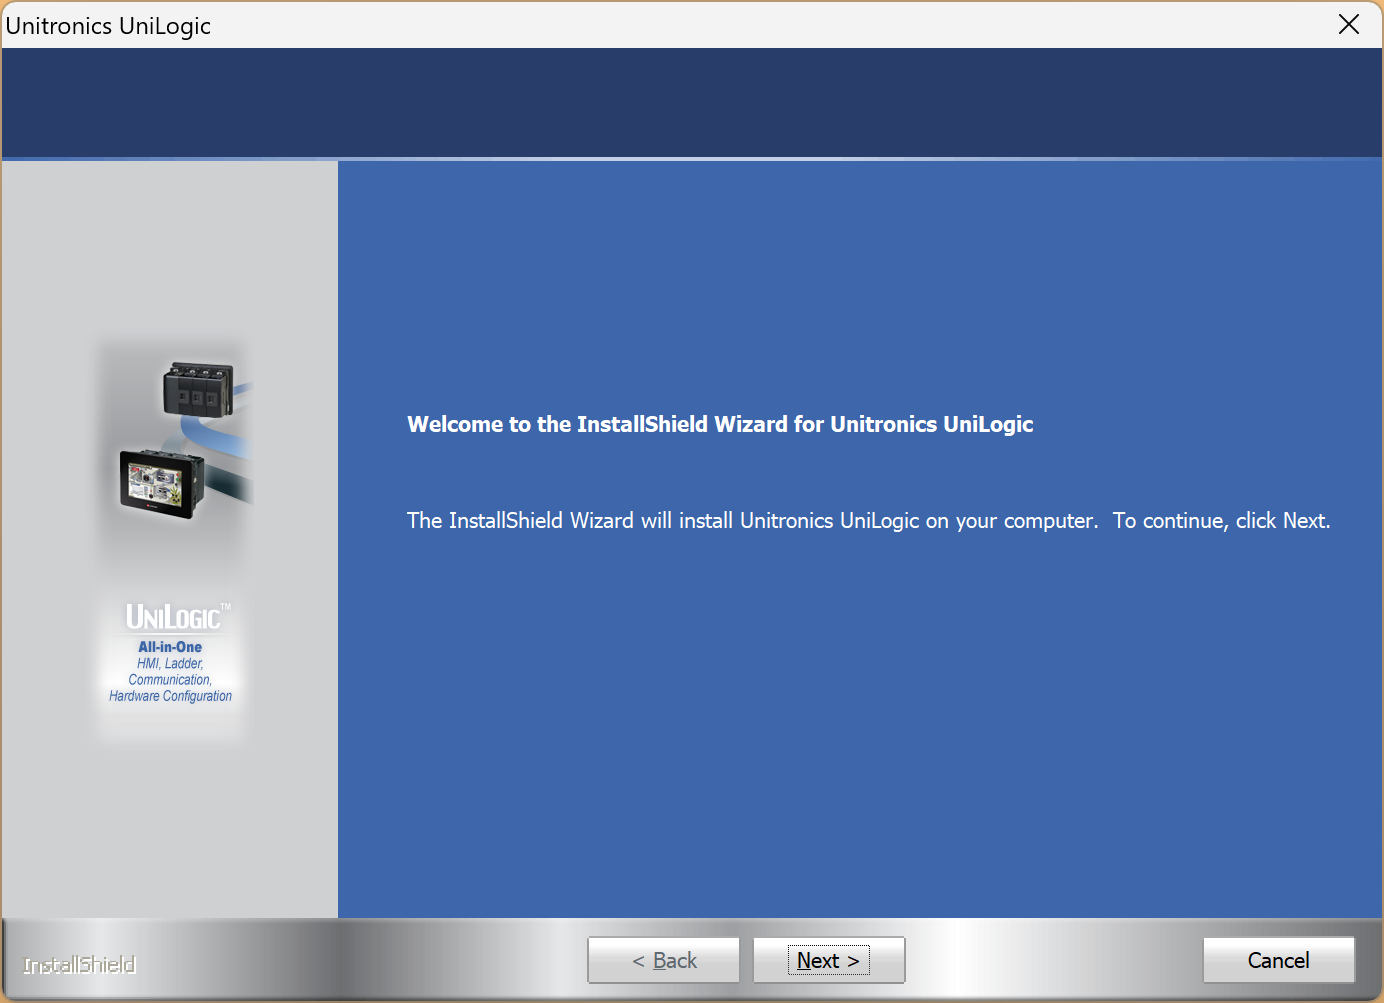
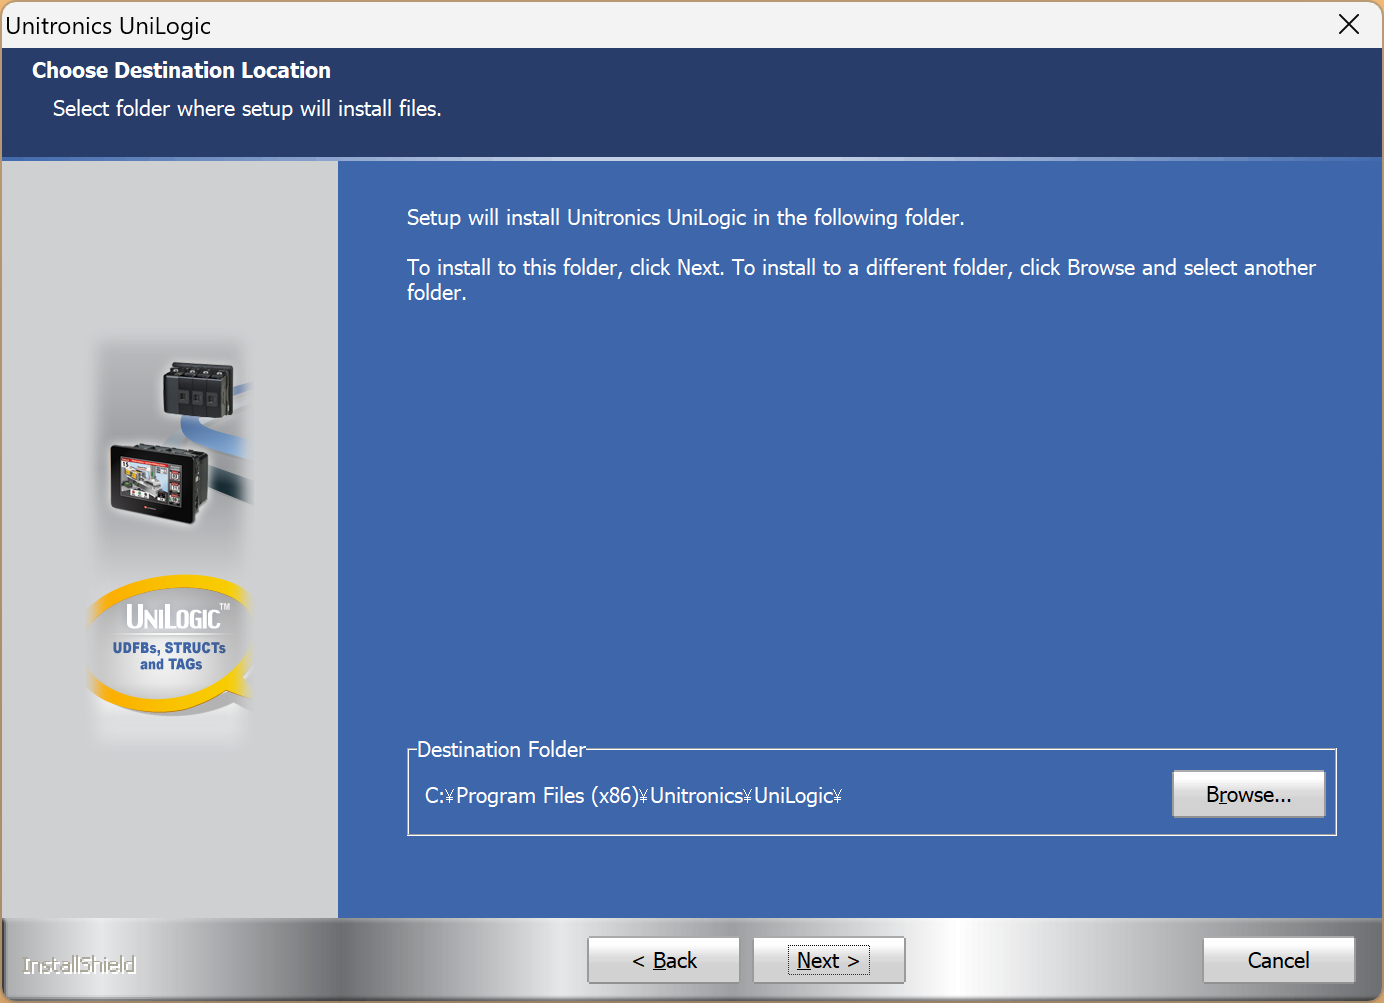
Click “Next>” to continue.
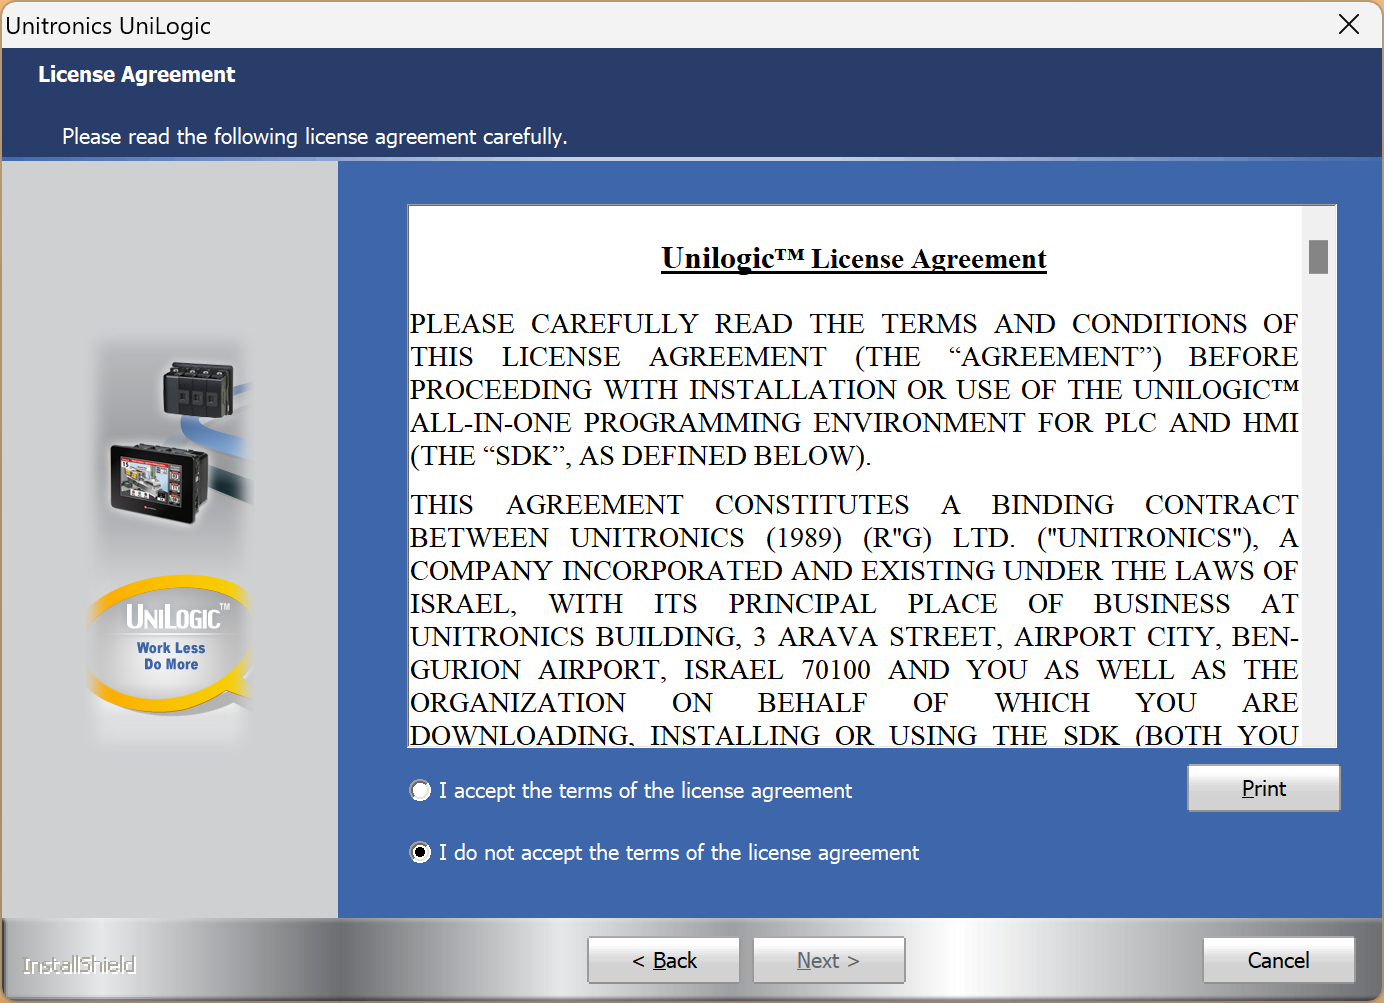
Agree to the license terms and click Next>.
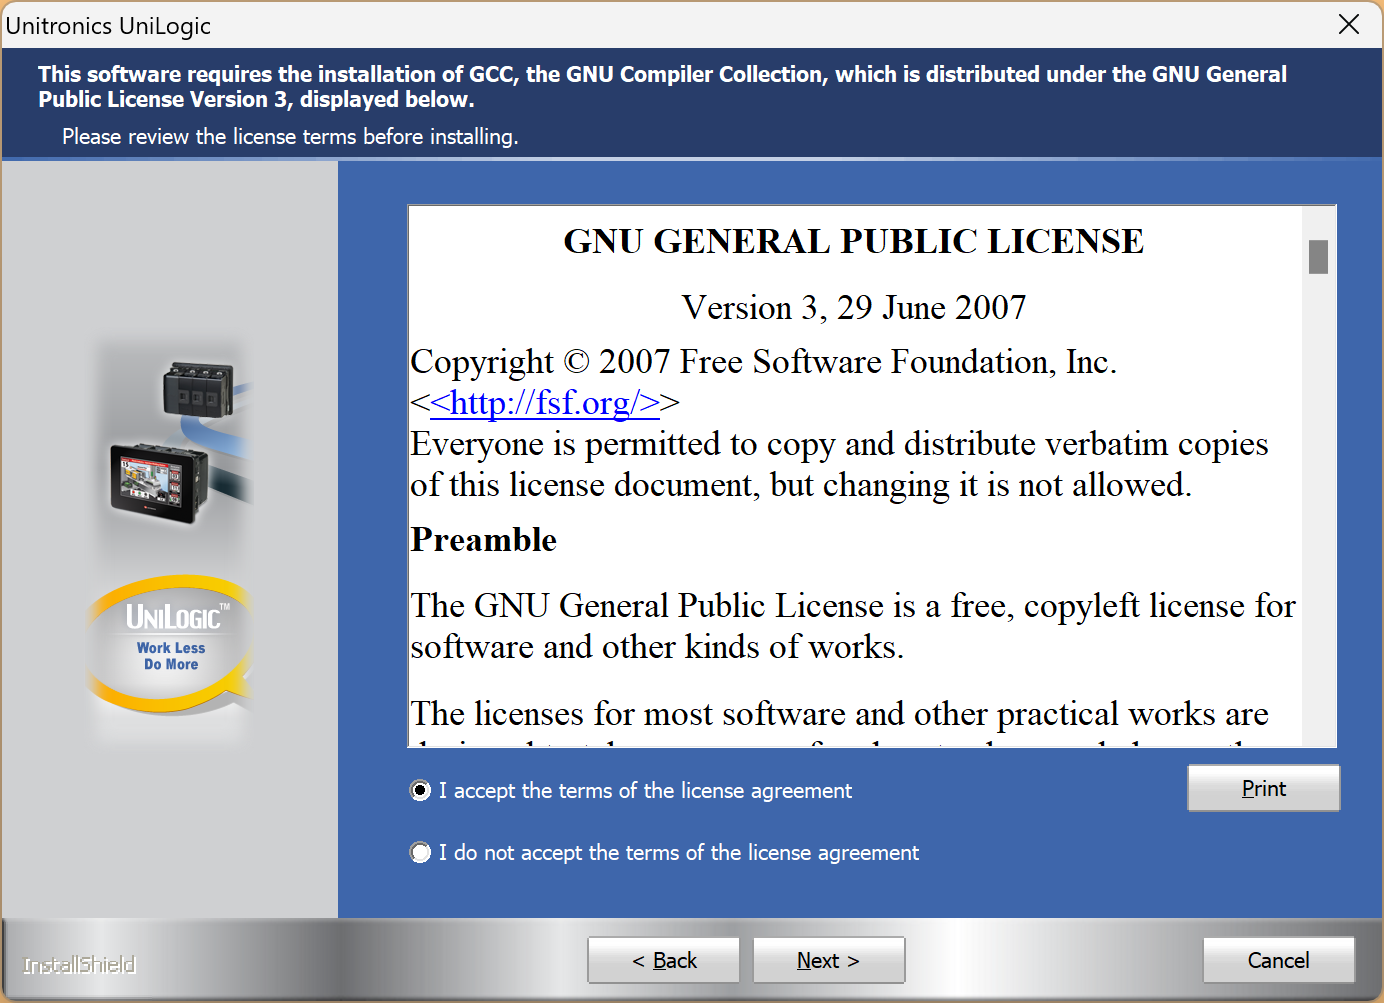
Agree to the license terms again, then click Next> to continue.
Click Next>.
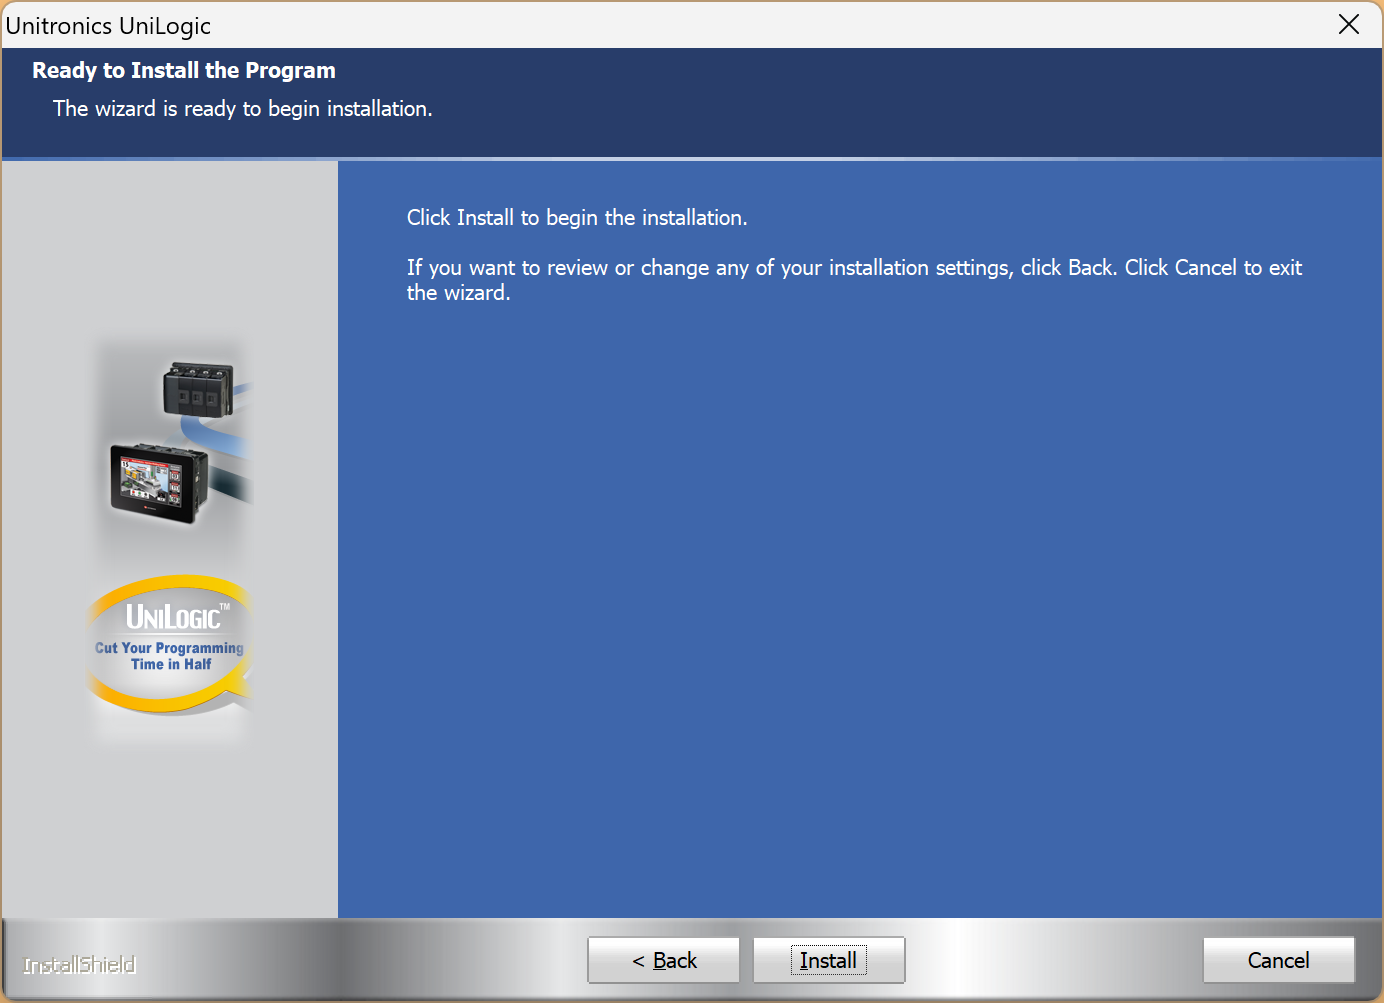
Let’s start the installation.
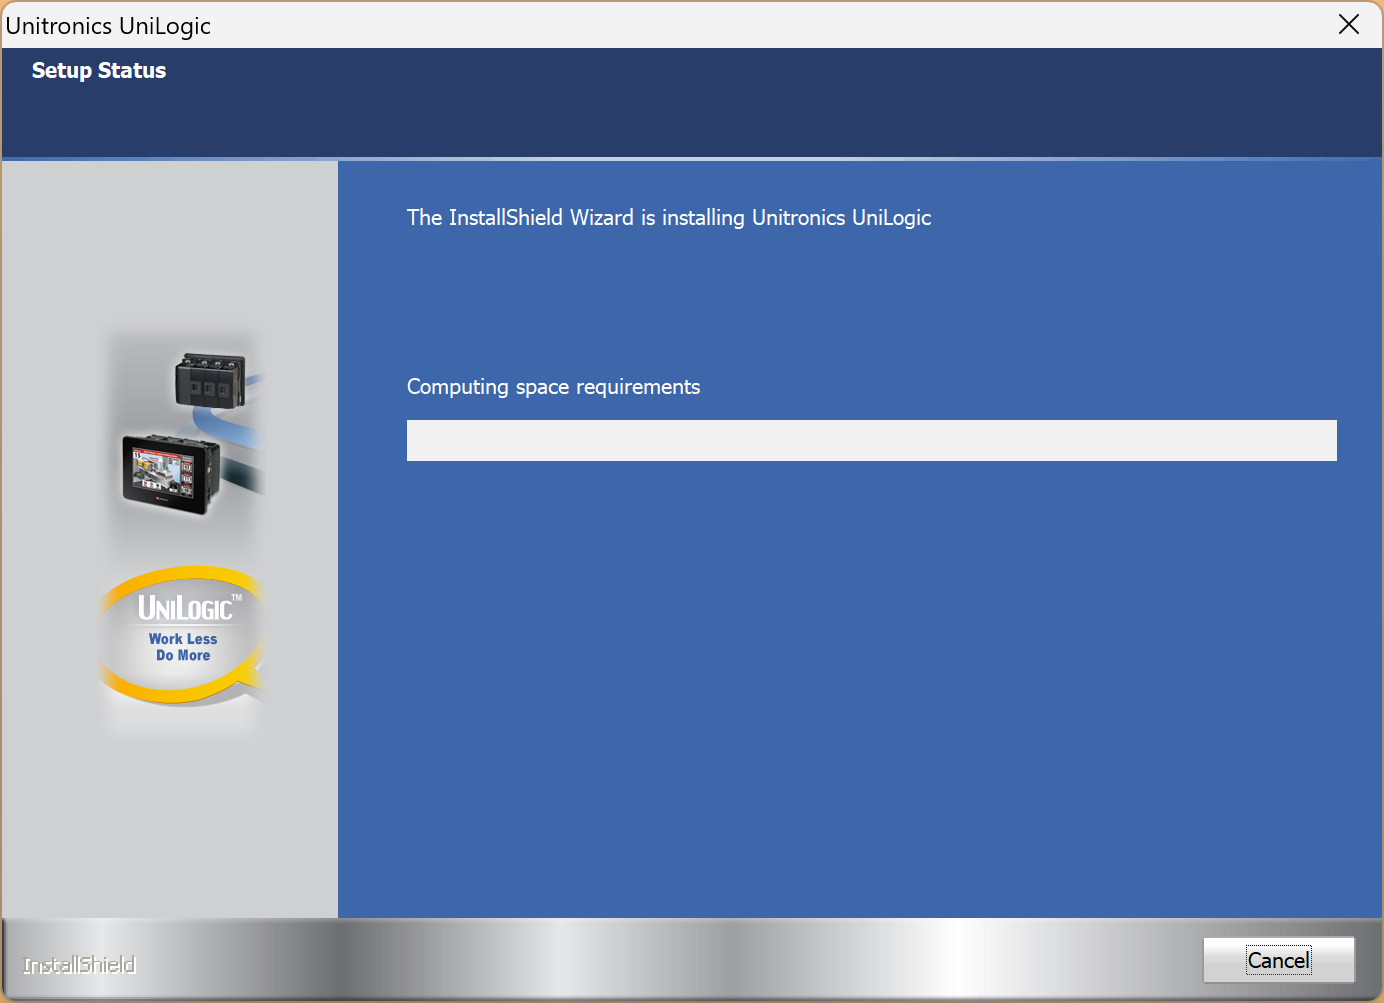
Wait a moment…
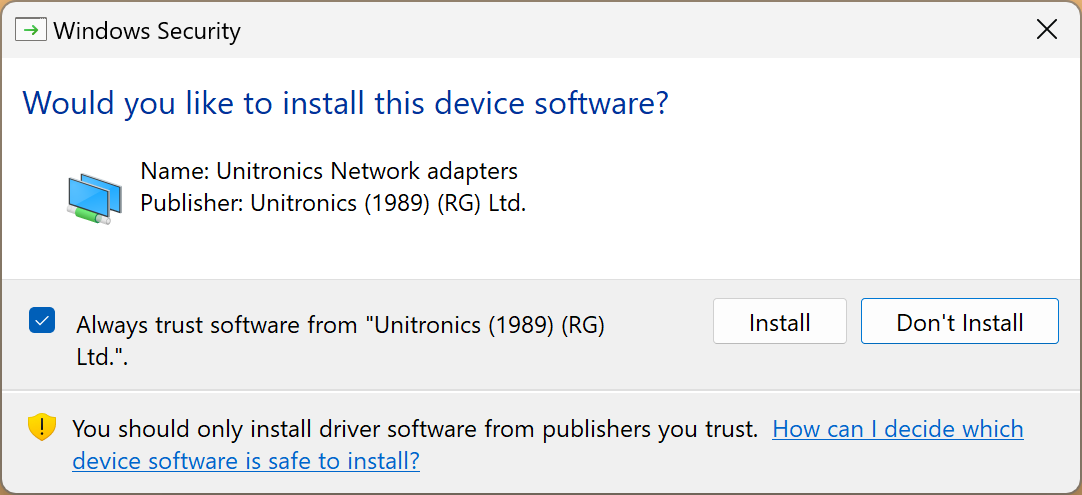
Next, install the USB driver.
Done!That completes the installation of UniLogic.

Launch UNILOGIC!
Let’s launch UNILOGIC.
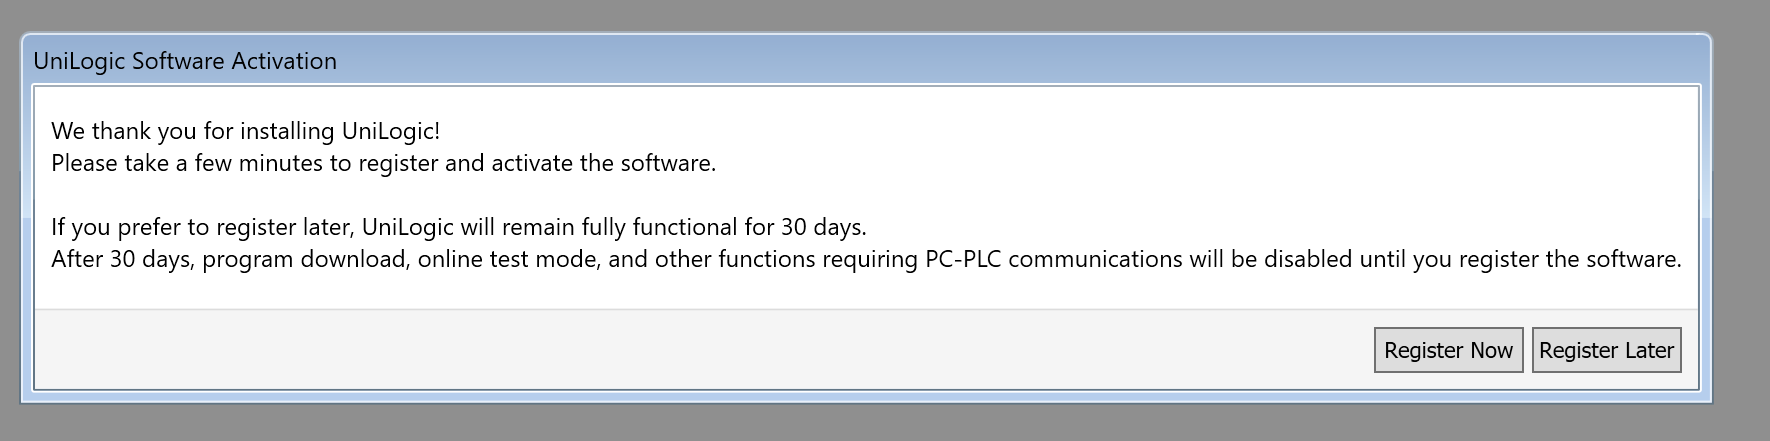
The tool itself is free, but you’ll need to complete a simple registration process. Click “Register Now.”
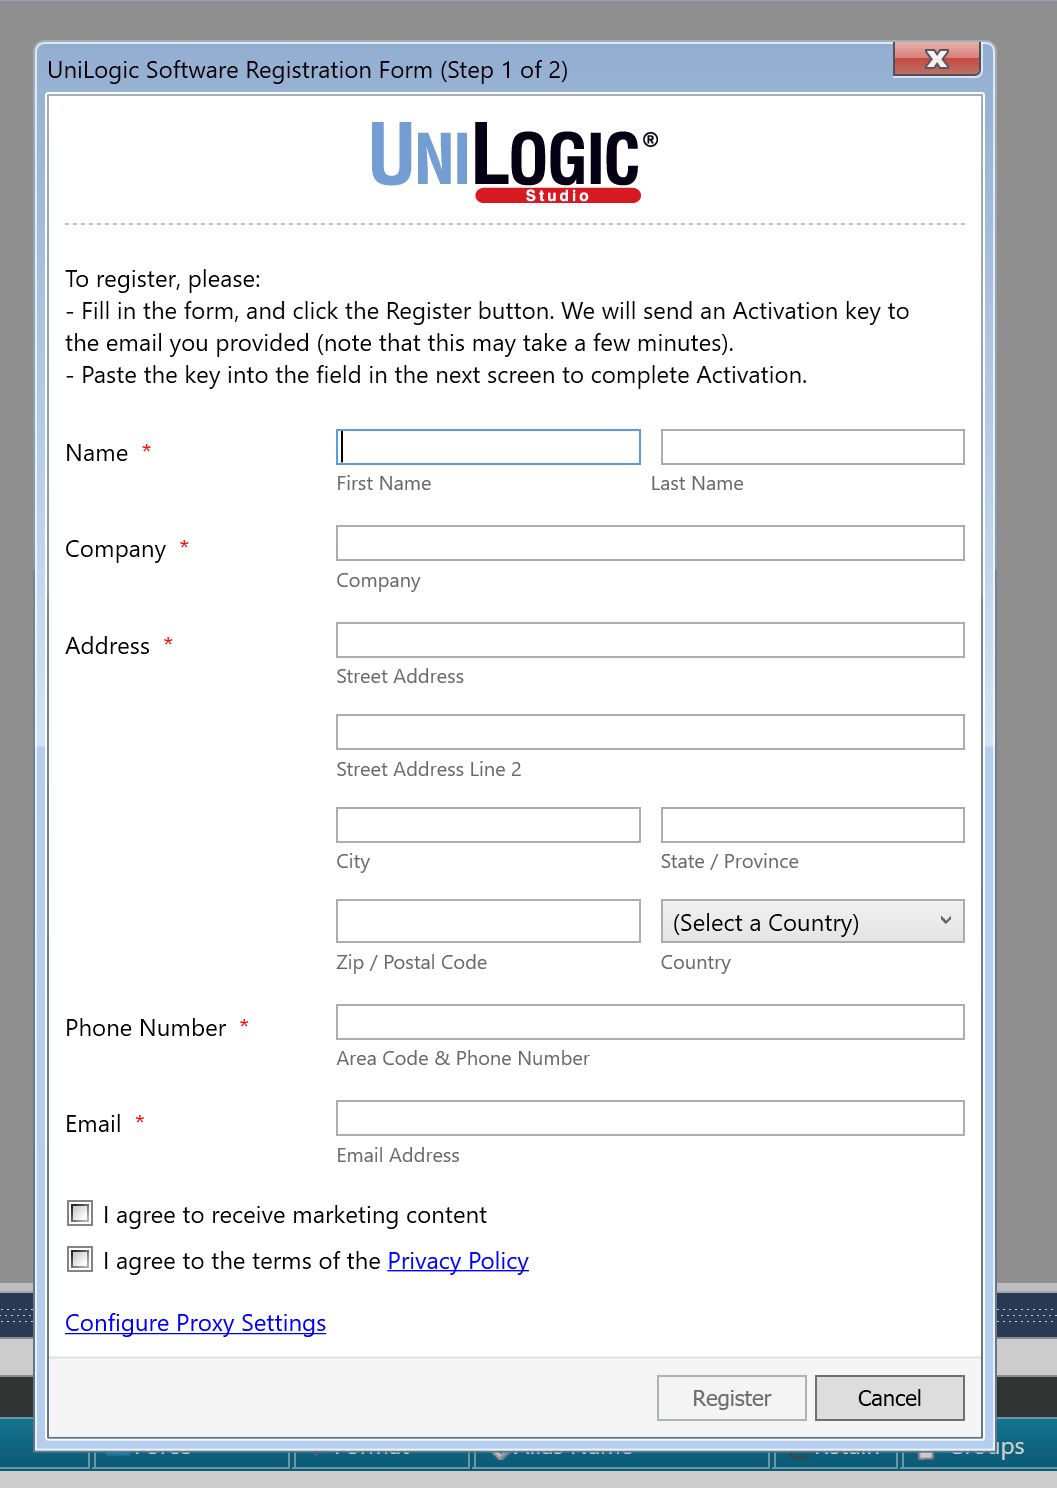
Next, enter the required information and click “Register.”
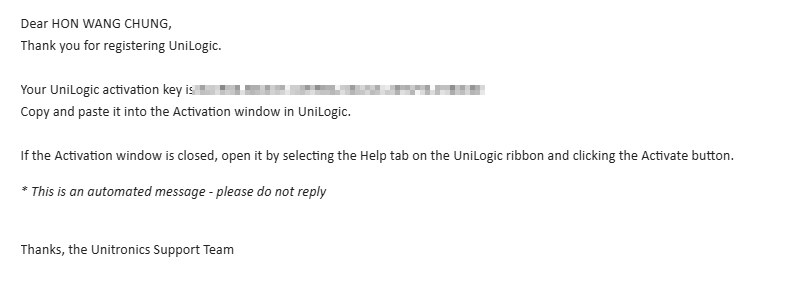
You should receive an activation key at the email address you just entered.
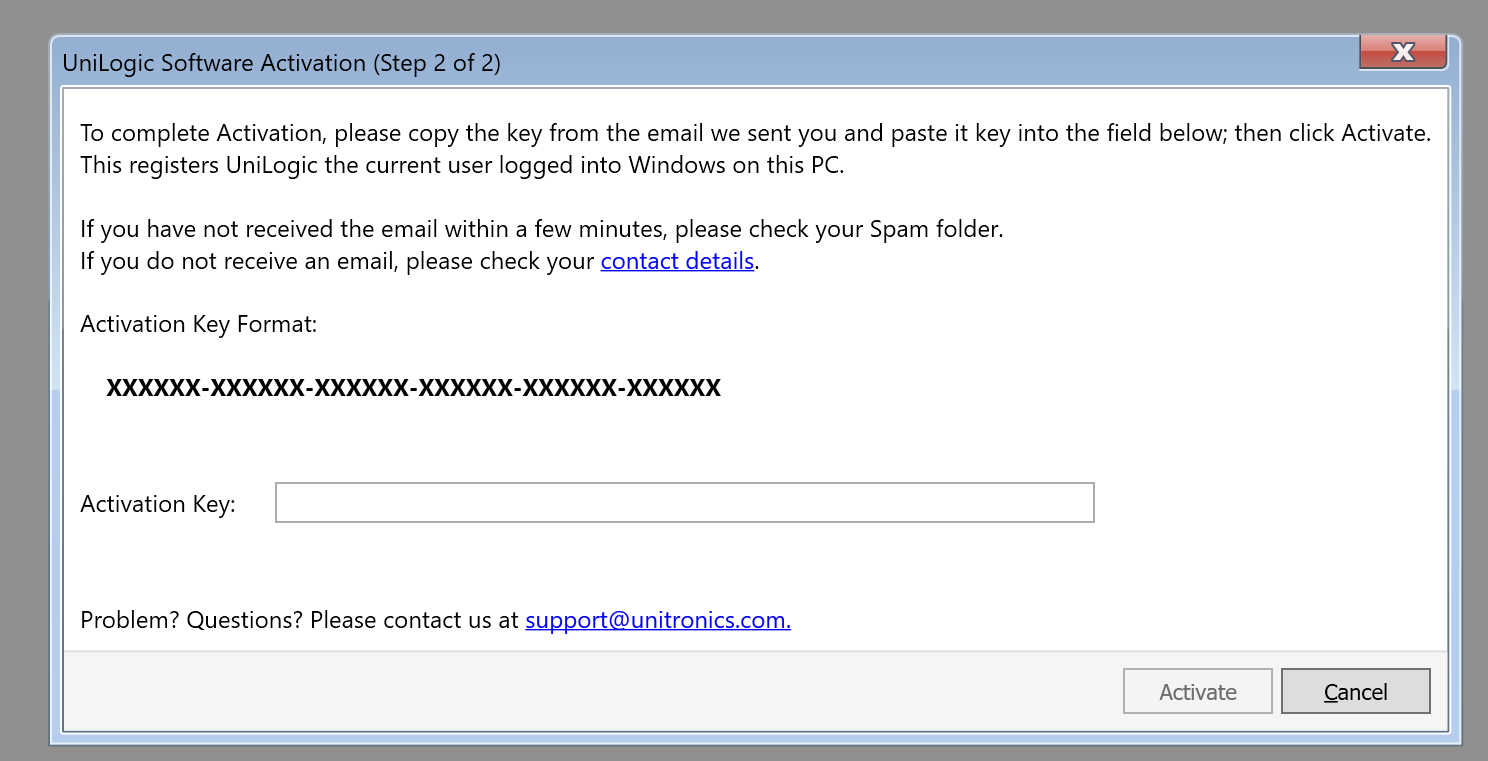
Please use this code to register the software.
Done!
First Project
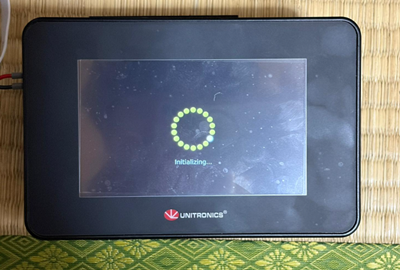
When you power on the US5-C10-TA30, the device will automatically initialize and launch the demo project.
A message will appear asking you to insert an SD card.
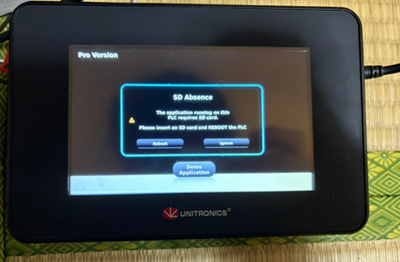
There is a Micro SD card slot on the side of the US5-C10-TA30; please insert a Micro SD card into it.

Once you restart the device, the US5-C10-TA30 will automatically initialize.
You can verify the functionality of the DEMO project in this video.
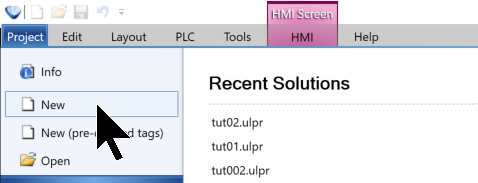
Create a New Project
In UniLogic, go to Project > New.
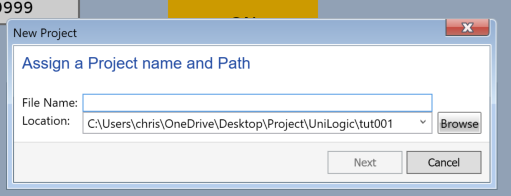
Enter a name for the new project, then click Next to continue.
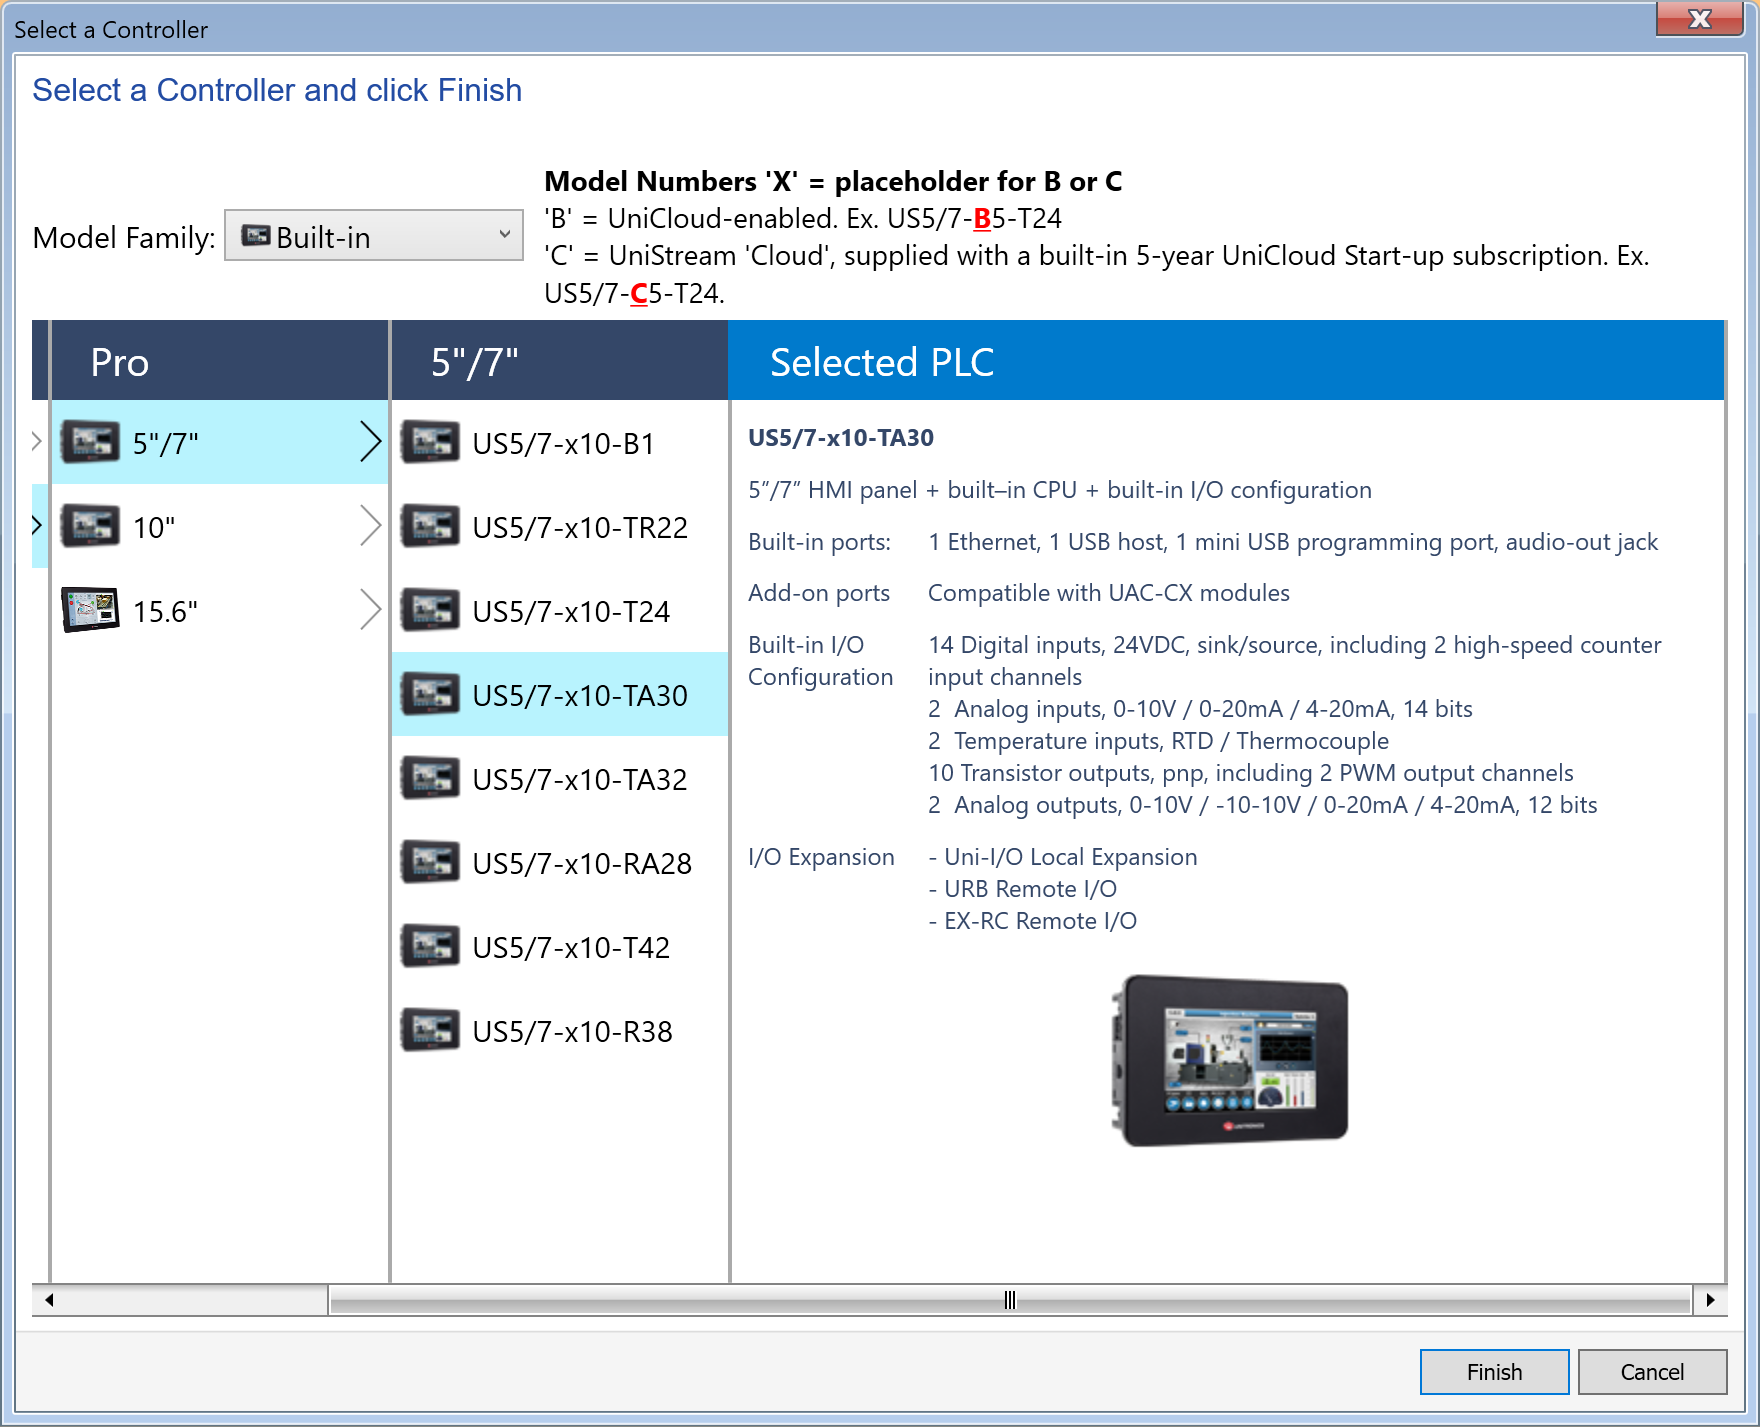
Select the US5-C10-TA30 device and click Finish.
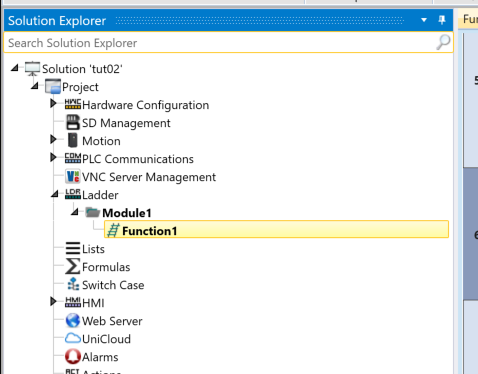
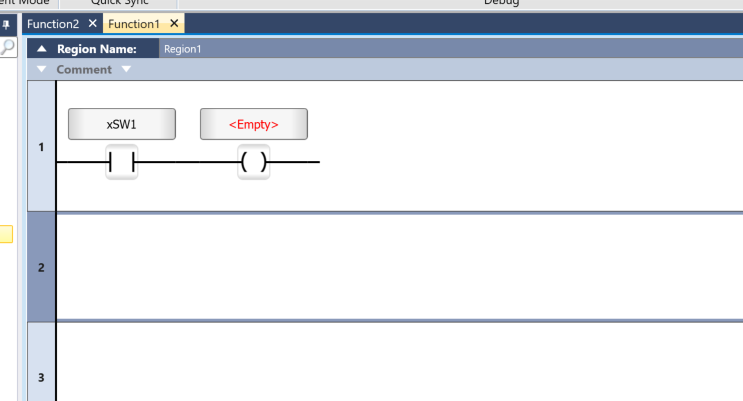
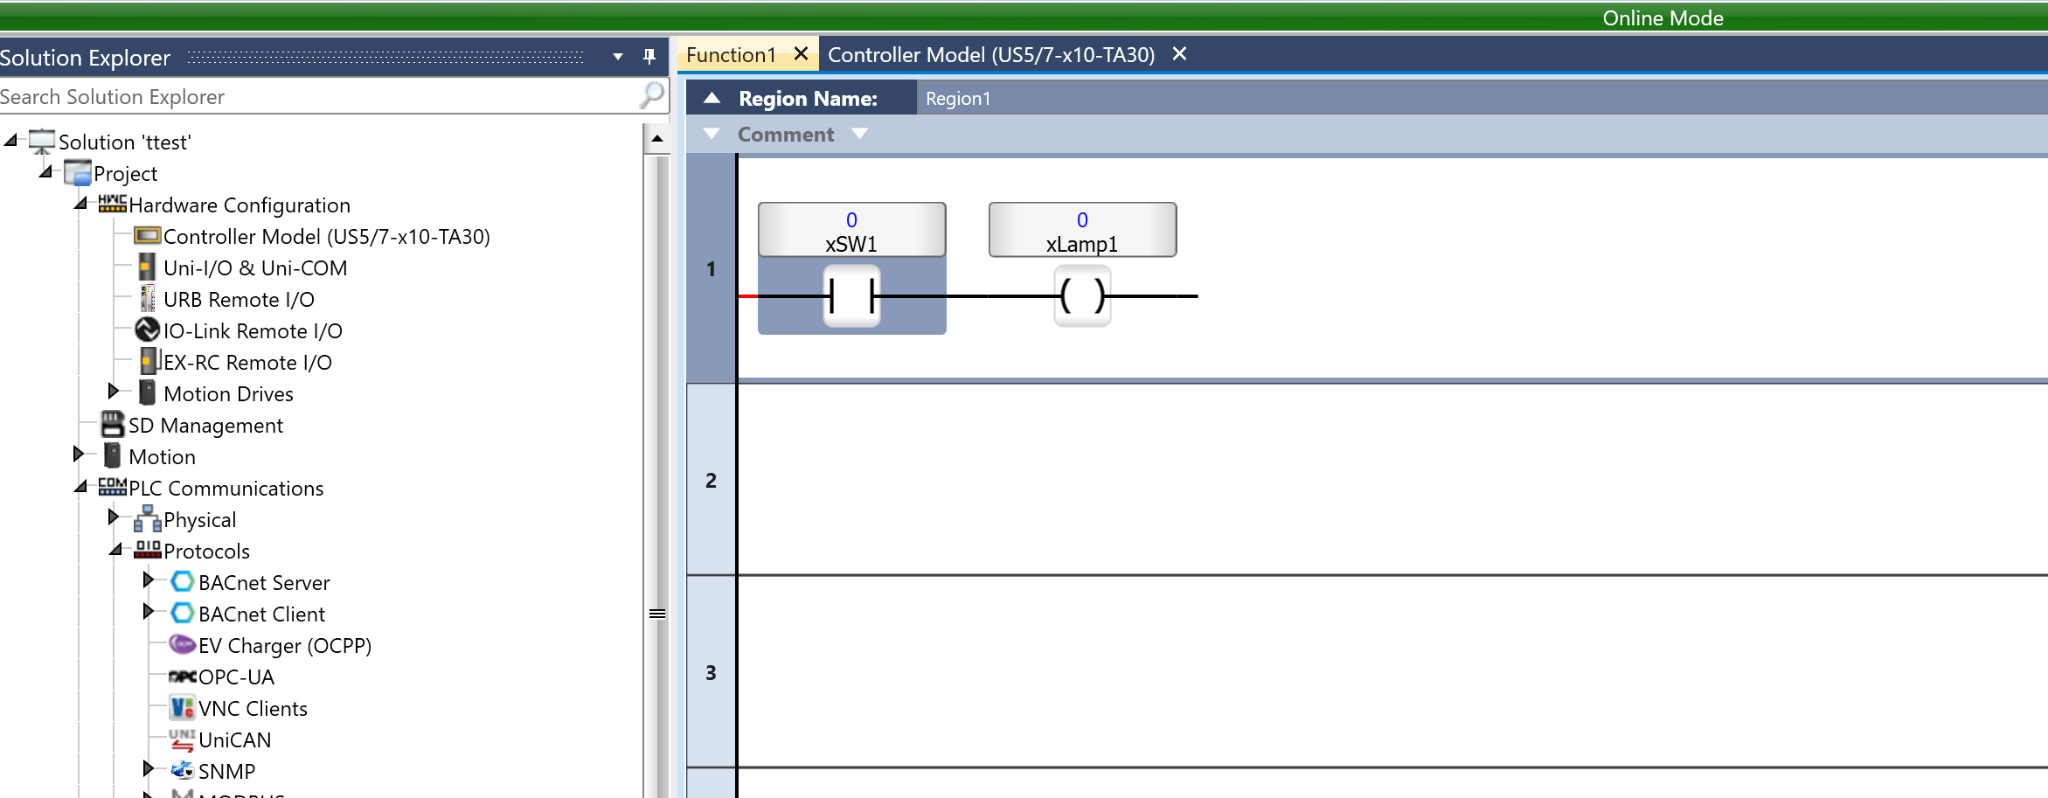
Done!Now that the project has been created, open Ladder → Module1 → Function1 and start creating your ladder program.
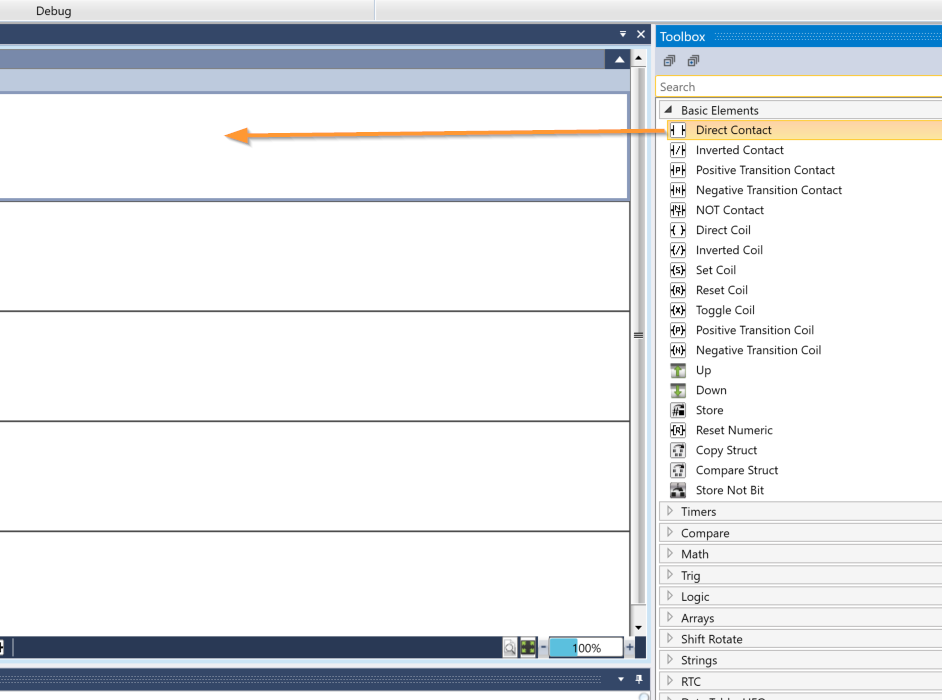
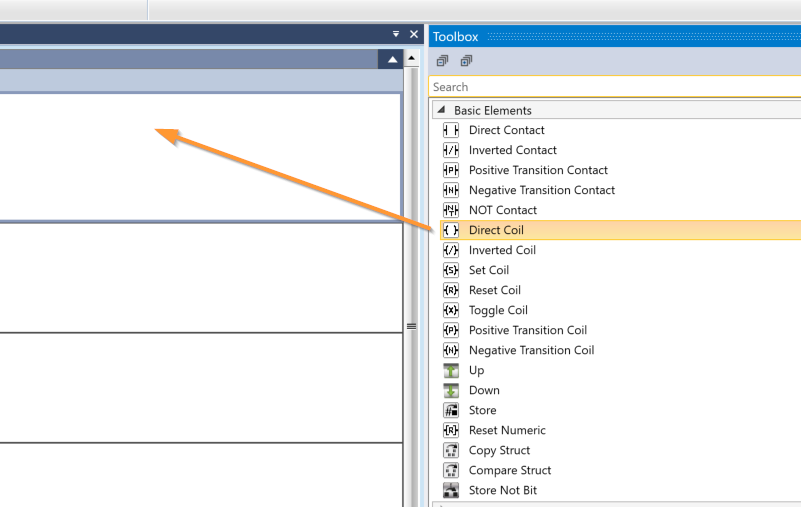
Add Direct Contact
First, to add an A-contact to the program, drag and drop “Direct Contact” from the Toolbox.
Done!A contact has been added.
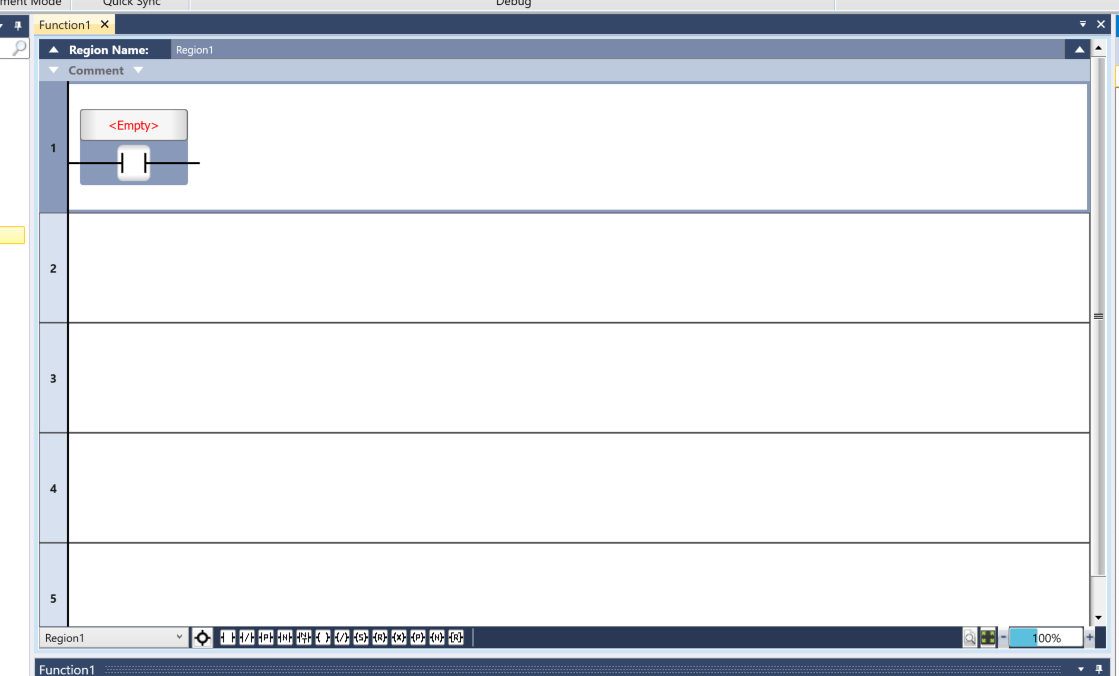
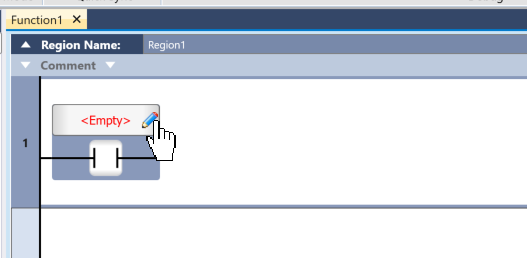
Next, click <Empty> to assign a variable to Contact A.

UniLogic automatically completes the variables for you.
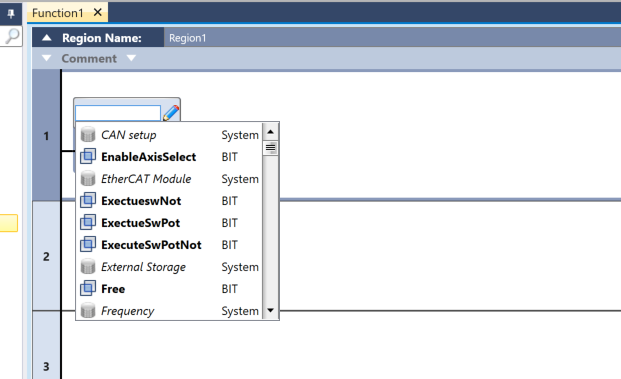
You can also click the pencil icon next to the contact point to open the Tag Editor and declare or modify variables.
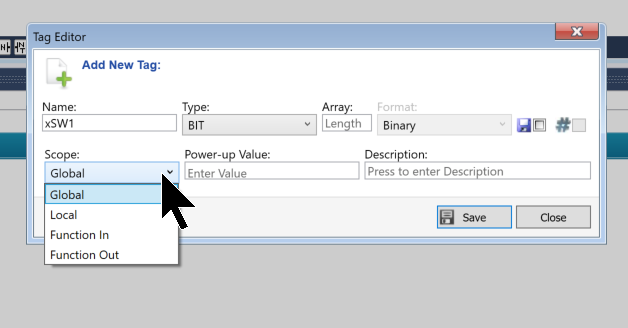
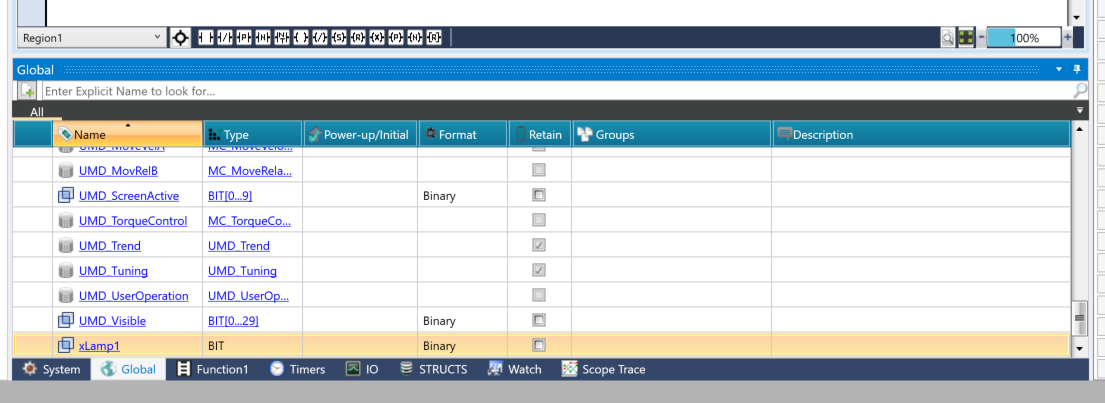
This is the Tag Editor screen.
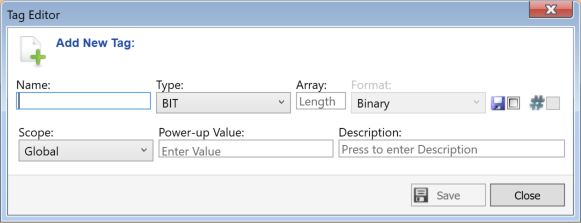
The “Scope” specifies the range within which the variable can be accessed. In this example, it is set to “Global,” meaning it can be accessed from any function.
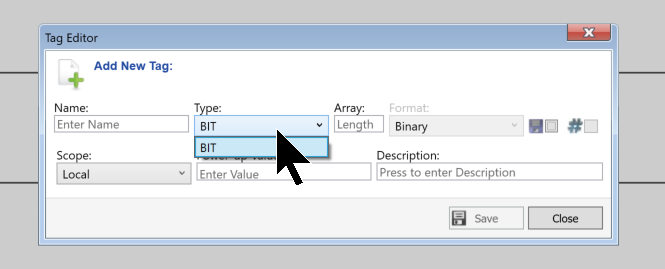
The “Type” field allows you to set the variable’s data type; since this is a contact, the only option is “BIT.”
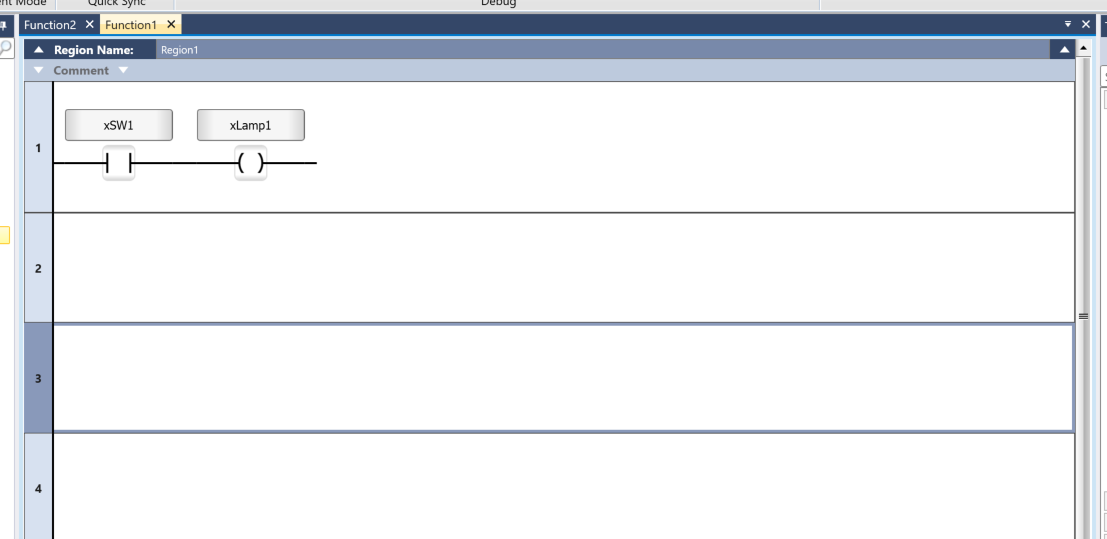
Add Direct Coil
Next, drag and drop “Toolbox → Direct Coil” to add a coil.
Coils have been added!
Let’s define a variable using the same steps as before.
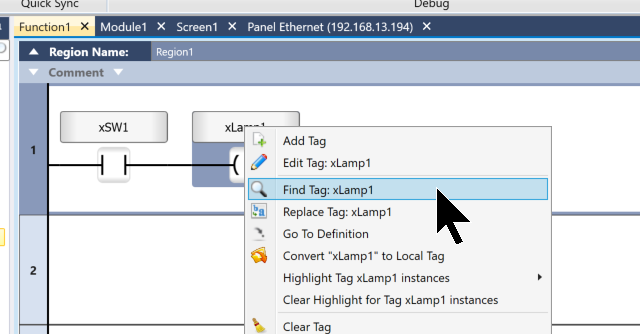
Search by tag
Next, I’ll explain how to search for specific instances of a tag within the program. Right-click on the device and select “Go to Definition” to find where the tag is defined.
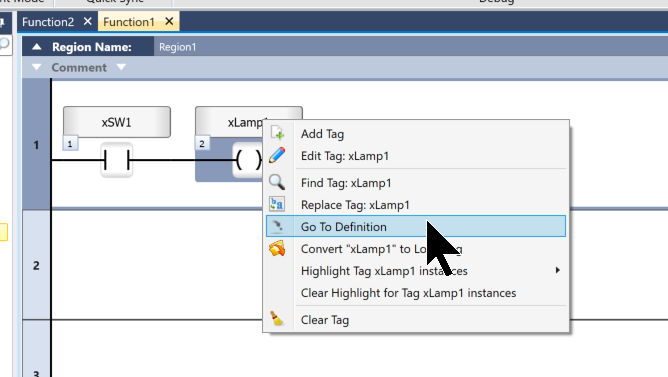
You can check where the relevant variable is defined.
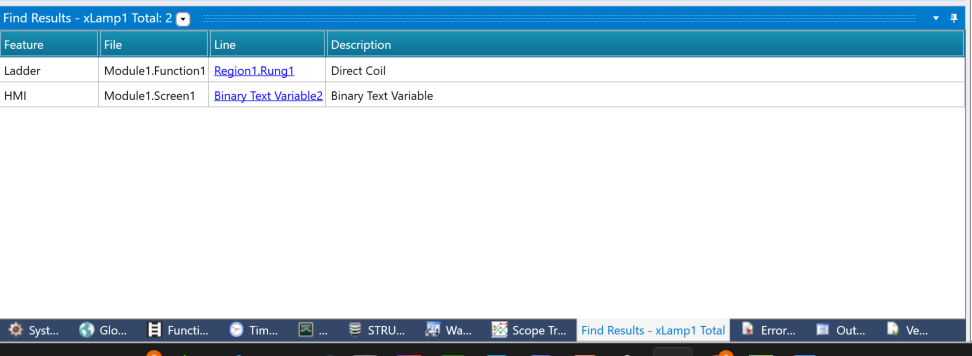
Also, right-click the device and select “Find Tag” to locate where the variable is used.
Done!
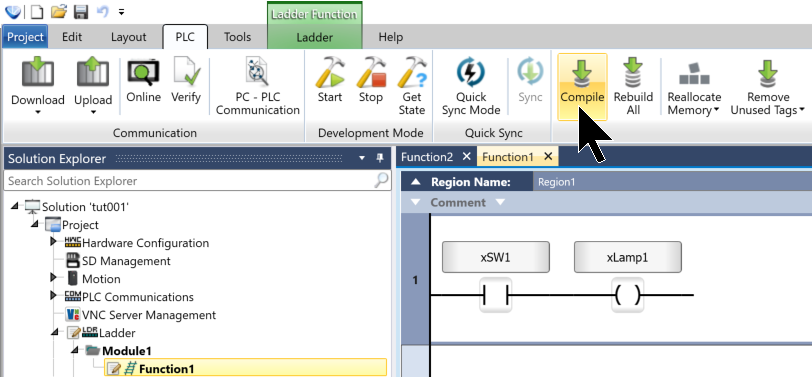
Compile
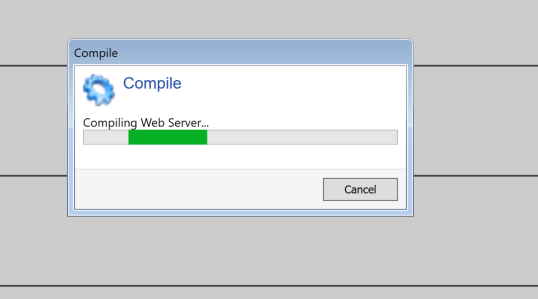
Next, compile the project. Click PLC → Compile.
Please wait a moment…
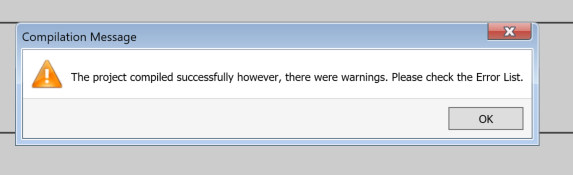
Done!There were no errors in the project.
Download
Download the project from UniLogic to the US5-C10-TA30. Select PLC → Full Download.
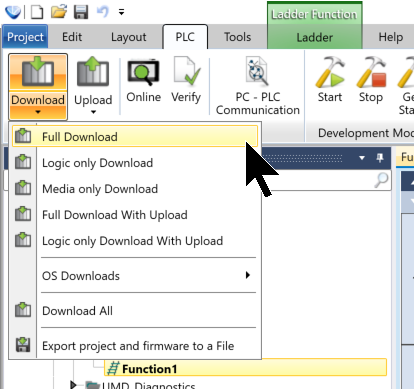
Since UniLogic is displaying an old error in the firmware, let’s update the US5-C10-TA30 firmware for now.
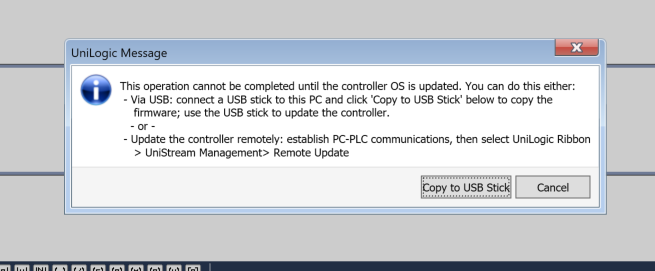
Firmware Update
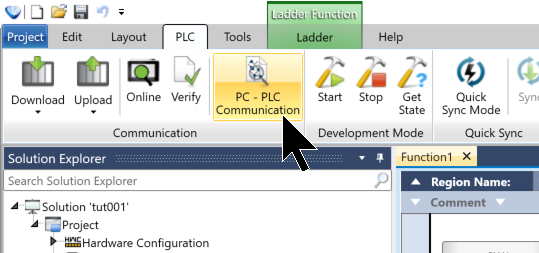
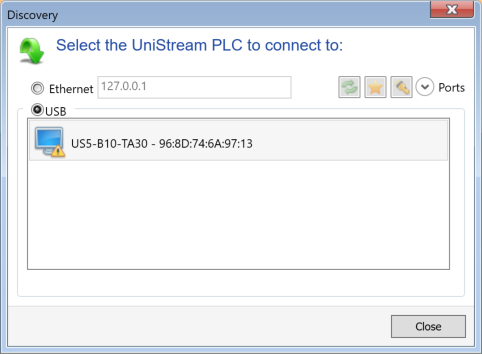
First, I want to verify that the device currently connected to the PC is the correct one, so I click PLC → PC-PLC Communication.
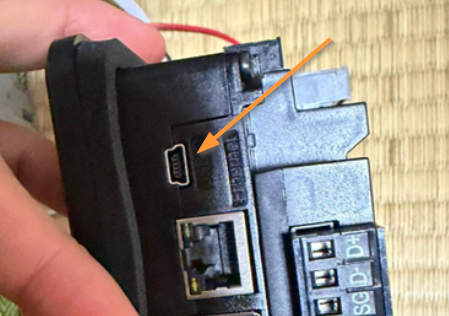
This time, we’ll connect via USB.
The US5-C10-TA30 has a MINI-USB port on the side.
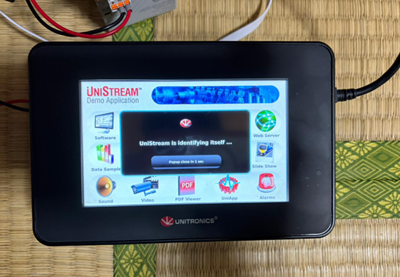
A pop-up will appear on the connected device, allowing you to verify that the device matches the one connected to your PC.
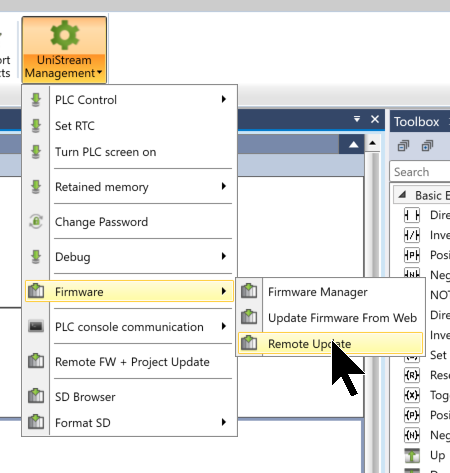
Next, to update the firmware, go to UniStream Management → Firmware → Remote Update.
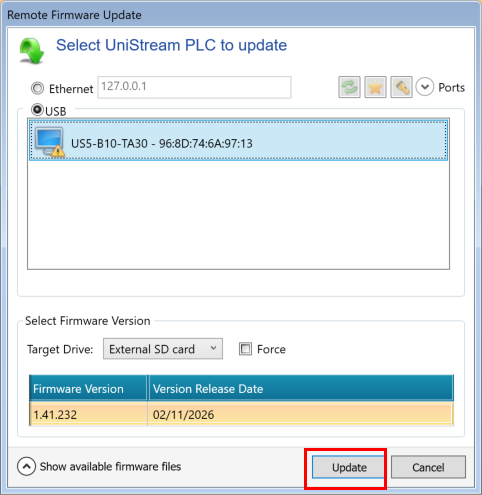
Click “Update.”
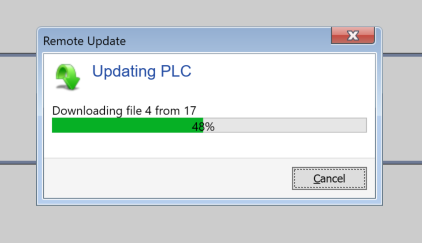
Please wait a moment…
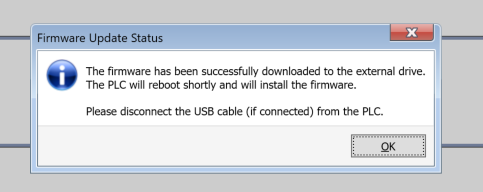
Done!Then, please unplug the USB cable.
The firmware update for the US5-C10-TA30 takes about five minutes.
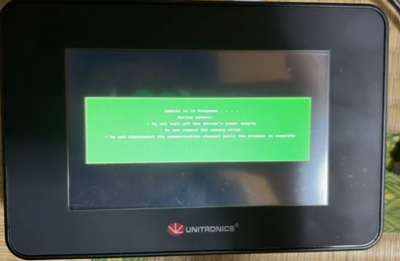
You can see the firmware update process in this video.
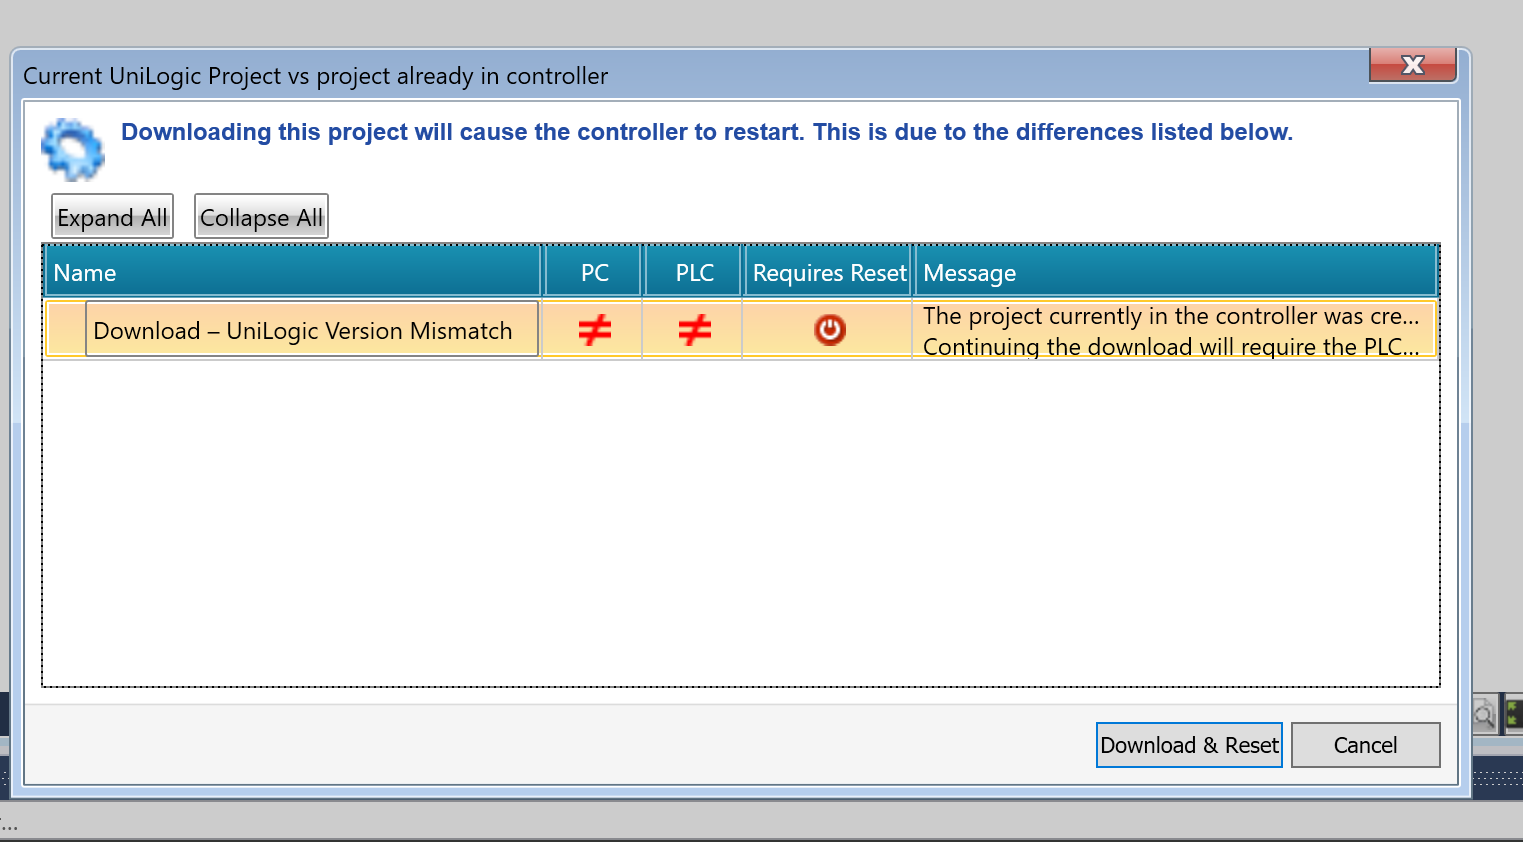
Download again
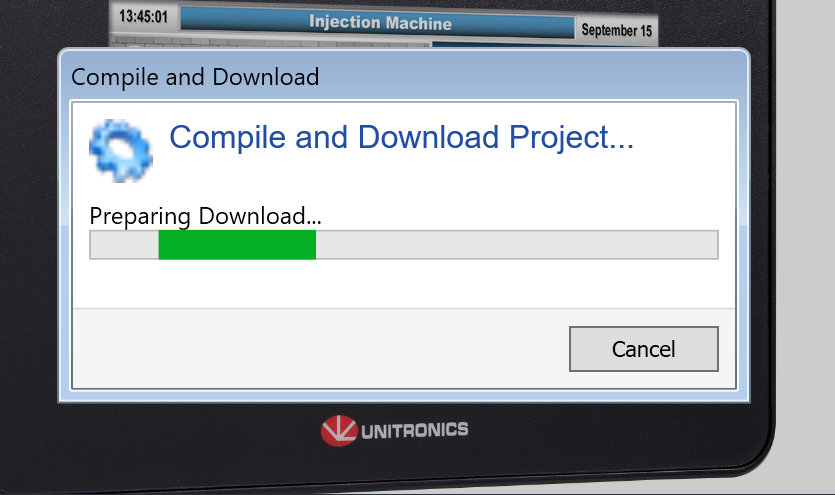
You can also download the US5-C10-TA30 project from UniLogic. Click “Download & Reset” here.
Please wait a moment…
Done!UniLogic is now in Online Mode, and I was able to download it to my project.
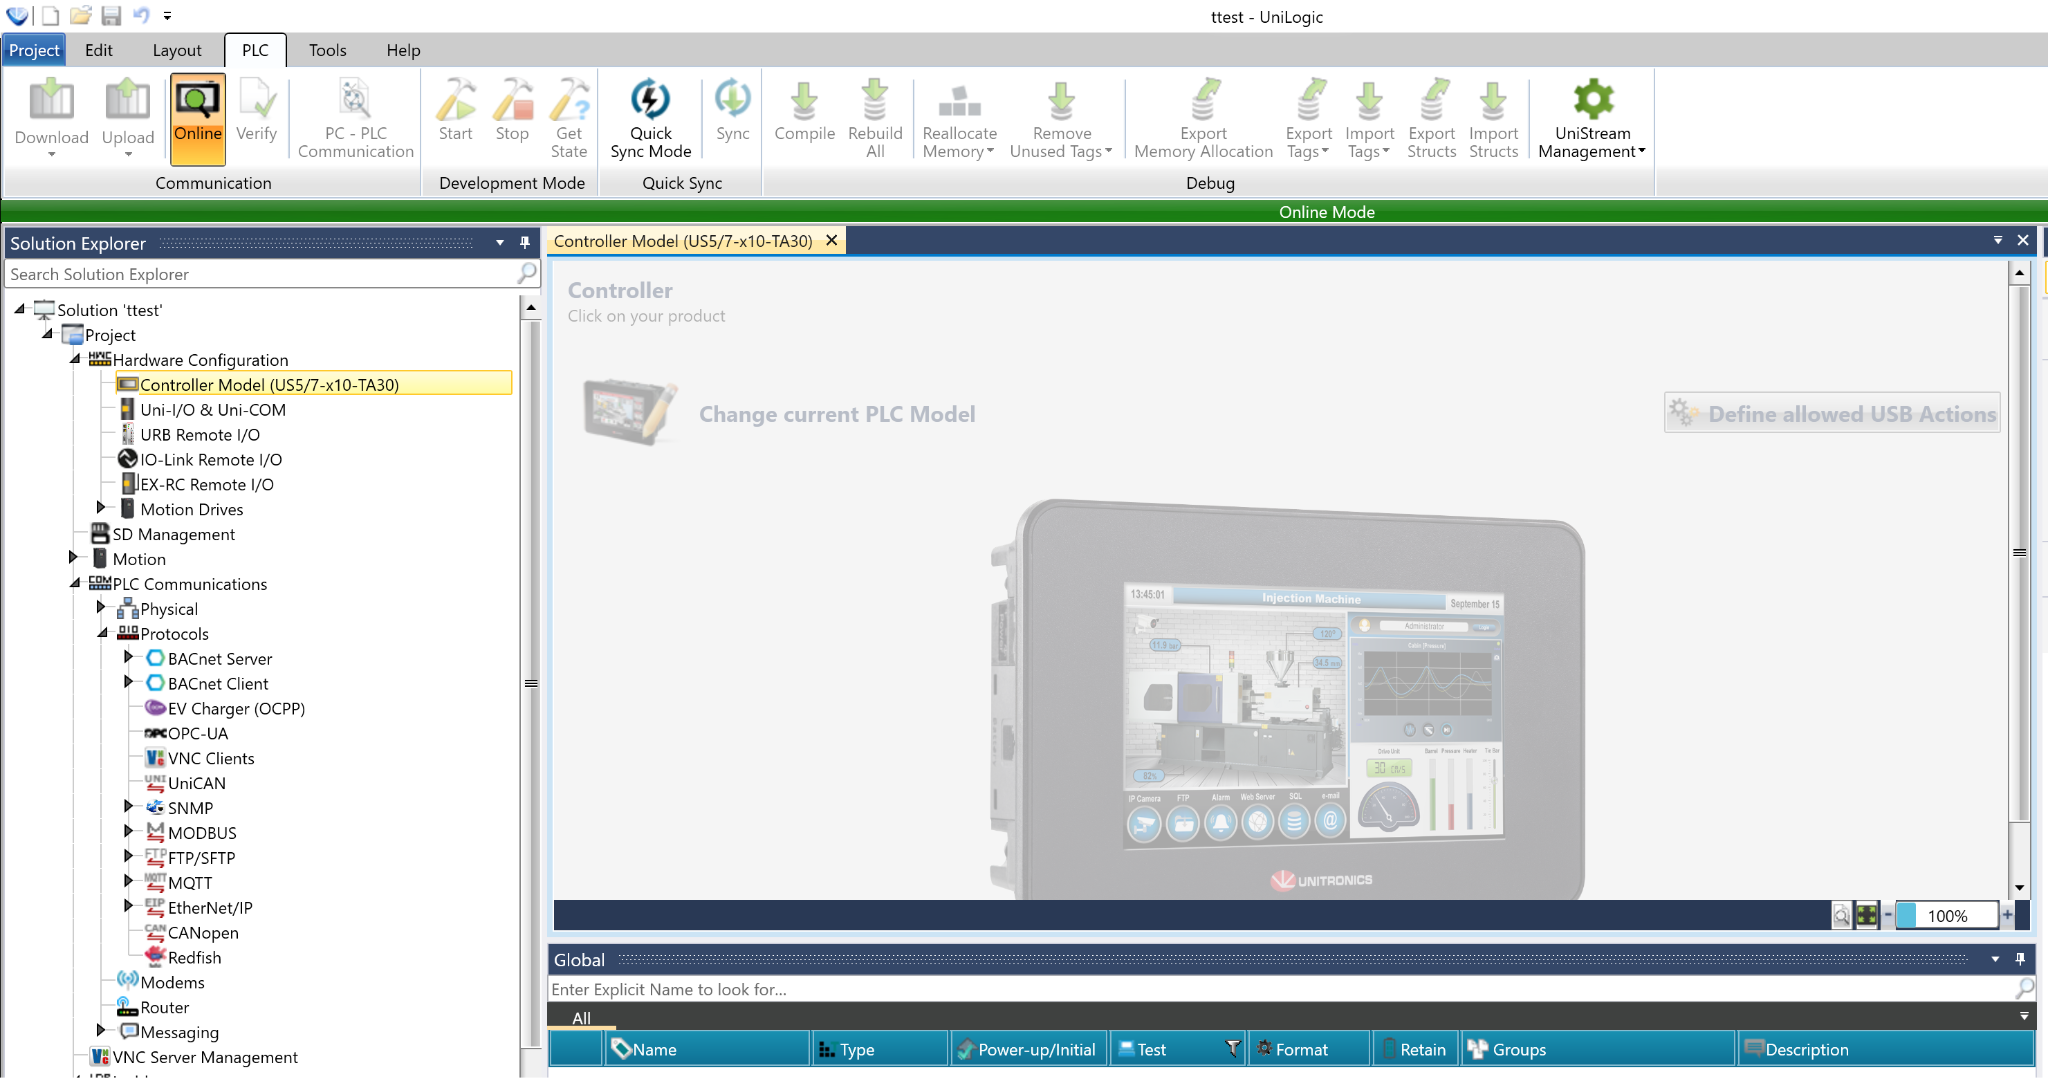
Program Monitor
UniLogic is currently in Online Mode, so you can monitor program variables and other data.
Click the relevant device to change the current value of the variable.
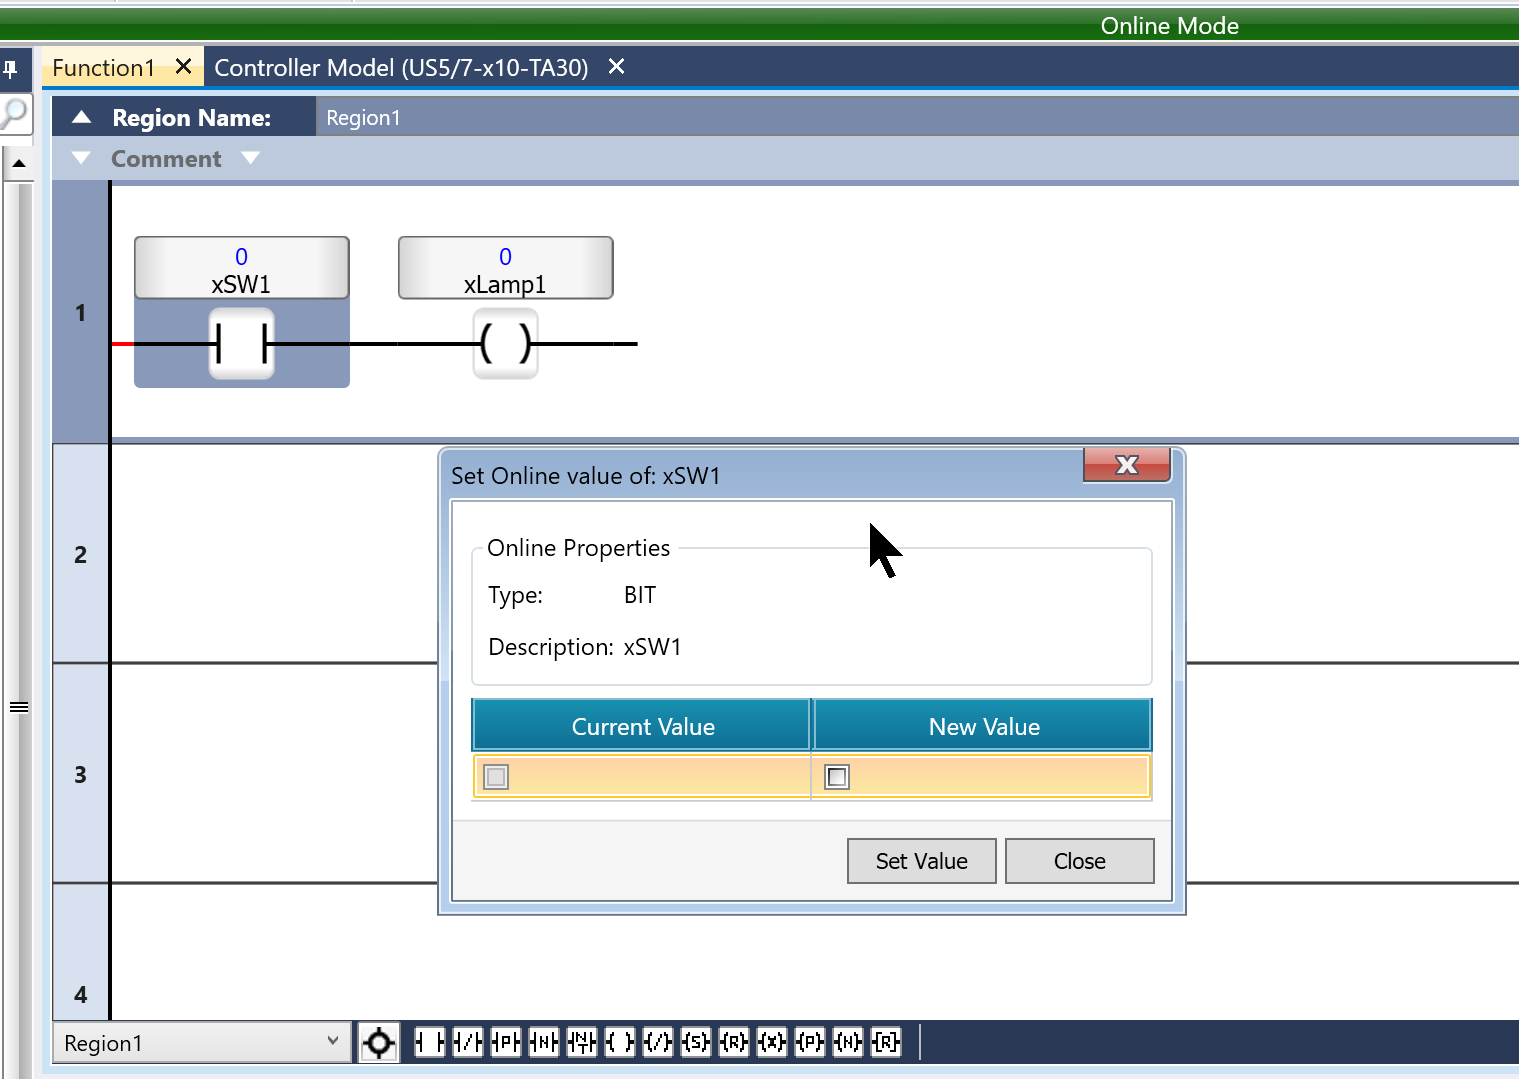
Enter the new value and click “Set Value.”
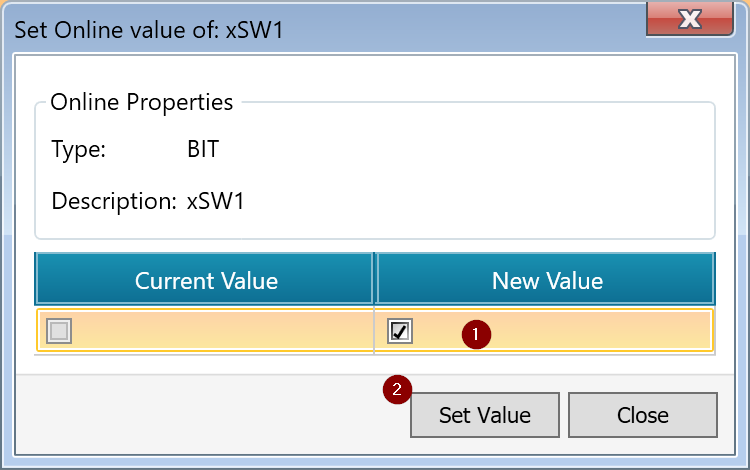
Done!xSW1 turned on, and xLamp1 turned on as well.
