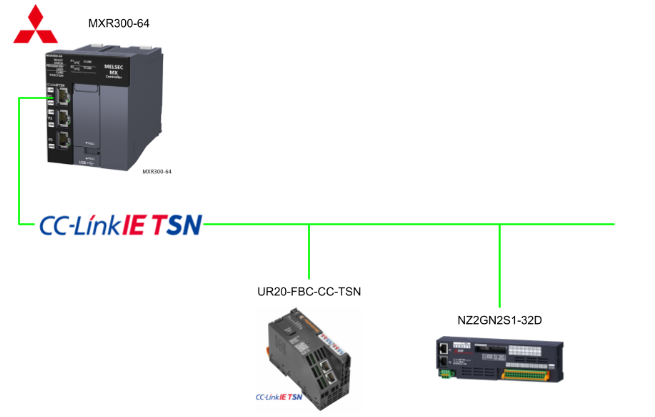
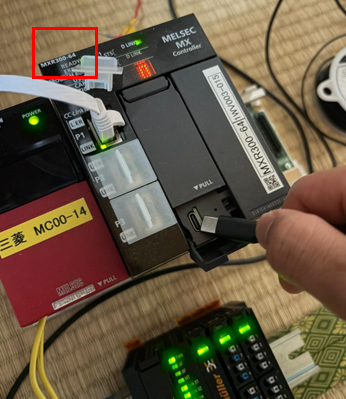
This is a new article series where we will conduct various verifications using Mitsubishi Electric’s latest MXR controller. First, we will explain the construction of a CC-Link IE TSN network. Here is the equipment list:
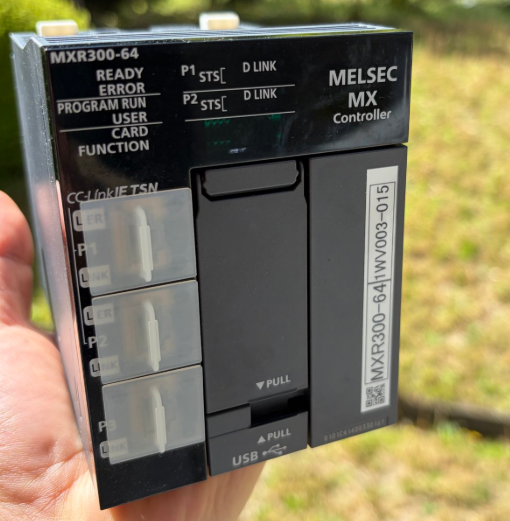
- Mitsubishi Electric MXR300-64
- Weidmüller UR20-FBC-CC-TSN
- Mitsubishi Electric NZ2GN2S1-32D
Let’s enjoy FA!
Reference Link
http://soup01.com/ja/category/mitsubishi-jp/mxr/
Implementation
This is the configuration for this article.
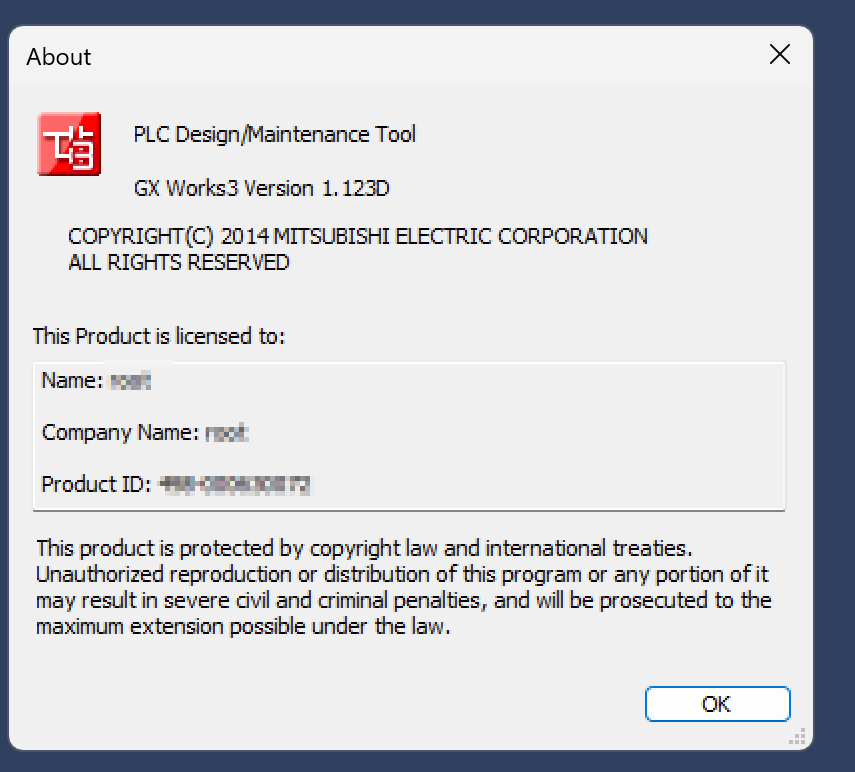
GXWORKS3 Version
This is the GXWORKS3 version I am using for this article.
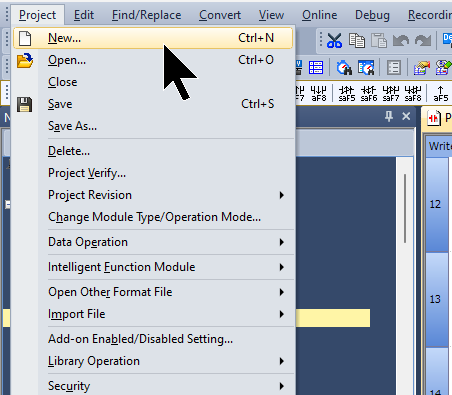
Create a New Project
We are using MXR300-64.
Create a new project by selecting Project → New.
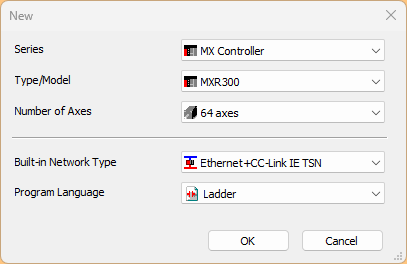
The CPU selection screen is displayed.
- Series: MX Controlller
- Type/Model: MXR300 used in this article
- Number of Axes: Since we will be using the MXR300-64, select 64 Axes.
Next, proceed with OK.
The User creation screen appears. For now, proceed with Yes without creating a user.
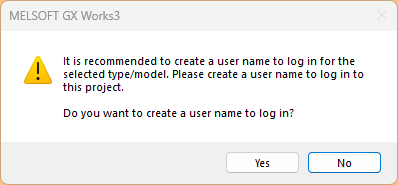
Done! Created the MXR300 project.
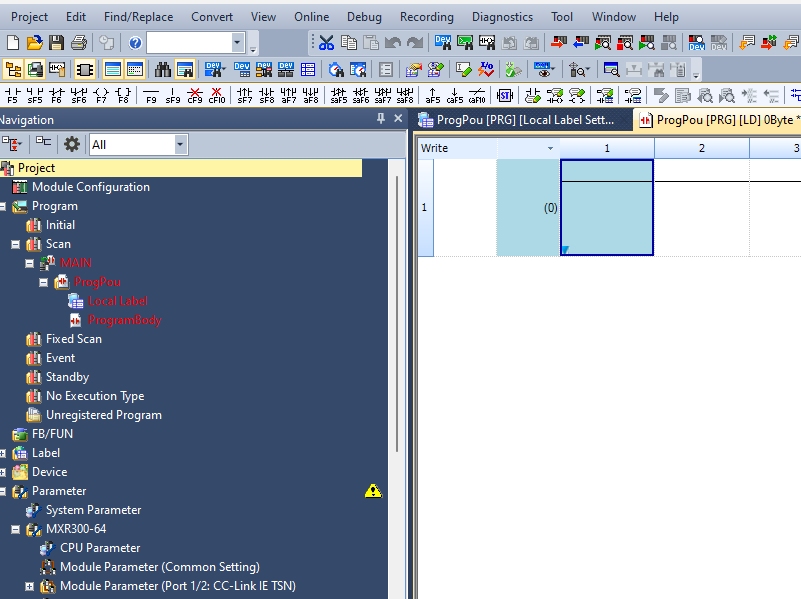
CC-LINK IE TSN Network Construction
Next, we will proceed to build the CC-Link TSN network for the MX Controller.
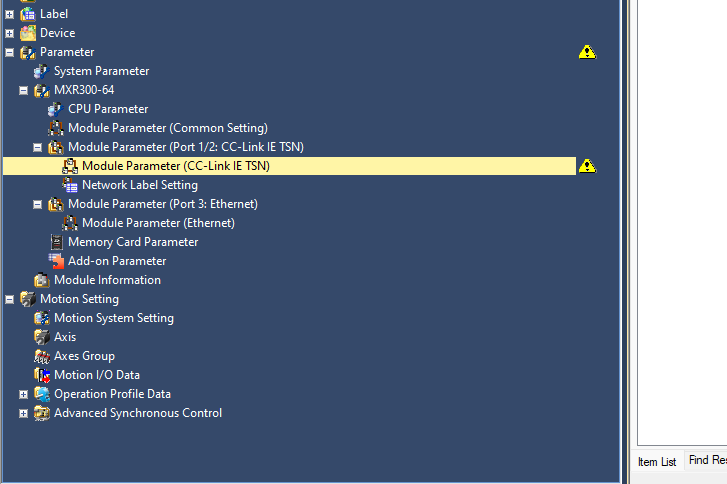
Click MXR300-64 → Module Parameter → Module Parameter (CC-Link IE TSN).
Click Network Configuration Settings.
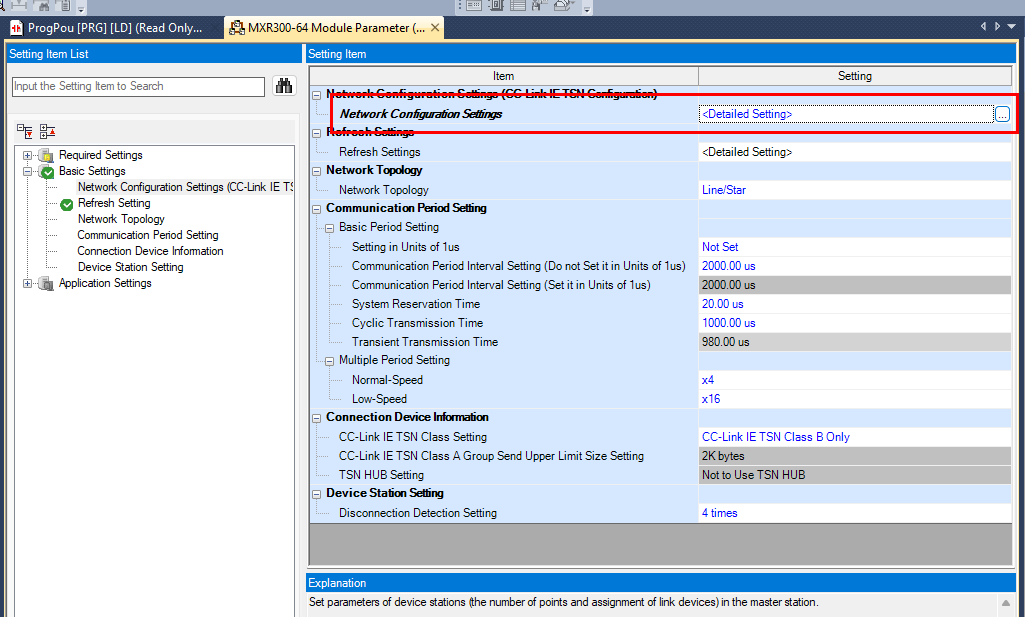
This is the network setting screen for CC-Link IE TSN.
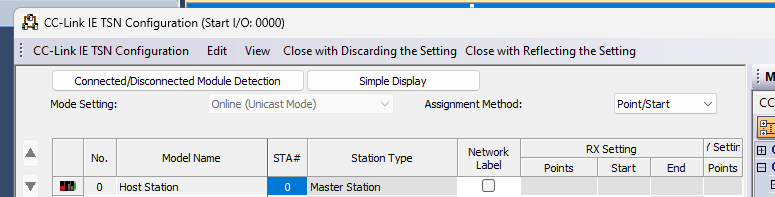
Slave Settings
Next, we will configure the CC-Link IE TSN Slave.
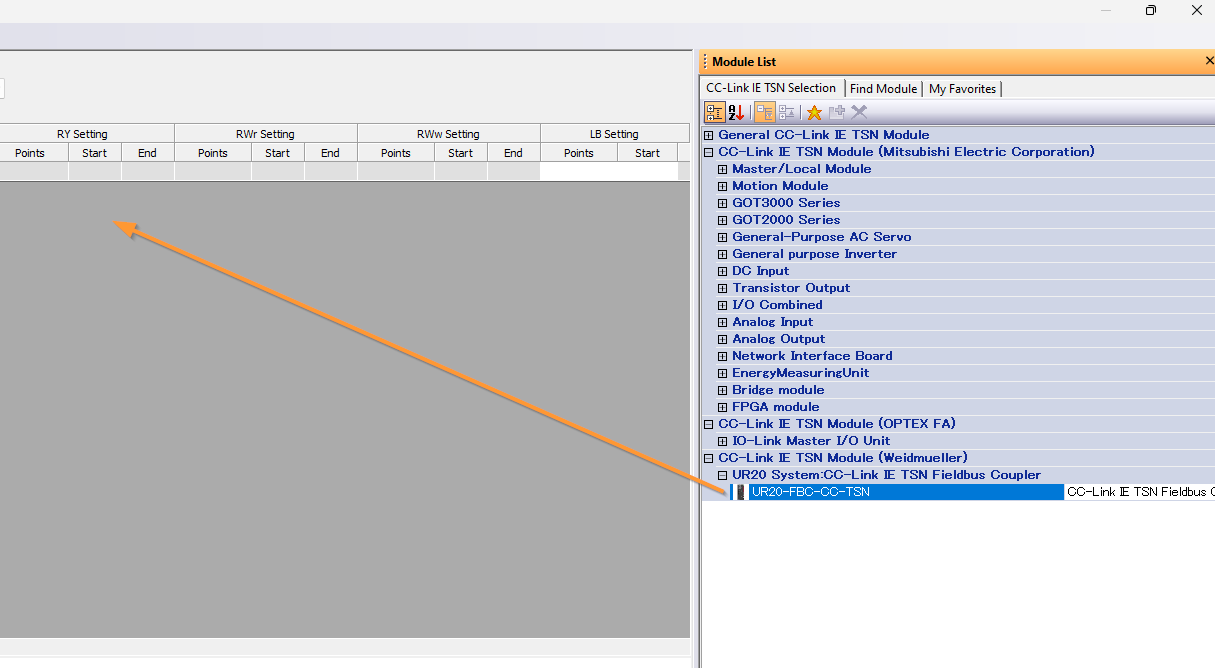
Manual Settings
First, we will explain the manual setting method. The first device to be used is the UR20-FBC-CC-TSN.
Done!
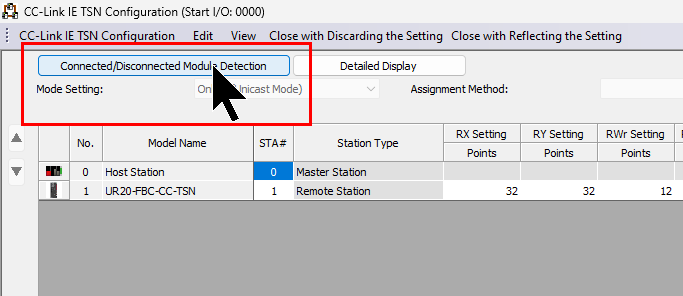
Automatic Detection
Also, there is a method to directly scan devices on the network.
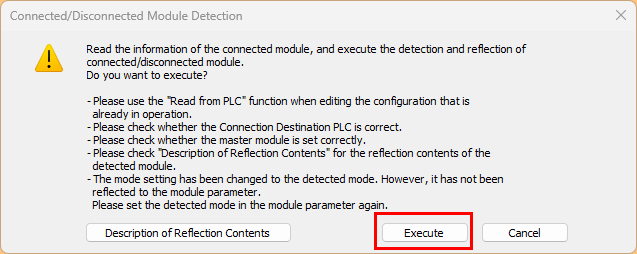
Proceed with Execute.
Proceed with OK.
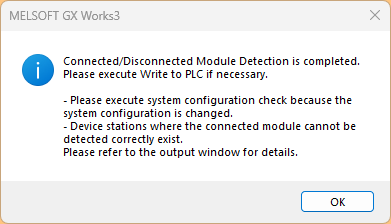
Done! The CC-Link IE TSN Slaves on the network have been searched.
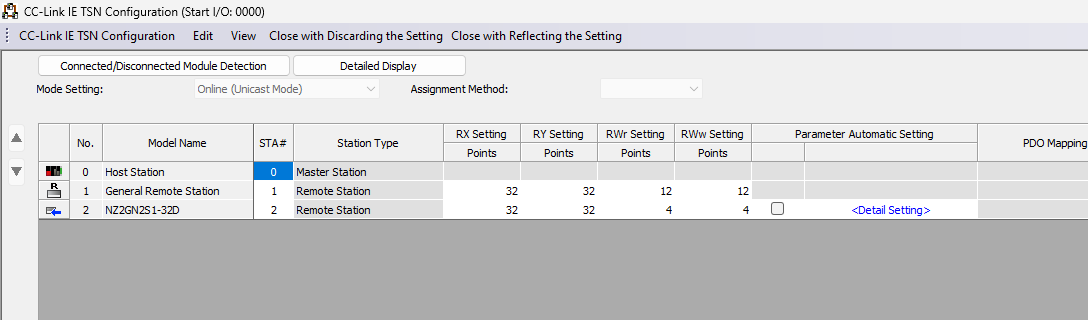
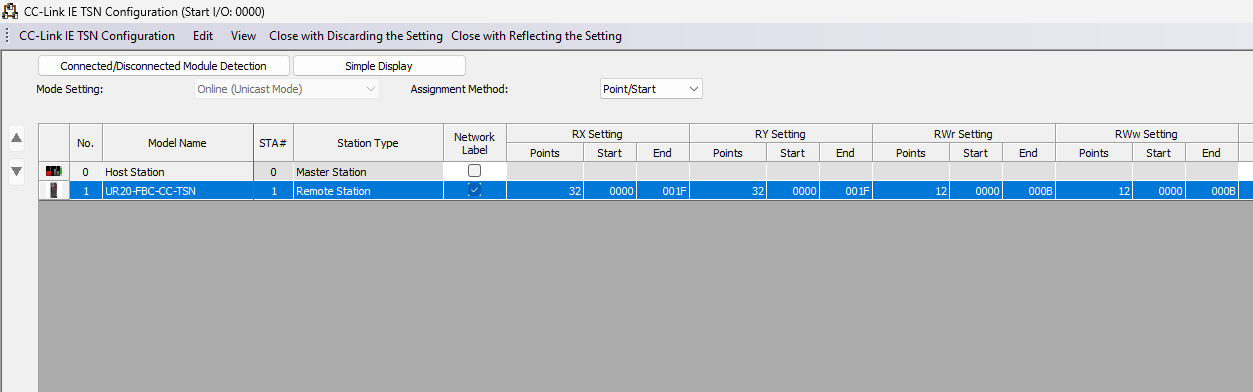
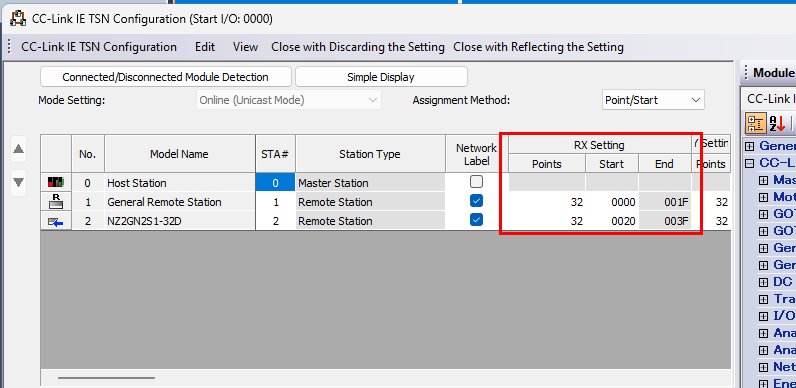
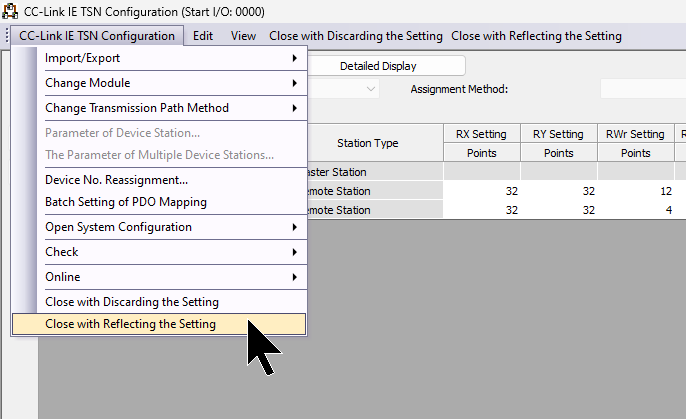
Done! Next, let’s set up the RX settings and other configurations to match the actual remote I/O.
Also, check the Network Label checkbox to automatically create labels.
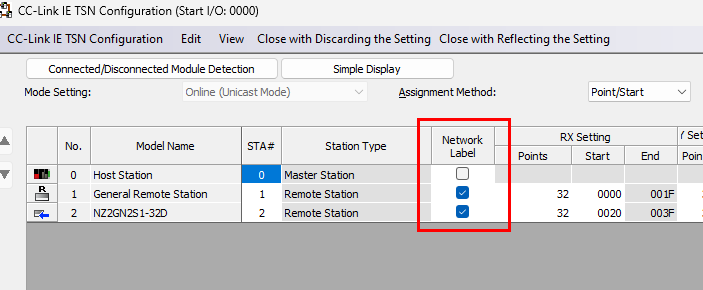
Finally, click CC-Link IE TSN Configuration → Close with Reflecting the Setting.
Network Label
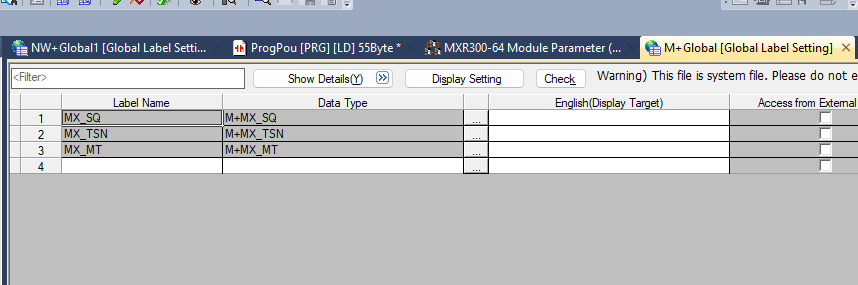
Next, we will set the labels for the slaves connected via CC-Link IE TSN. Click Module Parameter → Network Label Setting.
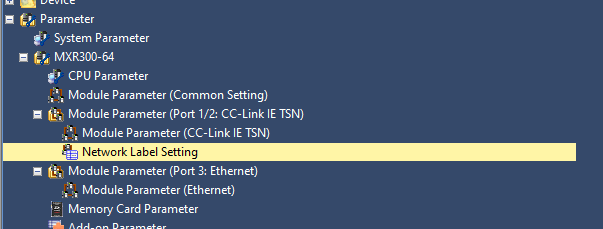
This is the Network Label setting screen.

You can set the label name for each slave.

Also, you can expand the slave settings screen using the plus/minus buttons next to the slave.
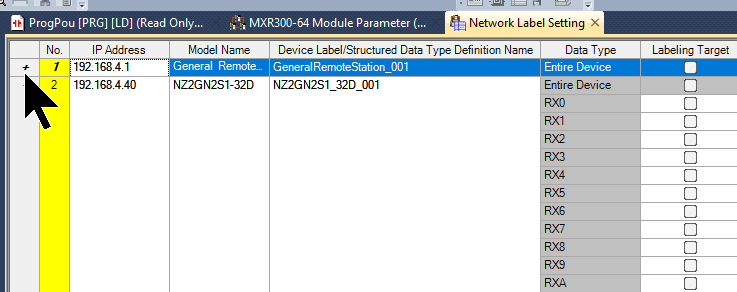
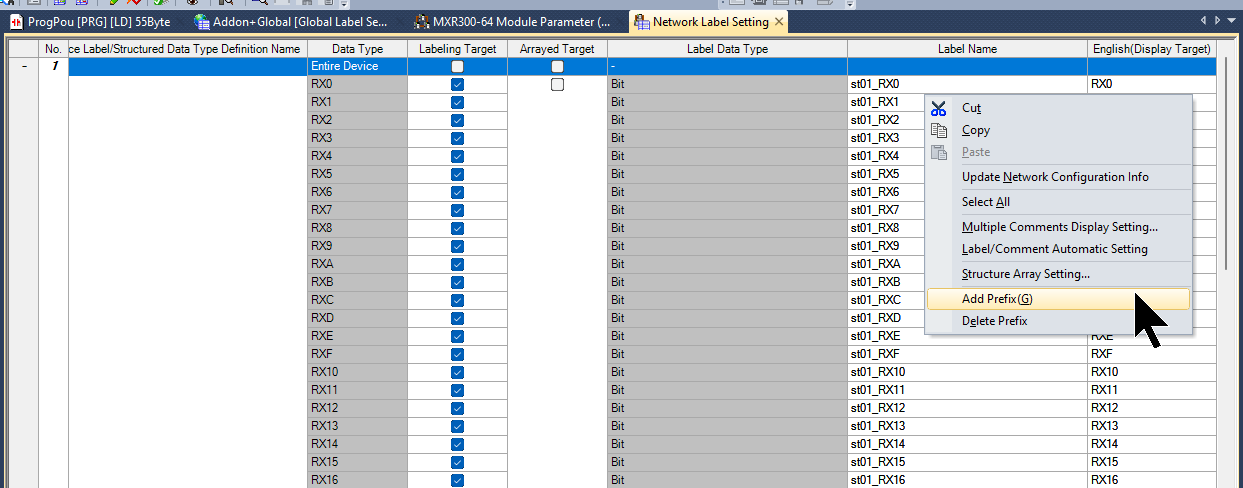
Here, set the slave name for 192.168.4.1 to St01.
Next, right-click Label Name → Click Add Prefix.
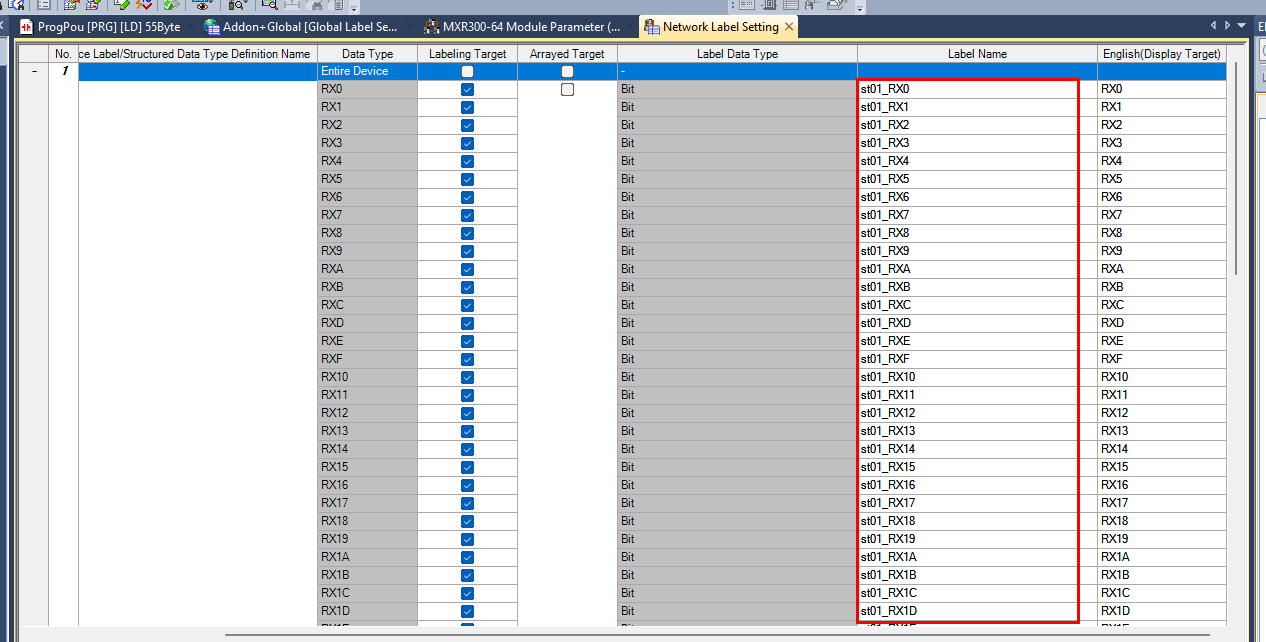
The name set previously will be automatically added to the beginning of all labels.
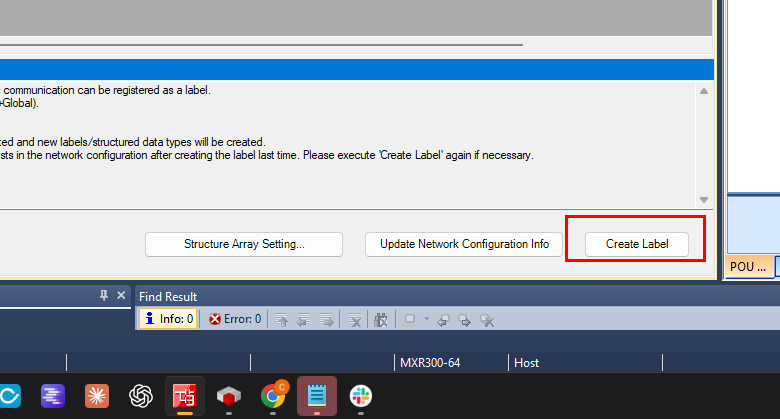
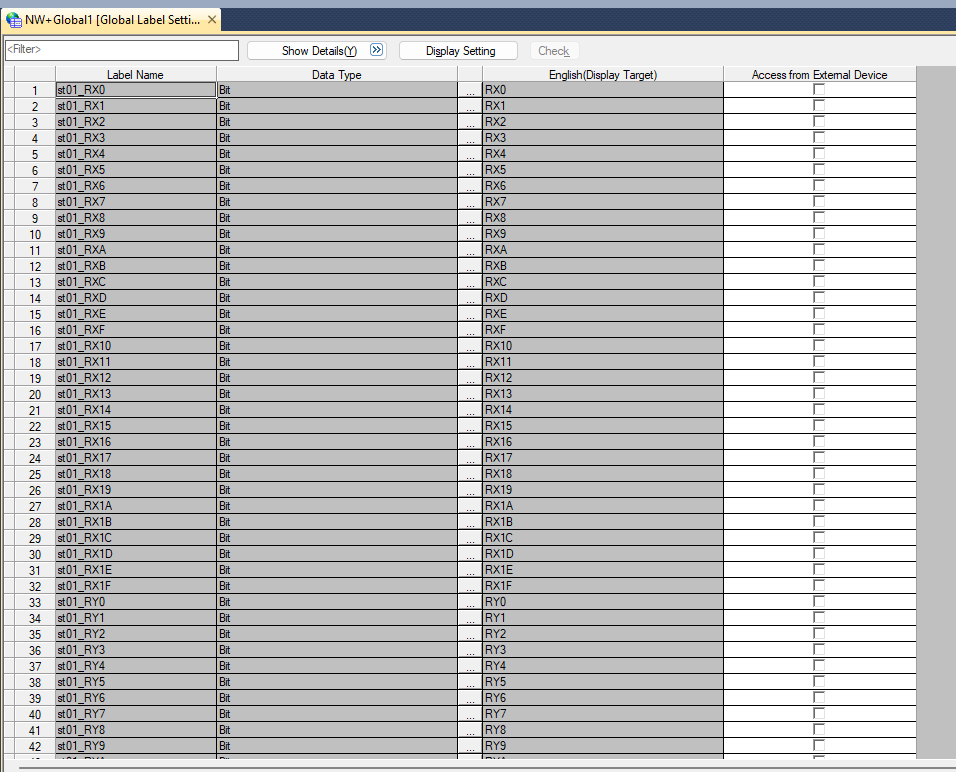
Next, create the label with “Create Label”.
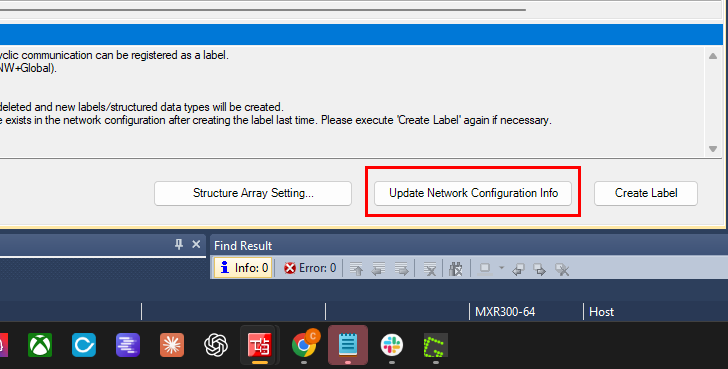
If there are any changes to the CC-Link IE TSN network configuration, update the Mapping with “Update Network Configuration Info”.
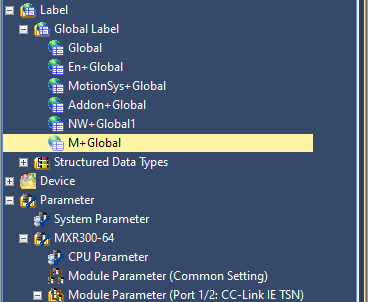
Done! The list NW+Global1 has been added to Global Label.
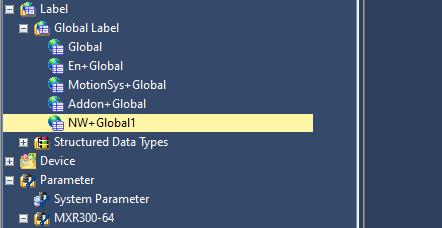
It was also automatically declared in the network label set earlier.
Label
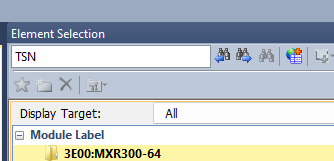
Next, open the Module Tab to add the MXR300 controller’s module label.
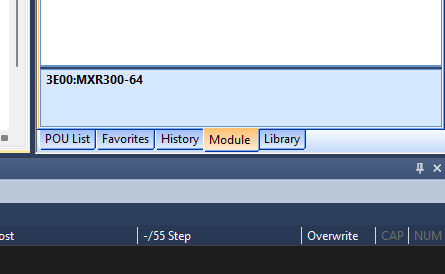
Select Module Label → MXR300-64 and add it to the project.
Done!
Program
Next, we will create a program for verification.
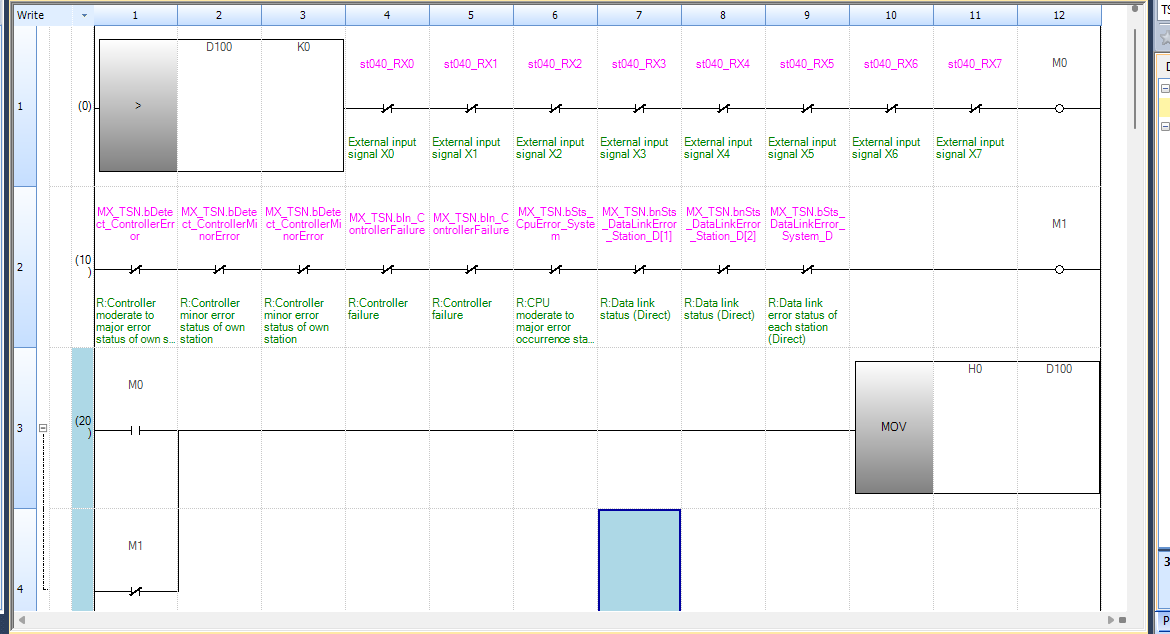
Rung1
This rung is a circuit that turns ON the auxiliary relay M0 when all external input signals X0 to X7 (st040_RX0 to st040_RX7) are in the OFF state, provided that D100 is greater than 0 (a positive value).
M0 will not turn ON regardless of the state of the subsequent contact conditions, unless the comparison instruction D100 > K0 is satisfied. External inputs X0 to X7 are all used as normally closed contacts (b-contacts), and if even one of these signals turns ON, the circuit opens and M0 turns OFF.

Rung2
This rung is a circuit that turns ON the auxiliary relay M1 when all various error/fault status bits related to MX_TSN (CC-Link TSN) are OFF. The array MX_TSN.bnSts_DataLinkError_Station_D has a length of 1-253, and [1] indicates that station 1 has a communication error if True.

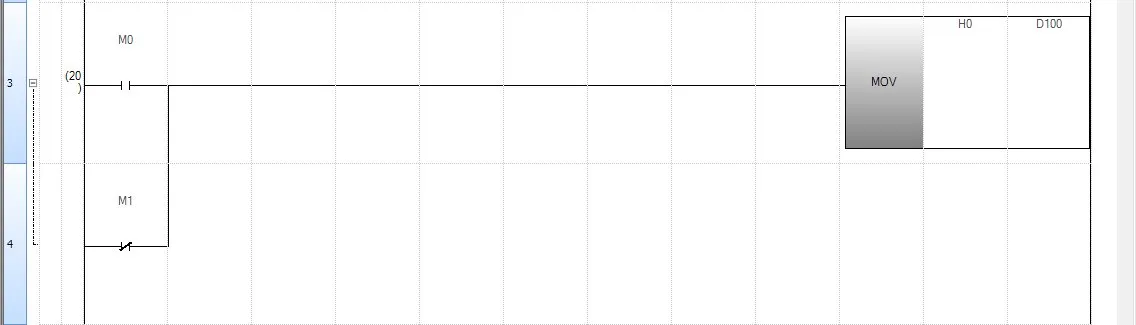
Rung3
This rung executes MOV H0 → D100, writing hexadecimal 0 (which is decimal 0) to D100, if either M0 is ON or M1 is OFF.
In other words, this rung:
- When all external inputs are in a stationary state (M0=ON) → Reset D100
- When a network abnormality occurs (M1=OFF) → Reset D100
Rung5
This rung executes MOV H1 → D100, writing 1 to D100, when all external input signals X0 to X7 (st040_RX0 to st040_RX7) are ON, serving as the “step-up condition” in sequence control to detect that all external inputs are met and advance D100 to 1.

Rung6
This rung is a circuit that executes SFL D100 K1, conditioned by the rising pulse of SM409 (10ms clock).

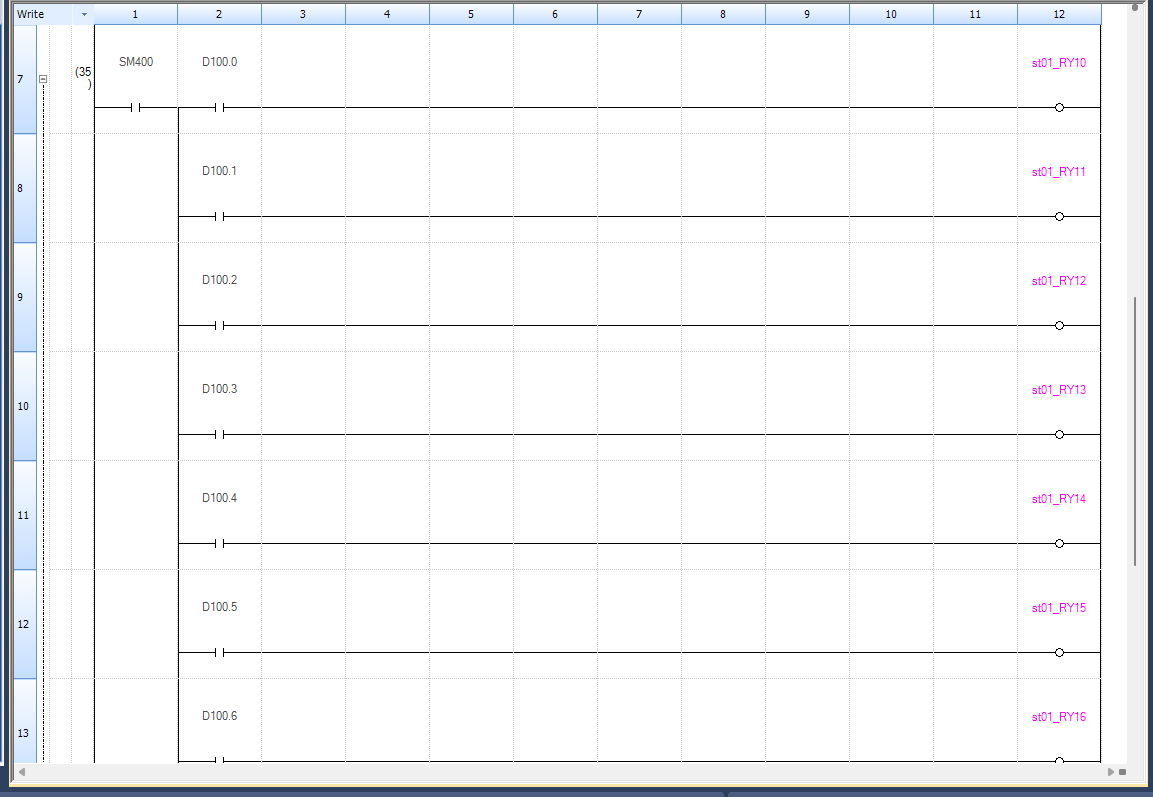
Rung7-14
This block is a group of circuits that sequentially turns ON the remote output coil st01_RYxx, conditioned by SM400 (Always ON) and each bit of D100. Due to the SFL instruction in Rung 6, D100 is shifted one bit to the left every 10ms. As a result, each bit of D100 is turned ON in sequence, causing the corresponding output coils to turn ON sequentially with a time difference.
Rung15
This rung is a circuit that executes MOV K1 → D100, resetting D100 to 1, when D100.8 (bit8) turns ON. Due to the SFL instruction in Rung 6, D100 continues to shift left every 10ms. Starting from bit0, passing through bit7 (equivalent to st01_RY17), when it reaches bit8, this rung is satisfied, and D100 is forcibly reset to 1 (=only bit0 is ON).

Program Conversion
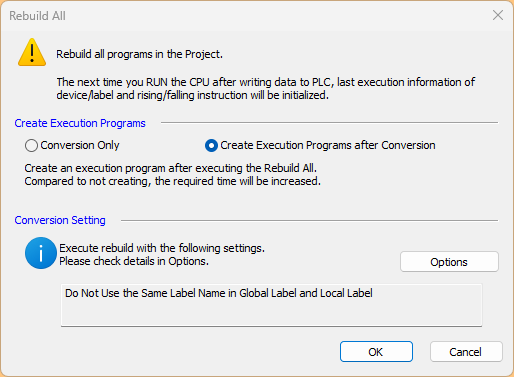
The following Options are now selectable when compiling the program:
- Conversion Only: Only conversion
- Create Execution Programs after Conversion: Also generate execution FILE
Since we want to execute the program on the MXR300 this time, we will select Create Execution Programs after Conversion.
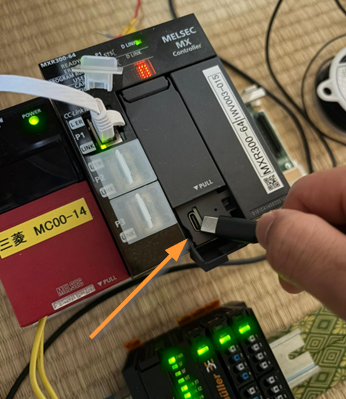
Connect to PC
Next, let’s connect the MXR300 controller and the PC using USB-C.
Download
Finally, let’s Download the project to the CPU.
Result
You can check the operation from this video.
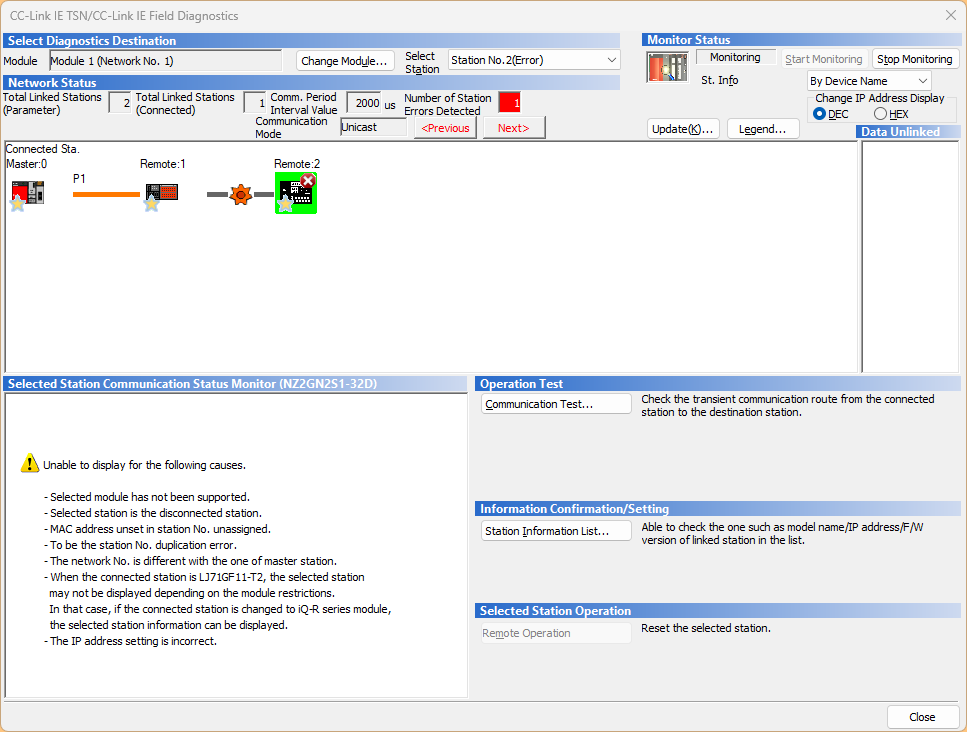
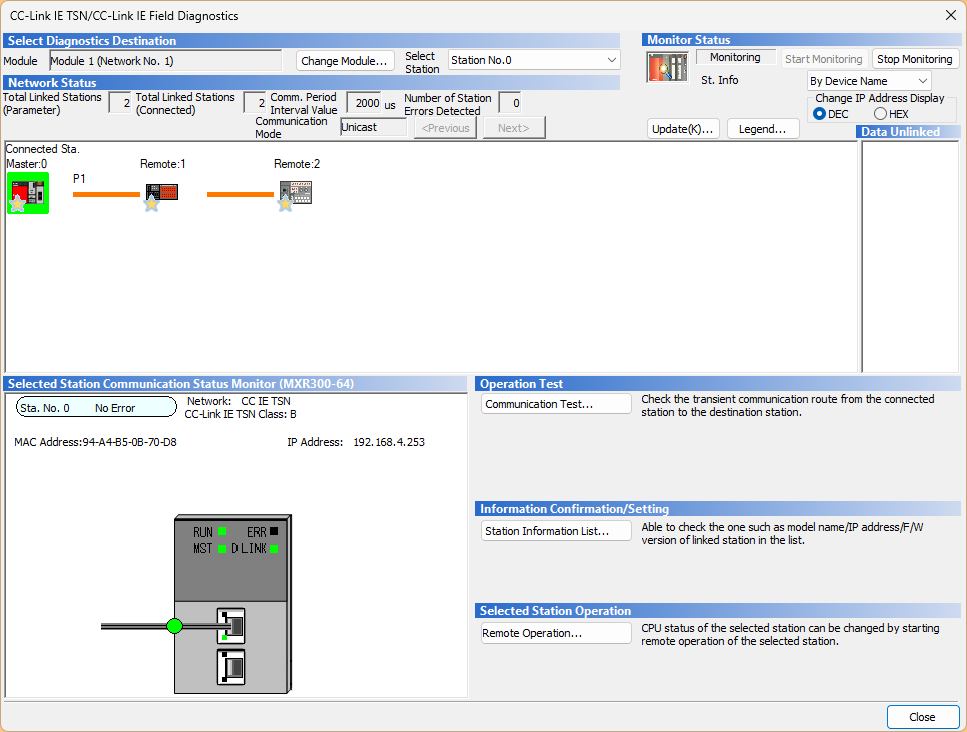
First, click Diagnostics → CC-Link IE TSN/CC-Link IE Field Diagnostics.
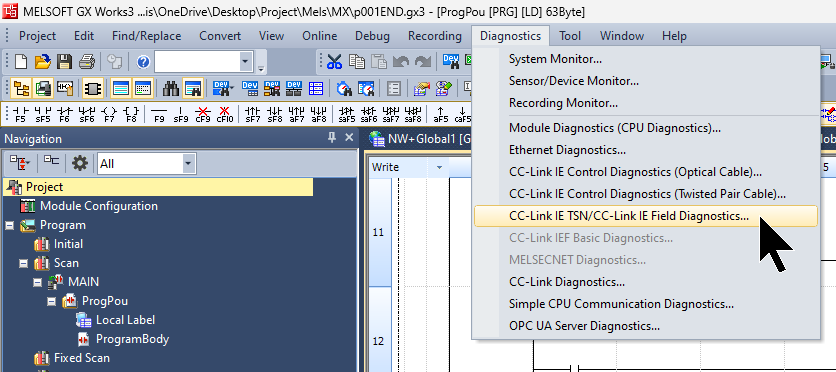
From this screen, you can check the current network status of CC-Link IE TSN.
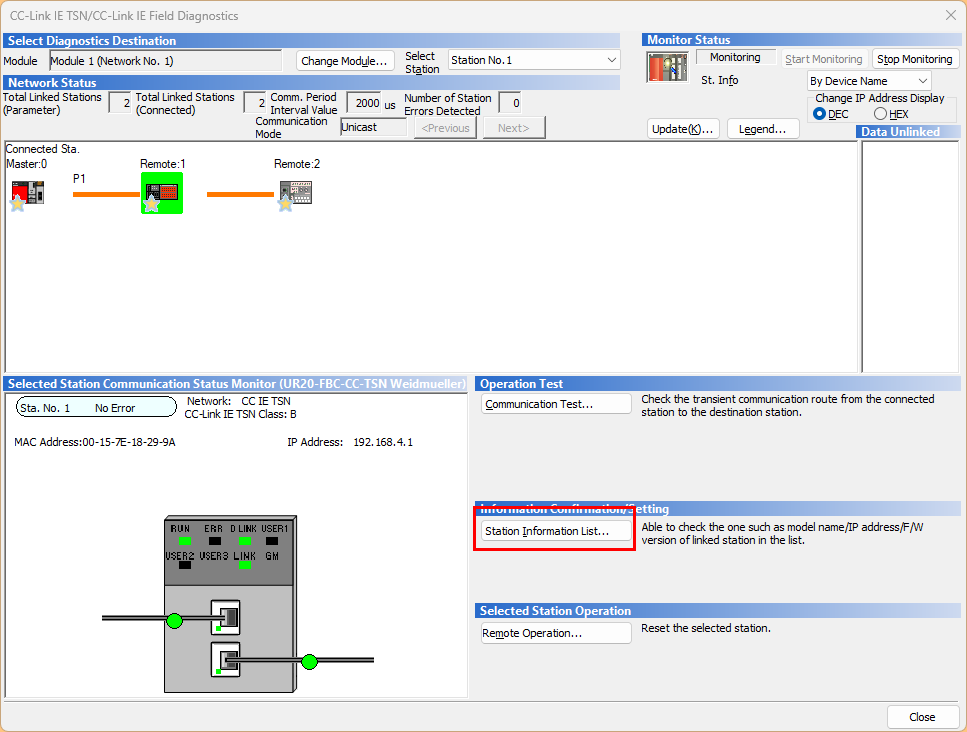
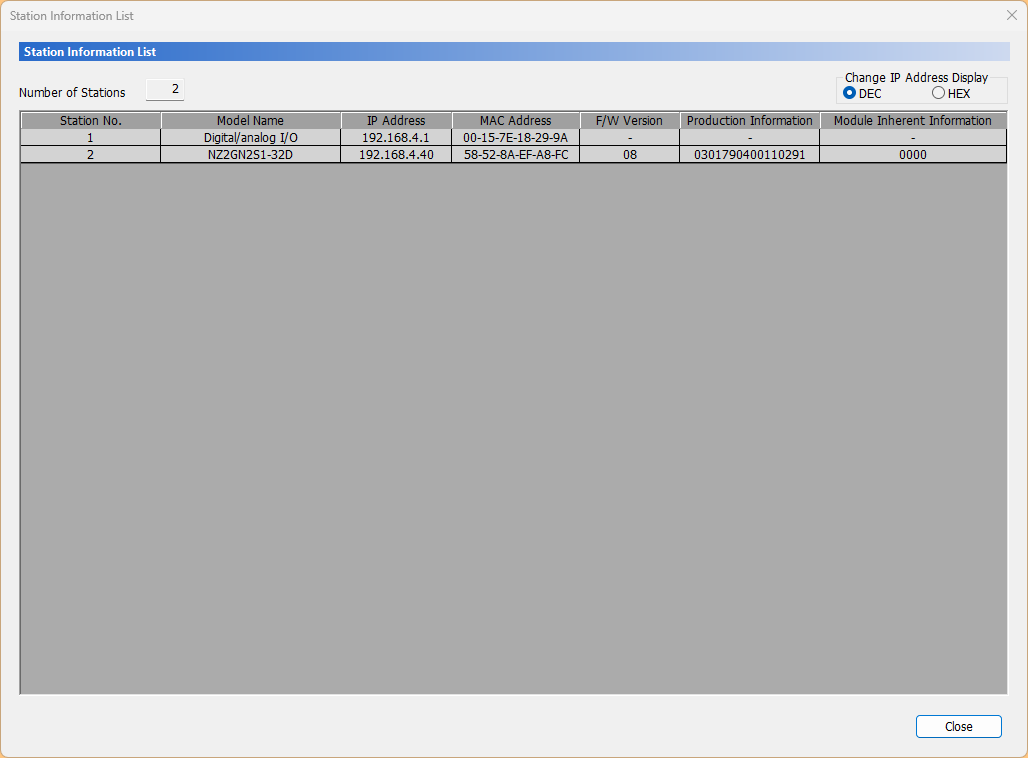
If you want to check the CC-Link IE TSN Slave status in a list, click Station Information List.
Done!
This is the screen that appears when a CC-Link IE TSN Slave communication error occurs.