This is a new article series, in which we will use EXOR’s XPLC to perform and transmit various verifications.
We will start with a simple setup and operation.
In the future, we plan to introduce more features and applications of XPLC through various articles. We will delve deeper into the possibilities of XPLC.
Come on, let’s enjoy FA.
Foreword
Thank you from the bottom of my heart for visiting my technical blog and YouTube channel.
We are currently running the “Takahashi Chris” radio show with Full-san (full@桜 八重 (@fulhause) / X) which I deliver every Wednesday night.
Currently, our activities continue almost free of charge, and your warm support is very important for us to provide more content.If you are able, we would be very happy if you could support us by clicking on the links below.
Membership of Takahashi Chris
You can sign up for a membership to the radio we are doing with MR.Full (full@桜 八重 (@fulhause) / X from here.
https://note.com/fulhause/membership/join
AMAZON Gift List
This will be of great use to me in creating content for my blog and improving my facilities.
https://www.amazon.co.jp/hz/wishlist/ls/H7W3RRD7C5QG?ref_=wl_share
Patreon
Here is a small Patreon of support for the creation of content and equipment for my blog.
https://www.patreon.com/user?u=84249391
Your support will help us to enhance our activities.
Thank you in advance for your support.
Email Address(*=@)
X
What is XPLC?
XPLC is a soft PLC environment that enables real-time control applications.It runs on a variety of platforms, offers excellent scalability and portability, supports programming languages (ST, LD, IL, FBD, SFC) compliant with the IEC 61131-3 standard, and is PLCopen certified to ensure compatibility and code reusability.
It uses a modular, open framework that can be extended with custom C++ widgets, features, and plug-ins in addition to native functionality.It has a modern UX/UX that is easy to use, self explanatory, and uses a common design.Tag synchronization feature eliminates the need to import variables from different tools.Integrated management of device-specific configuration, fieldbus network configuration, and import of fieldbus descriptors, as well as online monitoring and diagnostic capabilities.
Main Features
xplc has the following features!
- Libraries: An extensive set of PLC libraries is provided with easy selection and context-sensitive help. Library creation is simplified, supporting code reuse and collaborative development. Optional encryption protects intellectual property.
- Debugging: Provides intuitive drag-and-drop debugger, oscilloscope, real-time trace, watch window, immediate variable watch, language-dependent live debugger, forced variable values, breakpoints, and single step.
- Task Management: Real-time multitasking management is available with programmable cycle times and multiple program assignments to handle high-priority and background tasks.
Integration with the X platform
XPLC is integrated as part of EXOR’s X platform.

- JMobile: integration with HMI applications.
- Corvina Cloud: cloud connectivity.Provides data collection, remote control, fleet management, and predictive maintenance; supports communication protocols such as MQTT and OPC UA; integrates with cloud platforms such as IBM Bluemix and Microsoft Azure; IEC 62443 compliant security functionality and an automated database push policy using LDAP are also provided.
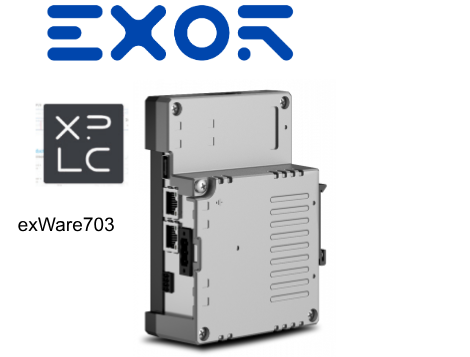
Implementation
Let’s actually touch xplc here.We will use exWare703 in this article.
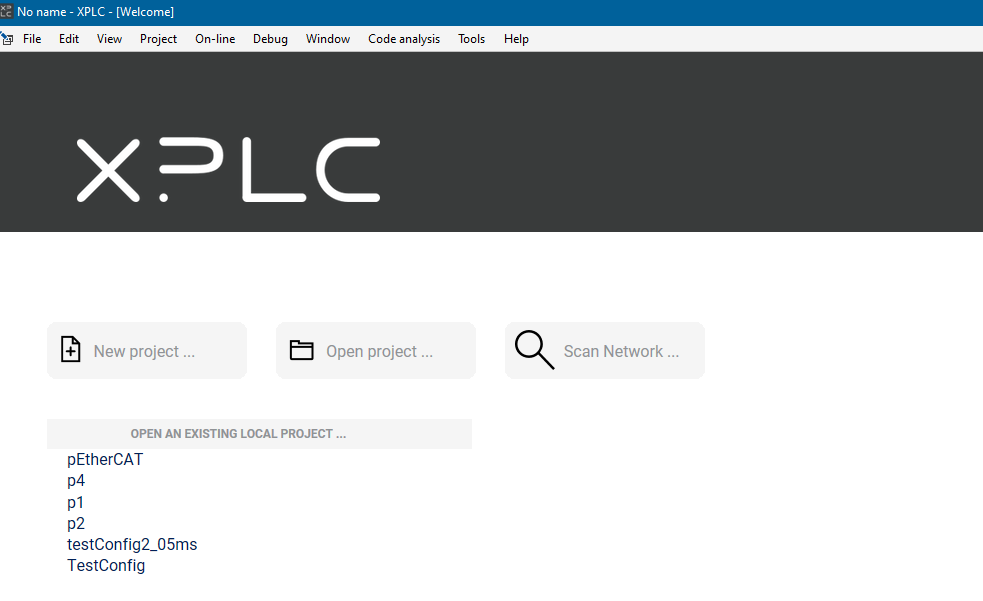
Create New Project
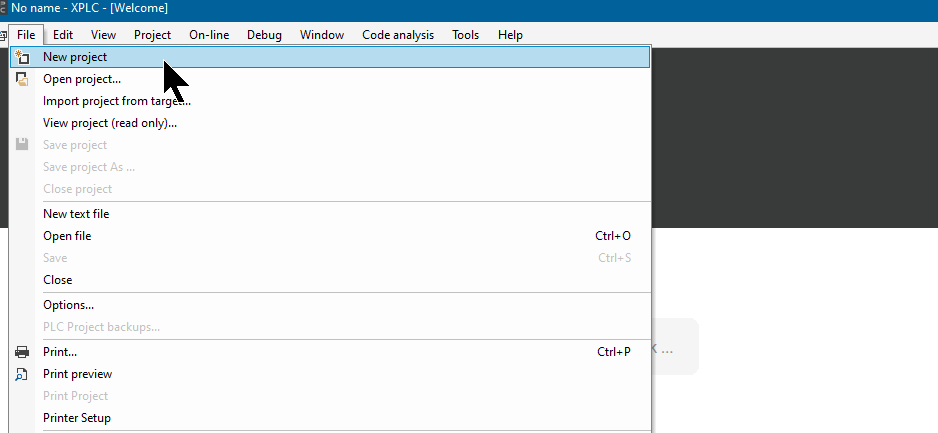
Start the xplc tool and create a new project at File>New Project.
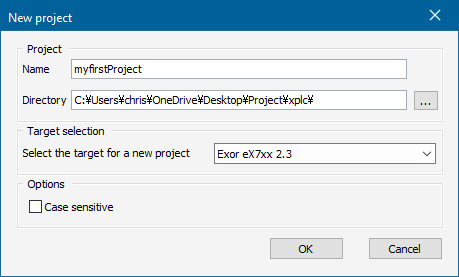
The project setup screen will appear.
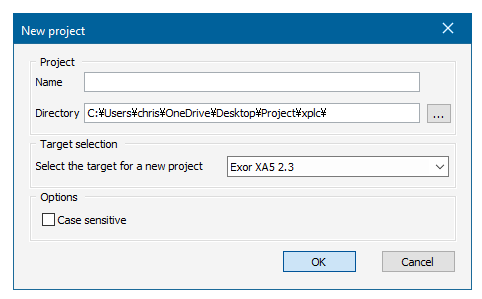
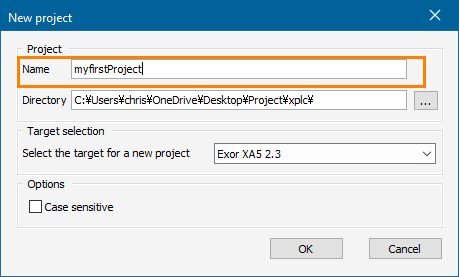
Project Name
Enter a project name in the Name field.
target
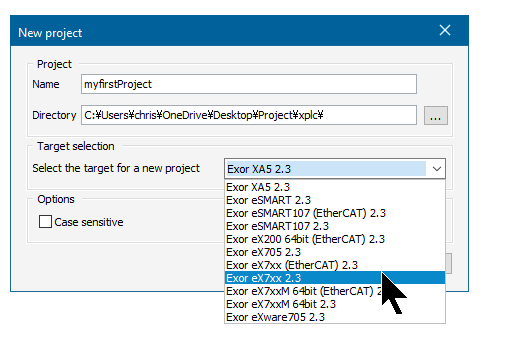
Target Selection sets the EXOR hardware that will use the xplc Runtime.
In this case, we will use exWare703, so let’s set Exor ex7xxx 2.3.
result
Finally, click OK to create the project.
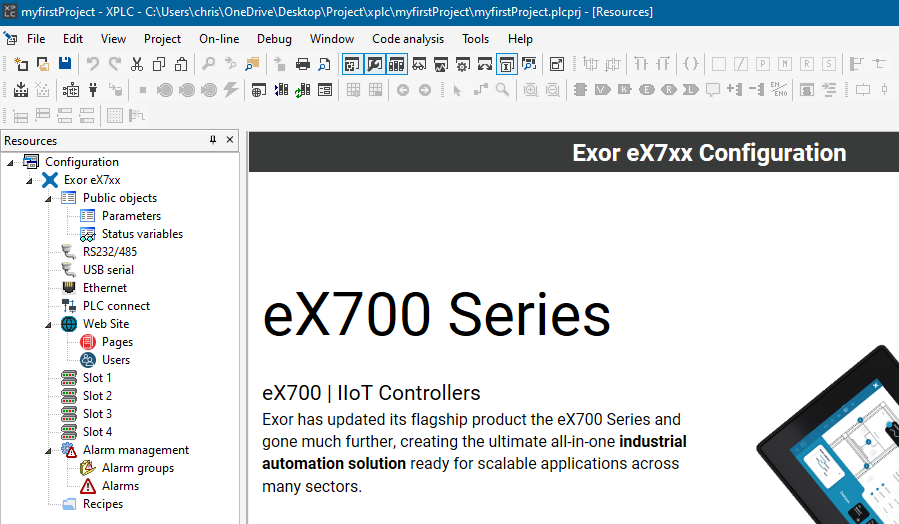
Done!You have created your first xplc project.
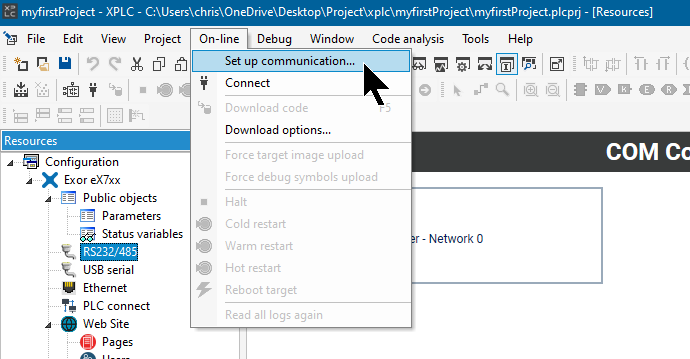
connection setup
To connect the xplc tool to Runtime, click On-line>Set up communication.
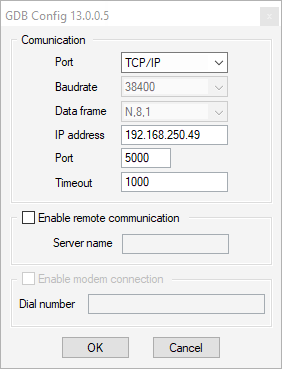
Select GDB and click on Properties.
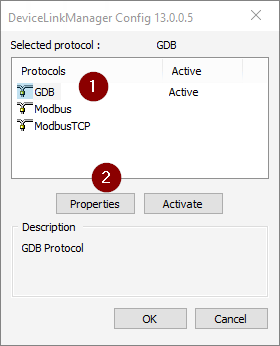
This time, since the communication will be Ethernet-based, set Communication Port to TCP/IP and enter the IP address in the EXOR hardware.
The Communication Port is set to 5000 by default.
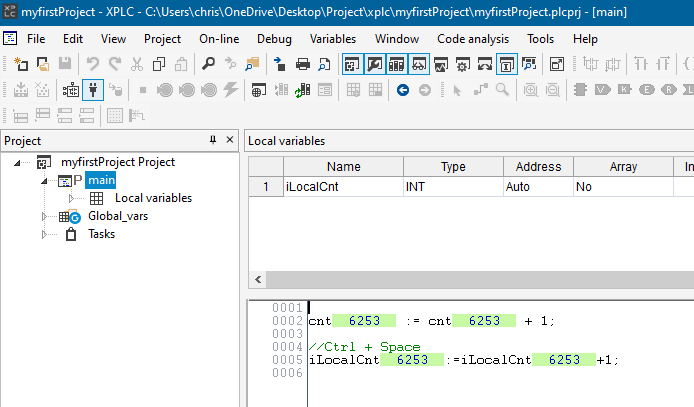
main program
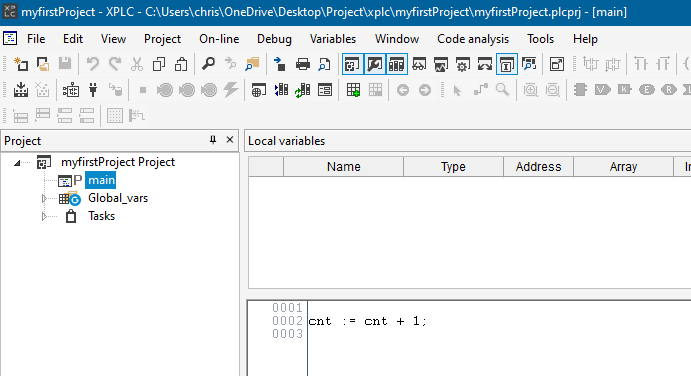
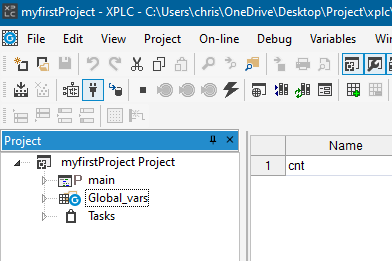
To program with the xplc tool, open the Project Tab.When you create a new project, a program named main is automatically generated.

This is the main ST program.
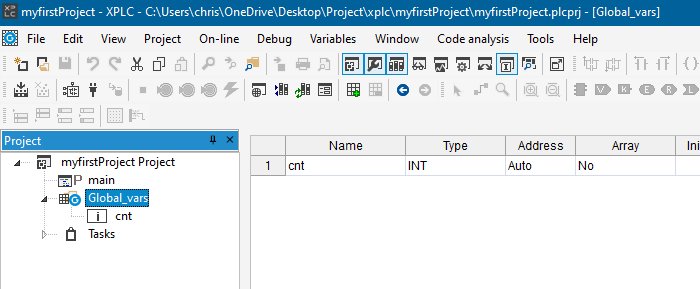
Global Variables
Click on Global_vars to see global variables.
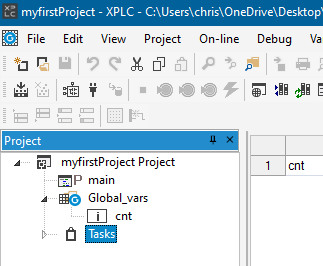
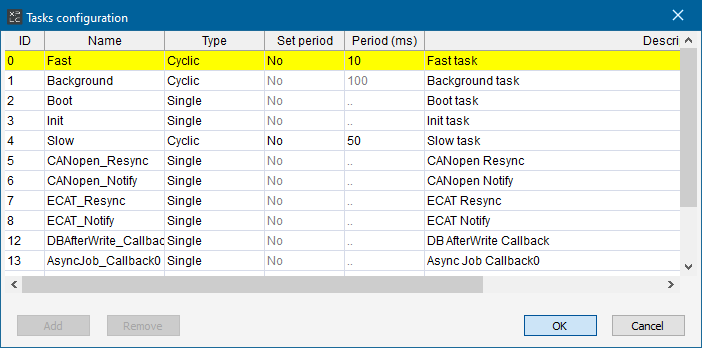
Task Management
The Task item allows you to set the execution cycle for each program.
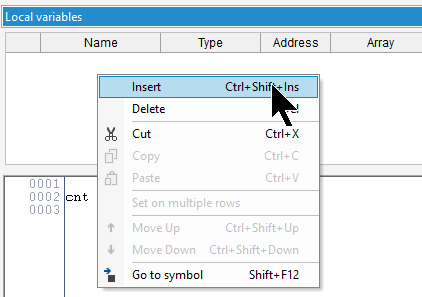
Local Variable Definition
Also, to define local variables, right click on Local variales>Insert.
Done!A new local variable has been defined.
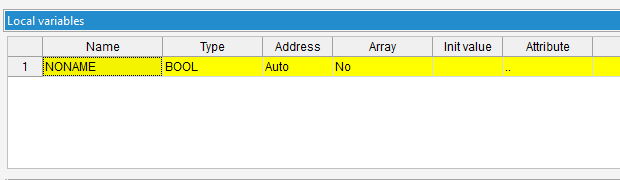
Define applicable local variables, types, etc.
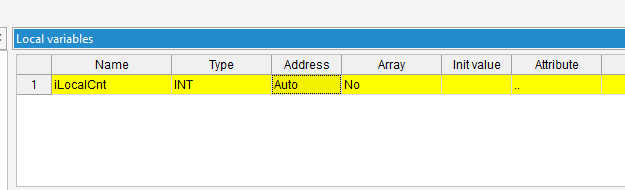
This time, the local variable is also set to +1 for every cycle.
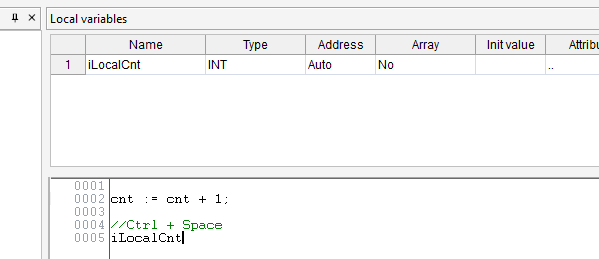
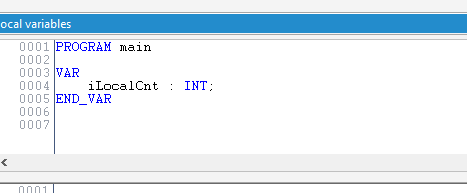
It is also possible to define variables on a text basis, click on ICON in the figure below.
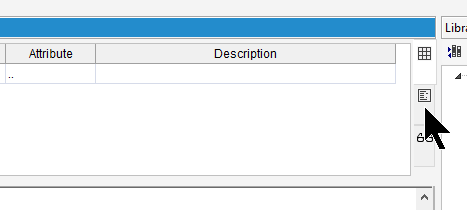
Done!
Change the Hardware target
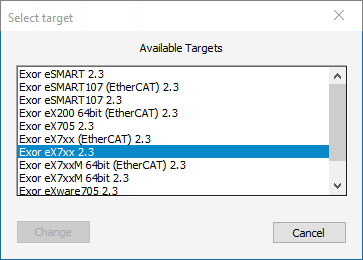
If you want to change the hardware currently used in the project, click on Project>Select target.
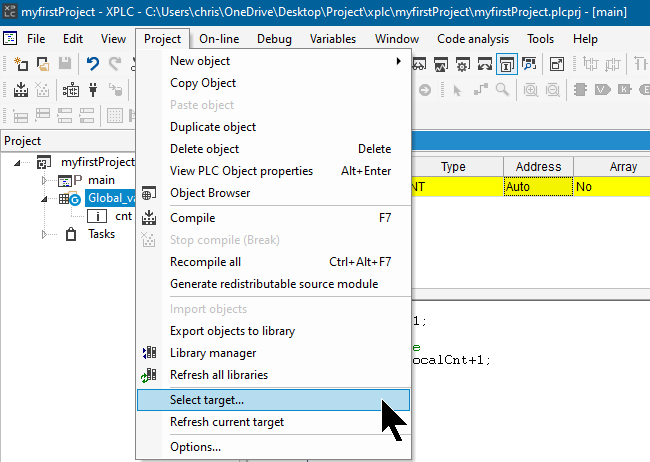
When the Select target screen appears, select the appropriate hardware target.
connect it
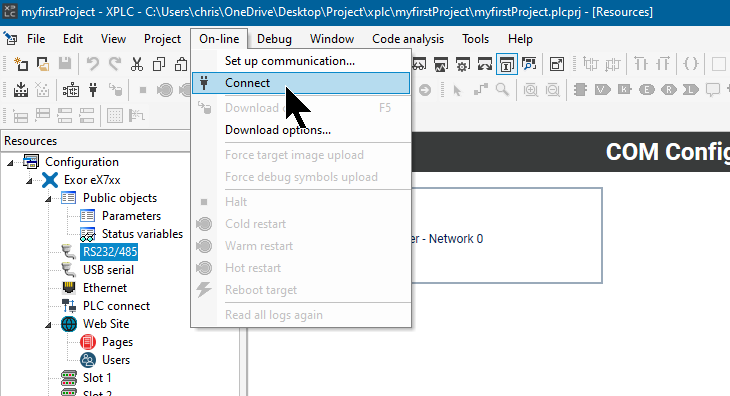
Next, click On-lin>Connect to connect the xplc tool to xplc Runtime.
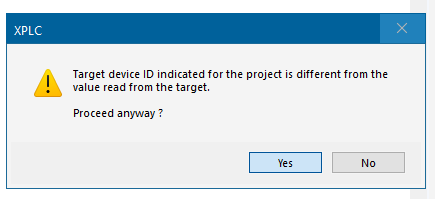
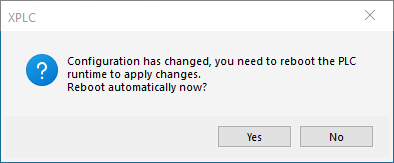
Proceed with Yes.
Download
Finally, click On-lin>Download code to Download the project to xplc Runtime.

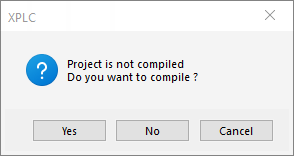
Proceed with Yes.
Restart xplc Runtime.
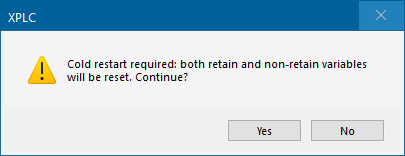
Restart the PLC with Yes.
Done!Download is now complete.
Result
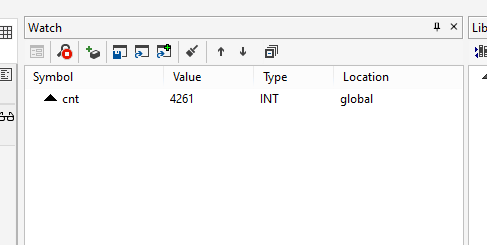
To see the current value of a variable in the current project, let’s add the variable to the Watch table on the right.
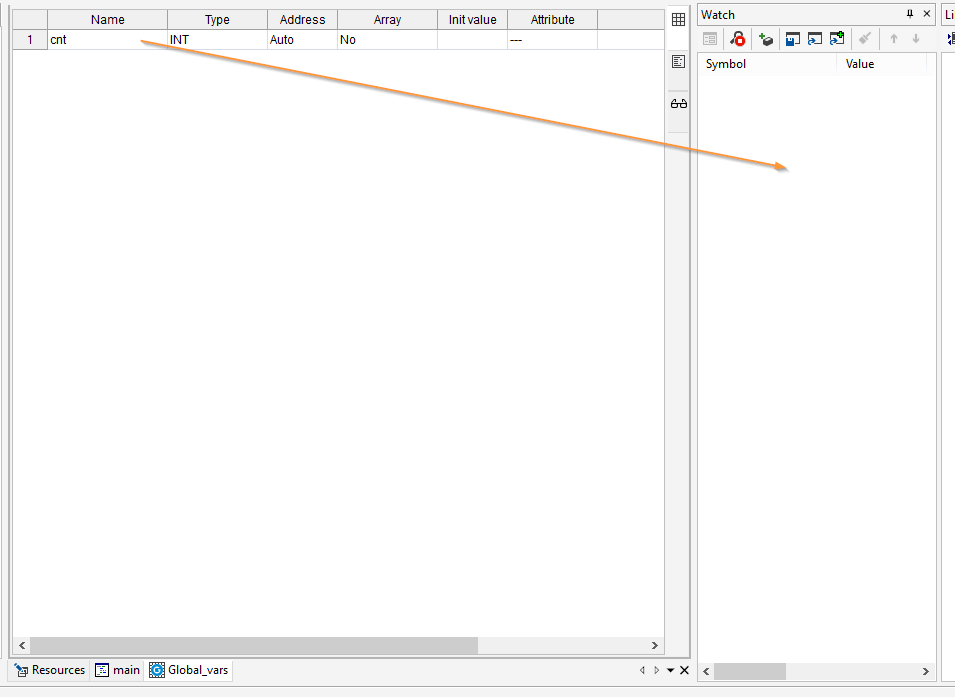
Done!
Next, when you want to see how the program works, click on Debug>Live debug mode.
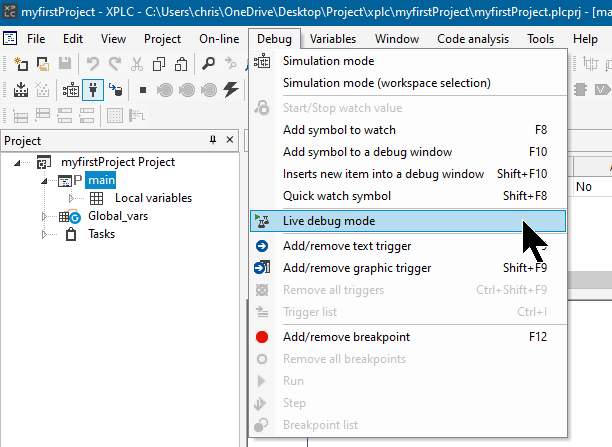
Done!