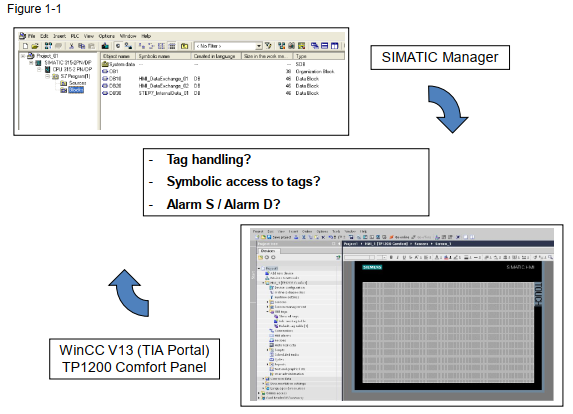
In the new engineering tools for Siemens -TIA, we often integrate the PLC program and Touch Panel program into a one project.But some time is different.
For example – some customers will program the S7-300 in the Step 7 Classic V5.x, but using the new touch panel(New Basic/Comfort..). These new Panels are only allowed to program in the TIA.
And another example is – The S7-1500 Project is made by another vendor because we need to communicate with them.
In these we can use the classic way – create absolute address tags to configure it but it is very easy to make mistakes.
This time I will show the other method to implement the task – It is Proxy Devices.
Proxy Devices can export the tag from the TIA project and export to the other projects.
Open your TIA and Add new devices.

Choose Controller>Device proxy>>6ES7XXXXXX and OK.
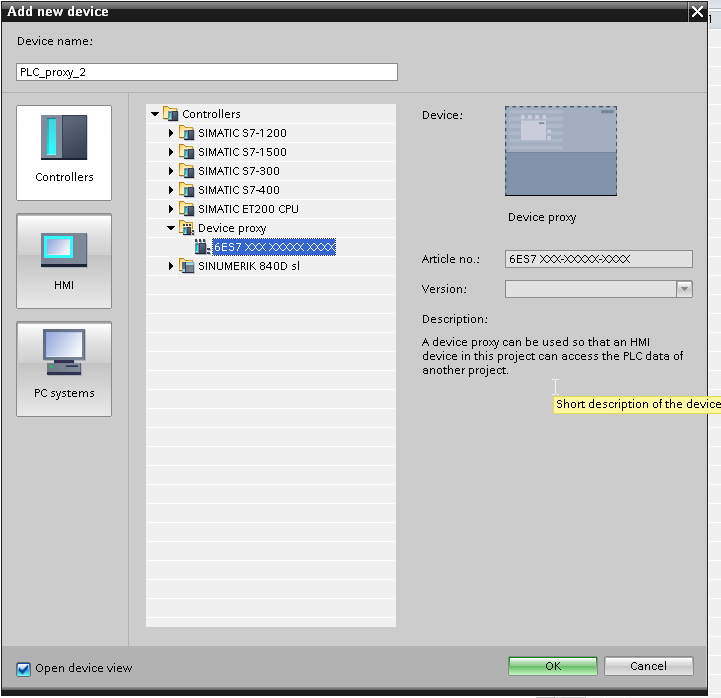
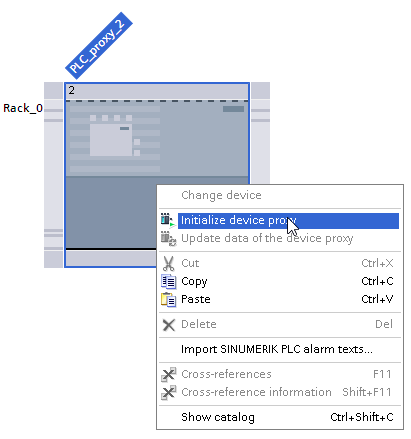
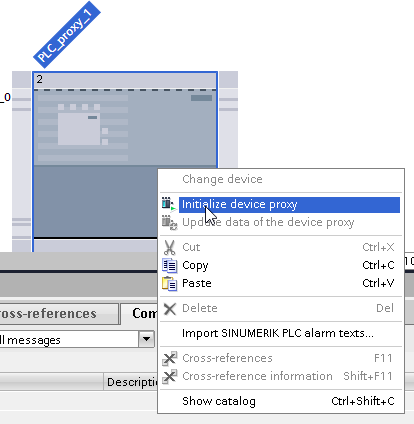
Switch to network view and you can see a PLC_Proxy is inserted in your project.
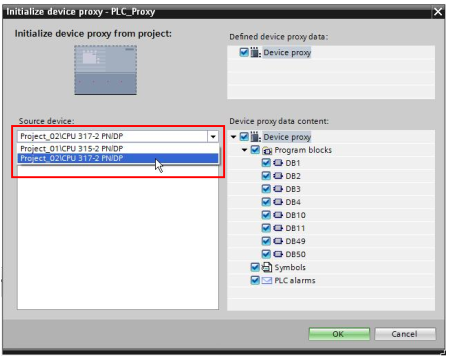
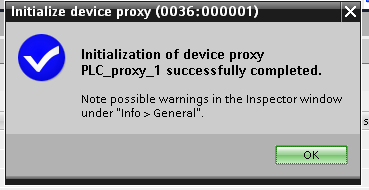
Right click on it and choose Initialize device proxy.
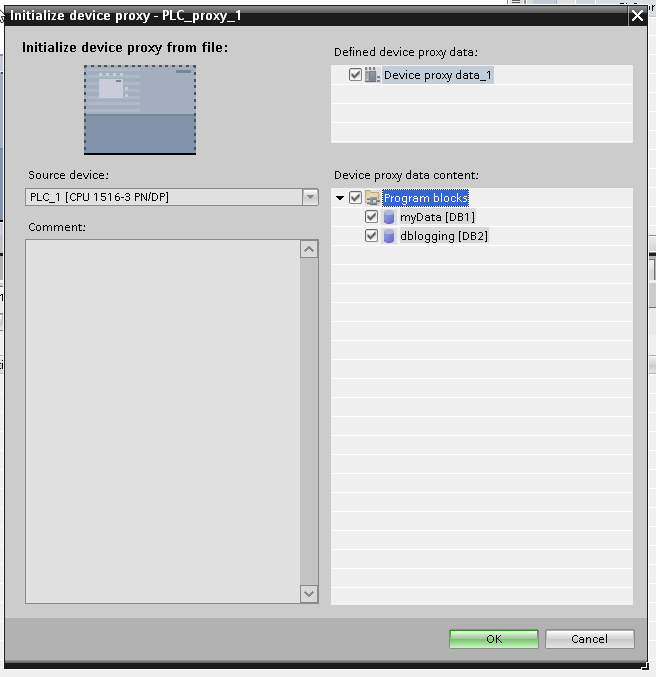
Choose the Step7 Classic project that you want to import.
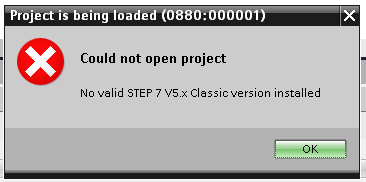
Sure that if you do not install Step7V5.x in your PC, that is an error.
You can view and choose all the tags inside your PLC Project from Step7 V5.x. And also you can customize which tags that you would like to import.
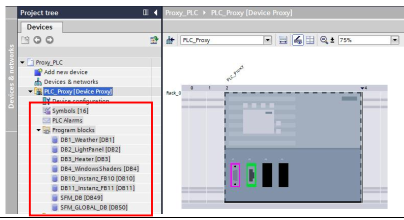
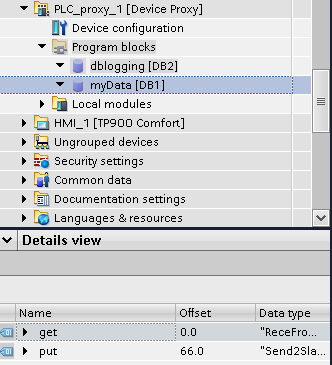
After the import is finished, you can see the DB that was imported in the previous step.
Sure, all these DBs are read-only.
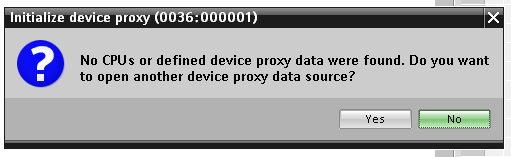
if you are trying to import the data from S7-1500 or S7-1200, this popup may be shown sometime.
No cpus or defined device proxy data were found. Do you want to open another device proxy data source?
Please press No.
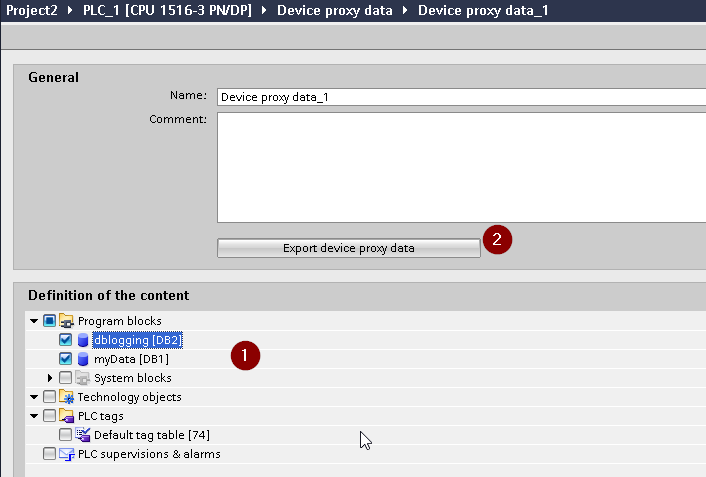
Please open the project that you need to export, and then Device proxy data>Add new device proxy data.
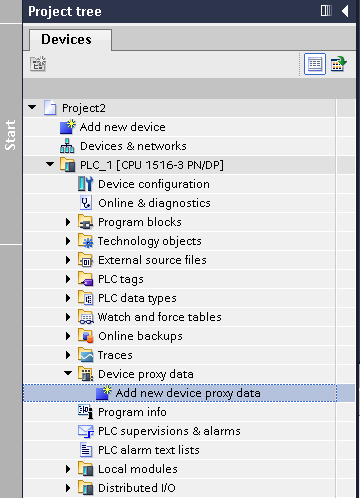
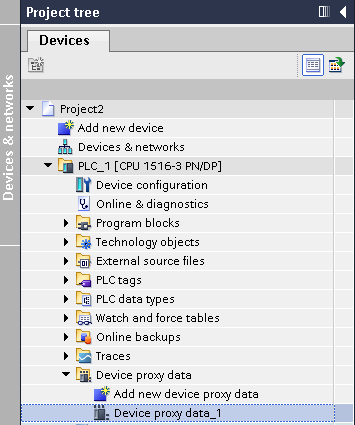
insert a device proxy data_1.
そのDevice proxy data_1をダブルクリックしたらこのような画面が出てきます。
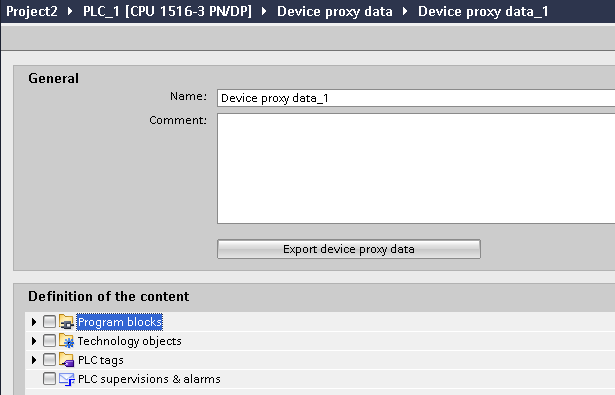
Choose the Data that you want to export, and press “Export device proxy data”.
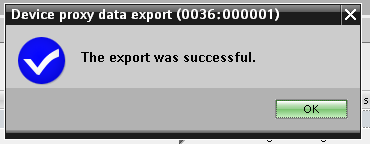
The file with an extension name of .ipe is exported after this operation.

This popup will show while successful.
What you need to do now is just the same as before.
This time you can import the data without any error.
Good,Import is completed.
You can see the same DB in your new project.
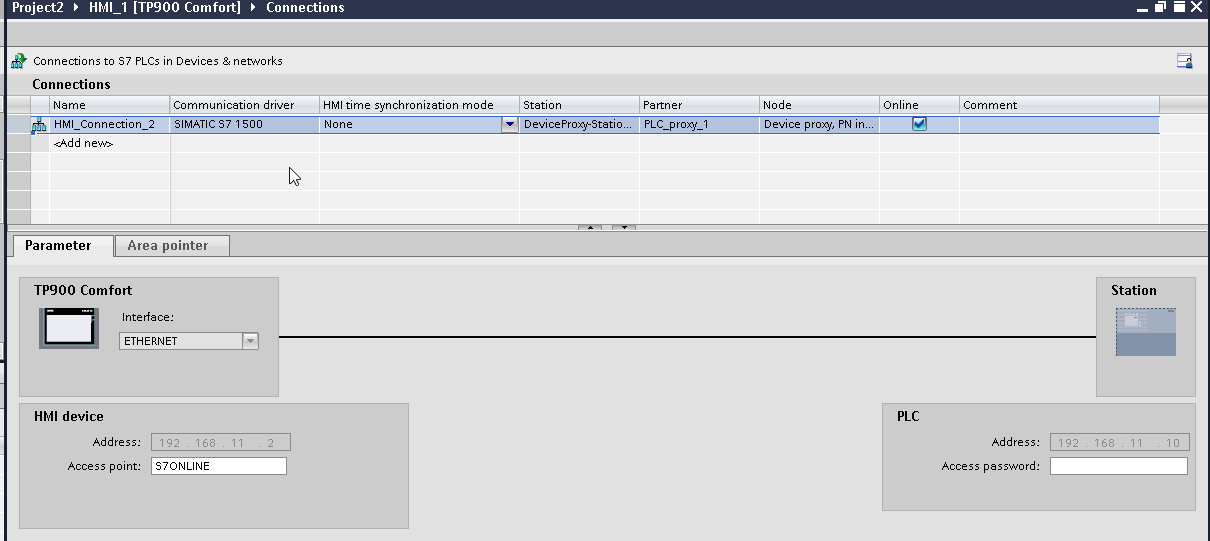
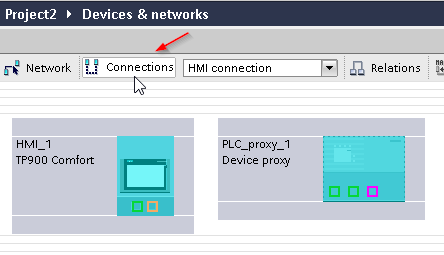
Finally , let’s create a HMI Connection.
Drop the Port of PLC_proxy_1 to HM_1.
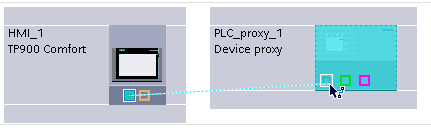
Now the HMI_Connection_2 is created.

Go to HMI_1>Connections to check the connection.
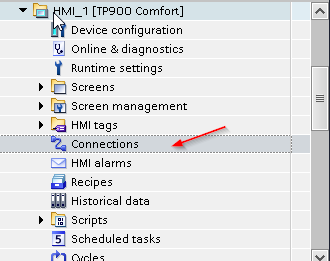
The connection is completed!