Last time I explained how to configure an Ethernet/IP scanner in Codesys.This time I will show how to Configure it as Ethernet/IP Adapter.
This is the version that I am using:
You can find the Last post that explained how to configure an Ethernet/IP Scanner:
Configuration
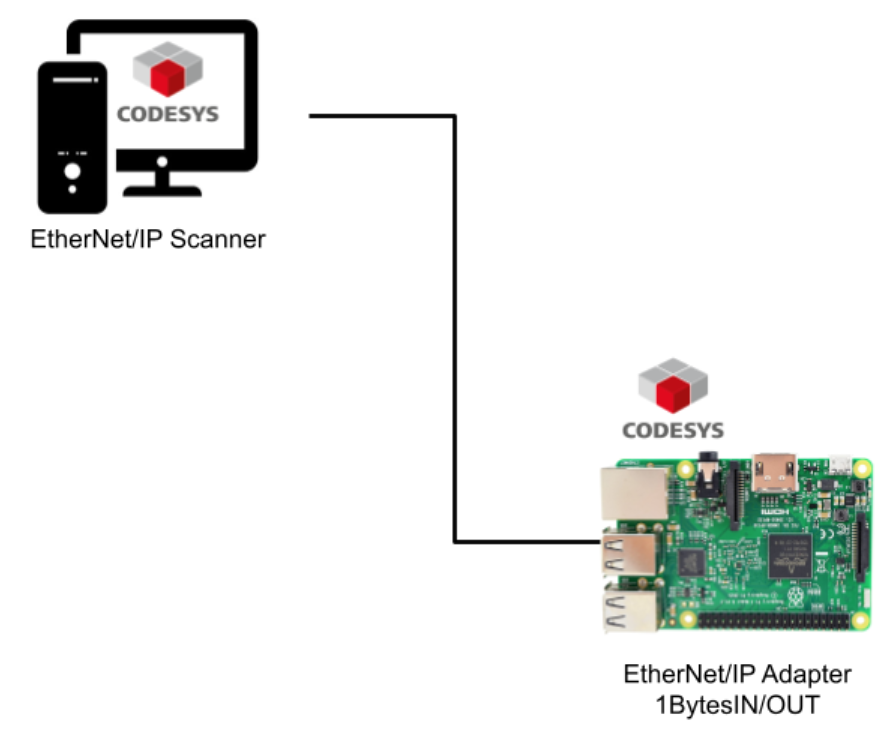
The Configuration is very simple this time. I will use a Windows 10 PC that had a Codesys Runtime and Configure as Scanner.Then the adapter side, Raspberry PI3 with Codesys Runtime is Chosen.
EtherNet/IP Adapter Side
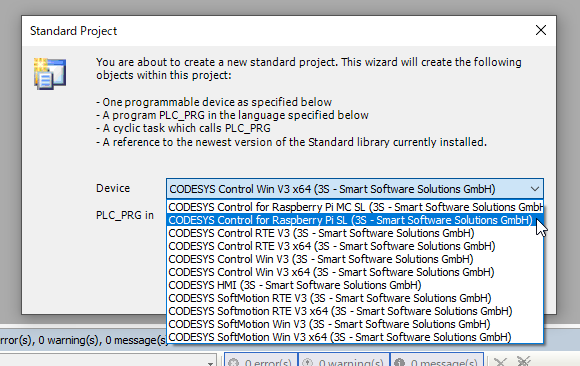
Let’s start the Raspberry PI Side first. Create a new project and choose the Device type as
CODESYS Control for Raspberry Pi SL.
Insert the Adapter
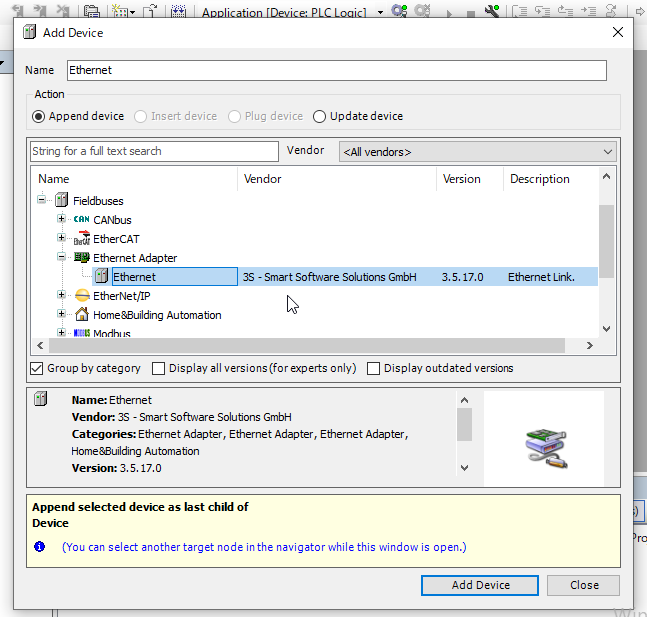
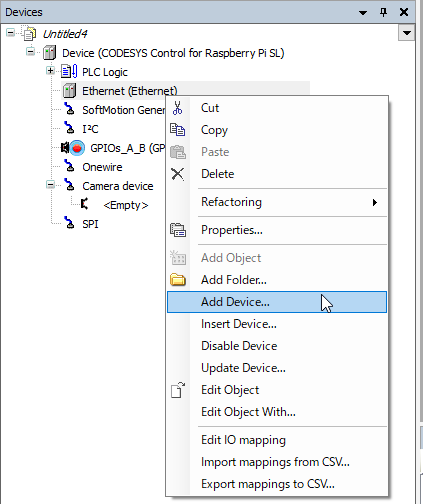
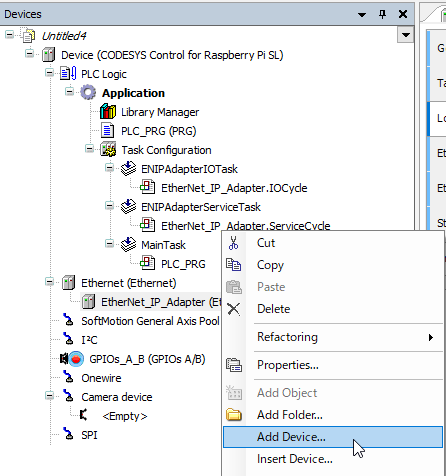
Right click and Add Device.

Select Ethernet from Fieldbus> Ethernet Adapter.
Select the Ethernet that you inserted and right click>Add device.
Choose EtherNet/IP Adapter from EtherNet/IP>Ethernet/IP Local Adapter.
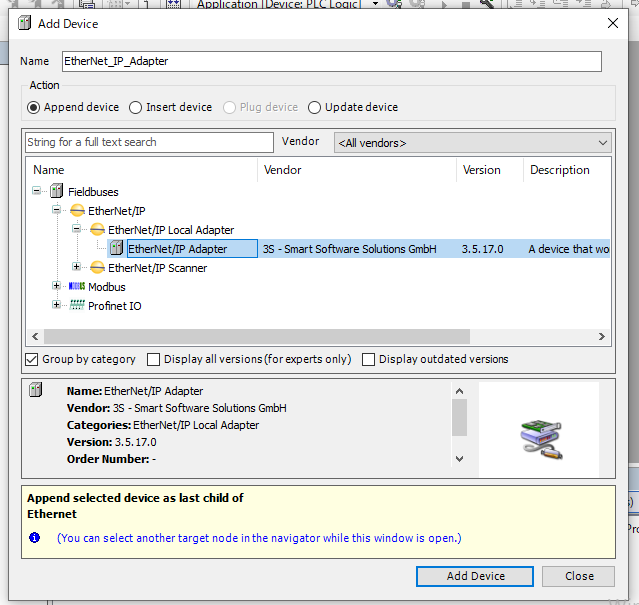
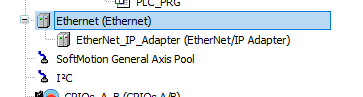
The Ethernet/IP Adapter is inserted.
Check the Connections between Device
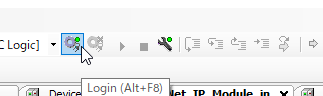
It is not a necessary step.Let’s Login to your Raspberry Pi.
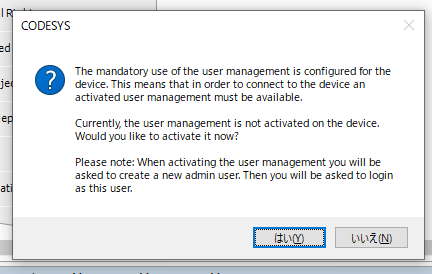
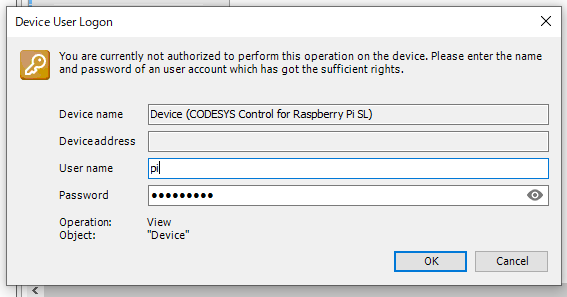
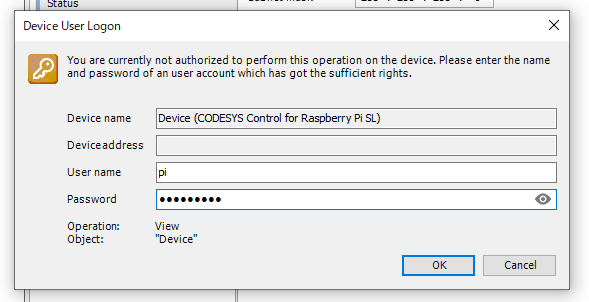
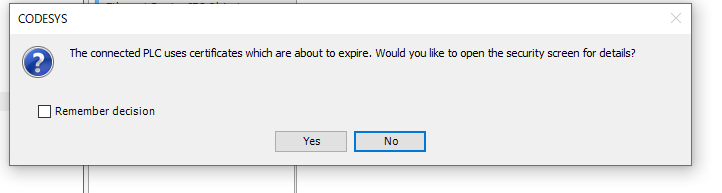
Enter your user name and password if your codesys version is higher than 3.5.17.
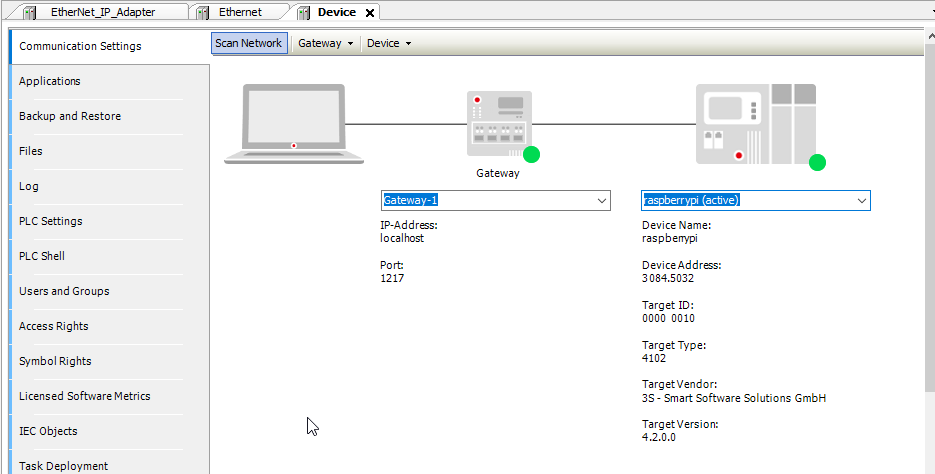
Scan Network to check if the connection can be established or not.
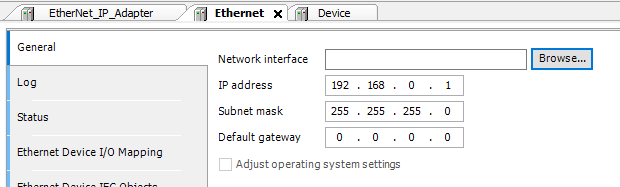
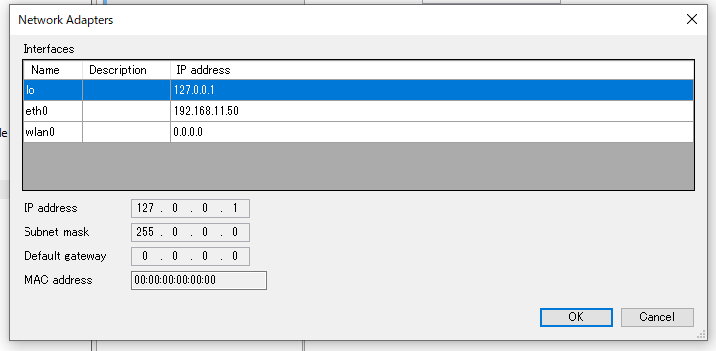
go to the General tab from Ethernet>General, press the Browse interface to get all the interface from your Raspberry pi.
Enter your User Name and Password to login.
NO.
you can choose the network interface from raspberry pi . This time I will use the LAN port – eth0 is selected.
Insert the IN/OUT Submodules
Select the adapter that you inserted before and right click it.
It is a step for you to configure how much data that you would like to exchange to the Scanner. Let’s insert 1 input module and 1 output module.

The configuration may be like this:

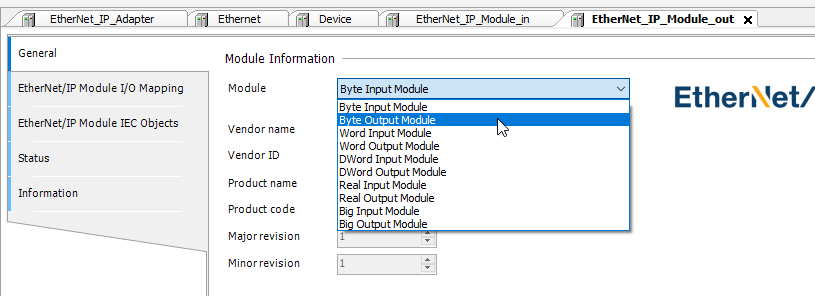
Click into each module, go to General tab>Module and you can select this module’s function.
Is this Input or output, and how much data.
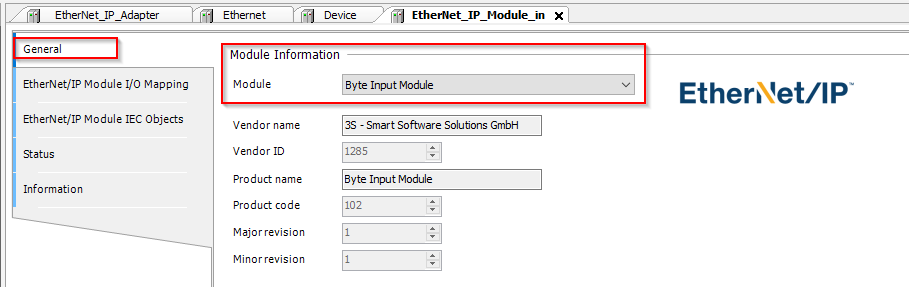
This time I will use Byte input Module and Byte output Module.
EDS File
you can export the EDS file in 2 ways:
- Install to Device Repository
- Export EDS File
I will recommend method2. Because this time we can use the same codesys runtime – Method 1 can save our time. if the scanner is Rockwell or Other 3rd Party, Method1 does not work.

Tools>Device Repository.
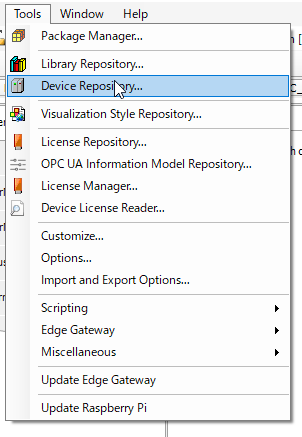
Press the install button and choose the EDS that you export before.

if you see some message that Device xxxx installed to device repository – the import is success.

Login Again.
もう1度いまの状態みますと、Ethernet Driverはすでに緑になって動いていますね。
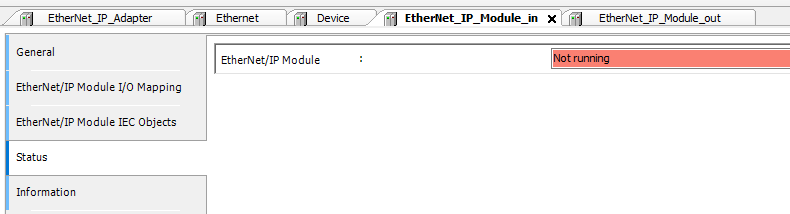
ですが、Adapterの方が三角になって起動してないです。
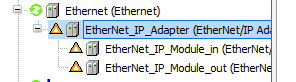
you can see the Adapter is not running.
EtherNet/IP Scanner Side
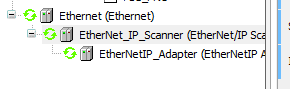
Insert IP Scanner
Please find the follow link↓
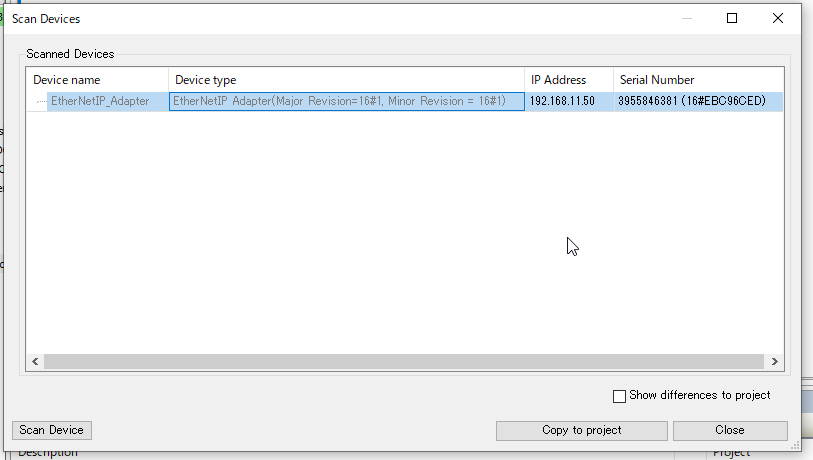
Scan for Devices.

you can the Raspberry that runs as Adapter is shown here!
Press Copy to Project to upload this devices.
Go to the Raspberry Side and login again, you can see the Adapter Mark is changed to Green!
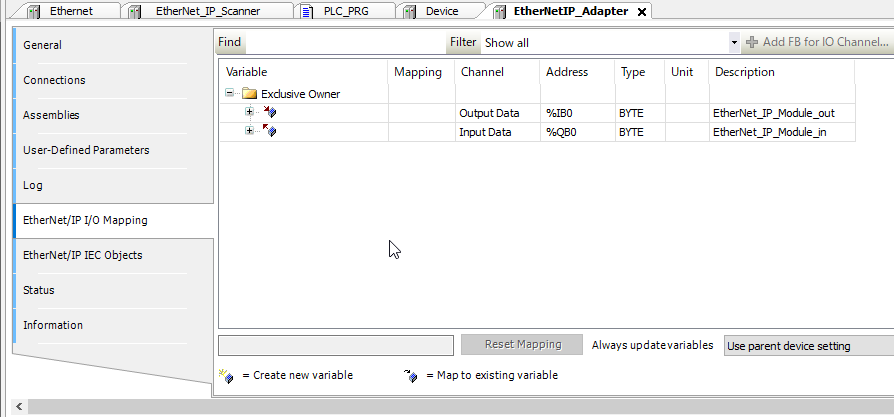
Finally – Do not forget to Link the variables inside your program. These variables will not update while there is no linking between your program.
Byebye!
Twitter:@3threes2
Mail:soup01threes*gmail.com (*を@に)