This article is the second installment of the Fuzzy Studio Tutorial. This time, we will use the “Scene Pane” from Fuzzy Studio to introduce the basic functions of the robot software, such as robot manipulation (joints and coordinates), collision checking, and saving teaching positions.
Let’s start!
Reference Link
Small Talk with about Fuzzy Studio’s Engineer
The target of Fuzzy Studio?
What we want is to provide the simplest software brick for end user that allows them to create empirically and logically
If you flood them with data, robotics or automation specific vocabulary & parameters, they basically think that they will be replaced by robots & roboticians
What we want is to help roboticians & developpers to provide tools for the operators and create a more harmonious work environment where robots are seen as a tool (kinda like a drill, or a wrench…) , and not as an “enemy” or “something too hard to handle”
Basically, a welder of the plant today, can become the “lead of welding machines” in the plant
and the robotician that is a “trajectory machine”, will be able to work on more complex subjects like “lean manufacturing”, “optimization”, “upgrading its lines” etc…
one day I could give you a whole pitch of why we do what we do
Trajectory machine?
>> So far, it’s how people that are in manufacturing are considering/using roboticians & automaticians, but it’s not supposed to be the only thing they do (and that is actually why I stopped being a “simple” robotician)
What is the future of robotician?
Roboticians would work on the logic around their machine, try to innovate on processes, develop new tools, lead projects, or even more things (prepare production lines, have time for tech-watch), etc… etc…
Adjust your Screen
In the previous article, we explained how to move the screen view from the Mouse controls, but Fuzzy Studio actually provides a simpler way to adjust the screen.
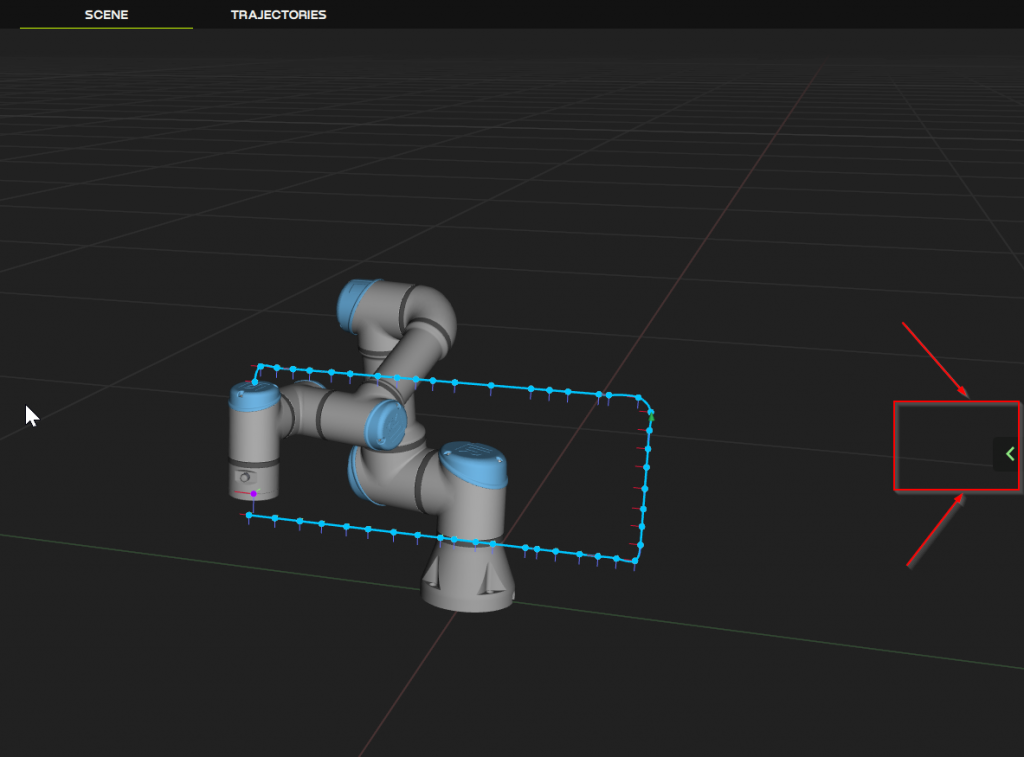
Do you see the coordinate ICON in the lower right corner of the screen?

It is possible to change the screen orientation by directly clicking on the XYZ of this ICON and moving the Mouse.
Thus, XYZ can be adjusted freely.
Scene Panel
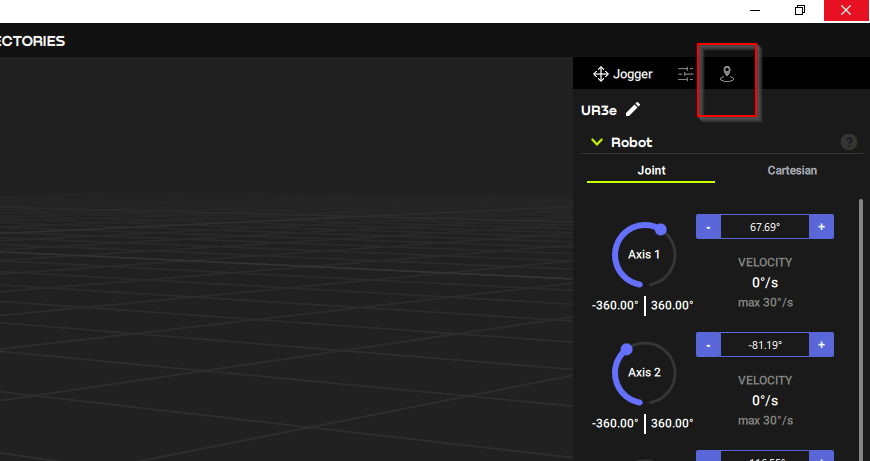
Do you see the small arrow on the right side of the screen? Click on that arrow to display the Scene Panel.
Thus, it is easy to move the robot from the Scene Panel.
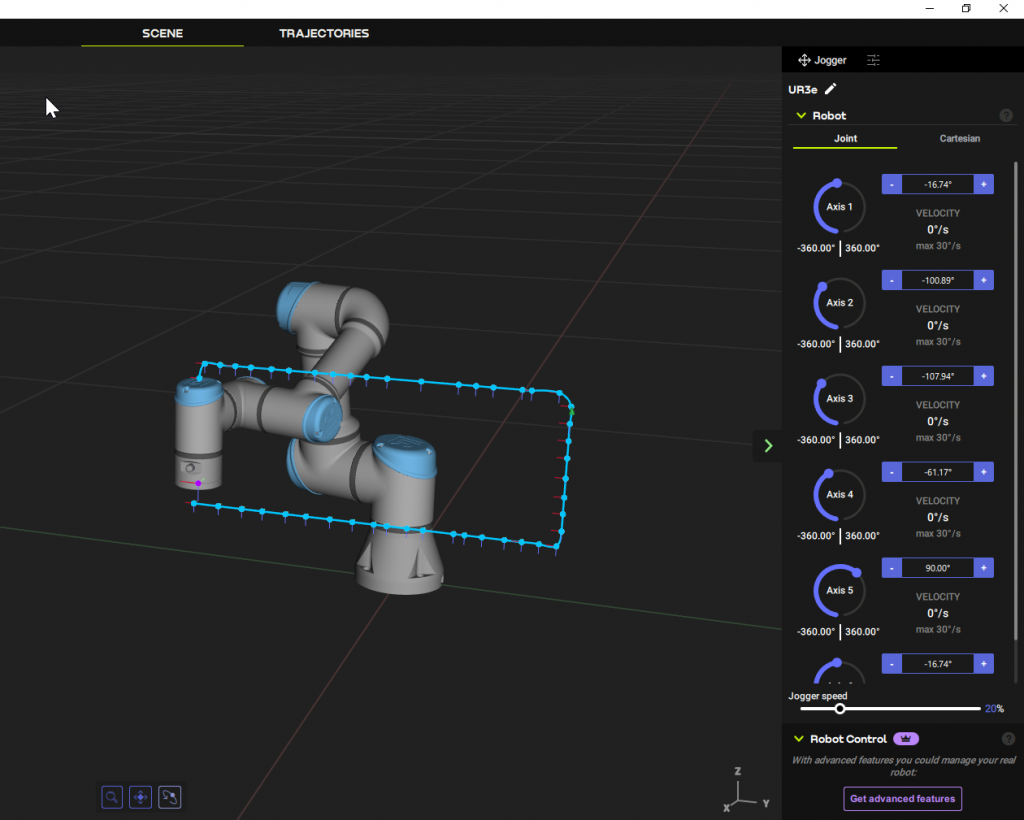
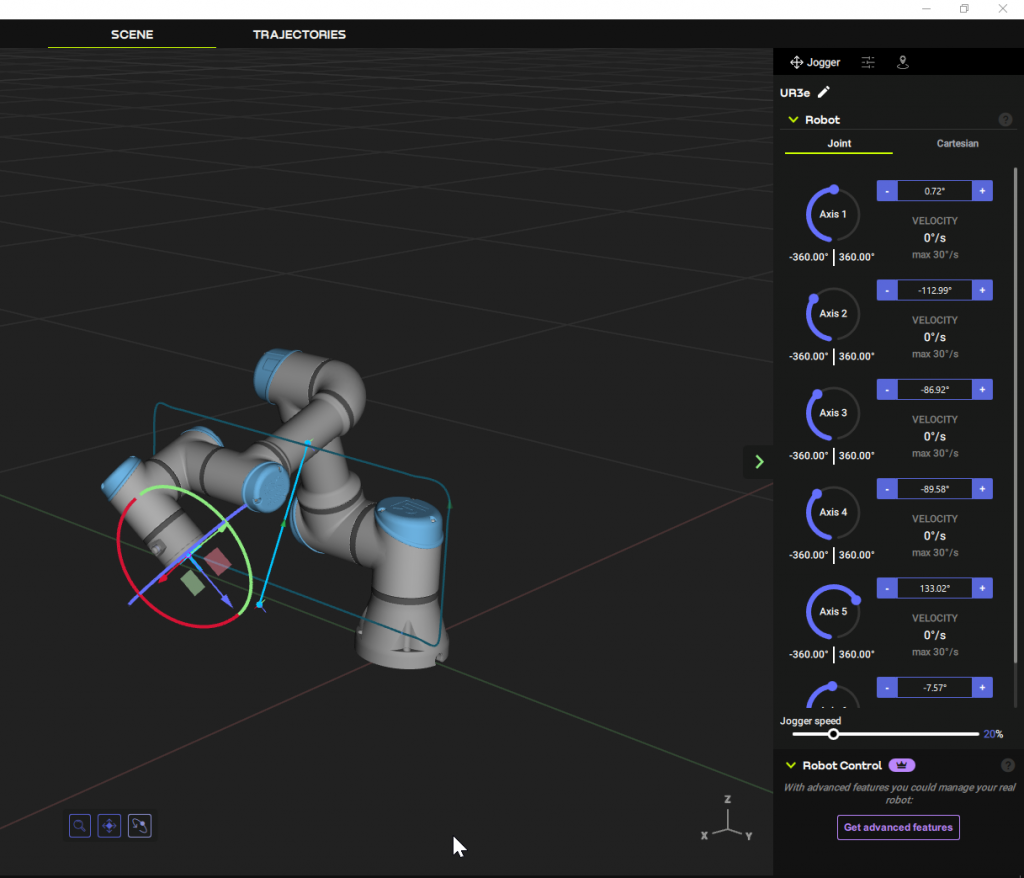
MOVE JOG
Now let’s move the joint from the Tab of Joint.

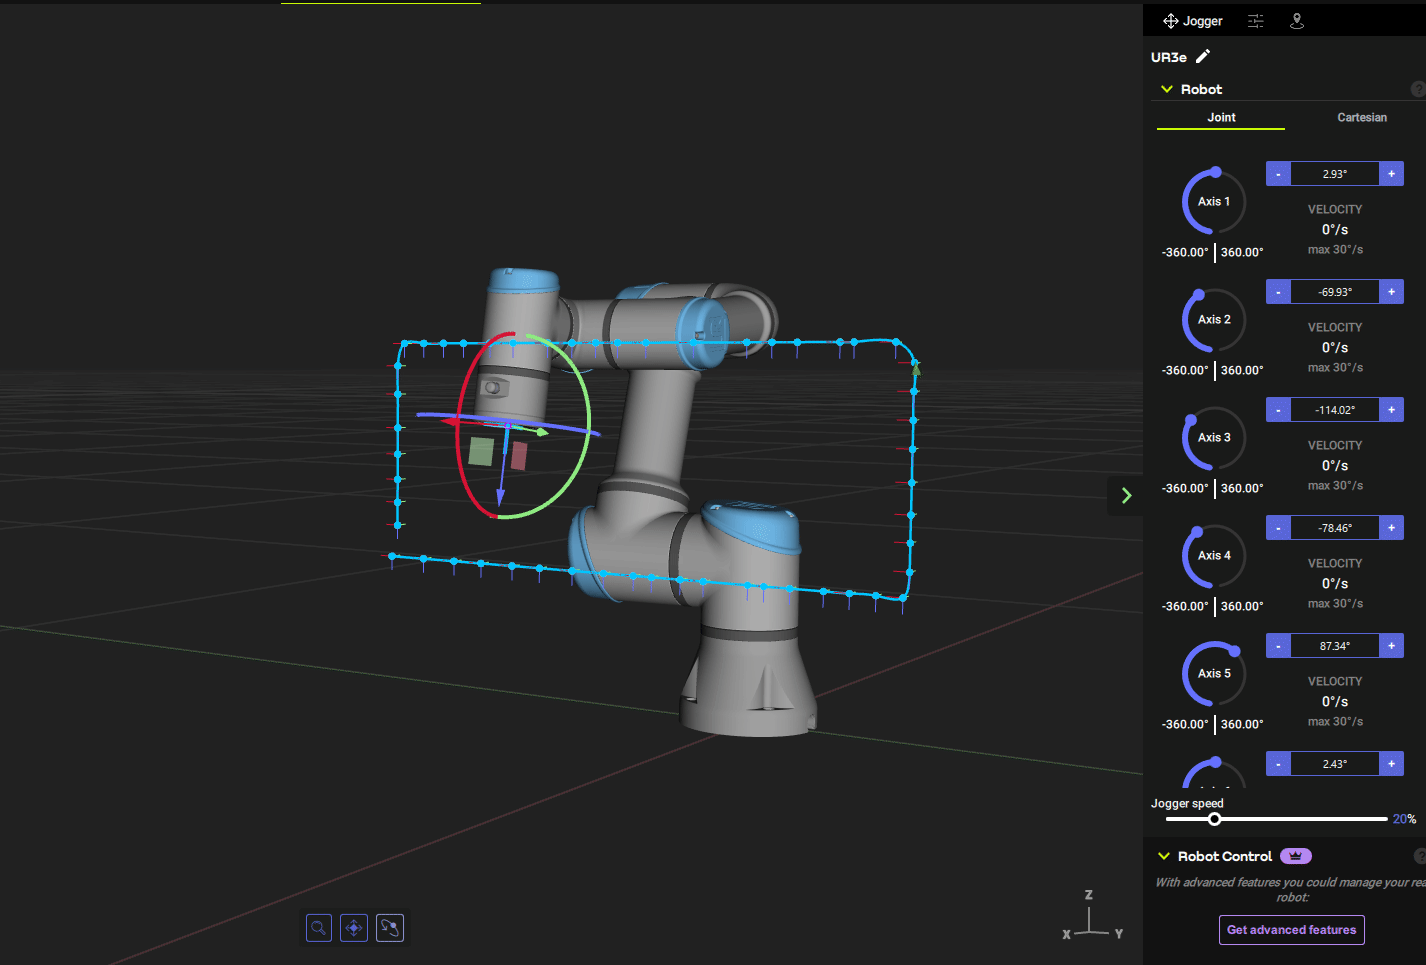
From Rotate Panel
Each axis can be easily moved from the Rotate Panel in this way.
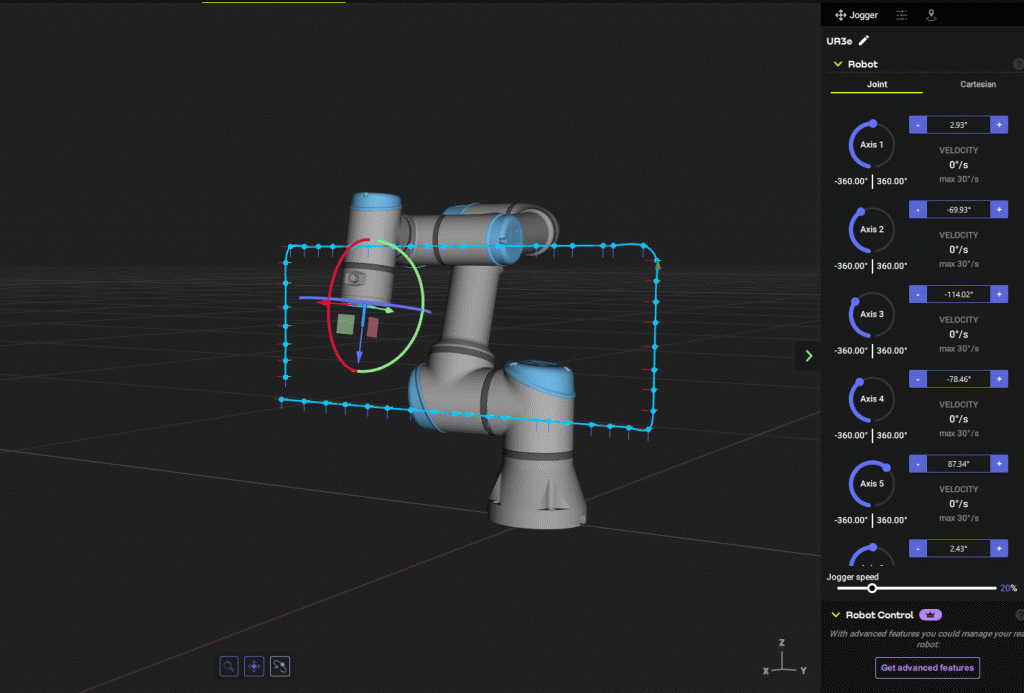
From Rotate Panel
Each axis can be easily moved from the Rotate Panel in this way.
From Input Panel
Fine adjustments are not suited for the Rotate Panel, so Fuzzy Studio also allows direct input of numbers and small movements from the +/- buttons.
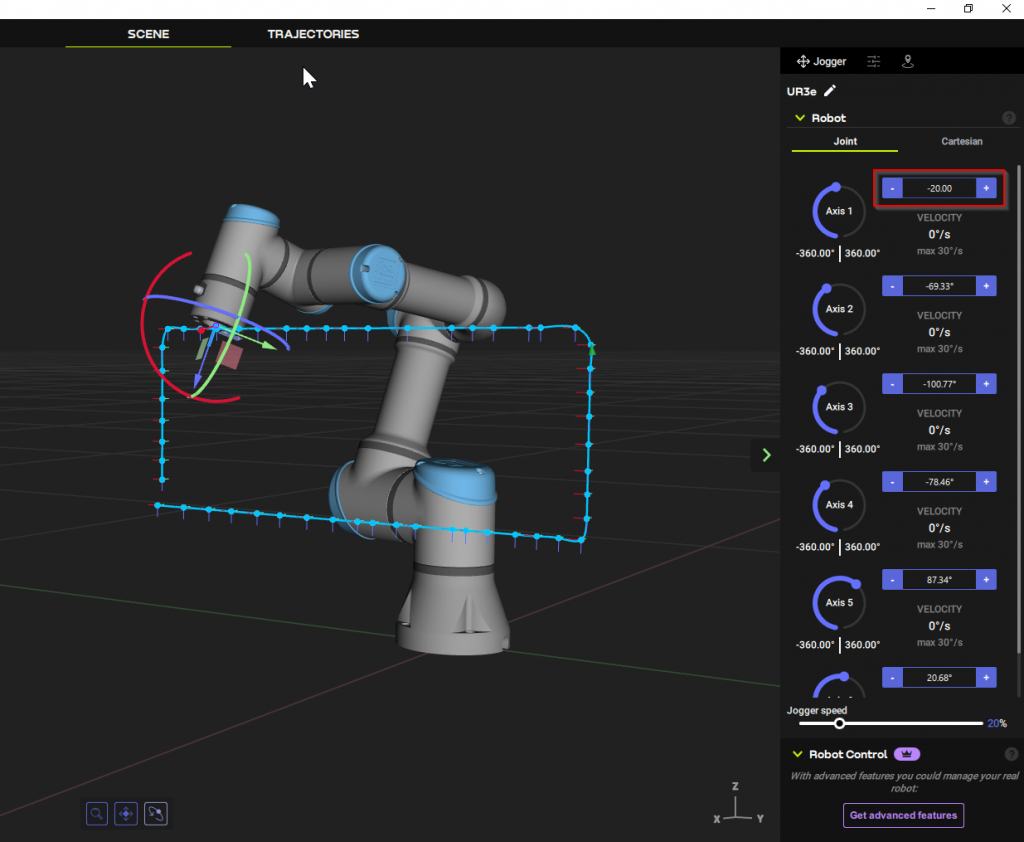
It is Ok if you change the giving directly like this.

Collision
Fuzzy Studio is an excellent software, of course it detects joint collisions.
As shown below, when a joint collides, the colliding area turns red.

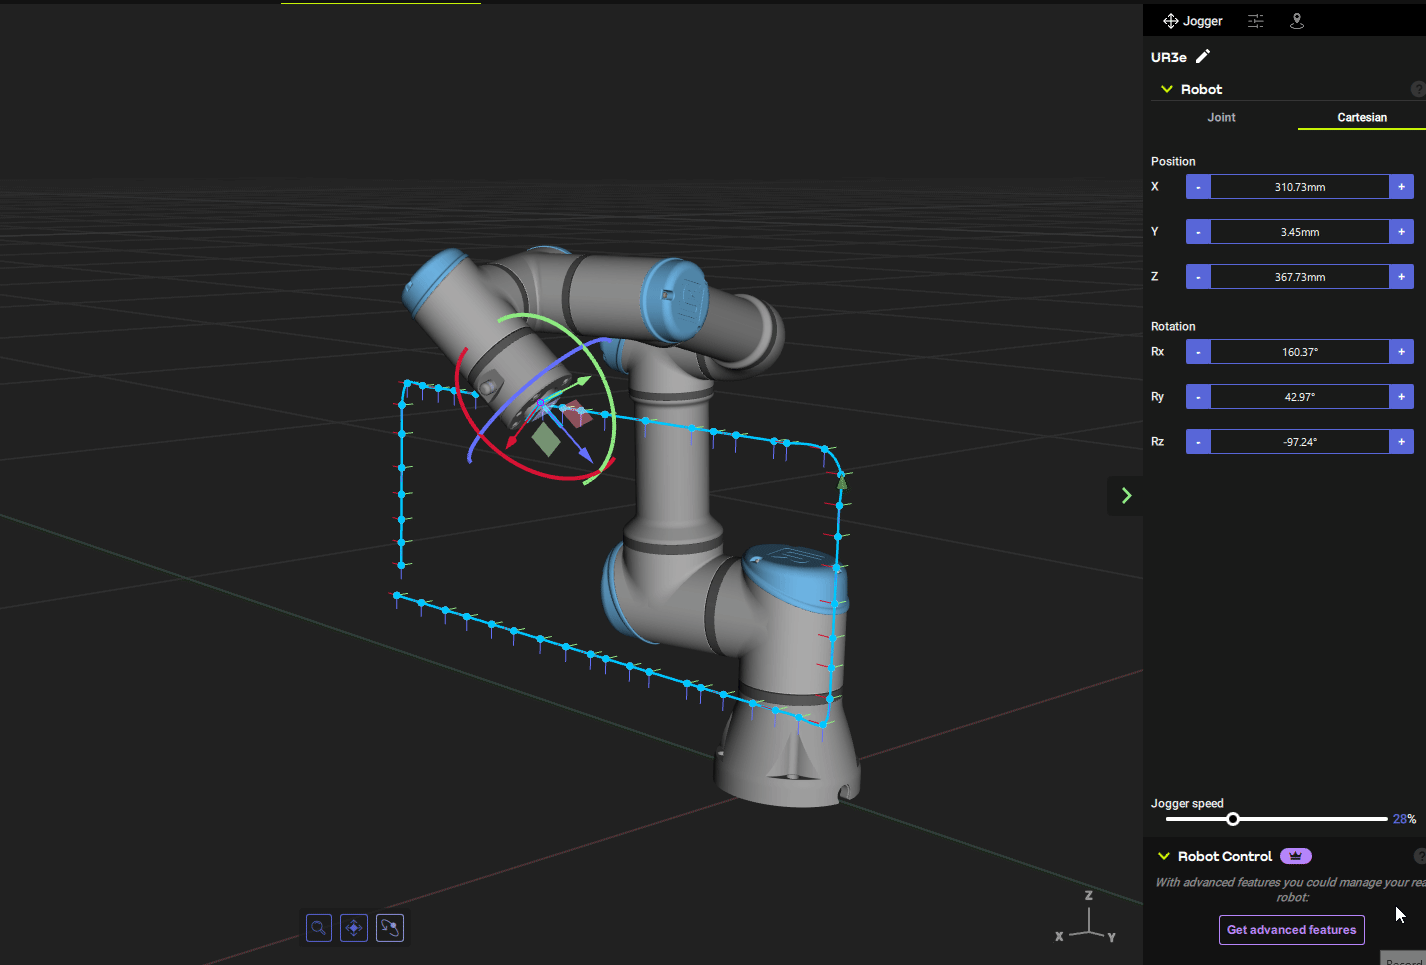
MOVE Certesian
Open the CertesianTab next to Joint to move the robot by coordinates.
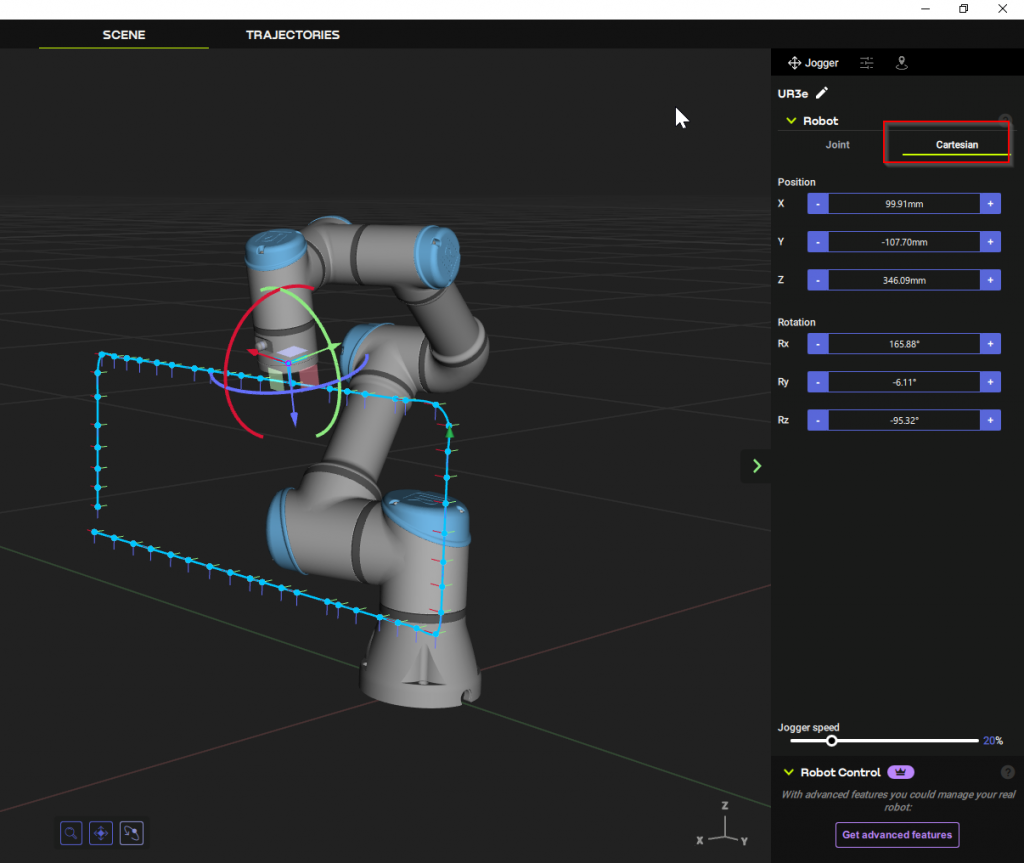
Pleasure use -/+ buttons to operate your robot.
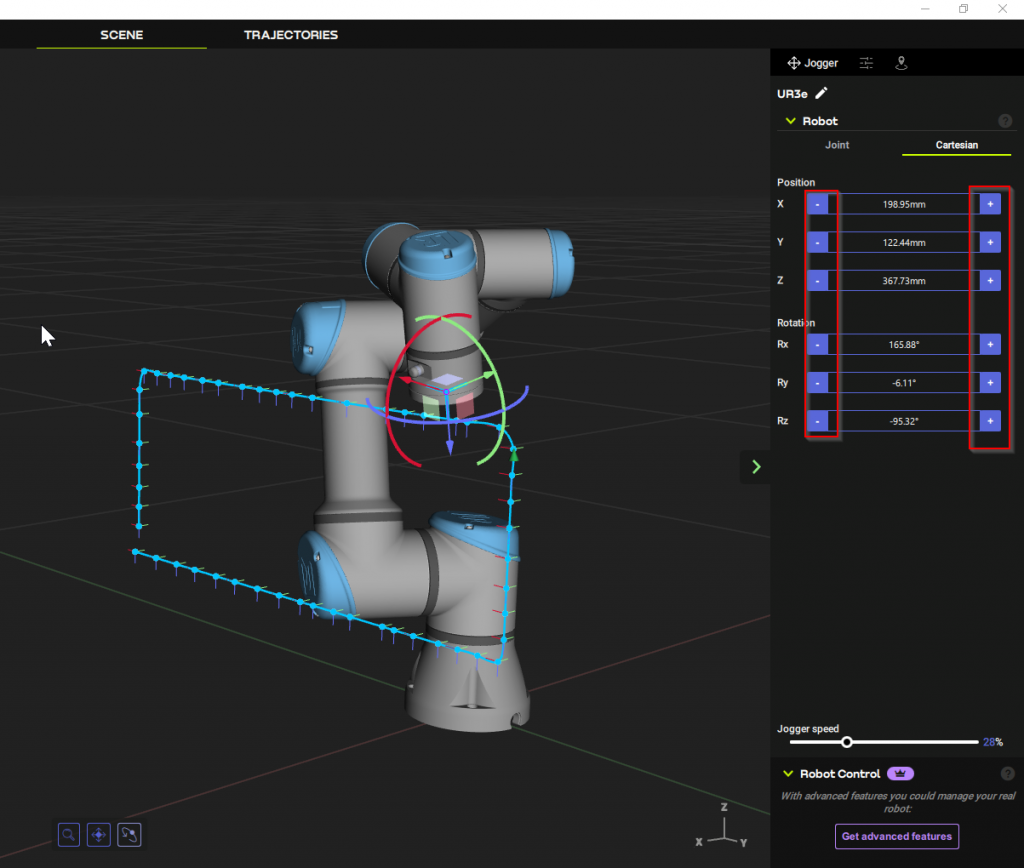
Thus, press and hold the -/+ button to move the robot.
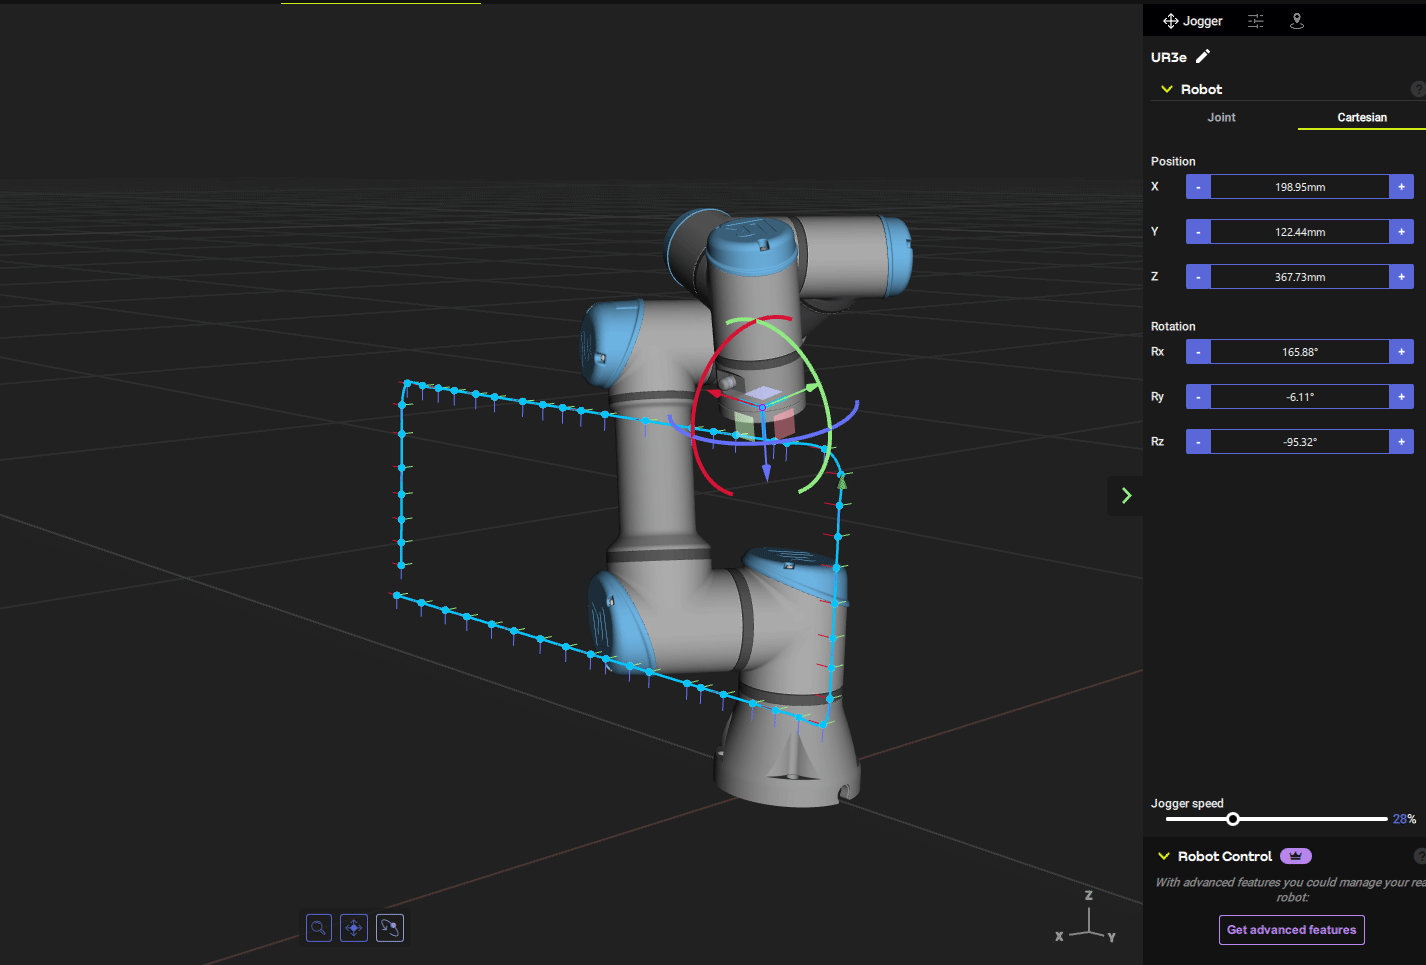
Speed
Under the Scene Panel, there is a Slide Bar called “Joint Speed” that allows you to adjust the robot’s movement speed.

As shown here, the robot’s movement speed can be changed intuitively from the Joint Speed’s Slide bar.
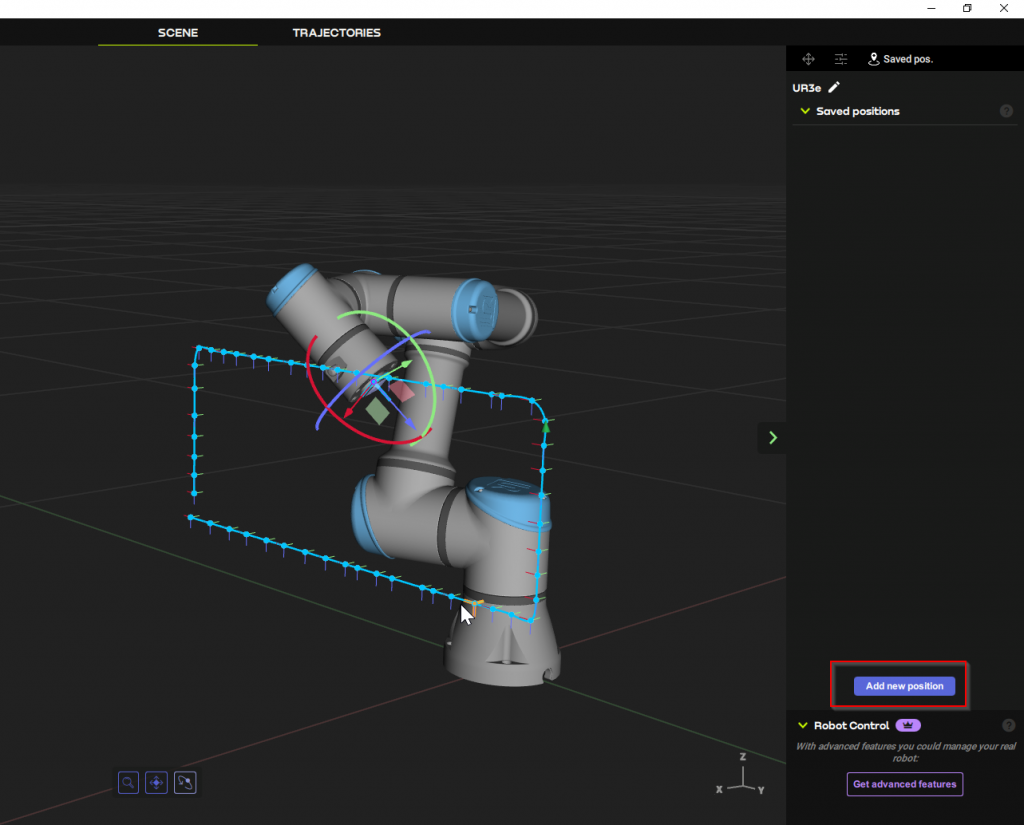
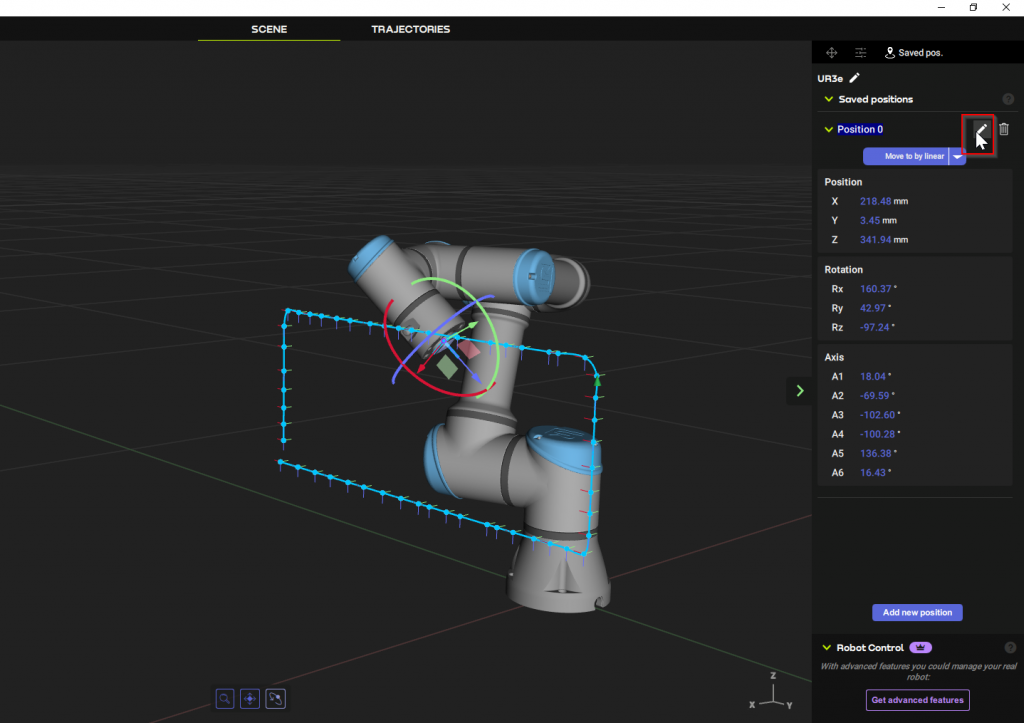
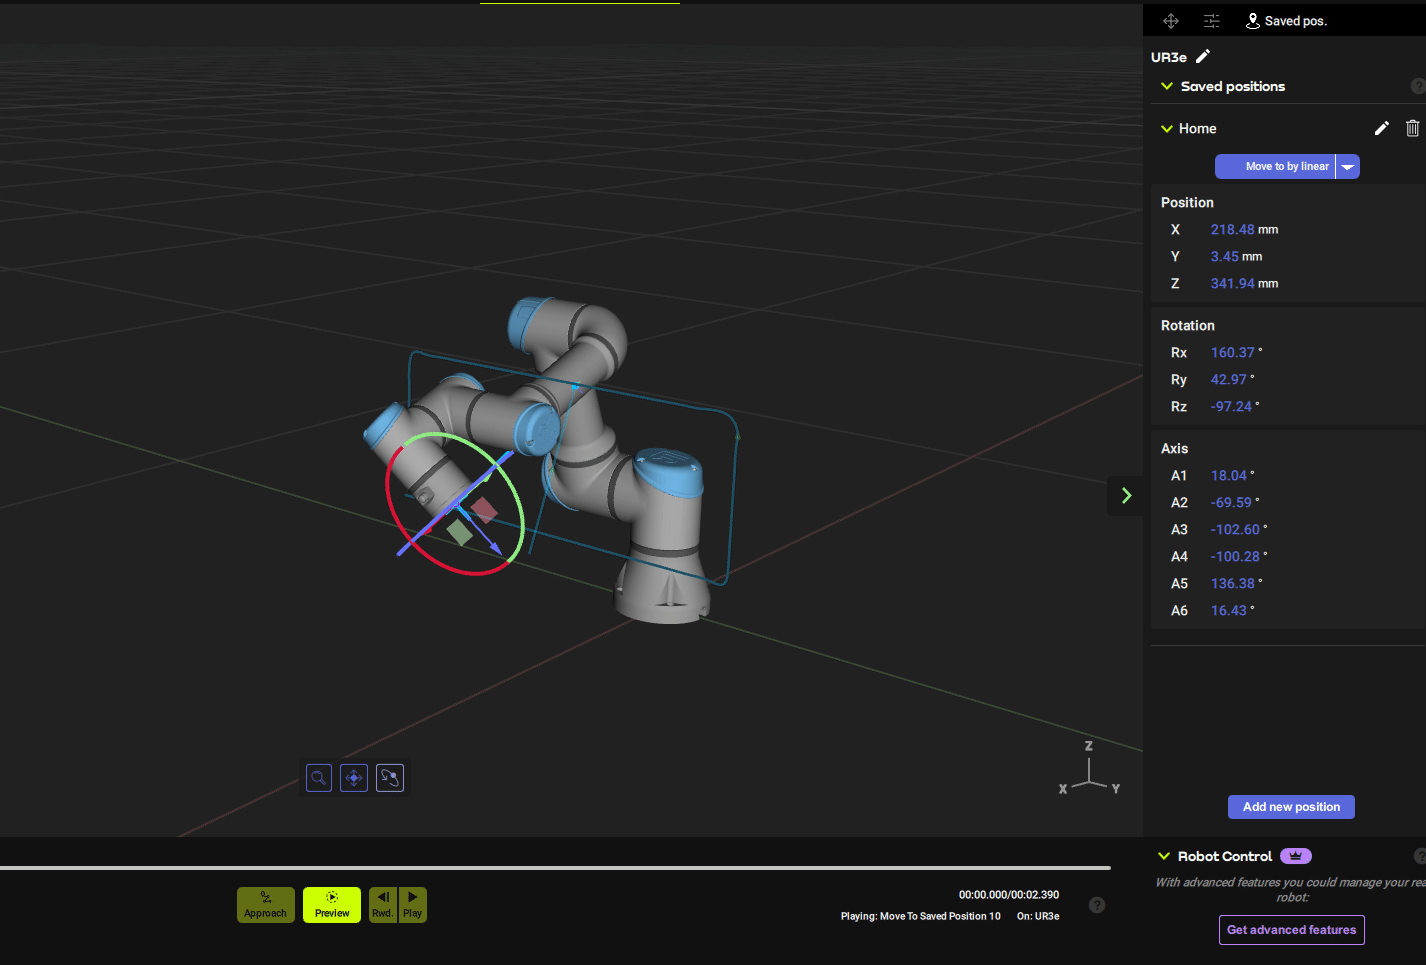
SAVE Position
You also may want to save the position of the robot that has been Teaching. Please save the robot’s position in Fuzzy Studio by clicking on the red button in the Scene Panel.
Click “Add New Position” to save the current robot position.
You can list the coordinates of the position saved in the previous step and the current values of the joints.
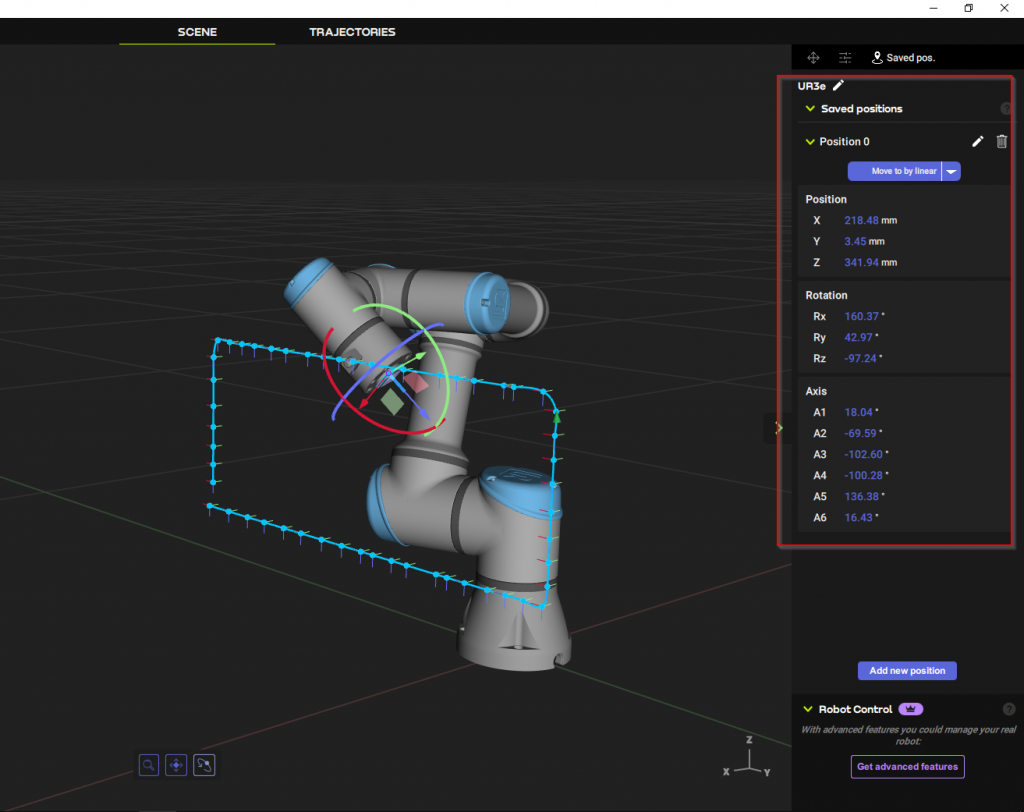
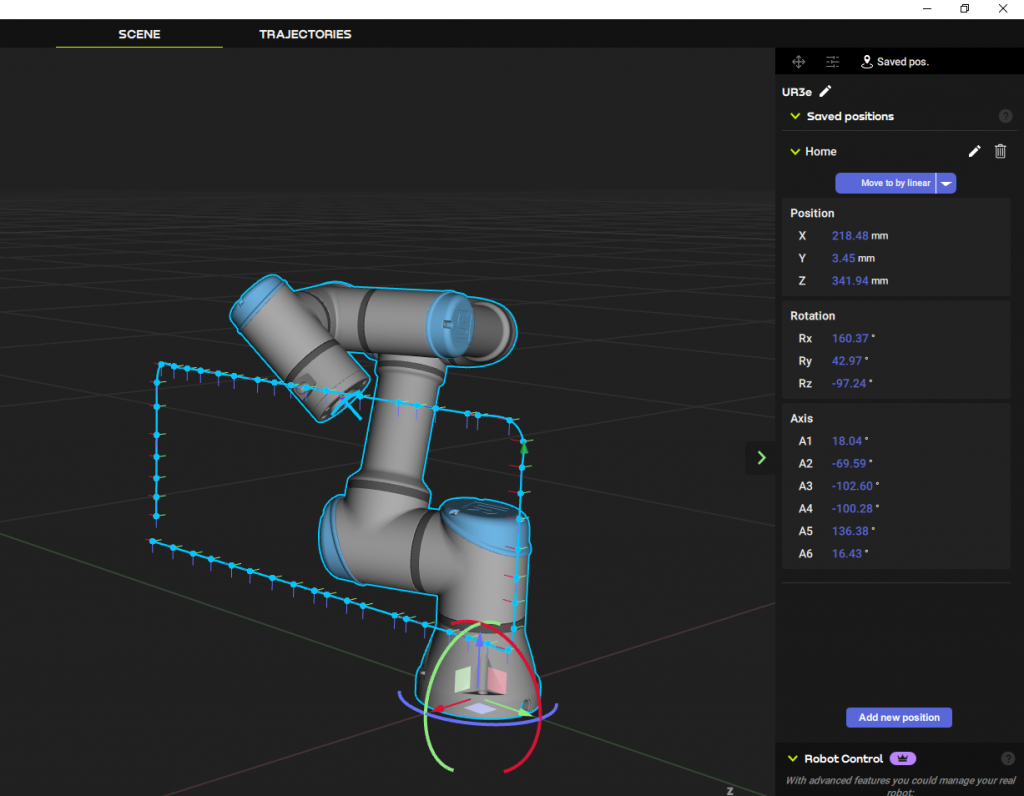
EDIT
Use pencil ICON to change the Position name to a name that is easy to understand.
Let’s change the name to Home.
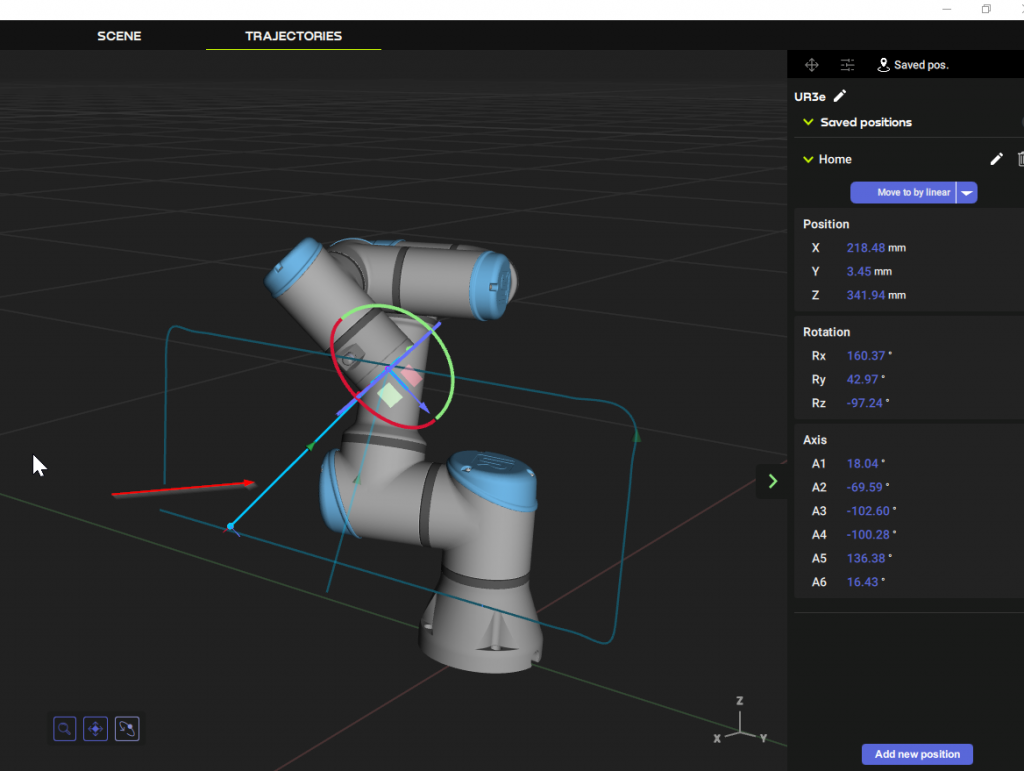
MOVE!
Finally, let’s move the robot from another position to the saved Position.
Click on Move by Linear and check the operation in Preview.
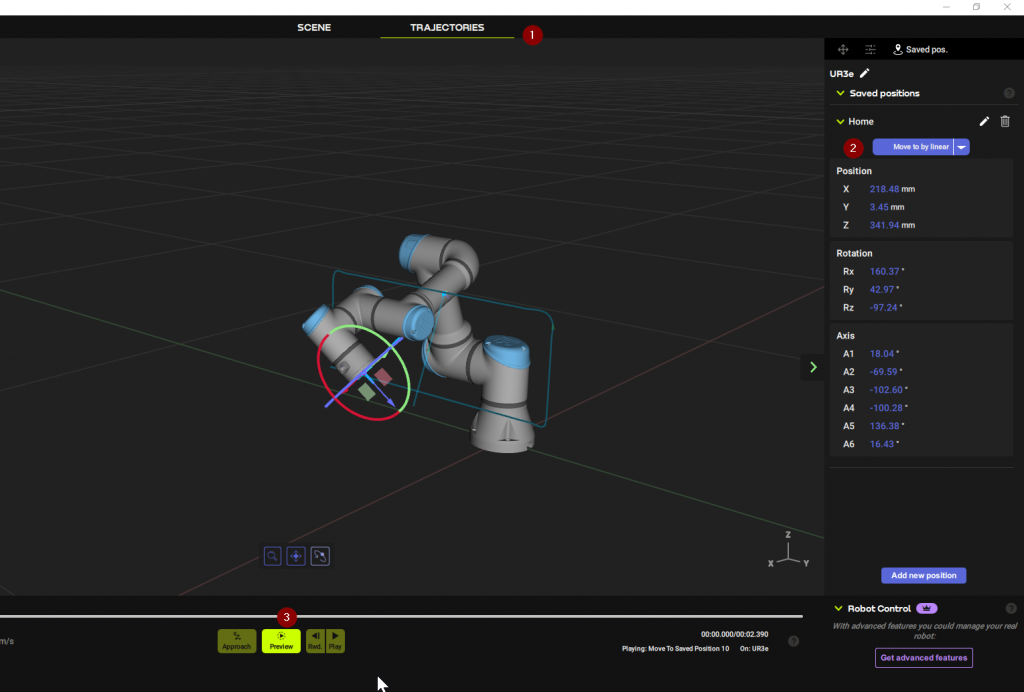
Done!
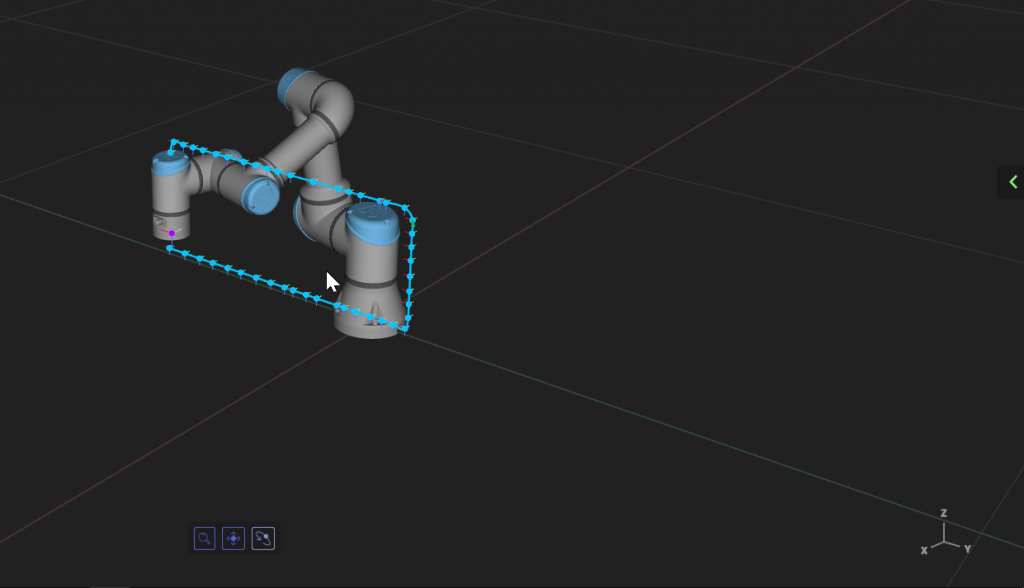
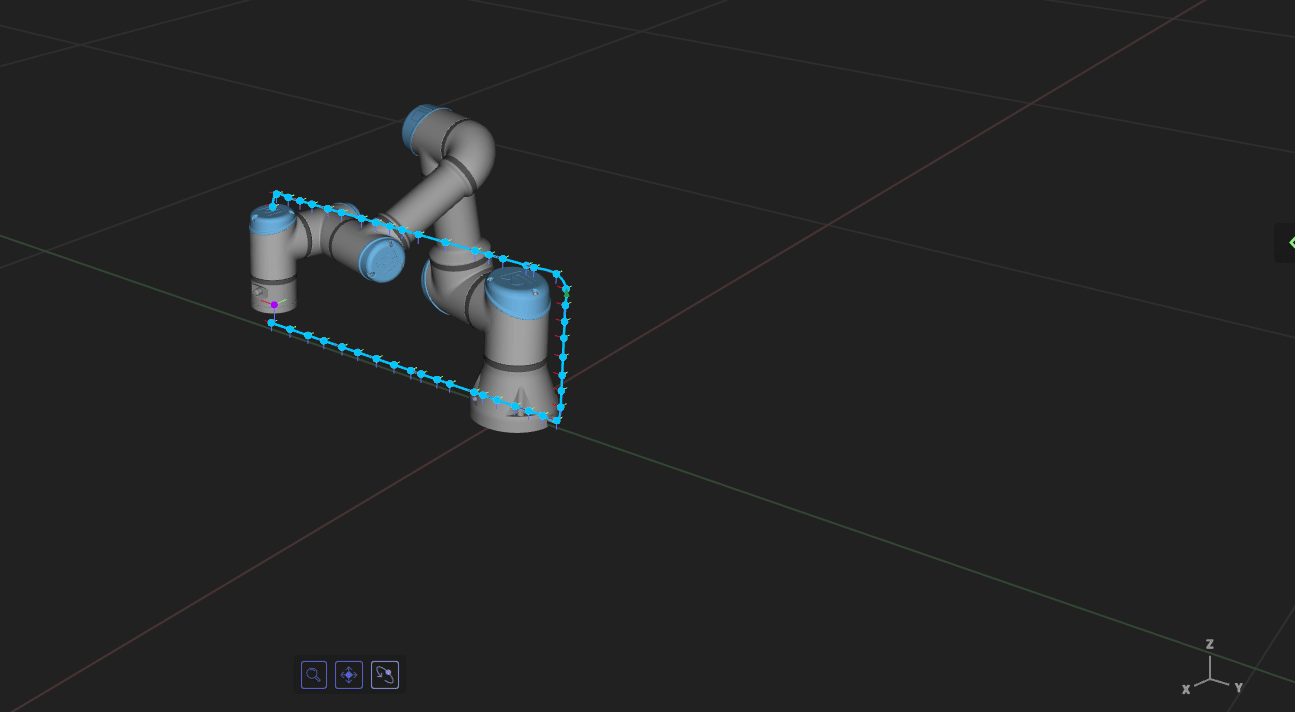
The trajectory of the robot as it moves is indicated by a blue line.
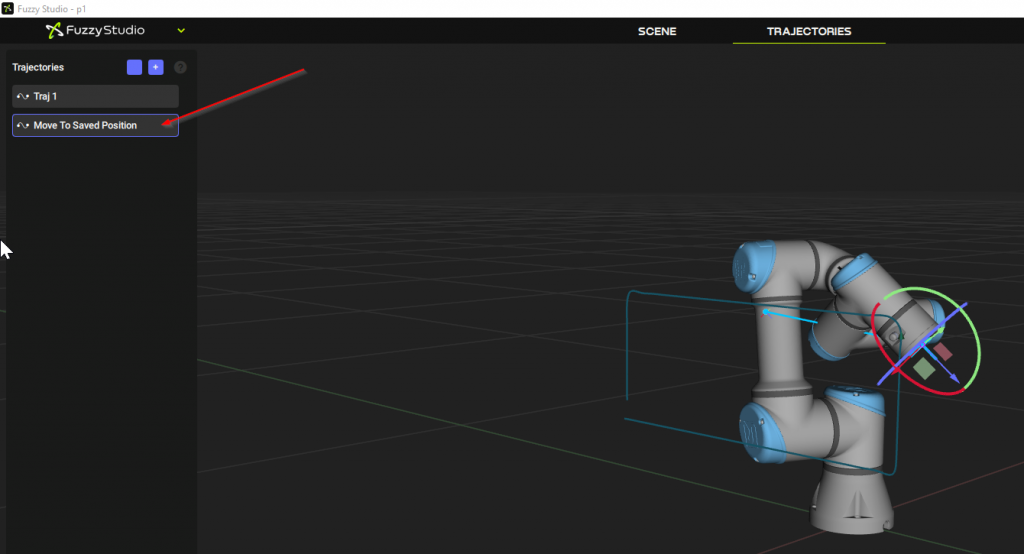
In fact, the Move by Linear operation from the TRAJECTORIES Menu forward is recorded and can be played back at any time.
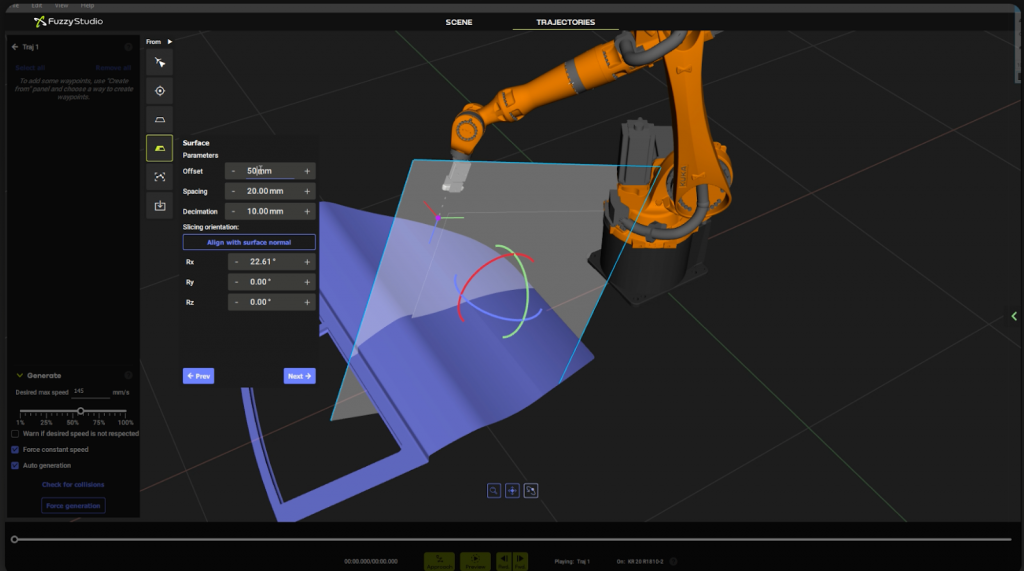
Approach
The Approach function can create a PTP trajectory from the robot’s actual position to the first waypoint of the trajectory.
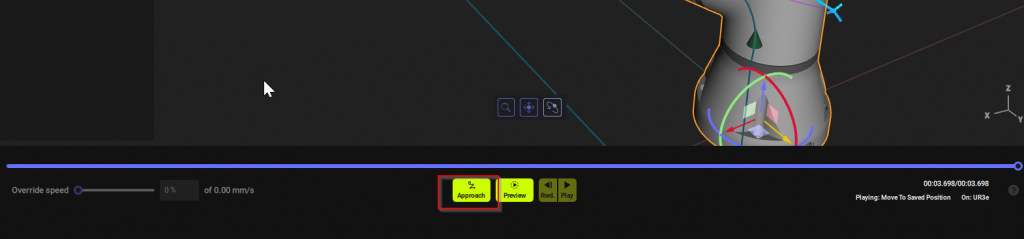
It looks like this. This is the image of generating the so-called shortest trajectory.
