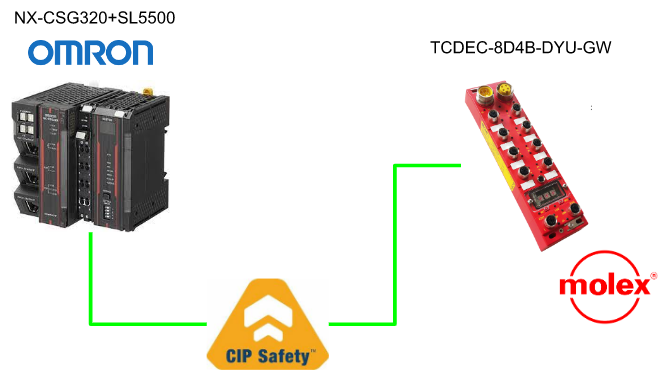
In this Tutorial I will show you how to configure a CIP Safety Network – Omron NX-CSG320+SL5500 as a Safety Originator and Molex CIP Safety Hash IO Module TCDEC-8D4B-DYU-GW as Safety Target step by step, then create some simple safety logic in the Omron CPU.And some basic concepts and keywords in Omron CPU and CIP Safety are also introduced.
Let’s Start!

Reference Link
please follow this link to download the Omron Engineering tools Sysmac Stuto.
Keyword
Omron CPU

RUN Mode
A mode that indicates the CPU is running the validated Safety Application, Saved in the non-volatile memory. The BOOL Variables can not be controlled, and forced refreshing,present value modifications are not allowed.
PROGRAM Mode
A mode that indicates the Safety Program inside the CPU is stopped, The BOOL Variables can not be controlled, and forced refreshing,present value modifications are not allowed.
DEBUG Mode
A mode that indicates that for the programmer to debug the unvalidated safety programs.
This mode can only be operated when the Sysmac Studio is online with a CPU Unit.
we can check the safety program in this mode.
And the Safety Program will be automatically Transferred to the main memory of the Safety CPU.
Safety Validation
It is a process to append the information to the safety program, if required. The validated safety program will auto transfer to the non-volatile memory of the Safety CPU.
CIP /CIP Safety

TUNID
TUNID=Target Unique Network Identifier,It is an ID to identify the Safety Target in the Safety Forward Open Request.
- A General status=0x01, extended status 0x80D is returned from Target for the Safety Forward Request, if the TUNID is not set in the Target.
- A General status=0x01, extended status 0x80E is returned from Target for the Safety Forward Request, if the TUNID is not matched.
In Profisafe, A F-Address is needed and In FSoE, A safety address also needs to be configured, Right?
Safety Reset
Safety Reset is an operation with Safety Supervisor Object Specific Services 54hex,that reset the parameter,TUNID,etc..Once you set the TUNID, you need to operate the safety reset to re-configure the TUNID.
SNCT
SNCT=Safety Network Configuration Tool,A tool to configure the CIP Safety
network and provide the safety series like Set TUNID,Safety Reset.
EDS File
A EDS File is just like GSDML file in profinet, ESI in ethercat ,devices configuration files that are imported into Engineering tools.
Configuration
As I mention in the beginning of the tutorial, this is the configuration.
Implementation-1
In this Implementation, I will show you how to configure the CIP Safety network step by step.
Molex Side
Let’s configure the Molex CIP Safety Hash IO Module First.
Download SNCT Tools
SNCT tools can help you to Safety-rest or reconfigure the Molex Safety HashIO Module.
Please access this link to download the tools.
https://www.molex.com/molex/mysst/doCenter.action
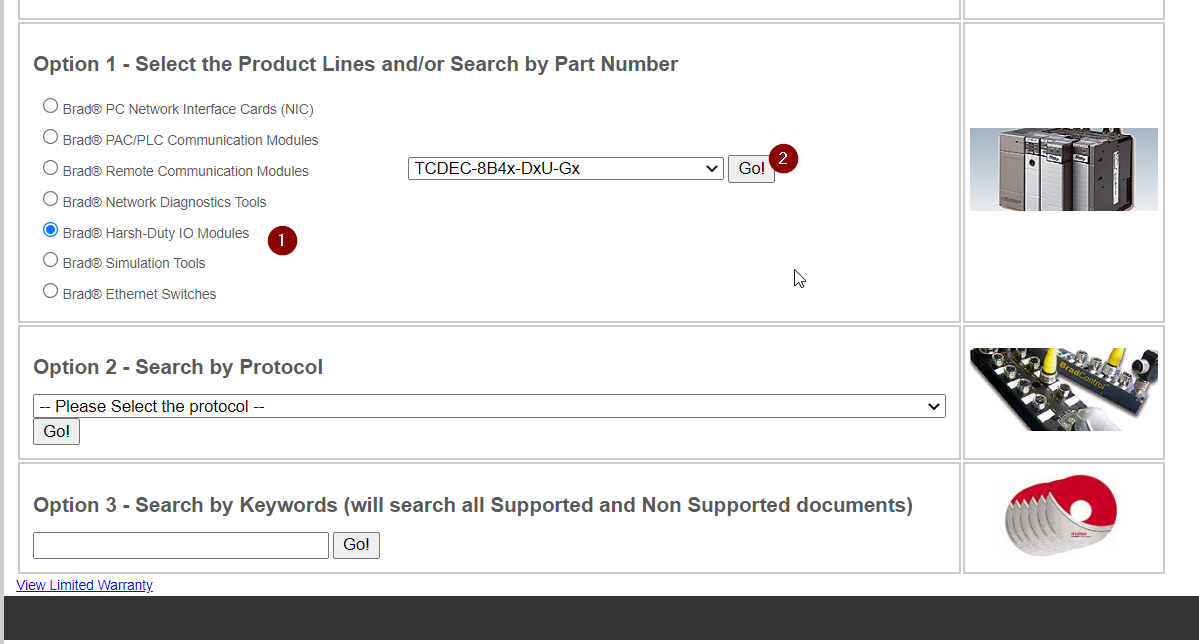
Choose Safety Network Configuration Tools and Download.
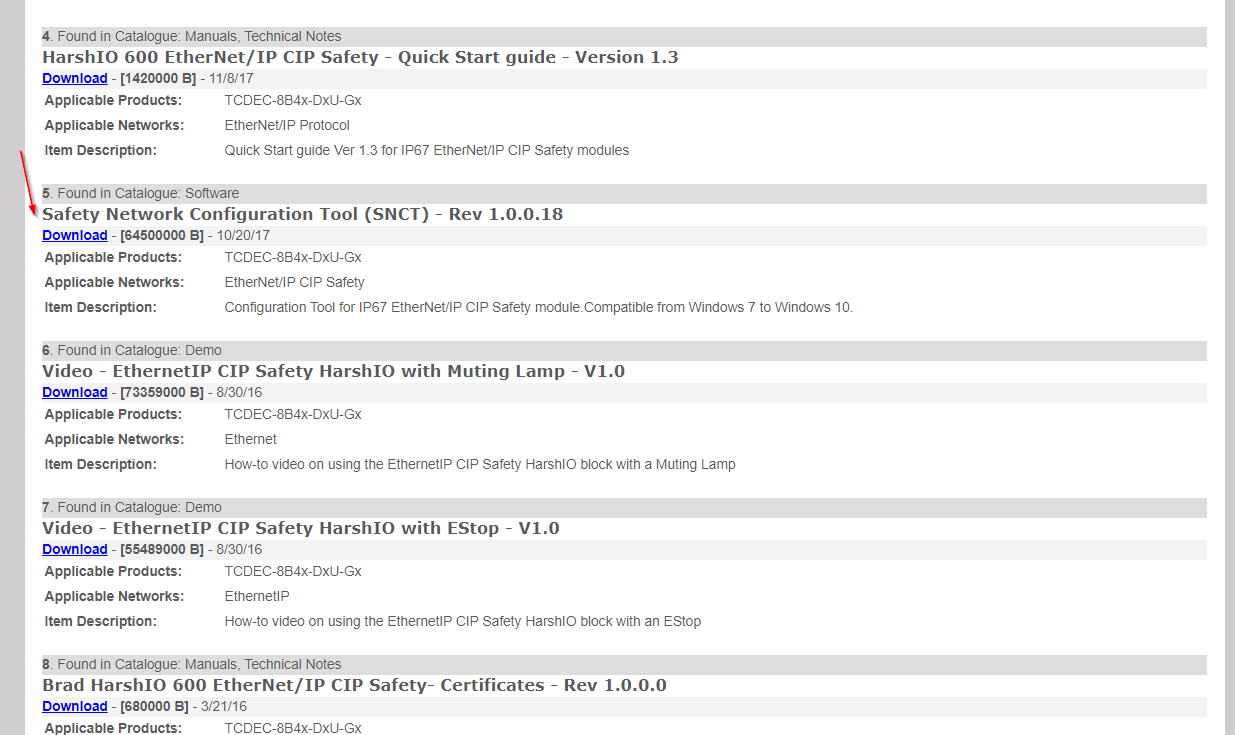
A Zip file is downloaded.
Installation
Unzipped the file and double click the setup.exe to start the installation.
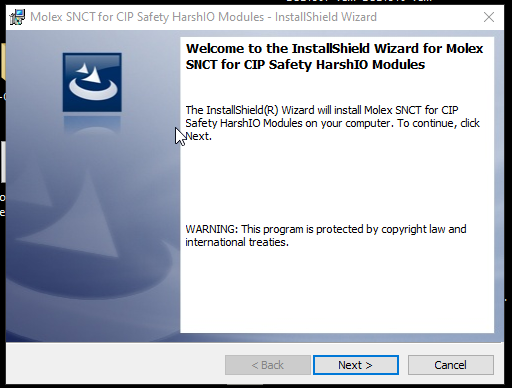
Next>.
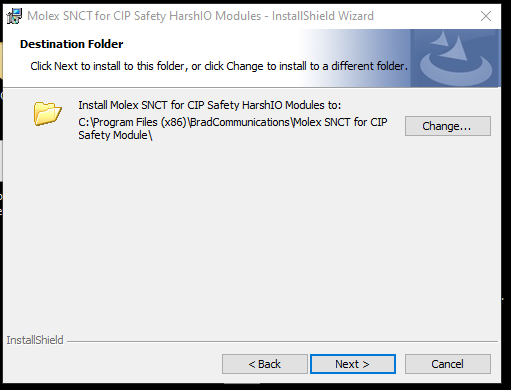
Next>.
Install.

Tools installation is done!
SNCTDevice is installed in your System.
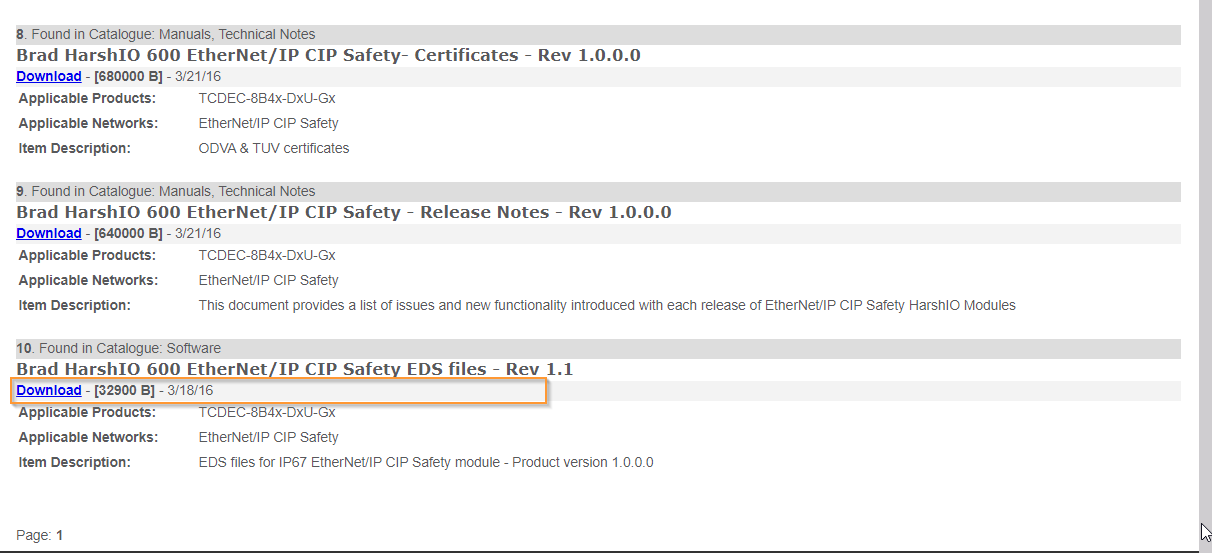
Download EDS Files
Access the same link to download the EDS File,it will be used in the future.
Configure the Module
Now we can safely reset the Module – Not just Molex Hash Safety IO but all CIP Safety Adapter, you need to safety reset it before use it.Star your SNCTDevice software.

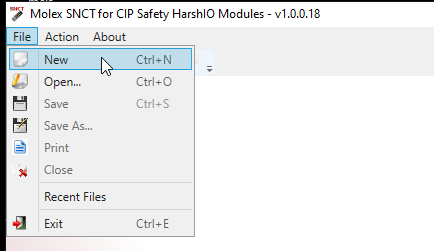
The Molex SNCT Software is started up.

Create New Project
Go to File >New to create a new project.
TCDEC-8B4B-DYU-Gx is used in my tutorial, selec that devices>OK.

New Project is created.

Go Online
Select the Network Interface that you are connecting with HashIO, enter the IP address of that device, and enter the Safety Network Number (or just let it default first, we will set this ID in Omron Side)> Click Module Discovery to search the device.

Choose the CIP Safety Hash IO> Select.

Click the “Establish communication with the module” button.
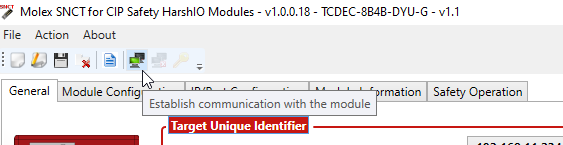
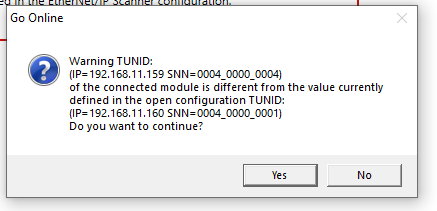
The warning is shown because the TUNID between project and devices is different.
Do not worry and we will fix it later.Press Yes.
Safety Reset
We can operate the Safety Reset to the CIP Safety Hash IO now.
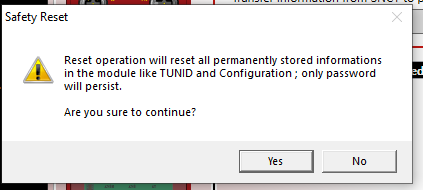
Go to Safety Operation>Safety Reset.

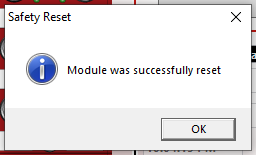
Because the safety Reset will reset all stored information inside the module,a confirmation is needed. Press Yes.
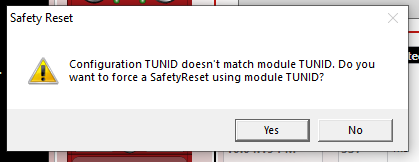
Press Yes. We will fix the TUNID problem very soon.
Done!
Omron Side
Now we can configure the Omron Side.
Install EDS File
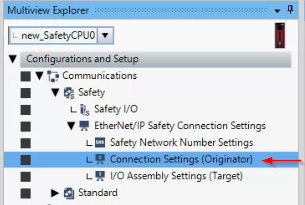
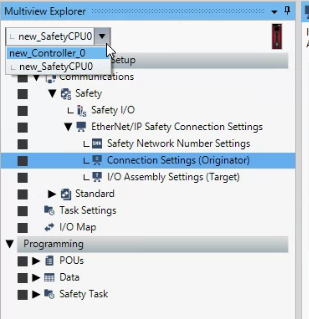
Open the sysmac studio and create the project. Choose Safety CPU in the Multiview Explorer.

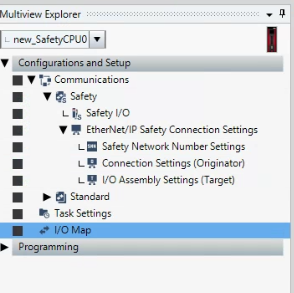
Go to Configurations and Setup>Communications>Safety>Safety I/O>EtherNet/IP Safety Connection Settings and Double Click the Connection Settings(Originator).
Right Click the blank space>EDS Library CIP Safety.
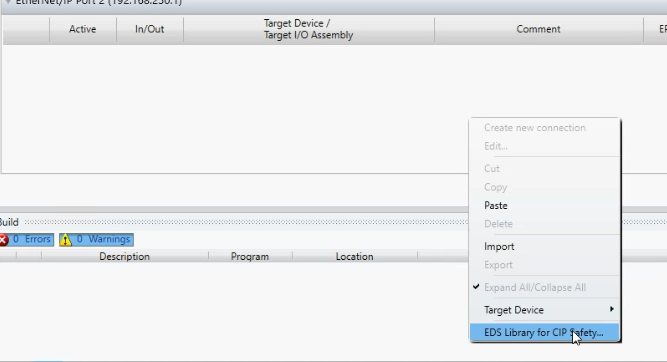
CIP Safety Library is shown.
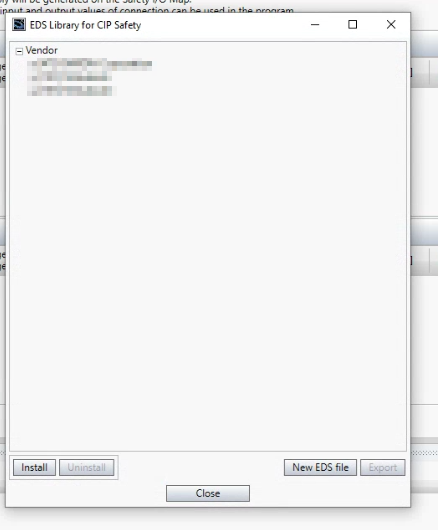
Press install to import your EDS File.
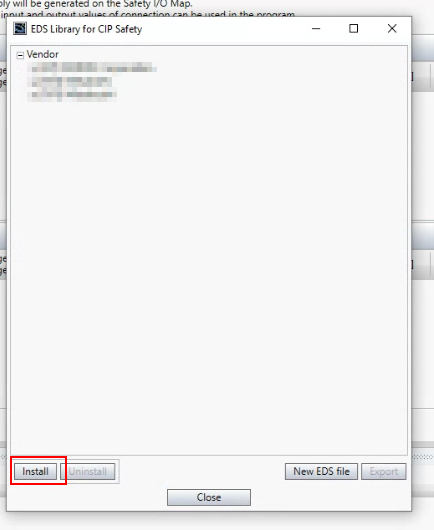
Select the EDS File that downloaded from Molex Web Site.

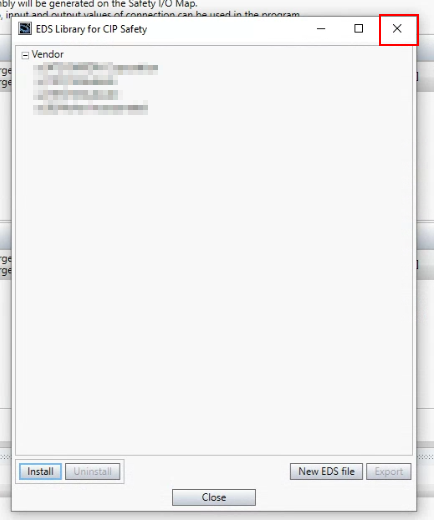
EDS File is installed!

Press “X” Button to close the CIP Safety Library.
Insert in your CIP Safety Network
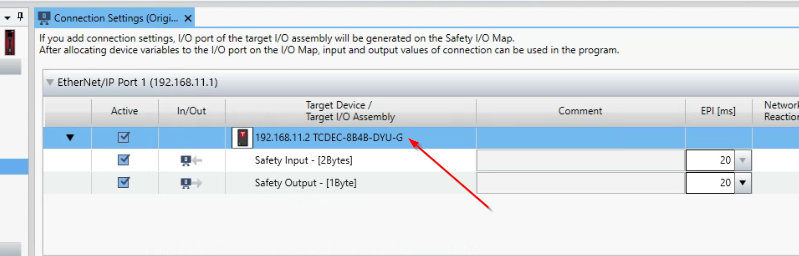
[35] Safety Discrete I/O Device is added in your Toolbox.Choose it>select TCDEC-8B48-DYU-G>Right Click and Insert.
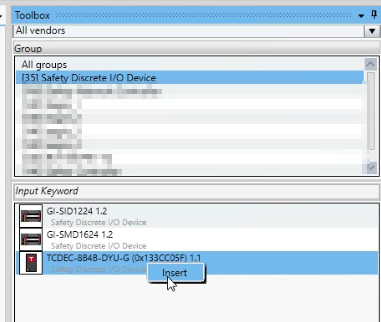
TCDEC-8B48-DYU-G is inserted in your CIP Safety Network Configuration.
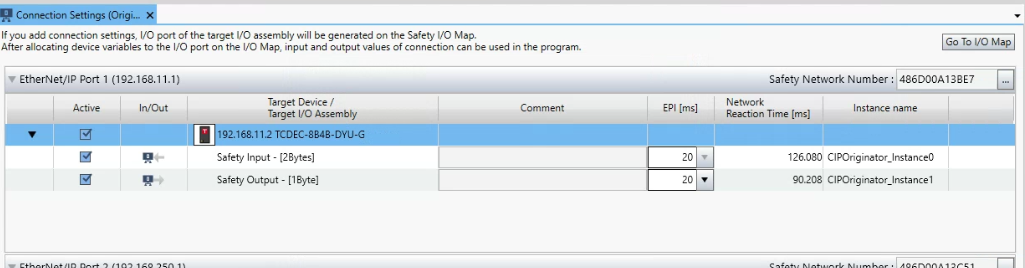
Configure the CIP Safety Devices
Now we can configure this TCDEC-8B48-DYU-G CIP Safety Hash IO Module.
IP Address
Double Click the device that you inserted.
You can change the IP Address here.
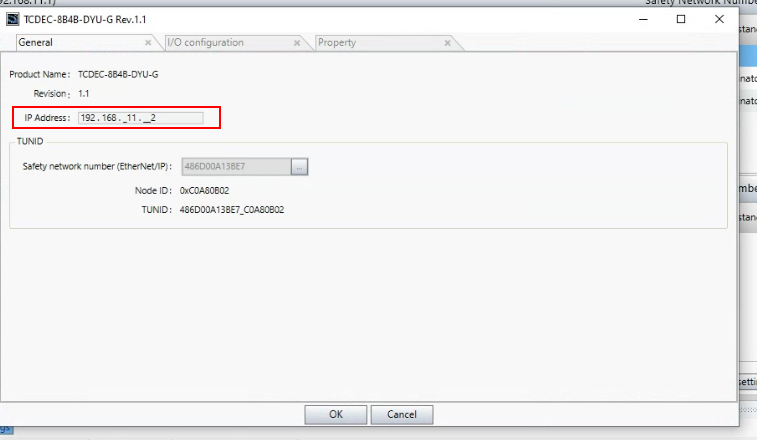
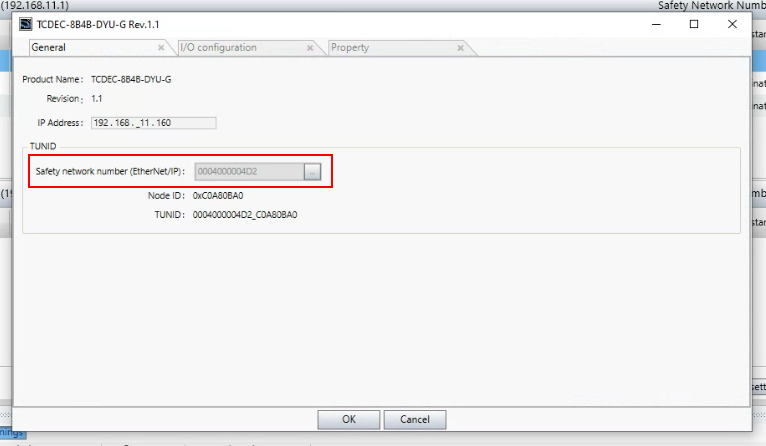
TUNID
In the TUNID Field, you can not change in here directly.

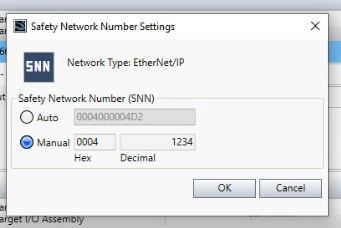
In the Safety Ethernet/IP Network Screen, click the … Button in the Safety Network Number.
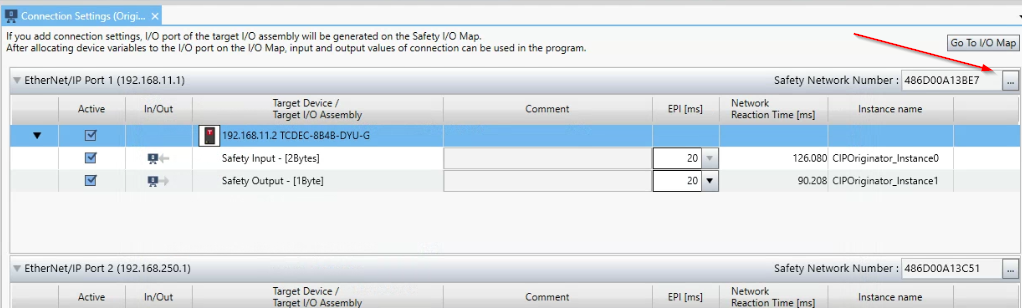
The Safety Network Number Settings Popup is shown.
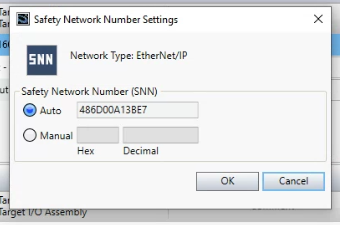
Choose Manual to Configure your own SNN. 0004 1234 is configured here>OK.
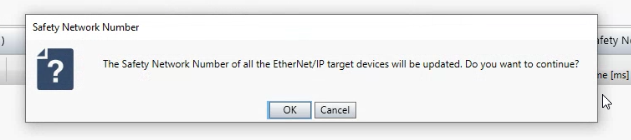
Press OK to confirm the TUNID modification.
The TUNID has changed!
Parameters
Open the I/O Configuration Tab to setup the Module Parameter, based on your Application.
Property
The Vendor/Product Type ,etc – all the information about that module can be viewed here.

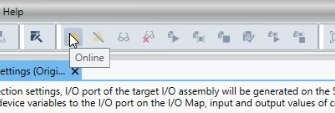
Online
Press the Online button to switch the engineering tools to Online Mode.
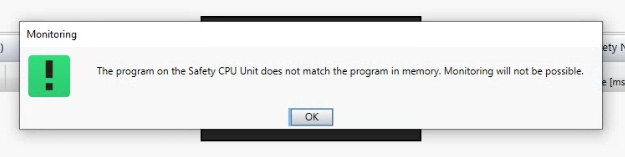
Warning is shown because the project is not the same as inside the safety CPU, press OK to continue.
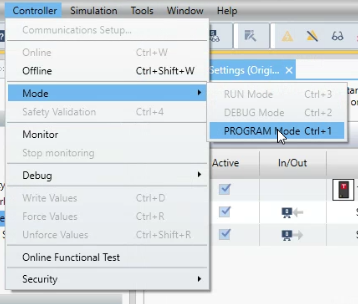
Switch to PROGRAM Mode
Controller>Mode>Switch the CPU to PROGRAM Mode.
Yes to continue.

Press OK.
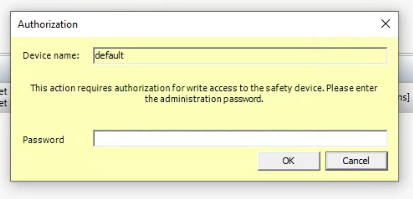
Just let the password field be empty if your password is not configured before.
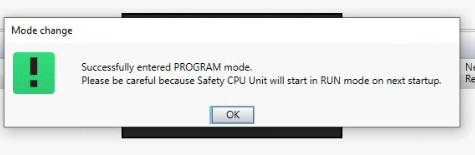
Press OK. The CPU is in PROGRAM Mode now.
Switch to DEBUG Mode
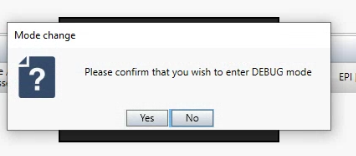
Now we can switch the CPU to DEBUG Mode. Go to Controller>Mode and shift the CPU to DEBUG Mode.

Press Yes to confirm.
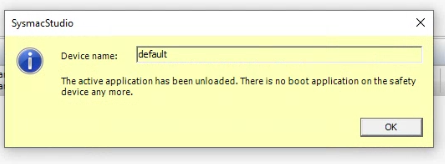
Press Yes to delete the boost application inside your CPU.

OK.
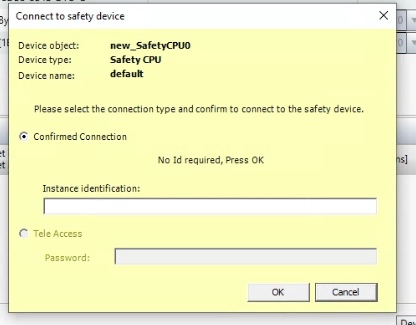
Press OK to Connect to the Safety device.
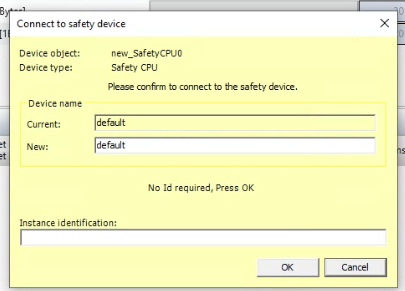
Yes.
Just let the password field be empty if your password is not configured before.

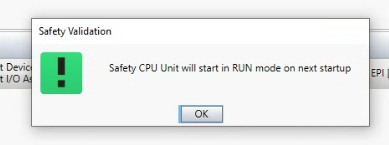
Safety Validation
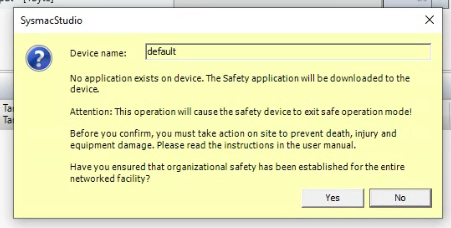
Now we can go to Controller>Safety Validation to verify and Download the Safety Program to your CPU.

Press Yes to Create the boost application.

Press OK to finish.

The Safety Application is transfering to the CPU, please wait a minute..

Done!
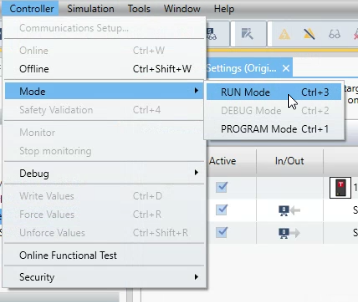
RUN Mode
Finally we can switch our CPU to RUN Mode. Go to Controller>Mode and RUN Mode.
Yes.
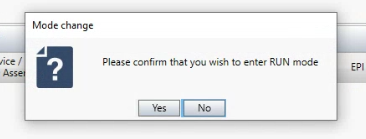
Yes again.

OK.

OK.
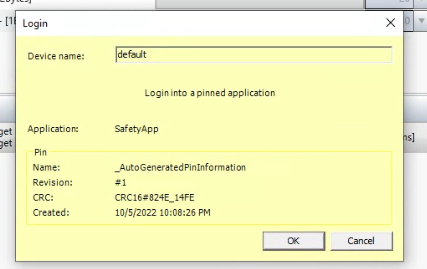
Login to the Safety Application.
Set TUNID
Finally we need to set the TUNID. We can do it in SNCT Tool but also in the Sysmac Studio.
Right Click the Devices>Target Device>Set TUNID.

Done!

Download the Program
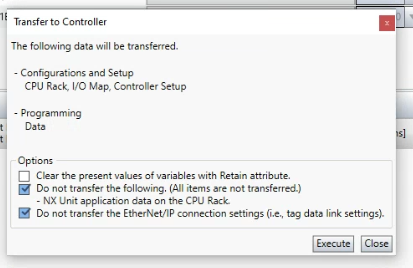
Not just the Safety Program, we also need to download the Whole Project to the CPU.
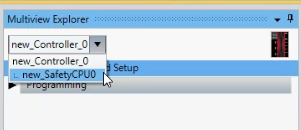
Select the Controller in the Multiview Explorer.
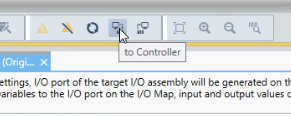
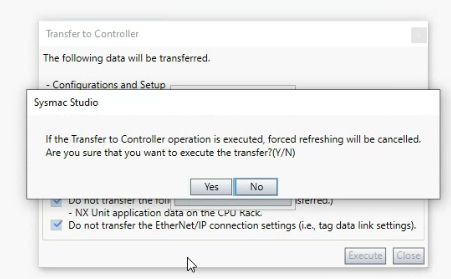
Execute.
Yes.

Yes.
OK!
Result
Now we can check the Result.
Select the Safety CPU in the Multiview Explorer.
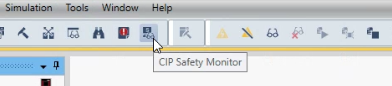
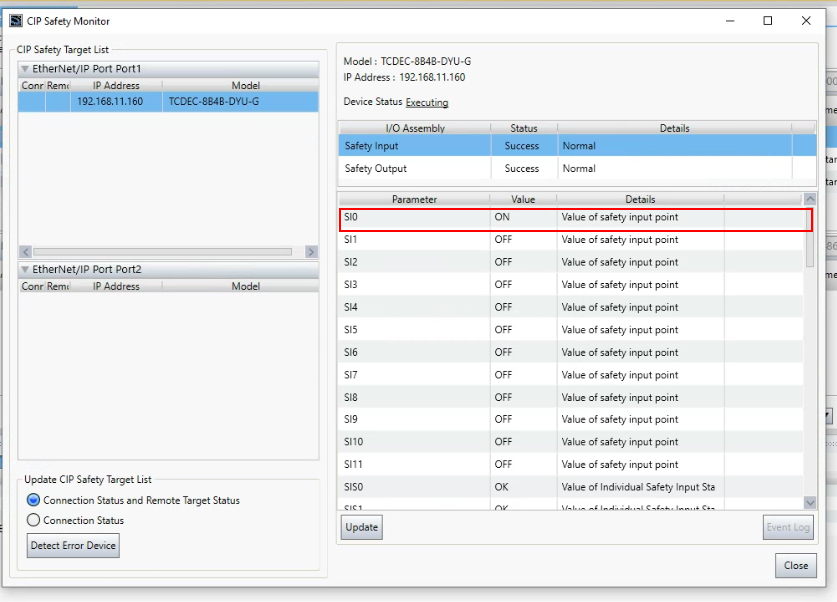
Start the CIP Safety Monitor.
Your CPU is connected to the Molex CIP Safety IO Modules without any error!
And the current status is shown.
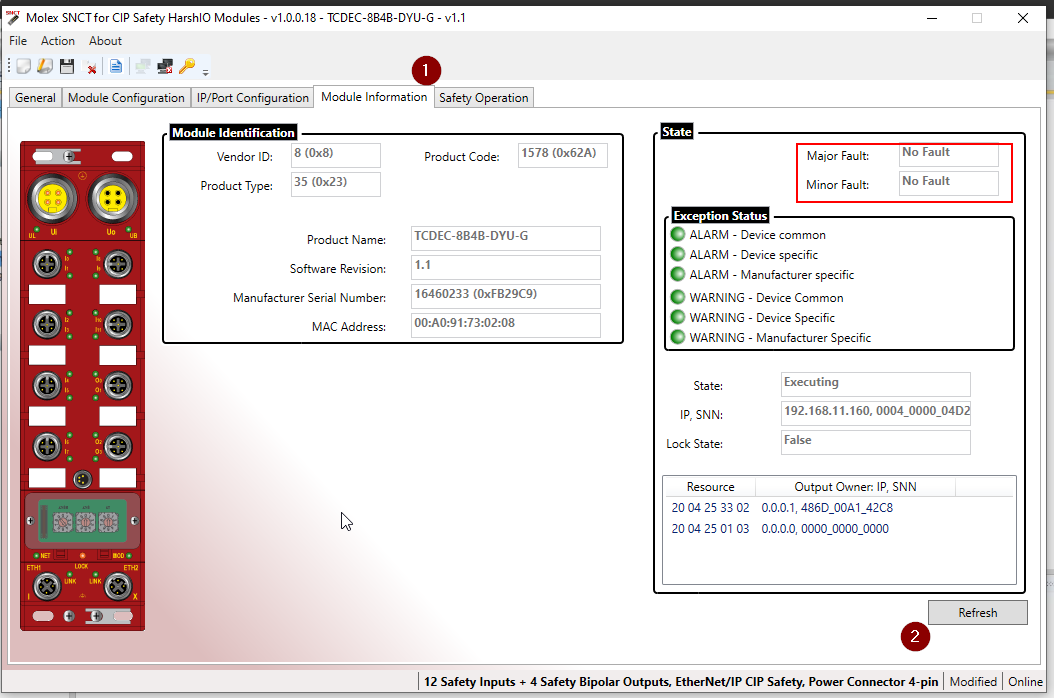
Go to the SNCT Tools>Module Information and Reflesh.
There is no error.
The “RUN” LED in NX-CSG320 is Green, and “ERROR” LED is off.
Alss in the SL5500 THe TS/NS LED is on and There is no error display on SL5500.

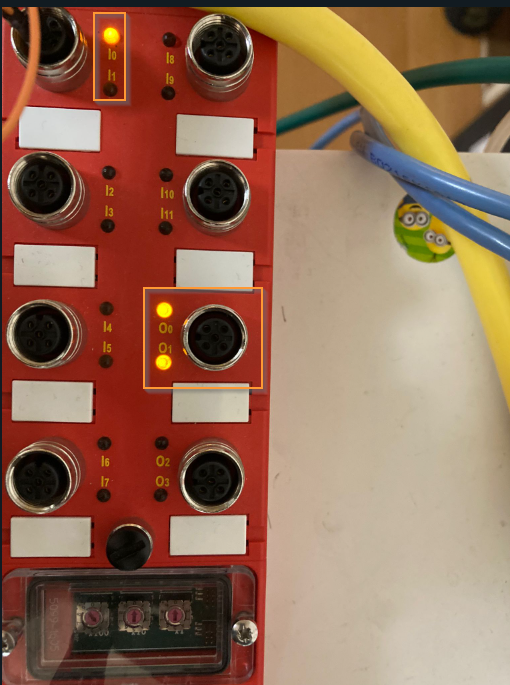
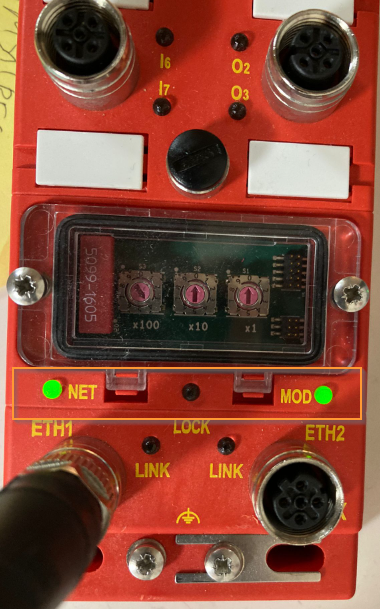
In the CIP Safety Hash IO,”NET” Led and “MOD” Led are in green.
Implementation-2
After the CIP Safety Connection is established, we can create some Safety Program in this Implementation.
Create Global Safety Variable
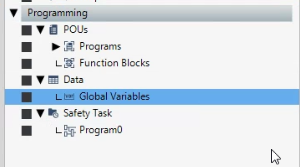
Go to Programming>Data>Global Variables.
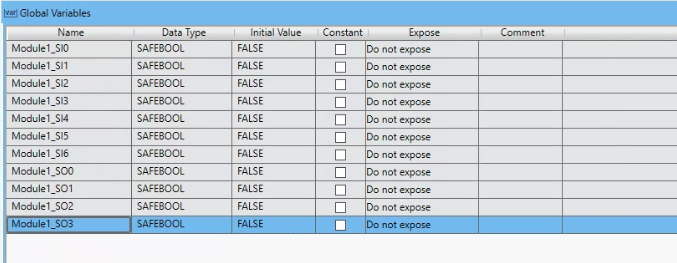
Define some variables with SAFEBOOL data type.
I/O Mapping
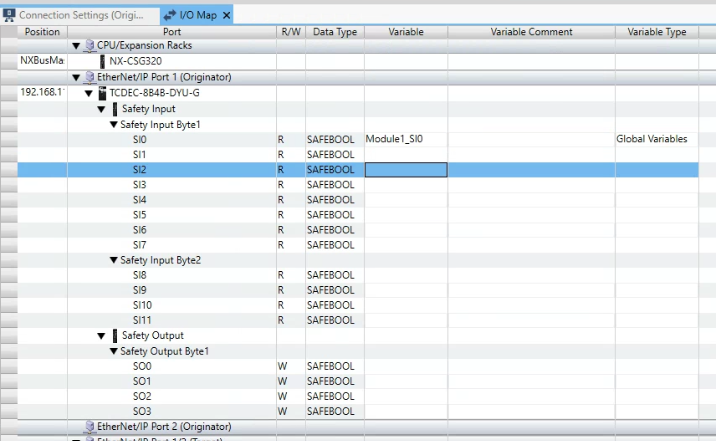
We can map these variables defined in the previous step.Go to Configuration and Setup>I/O Map.
Open the Ethernet/IP Port 1(Originator)>Expand the CIP Safety Hash Modules.

Select the Variable FIeld.

you can Select the variable in the drop list.
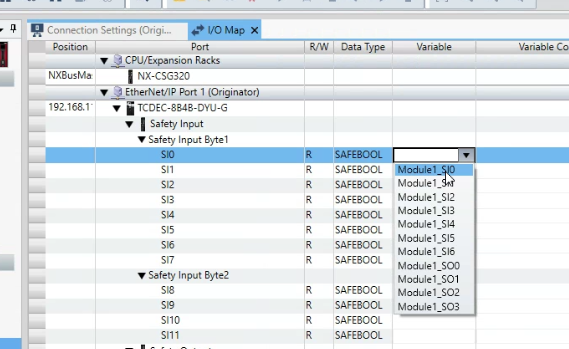
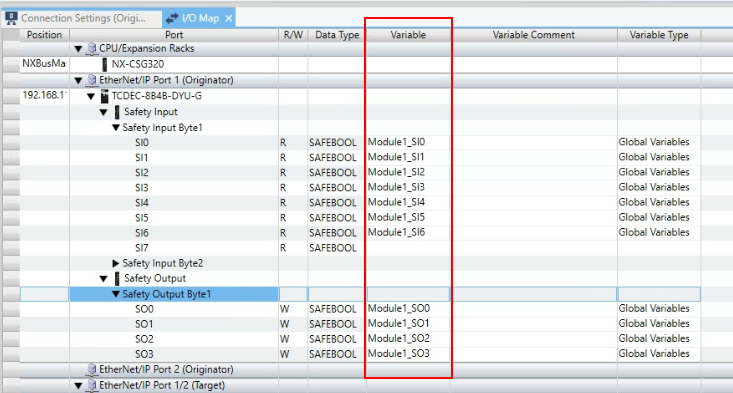
SI0 is mapped with Module1_SI0.
All Variables are mapped.
Program
Now we can create the safety Program! Go to Programming>POUs>Programs and open Program0.
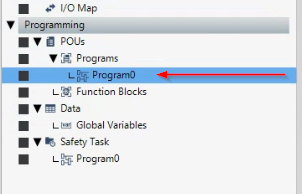
The Safety Program editor is shown.

Add SF_TON
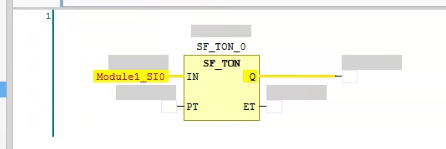
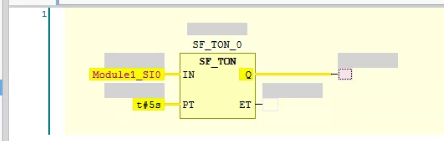
Drop the SF_TON from the Toolbox to the empty network.
SF_TON is a safety Delay on Timer – just like the IEC_TIMER.

SF_TON is inserted in your network and press enter to auto-decare the function Block instance.
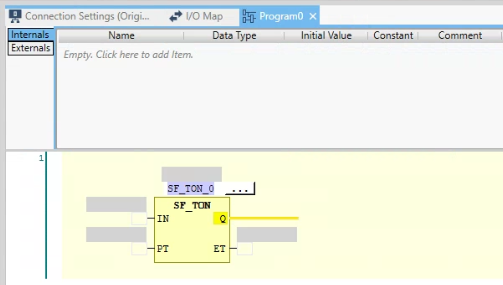
SF_TON_0 function instance is defined.

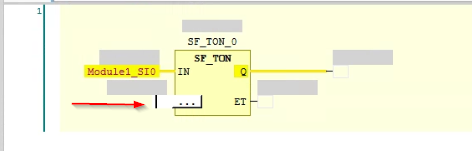
Add Inputs
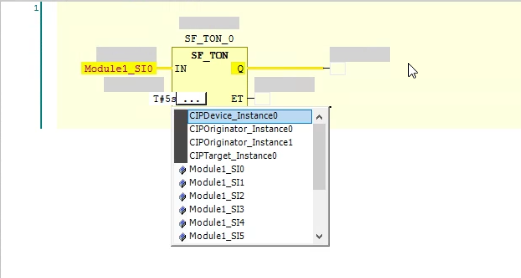
Click the IN Field and press the ..Button.

Select Model_SI0 from the list.

Safety Variable Module_SI0 is assigned in the “IN” Parameter.
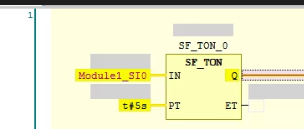
Add PT
Click the PT Field and press the … Button.
Enter T#5s – it is a constant time.
PT parameter is configured.
Add Q
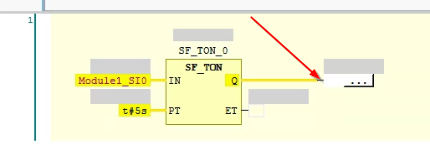
Finally we need to assign the Q – the timer output. Select the Q >Right Click >Insert Assignment.

A Output Assignment is inserted.
Click the assignment field and press the … Button.
Enter Module1_SO0.
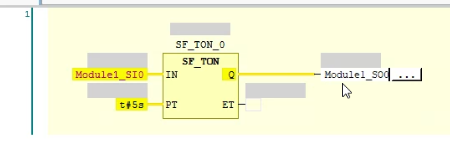
Module1_SO0 is assigned !

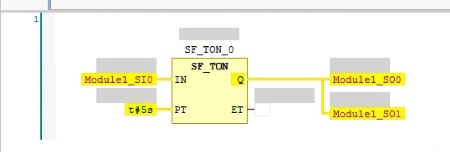
Select the Line of “Q” again> Insert Assignment.

a new assignment is inserted.

Select Module1_SO1 as the output.
Result
Download the safety application into your CPU and Monitor the result.
Module_SO0 and Module_SO1 are True, Because Module1_SI0 is true more than 5s.
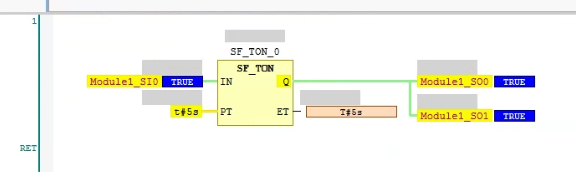
The Input I0 is on more than 5s – O0 and O1 are turned on.