In the last tutorial I show you how to install the EcoStruxureMachine-Expert-Basic tools.Now we can start to configure the CPU and startup it.
Let’s start!!
Version

Cable
MiniUSB 2.0A is used.

The cable is connected in this port.

Thanks!
This article is provided by Mana Design Works. The content of this blog itself is Schneider, but Mana Design Works is an official solution partner of Siemens ,headquartered in Osaka, Japan.Mana Design works can always make optimal proposals for Siemens CPUs, HMIs, drives, motion controllers, and SCADA to domestic manufacturers.

Please get more information from their home page:
Reference Link
Properties
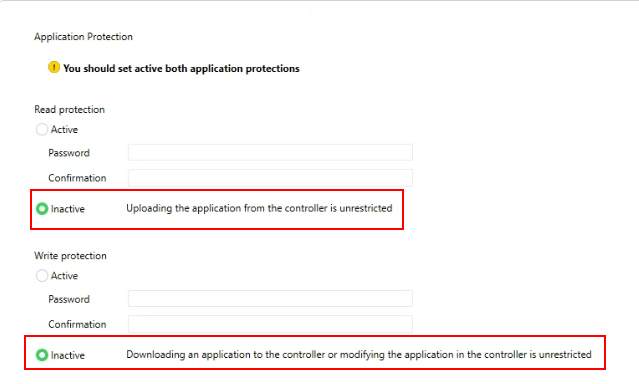
Application Protection
After the software is started, we need to clear the error first.Go to properties>Application Protection .

Choose “inactivate” for the Read Protection and Write Protection options.
Apply で設定を適用します。

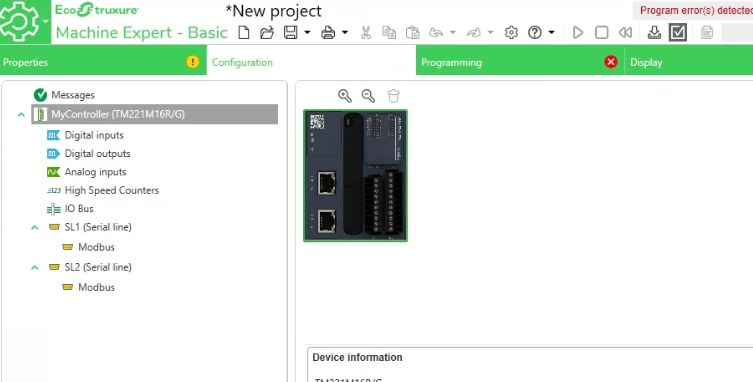
Configuration
The next step is to configure our CPU. open the configuration tab.

The pre-configured cpu in the default project is different with our real devices.
Change your CPU
Select TM221ME16T/G in the M221 Logic Controller on your right side.

Drop it in the blank area.
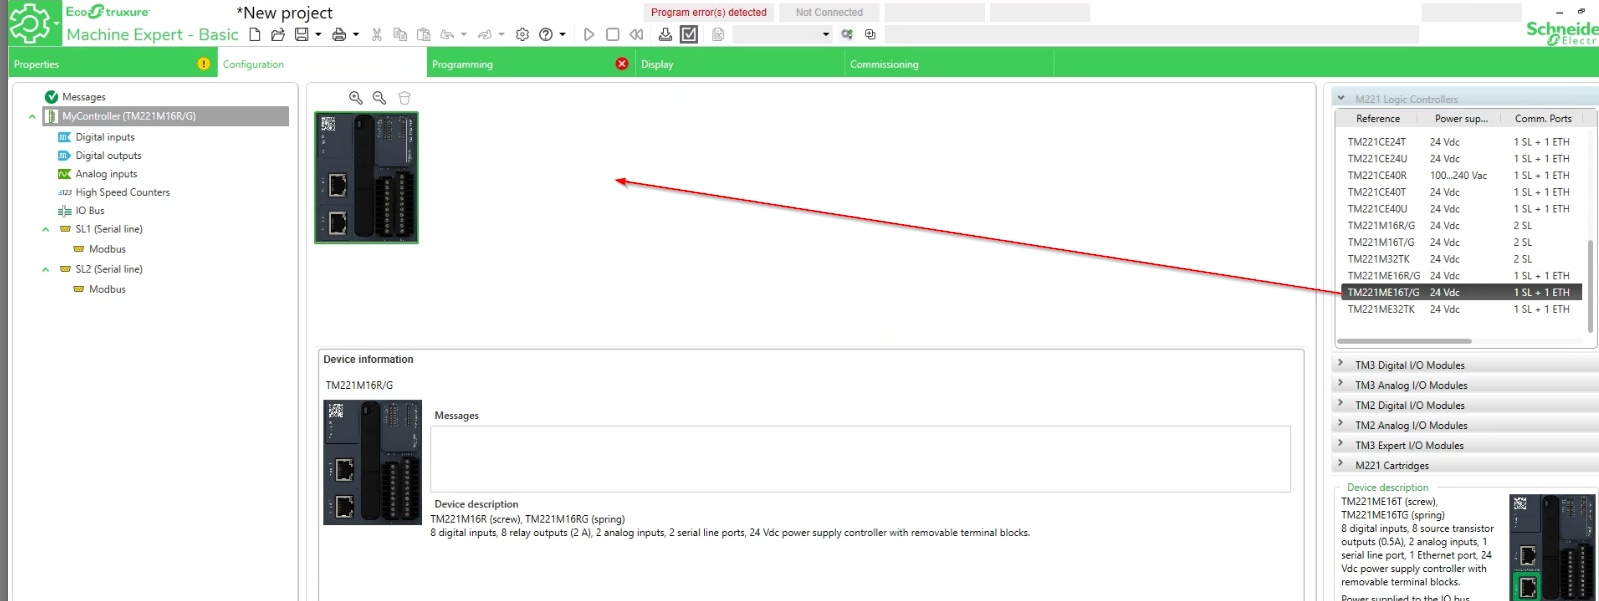
Just like this.

ETH Settings
Now we can configure the Ethernet port.
Go to My Controller > ETH1.

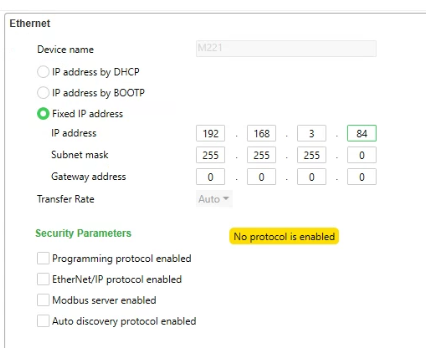
Select Fixed IP address in the Ethernet field.
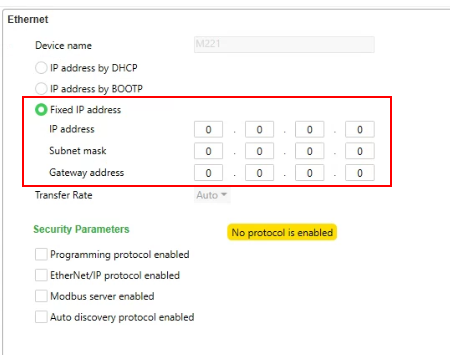
Enter your IP.
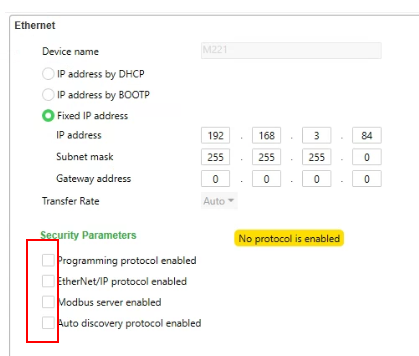
Please check the “Programing protocol enabled “ box to enable the project transfer by LAN port. and also check the field bus protocol box , depending on your application.
Done!
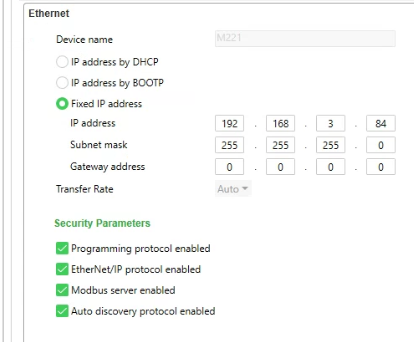
Press Apply to save your setting.

Programming
Open the programming tab with a red “x” icon.

That is an error because no program is created in your project.

Create Variables
Go to Tools>Memory Bit to define some variables.
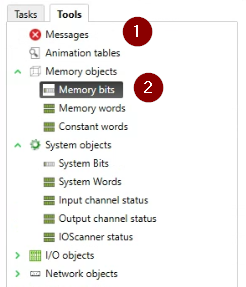
The memory properties screen is shown and you can image it as M bit in Siemens PLC.

Define %M0 %M1 asB_DEVICES1,B_DEVICES2.
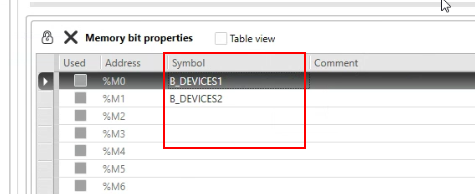
Press the Apply button to save the setting.

Create Sample Program
Now we can start to create some sample programs.
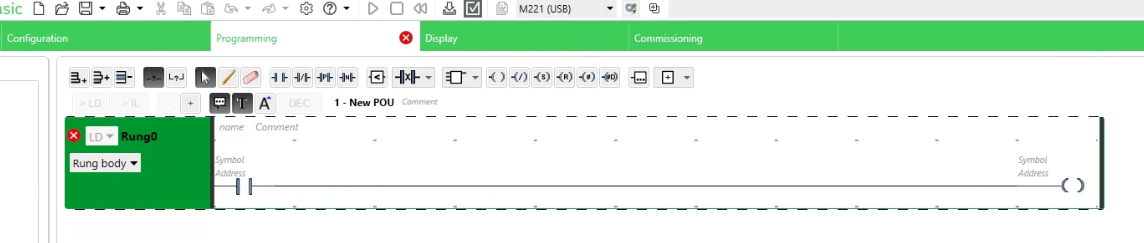
Add a Contact
Select a NO Contact.
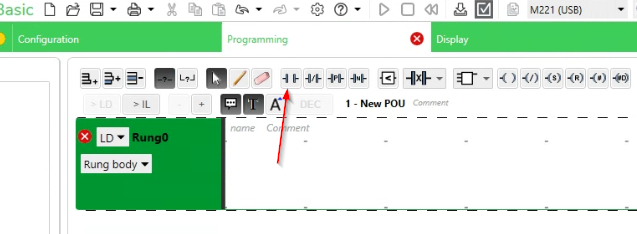
Drop this NO Contact into Rung0.

Just like this operation.

Add a Coil
We can do the same operation to insert the coil. Please select the coil icon.

Drop it into Rung0.

Just like this operation.

Assign the Devies
After the contact and coil are inserted, we can assign the device by clicking the Symbol field.

Select the “B_DEVICES1” variable that defined in the previous step.Done!

Just like this!
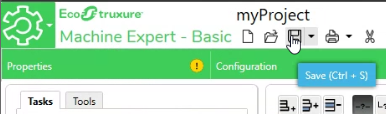
Save the Project
Sure, do not forget to save the project.
Select your saving location,Done!

Compile Program
Finally we need to compile the project .

No error is shown, your project is perfect!

Download Configuration
Please login to download your project.
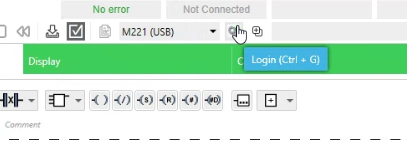
And also make sure the right interface is chosen.

Ethernet/serial port/USB can be selected from the Drop list.

Commissioning
Error is shown in the commissioning tab.

The reason is my CPU firmware is too old. Click the “Update the controller firmware now”.

Yes .

The firmware update tools have started.please wait a minute..

Next>.

Please wait until the update process is done.

Login
Let’s try to login again!

The screen will automatically switch to the Commissioning tab.
Now we can click the “PC to controller(Download)” to download the project.

Start the Controller
Press “Start Controller” to shift your controller to run.

Yes .

umm.. it seems like the mode button is in stop position now.

Please check this button!

Test it!
Now the CPU is in Run Status.

Let’s test the program , go back to the programming tab.

A 0/1 small popup is shown when we select the B_DEVICES1.
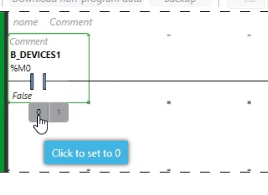
we can directly change the status of that variable by clicking the 0/1.

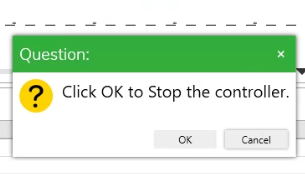
Stop the Controller
The controller can switch to stop mode by clicking the red button.

Ok .